
Baked Mac and Cheese with Breadcrumbs

title 1
Baked Mac and Cheese with Breadcrumbs
⏱️ cook time 35 minutes
🍽️ servings 6
⚡ Difficulty easy

intro

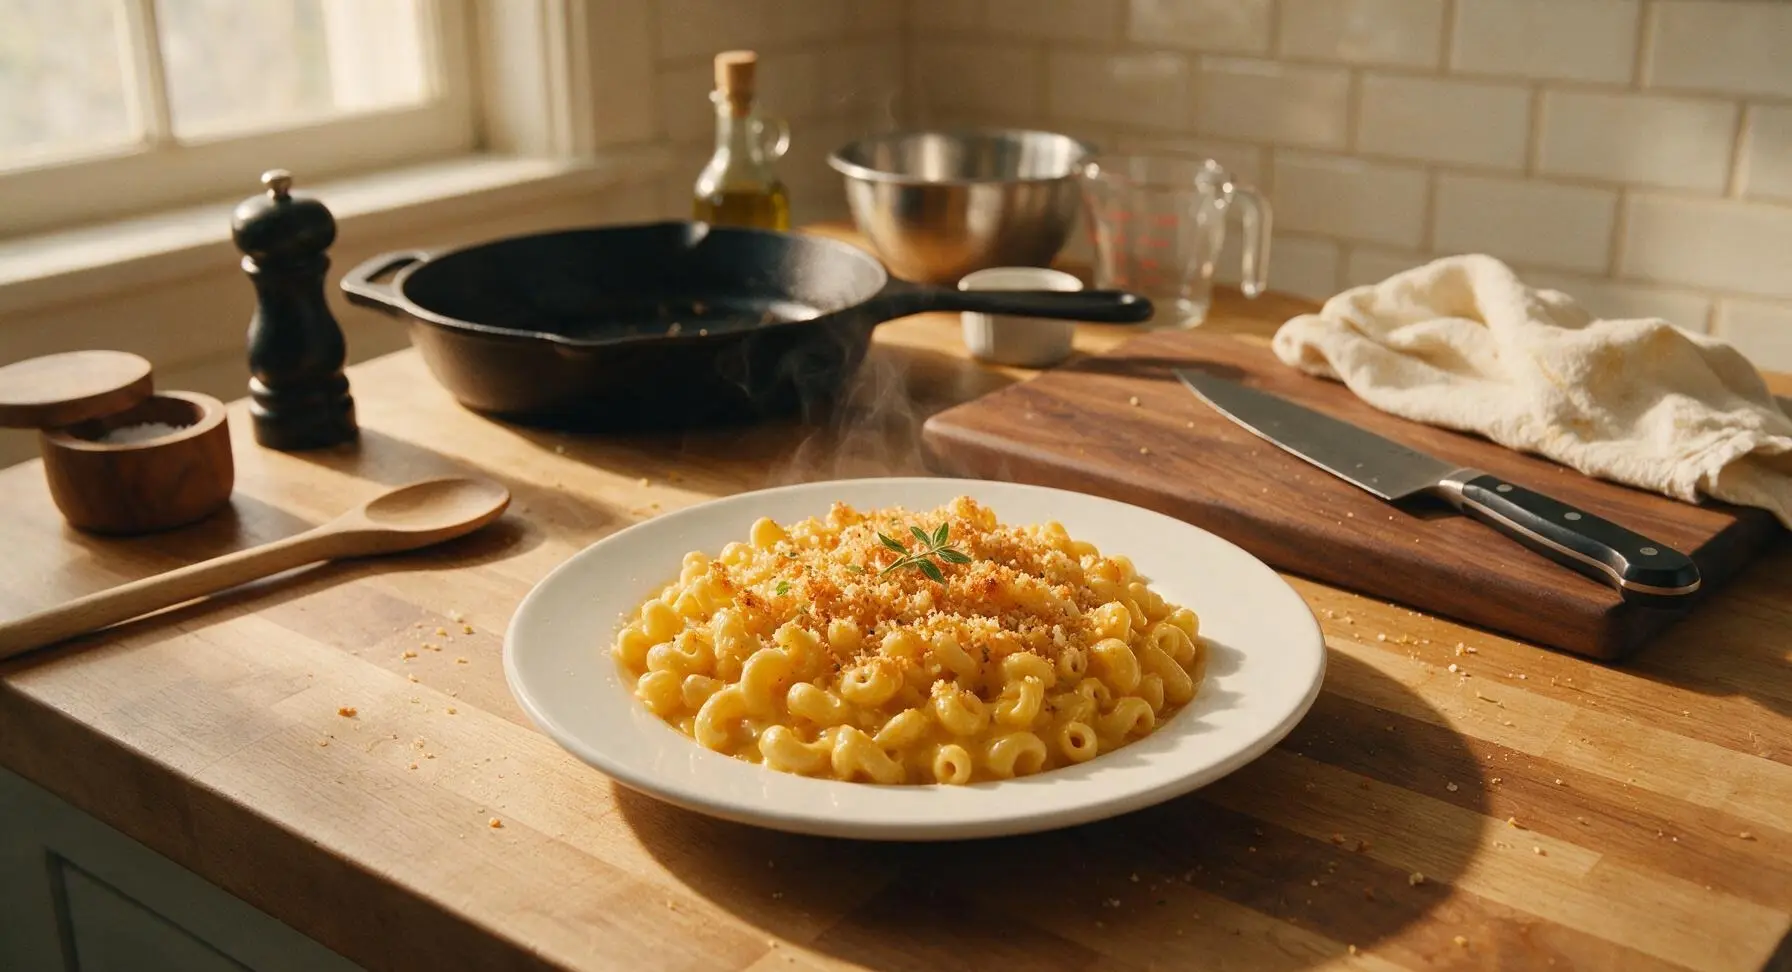
Velvety, tangy cheese sauce coats tender elbow pasta, topped with crisp golden buttered breadcrumbs, baked to bubbly perfection—nostalgic, cozy comfort food made for gathering.

Ingredients
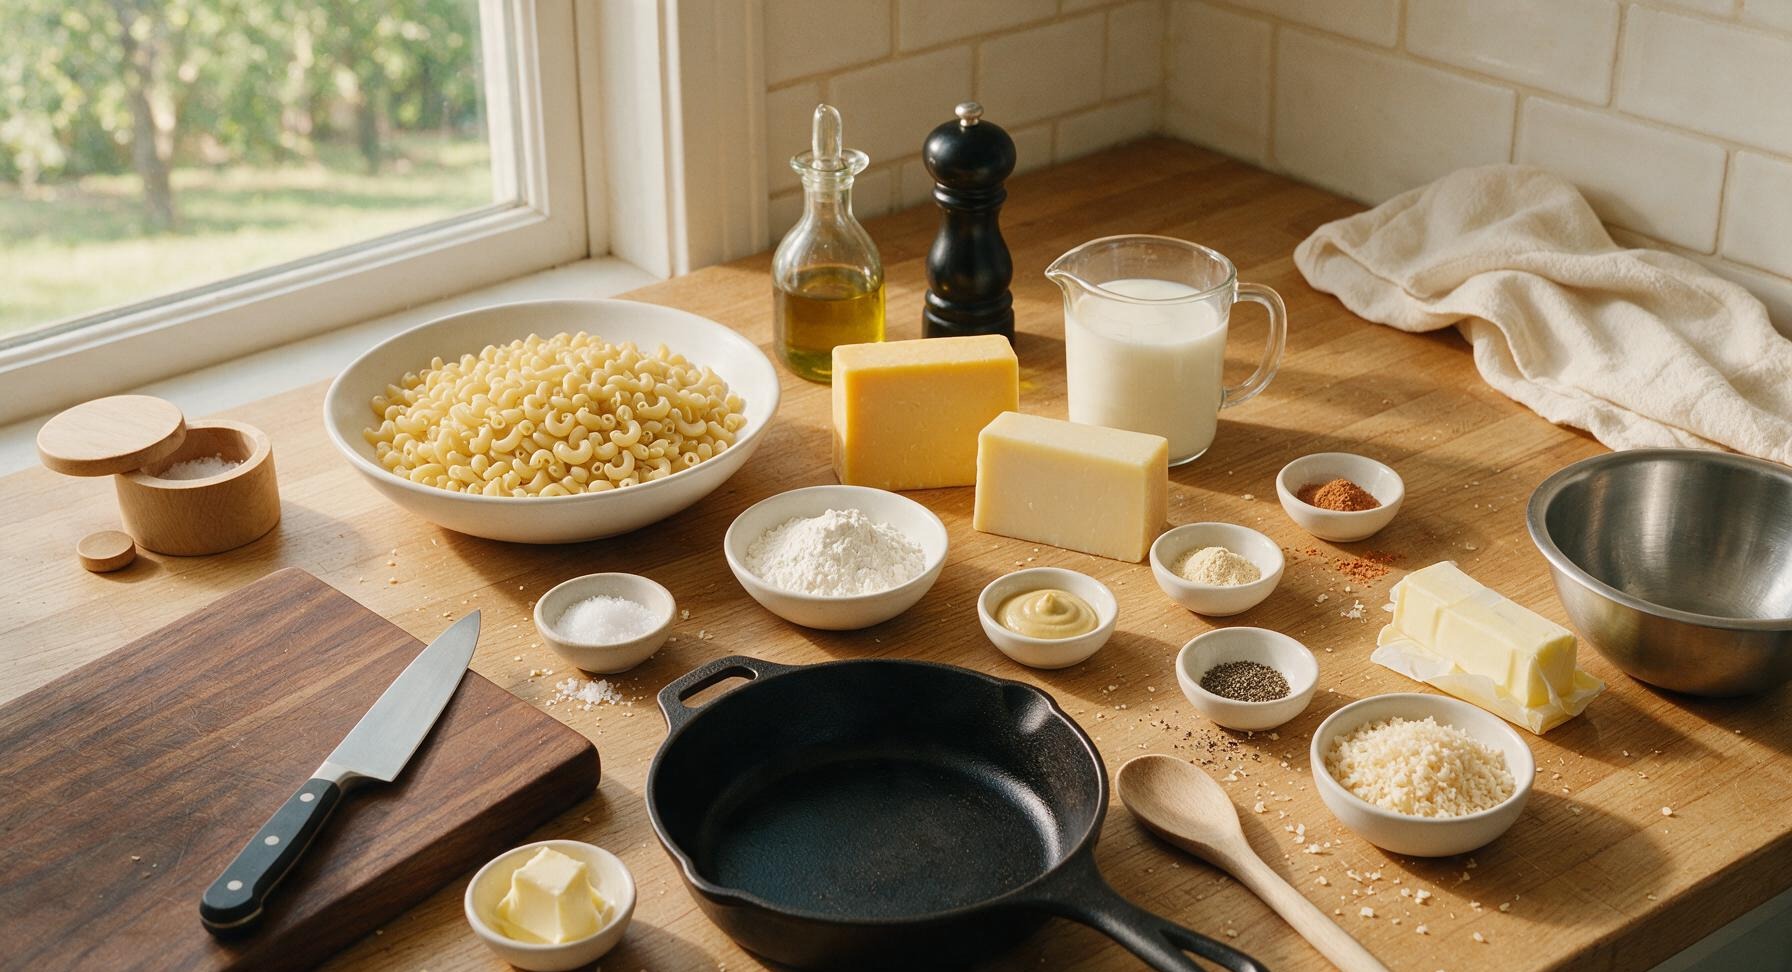
Elbow macaroni (dry) 450g (1lb)
Sharp cheddar cheese (block) 225g (8oz)
Gruyere cheese (block) 110g (4oz)
Unsalted butter 85g (6 tbsp, divided)
All-purpose flour 30g (1/4 cup)
Whole milk 720ml (3 cups)
Dijon mustard 5ml (1 tsp)
Garlic powder 1.5g (1/2 tsp)
Freshly grated nutmeg 0.5g (1/4 tsp)
Kosher salt 20g (1 tsp for sauce, plus 1 tbsp for pasta water)
Freshly ground black pepper 1g (1/2 tsp)
Panko breadcrumbs 30g (1/2 cup)

Steps

1

Shred the block cheeses

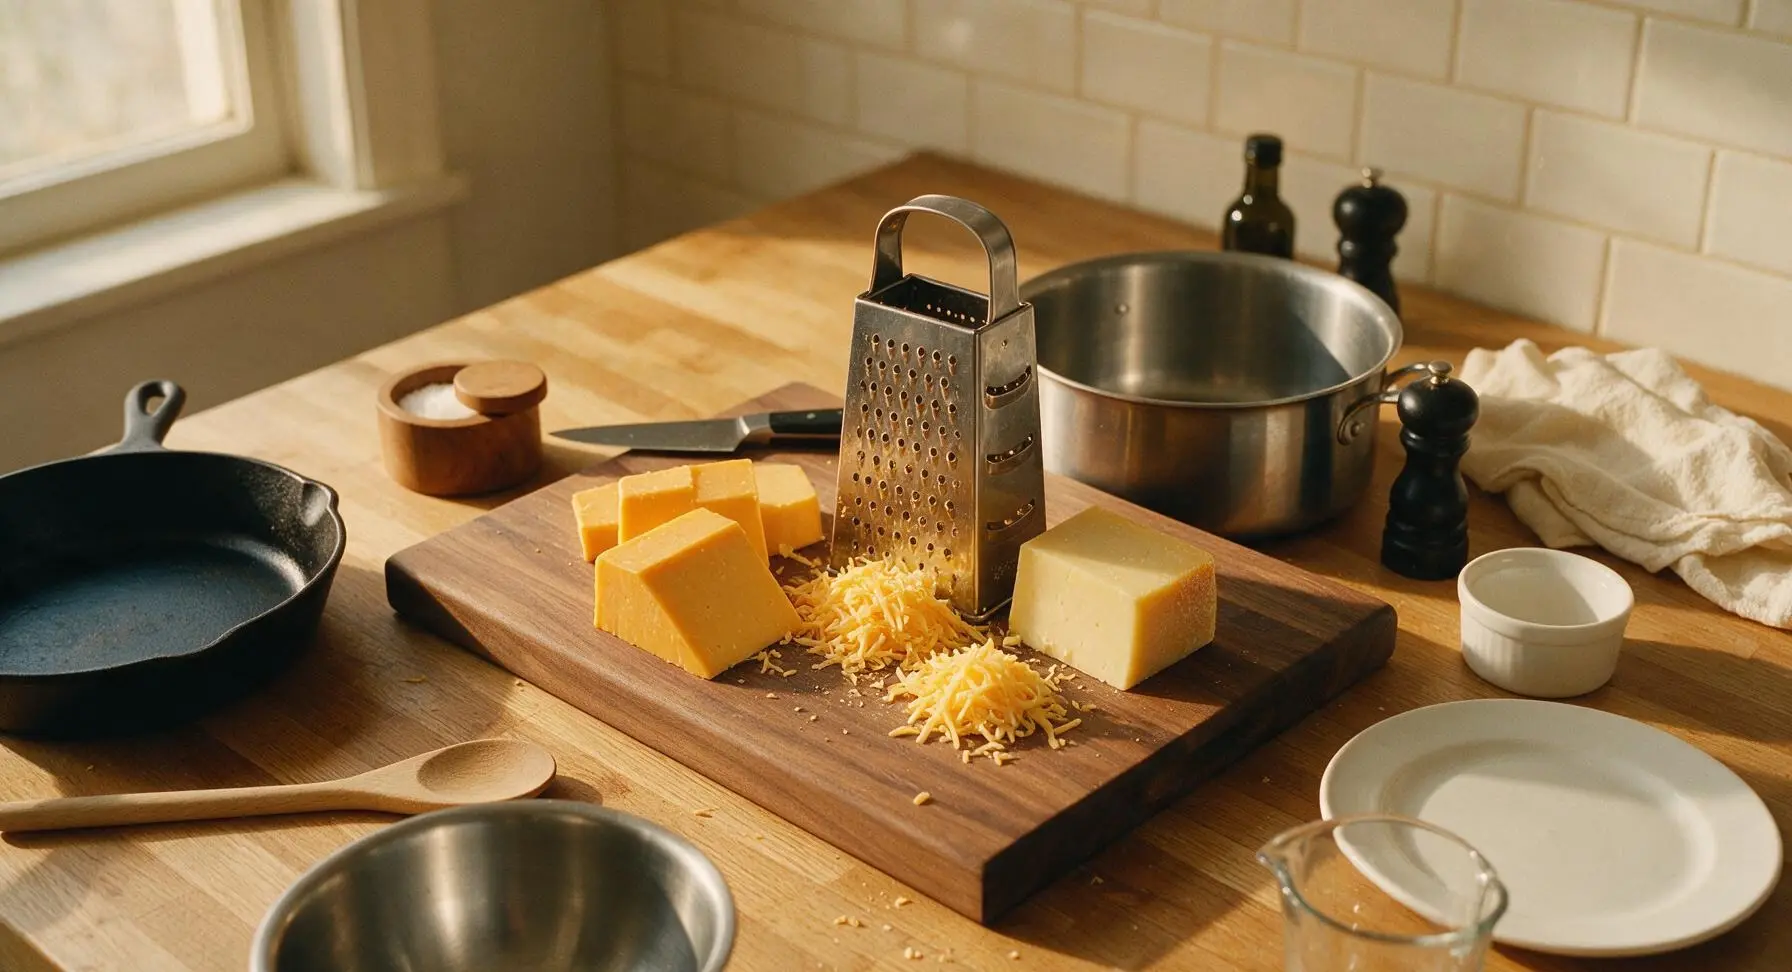
Place the beech wood cutting board on the central counter. Use the stainless steel box grater to shred both the sharp cheddar and Gruyere into separate loose piles on the board; set aside 2 tablespoons of the shredded cheddar to mix with the breadcrumb topping. Avoid pre-shredded cheese, as it contains anti-caking agents that create a grainy sauce. The finished shredded cheese should be light, fluffy, and free of large compact clumps.
Step 1
step1:Shred the block cheeses
2

Boil the pasta

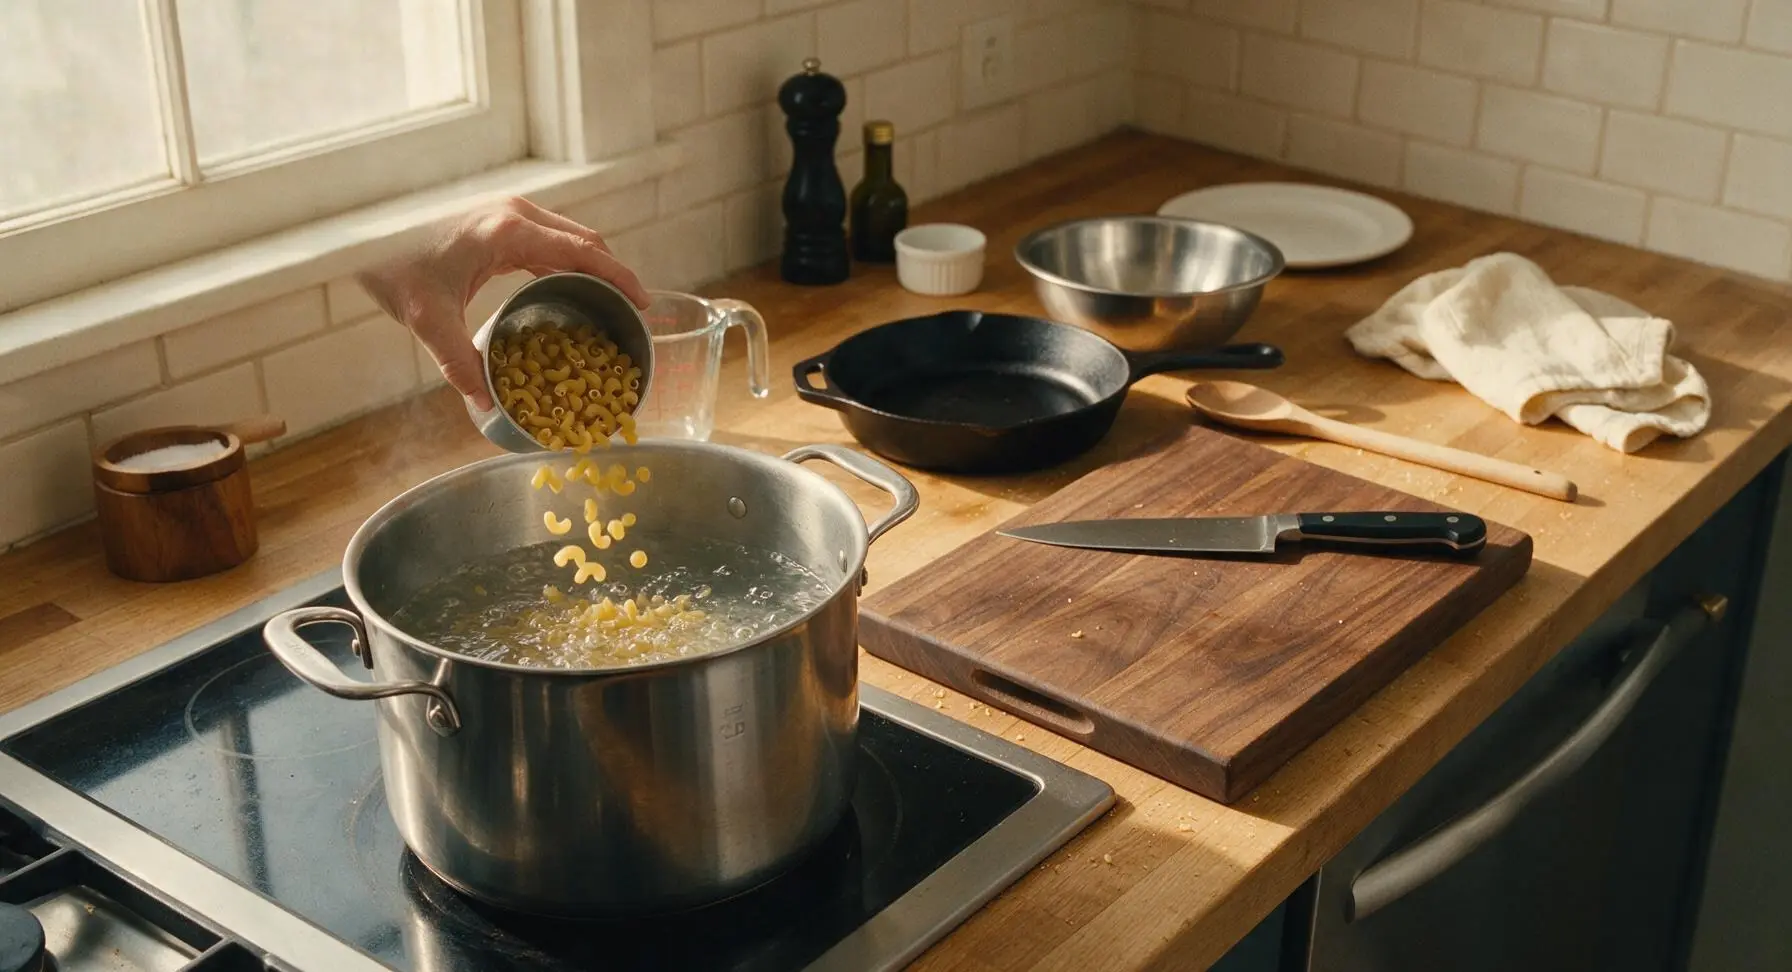
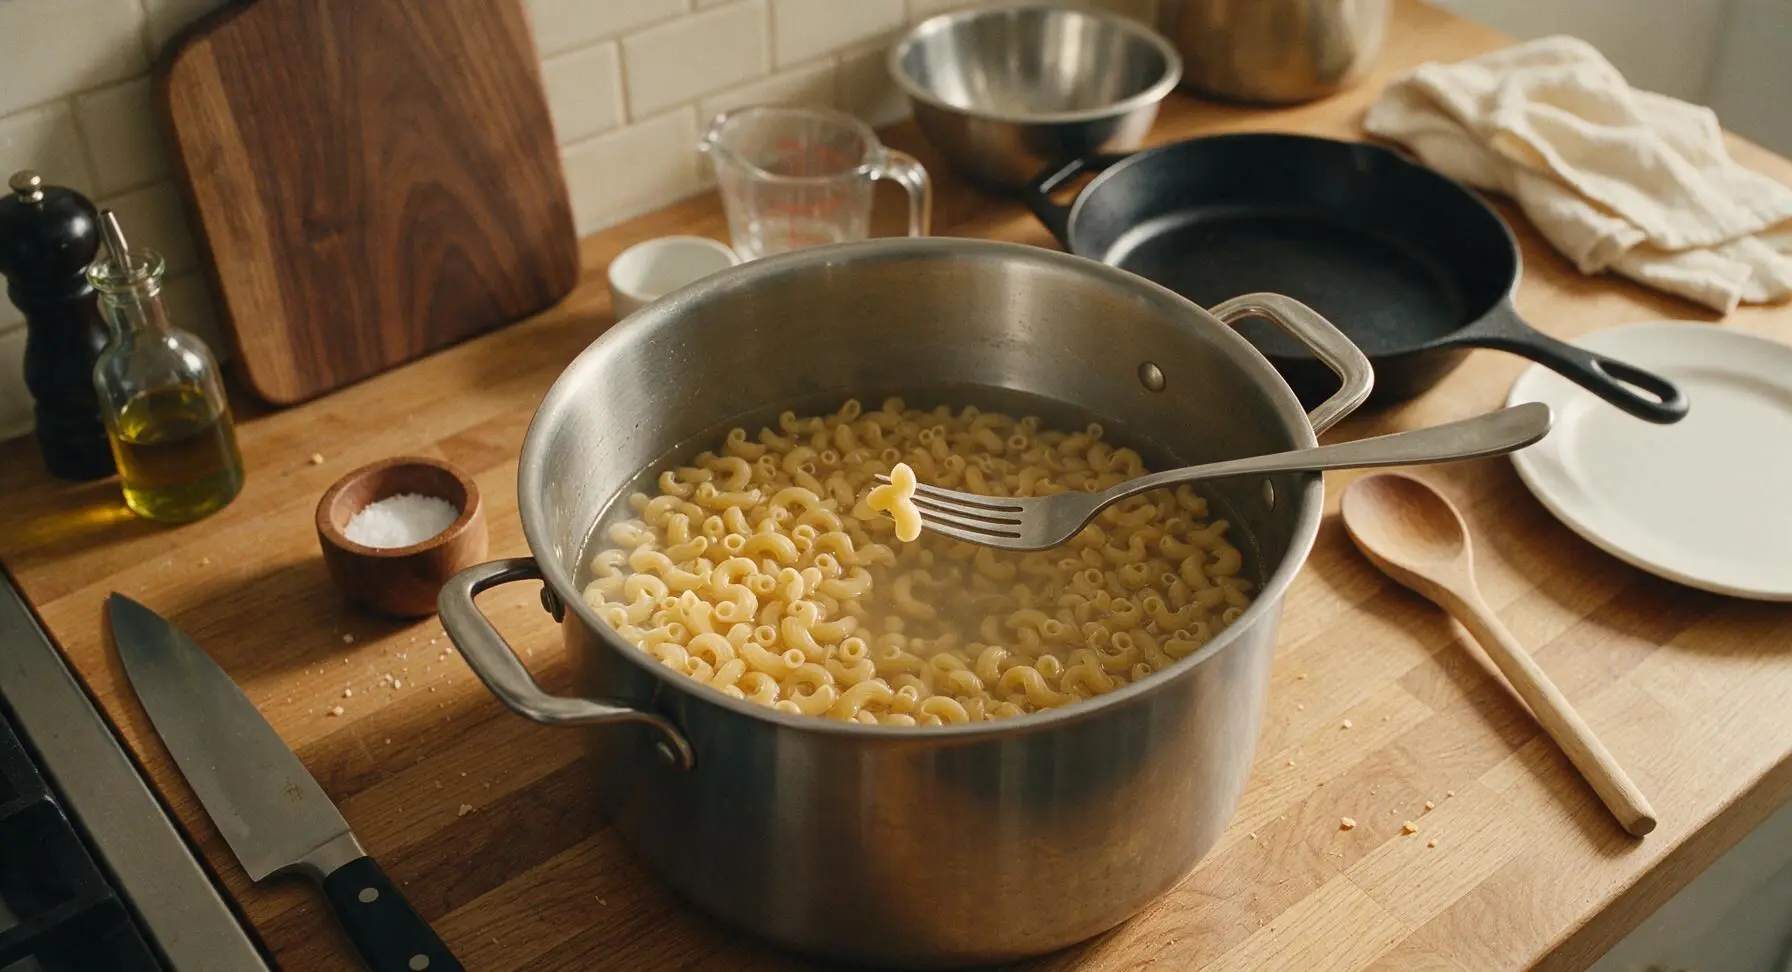
Fill the large 5L stainless steel stock pot with 4L of cold water, add 1 tablespoon of kosher salt (water should taste as salty as seawater), and bring to a rolling boil over high heat. Add the elbow macaroni and cook 2 minutes less than the package instructions for al dente (approximately 6 minutes total), as the pasta will finish cooking in the oven. Test a piece: it should be slightly firm at the center when bitten, with no raw white core.
Step 2
step2:Boil the pasta
Step 2
step2:Boil the pasta
3

Drain the cooked pasta

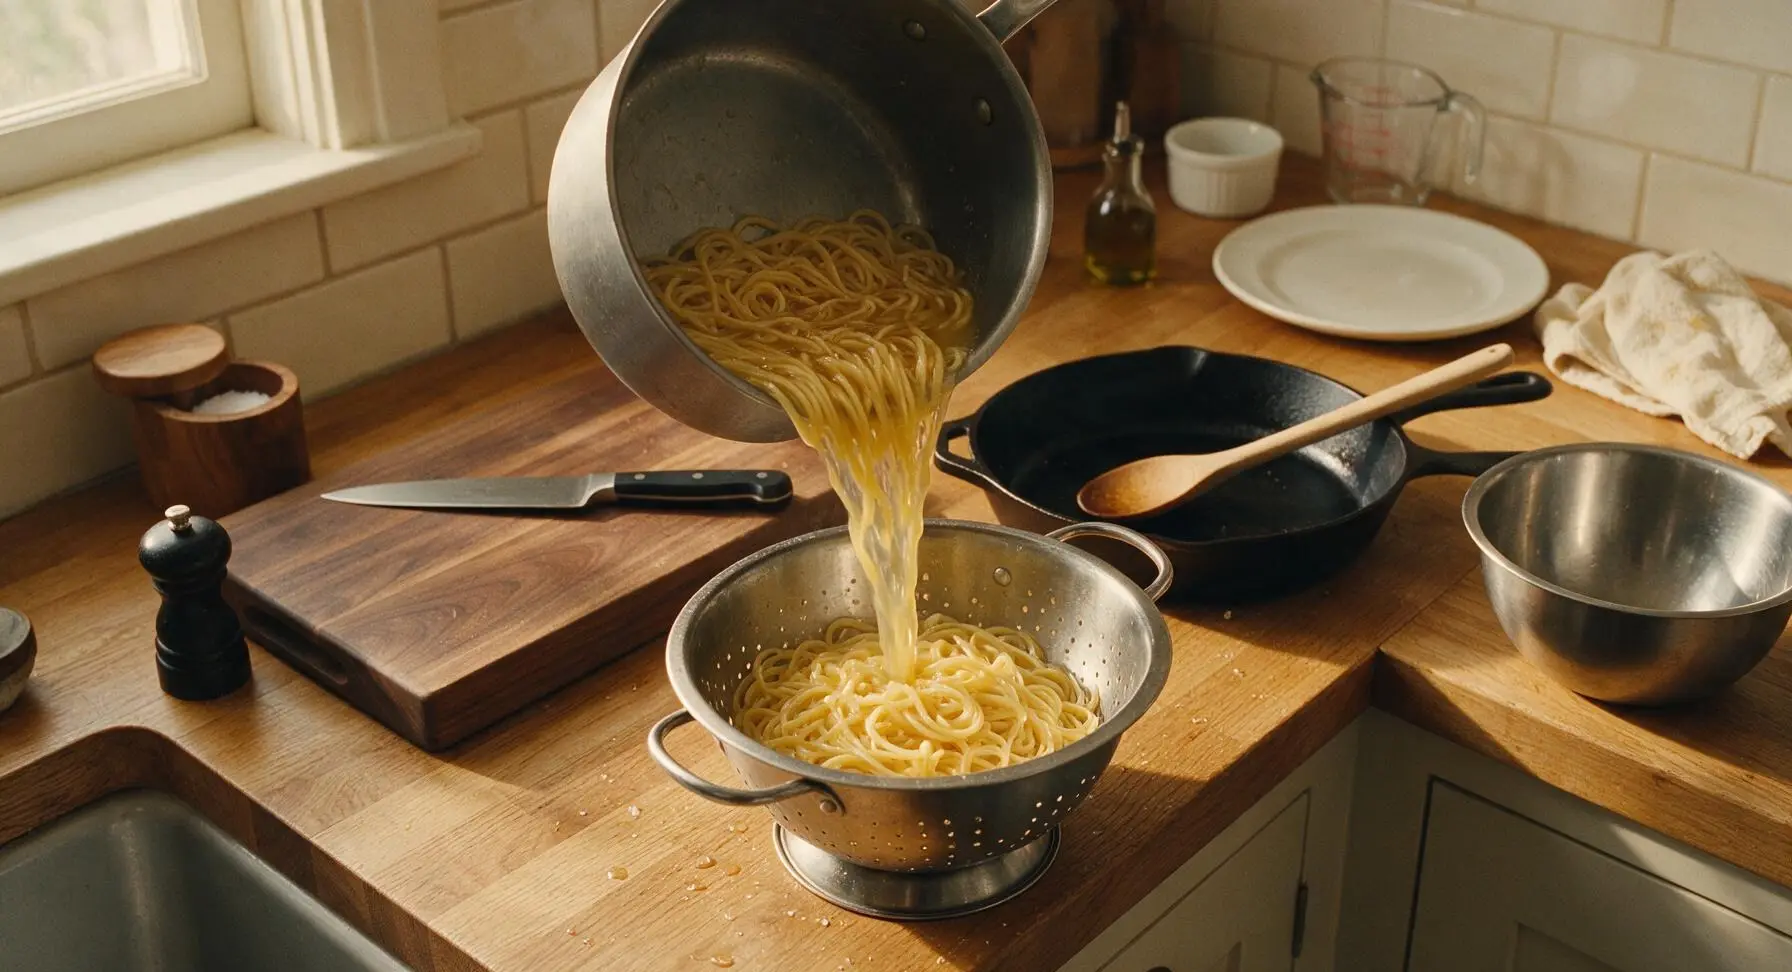
Place the stainless steel colander at the edge of the counter (sink side), pour the cooked pasta into the colander to drain fully. Do NOT rinse the pasta, as the starchy outer coating helps the cheese sauce adhere evenly to every noodle. Set the drained pasta aside while you prepare the cheese sauce.
Step 3
step3:Drain the cooked pasta
4

Cook the roux base

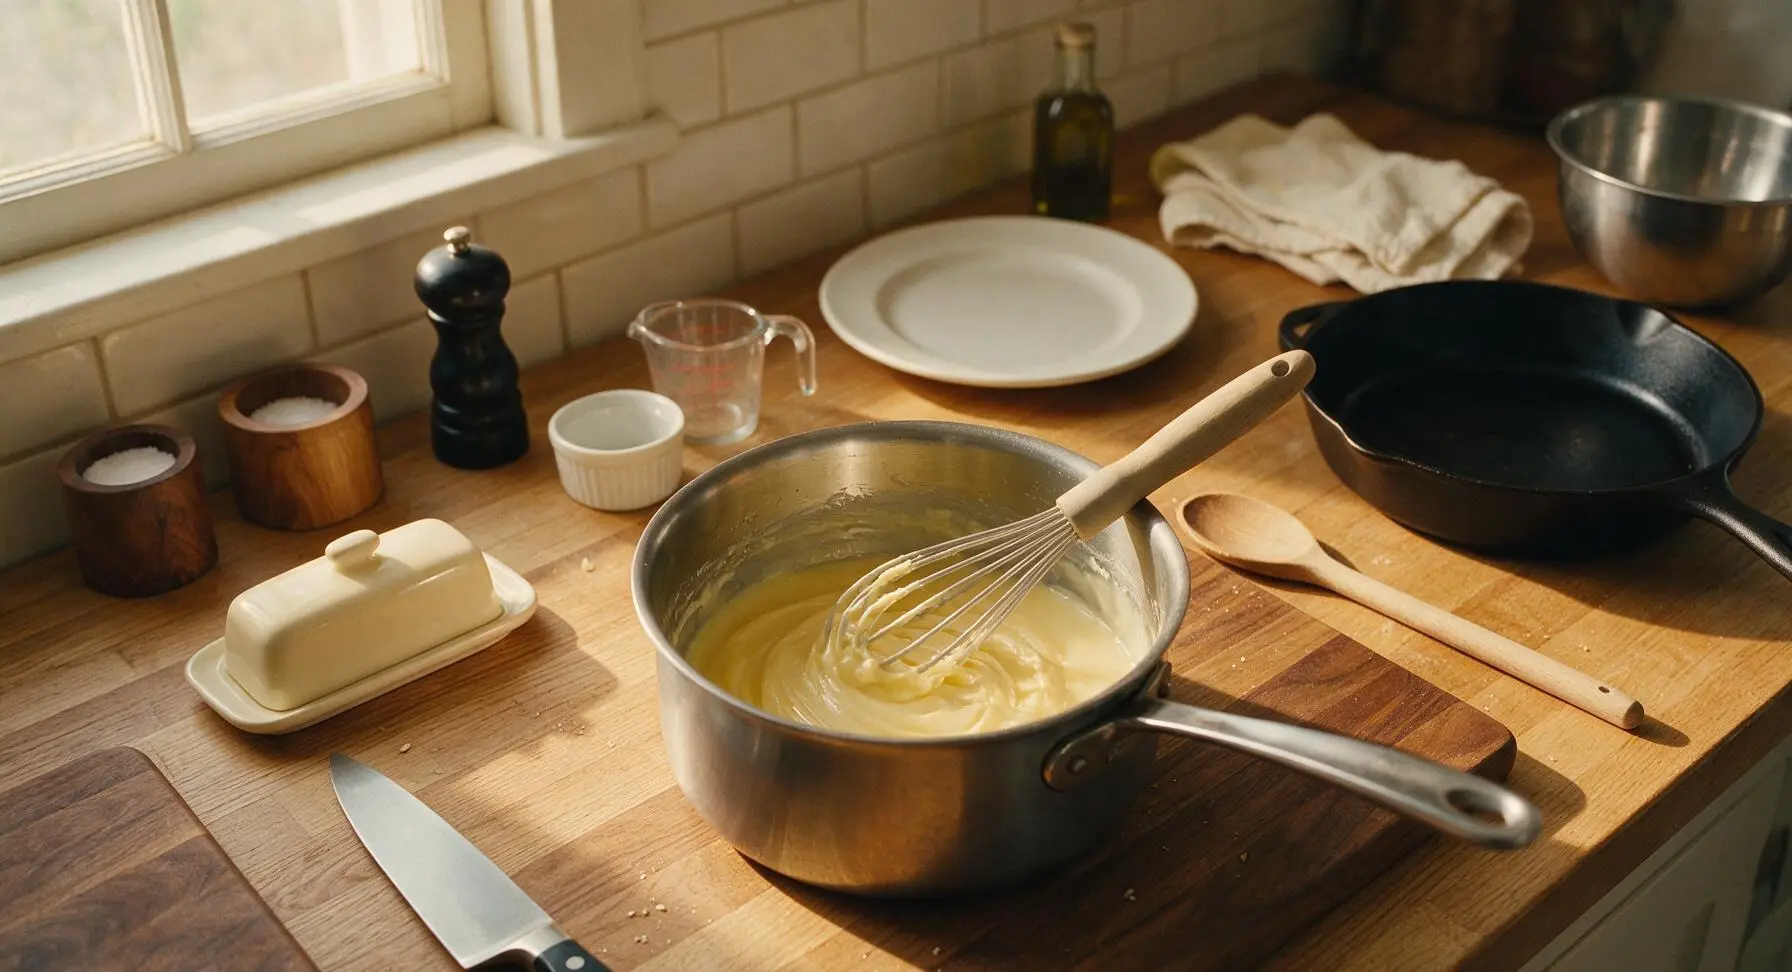
Place the 3L stainless steel saucepan over medium heat. Add 4 tablespoons of unsalted butter, and melt until foamy but not browned (about 2 minutes). Add the all-purpose flour, and whisk constantly with the silicone whisk for 2 minutes, until the mixture forms a smooth, pale golden paste that smells faintly of toasted wheat. Do not let the roux turn dark brown, as this will give the sauce a burnt, bitter flavor.
Step 4
step4:Cook the roux base
5

Make the cheese sauce

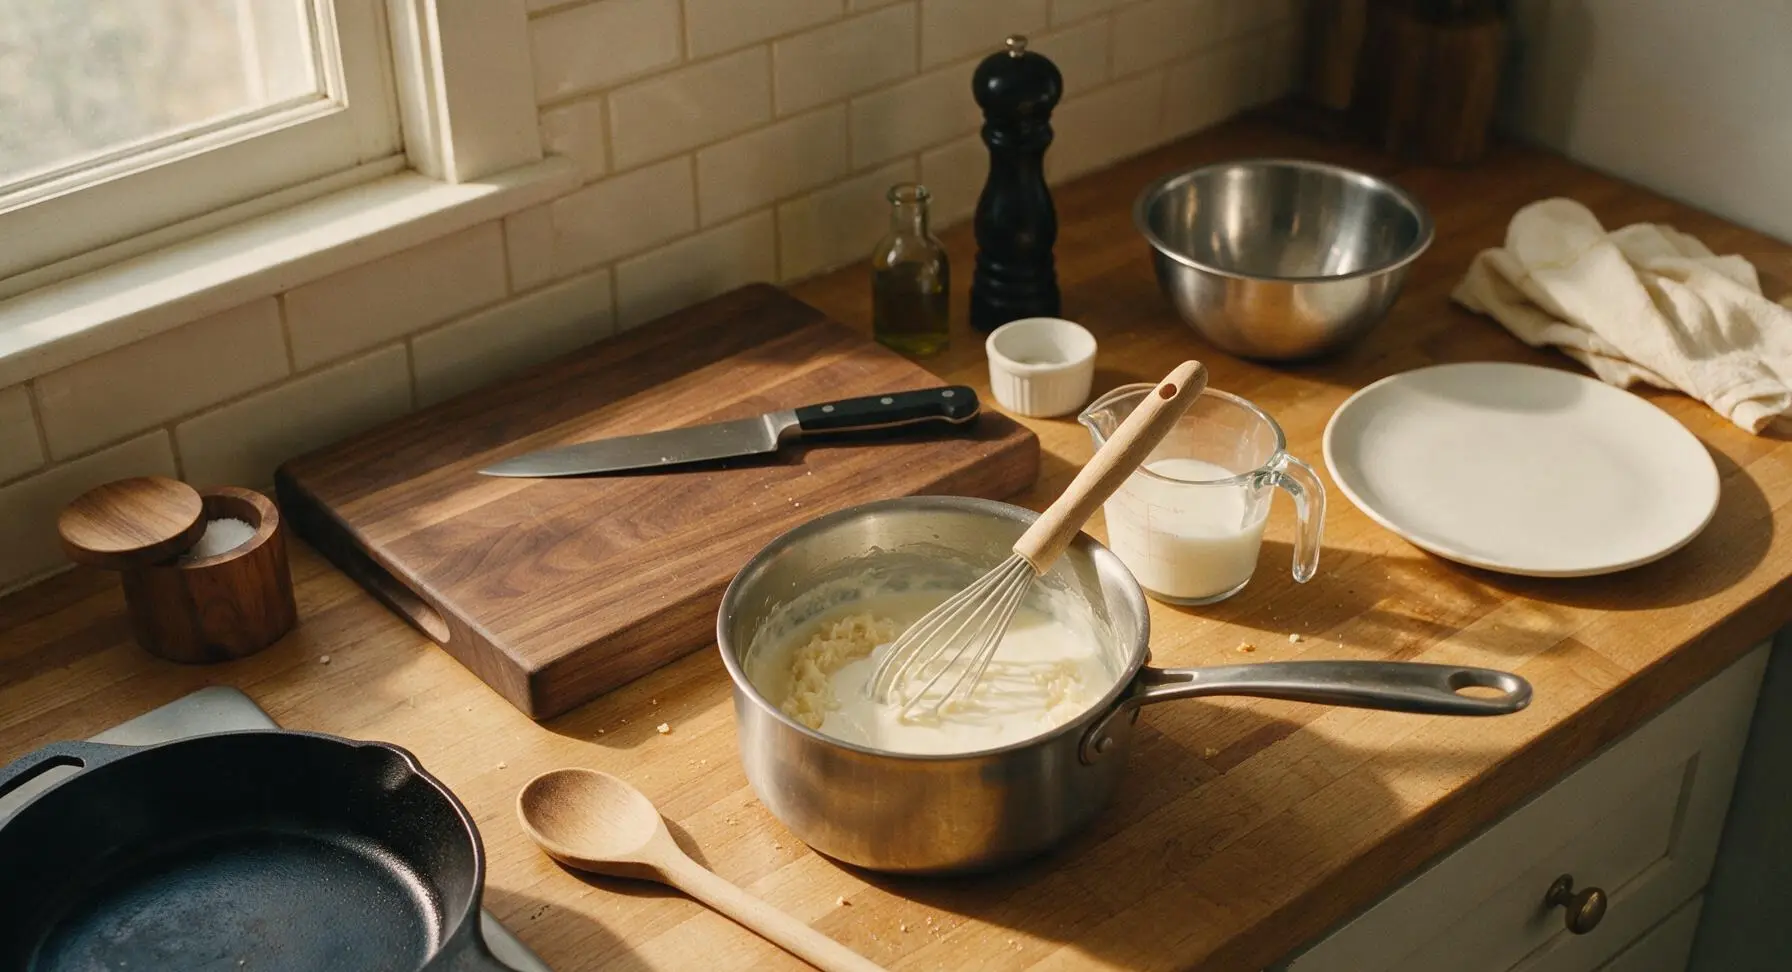
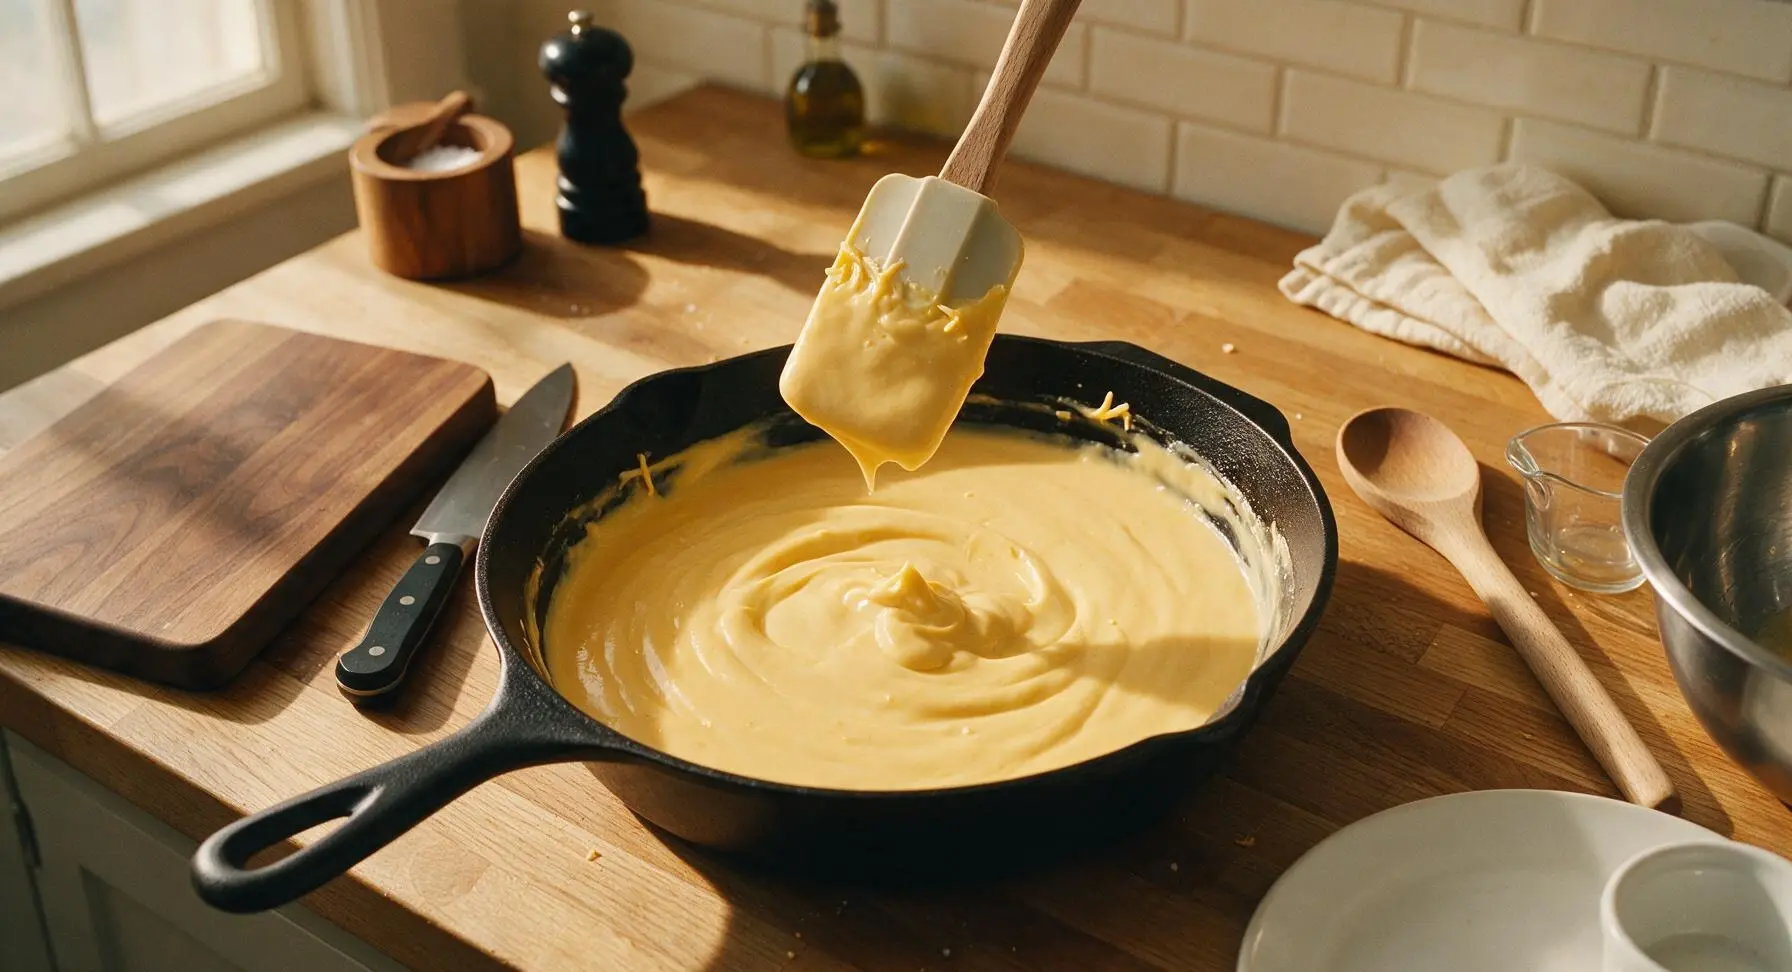
Slowly pour the whole milk into the roux, 1/4 cup at a time, whisking constantly to eliminate lumps. Once all milk is added, continue cooking for 3-4 minutes, whisking occasionally, until the sauce thickens enough to coat the back of a spoon (run your finger across the coated spoon; the line should hold without running). Remove the pan from heat, stir in Dijon mustard, garlic powder, nutmeg, kosher salt, and black pepper, then add ¾ of the shredded cheddar and all of the Gruyere, stirring with the silicone spatula until fully melted and smooth. The finished sauce will be thick, velvety, and completely free of lumps.
Step 5
step5:Make the cheese sauce
Step 5
step5:Make the cheese sauce
6

Combine pasta and sauce

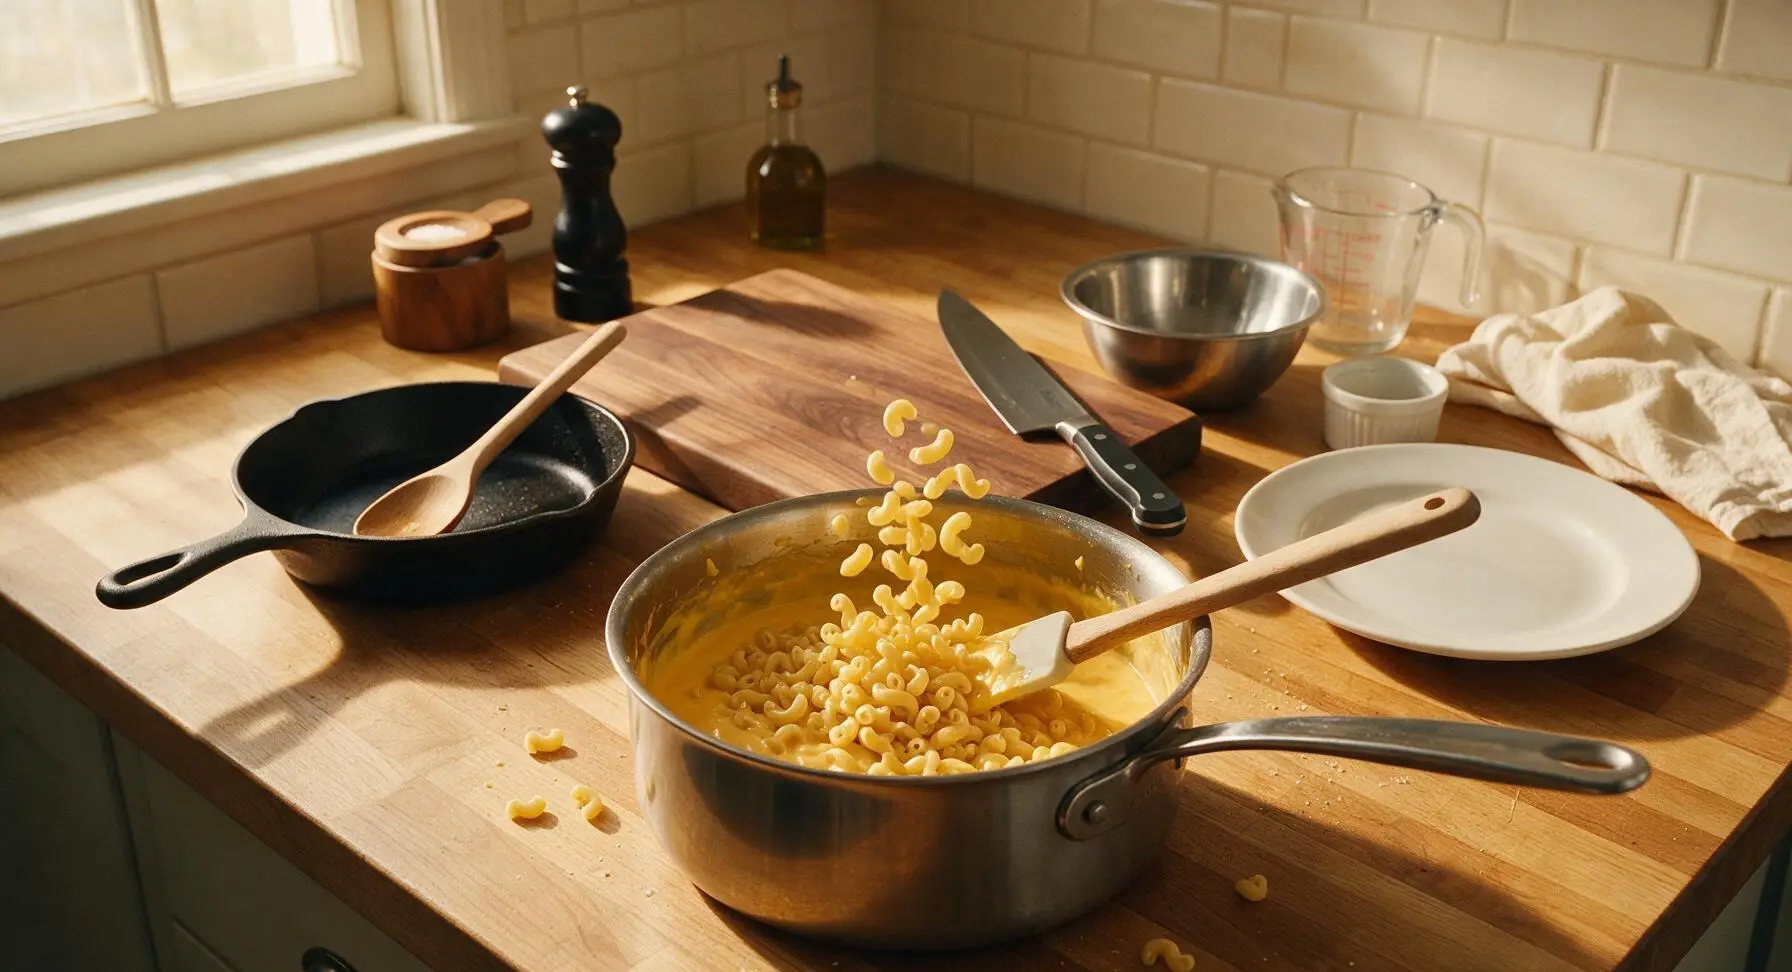
Pour the drained elbow macaroni into the saucepan with the cheese sauce, stirring gently with the silicone spatula until every pasta piece is evenly coated in the thick cheese sauce. Avoid over-stirring, which can break the pasta pieces and lead to a mushy final texture.
Step 6
step6:Combine pasta and sauce
7

Add breadcrumb topping

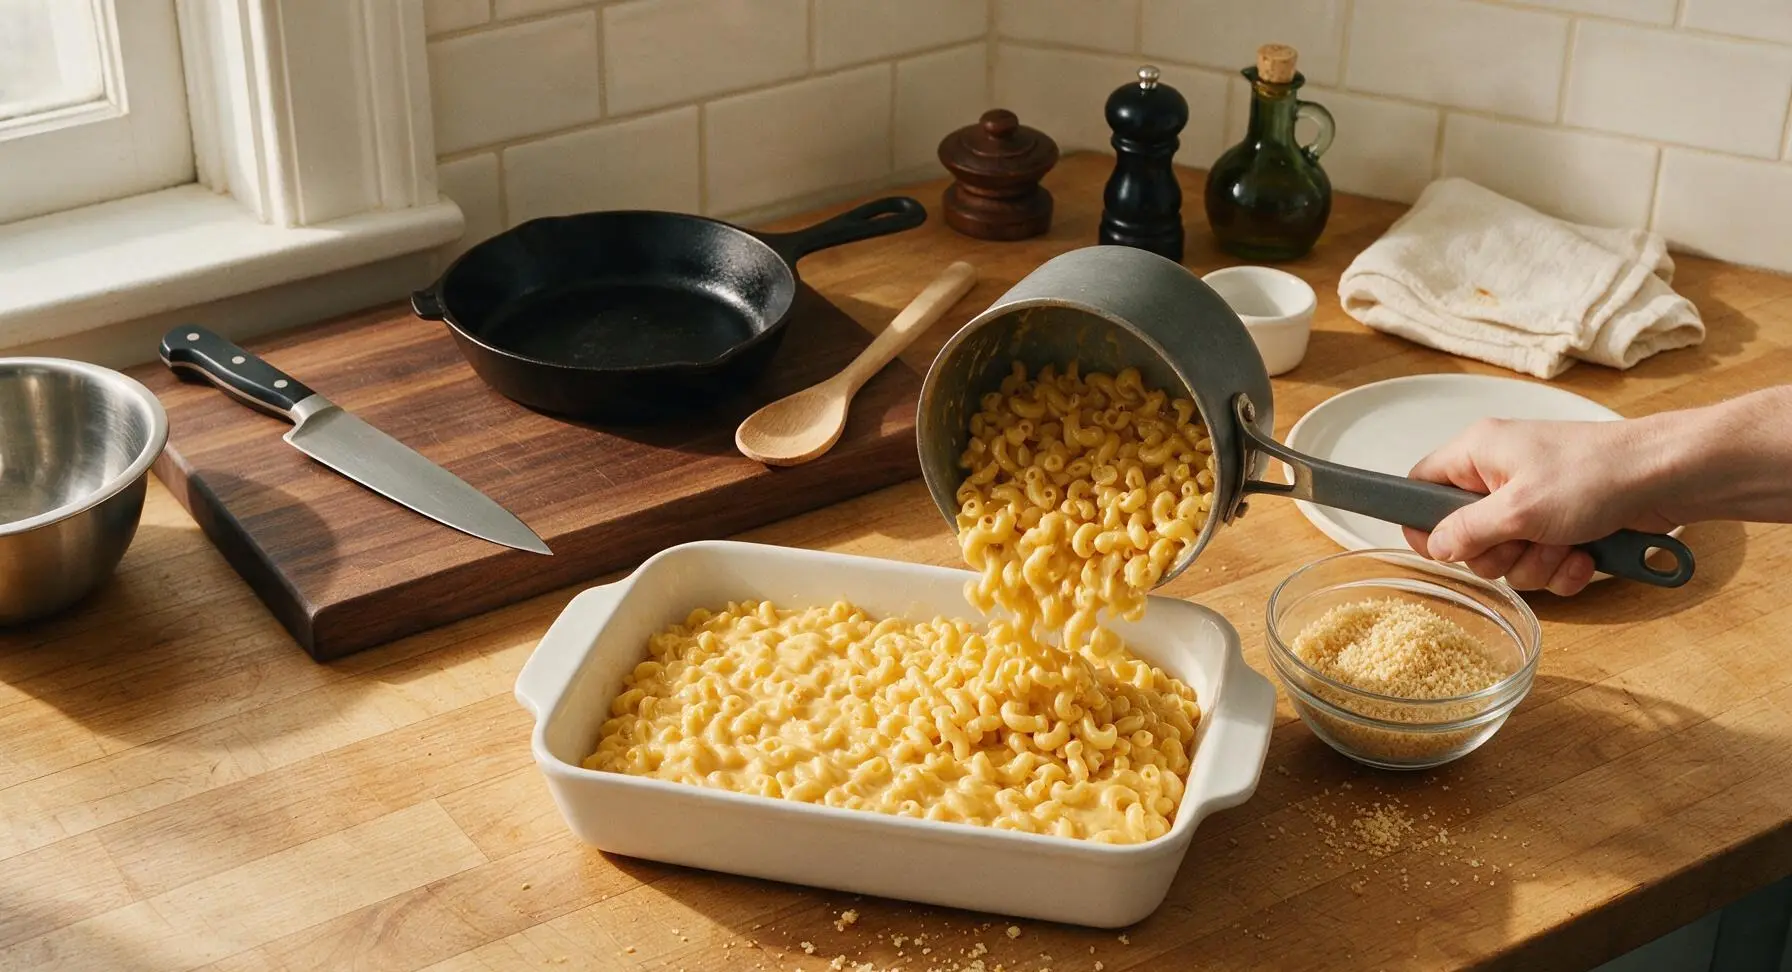
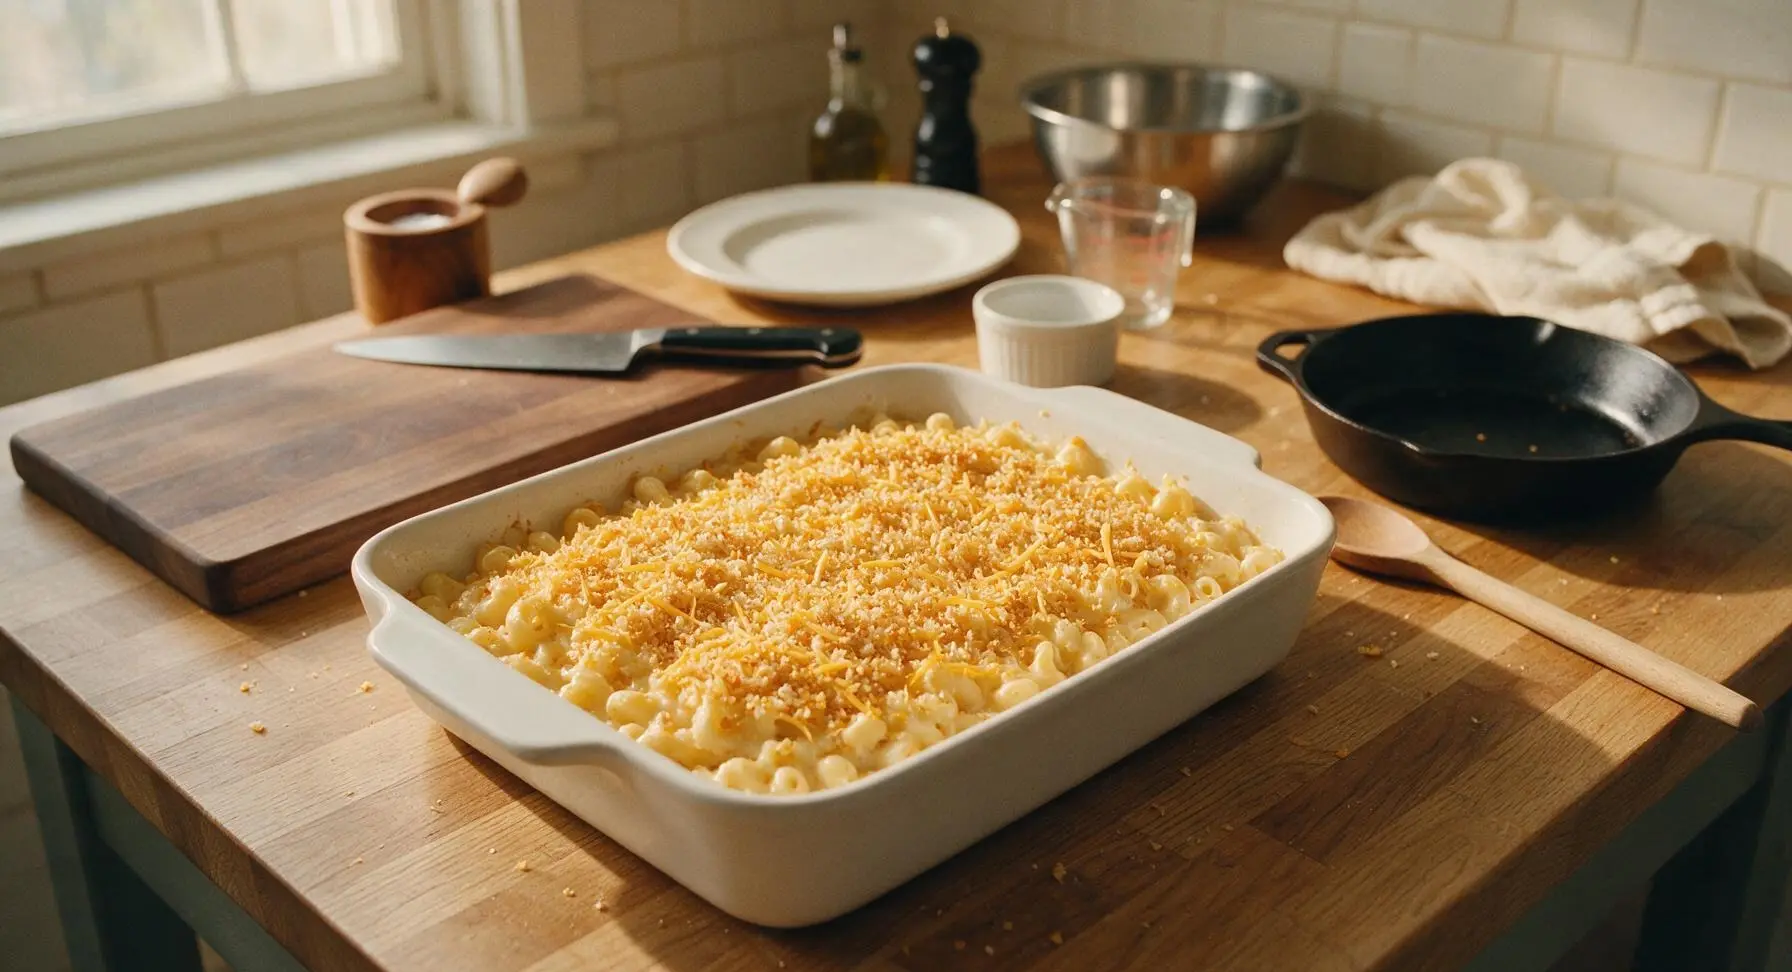
Pour the mac and cheese mixture into the 9x13 inch matte white ceramic baking dish, spreading it into an even layer with the spatula. In the small clear glass mixing bowl, combine panko breadcrumbs, the remaining 2 tablespoons of melted unsalted butter, and the reserved 2 tablespoons of shredded cheddar, tossing until crumbs are evenly coated in butter. Sprinkle the breadcrumb mixture evenly over the top of the mac and cheese, covering the entire surface in a thin, even layer without packing it down.
Step 7
step7:Add breadcrumb topping
Step 7
step7:Add breadcrumb topping
8

Bake until golden bubbly

Place the baking dish on the center rack of a preheated 190°C (375°F) oven. Bake for 25 minutes, until the sauce is actively bubbling around the edges of the dish, and the breadcrumb topping is deep golden brown and crisp. Let the mac and cheese rest for 5 minutes before serving, to allow the sauce to set slightly.
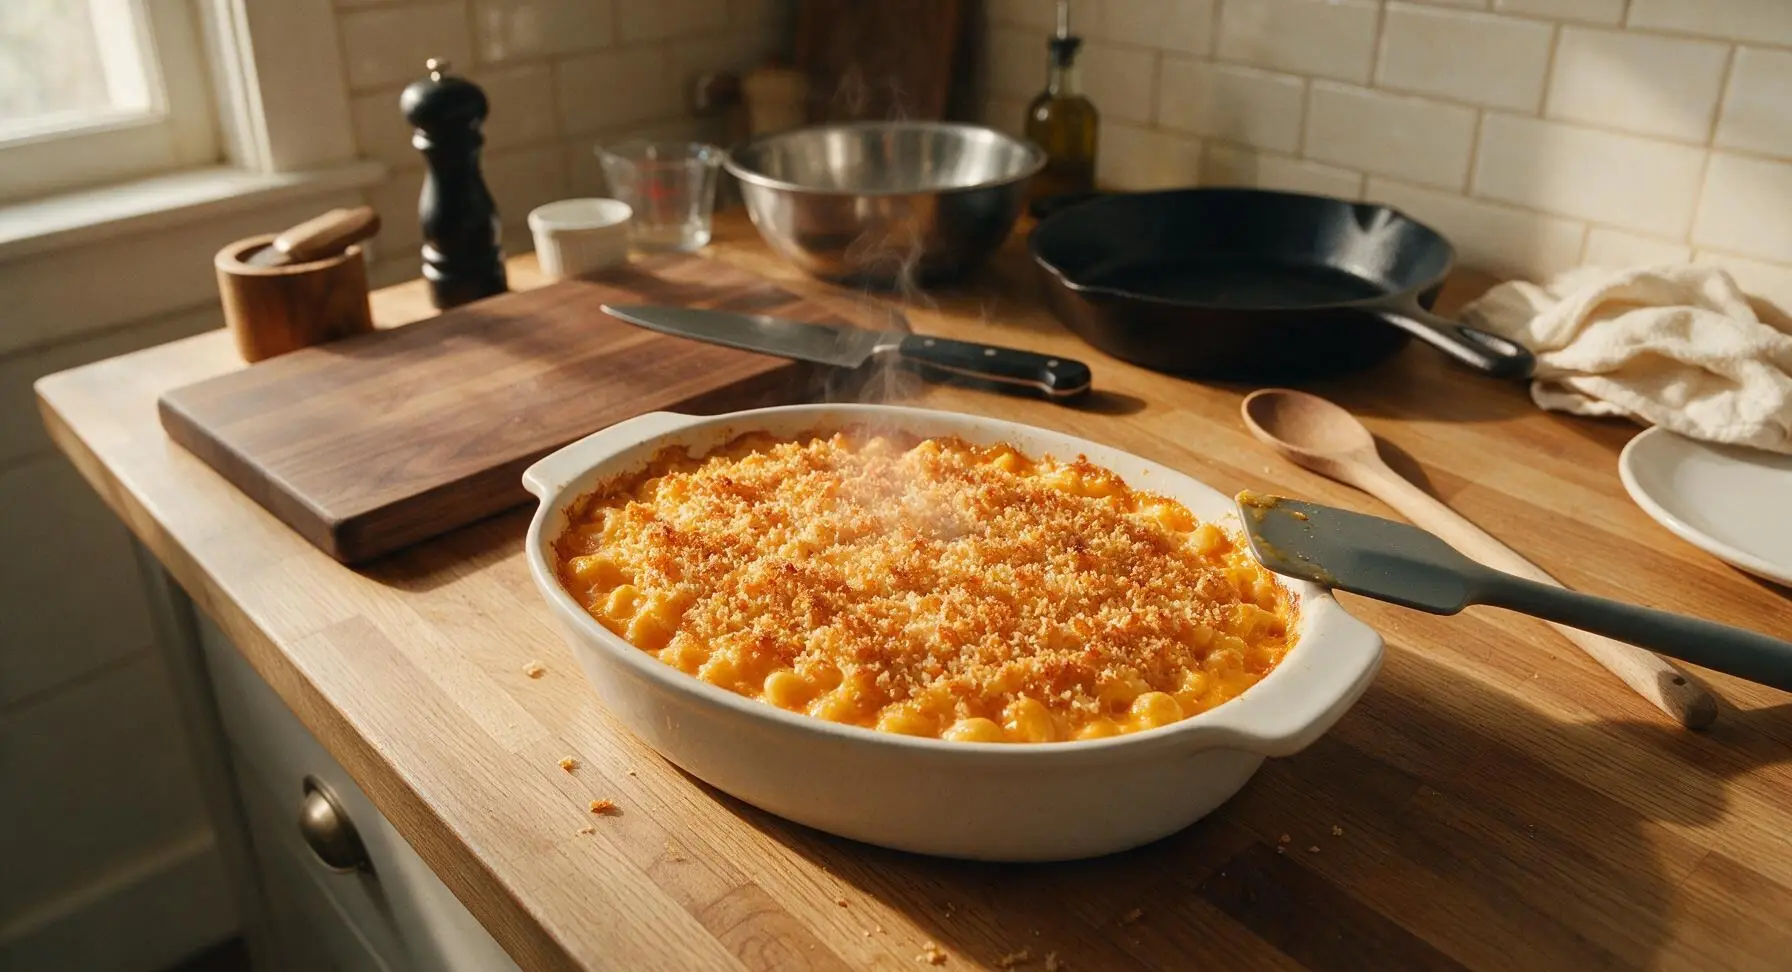
Step 8
step8:Bake until golden bubbly

Tips

1.Grate your own cheese instead of using pre-shredded store-bought cheese: pre-shredded cheese is coated in potato starch and natamycin to prevent clumping, which stops it from melting into a smooth, velvety sauce and can leave a gritty, powdery texture.
2.Cook pasta 2 minutes short of the package’s al dente recommendation before baking: the pasta will absorb liquid from the cheese sauce and continue cooking in the hot oven, and undercooking it prevents mushy, over-soft noodles in the final dish.
3.Let the baked mac and cheese rest for 5 full minutes after pulling it from the oven: this rest time lets the hot cheese sauce thicken and set, so it doesn’t run all over the plate when you serve it, and gives the breadcrumb topping time to crisp fully as it cools slightly.


✨ You May Also Like

Main Course
🍜 United Kingdom

A showstopping classic of tender seared beef, savory mushroom duxelles, and crisp prosciutto wrapped in flaky golden puff pastry, baked to juicy perfection.

⏱️ 2 hours 1Main Course ★ 4.7
Main Course
🍜 India

Tender charred marinated chicken simmered in a rich, spiced creamy tomato sauce, this iconic Anglo-Indian curry pairs perfectly with basmati rice or warm naan.

⏱️ 50 minuteMain Course ★ 4.6
Main Course
🍜 Thailand

Classic tangy, sweet, and savory Thai stir-fried rice noodles with shrimp, tofu, and crunchy garnishes, balancing all five core Thai flavor profiles.

⏱️ 30 minuteMain Course ★ 4.5
Main Course
🍜 United Kingdom

Crispy golden beer-battered cod and fluffy double-fried chips, served with tangy tartar sauce and malt vinegar: the timeless, beloved British pub comfort classic.

⏱️ 45 minuteMain Course ★ 4.7
Main Course
🍜 Mexico

Smoky, chile-marinated pork tacos with caramelized pineapple, fresh cilantro, and lime: a beloved classic Mexican street food perfect for casual summer gatherings.

⏱️ 1 hour 45Main Course ★ 4.8
Main Course
🍜 United States

Crunchy Fritos corn chips layered with savory beef chili and melted cheddar, topped with cool, zesty fixings for a beloved, cozy Tex-Mex comfort food.

⏱️ 35 minuteMain Course ★ 4.8

Baked Mac and Cheese with Breadcrumbs:Frequently Asked Questions

1.Why do you recommend using block cheese instead of pre-shredded for this recipe? ▾
Pre-shredded cheese is coated in potato starch or anti-caking agents to prevent clumping in the bag, which makes your finished cheese sauce grainy and less melty. Grating your own sharp cheddar and Gruyere from blocks gives you that silky, smooth sauce texture that coats every noodle perfectly, with brighter, fresher cheese flavor too.
2.Can I use a different pasta shape if I don’t have elbow macaroni? ▾
Absolutely! Elbows are classic because their ridges and hollow centers catch cheese sauce perfectly, but small, sturdy shapes like cavatappi, rotini, small shells, or campanelle work great. Just avoid super delicate shapes like angel hair that will turn mushy during baking, and always cook pasta to al dente before mixing with sauce.
3.How do I keep my baked mac and cheese from turning out dry? ▾
The biggest culprits of dry mac and cheese are overcooked pasta and insufficient sauce. Cook your elbows 2 minutes shy of the package’s al dente direction so they don’t turn mushy as they bake, don’t skimp on the creamy cheese sauce, and cover the dish with foil for the first 20 minutes of baking to lock in steam and moisture.
4.Why does my cheese sauce sometimes come out grainy instead of smooth? ▾
Grainy sauce almost always comes from overheating the cheese, or adding it too quickly. Once you’ve made your butter-flour roux and warmed your milk, take the pan off the heat before stirring in grated cheese in small handfuls, stirring constantly. Never let the sauce boil after adding cheese, as high heat will make cheese proteins curdle.
5.Can I make this mac and cheese ahead of time for a gathering? ▾
Totally! Assemble the sauced pasta in your baking dish (hold off on the buttered breadcrumb topping until right before baking) and cover tightly in the fridge for up to 2 days. When ready to bake, add the breadcrumbs, tack 10–15 minutes onto the bake time to account for the cold dish, and cook until bubbly around the edges.
6.What’s the best bread to use for the breadcrumb topping? ▾
Stale, crusty white bread like sourdough or a hearty plain sandwich loaf makes the best textured crumbs. Skip ultra-soft, preservative-heavy white bread that turns soggy, or very dense whole-grain bread that gets rock-hard when baked. Tear bread into coarse, uneven crumbs instead of grinding fine for those perfect craggy, crispy golden bits.
7.Can I use store-bought breadcrumbs instead of making my own? ▾
You can, but opt for plain panko breadcrumbs instead of fine dried Italian-style breadcrumbs for the best crunch. Toss panko with melted butter before sprinkling over the top, and add a tiny pinch of salt and garlic powder if you want extra flavor. Avoid seasoned breadcrumbs, which have added herbs that throw off the dish’s balanced flavor.
8.Do I have to use Gruyere, or can I swap it for another cheese? ▾
Gruyere adds a nutty, ultra-melty contrast to tangy sharp cheddar, but you can absolutely swap it if you don’t have it on hand. Great substitutes are fontina, low-moisture mozzarella, or smoked gouda for a cozy, smoky twist. Just skip crumbly cheeses like feta or ultra-soft brie, which won’t melt into a smooth, silky sauce.
9.How do I get that perfectly golden, not burnt, breadcrumb top? ▾
Toss your crumbs fully in melted butter so every piece is lightly coated, which helps them brown evenly instead of scorching in dry spots. If you notice the crumbs turning deep golden before the center of the mac is hot and bubbly, tent a loose piece of foil over the dish for the remaining bake time to block harsh direct top heat.
10.Why is my roux not thickening properly for the cheese sauce? ▾
First, stick to equal parts butter and flour (measuring by weight is most accurate) for a balanced roux. Cook the butter-flour mixture for 2–3 minutes over medium heat to cook out raw flour taste, then whisk in warm (not ice cold) milk slowly to avoid lumps, and simmer until the sauce thickens enough to coat the back of a spoon.
11.Can I add mix-ins like bacon or veggies to this recipe? ▾
Absolutely! Crispy crumbled bacon, sautéed caramelized onions, roasted drained broccoli, diced ham, or sliced pickled jalapeños all make fantastic additions. Just make sure any produce add-ins are well-patted dry or drained so they don’t leach extra water and thin out your rich cheese sauce, then stir them in right before baking.
12.Should I rinse my pasta after cooking it for baked mac and cheese? ▾
Skip rinsing your pasta entirely! The light starchy coating on cooked elbows helps the thick cheese sauce cling tightly to every noodle, instead of sliding off. Rinsing washes that useful starch away, leading to slippery noodles and sauce that pools at the bottom of the dish instead of evenly coating every bite.
13.How do I reheat leftover baked mac and cheese without it getting greasy? ▾
The best way to reheat leftovers is in a 350°F oven, covered loosely with foil, for 15–20 minutes until heated through, adding a tiny splash of whole milk to each portion to loosen the sauce back up. If you’re short on time, reheat in the microwave in 30-second bursts, stirring between rounds, with a splash of milk to prevent separated, greasy cheese.
14.What oven rack position should I use for baking this dish? ▾
Bake your mac and cheese on the middle oven rack for even, consistent heat circulation that cooks the center through without burning the edges. If you want extra-crispy breadcrumbs, move the dish to the top rack for the last 2–3 minutes of baking, but watch it closely—crumbs can scorch in under a minute under direct top heat.
15.Why does my mac and cheese sometimes come out bland? ▾
Bland mac and cheese almost always comes from skipping seasoning at every step of the recipe. Salt your pasta water heavily (it should taste as salty as seawater), add a pinch of dry mustard, black pepper, and tiny dash of nutmeg to your roux, and taste the cheese sauce before mixing in pasta to adjust salt levels instead of only seasoning at the end.
16.Can I make this recipe without dairy for a vegan version? ▾
You can absolutely adapt it for a dairy-free diet! Swap dairy butter for vegan block butter, use unsweetened plain oat milk for the creamiest non-dairy roux base, and grate meltable vegan block cheddar and Swiss-style cheese (skip pre-shredded vegan cheese with anti-caking agents) for the sauce, plus vegan butter for the breadcrumb coating.
17.How do I prevent the edges of my mac and cheese from getting too crusty? ▾
Overbaking is the number one cause of tough, rock-hard crusty edges. Pull the dish as soon as the sauce is actively bubbling around the edges and the breadcrumbs are deep golden, which usually takes 25–30 minutes at 375°F. Grease your baking dish well with softened butter before adding pasta too, to prevent sticking and drying along the sides.
18.Is it normal for the sauce to look thin right before I put it in the oven? ▾
That’s totally normal! The sauce will continue to thicken as it bakes, and the pasta will absorb a small amount of sauce as it cooks to reach that perfect velvety consistency. If your sauce is as thin as plain milk, you may have undercooked your roux, but a loose, easily pourable sauce is exactly what you want going into the oven to avoid dry, clumpy mac.

Comments (15)

2 days ago

OMG this baked mac and cheese was an absolute hit at my kid’s soccer team potluck last night! The crispy breadcrumb topping is chef’s kiss, even the pickiest 7 year old came back for seconds. Cook time was exactly 35 minutes too, so easy to throw together after practice. 10/10 will make again!

1 day ago

So glad it was a hit at the potluck, Liz! Love that the team loved the crispy breadcrumb topping – that’s my favorite part too!

1 week ago

Game changer! I usually make stovetop mac because I thought baked was too much work, but this was so easy? I added a little crumbled bacon on top with the breadcrumbs and it slapped. Whole family was raving at Sunday dinner.

5 days ago

Wait the bacon addition sounds insane! Did you use regular breadcrumbs or panko? Thinking of making this for my boyfriend’s birthday dinner this weekend.

4 days ago

I used plain panko for extra crunch! Tossed it in a little melted butter before sprinkling, highly recommend. Your boyfriend is gonna love it!

3 days ago

SO good, and so easy even I can’t mess it up! I’m a total beginner living in the dorms with just a tiny toaster oven, and this came out perfectly. Meal prepped 4 servings for the week and my roommate keeps begging for a bite. Worth every penny of the cheap cheese I bought lmao

2 weeks ago

This recipe is almost as good as my mom’s old baked mac! I did use extra sharp cheddar like I always do, and the breadcrumb topping added that perfect crunch I was missing from my usual recipe. My grandkids devoured half the pan in 10 minutes flat.

1 week ago

Love that this reminds you of your mom’s recipe, Maggie! Extra sharp cheddar is such a great swap for deeper cheese flavor – I’ll have to try that next time I make it!

yesterday

Took a chance on this for our weekly family dinner because my 4 year old refuses to eat anything that isn’t shaped like a nugget, and guess what? He ate three servings. Three! Only note is I wish I’d made a double batch because there were zero leftovers.

2 hours ago

Oh my gosh same! My kids only eat chicken nuggets and goldfish half the time, I need to test this on them. Did you use the regular elbow pasta or swap for something fun like shapes?

30 minutes ago

Just used regular elbows, but fun shapes would be chef’s kiss! Definitely double the recipe if you’ve got three kids, you’ll need every bite.

5 days ago

Solid weeknight recipe. Cooks fast, reheats like a dream, and the breadcrumb topping doesn’t get soggy even after 3 days in the fridge. I added a pinch of paprika to the cheese sauce for a little kick, would recommend. Great for meal prep Sundays!

30 minutes ago

Brought this to my office potluck today and people were literally scraping the pan. Got three people asking for the recipe before I even left the break room! The breadcrumb topping is so much better than the fried onion topping I usually use. So easy too, no fancy ingredients needed.

5 minutes ago

Wait you brought this today? I was the one who took the last serving lmao it was SO good, I’ve been scrolling recipes all afternoon trying to find which one you used! Saving this now.

3 days ago

I swapped the regular pasta for gluten free elbows and used gluten free panko for the topping, and this still came out perfect! I was worried the sauce would be grainy or the breadcrumbs wouldn’t crisp up, but it was flawless. My non-gluten-free husband didn’t even notice a difference.

2 days ago

So happy the gluten free swaps worked out for you, Gabi! That’s such a helpful tip for other GF folks looking to make this – thanks for sharing!

1 day ago

This is exactly what I needed to see! I’ve been scared to try baked mac since going GF, I’m making this for date night tomorrow. Did you use a specific GF cheese sauce thickener or just follow the recipe?

2 hours ago

Made this last night with whatever cheese I had lying around in my mini fridge – some leftover cheddar, a little mozzarella stick, even a slice of American – and it still banged. Way better than the boxed stuff I usually live off of, and it only took 35 minutes like it said. No fancy equipment needed either.

30 minutes ago

Love the scrappy cheese combo! The best mac and cheese always uses what you have on hand, honestly. Glad it was a step up from the boxed stuff for you!

1 week ago

This is the perfect weeknight comfort food! I added a tiny dash of nutmeg to the cheese sauce like my grandma taught me, and the buttery breadcrumb topping balanced the richness so well. Served it with some roasted broccoli and my whole family cleaned their plates. Will be in our regular rotation for sure!

2 hours ago

Wait, I’ve never baked anything in my life besides frozen pizza, and I was able to pull this off? It was SO cheesy, the breadcrumbs were crispy, I didn’t burn a single thing. My roommate thought I ordered takeout lmao. 10/10 for beginner cooks like me!

1 hour ago

Welcome to the home cooking club! This recipe is such a great starting point, once you nail this you can start experimenting with add-ins like hot sauce or pulled pork. So proud of you!

30 minutes ago

This makes us so happy to hear! This recipe was designed to be super approachable for new cooks, so we’re thrilled it turned out so well for you (and that your roommate was impressed)!

5 days ago

Pro tip: drizzle a little hot honey over the top after it comes out of the oven. The sweet heat with the cheesy pasta and crispy breadcrumbs? Unreal. I’ve made this three times in the last two weeks, no regrets.

3 days ago

Hot honey?! Why have I never thought of that? I put hot sauce on everything, this is going to be a game changer for my next batch. Thanks for the tip!

2 days ago

I was looking for a quick, no-fuss dinner for my kid’s sleepover and this hit the spot. 35 minutes total cook time, minimal cleanup, and a crew of 5 10-year-olds all said it was the best mac and cheese they’d ever had. Better than the restaurant version we usually get for special occasions, honestly.

1 week ago

Great flavor, super easy to make! The only thing I’d adjust is maybe broiling the top for 1-2 minutes at the end to get the breadcrumbs extra crispy, mine were a little softer than I wanted even after baking the full time. Otherwise the cheese sauce was perfectly creamy, no clumps at all!

6 days ago

Thanks for the honest feedback, Charlie! The broiling tip is a great call for extra crispy breadcrumbs – I’ll add that note to the recipe tips section for other folks who love that extra crunch!

yesterday

Made this for our football watch party yesterday and it was gone before halftime. The creamy cheese and crispy breadcrumb topping is the perfect comfort food for yelling at the TV with your friends. I mixed in a little diced jalapeño for a subtle kick and people went crazy for it. Will be making this every game day from now on!



