
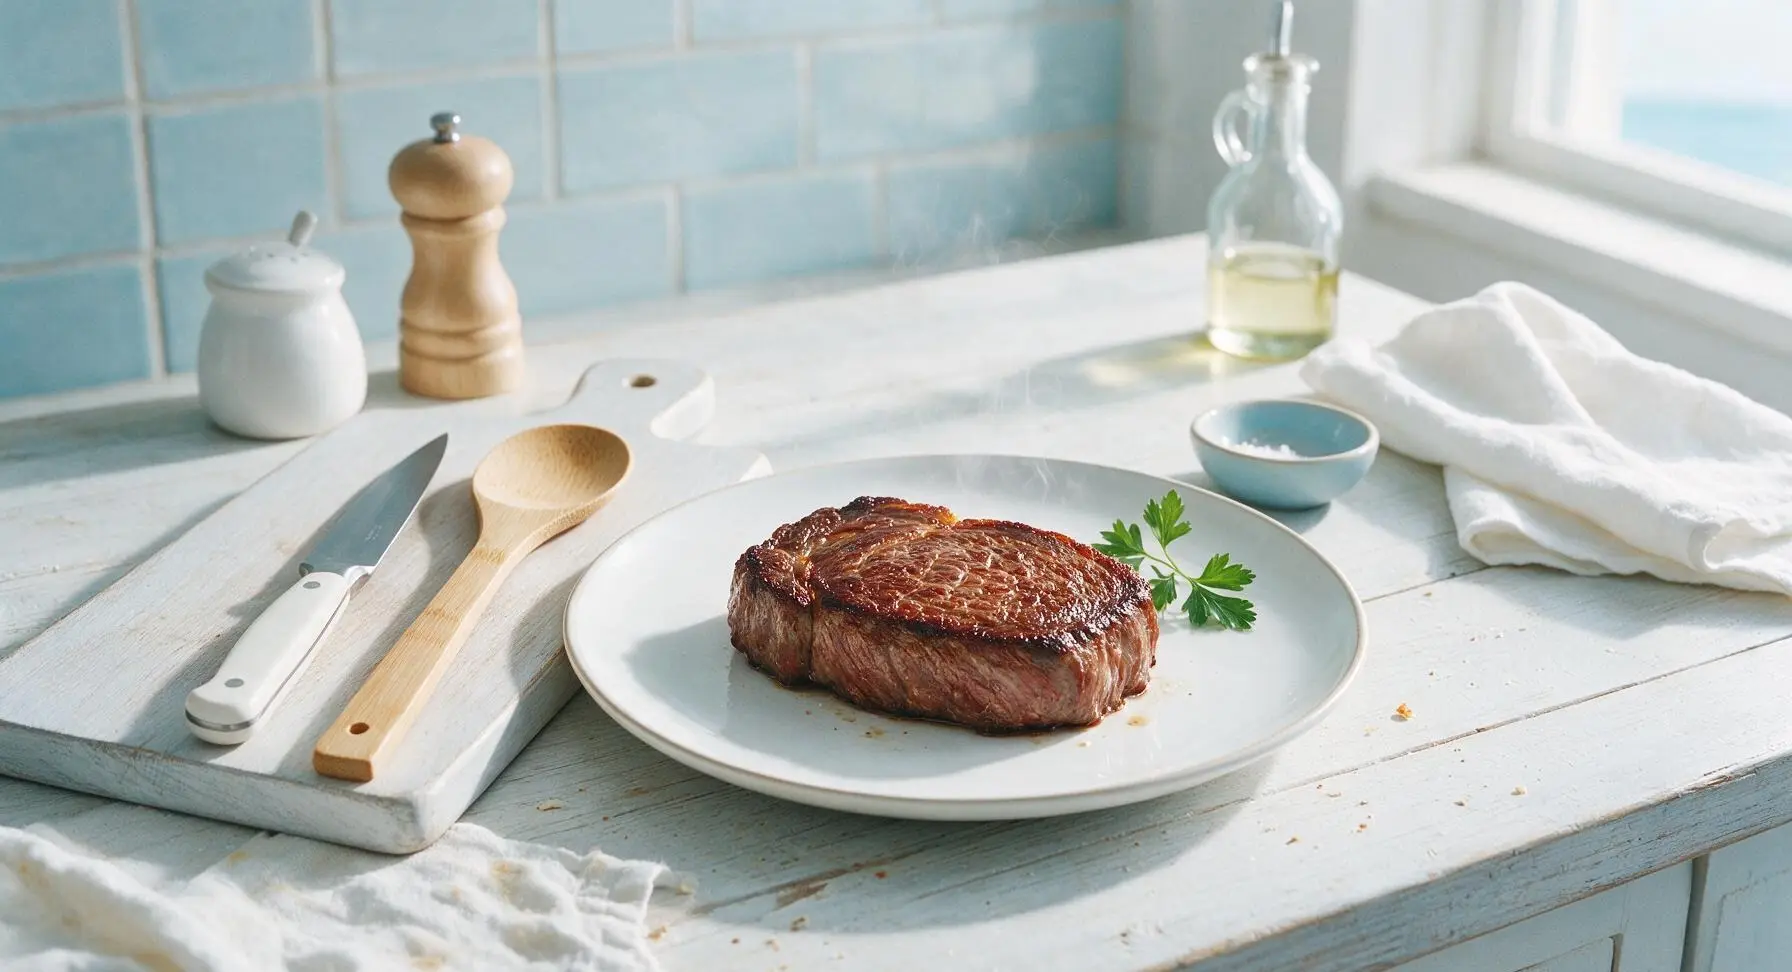
baking a steak

title 1
baking a steak
⏱️ cook time 25 minutes
🍽️ servings 2
⚡ Difficulty medium

intro

Juicy, evenly cooked steak with a crisp, mahogany crust, made entirely in the oven for consistent, restaurant-worthy results—no grill required.

Ingredients
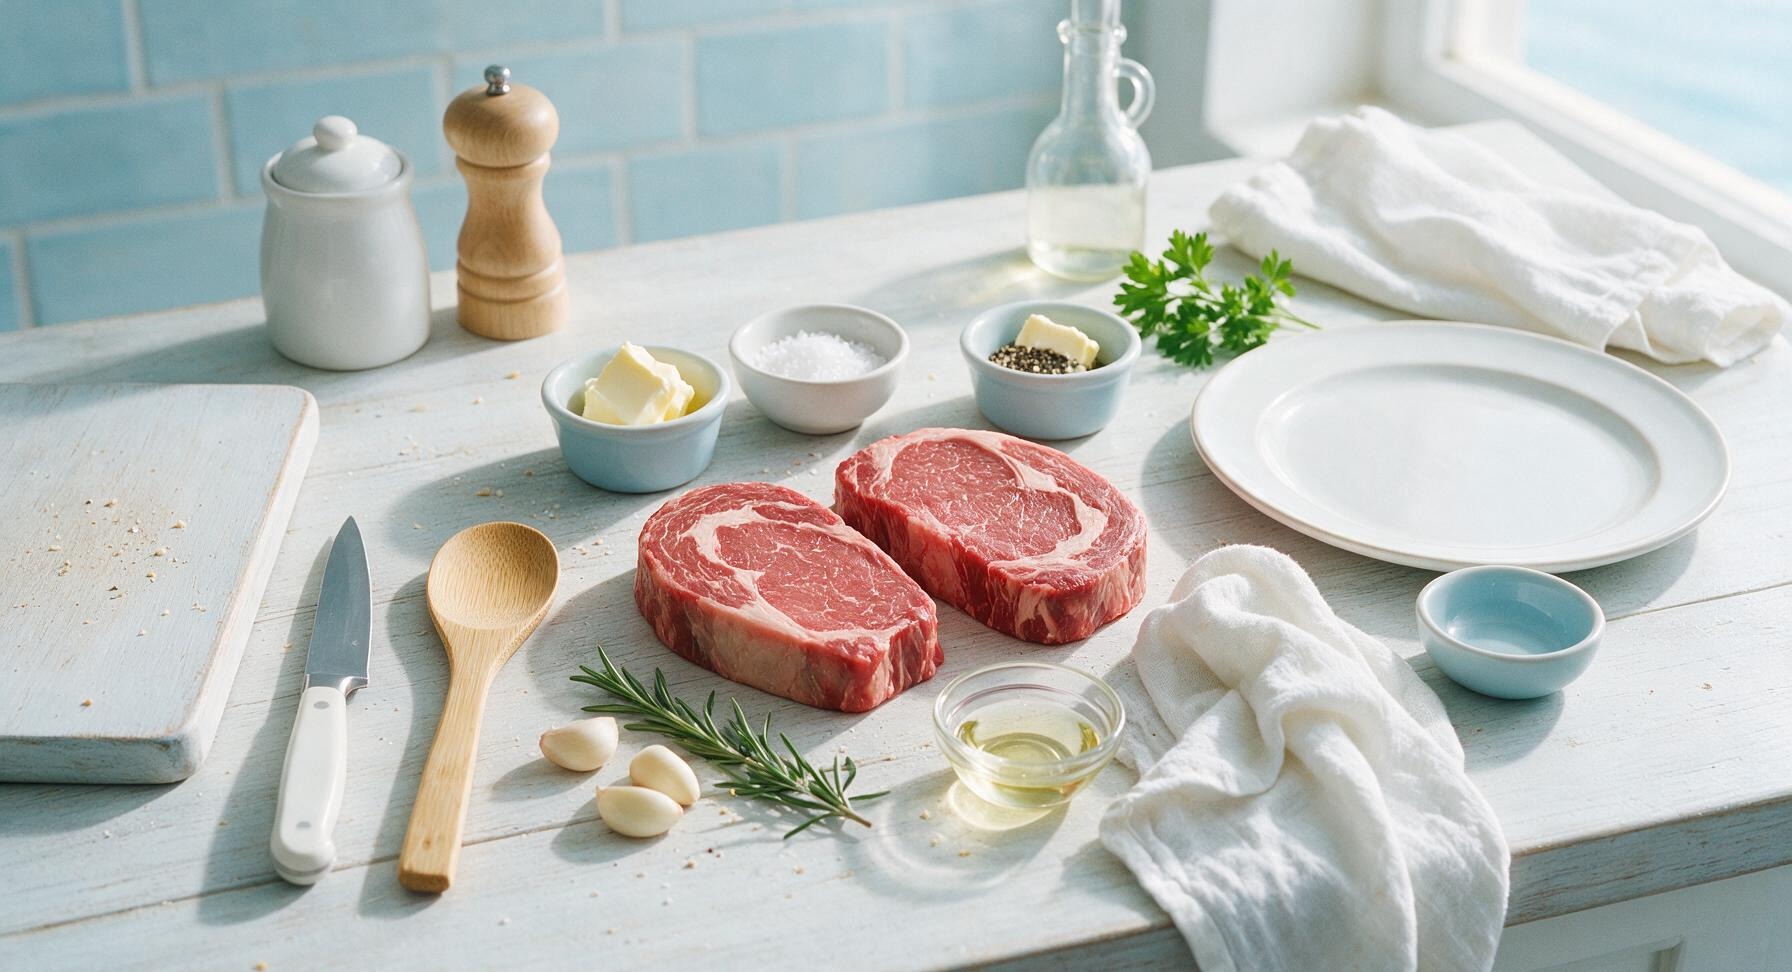
Boneless ribeye steak (1.5 inch thick) 2 pieces (8oz / 225g each)
Flaky sea salt 1.5 teaspoons
Freshly cracked black pepper 1 teaspoon
Unsalted butter 2 tablespoons (28g)
Peeled garlic cloves 3 whole
Fresh rosemary sprigs 2
Neutral canola oil 1 teaspoon

Steps

1

Temper and Dry Steak

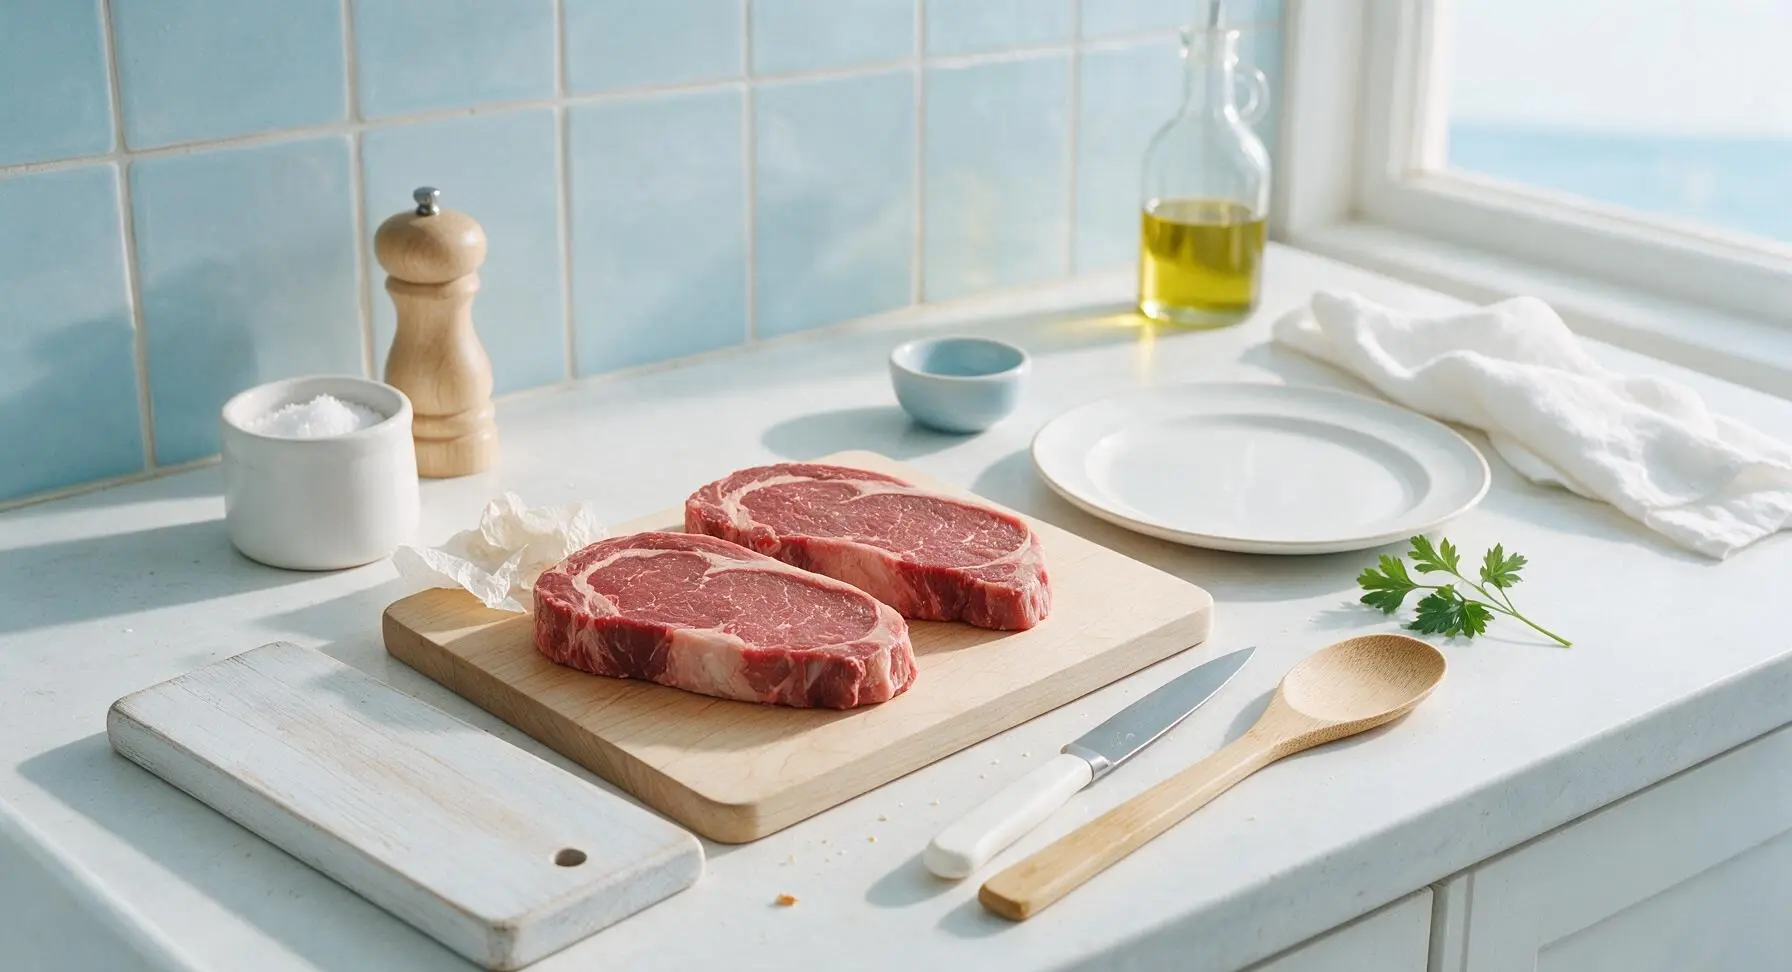
Remove steaks from the refrigerator 30 minutes before cooking to bring them to room temperature (this ensures even cooking by eliminating cold centers that cause overcooked outer layers). Pat both sides of each steak completely dry with paper towels, pressing firmly to absorb all surface moisture—this dry surface is critical for developing a crisp, flavorful sear. Place the light maple wood cutting board at center-left of the counter, then set the dried steaks on the board.
Step 1
step1:Temper and Dry Steak
2

Season Steaks Evenly

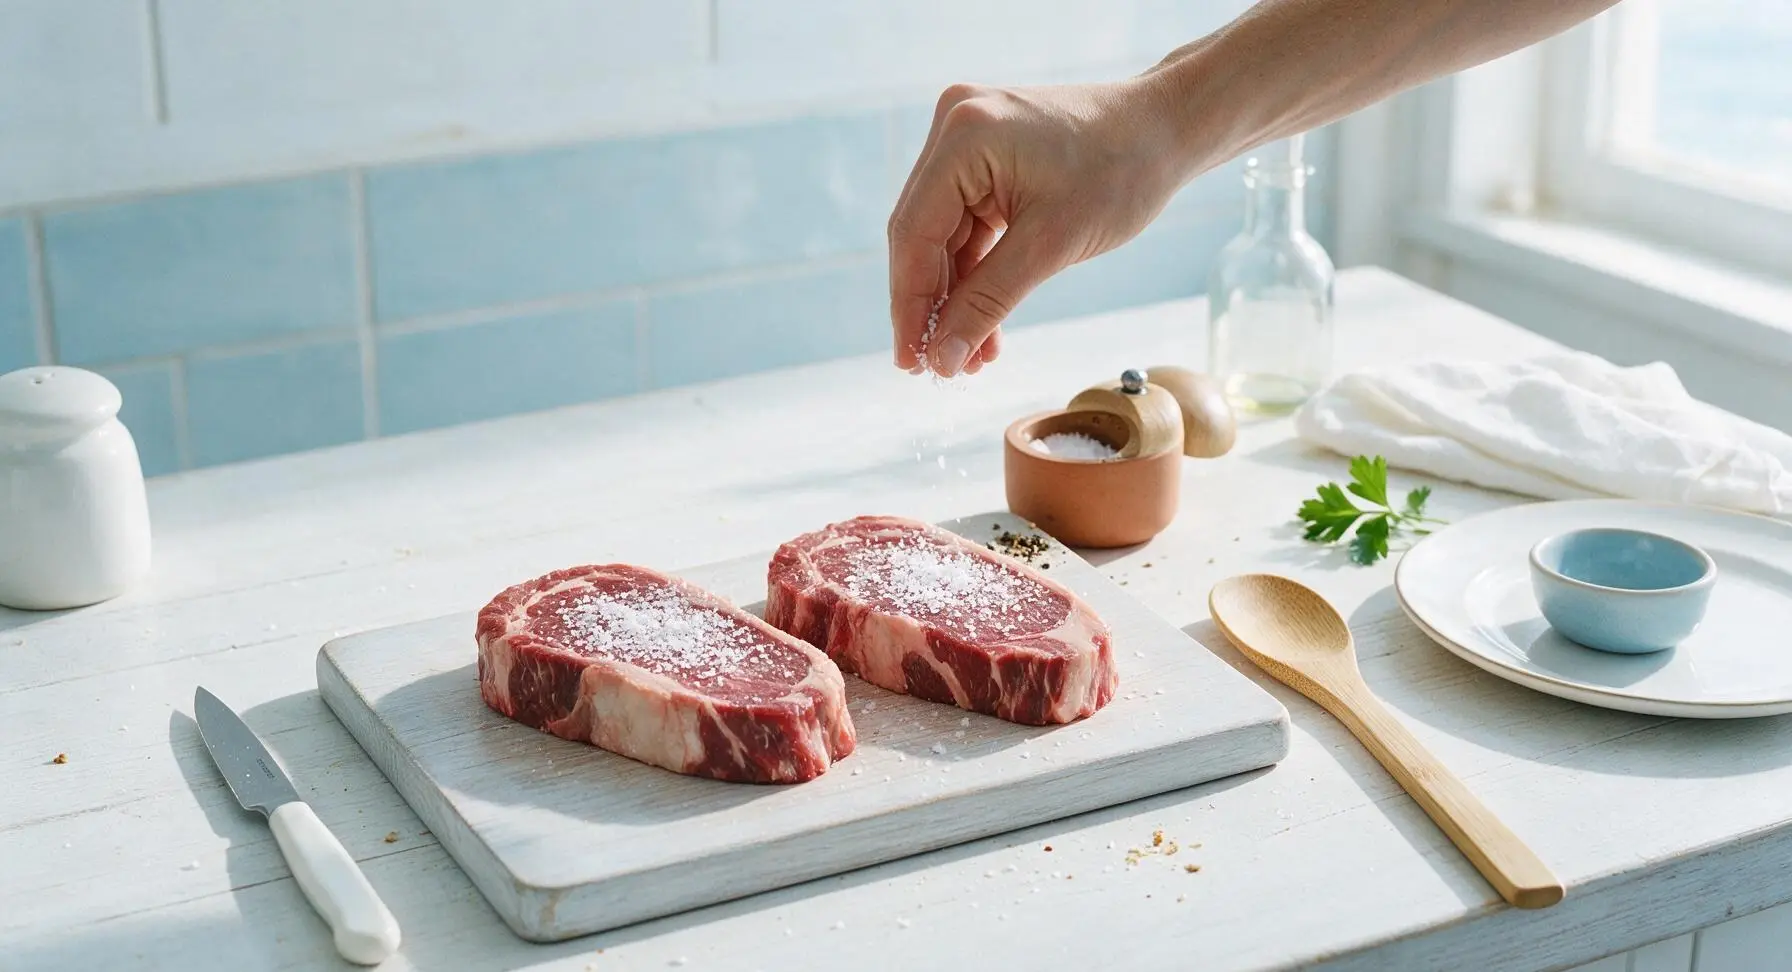
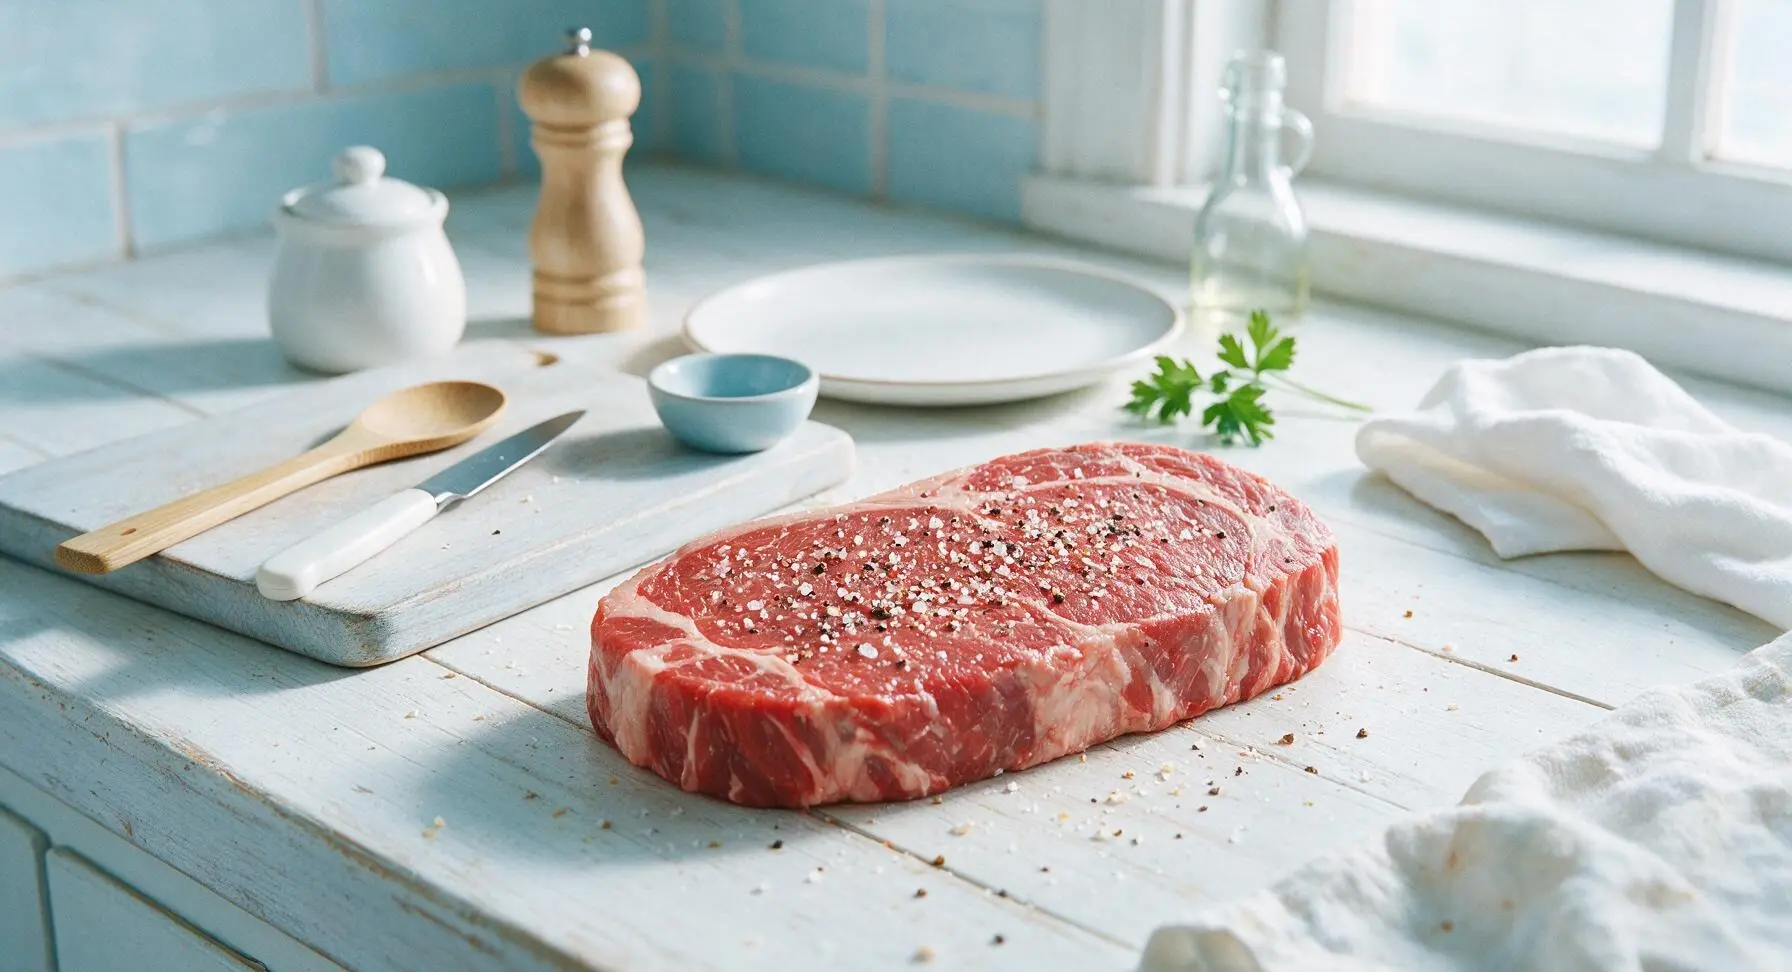
Season all sides of the dried steaks with 1.5 teaspoons flaky sea salt and 1 teaspoon freshly cracked black pepper, pressing the seasoning gently into the meat surface to help it adhere. Do not undersalt: thick steaks need enough seasoning to flavor the full depth of the outer meat layer. Let the seasoned steaks rest for 5 minutes while the oven preheats to 275°F (135°C).
Step 2
step2:Season Steaks Evenly
Step 2
step2:Season Steaks Evenly
3

Set Up Baking Rack

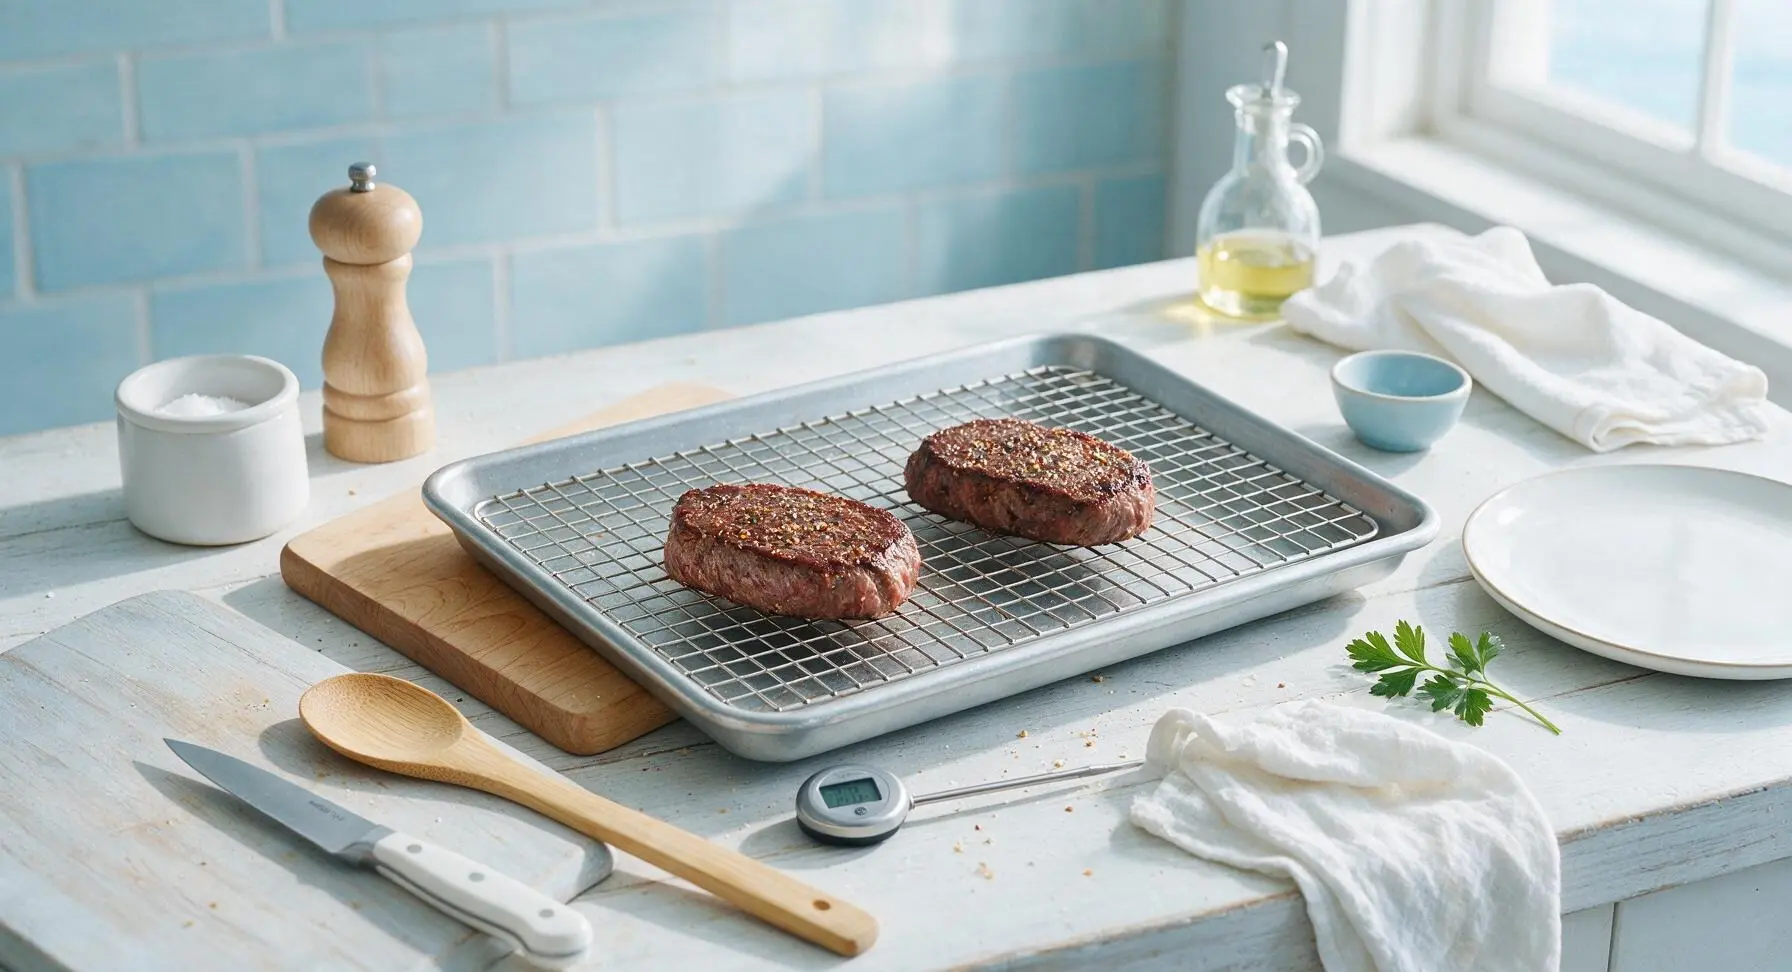
Place the stainless steel wire baking rack inside the rimmed aluminum baking sheet, then set the seasoned steaks directly on the rack, leaving 2 inches of space between them. The elevated rack allows hot oven air to circulate evenly around all sides of the steak, so no flipping is required during the initial low-temperature bake. Adjust the oven rack to the middle position.
Step 3
step3:Set Up Baking Rack
4

Bake to Target Temp

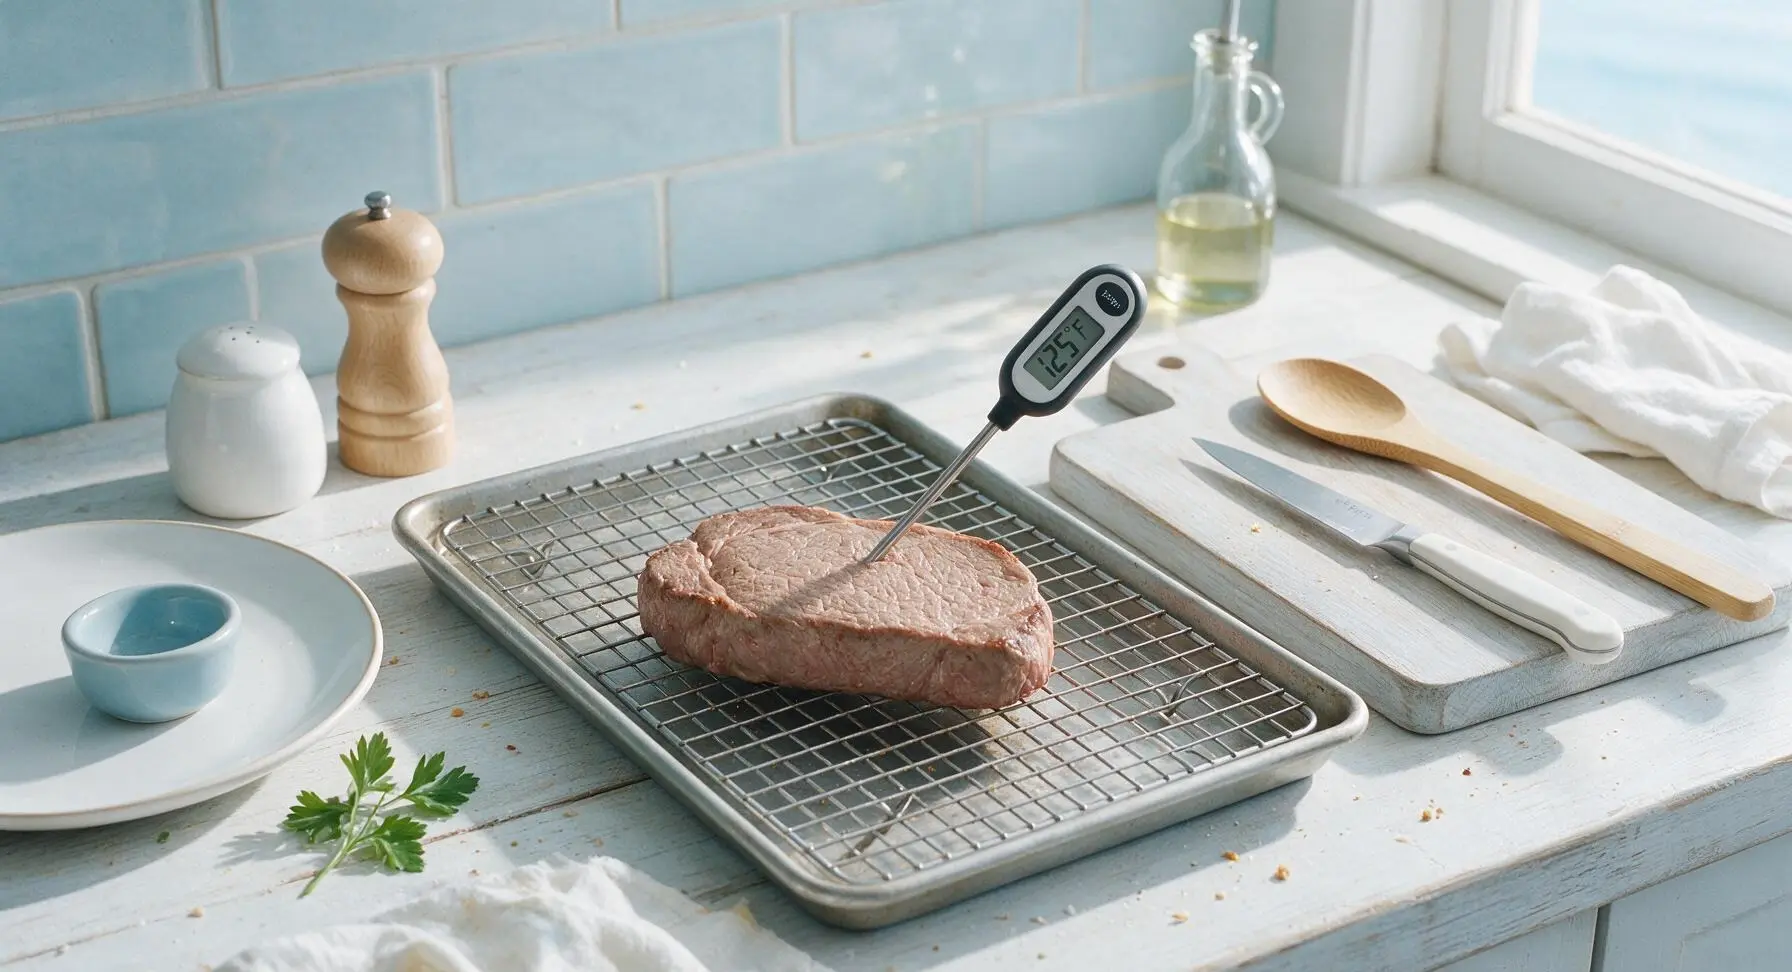
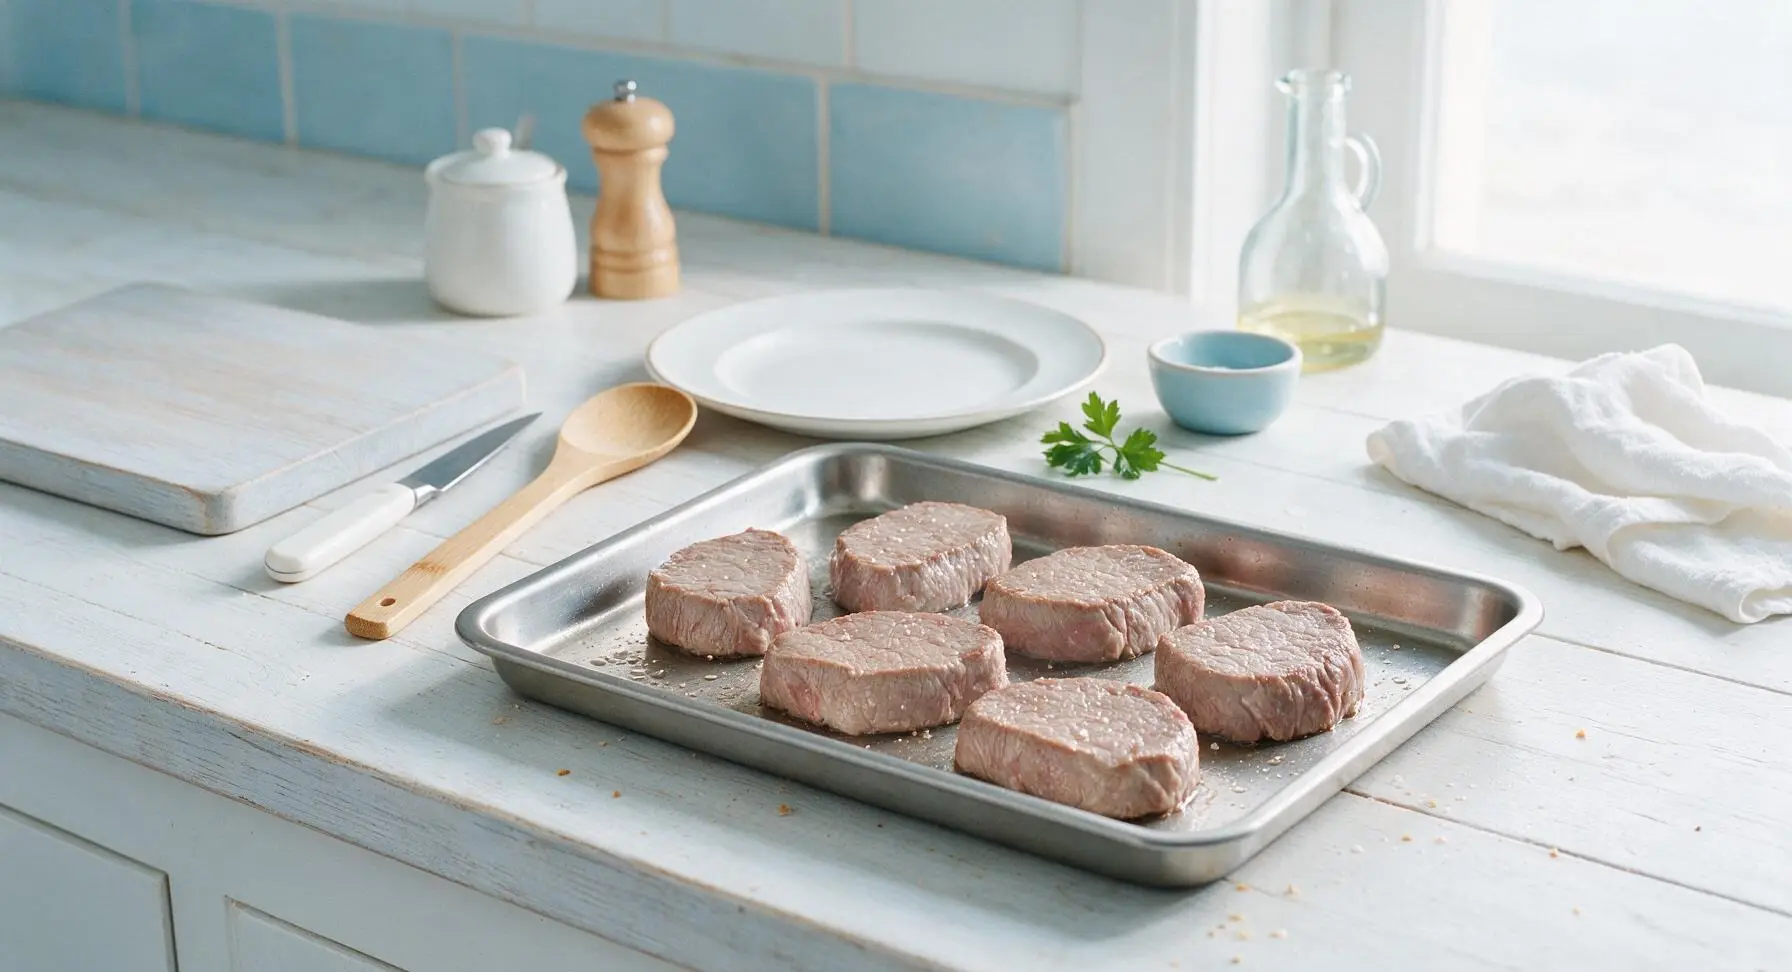
Place the baking sheet with steaks in the preheated 275°F (135°C) oven. Bake for 18-22 minutes, using the instant-read digital thermometer to check internal temperature at the 18-minute mark. Remove steaks from the oven when the thickest part registers 125°F (52°C) for medium-rare; the temperature will rise 5-10°F during searing and resting (known as carryover cooking), leading to a final 130-135°F perfect medium-rare.
Step 4
step4:Bake to Target Temp
Step 4
step4:Bake to Target Temp
5

Sear for Crisp Crust

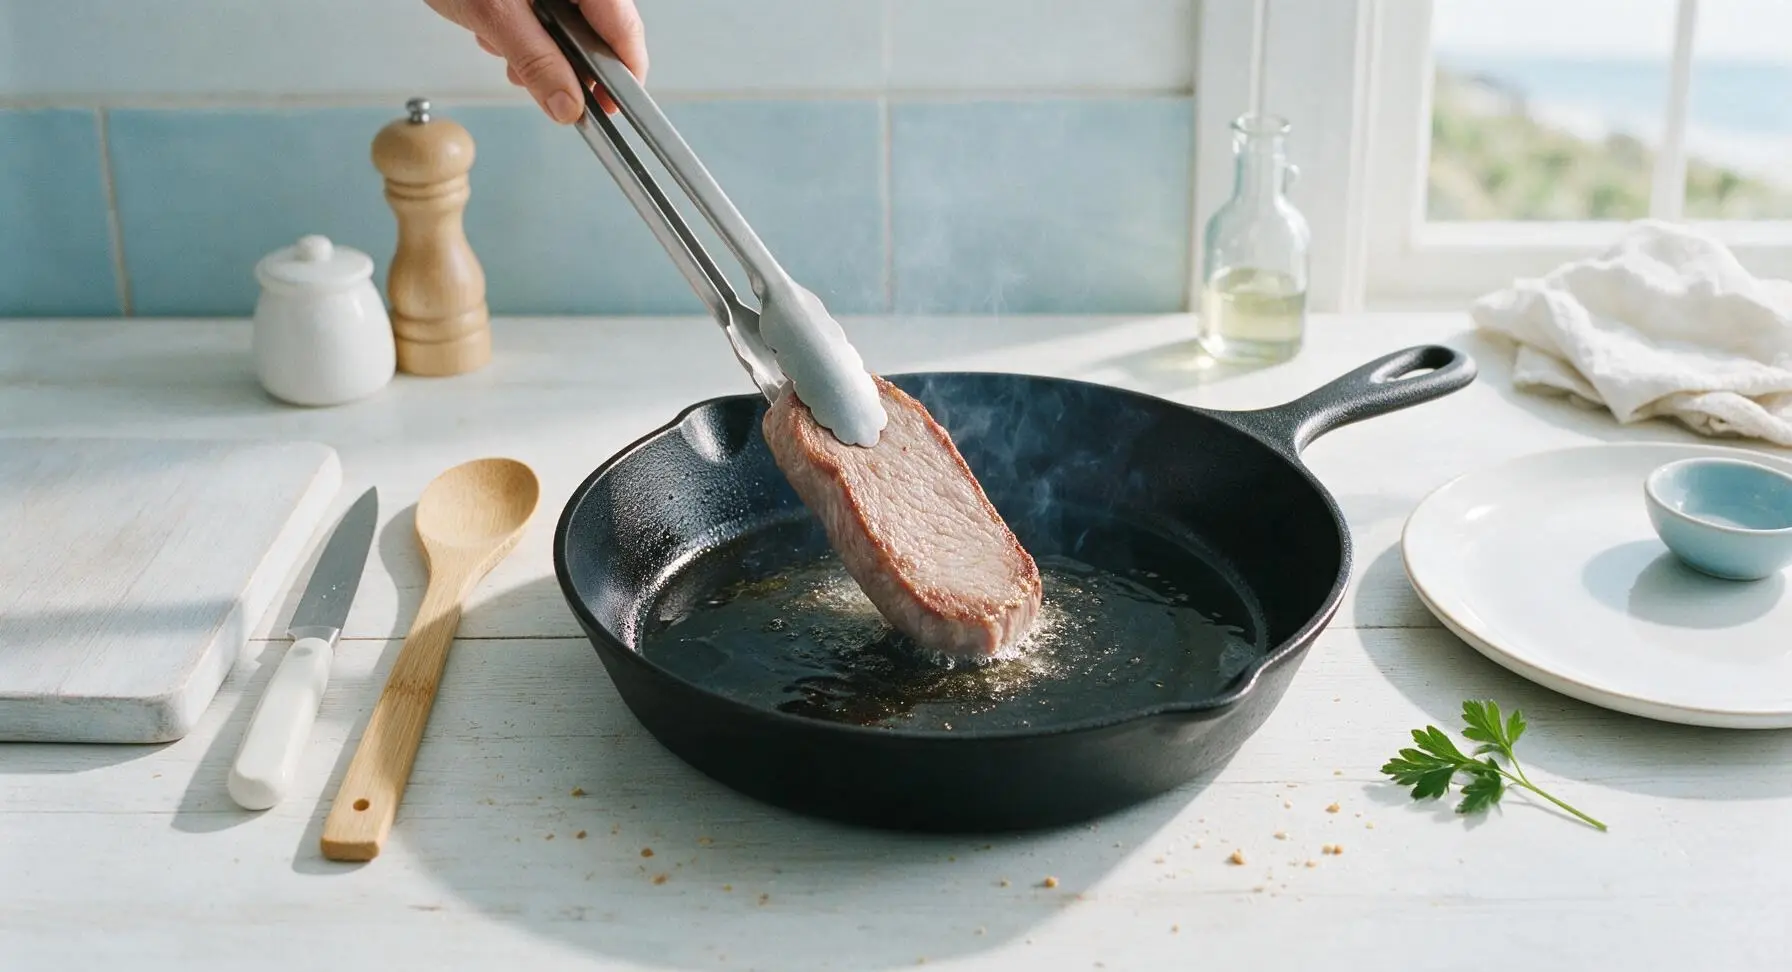
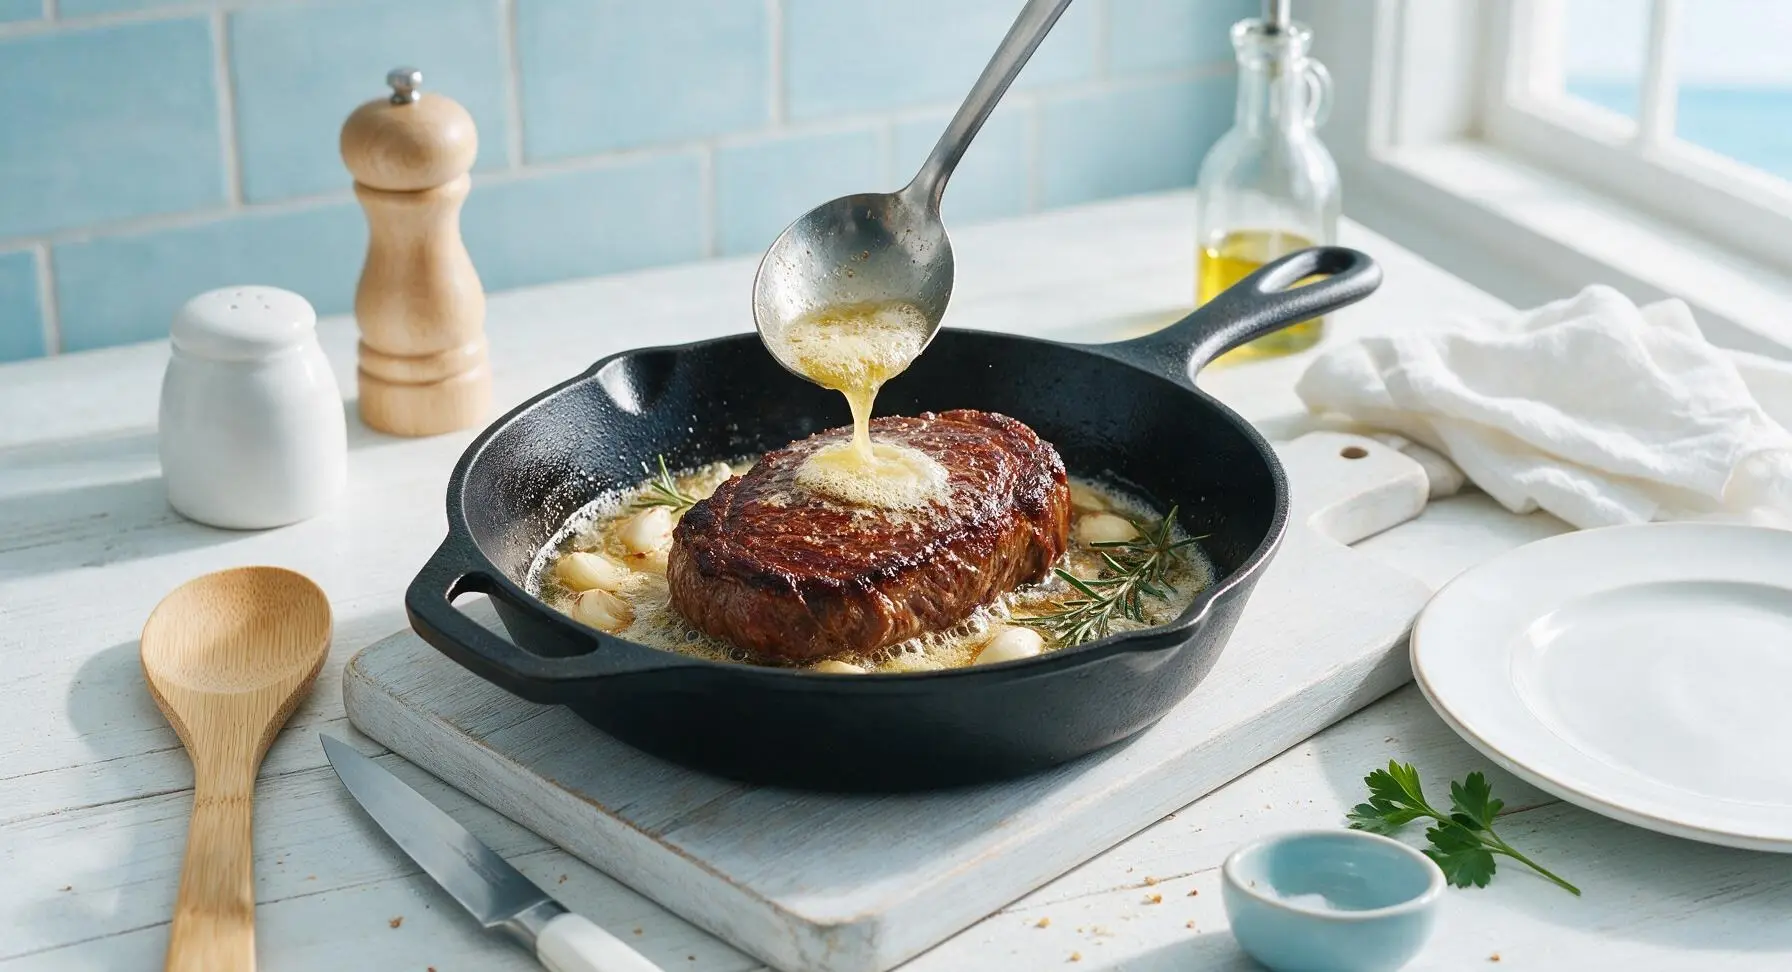
While steaks finish their low-temperature bake, place the 12-inch cast iron skillet in the oven and turn the oven up to 475°F (245°C) to preheat the pan for 10 minutes. Carefully remove the hot skillet from the oven, add 1 teaspoon neutral canola oil, then use the stainless steel tongs to transfer the baked steaks to the hot skillet. Sear for 2 minutes on the first side, then flip, add 2 tablespoons unsalted butter, peeled garlic cloves, and rosemary sprigs to the pan, and sear the second side for 2 minutes, tilting the pan to spoon the foaming melted butter over the steaks as they cook.
Step 5
step5:Sear for Crisp Crust
Step 5
step5:Sear for Crisp Crust
6

Rest Cooked Steaks

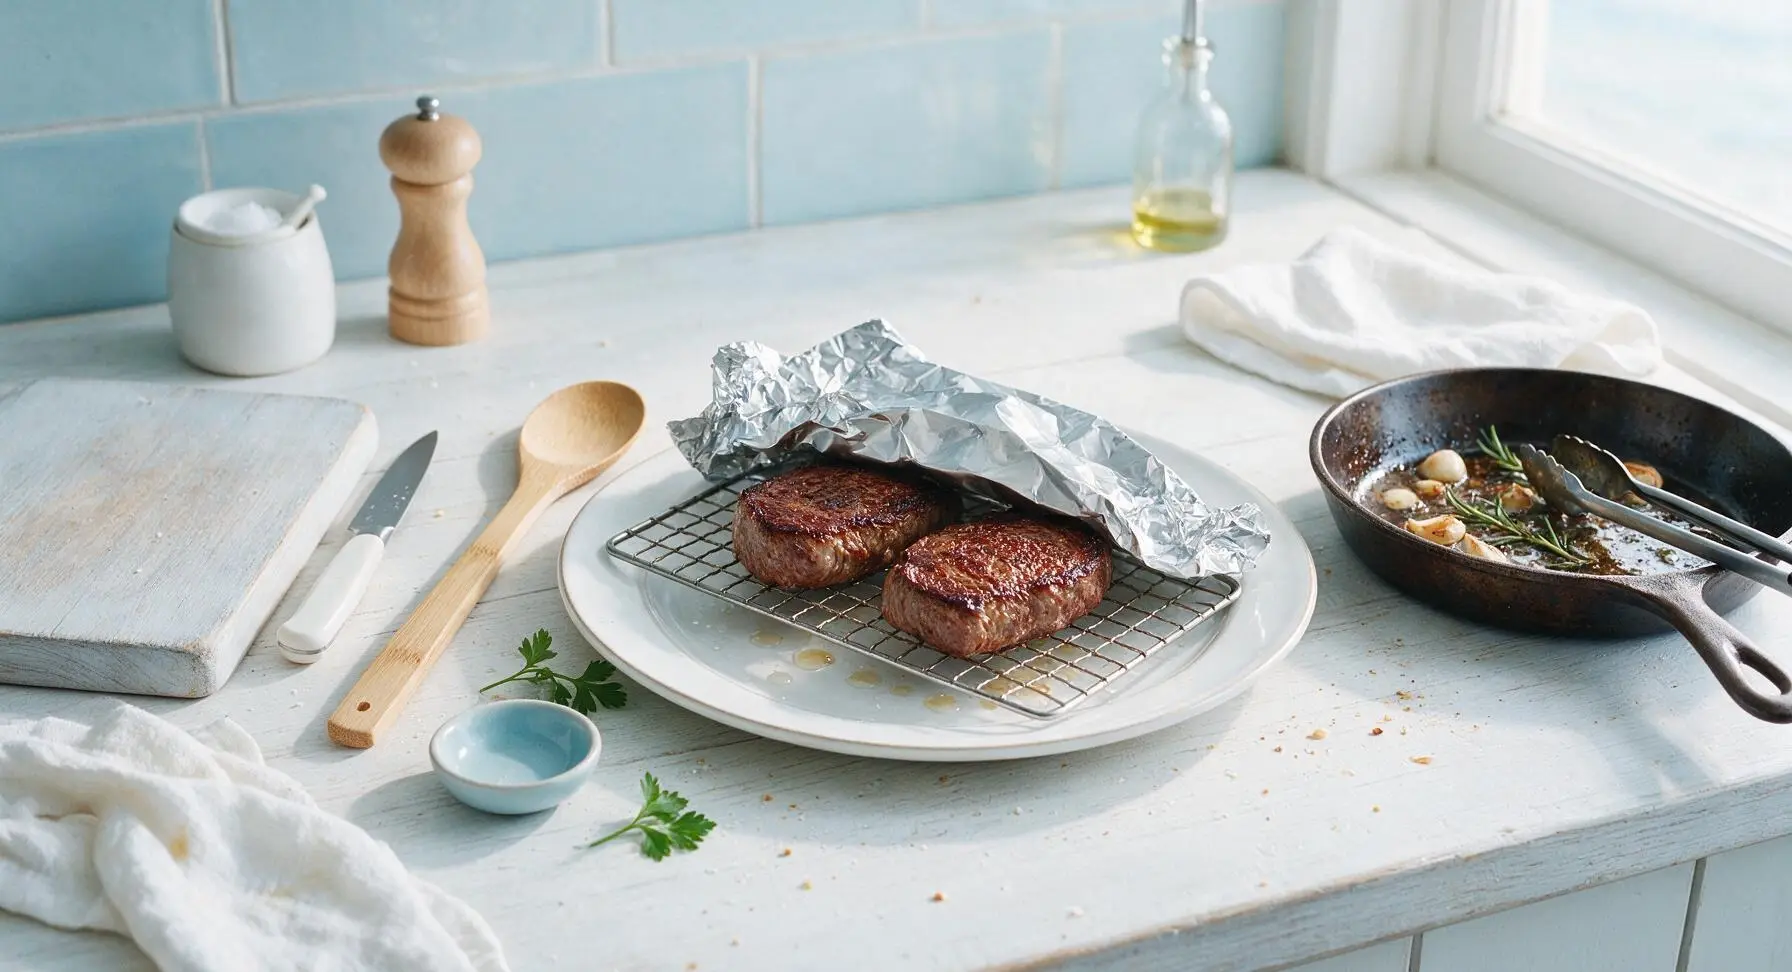
Once seared, use tongs to transfer the steaks back to the wire rack (set over a clean plate to catch drips), and loosely tent with a small piece of aluminum foil. Let rest for 10 full minutes: this allows the tight, hot muscle fibers to relax and reabsorb juices, so every bite is juicy instead of having juice run across the plate when sliced.
Step 6
step6:Rest Cooked Steaks
7

Slice and Plate Steaks

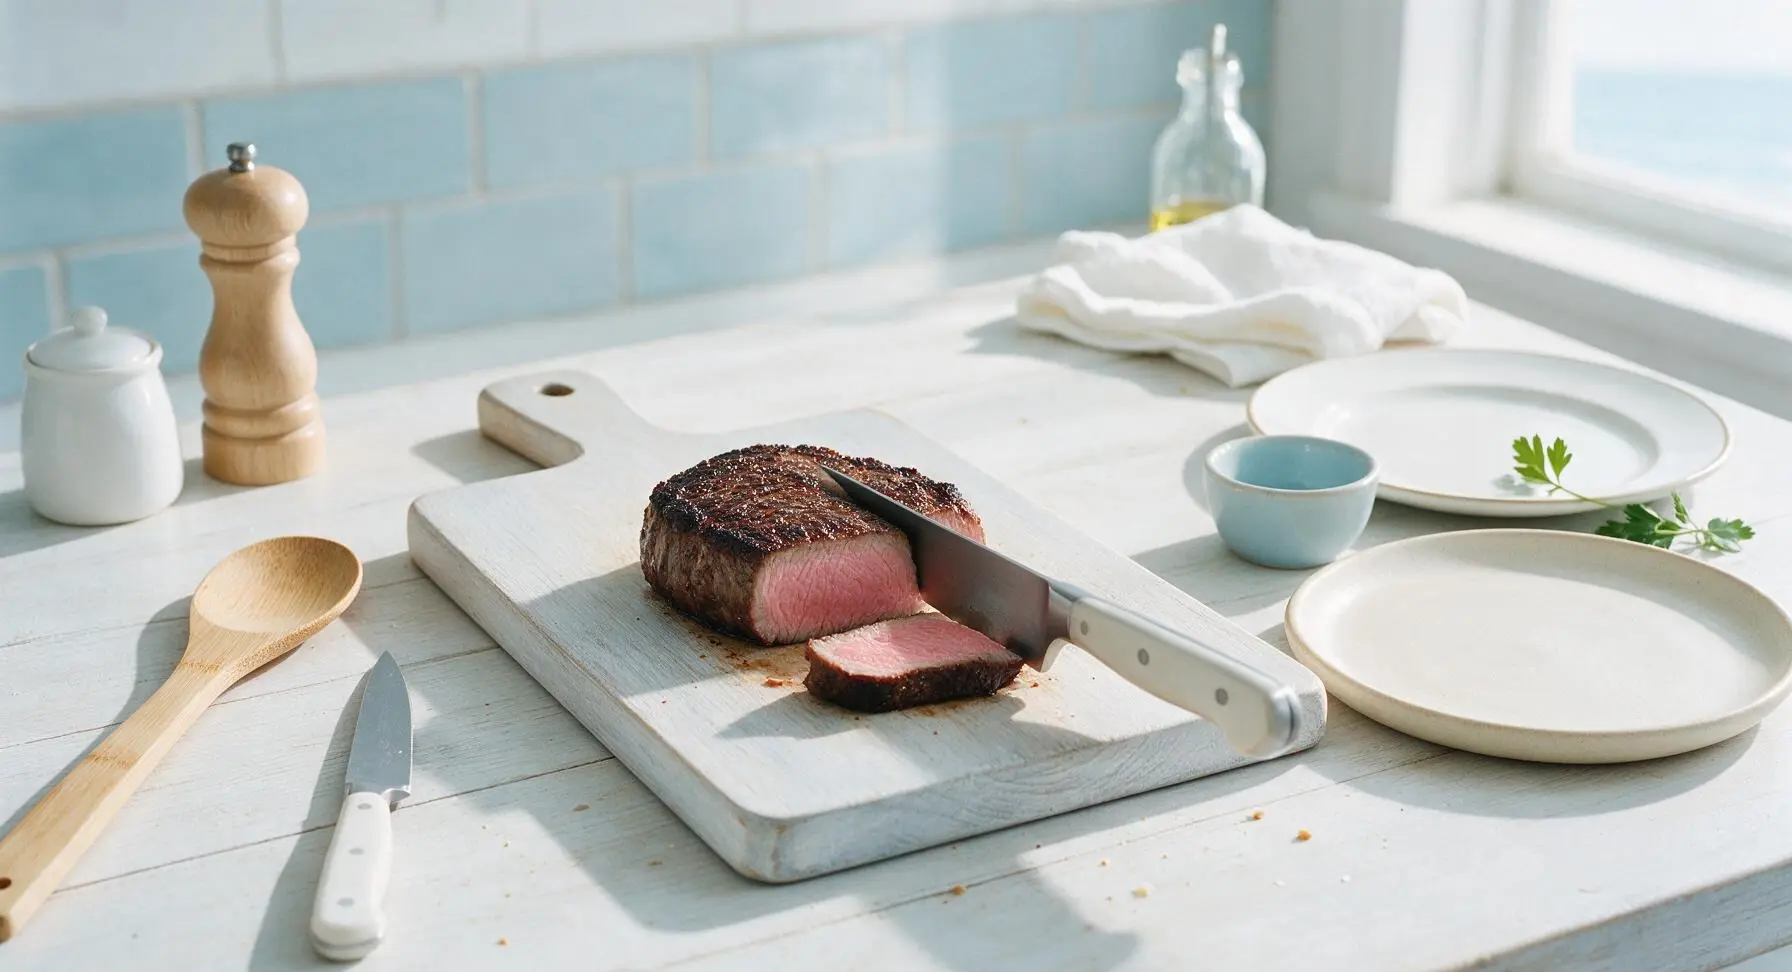
After resting, transfer the steaks to the maple cutting board. Use the 8-inch chef’s knife to slice the steaks against the grain into 1/2-inch thick slices. Fan the slices evenly across the two matte cream stoneware plates, spoon a small amount of the browned butter from the skillet over the top, and garnish with a small sprig of cooked rosemary.
Step 7
step7:Slice and Plate Steaks

Tips

1.Always pat steaks completely dry before seasoning: any residual surface moisture will create steam instead of a sear, leading to a soft, pale crust instead of the crisp, umami-rich Maillard reaction crust that defines restaurant-quality steak.
2.Rely on an instant-read thermometer instead of fixed cook times: steak thickness, oven calibration, and starting steak temperature all alter cook time, so internal temperature is the only foolproof way to hit your desired doneness without overcooking.
3.Never skip the 10-minute rest period: slicing steak immediately after cooking causes all the hot, loose juice to run out onto your plate, leaving the meat dry; resting lets muscle fibers relax and reabsorb juice for evenly moist bites.


✨ You May Also Like

Main Course
🍜 United Kingdom

A showstopping classic of tender seared beef, savory mushroom duxelles, and crisp prosciutto wrapped in flaky golden puff pastry, baked to juicy perfection.

⏱️ 2 hours 1Main Course ★ 4.7
Main Course
🍜 India

Tender charred marinated chicken simmered in a rich, spiced creamy tomato sauce, this iconic Anglo-Indian curry pairs perfectly with basmati rice or warm naan.

⏱️ 50 minuteMain Course ★ 4.6
Main Course
🍜 Thailand

Classic tangy, sweet, and savory Thai stir-fried rice noodles with shrimp, tofu, and crunchy garnishes, balancing all five core Thai flavor profiles.

⏱️ 30 minuteMain Course ★ 4.5
Main Course
🍜 United Kingdom

Crispy golden beer-battered cod and fluffy double-fried chips, served with tangy tartar sauce and malt vinegar: the timeless, beloved British pub comfort classic.

⏱️ 45 minuteMain Course ★ 4.7
Main Course
🍜 Mexico

Smoky, chile-marinated pork tacos with caramelized pineapple, fresh cilantro, and lime: a beloved classic Mexican street food perfect for casual summer gatherings.

⏱️ 1 hour 45Main Course ★ 4.8
Main Course
🍜 United States

Crunchy Fritos corn chips layered with savory beef chili and melted cheddar, topped with cool, zesty fixings for a beloved, cozy Tex-Mex comfort food.

⏱️ 35 minuteMain Course ★ 4.8

baking a steak:Frequently Asked Questions

1.Can I use a thinner steak instead of the recommended 1.5-inch thick ribeye for this recipe? ▾
A 1.5-inch thick cut is ideal for the reverse sear method, as thinner steaks cook too quickly during the low-temperature oven step, making it hard to build a crisp mahogany crust without overcooking the interior. If you only have a 1-inch steak, cut the initial oven time in half and check internal temp frequently to avoid overdoneness.
2.Do I really need to let my steak come to room temperature before cooking? ▾
Absolutely. Letting your ribeye rest on the counter for 45 to 60 minutes before cooking ensures it cooks evenly edge to edge, so you don’t end up with a thick, unappetizing band of overcooked gray meat under the crust. Skipping this step leads to uneven heat transfer that throws off your target doneness.
3.What happens if I skip the low-temperature oven step and sear the steak first? ▾
Searing first creates a steep temperature gradient across the meat, meaning you’ll get a well-done outer layer, a tiny band of perfectly cooked meat, and a cold, undercooked center. The low-temp step brings the whole steak to a near-even internal temp first, so the final sear only builds crust without overcooking.
4.How do I know when to pull the steak out of the low-temperature oven to sear it? ▾
Use an instant-read meat thermometer for zero guesswork: pull the steak when its internal temp hits 10–15°F below your target final doneness (110°F for rare, 120°F for medium-rare, 130°F for medium). Carryover cooking will raise the temp 5–10°F during the high-heat sear, so don’t wait too long.
5.Do I need a cast iron skillet to get a good crust on my oven-baked steak? ▾
Cast iron is ideal because it holds extremely high, even heat without warping when preheated in your oven, which is key for building that crisp, deep crust fast without overcooking the steak. If you don’t have one, use a heavy, oven-safe stainless steel skillet—skip nonstick pans, which can’t handle high sear temps safely.
6.When should I add the salt, pepper, butter, and garlic during the cooking process? ▾
Season both sides of the steak generously with flaky sea salt and freshly cracked black pepper before it goes in for the low-temperature bake. Save the unsalted butter and peeled garlic for the final high-heat sear: add them once you flip the steak, and spoon the infused melted butter over the top to build rich, nutty flavor without burning the butter.
7.How long should I rest the steak after cooking, and is this step really necessary? ▾
Let your finished steak rest on a cutting board for 5 to 7 minutes, tented loosely with foil, before slicing. During this time, the hot muscle fibers relax and reabsorb juices, so you won’t lose all that flavorful moisture onto your plate the second you cut into the steak, leaving it dry.
8.Can I use this reverse sear oven method for cuts of steak other than ribeye? ▾
Absolutely! This method works beautifully for any thick, boneless steak cut to 1.5 inches, including New York strip, filet mignon, or top sirloin. Just note that leaner cuts like filet have less marbling than ribeye, so add an extra pat of butter during searing to boost richness and keep the meat moist.

Comments (5)

2 hours ago

OMG this reverse sear method is a total game changer! I’ve been grilling steaks for 15+ years and always struggled to get that even medium rare without a weird gray band around the edge when I do oven steaks. Followed this exactly for our Sunday family dinner, 25 minutes total was spot on for 1.5 inch ribeyes, and my picky teen son said it was better than the steakhouse we went to for his birthday last month. SO good, will be my go-to method from now on!

30 minutes ago

Same! I used to overcook the heck out of thick steaks trying to get a good sear first, this method eliminates all that stress. Did you use a meat thermometer?

5 minutes ago

So glad it was a hit with your family! A meat thermometer is definitely our #1 tip to nail that perfect medium rare every time, no guesswork needed. Thanks for giving the recipe a try!

yesterday

Made this last night for date night with my partner and we were both blown away! I was worried it would be too fussy since I’m still pretty new to cooking steaks at home (medium difficulty felt intimidating at first!) but the steps were so straightforward. Got a perfect crust on the sear after pulling them out of the oven, no burnt spots, even cook all the way through. Only thing I added was a little garlic butter to baste at the end of the sear, chef’s kiss.

2 hours ago

So happy date night went well! That garlic butter baste is such a great add, it pairs perfectly with the crispy crust from the final sear. Great call!

3 days ago

Took a chance on this for my weekly meal prep! I cooked 3 sirloins using this method on Sunday, sliced them up for steak salads and steak wraps all week, and they stayed juicy even after reheating. Usually my oven steaks get tough and rubbery when I reheat them, but these held up so well. My kids even stole a few slices off the cutting board before I could pack them up, said it tasted like the fancy steak we get at the county fair. 10/10, will be adding this to my regular rotation!

30 minutes ago

Wait, hold on—has anyone tried this with a thinner cut, like a 1 inch New York strip? I picked up a couple on sale at the grocery store today and don’t want to mess them up. The cook time says 25 minutes, should I cut that down a bit for thinner steaks? Don’t want to end up with well done when I’m going for medium.

just now

Great question! For 1-inch thick steaks, you’ll want to reduce the low-temp oven time by about 5-7 minutes, and check the internal temp early to make sure you don’t overcook. Pull them when they hit 125°F for medium before the final sear, and they’ll turn out perfect!

1 week ago

Tried this for a potluck at my office last week and everyone was hounding me for the recipe! I was nervous making steak for a group because everyone likes their doneness different, but the low and slow oven step made it so easy to track temps for each steak, then a quick sear right before I left. The only flub was I forgot to let them rest as long as I should have, but they were still juicy enough that no one noticed. Absolute home run.

5 days ago

Oh this is such a good idea for potlucks! I usually bring boring pasta salad because I’m scared to cook meat for a big group, I’m definitely stealing this for our next block party. Did you bring the steaks whole or slice them ahead?

3 days ago

I sliced them thin against the grain right before I headed out, kept them in a warmed insulated container and they stayed perfect for 2 hours! Would absolutely recommend.



