
Banana Pudding Ice Cream

title 1
Banana Pudding Ice Cream
⏱️ cook time 6 hours 20 minutes (20 minutes active prep, 6 hours inactive freezing)
🍽️ servings 6
⚡ Difficulty easy

intro

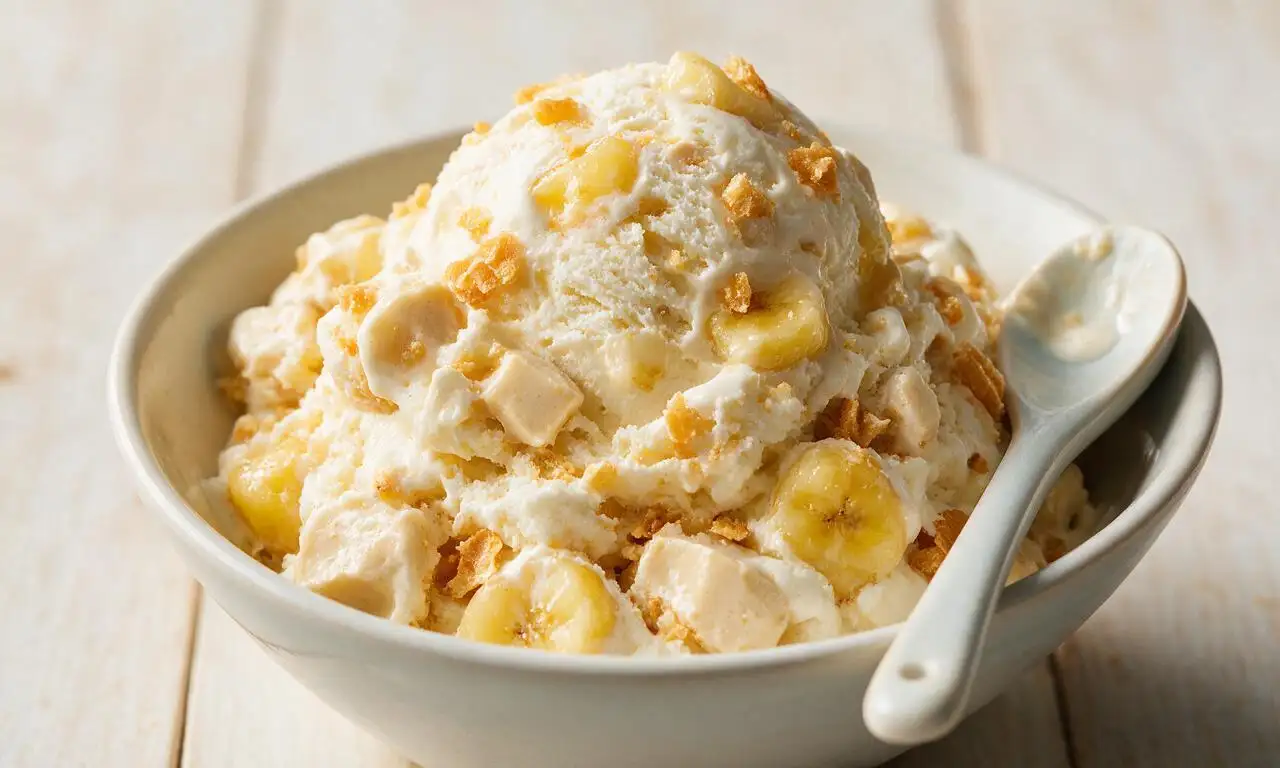
Creamy no-churn ice cream packed with ripe banana, vanilla pudding, and crunchy wafer bits, capturing classic Southern banana pudding flavor with no special equipment needed.

Ingredients

Cold heavy whipping cream 480 ml (2 cups)
Sweetened condensed milk 396 g (1 standard 14oz can)
Ripe heavily spotted bananas 300 g (about 3 medium)
Dry instant vanilla pudding mix 96 g (1 standard 3.4oz box)
Vanilla wafer cookies 120 g (about 30 cookies)
Pure vanilla extract 5 ml (1 teaspoon)
Fine sea salt 1.5 g (1/4 teaspoon)

Steps

1

Prep base components

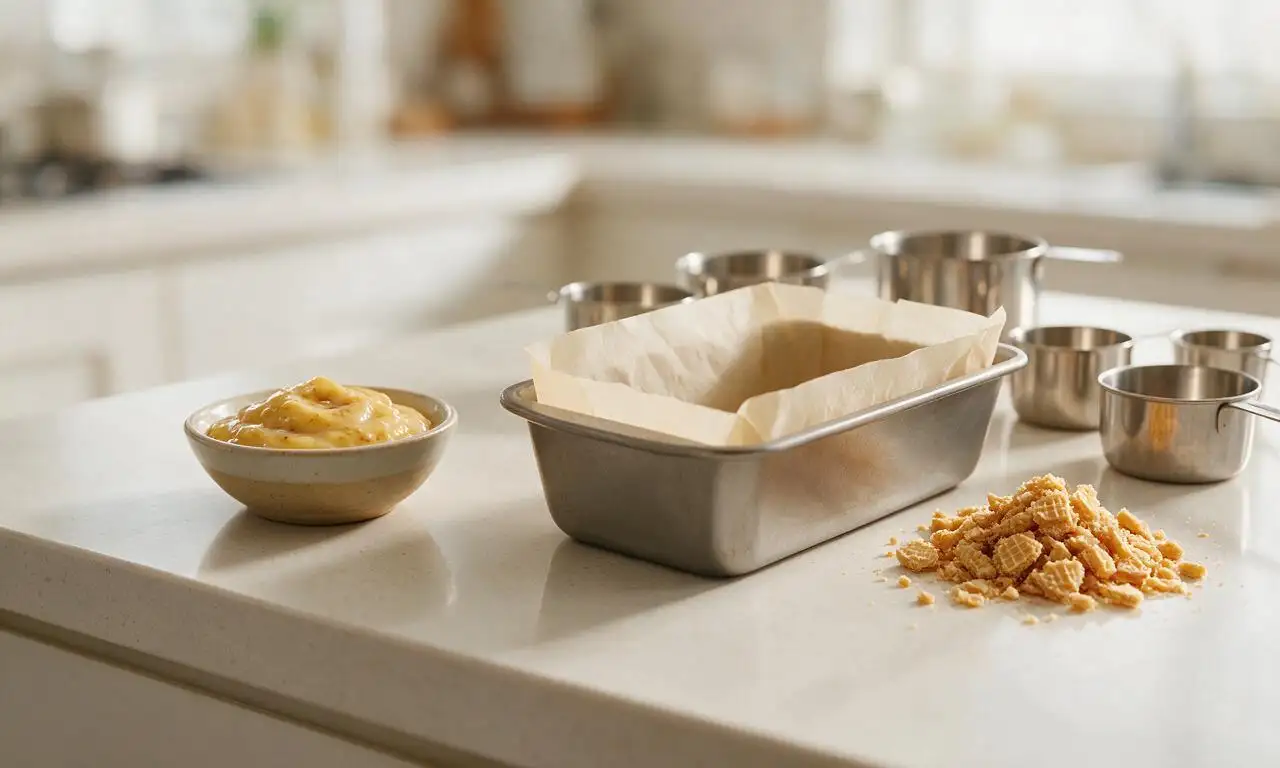
No heat required. Line a 9x5 inch (23x13 cm) metal loaf pan with parchment paper, leaving 5 cm (2-inch) overhang on the long sides for easy removal. Mash 300 g of ripe, heavily spotted bananas in a small bowl with a fork over 1 minute until smooth, with no large lumps remaining; set aside. Coarsely crush 120 g vanilla wafers into 1.25 cm (½-inch) chunks, leaving some smaller crumbs, set aside.
Step 1
step1:Prep base components
2

Whip the cream base

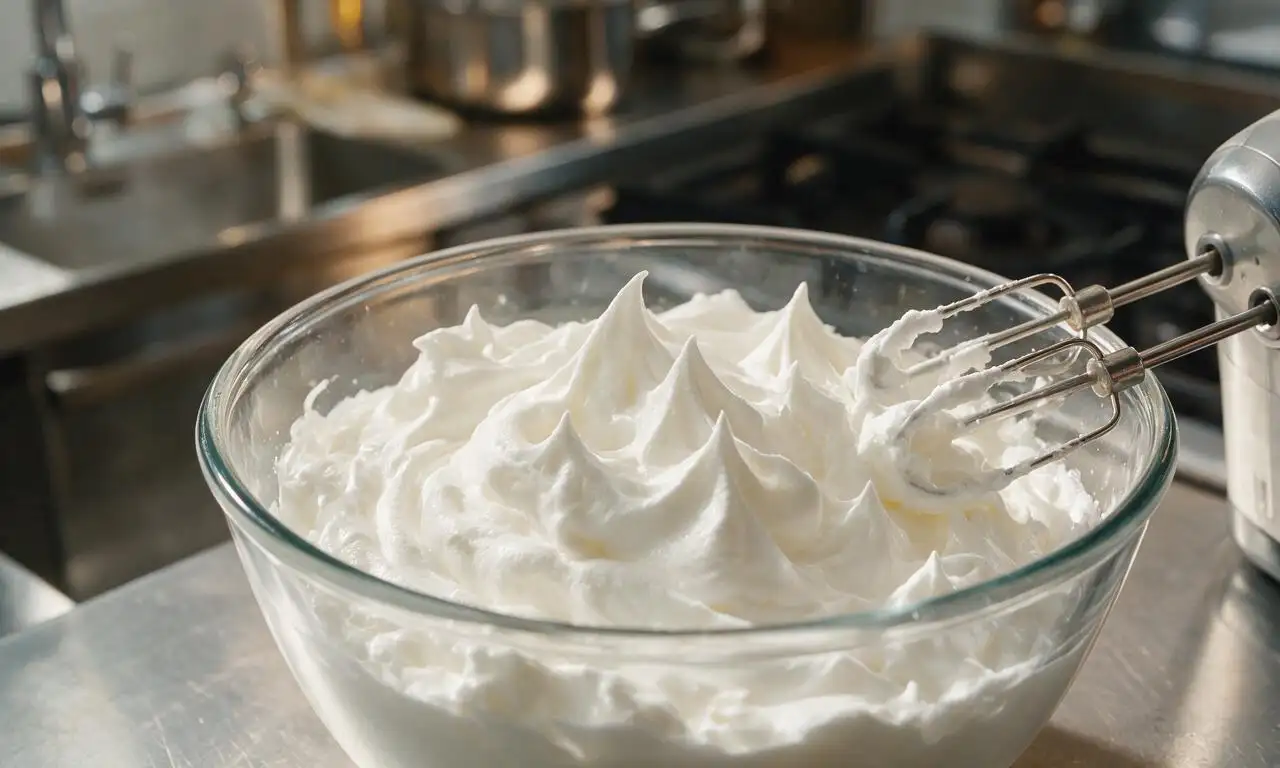
No heat required. Place 480 ml cold heavy whipping cream in a large mixing bowl chilled in the freezer for 10 minutes prior. Beat with an electric hand mixer on medium-high speed (speed 6 out of 10) for 2-3 minutes, until stiff, billowy peaks form that hold their shape when the mixer is lifted; do not overwhip past the stiff peak stage to avoid curdling into butter.
Step 2
step2:Whip the cream base
3

Combine pudding mixture

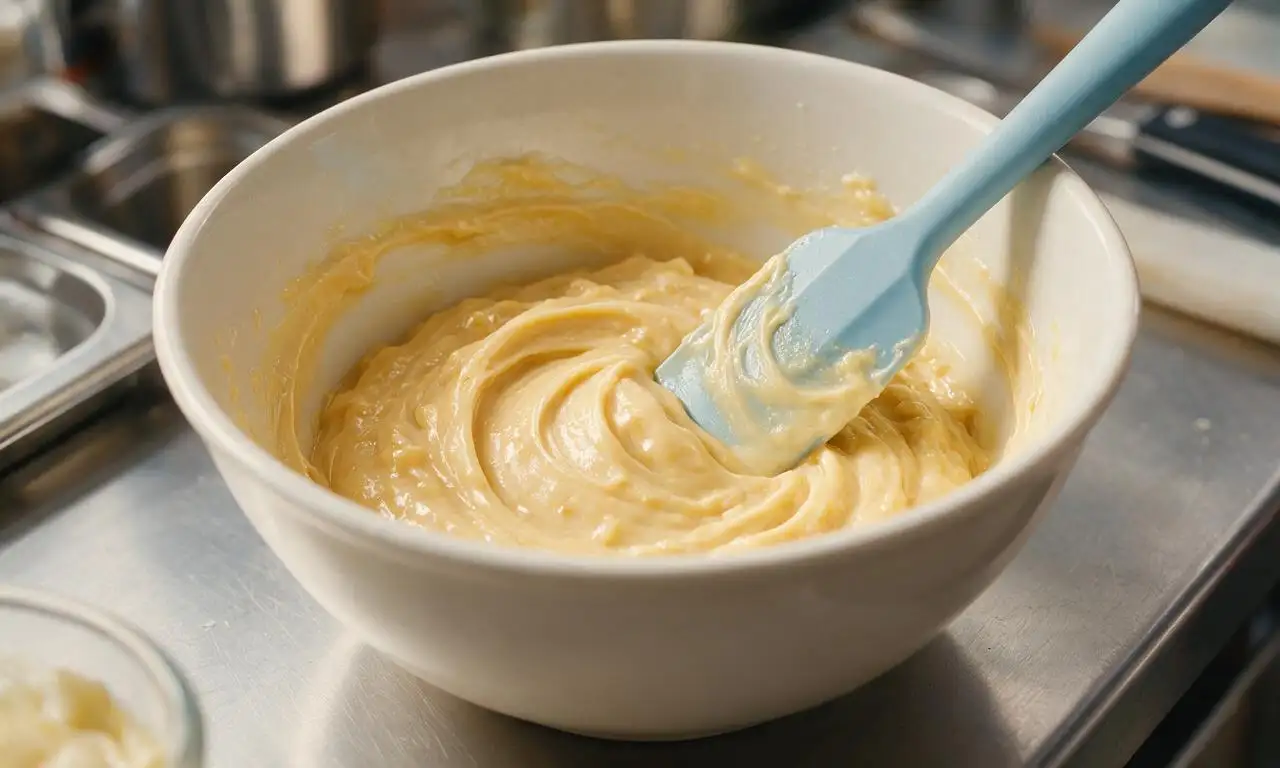
No heat required. In a separate medium bowl, stir together 396 g sweetened condensed milk, 96 g dry instant vanilla pudding mix, 5 ml pure vanilla extract, 1.5 g fine sea salt, and the reserved mashed banana for 45 seconds until completely smooth, with no dry pudding clumps remaining. Let the mixture rest for 2 minutes at room temperature (20°C/68°F) to allow the pudding mix to hydrate slightly.
Step 3
step3:Combine pudding mixture
4

Fold cream and base

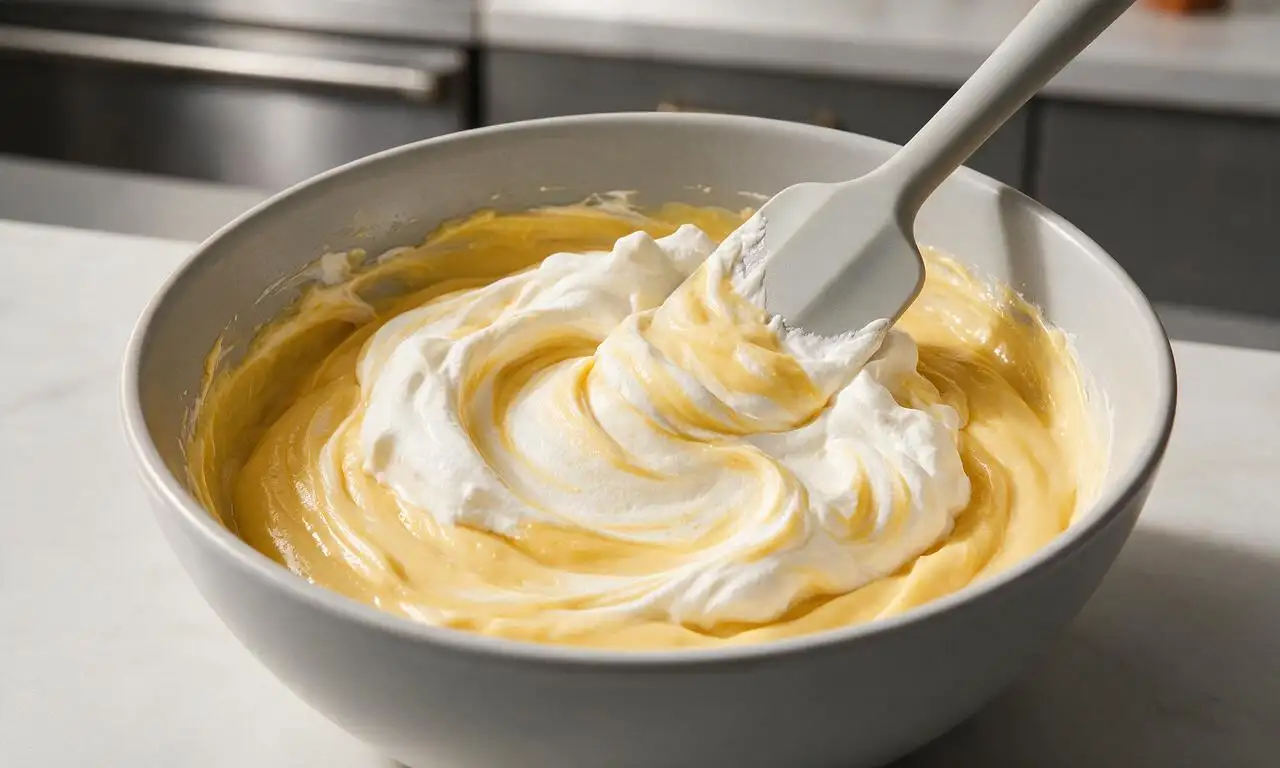
No heat required. Add one third (about 160 g) of the whipped cream to the banana pudding mixture, stirring gently with a rubber spatula over 30 seconds to lighten the dense base. Gently fold in the remaining whipped cream in two equal additions, using slow, sweeping up-and-over motions to keep the mixture light and airy; stop folding as soon as no white streaks remain (about 15 folds total), to avoid deflating the cream.
Step 4
step4:Fold cream and base
5

Fold in cookie pieces

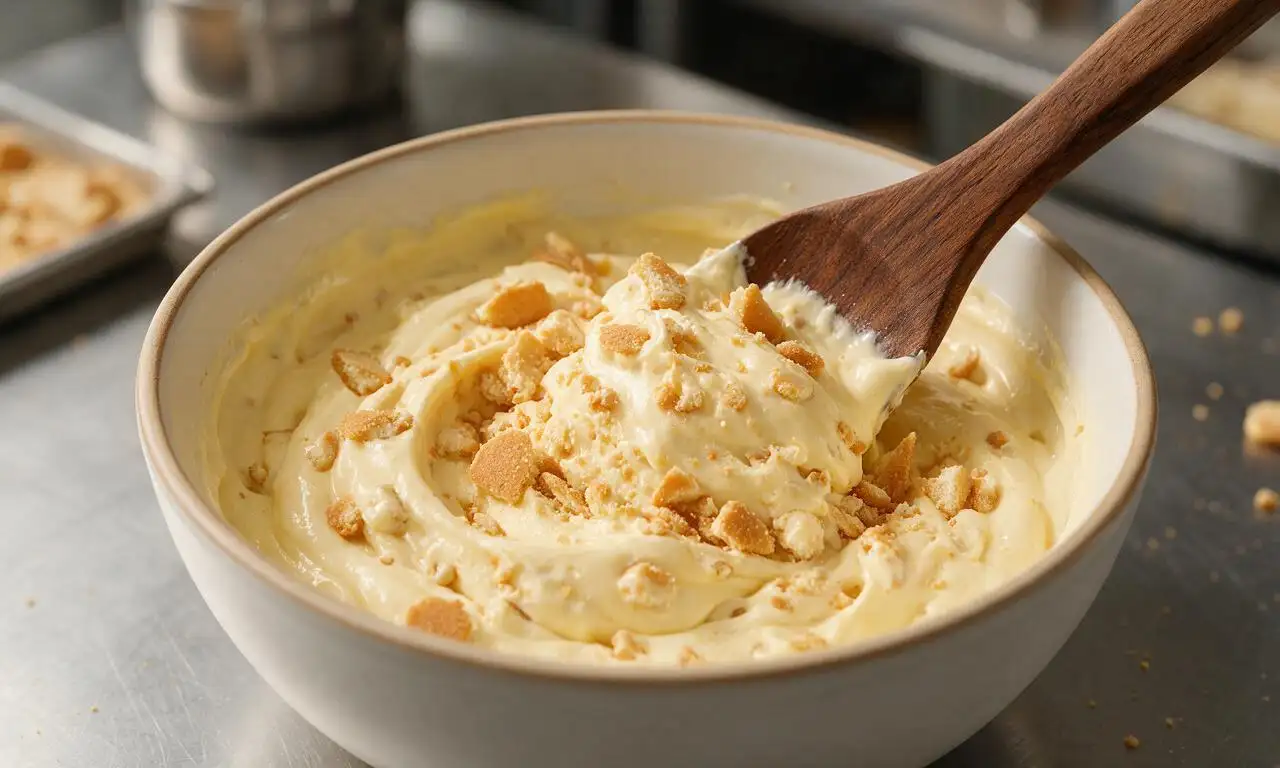
No heat required. Reserve 2 tablespoons (15 g) of the crushed vanilla wafers for topping, then gently fold the remaining 105 g of crushed wafers into the ice cream base with 2-3 slow turns of the spatula (about 10 seconds of mixing), distributing the cookie chunks evenly without overmixing, so the cookies stay in distinct chunks rather than dissolving into the base.
Step 5
step5:Fold in cookie pieces
6

Freeze until firm

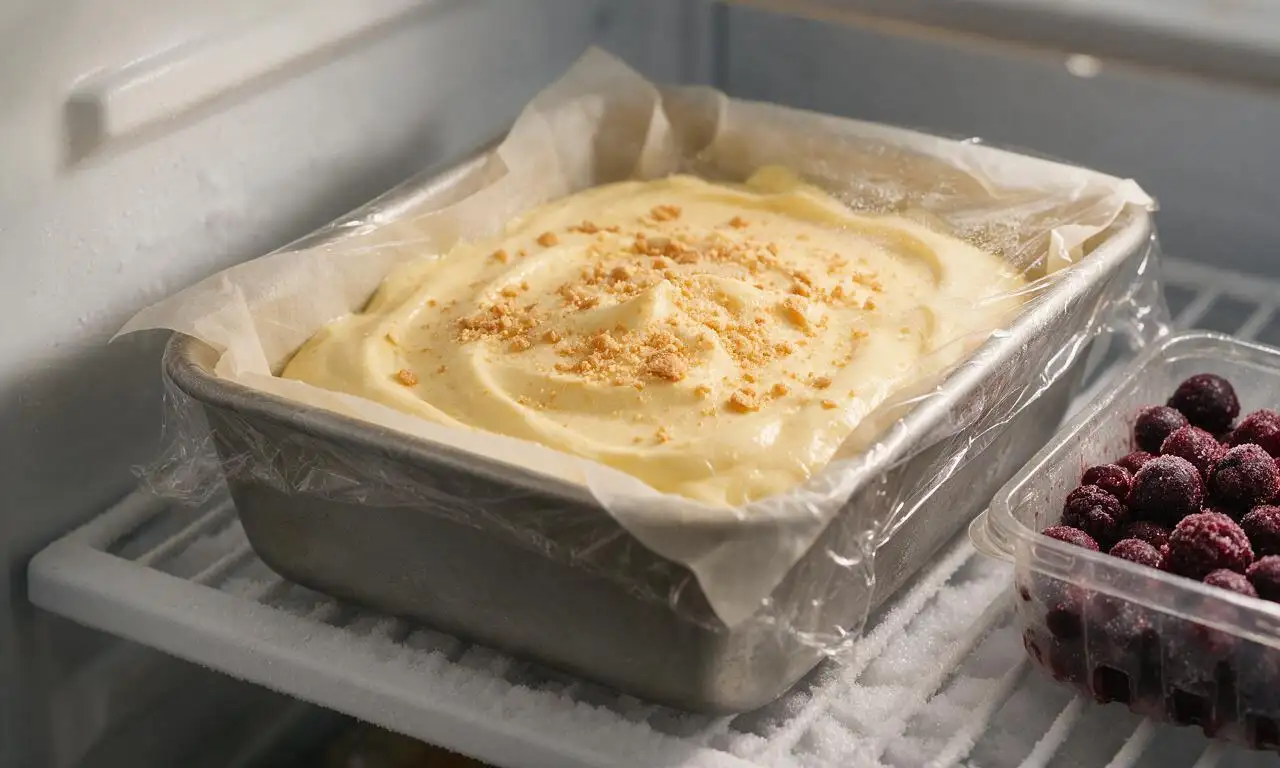
Set your freezer to -18°C (0°F) for best results. Transfer the ice cream mixture to the prepared parchment-lined loaf pan, smoothing the top into an even layer with the spatula over 30 seconds. Sprinkle the reserved 15 g of crushed vanilla wafers evenly over the top. Cover the pan tightly with plastic wrap, pressing the wrap directly against the ice cream surface to prevent ice crystal formation, then freeze on a level middle freezer shelf for 6 hours, or until completely firm and scoopable.
Step 6
step6:Freeze until firm

Tips

1.Use very ripe, heavily spotted yellow bananas for the sweetest, most robust banana flavor; under-ripe bananas with green tips will add a starchy, bland taste to the finished ice cream.
2.Chill your large mixing bowl in the freezer for 10 minutes before whipping cream to help the cream whip faster, form stiffer peaks, and resist deflating when folded into the pudding base.
3.Let the frozen ice cream rest at room temperature for 5 minutes before scooping; straight from the freezer it will be quite firm, and this short rest creates a creamy, easy-to-scoop consistency.


✨ You May Also Like

Desserts & Baking
🍜 Italy

Creamy, coffee-kissed classic Northern Italian no-bake dessert, with layers of rum-spiked mascarpone cream, soft ladyfingers, and a rich cocoa dusting.

⏱️ 4 hours 3Desserts & Baking ★ 4.7
Desserts & Baking
🍜 France

Flaky, shatteringly crisp, buttery French croissants with golden exteriors and soft, airy layered interiors, perfect for pairing with coffee for a special morning treat.

⏱️ 12 hours Desserts & Baking ★ 4.5
Desserts & Baking
🍜 United States

Warm, spiced baked apples topped with a fluffy golden biscuit crust, this cozy dessert pairs perfectly with vanilla ice cream for cool-weather comfort.

⏱️ 55 minuteDesserts & Baking ★ 4.6
Desserts & Baking
🍜 United States

A star-spangled classic American blueberry pie with buttery flaky crust and bright sweet-tart filling, perfect for summer patriotic gatherings.

⏱️ 1 hour 25Desserts & Baking ★ 4.7
Desserts & Baking
🍜 United States

A beloved no-bake regional Maine candy with a chewy coconut-potato center coated in rich dark chocolate, a New England holiday staple since the 1870s.

⏱️ 2 hours 3Desserts & Baking ★ 4.8
Desserts & Baking
🍜 France

Luxuriously creamy, floral frozen custard made with aromatic Tahitian vanilla beans, boasting a smooth, rich texture that melts slowly on the tongue.

⏱️ 3 hours 3Desserts & Baking ★ 4.5

Banana Pudding Ice Cream:Frequently Asked Questions

1.How ripe do my bananas need to be for the best flavor? ▾
Reach for heavily spotted, mostly yellow-brown bananas for this recipe—these have the sweetest, most concentrated fruity flavor with none of the starchy, bitter bite of underripe fruit. If your bananas are still mostly pale yellow, leave them on the counter 2-3 days, or tuck them in a paper bag with an apple to speed ripening.
2.Do I need an ice cream maker or special equipment to make this? ▾
No special gear is required at all! All you need is a hand mixer (or a sturdy whisk and a little arm strength), a couple mixing bowls, and a lidded freezer-safe container. Unlike many homemade ice cream recipes, you won’t need to stir the base hourly as it freezes, either.
3.Can I use cook-and-serve vanilla pudding instead of instant pudding mix? ▾
Stick strictly to dry instant vanilla pudding mix for this recipe. Cook-and-serve pudding won’t dissolve properly in the cold base, leaving a grainy, starchy texture. The instant mix also helps stabilize the ice cream, preventing large, crunchy ice crystals from forming as it freezes.
4.Why does the heavy whipping cream need to be cold? ▾
Cold heavy cream whips faster and holds stiff, fluffy peaks far better than room-temperature cream, which is the secret to that light, luxuriously creamy no-churn texture. For even better results, chill your mixing bowl and beaters in the freezer for 10 minutes before you start whipping.
5.How do I keep the vanilla wafers from getting soggy in the ice cream? ▾
Fold coarsely crushed vanilla wafer bits into the base right before you transfer it to the freezer to preserve their signature crunch—adding them too early lets them absorb moisture and turn mushy. You can also tuck whole wafers and thin banana slices between layers as you pour for fun, classic texture pockets.
6.How long does this ice cream need to freeze before it’s ready to serve? ▾
Let it freeze tightly covered for at least 6 hours, ideally overnight, before you try to scoop it. If it’s been frozen for more than 2 days, let it rest on the counter for 5 to 7 minutes first—no-churn ice cream sets firmer than store-bought, so this short rest makes scooping much easier.
7.Can I make this dairy-free for guests with dietary restrictions? ▾
Absolutely! Swap the heavy cream for full-fat cold coconut cream (chilled overnight, with the watery liquid drained out), use dairy-free sweetened condensed milk and dairy-free instant vanilla pudding, and confirm your vanilla wafers are dairy-free. The final result will be just as rich, creamy, and flavorful as the original.
8.How long will this ice cream stay fresh in the freezer? ▾
Stored in an airtight container with a sheet of plastic wrap pressed directly against the ice cream’s surface to block ice crystal formation, it will stay fresh for up to 2 weeks. After that, it will develop icy patches and lose its bright, fresh banana flavor, so enjoy it within that window.

Comments (7)

2 days ago

OMG y’all, this no-churn banana pudding ice cream was an absolute game changer for our weekend cookout! I didn’t have to pull out my clunky ice cream maker at all, 20 minutes of prep and I just stuck it in the freezer before we ran errands. All the neighbors asked for the recipe, especially when I tossed extra Nilla wafer crumbs on top. 10/10, will be making this all summer long.

yesterday

Wait did you add extra banana slices too? I’m thinking of making this for our church potluck next Sunday and want to load it up!

yesterday

So glad it was a hit at your cookout! Adding extra fresh banana slices and a drizzle of caramel between layers takes this to the next level, just make sure to press them down a little so they don’t float to the top while freezing!

3 days ago

Super easy recipe, but mine came out a little icier than I expected? I followed the measurements exactly, used full fat condensed milk and heavy cream too. Any tips for next time? Flavor was spot on, tasted just like the old school banana pudding my grandma used to make, just the texture was off.

2 days ago

Great question! Iciness usually happens if the mixture is over-whipped, or if your freezer isn’t set to a consistent 0°F. Next time, try folding the ingredients more gently instead of stirring vigorously, and press a piece of plastic wrap directly on the surface of the ice cream before putting the lid on to cut down on ice crystals!

1 week ago

SO good, I made this last minute for my roommate’s birthday and she cried real tears. We’re both broke college students with zero fancy kitchen equipment, so the no-churn thing was perfect. I added a handful of mini chocolate chips because we had them lying around and it slapped. 10/10 no notes.

5 days ago

My kids LOVED this! I’ve been trying to find easy summer treats that don’t require me standing over the stove forever, and this checks every box. 20 minutes of prep while the boys were eating lunch, stuck it in the freezer, and it was ready right after dinner. I didn’t even have to fight them to finish their veggies because they knew this was waiting. Will absolutely be adding this to our weekly meal prep rotation.

3 days ago

How long does this stay good in the freezer? I want to make a big batch on Sunday for the whole week!

3 days ago

Love that it was a hit with your boys! Stored in an airtight container, this ice cream stays perfect for up to 2 weeks in the freezer—just let it sit on the counter for 5 minutes before scooping to make it easier to serve!

yesterday

Full transparency: I tried to dig into this after 3 hours in the freezer because I was impatient and it was still totally soft in the middle. Oops. Waited the full 6 hours like the recipe says and OH MY GOD it’s perfect. Creamy, perfectly banana-y, not too sweet, the Nilla wafers get soft and chewy just like in actual banana pudding. Pro tip: don’t be like me, wait the full freeze time.

5 minutes ago

LOL I did the exact same thing last week! Tried a spoonful at 4 hours and it was slushy, thought I ruined it, but by hour 6 it was perfect. Worth the wait fr

2 weeks ago

This is such a great base recipe! I swapped the regular Nilla wafers for the mini vanilla wafer cookies and added a layer of sliced strawberries for a little twist, and it turned out incredible. Even my super picky sister who hates banana flavored things went back for a second scoop. So easy even a total beginner can pull this off, no fancy skills needed.

1 week ago

That strawberry twist sounds absolutely delicious! I love when people get creative with the base—peanut butter swirls or toasted coconut also make amazing add-ins if you ever want to switch it up again!

30 minutes ago

Made this for date night with my girlfriend last night, she’s obsessed with banana pudding so I figured I’d test this out. She said it’s better than the fancy ice cream shop we go to downtown that charges $8 a scoop. Saved me so much money, and it was so easy I didn’t even mess it up (I burn toast half the time, for reference). Will be making this again for our next movie night for sure.



