
barbecue pork belly
intro
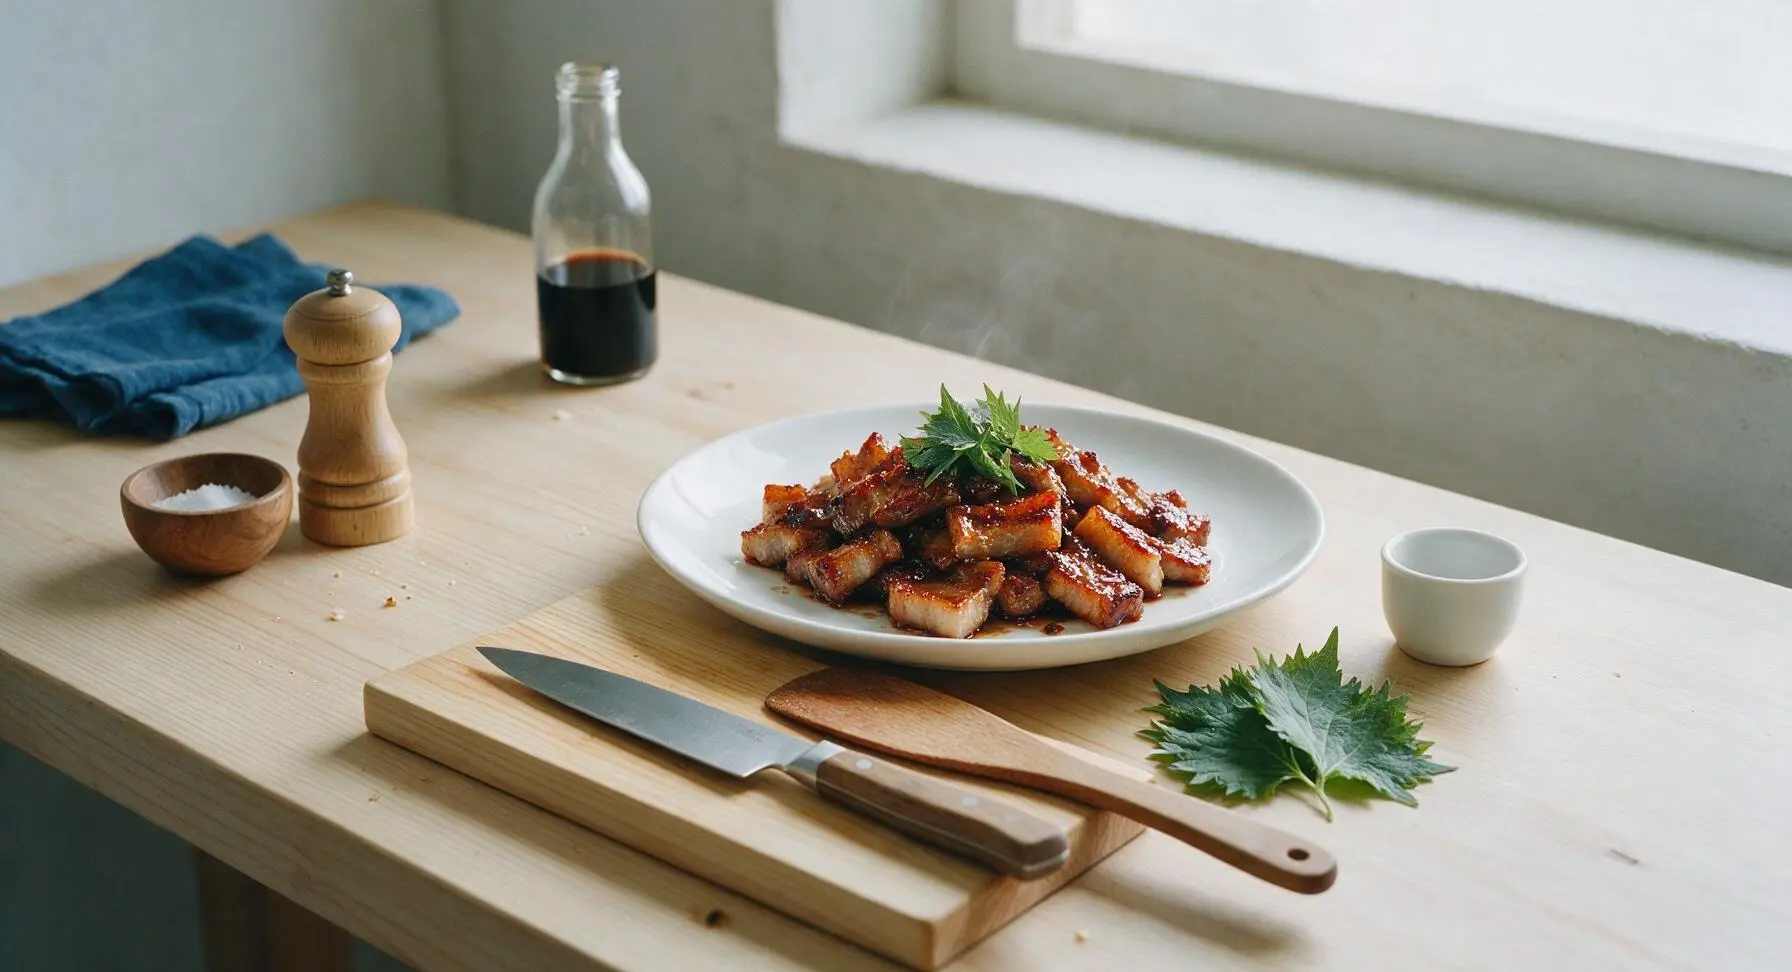
Sticky, caramelized barbecue pork belly with crispy rendered fat edges, smoky sweet-spicy glaze, and tender melt-in-your-mouth texture, ideal for summer cookouts.
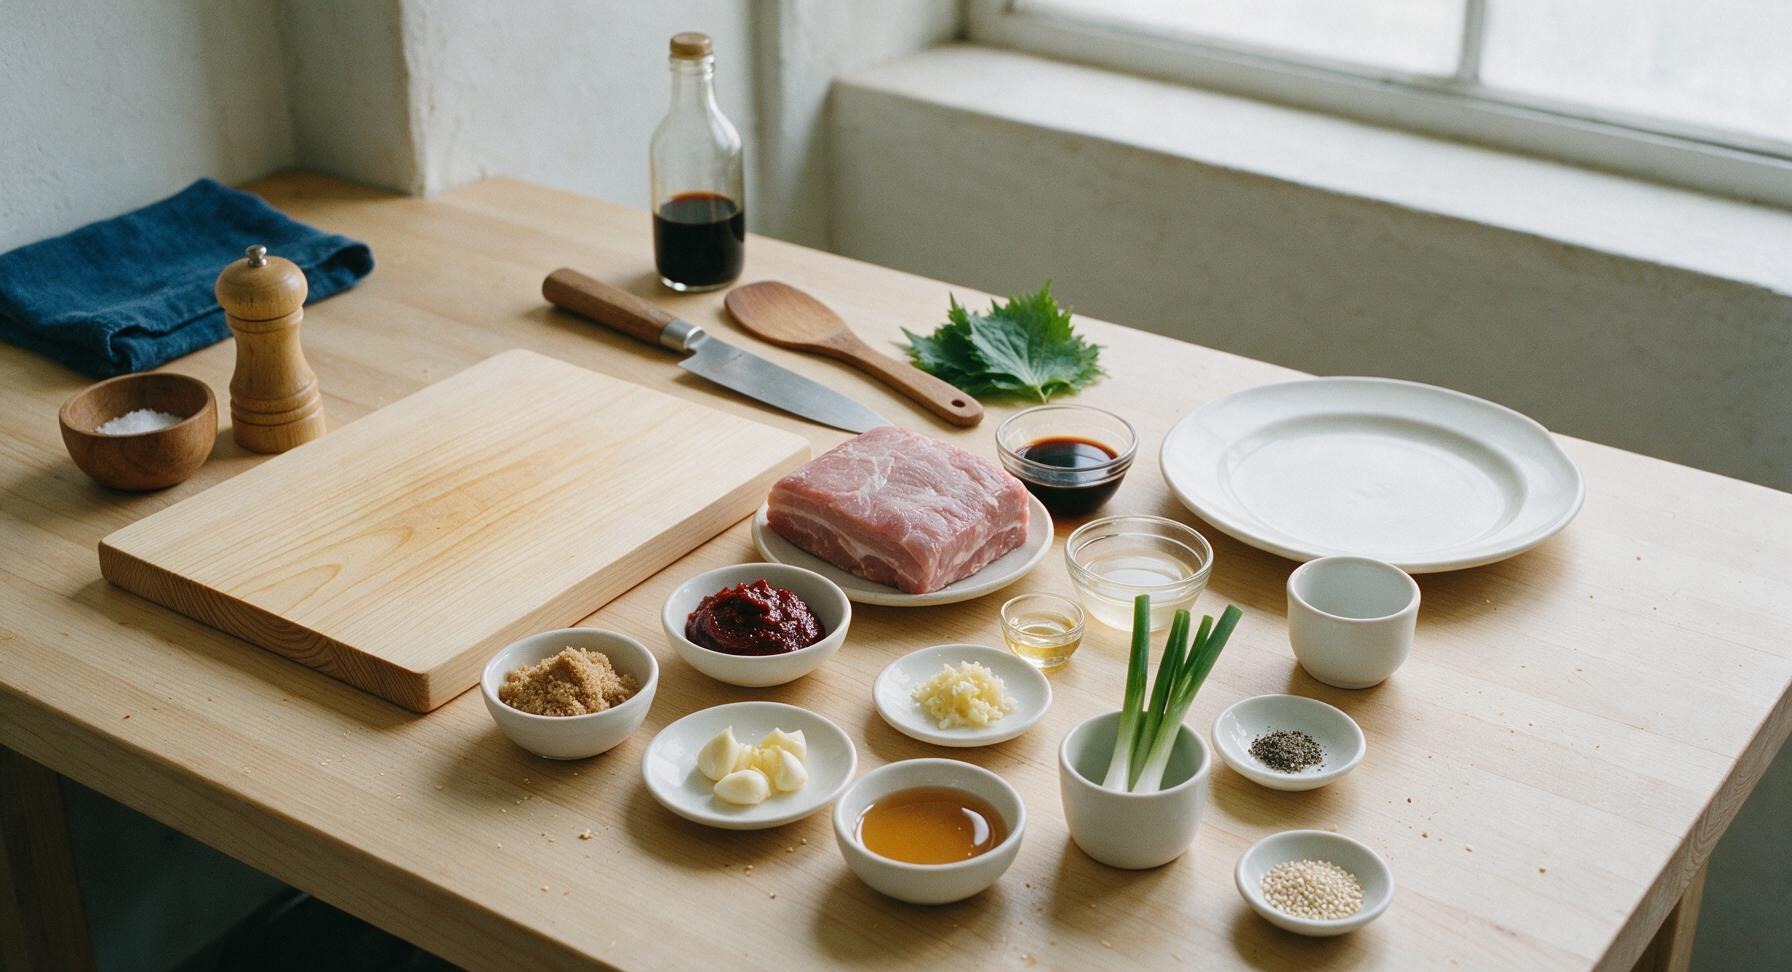
Ingredients
Steps
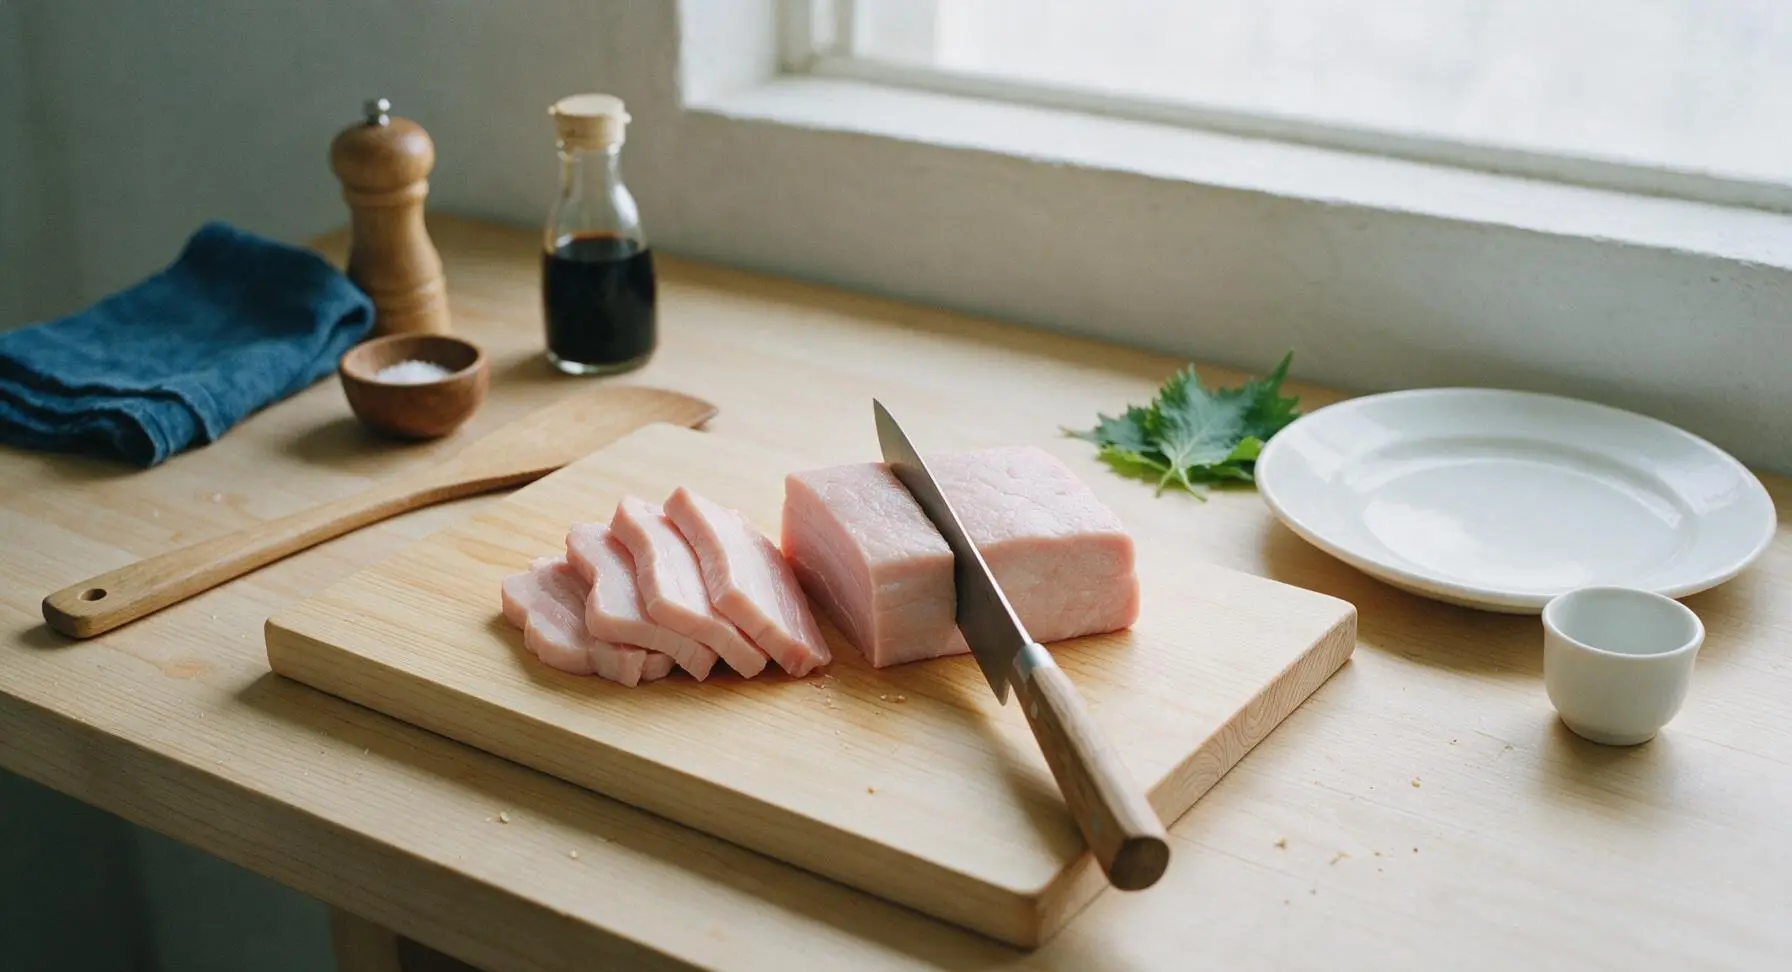
Slice and Prep Pork
Place the whole skinless pork belly block on the acacia cutting board positioned center counter. Use the chef knife to cut the pork against the grain into uniform 1cm (1/2 inch) thick slices. Pat every slice completely dry on both sides with paper towels (discard used towels off-frame) – a dry surface ensures better caramelization and grill marks. Trim and discard any pieces with excessively thick hard fat deposits.
Mix Sticky Marinade
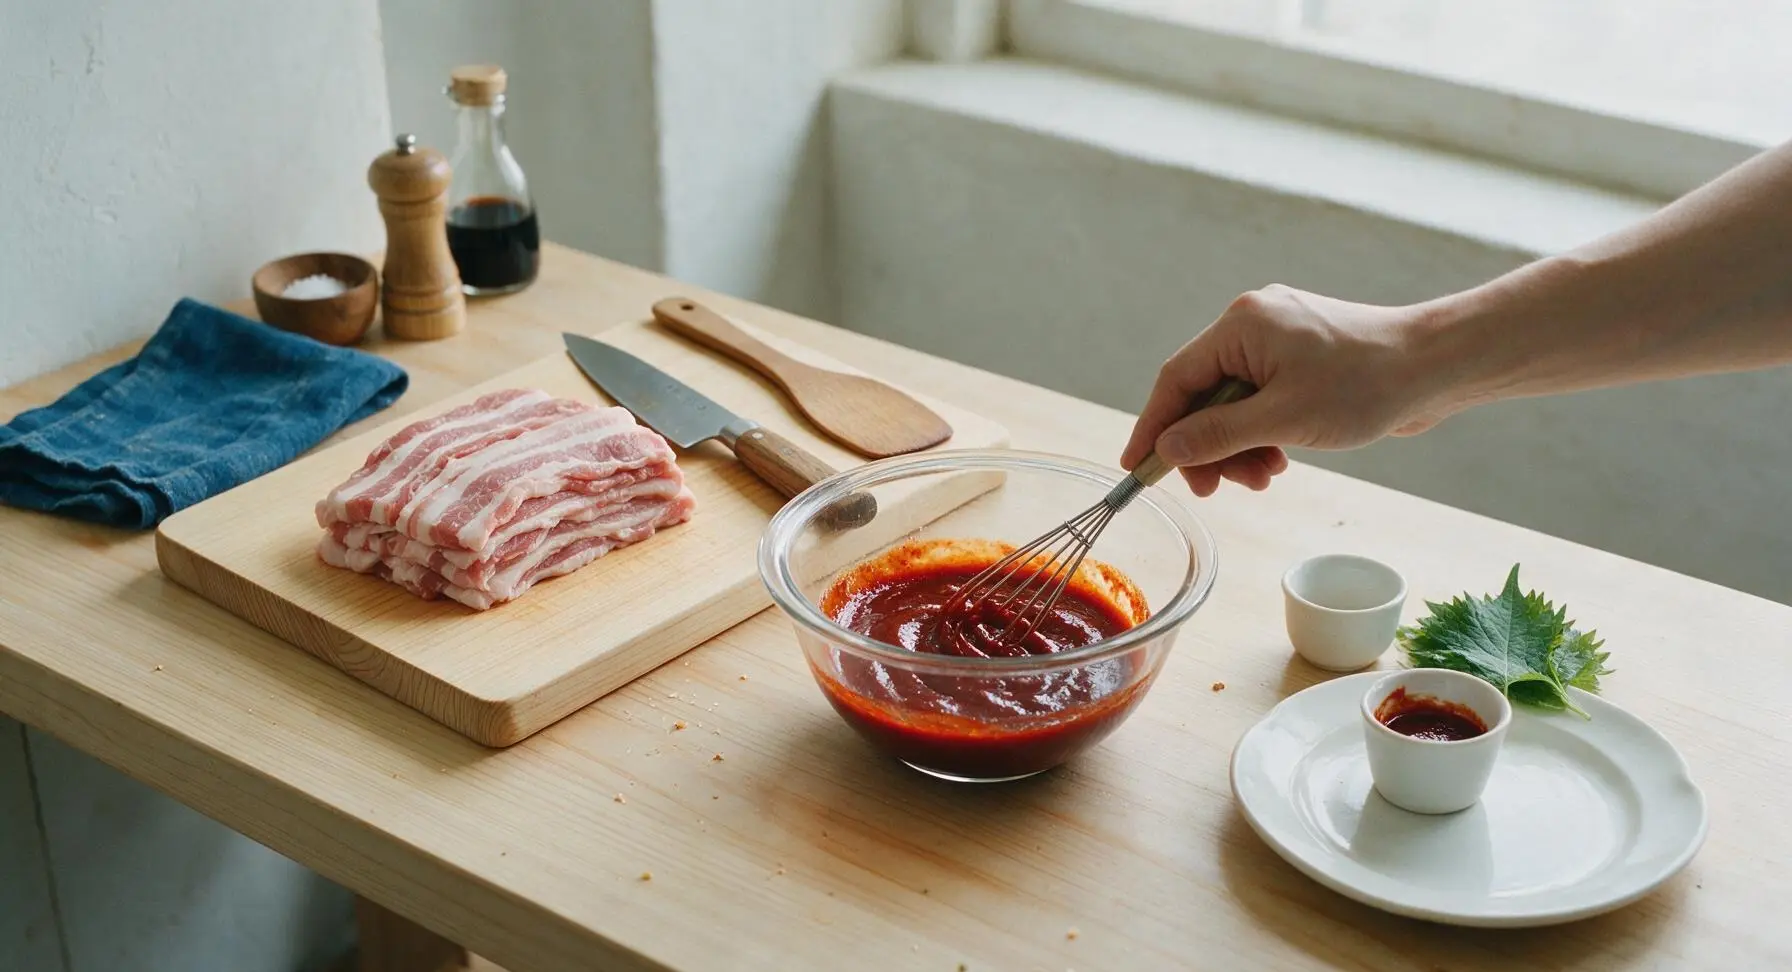
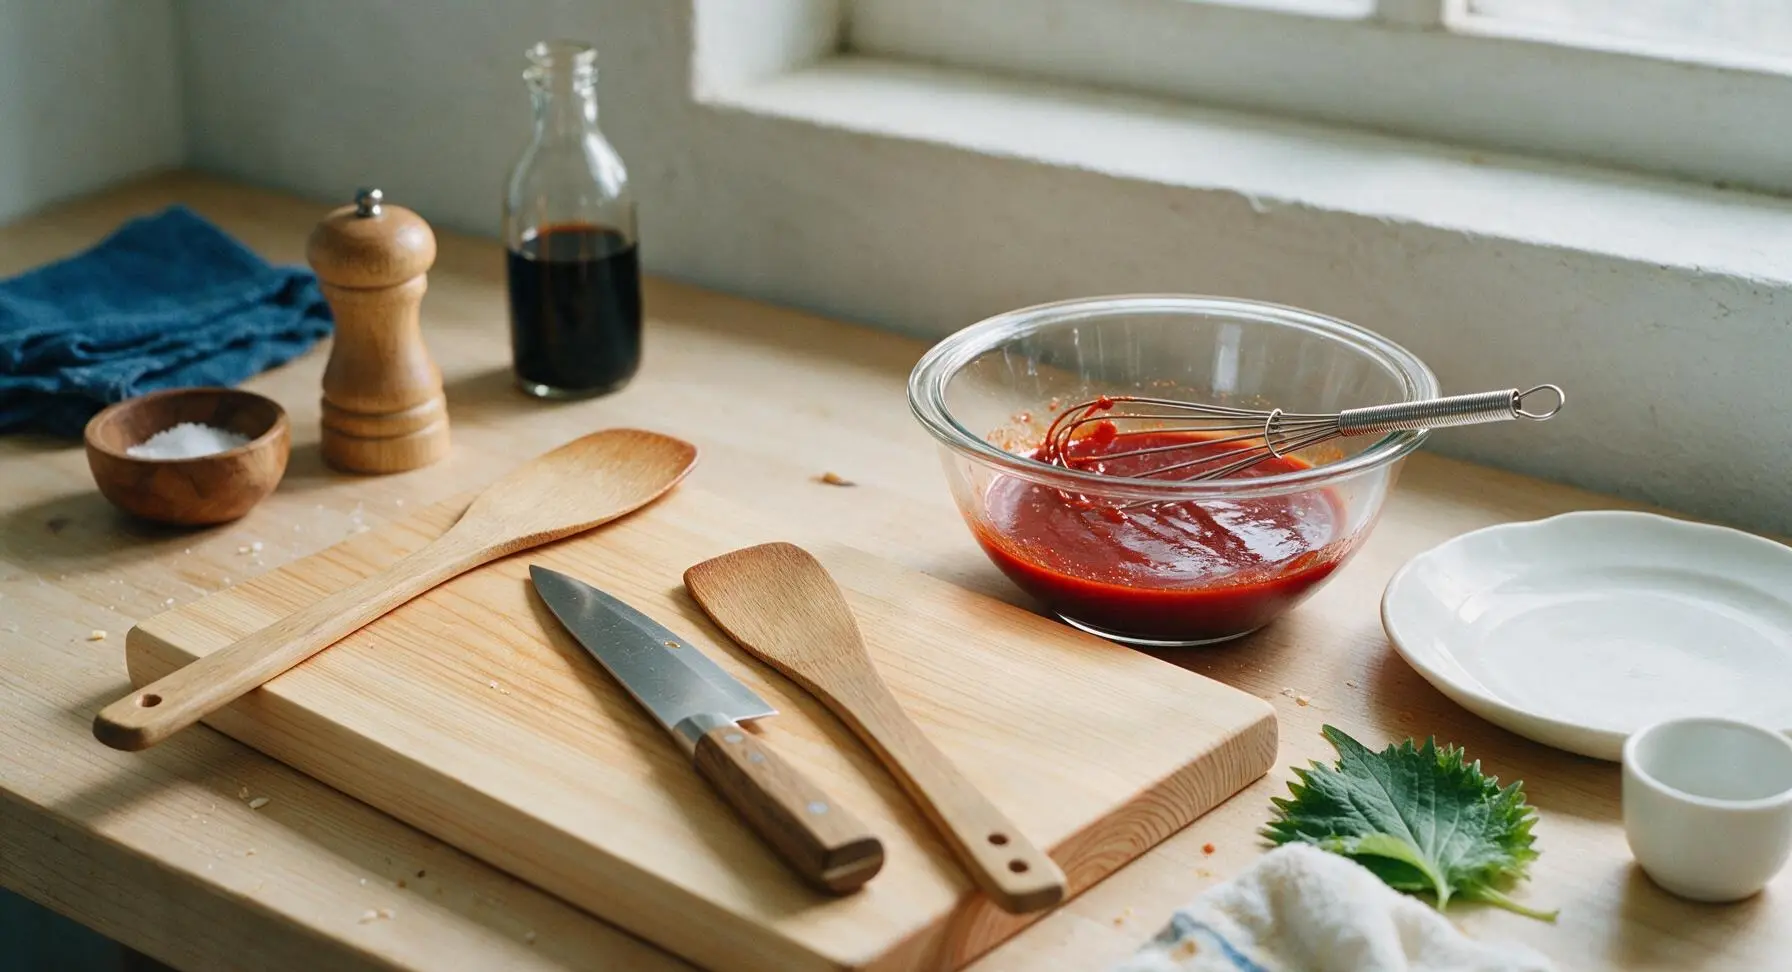
In the clear glass mixing bowl set to the right of the cutting board, combine 3 tablespoons gochujang, 2 tablespoons low-sodium soy sauce, 2 tablespoons packed light brown sugar, 1 tablespoon rice vinegar, 1 tablespoon grated fresh ginger, 4 cloves minced garlic, 1 chopped scallion stalk, 1 tablespoon raw honey, 1 teaspoon toasted sesame oil, and 1/2 teaspoon freshly ground black pepper. Use the mini whisk to stir thoroughly until the sugar is fully dissolved and the mixture is a smooth, deep glossy red with no remaining lumps of gochujang. Set aside 2 tablespoons of the marinade in a small dish for basting during grilling.
Coat and Marinate Pork
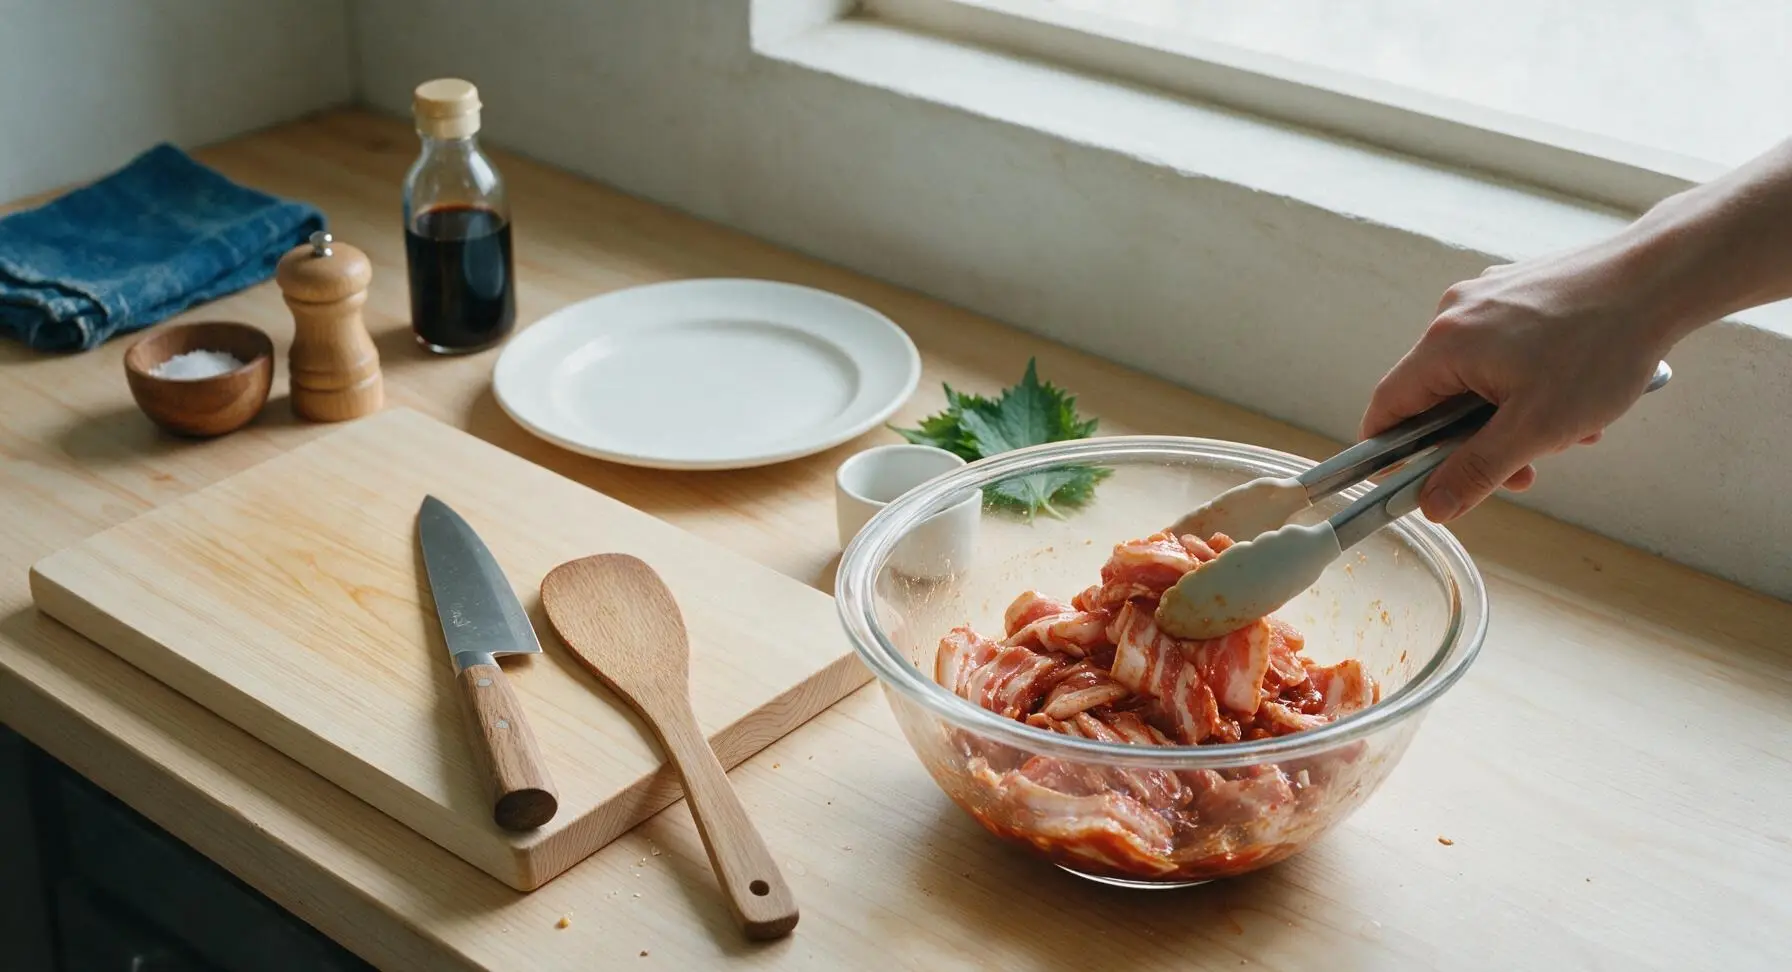
Add the dried pork belly slices to the mixing bowl with the remaining marinade (keep the 2 reserved basting portions separate, covered in the fridge). Use the barbecue tongs to toss thoroughly to ensure every slice is fully coated on all sides in the red marinade. Cover the bowl with plastic wrap and refrigerate for a minimum of 2 hours, or up to 12 hours for deeper flavor.
Preheat Cast Iron Grill
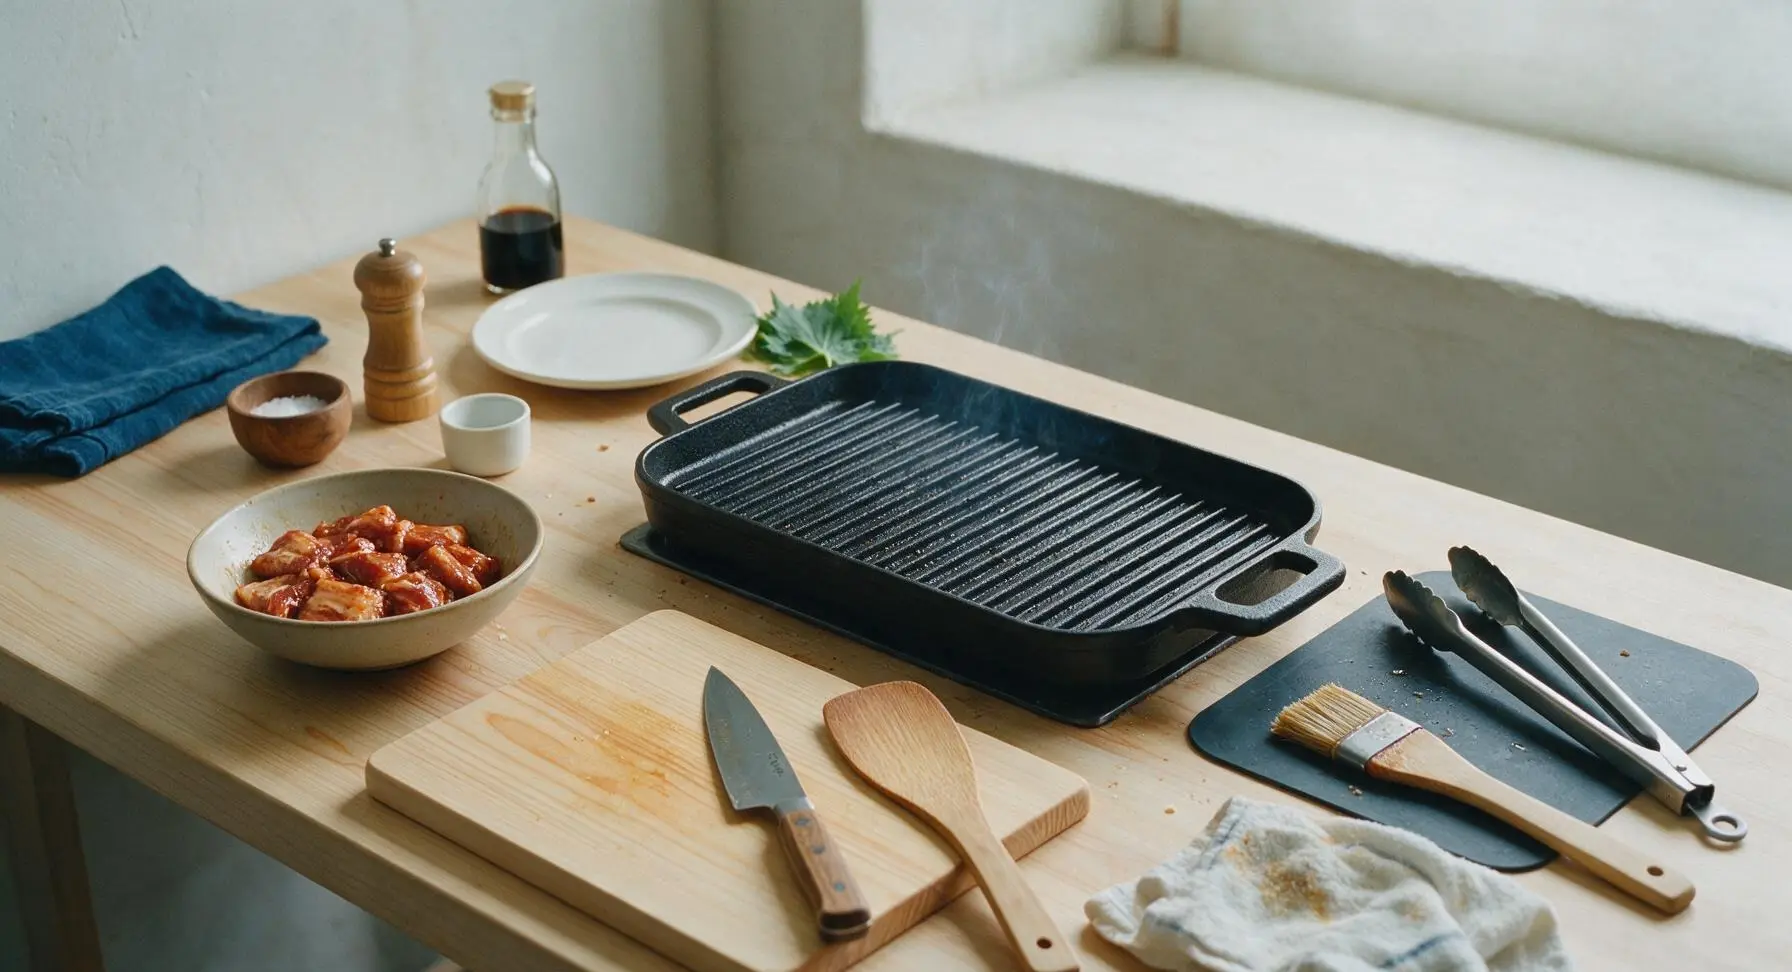
Remove the marinated pork from the refrigerator 20 minutes before cooking to bring it to room temperature. Place the pre-seasoned cast iron tabletop grill in the center of the soapstone counter, heat over medium-high heat until the surface reaches 220C (425F) – test by sprinkling a drop of water: it should dance and evaporate in 1-2 seconds. Lay the small silicone mat to the right of the grill to hold the tongs and basting brush during cooking.
Grill Pork Slices Evenly
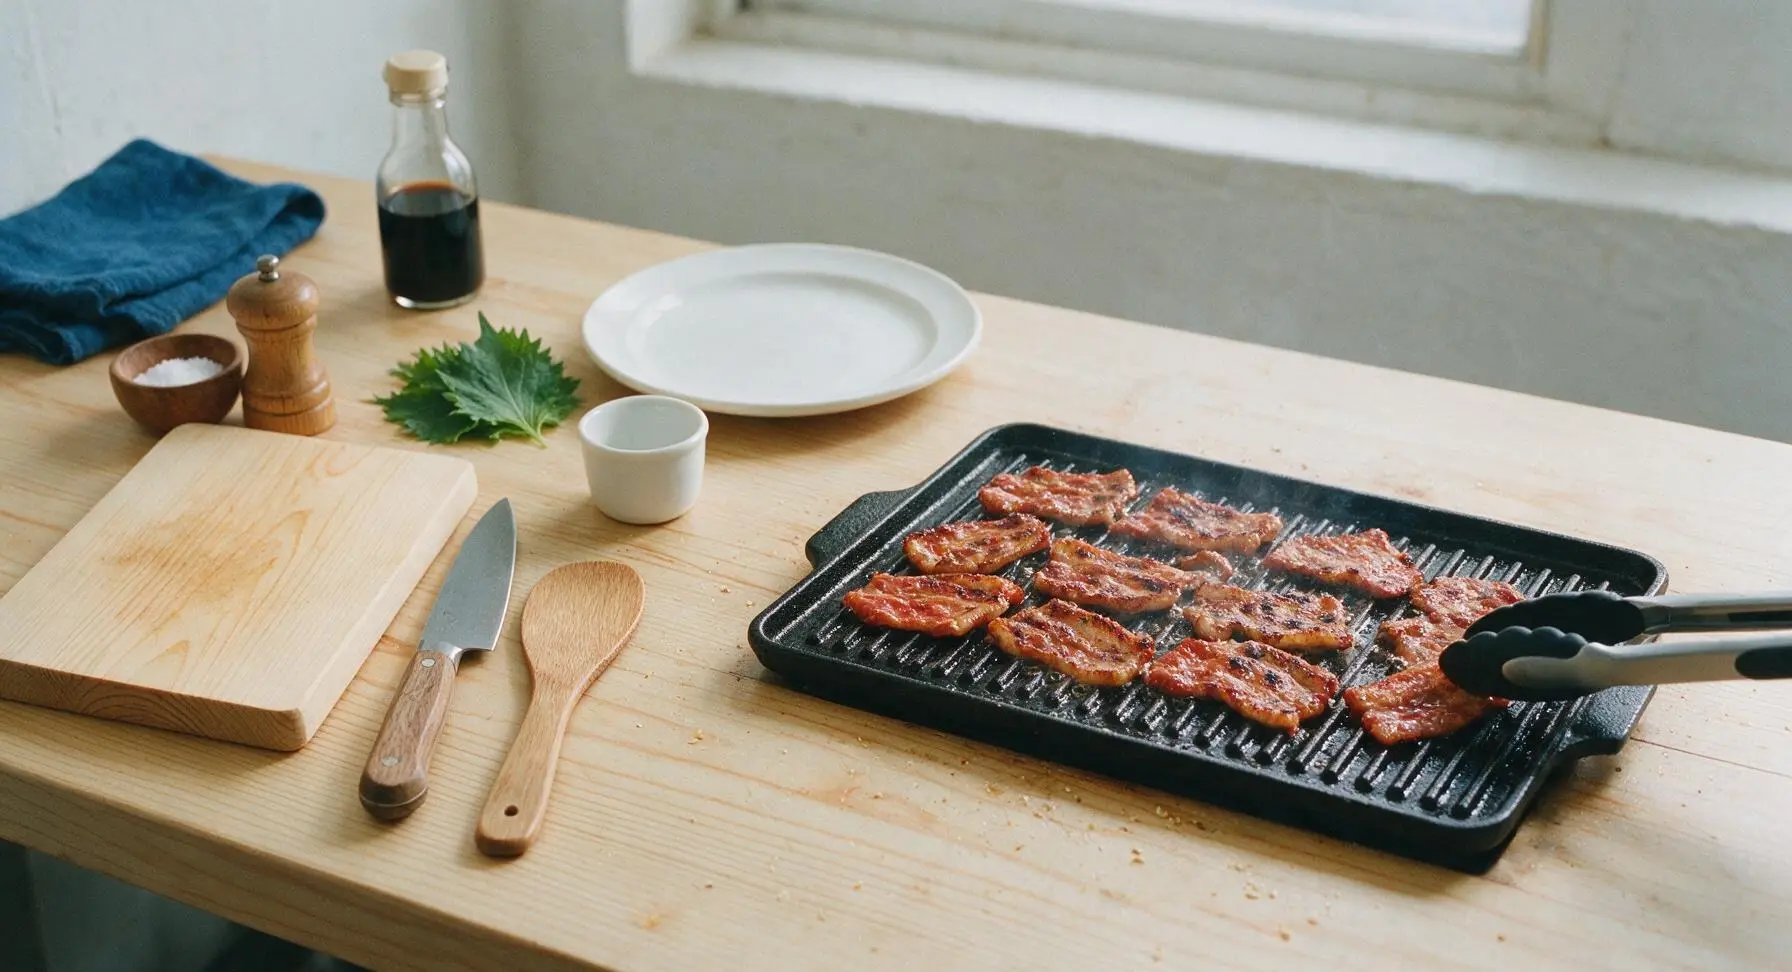
Working in 2-3 small batches to avoid overcrowding the grill, lay marinated pork slices in a single layer across the hot grill ridges. Cook for 3 minutes per side, until dark distinct grill marks form, and the fat renders and turns crispy at the edges. Use the tongs to flip slices only once to preserve clear grill marks. Move cooked slices to a cool edge of the grill while finishing remaining batches, until all pork reaches an internal temperature of 75C (165F).
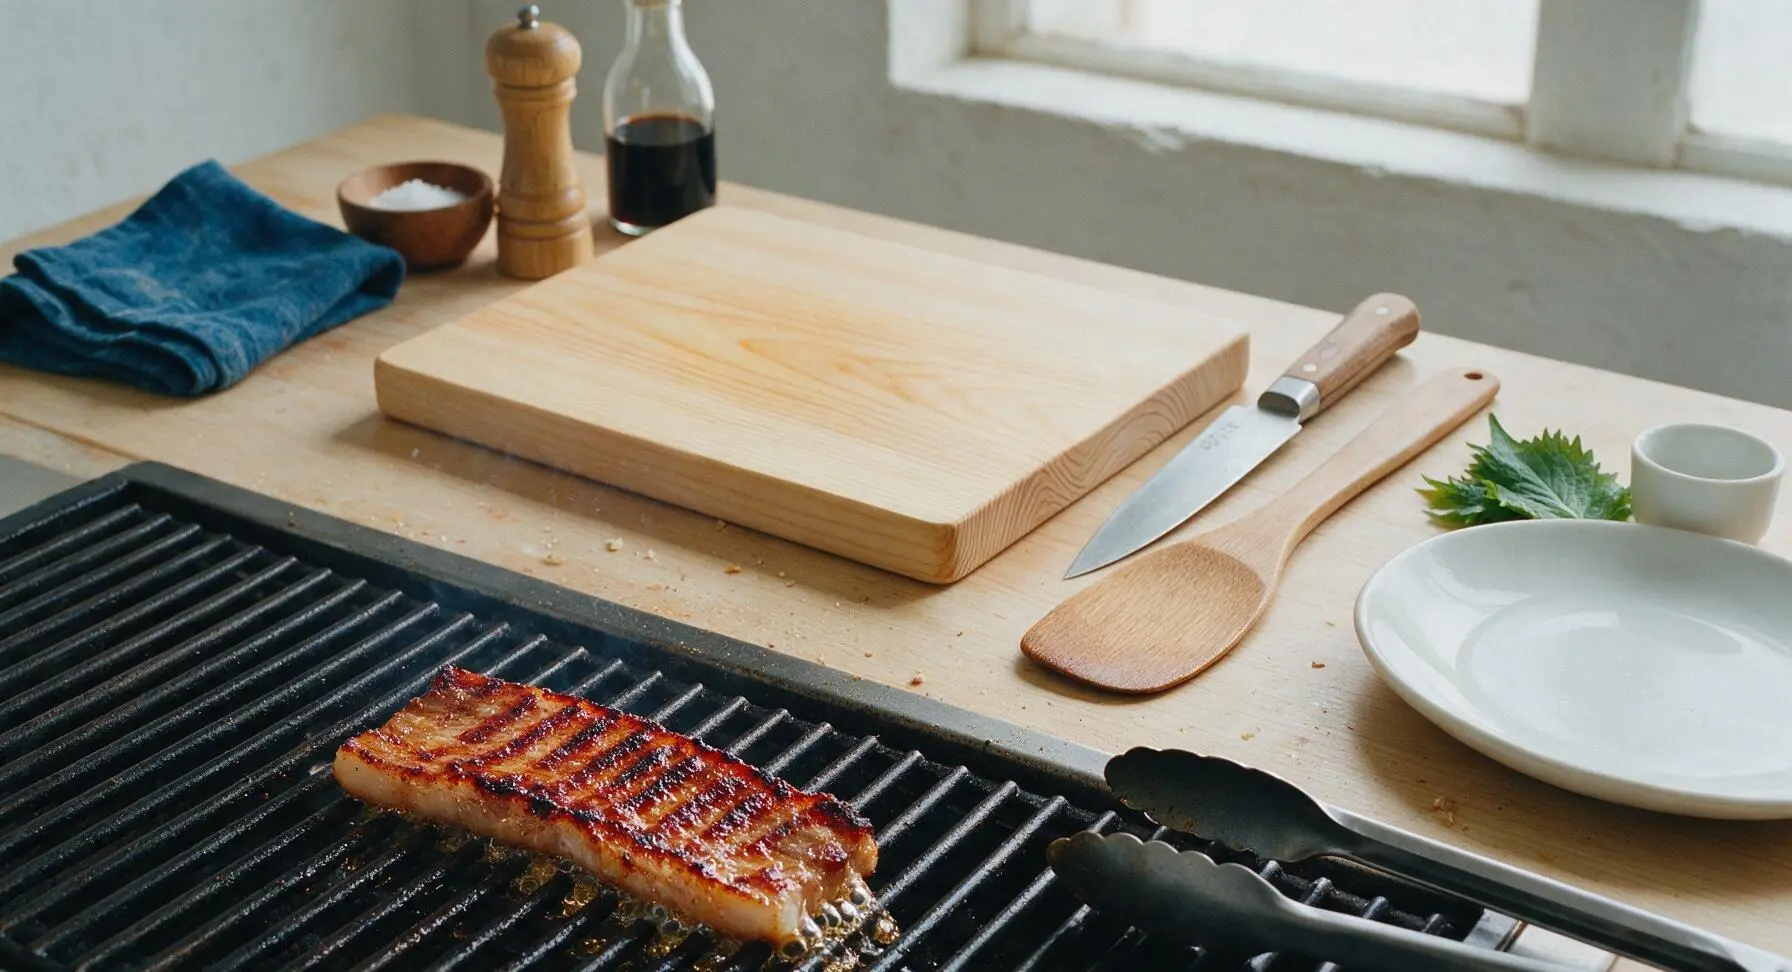
Baste With Reserved Glaze
Once all slices are nearly cooked through, brush both sides of each pork slice with the reserved 2 tablespoons of unused marinade during the last 30 seconds of cooking. Let the glaze caramelize slightly on the hot grill, taking care not to let it burn – it will turn dark black-brown and smell bitter if left too long.
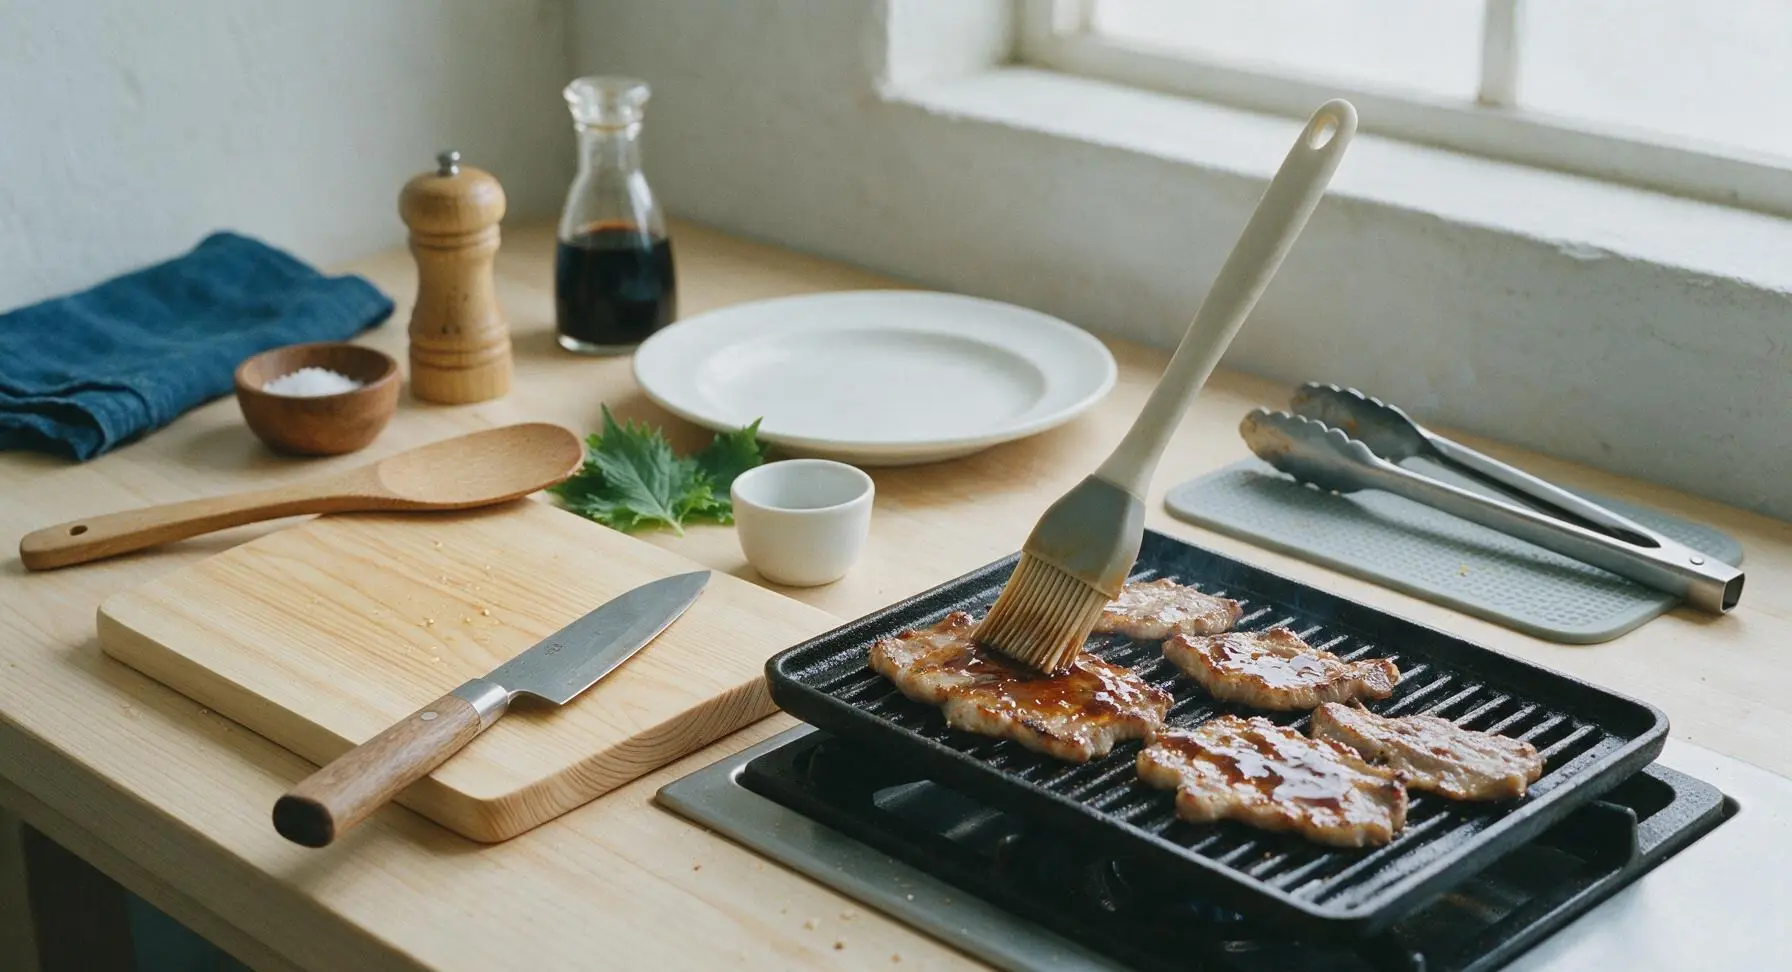
Rest Cooked Pork
Use the tongs to transfer all glazed pork slices off the grill to the clean acacia cutting board, now positioned to the left of the hot grill. Let the pork rest for 3 minutes to allow the juices to redistribute, and the glaze to set slightly. Do not stack slices while resting, as trapped steam will make the crispy edges go soggy.
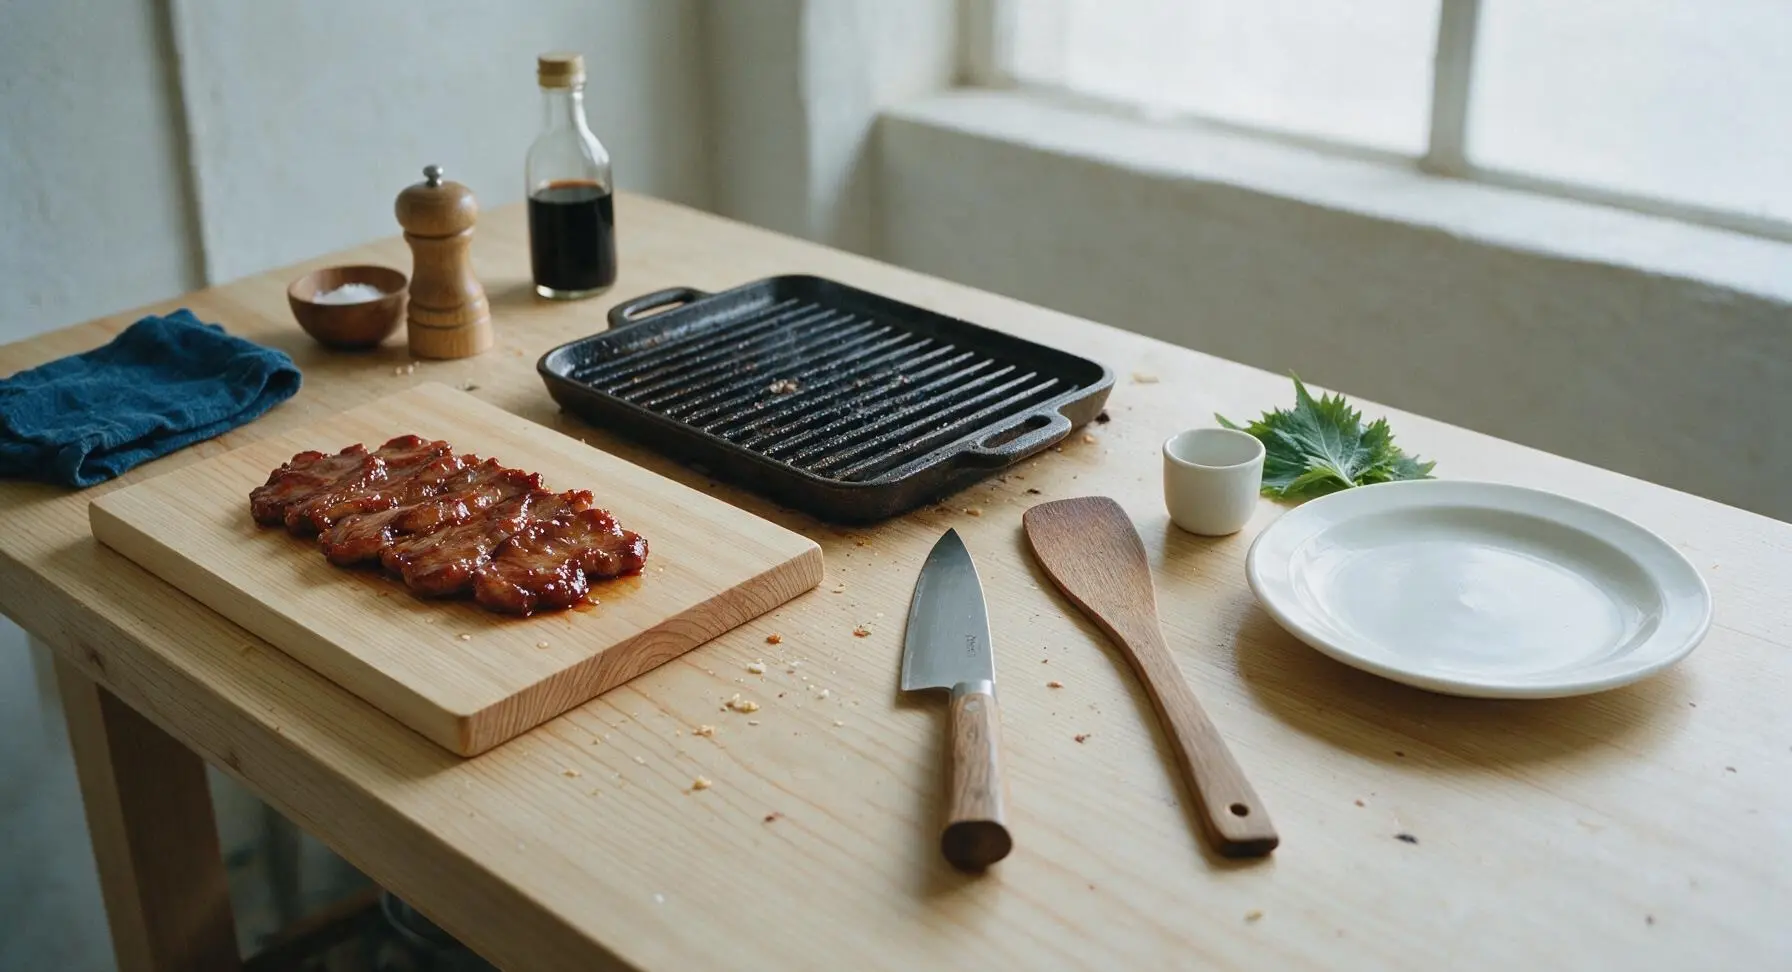
Plate and Garnish
Arrange the rested pork slices in a slightly fanned pattern across the matte slate gray serving platter. Drizzle any remaining glaze collected on the cutting board over the top of the slices. Garnish with thinly sliced green scallion tops from the remaining 2 stalks and a light sprinkle of toasted white sesame seeds. Serve immediately with the small white dipping bowls of extra gochujang or rice vinegar on the side, if desired.
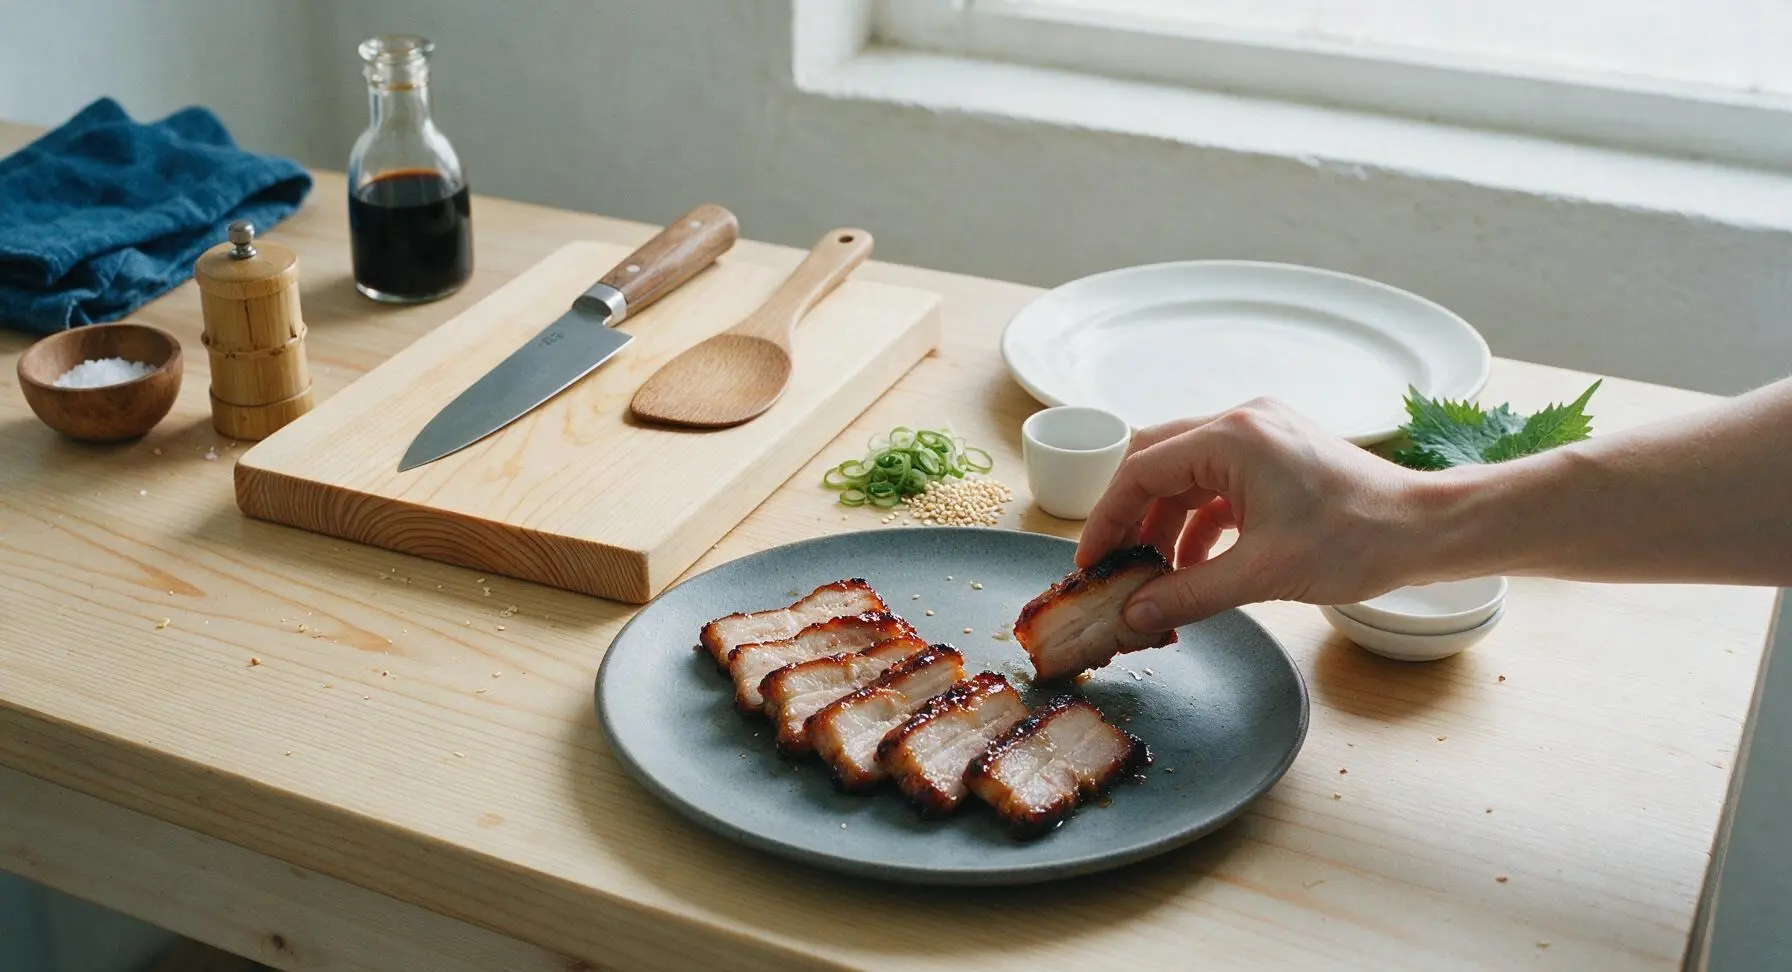
Tips
2.Always set aside basting marinade before adding raw pork to the bowl: marinade that touches raw pork can carry foodborne bacteria unless boiled for 3 full minutes, so pre-reserving a portion eliminates this extra step and cross-contamination risk.
3.Cook pork in small, single-layer batches without overcrowding the grill: too many slices at once drops the cast iron surface temperature rapidly, leading to greasy, steamed pork instead of the caramelized, sticky exterior this recipe is known for.






OMG this sticky barbecue pork belly was the star of our Sunday family dinner! My kids went back for seconds before I even sat down, and my husband asked if we can add this to the weekly rotation. The glaze gets perfectly caramelized on the edges — SO good, I already sent the recipe to my whole potluck group!
Tried this for my first time cooking pork belly ever! The cook time listed was spot on for my oven, but I accidentally burned the first batch of glaze because I walked away to grab a soda. Don’t be like me — stay close when that glaze is reducing! Tasted amazing even with my little mishap, will definitely make again.
Game changer for my weekly meal prep! I portioned this out with roasted broccoli and rice for 4 days of lunches, and it held up so much better than I thought. The sticky glaze doesn’t get soggy in the fridge? Total win, my coworkers were all jealous of my lunch this week.
This was really tasty, but I wish there was a little more tang in the barbecue glaze! It was super sweet for my taste, even after I added a splash of apple cider vinegar. Maybe I’ll cut the brown sugar a bit next time to balance it out. The pork belly itself cooked perfectly though, super tender!
Made this on my charcoal grill instead of the oven last weekend and holy cow, that smoky flavor paired with the sticky glaze is unreal. I thought the 35 minute cook time was too fast for pork belly but it came out fall-apart tender with that perfect crispy top. Served it at my game watch party and it was gone in 10 minutes.
So happy this recipe is naturally gluten free if you swap regular soy sauce for tamari! I’ve been looking for a good pork belly recipe that I can serve for my sister’s celiac-friendly birthday dinner, and this checked every box. No weird ingredients, super straightforward, and the glaze is finger-licking good.
Made this in my tiny dorm air fryer because I don’t have an actual oven and it SLAPPED. Cut the pork belly into smaller cubes, tossed it in the glaze, air fried at 380 for 20 minutes and it came out crispy and sticky and better than the takeout pork belly I pay $18 for down the street. Absolute game changer for a broke college kid.
Brought this to my office potluck yesterday and so many people asked for the recipe! The only issue I had was that the glaze was a little runny when I first made it, so I had to simmer it a few extra minutes to get that thick sticky texture the recipe talks about. Other than that, total crowd pleaser.
If you’re on the fence about making this, STOP SCROLLING AND MAKE IT. The ratio of crispy rendered fat to tender meat is perfect, and the barbecue glaze is sticky without being cloying. I ate half the pan straight out of the baking dish standing over my sink no shame.
Made this for date night with my girlfriend last night and she said it’s the best thing I’ve ever cooked for her. We paired it with garlic fried rice and pickled cucumbers to cut the richness, and it was restaurant quality. 10/10, will be making this for every special occasion from now on.
This was so much faster to make than I expected! I thought pork belly would take hours to cook, but 35 minutes total? Perfect for busy weeknights when I don’t have a ton of time to spend in the kitchen. My 3 kids all ate it without complaining, which is basically a miracle in my house.
Taste was great, but I struggled to get the pork belly skin as crispy as the photos look. I followed the directions exactly, patted the pork dry, used the recommended oven temp, but the skin was still a little chewy for me. Maybe I need to move the rack up closer to the broiler for the last few minutes next time?
Leftovers of this make the BEST pork belly sliders. Chop up the leftover pork, toast some little brioche buns, add a dollop of coleslaw, and drizzle a little extra barbecue sauce? Chefs kiss. I intentionally make a double batch now just so I have leftovers for sliders the next day.
SO good! I’ve tried so many sticky pork belly recipes that are either too sweet or too salty, and this one is perfectly balanced. The cook time was exactly right for my oven, no adjustments needed. Will be making this all summer long for cookouts.
Was so nervous to make pork belly for the first time because I thought it would be super complicated, but this recipe was totally approachable even for a medium skill level! The only thing I messed up was cutting the pieces too small, so they got a little crispier than I wanted, but the flavor was still chef’s kiss.
Added a little rub with brown sugar, paprika, and garlic powder to the pork belly before adding the glaze and it was out of this world. Tastes like something you’d order at a fancy barbecue joint but made right in your own kitchen. My whole family raved about it.
This is way better than the sticky pork belly I get from my local Chinese takeout spot, and it’s cheaper to make at home too! The glaze gets so shiny and sticky, it coats every piece perfectly. I’ll never order takeout pork belly again.
Made this for a cabin trip with friends last weekend and everyone was begging for the recipe before we even finished eating. We cooked it on the camp stove in a cast iron skillet and it came out just as good as it does in the oven at home. Perfect hearty meal after a day of hiking!