
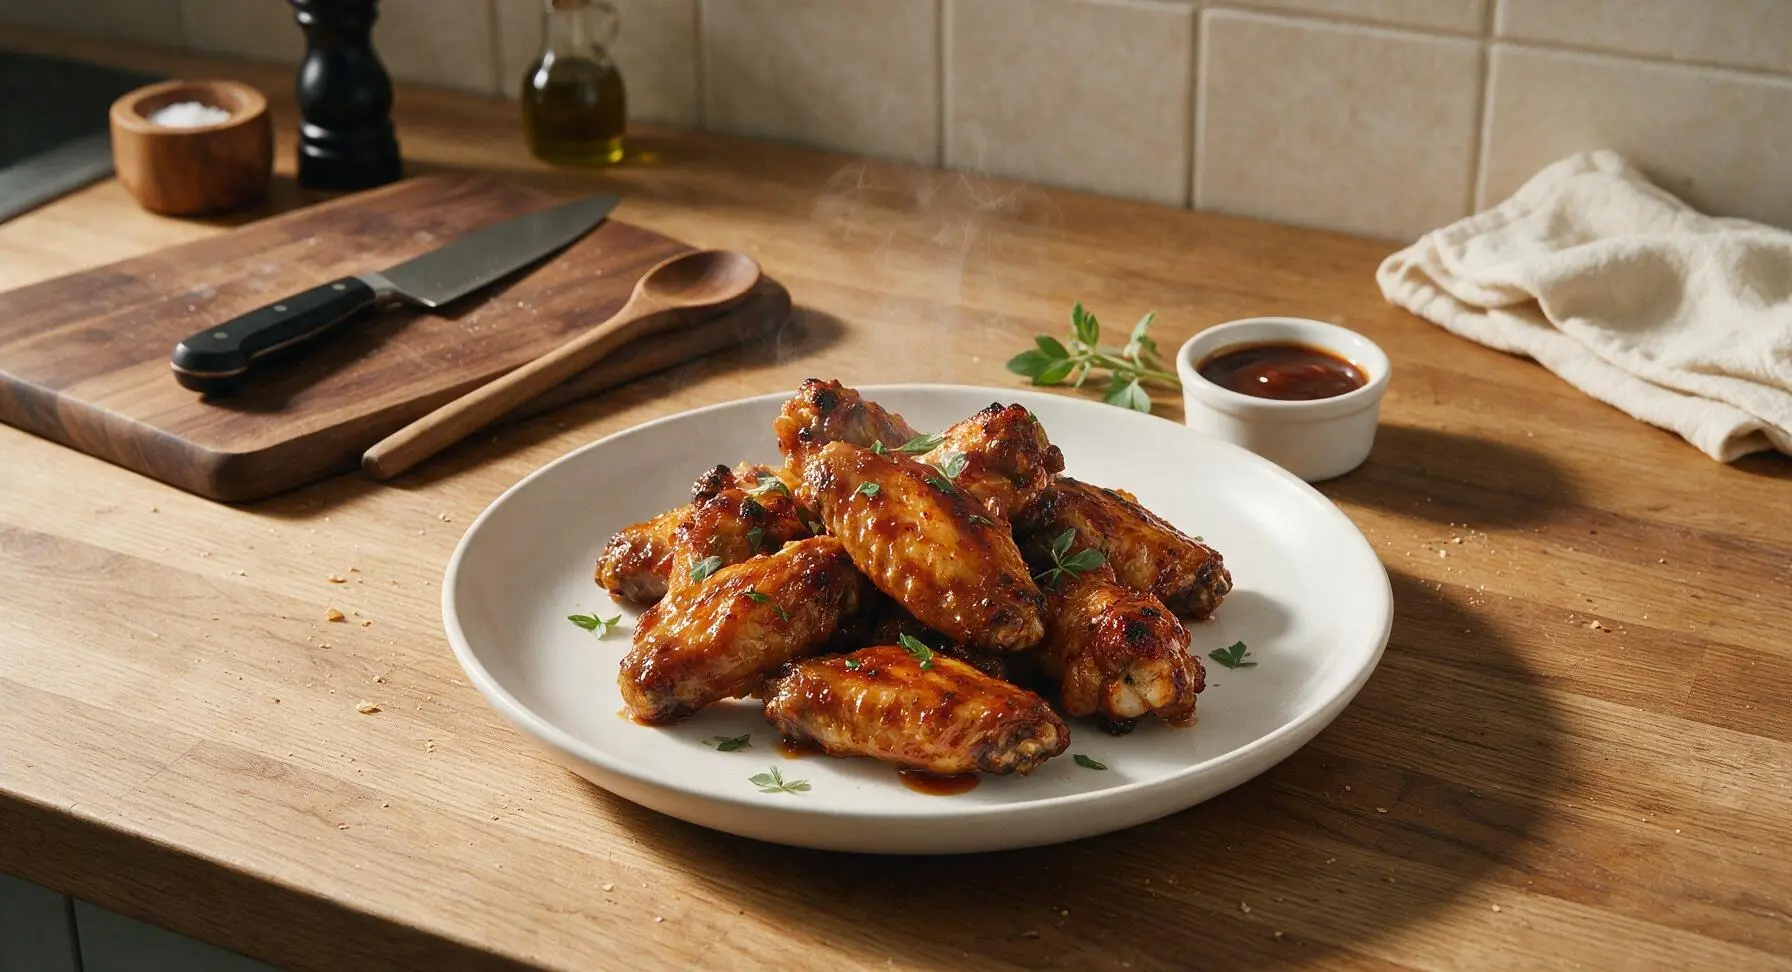
barbeque wings

title 1
barbeque wings
⏱️ cook time 45 minutes
🍽️ servings 4
⚡ Difficulty easy

intro

Sticky, smoky, crispy-skinned barbeque wings coated in a tangy-sweet glaze, with subtle charred edges—ideal for casual summer gatherings and easy enough for beginner cooks.

Ingredients
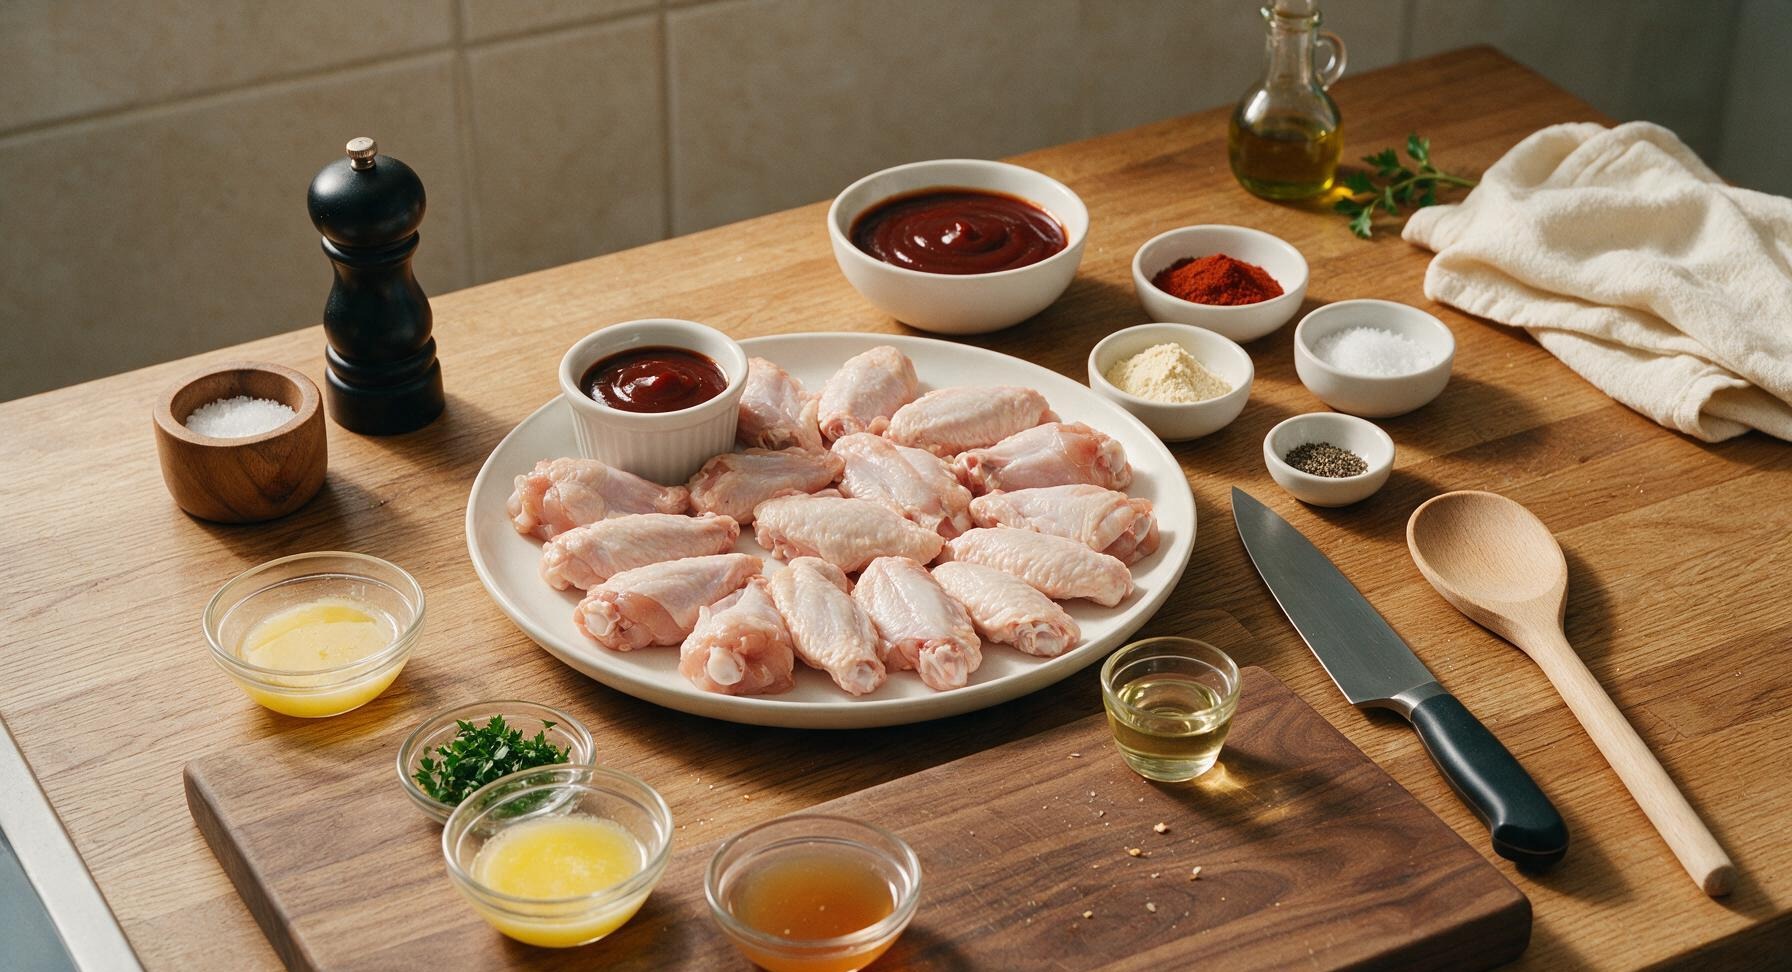
Split chicken wings (drumettes and flats, tips removed) 900g (2 lbs)
Sweet-tangy barbeque sauce 240ml (1 cup)
Smoked paprika 1 tbsp
Garlic powder 1 tsp
Kosher salt 1 tsp
Freshly ground black pepper 1/2 tsp
Unsalted butter, melted 2 tbsp
Apple cider vinegar 1 tbsp
Fresh parsley, chopped 2 tbsp
Neutral cooking oil (canola or avocado) 1 tsp

Steps

1

Pat Wings Completely Dry

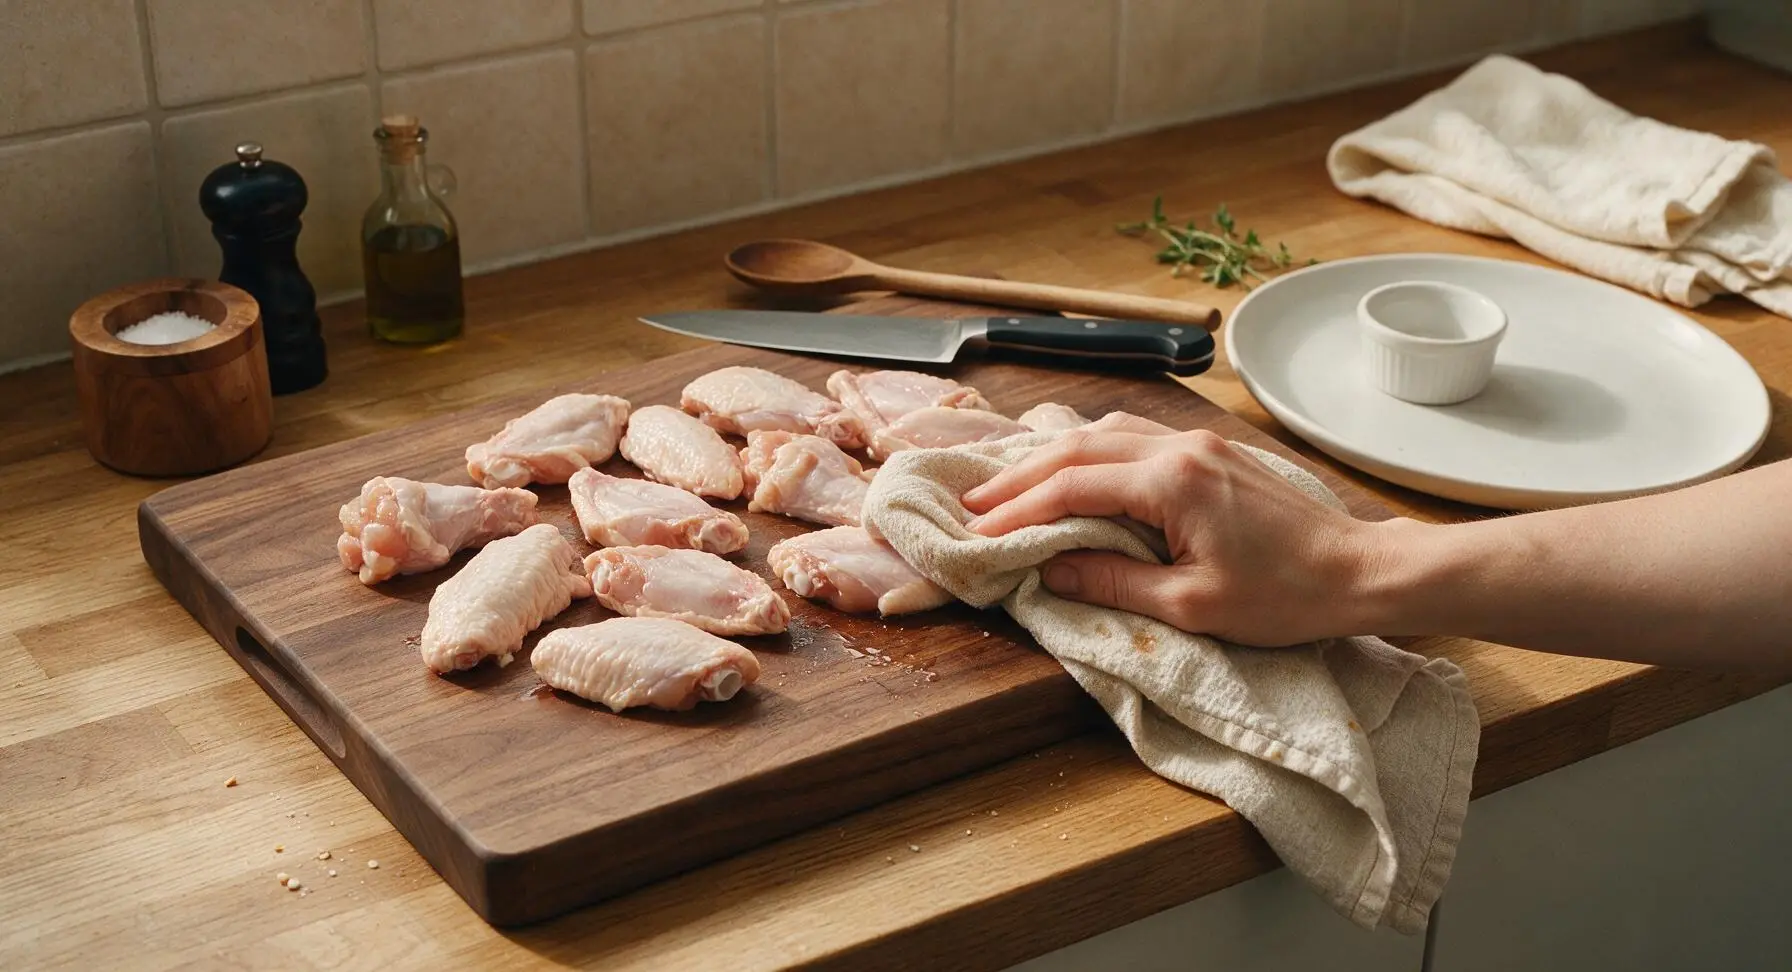
Place the split chicken wings on the maple cutting board. Pat every surface thoroughly with the oatmeal cotton kitchen towel to remove all excess moisture—this is critical for crispy skin. Discard any remaining wing tips if attached, and ensure no wet spots remain on the skin; the surface should feel dry and slightly tacky to the touch.
Step 1
step1:Pat Wings Completely Dry
2

Toss with Dry Seasoning

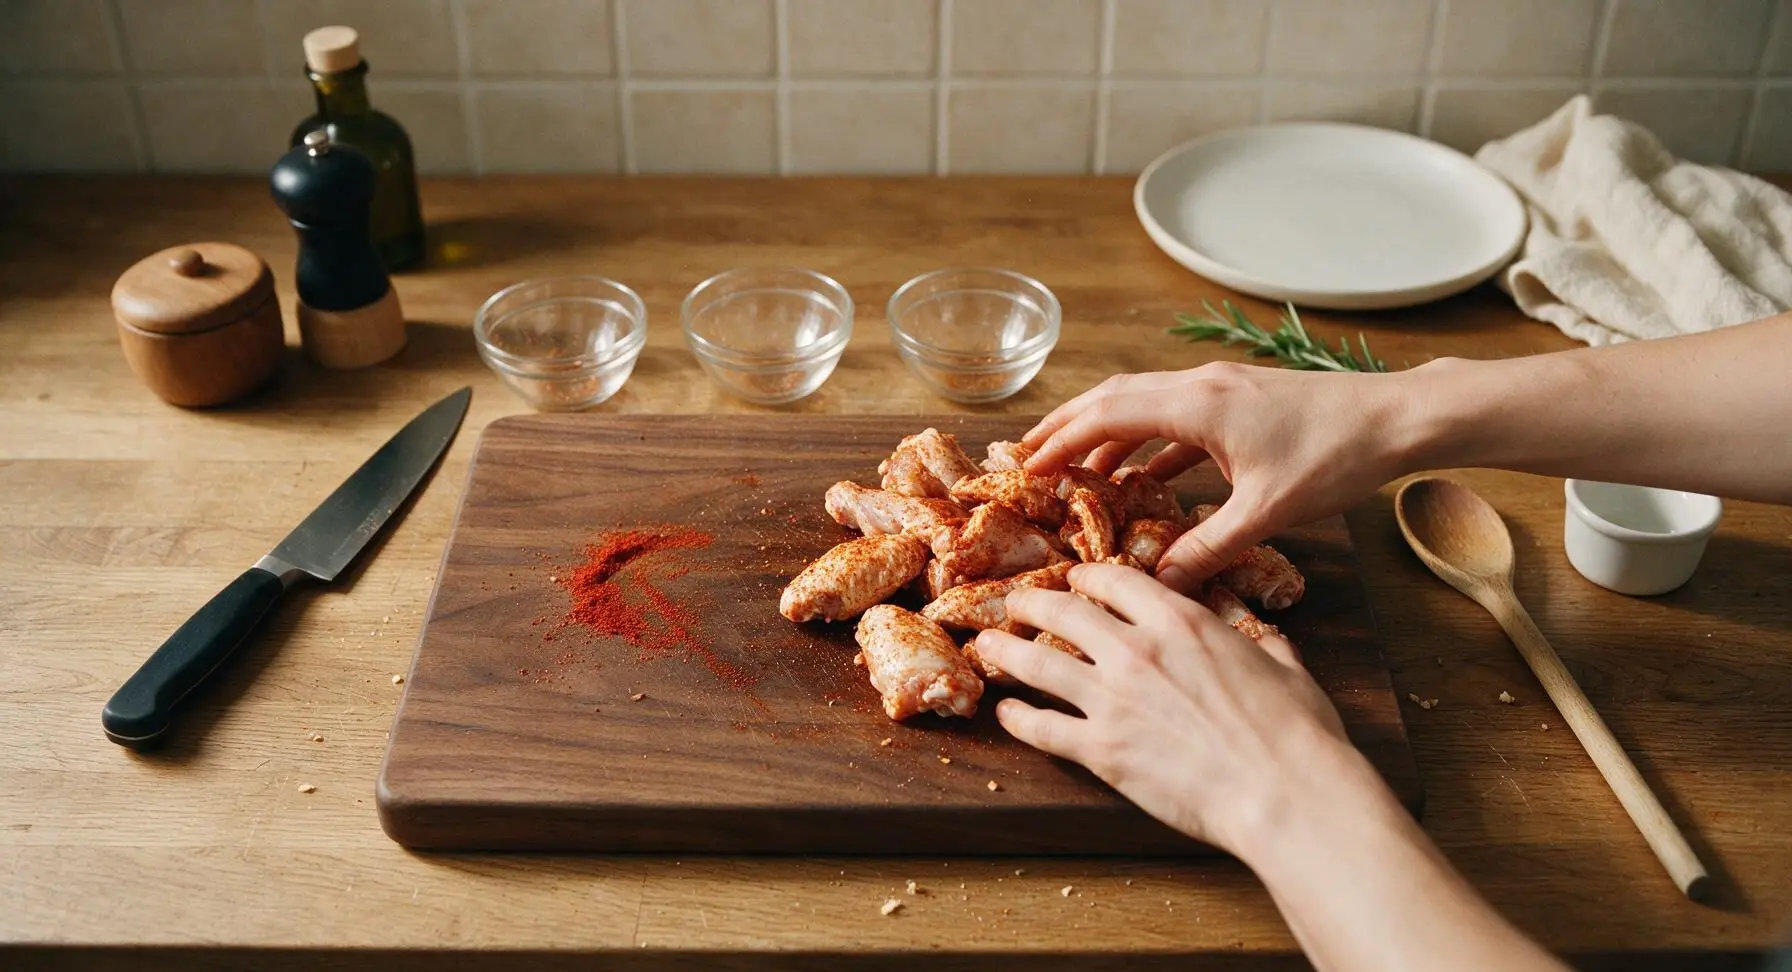
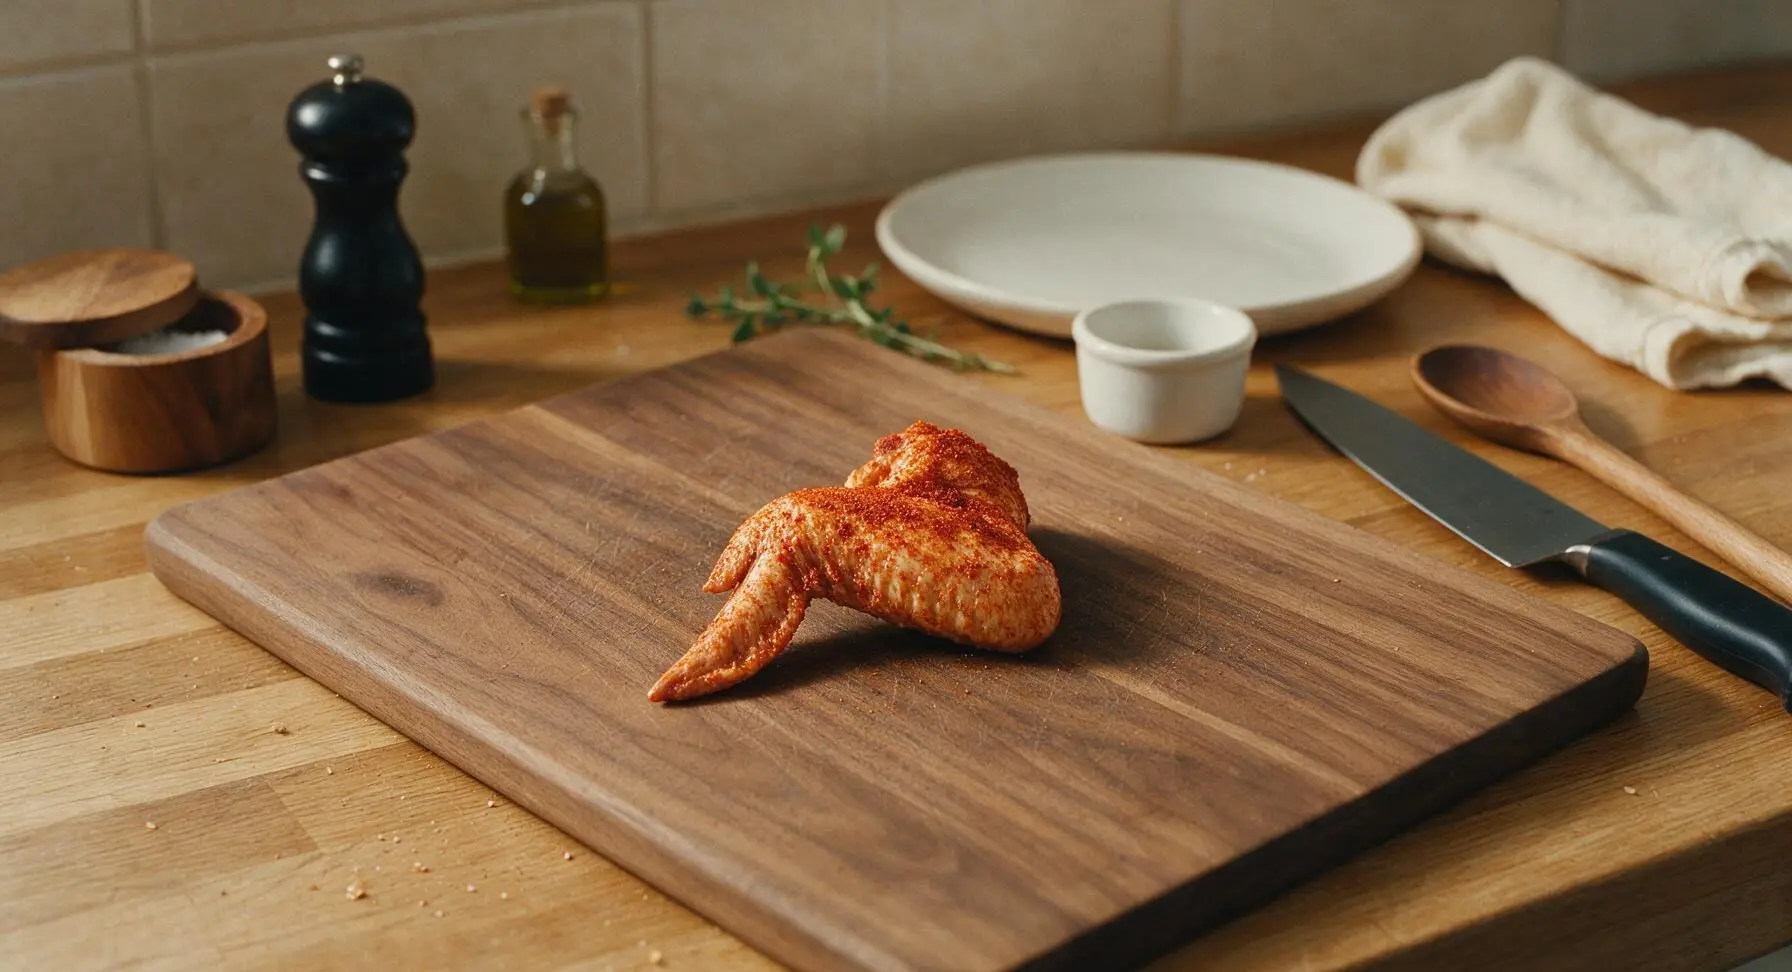
Drizzle 1 tsp neutral oil over the dried wings, then add smoked paprika, garlic powder, kosher salt, and black pepper. Toss thoroughly with clean hands until every wing is evenly coated in a thin, rust-red layer of spice, with no bare patches of skin visible. Let the wings rest for 5 minutes at room temperature to allow the seasoning to adhere.
Step 2
step2:Toss with Dry Seasoning
Step 2
step2:Toss with Dry Seasoning
3

Arrange on Baking Sheet

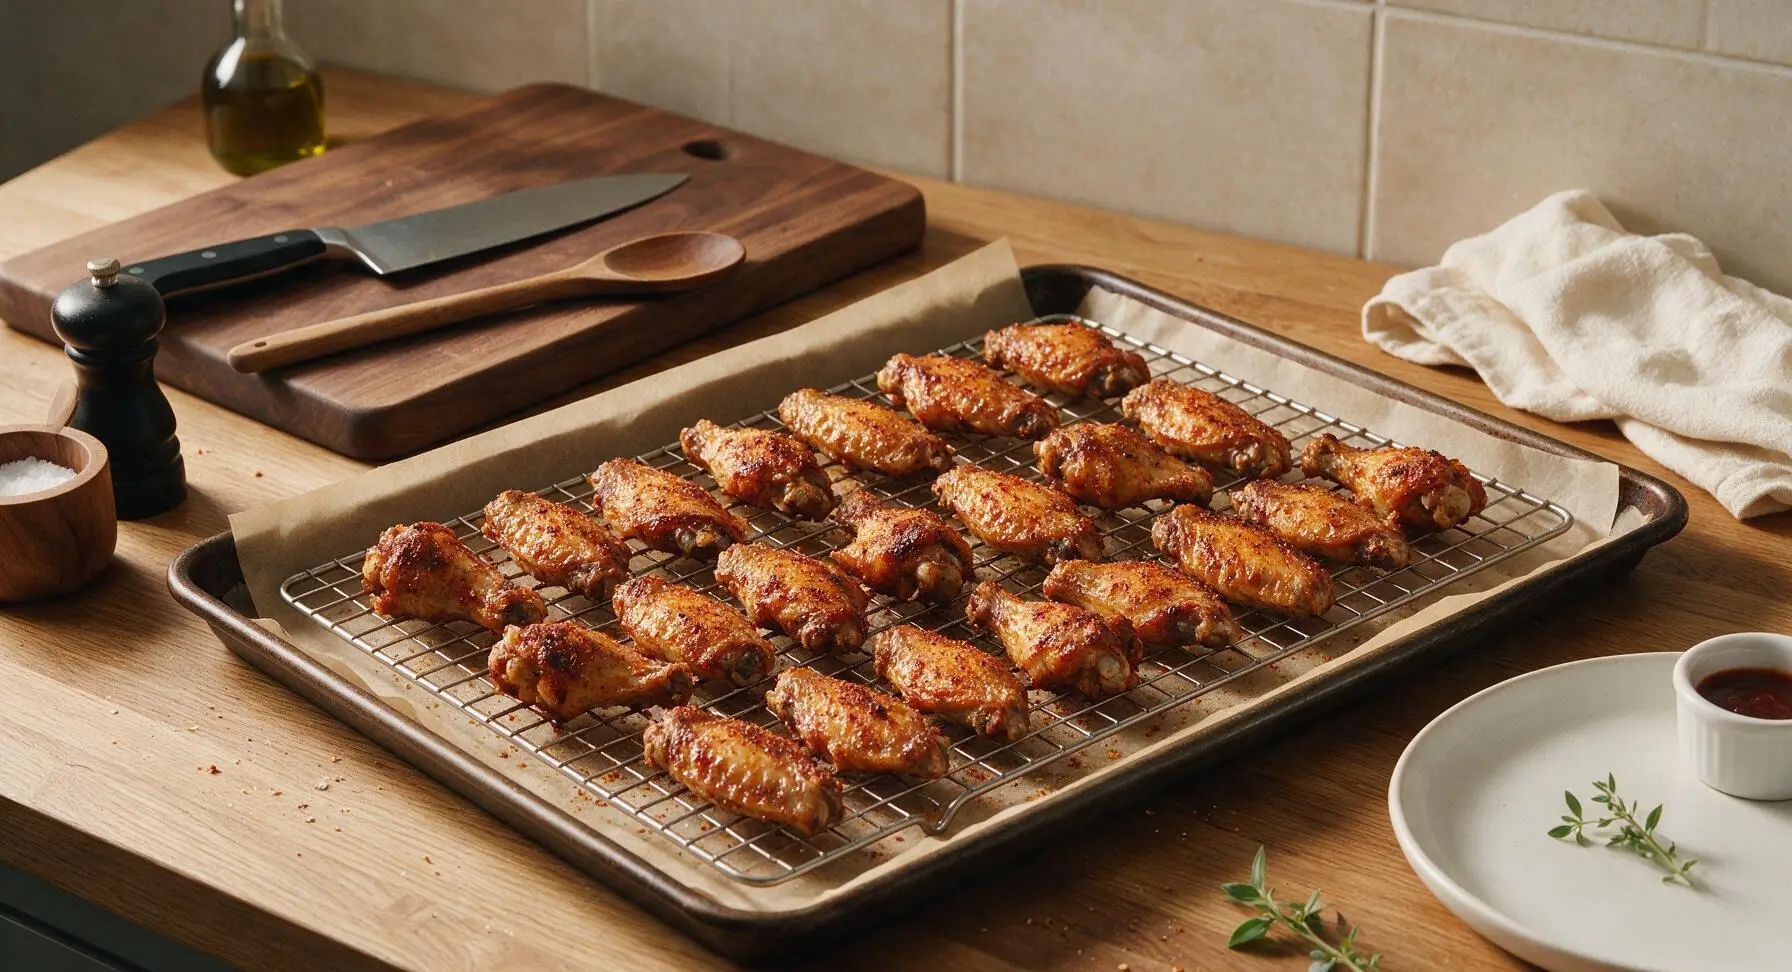
Retrieve the large carbon steel baking sheet and stainless steel wire rack from below the counter. Line the baking sheet with unbleached parchment paper, then set the wire rack inside the sheet. Arrange the seasoned wings in a single layer on the rack, leaving 1cm of space between each wing to allow hot air to circulate—do not crowd them, or skin will turn soggy.
Step 3
step3:Arrange on Baking Sheet
4

Bake to Crisp Skin

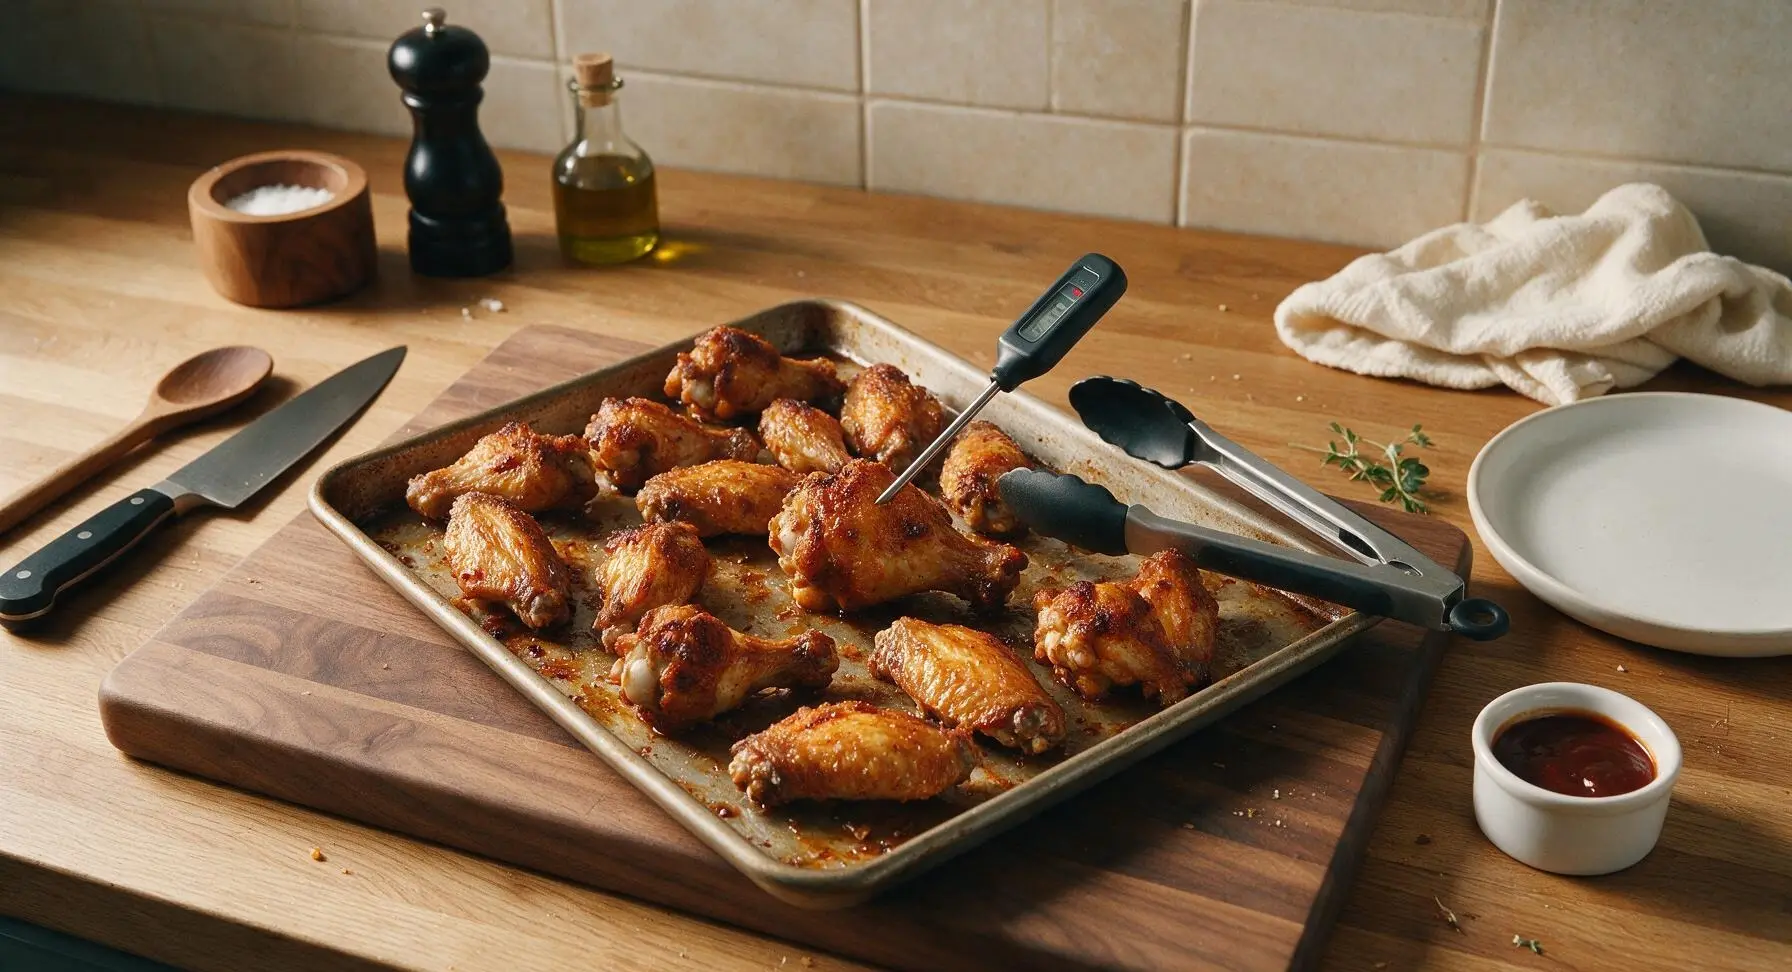
Place the baking sheet in a preheated 220C (425F) oven. Bake for 35 minutes, until the skin is deep golden, crispy around the edges, and fat has rendered out. There is no need to flip the wings if using a wire rack. Use the digital meat thermometer to confirm internal temperature reaches 75C (165F) at the thickest part of the largest drumette.
Step 4
step4:Bake to Crisp Skin
5

Warm BBQ Sauce Glaze

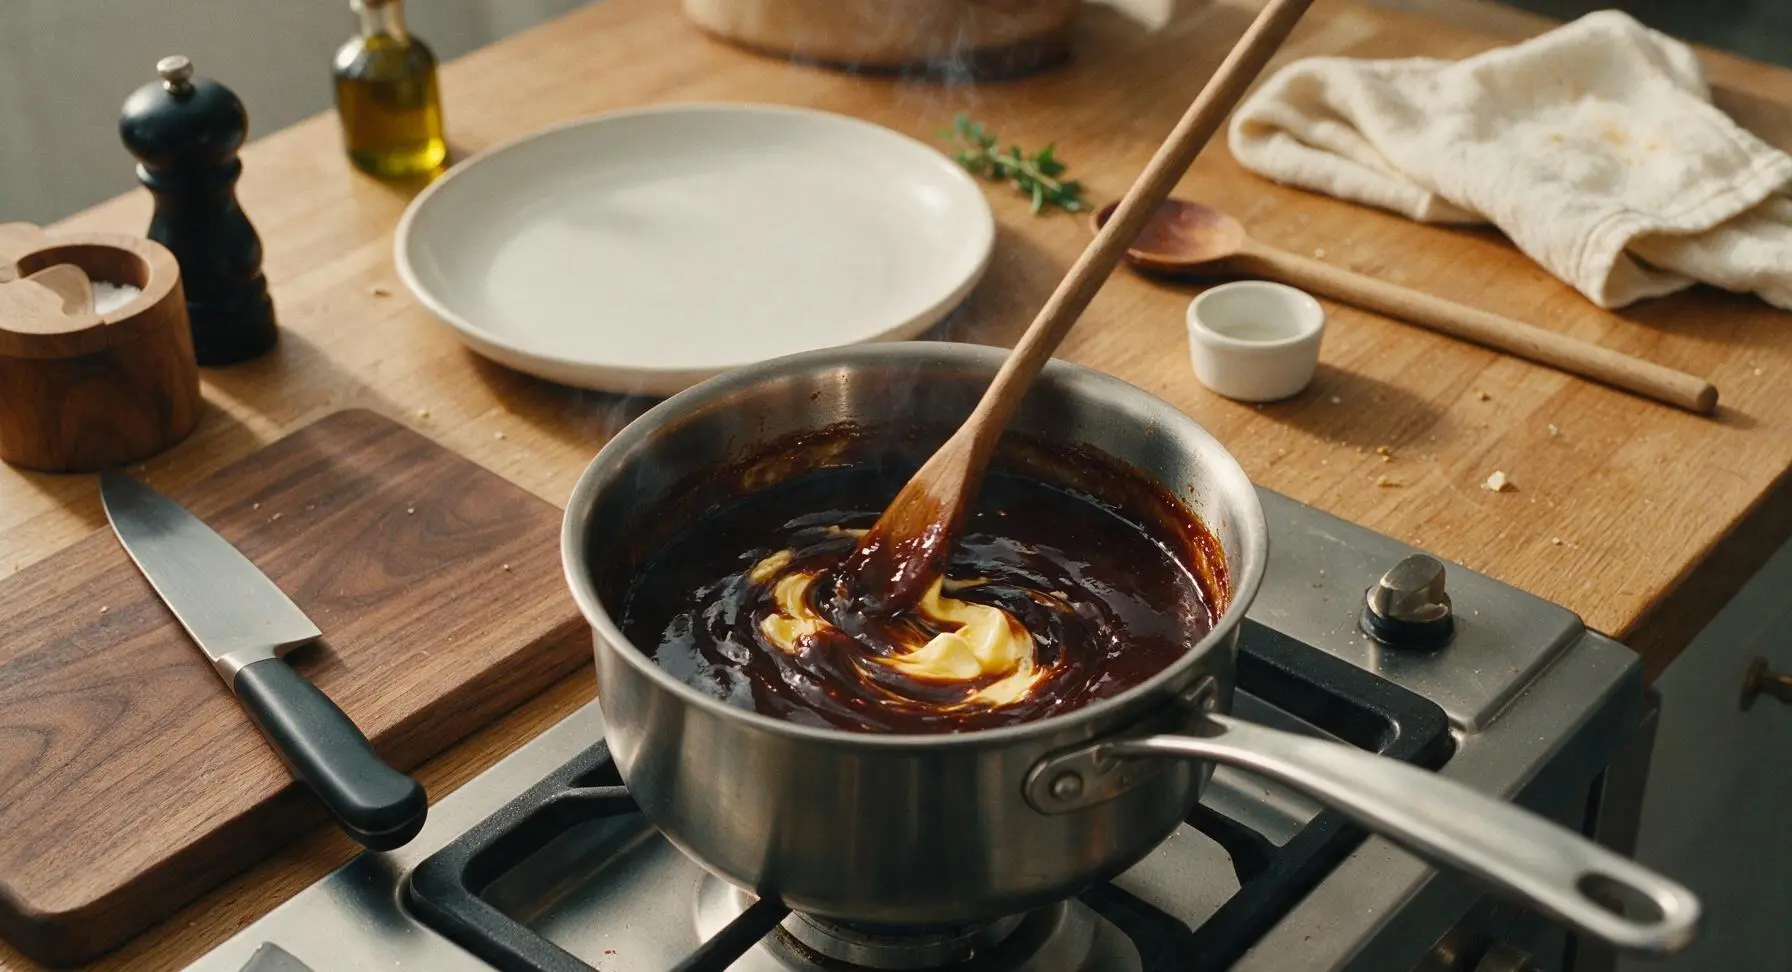
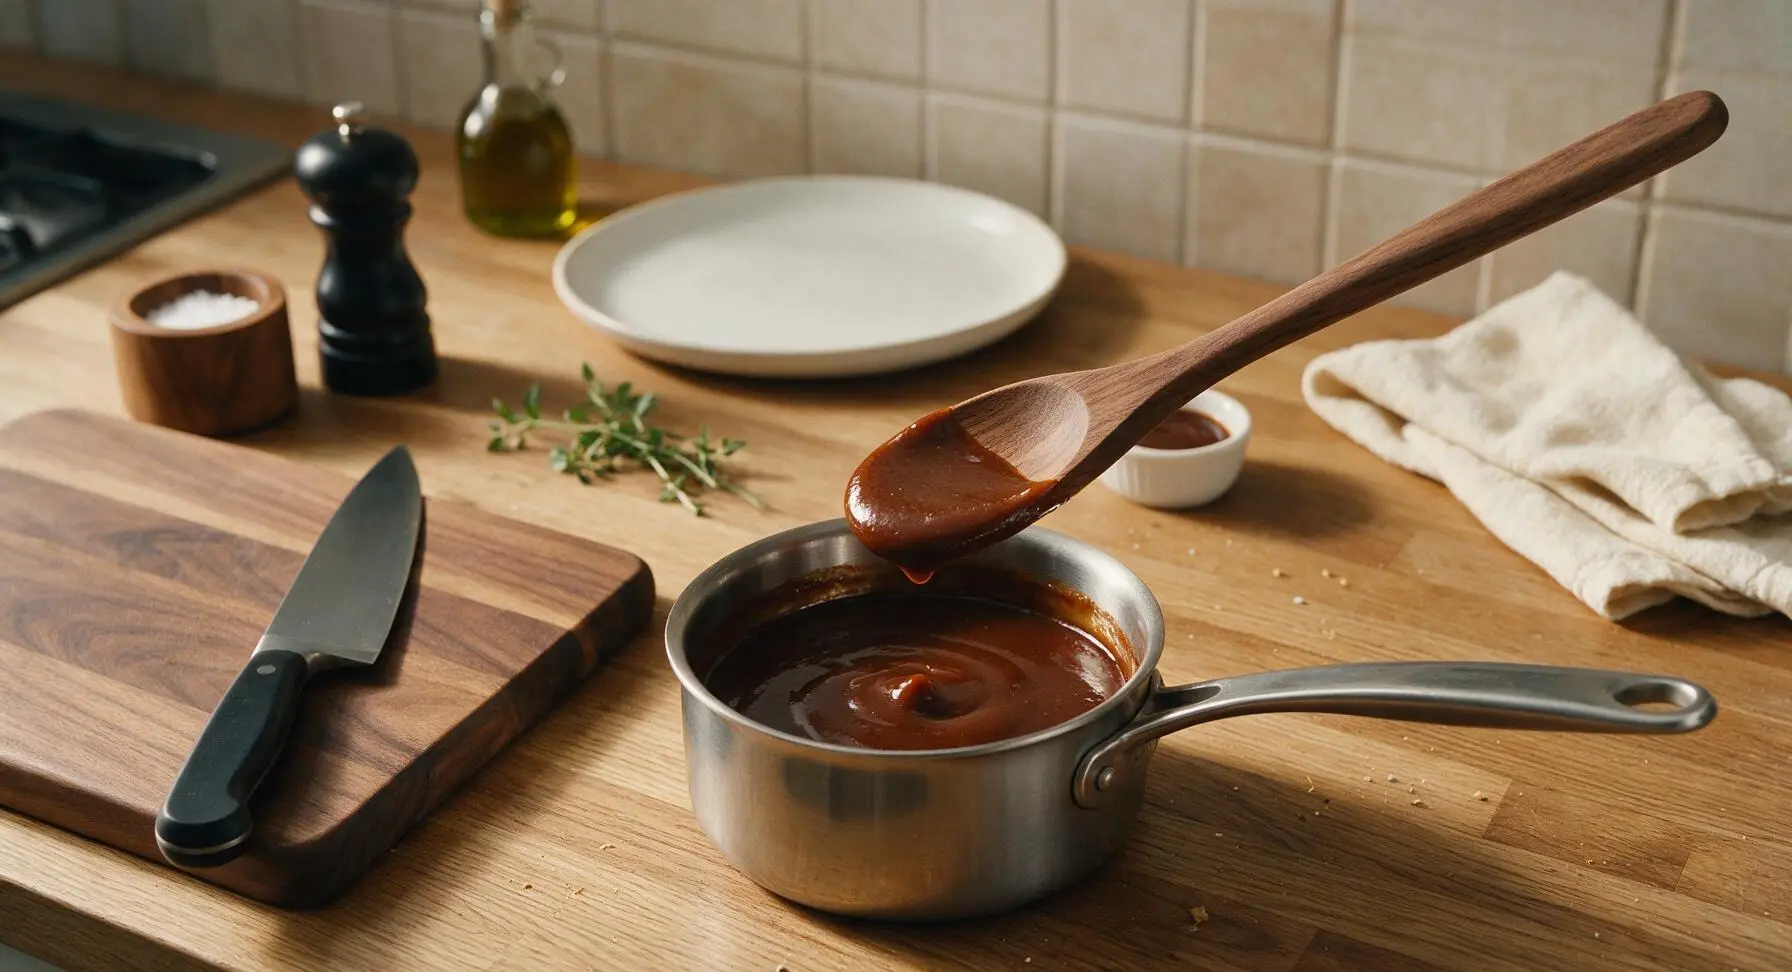
While the wings bake, place the stainless steel saucepan on the stovetop over medium-low heat. Add 1 cup BBQ sauce, melted unsalted butter, and apple cider vinegar. Stir gently with the walnut stirring spoon for 3-4 minutes, until the butter is fully incorporated, the sauce is smooth, thin enough to coat a spoon but not runny, and just starting to bubble at the edges. Do not boil the sauce, as it will burn and turn bitter.
Step 5
step5:Warm BBQ Sauce Glaze
Step 5
step5:Warm BBQ Sauce Glaze
6

Toss Wings in Glaze

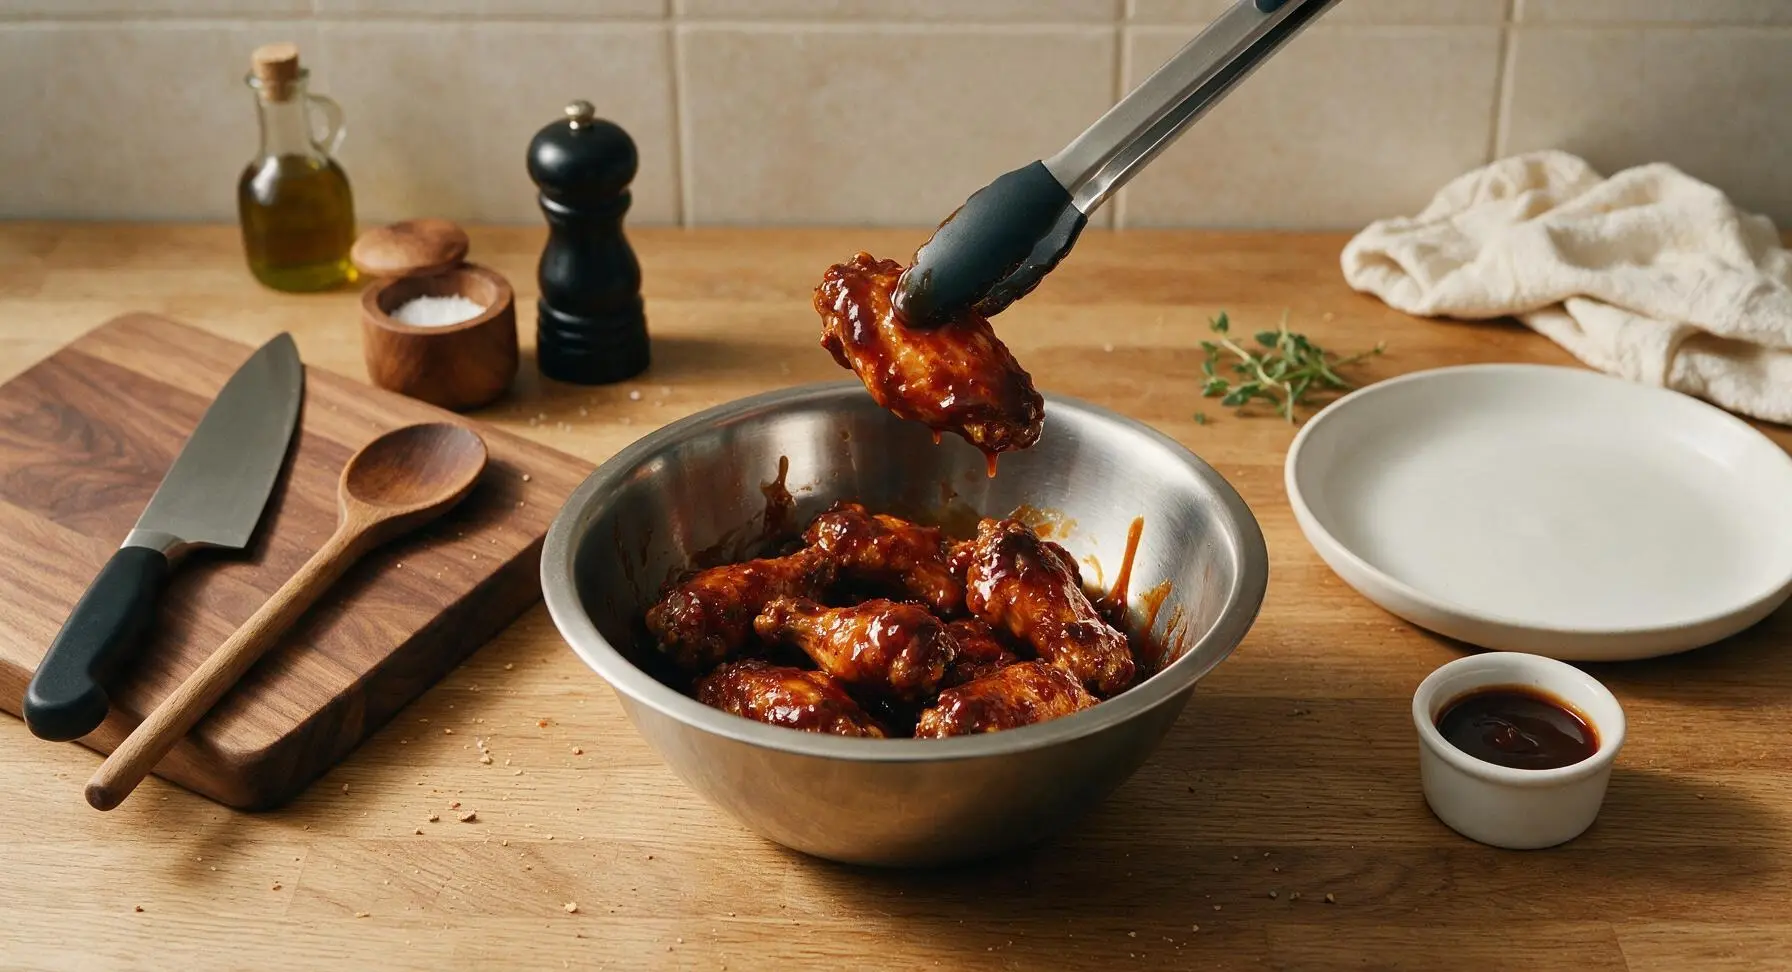
Transfer the hot baked wings from the wire rack to the stainless steel mixing bowl. Pour the warm BBQ glaze over the wings, then use the silicone-tipped tongs to toss thoroughly for 1-2 minutes, until every wing is fully coated in glossy, sticky sauce, with no dry spice patches remaining. The residual heat from the wings will help the sauce adhere and set slightly.
Step 6
step6:Toss Wings in Glaze
7

Grill for Smoky Char

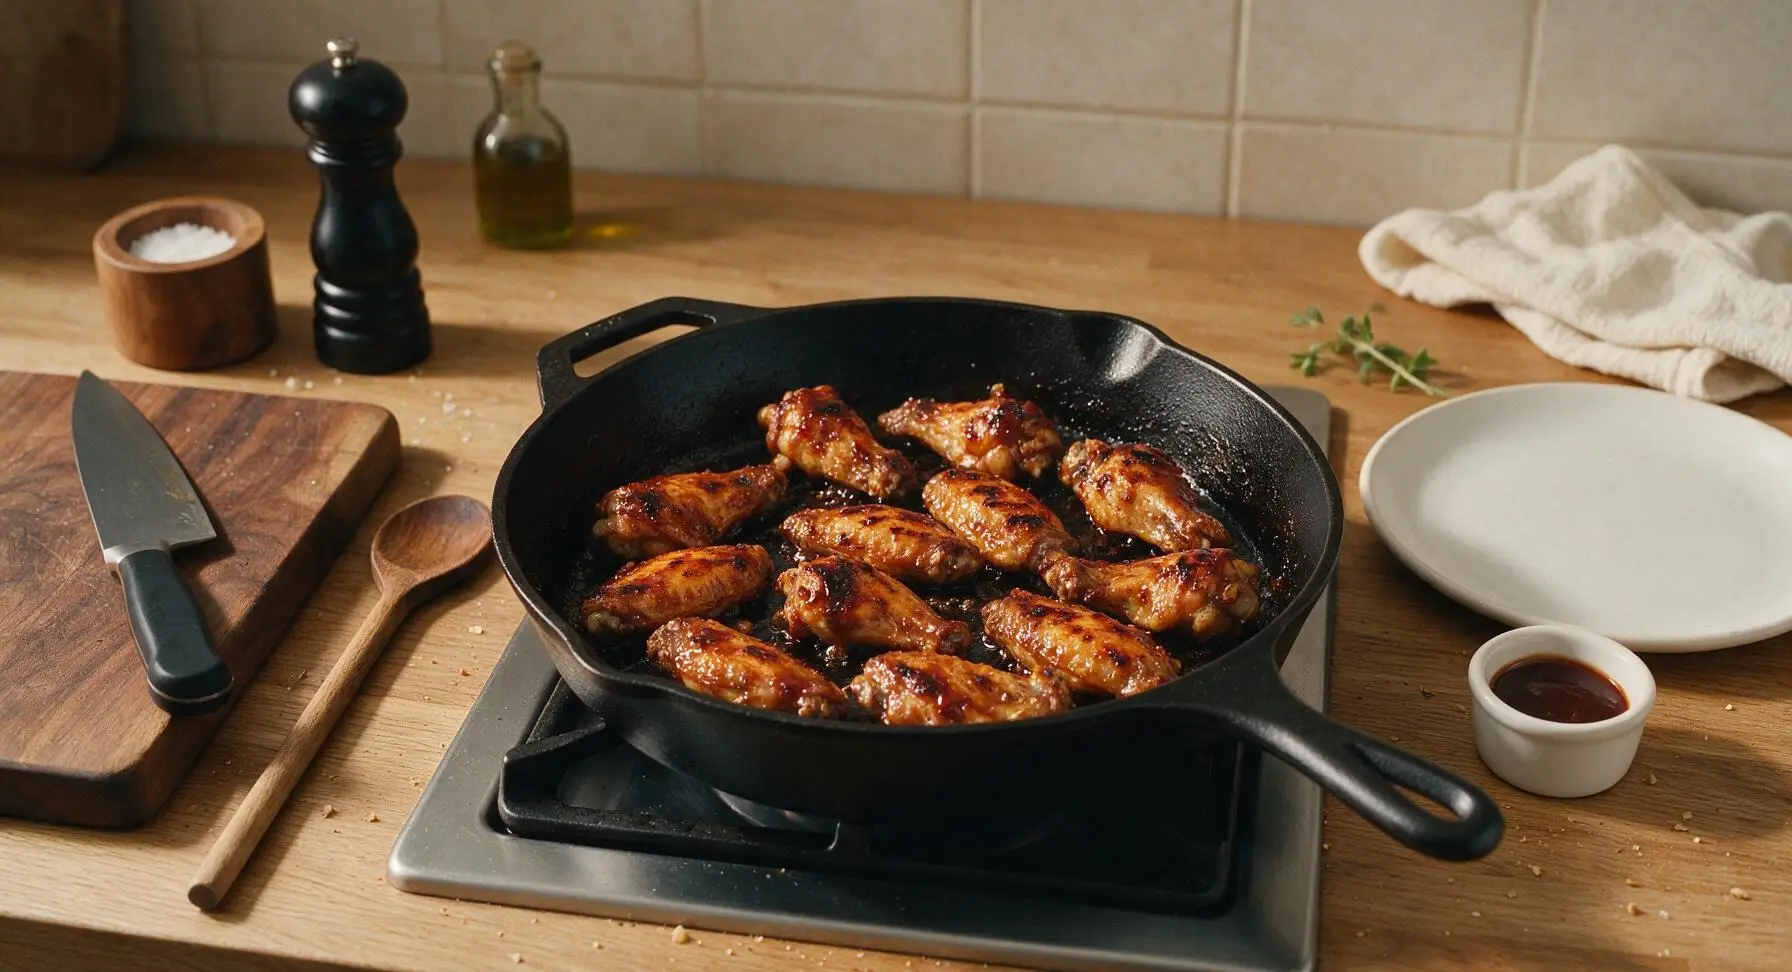
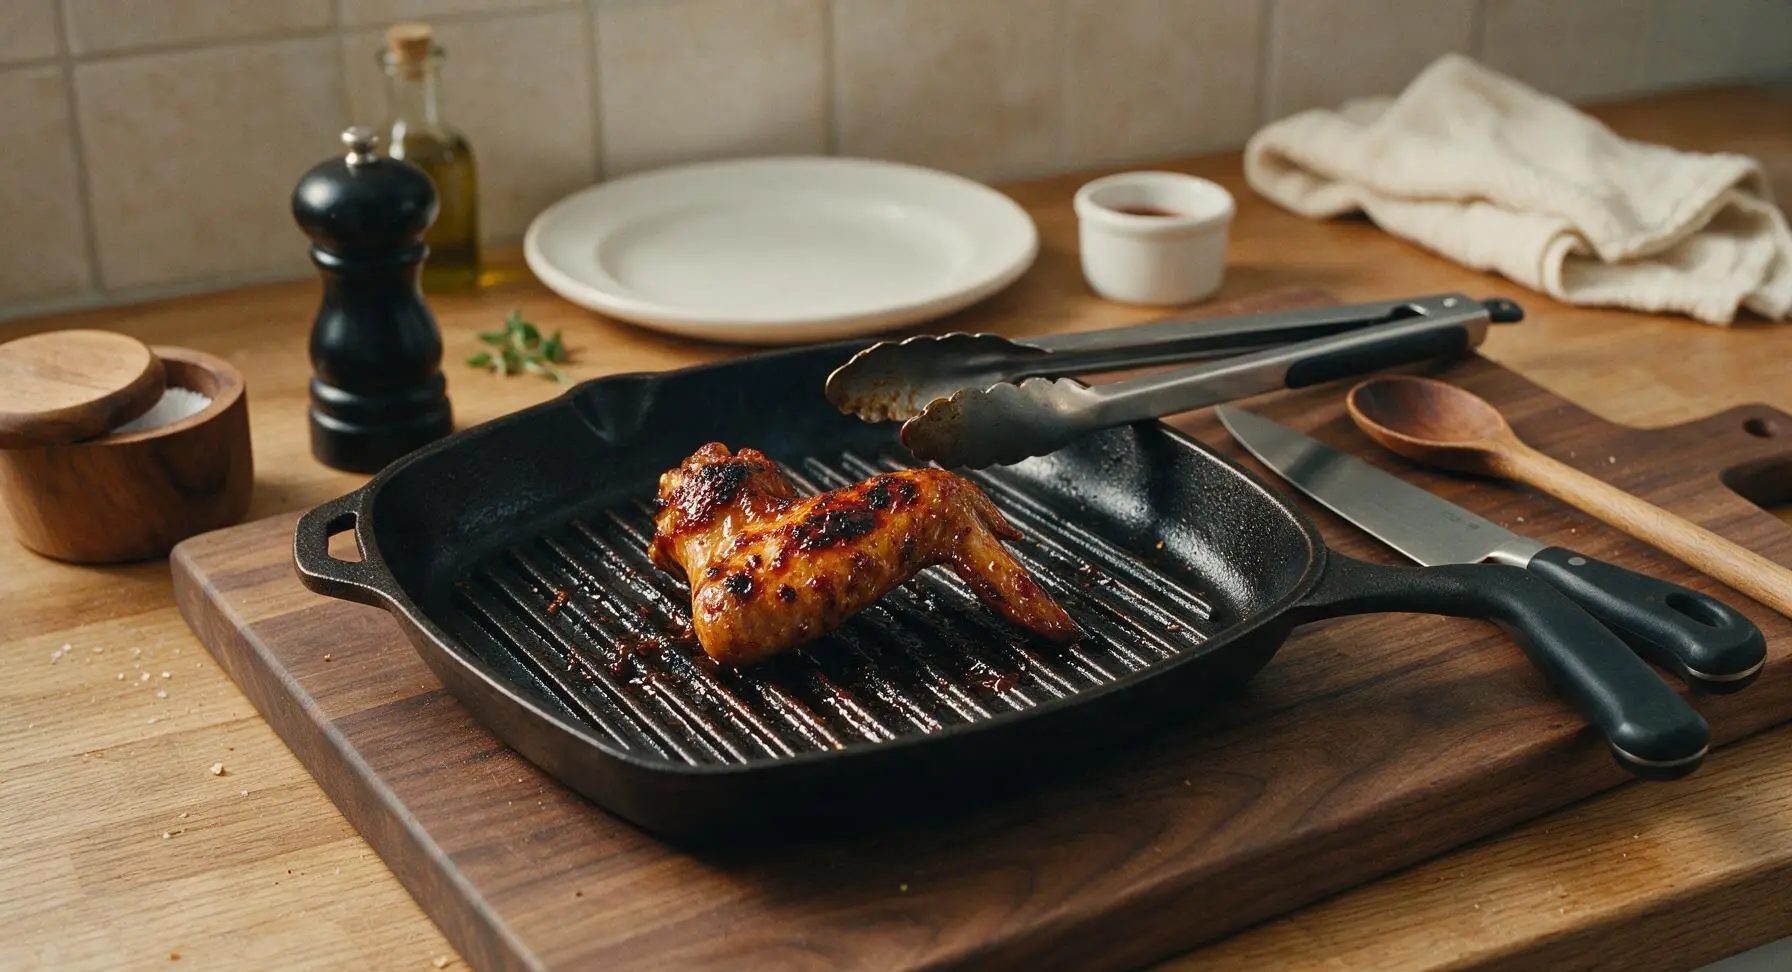
Place the seasoned cast iron grill pan on the stovetop over medium heat, preheating for 3 minutes. Transfer the sauced wings to the preheated pan. Grill for 2-3 minutes per side, until the sauce caramelizes into dark, slightly charred sticky spots across the wing surface—do not leave unattended, as the sugar in the sauce burns quickly. Turn once with tongs to avoid tearing the skin.
Step 7
step7:Grill for Smoky Char
Step 7
step7:Grill for Smoky Char
8

Plate and Garnish Wings

Use the tongs to transfer the finished sauced, charred wings to the large terracotta serving platter, piling them in a loose, inviting mound. Drizzle any remaining sauce from the mixing bowl over the top, then sprinkle with chopped fresh parsley for bright color contrast. Let rest for 2 minutes before serving to allow the sauce to set slightly.
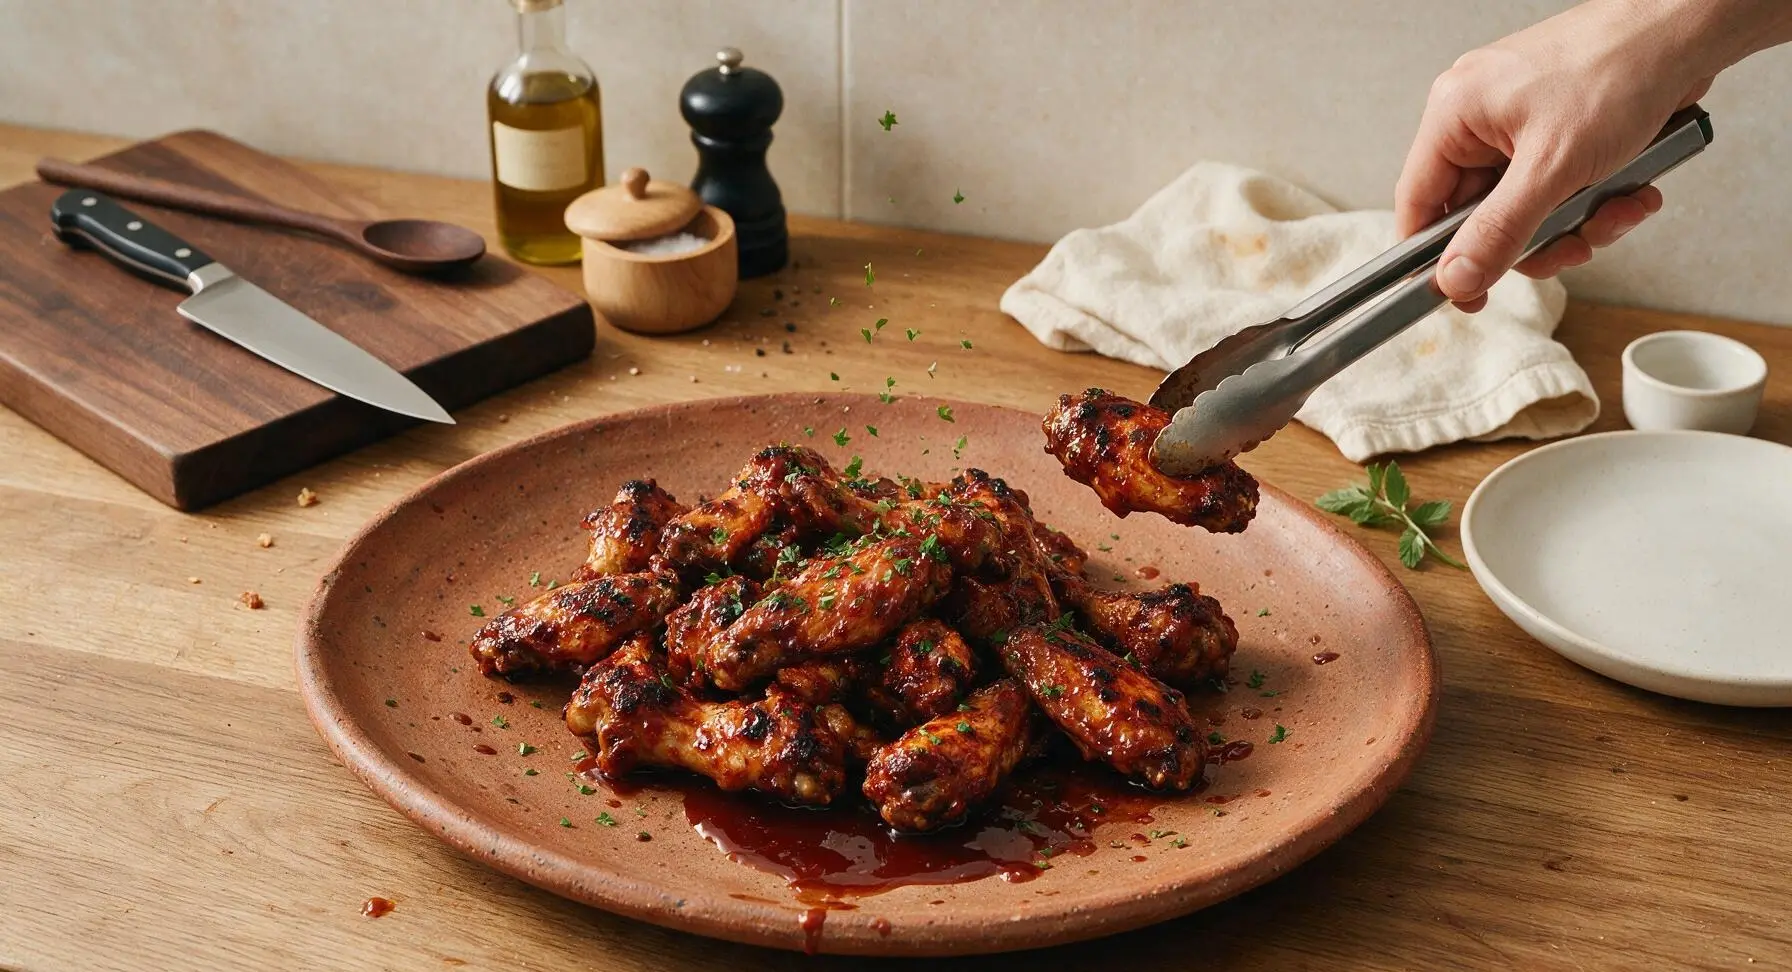
Step 8
step8:Plate and Garnish Wings

Tips

1.Don’t skip drying the wings thoroughly: excess surface moisture will steam instead of crisping in the oven, leading to rubbery skin that won’t hold sauce well. For extra crispy skin, you can leave uncovered wings on a wire rack in the fridge for 1-2 hours before seasoning.
2.Avoid boiling the BBQ sauce when warming it: high heat will break down the sugar in the sauce, creating a bitter, burnt flavor that overpowers the wings. Keep heat to medium-low and stir constantly for a smooth, glossy glaze.
3.Don’t over-grill the sauced wings: the sugar in BBQ sauce caramelizes quickly and will burn in as little as 30 seconds over high heat, leaving black, acrid spots. Watch closely and turn wings as soon as you see dark, sticky char marks form.


✨ You May Also Like

BBQ & Grilling
🍜 United States

Tender, melt-in-your-mouth beef brisket with a crisp, spiced bark, slow-smoked to deep smoky perfection, the iconic centerpiece of Texas backyard barbecue.

⏱️ 12 hours BBQ & Grilling ★ 4.4
BBQ & Grilling
🍜 Korea

Tender, sweet-savory marinated beef short ribs, a beloved Korean BBQ staple with caramelized, slightly charred edges and deep umami flavor, perfect for outdoor summer gatherings.

⏱️ 4 hours 2BBQ & Grilling ★ 4.8
BBQ & Grilling
🍜 United States

Juicy grilled beef patties topped with smoky homemade chili, melted cheddar, and tangy pickles on toasted brioche buns for a hearty, flavor-packed handheld meal.

⏱️ 40 minuteBBQ & Grilling ★ 4.7
BBQ & Grilling
🍜 United States

A sweet, smoky, tangy BBQ sauce brightened with peak-season dark cherries, ideal for glazing grilled ribs, chicken, pork, or summer roasted veggies.

⏱️ 35 minuteBBQ & Grilling ★ 4.7
BBQ & Grilling
🍜 United States

Rich, smoky, slightly sweet homemade bourbon BBQ sauce with deep caramel notes, ideal for glazing grilled ribs, chicken, and burgers at cookouts.

⏱️ 25 minuteBBQ & Grilling ★ 4.7
BBQ & Grilling
🍜 United States

Iconic Alabama-style BBQ featuring tender hickory-smoked chicken slathered in tangy creamy white sauce, a beloved regional Southern cookout staple.

⏱️ 3 hoursBBQ & Grilling ★ 5

barbeque wings:Frequently Asked Questions

1.Do I have to remove the wing tips for this recipe, or can I leave them attached? ▾
You can technically leave wing tips on, but I don’t recommend it! They have almost no edible meat, burn extremely quickly at the high heat needed for crispy skin, and prevent even glaze coating. Toss saved tips in a freezer bag to make homemade chicken stock later for zero waste and better finished wings.
2.How do I get that perfectly crispy skin these wings are known for? ▾
Pat the wings completely dry with paper towels before seasoning—any surface moisture will steam instead of crisp in the oven or on the grill. Toss with the dry spice mix of smoked paprika, garlic powder, and kosher salt first, then cook at 425°F (or medium-high grill heat) without crowding the pan to get that shatteringly crisp, slightly charred edge.
3.Can I cook these wings on an outdoor grill instead of in the oven? ▾
Absolutely—grilling actually amplifies that signature smoky flavor! Heat your grill to medium-high, oil the grates well to prevent sticking, and cook wings over indirect heat for 25-30 minutes, flipping occasionally, until skin is crisp. Brush on BBQ glaze during the last 5 minutes to avoid burning the sauce’s sugar.
4.I don’t have smoked paprika—what’s a good substitute to keep that smoky taste? ▾
If you don’t have smoked paprika, the closest swap is 1 part regular paprika mixed with ¼ part liquid smoke (use a light hand, it’s potent!) to replicate that deep woodsmoke note. Chipotle powder works too, but cut the amount by half to avoid adding unexpected, overpowering heat to the sweet-tangy glaze.
5.When should I brush on the BBQ sauce to get a sticky coating without burning it? ▾
Wait until the wings are almost fully cooked—about 5 minutes before they’re done—before brushing on BBQ sauce. The sugar in sweet-tangy BBQ sauce burns fast at high heat, so adding it late lets the glaze caramelize into that perfect sticky coating without turning bitter or charring black before the wings cook through.
6.Can I prep these wings ahead of time for a summer cookout or party? ▾
You can absolutely prep ahead to cut down on day-of work! Season dry-rubbed wings (hold the sauce) and store them covered in the fridge for up to 24 hours before cooking. Wait to toss wings in warm BBQ glaze until right before serving to keep skin crisp and glaze sticky, not soggy.
7.Why do you recommend kosher salt instead of regular table salt for this recipe? ▾
Kosher salt has larger, flakier crystals that distribute more evenly across wing skin than fine table salt, so you won’t get random overly salty bites. It also draws out just enough surface moisture to help crisp skin as it cooks. If you only have table salt, use half the called-for amount to avoid over-seasoning.
8.My wings came out soggy instead of crispy—what went wrong? ▾
Soggy wings almost always trace back to one of three easy fixes: you didn’t pat wings fully dry before seasoning, you crowded the pan or grill grate so wings steamed instead of searing, or you added BBQ sauce too early, which softens skin. Always leave space between wings for air flow as they cook.
9.How spicy are these wings, and can I adjust the heat level to taste? ▾
The base recipe is totally mild, with deep smoky flavor and no added heat, so it works great for kids and spice-averse eaters. If you want a kick, stir ¼ teaspoon of cayenne, a dash of hot sauce, or a pinch of chipotle powder into the dry rub or glaze to match your preferred heat level.
10.Do I need to flip the wings while they cook, or can I leave them undisturbed? ▾
I recommend flipping wings once halfway through cooking, whether you’re using an oven or grill. This ensures both sides crisp evenly, develop those subtle charred edges, and cook through at the same rate, so you don’t end up with one side over-charred and the other pale, soft, and undercooked.
11.How long can I leave these wings out at a summer party before they’re unsafe to eat? ▾
Per standard food safety guidelines, don’t leave cooked wings out at room temperature for more than 2 hours total. If outdoor temperatures climb over 90°F, cut that window to 1 hour to avoid risky bacteria growth. Store leftover wings in a sealed container in the fridge for up to 3 days.
12.What’s the best way to reheat leftover wings so the skin stays crisp? ▾
Skip the microwave—it turns skin rubbery and makes the glaze runny. Instead, reheat wings on a wire rack set over a baking sheet in a 400°F oven for 8-10 minutes, until heated through and skin crisps back up. Brush on a tiny extra bit of BBQ sauce after reheating if the glaze dried out in storage.
13.Can I use frozen chicken wings for this recipe, or do I need fresh? ▾
You can use frozen wings, but you must thaw them completely and pat them extremely dry first. Frozen wings release a ton of excess moisture as they thaw, which will steam wings and leave you with soggy skin if not fully dried. Fresh wings require less prep, but properly thawed, dried frozen wings work just as well.

Comments (9)

2 days ago

OMG these were SO good!! Made them for our Sunday football watch party and every single wing was gone before halftime. The smoky flavor is *chef’s kiss* no weird store-bought sauce aftertaste at all. 10/10 will make every game day from now on.

1 week ago

Took me 47 minutes total, super easy even for someone who burns toast half the time (me). The sticky glaze doesn’t run all down your wrists which is a huge win compared to other wing recipes I’ve tried. My teen son ate like 12 of them in one sitting lmao.

5 days ago

Meal prepped these for my week of post-hike lunches and they reheated perfectly in the air fryer! Crispy outside, sticky glaze, just enough smoke. Way better than the takeout wings I usually grab on my way home from trails.

yesterday

Made these last night for my roommate’s birthday dinner, everyone raved! Quick question though – can I use chicken thighs instead of wings if I adjust the cook time a little?

2 hours ago

So glad these were a hit for the birthday dinner! Absolutely you can swap for boneless, skinless thighs – just add 8-10 minutes to the bake time, and make sure the internal temp hits 165°F before glazing. Enjoy!

3 days ago

Game changer! I brought these to my neighborhood potluck last weekend and I must have given out the recipe link to 8 different people. The only tweak I made was adding a tiny pinch of cayenne for extra heat, chef’s kiss.

2 days ago

Oh the cayenne tweak sounds genius! How much did you add? I love spicy wings but don’t want to overdo it for my kids who are total wimps about heat lol.

30 minutes ago

So easy to throw together on a busy school night! 45 minutes total is no joke, I didn’t even have to marinate for hours which is a total win for my chaotic schedule. My kids loved it, even my super picky 7 year old asked for seconds.

5 minutes ago

That makes us so happy to hear! We designed this recipe specifically for busy weeknights so you don’t have to sacrifice flavor for speed. So glad your picky 7 year old approved – that’s the best review we can get!

2 weeks ago

Great recipe! I made these on my pellet smoker instead of the oven to amp up the smoky flavor even more, and they turned out incredible. The glaze caramelized perfectly at the end.

1 week ago

Did you keep the temp the same on the pellet grill? I’ve been wanting to try these on my Traeger but don’t want to dry them out.

2 days ago

Wait, I followed the recipe exactly but my glaze came out really runny? Did I do something wrong? The flavor was still amazing, just not sticky like the photos. Tasted great though, still ate a dozen lmao.

yesterday

I had that happen the first time too! You have to let the sauce simmer for the full 5 minutes before tossing the wings in it, I cut it short the first go around and it was super runny. Second time it was perfect and sticky!

2 hours ago

Thanks for helping out WingKingMike! That’s exactly the most common culprit – if the glaze doesn’t simmer long enough to reduce, it won’t coat the wings properly. You can also pop the sauced wings back in the oven for 3-4 minutes after tossing to help the glaze set if it’s still a little thin. So glad the flavor was still spot on for you!

3 days ago

Is there a good gluten free swap for the sauce? My husband has celiac and I’ve been searching for a good BBQ wing recipe that doesn’t use soy sauce or wheat thickeners. These look incredible!

2 days ago

I made these last week with coconut aminos instead of the regular soy sauce and it worked perfectly! No weird aftertaste, glaze got just as sticky, my celiac bestie had zero issues.

yesterday

Great question! Coconut aminos is our go-to gluten free swap for this recipe, just like PhoenixGFEats mentioned. You can also use a gluten free Worcestershire sauce if you have that on hand, just double check labels to make sure there’s no hidden wheat. Hope you both love them!



