
Barleywine
intro
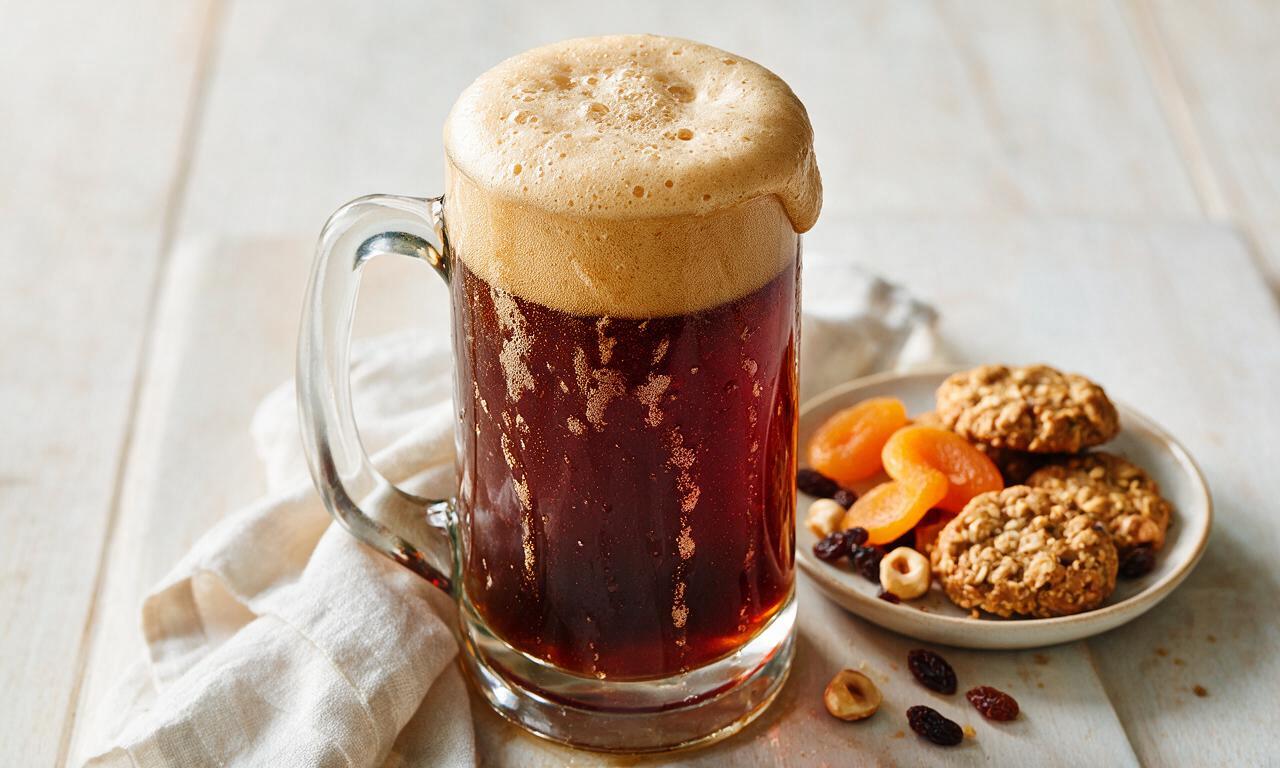
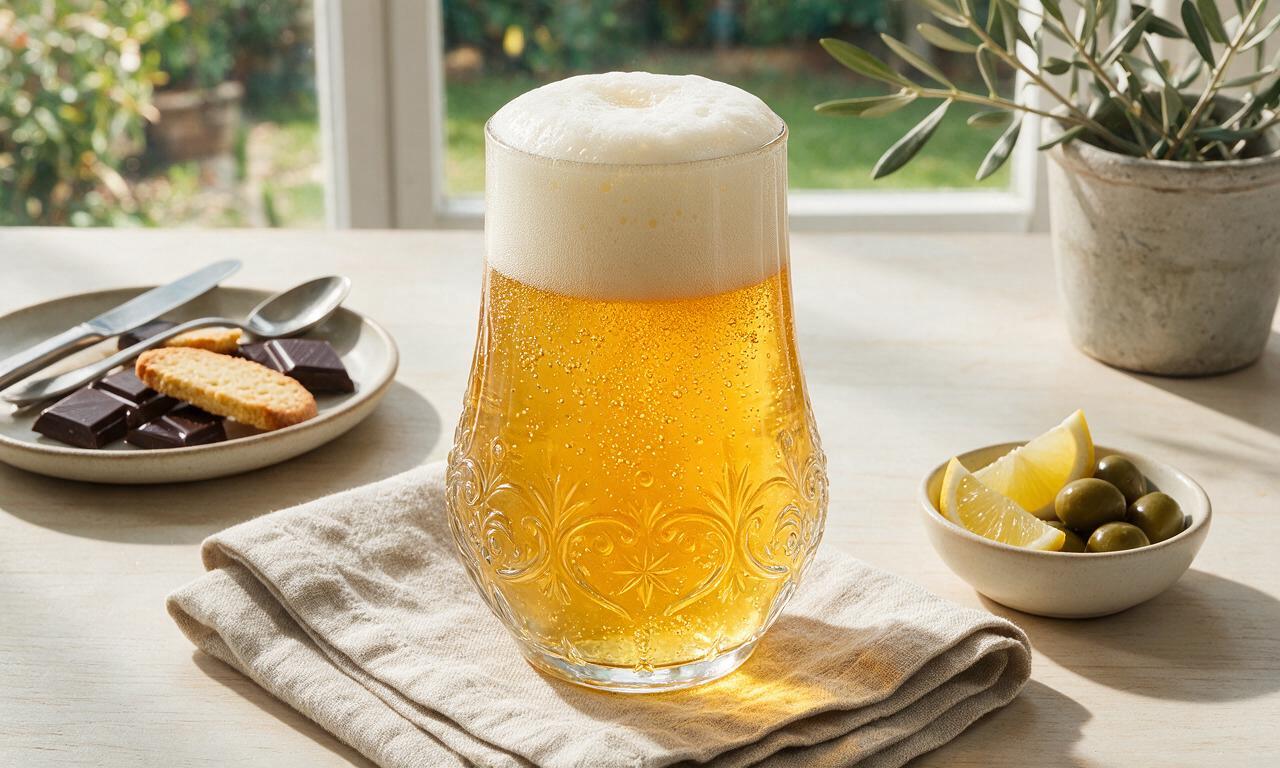
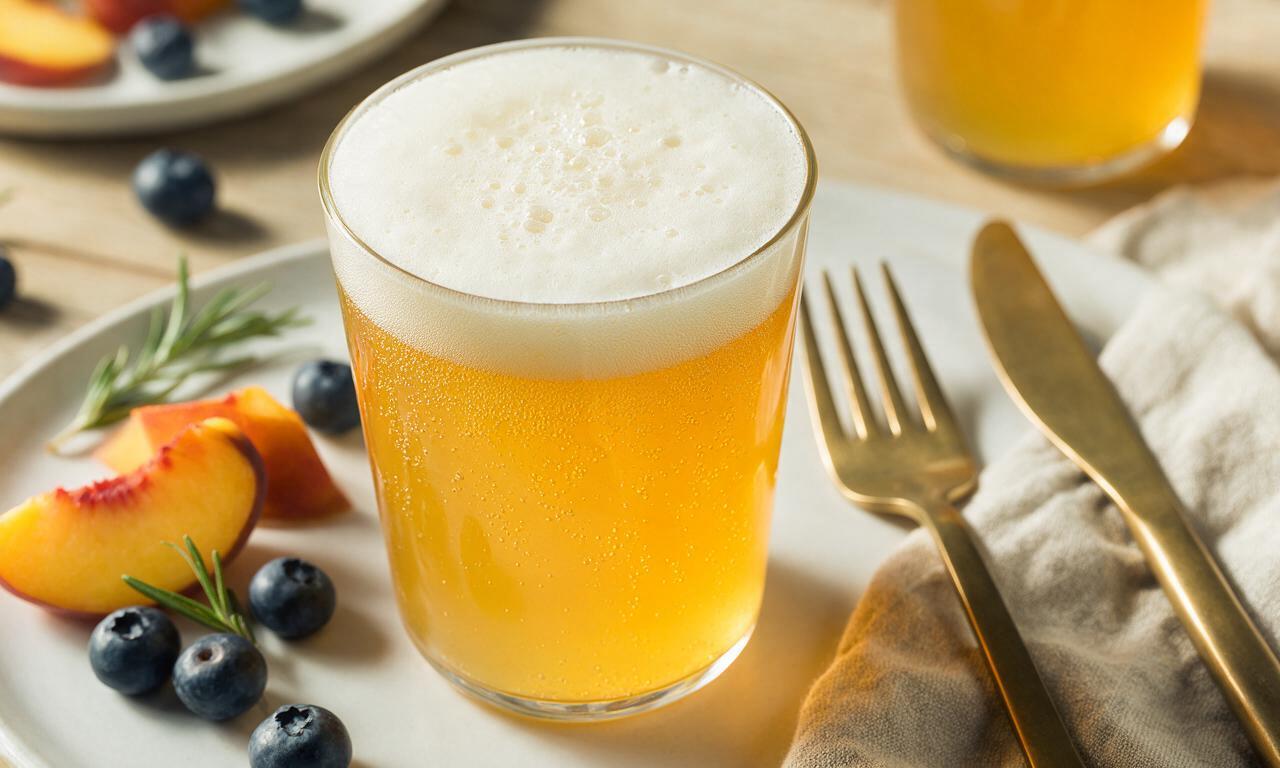
Rich, high-ABV barleywine is a malty, warming sipping ale with deep toffee, caramel, and dried fruit notes, ideal for slow savoring on cold winter days.
Ingredients
Steps
Mash the grain bill
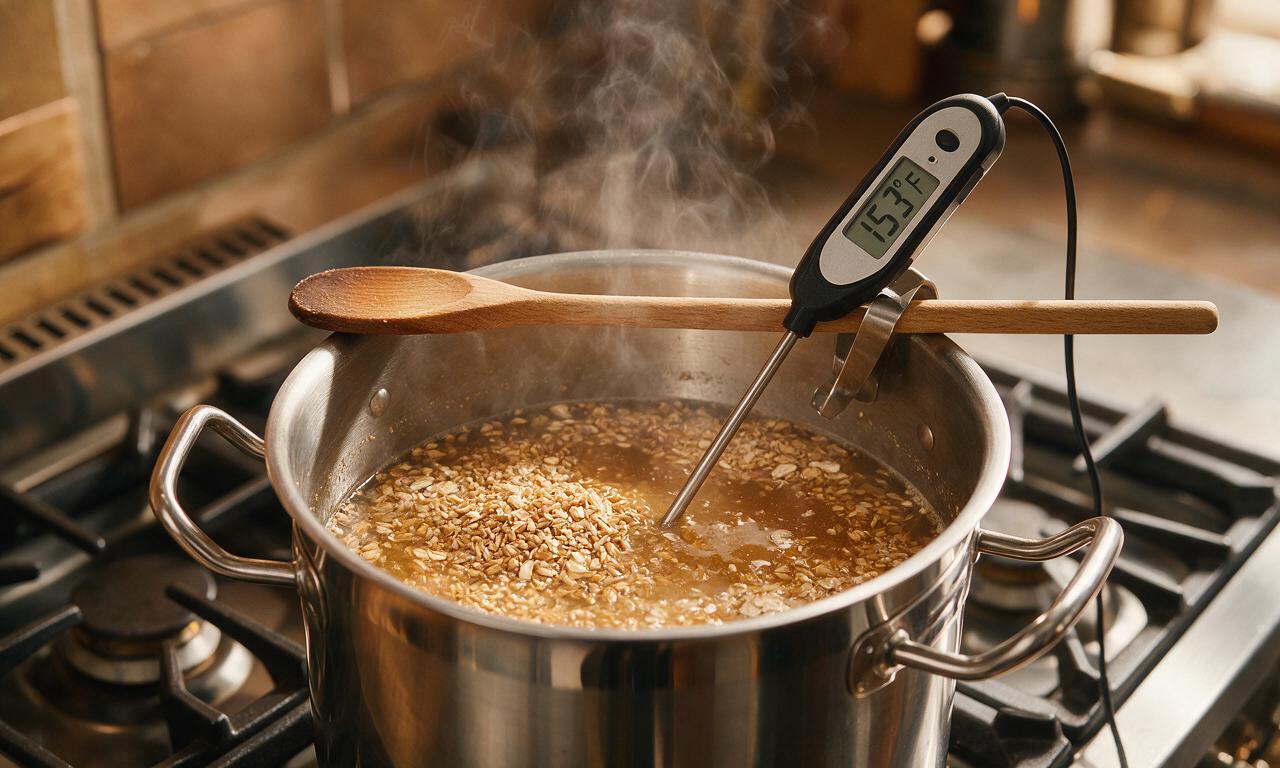
Heat 2.3 L (0.6 gallons) of filtered water to 67°C (153°F) in a 5L (1.3 gallon) stainless steel brew pot over medium heat. Stir in all crushed grains (pale malt, crystal malt, chocolate malt, Munich malt) and flaked barley, mixing thoroughly to break up dry clumps. Cover the pot, hold the temperature steady at 65–68°C (149–154°F) over low heat for 60 minutes, until a small taste of the liquid wort is sweet with no starchy aftertaste.
Drain and sparge grains
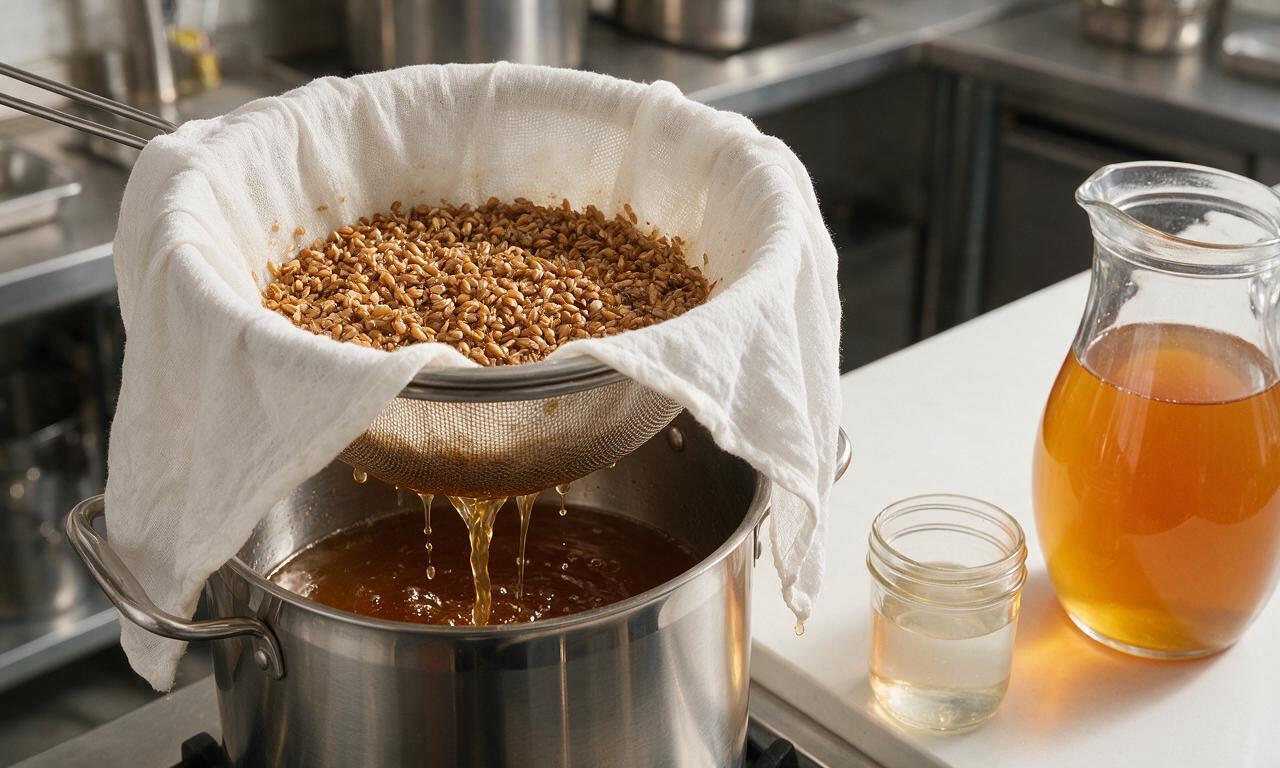
Set a fine-mesh strainer lined with cheesecloth over a second clean 5L (1.3 gallon) pot. Pour the mashed grain and wort mixture into the strainer to drain the sweet amber wort. Slowly pour 1.5 L (0.4 gallons) of 77°C (170°F) filtered water over the top of the grain bed to rinse residual sugars, collecting 3 L (0.8 gallons) of total wort in the pot below; discard the spent, drained grains.
Boil wort with hops
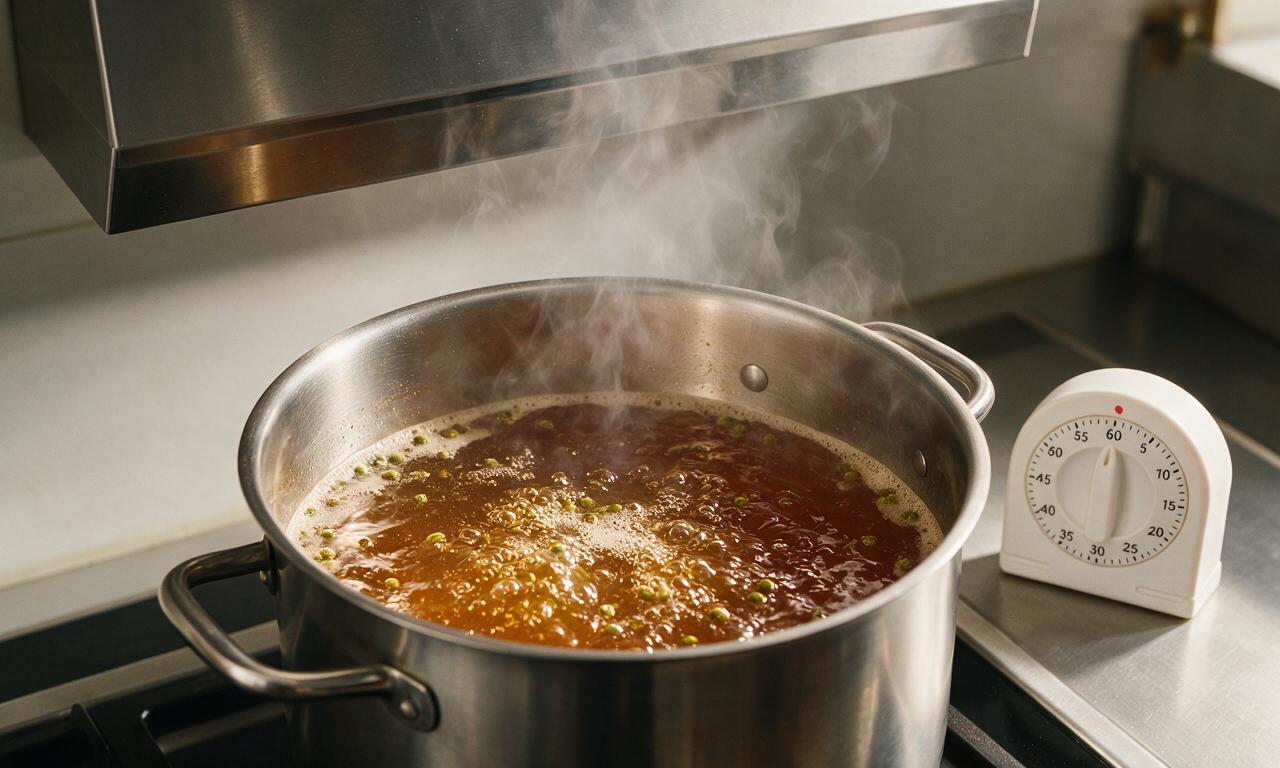
Place the pot of collected wort over medium-high heat to bring it to a gentle, rolling boil; set a timer for 60 minutes total boil time. Add 4g (0.14 oz) of East Kent Goldings hops as soon as the boil starts for balanced bittering. Add 1g (0.03 oz) of hops when 15 minutes remain on the timer, then add the final 1g (0.03 oz) of hops immediately when the timer goes off and you turn off the heat. Reduce heat slightly if thick, tan foam rises to the pot rim to prevent messy boil-overs.
Cool wort for transfer
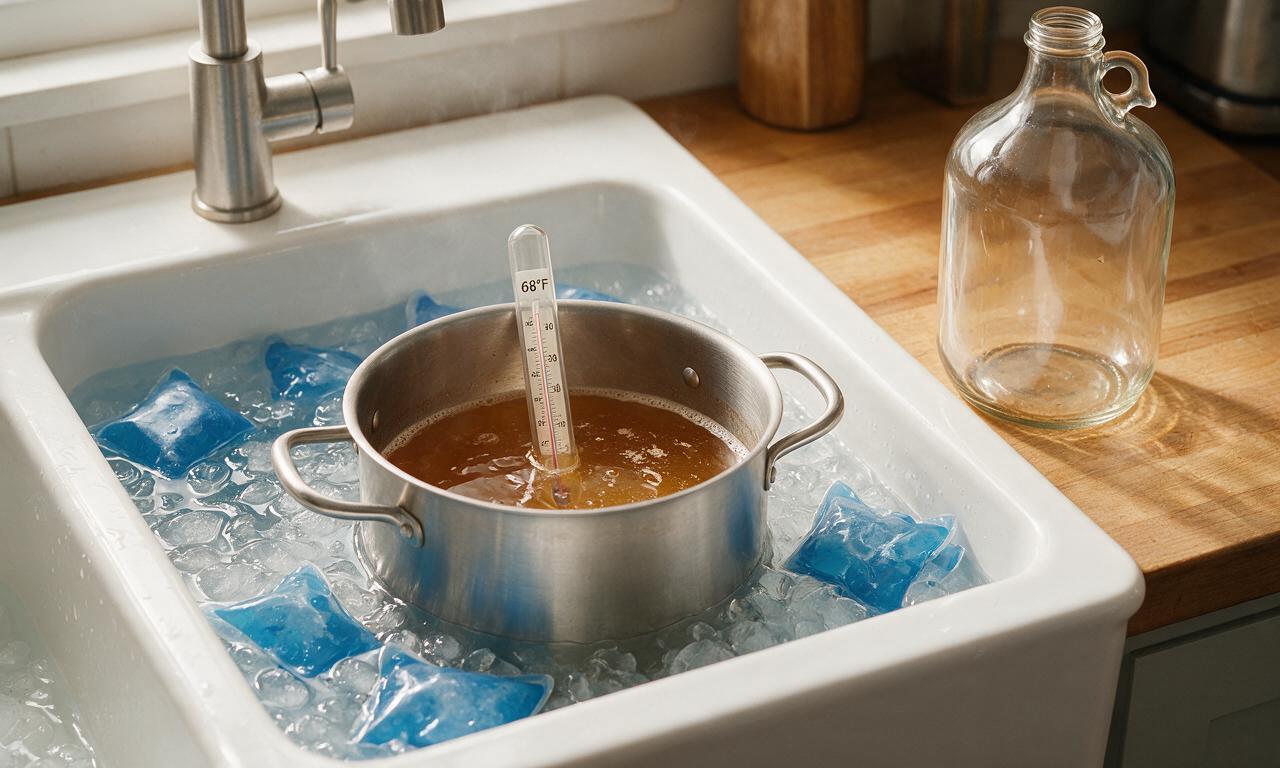
Immediately after the boil ends, move the pot to an ice bath in a clean kitchen sink filled with cold water and ice packs. Stir the wort gently occasionally until it cools to exactly 20°C (68°F), which takes roughly 20 minutes. While the wort cools, sanitize a 4L (1 gallon) glass fermentation jug, drilled rubber stopper, airlock, and auto-siphon with food-grade no-rinse brewer’s sanitizer to prevent contamination.
Pitch yeast to ferment
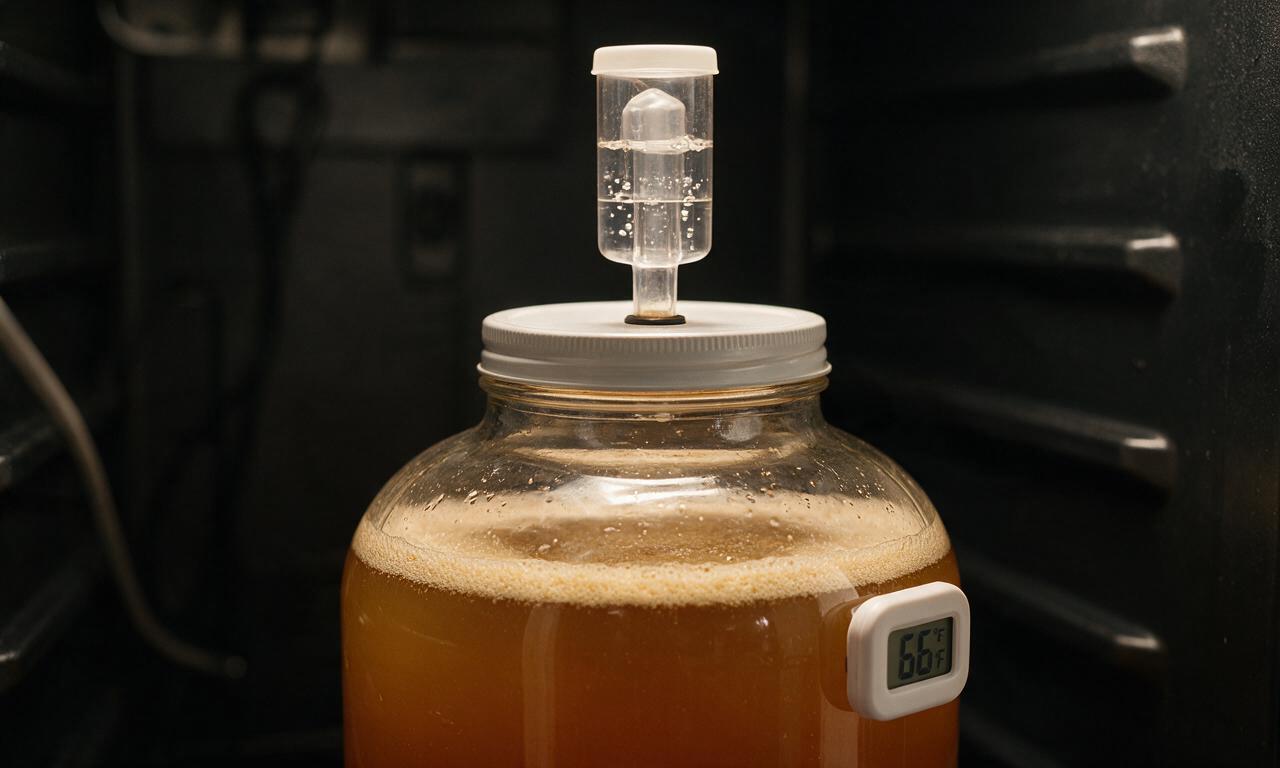
Pour the cooled wort into the prepared glass fermentation jug, topping up with cool, filtered water to reach a total volume of 3.8 L (1 gallon) if evaporation reduced the volume during boiling. Seal the jug with the sanitized stopper and shake it vigorously for 30 seconds to aerate the wort (yeast needs oxygen to start fermentation), then sprinkle the 5g of English ale yeast evenly over the wort surface. Fill the sanitized airlock halfway with sanitizer solution, insert it into the stopper hole, and store the jug in a dark, temperature-controlled space held at 18–20°C (65–68°F) for 14 days, until airlock bubbling slows to less than 1 bubble per minute, signaling fermentation is complete.
Bottle and condition beer
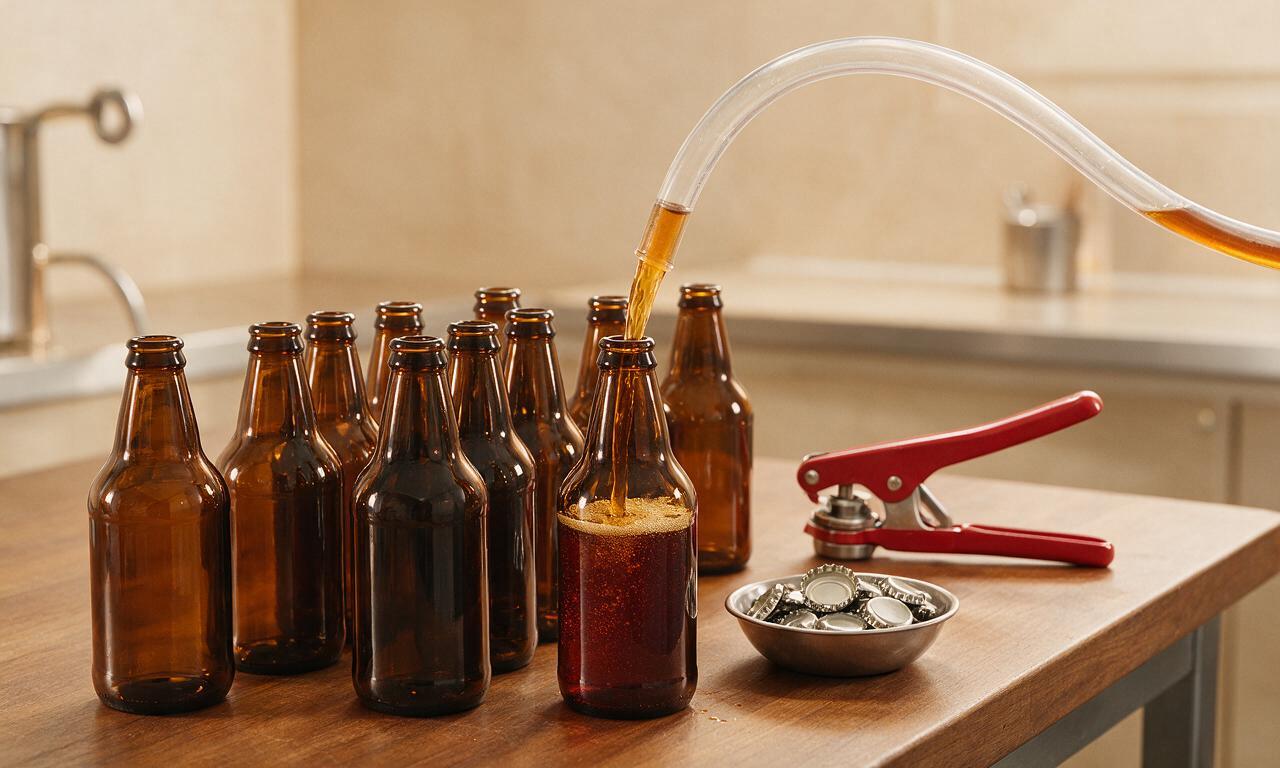
Sanitize ten 355ml (12oz) amber glass beer bottles, metal crown caps, bottle siphon, and bottle capper. Dissolve 23g (0.8 oz) of priming corn sugar in 60ml (1/4 cup) of boiling water, cool the solution to 20°C (68°F), and stir it gently into the fermented wort to create natural carbonation during conditioning. Siphon the beer into prepared bottles, leaving 2.5cm (1 inch) of empty headspace at the top of each bottle to allow room for carbonation, then crimp caps tightly with the capper. Store bottles upright in the same dark, 18–20°C (65–68°F) space for 28 days to carbonate and mellow harsh alcohol flavors, then chill for 24 hours before serving.
Tips
2.Do not rush the bottle conditioning step; barleywine’s high 8-10% ABV and strong malt flavors mellow dramatically over 4 weeks, resulting in a smooth, balanced drink rather than a harsh, boozy one.
3.Avoid serving barleywine ice-cold; chill it to 10–13°C (50–55°F) (cool, not frigid) to best highlight its rich toffee, caramel, and subtle dried fruit notes, rather than masking flavors with extreme cold.
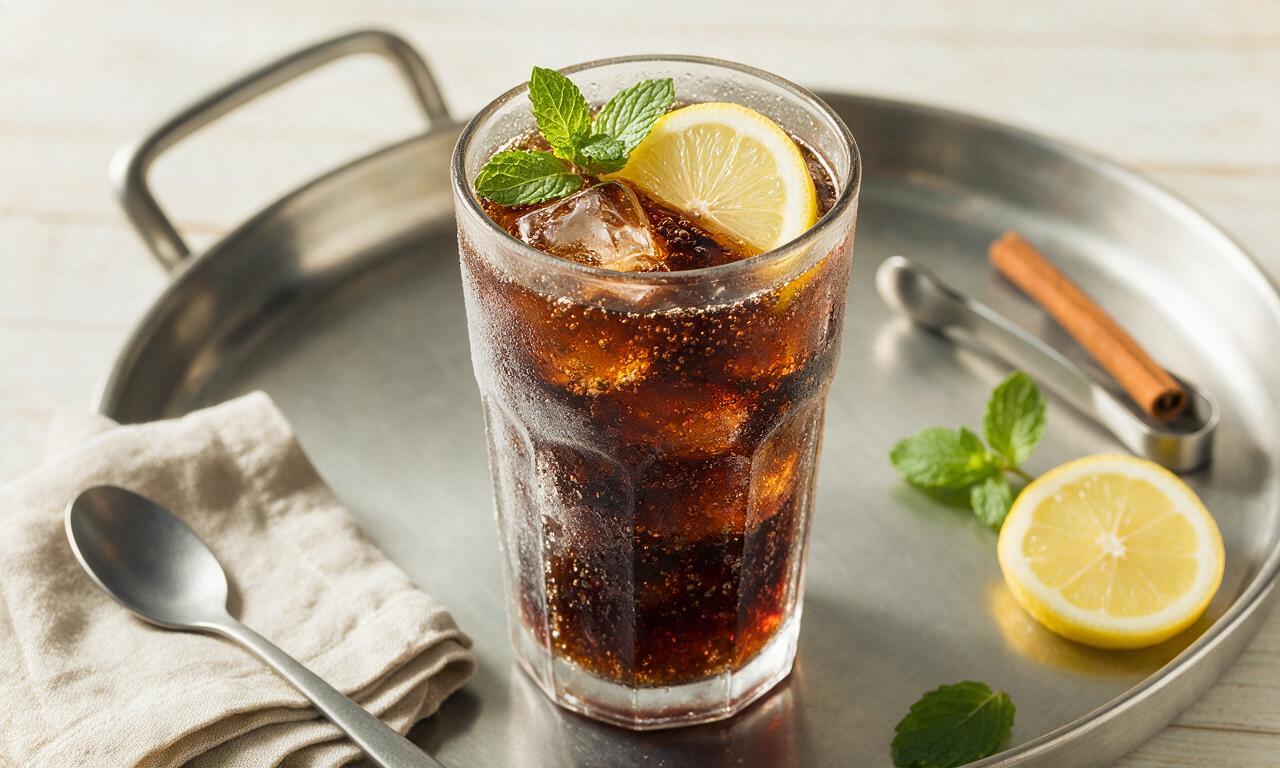
OMG, I’ve been chasing that perfect old-school barleywine flavor for years after having one on a trip to the Pacific Northwest, and this recipe absolutely nails it! Took the full 6 weeks, waited even an extra week to condition because I was nervous, but the malty, caramel depth is insane. Brought a growler to our last neighborhood potluck and everyone was begging for the recipe. SO good, even if it’s a little labor intensive. 10/10 would brew again.
Game changer! I was super intimidated by how long the process takes, but I split a batch with my husband for our anniversary, and we had so much fun checking the gravity every few days. The final beer is rich, a little boozy, perfect for sipping by the fire on cold Ohio nights. We saved a few bottles to age for a year, can’t wait to see how they mellow out!
Tried this last month, messed up the temperature on the initial mash by a couple degrees so I was convinced I ruined it, but it still turned out way better than any store-bought barleywine I’ve ever had! Super malty, just the right amount of hop bite to cut the sweetness. Brought a six pack to my friend’s game night and even the guys who only drink light lager were raving about it.
Okay, full transparency: I skipped reading the full timeline before starting and was shocked when I realized I had to wait 6 whole weeks, but man was it worth the wait. This is the perfect strong ale to bring to holiday dinners, my dad and uncle went crazy for it and keep asking when I’m making another batch. Only note is make sure you have enough bottling buckets ready, I had to run to the homebrew shop mid-process oops.
Quick question — I’m getting ready to start this this weekend, but I only have American ale yeast on hand right now instead of the traditional English strain the recipe calls for. Will that totally throw off the flavor? I don’t want to waste 6 weeks waiting for something that doesn’t taste right!
Just bottled my batch yesterday! The hydrometer reading was spot on with what the recipe said it should be after primary fermentation, so I’m feeling really good about it. The sample I snuck during bottling was so smooth already, I can’t wait to crack the first bottle once conditioning is done.
Whoa, 6 weeks total time? That’s way longer than the pale ales I usually brew at home. Is there any way to speed up the conditioning phase a little without ruining the final flavor? I’m supposed to bring homebrew to my camping trip in 5 weeks and I’m cutting it close.
Ugh, I made the mistake of not properly sanitizing my airlock halfway through fermentation and I think I got a tiny bit of infection in one of my carboys. The rest of the batch tastes great, but that one carboy has a little bit of a sour off note. Has anyone else run into this with this recipe? Is it worth saving the bottles from that carboy or should I dump them?
This is my third time making this recipe, and it’s become my go-to holiday gift for all my beer-loving friends! I tweak the hop bill a little every year to add a bit more citrus, but the base grain bill is absolutely perfect. People are always shocked when I tell them I made it at home instead of picking it up from a fancy brewery.
Wait, hold up — I’m a total beginner to homebrewing, how hard is this recipe actually? The site says hard difficulty, but I’ve made a couple of basic extract beer kits before. Am I in over my head trying this as my third ever batch?
Just cracked my first fully conditioned bottle last night, and OMG it’s even better than the barleywine I had at that famous craft brewery up in Portland last year! It’s got that deep, toasty, caramel flavor with just the right amount of boozy warmth to let you know it’s strong. My partner who normally hates heavy beers even asked for a second glass. Game changer for my homebrew lineup.
Heads up for everyone making this: don’t sleep on aging a few bottles! I put a half dozen in the back of my closet after the 6 week conditioning period and forgot about them for 10 months, and they were absolute perfection. The harsh boozy edge totally mellowed out, and the dark fruit and toffee flavors got so much more complex. I’m making a double batch this year to save for next fall.