
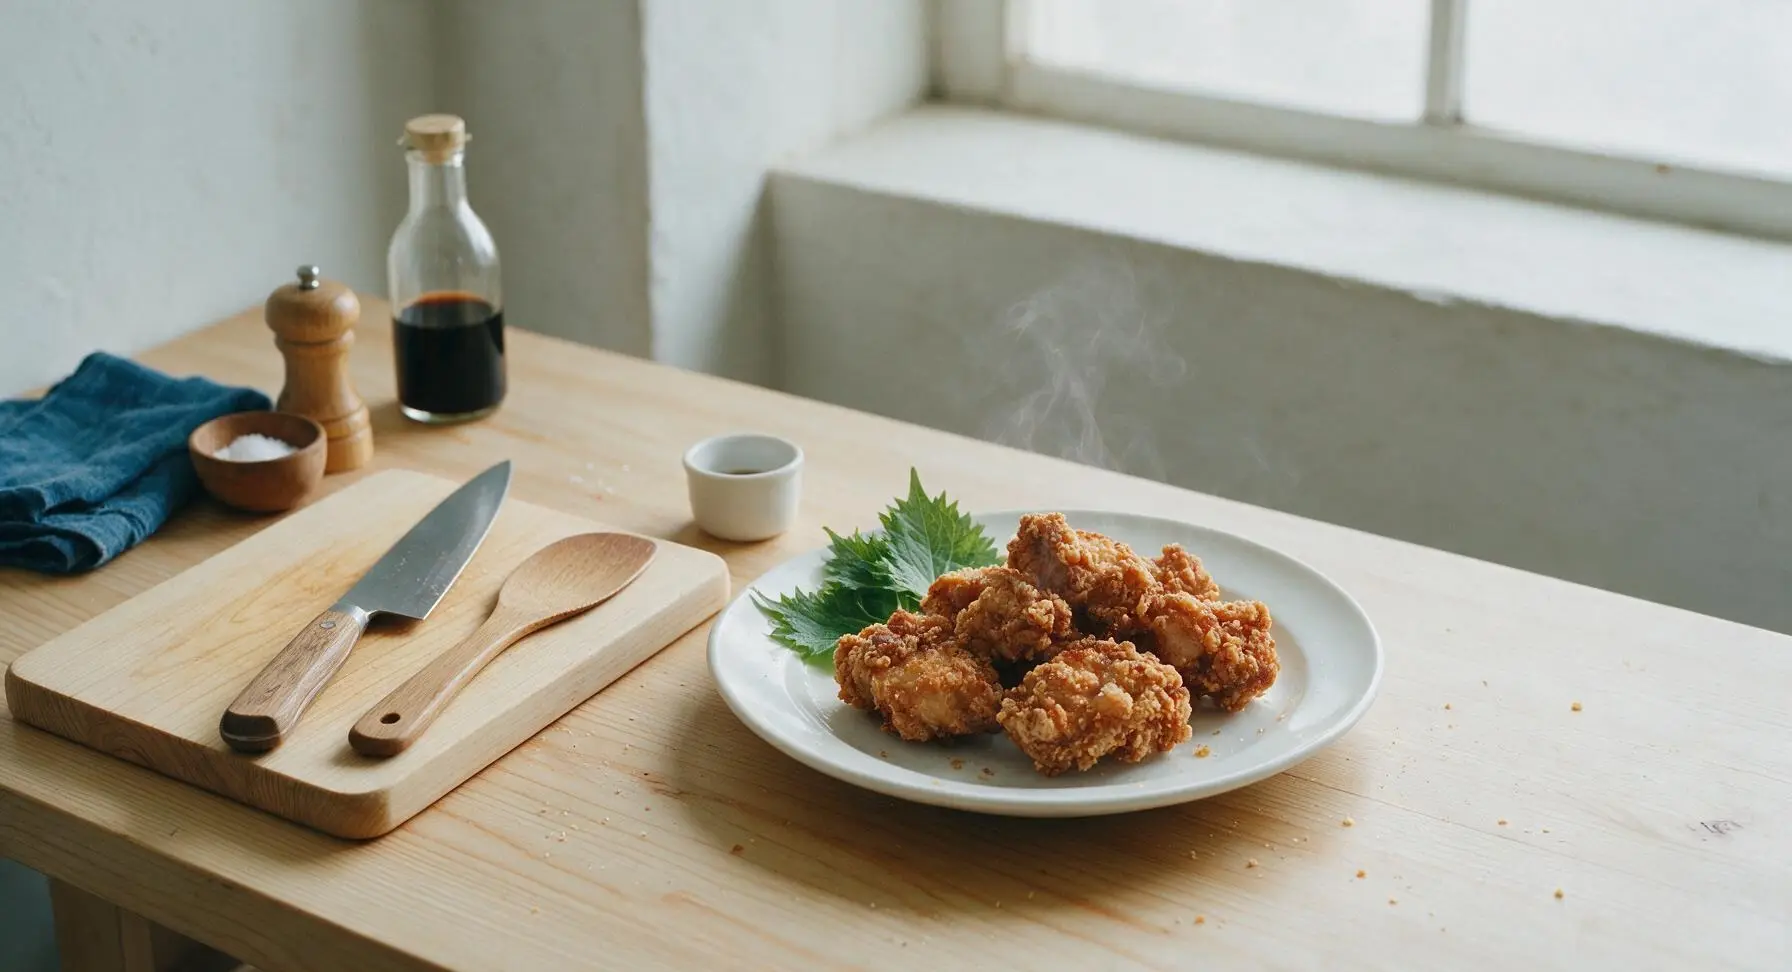
basic fried chicken

title 1
basic fried chicken
⏱️ cook time 25 minutes
🍽️ servings 4
⚡ Difficulty medium

intro

Crispy, craggy-crusted Southern-style fried chicken with juicy, tender seasoned meat, the classic comfort food perfect for gathering around the family table.

Ingredients
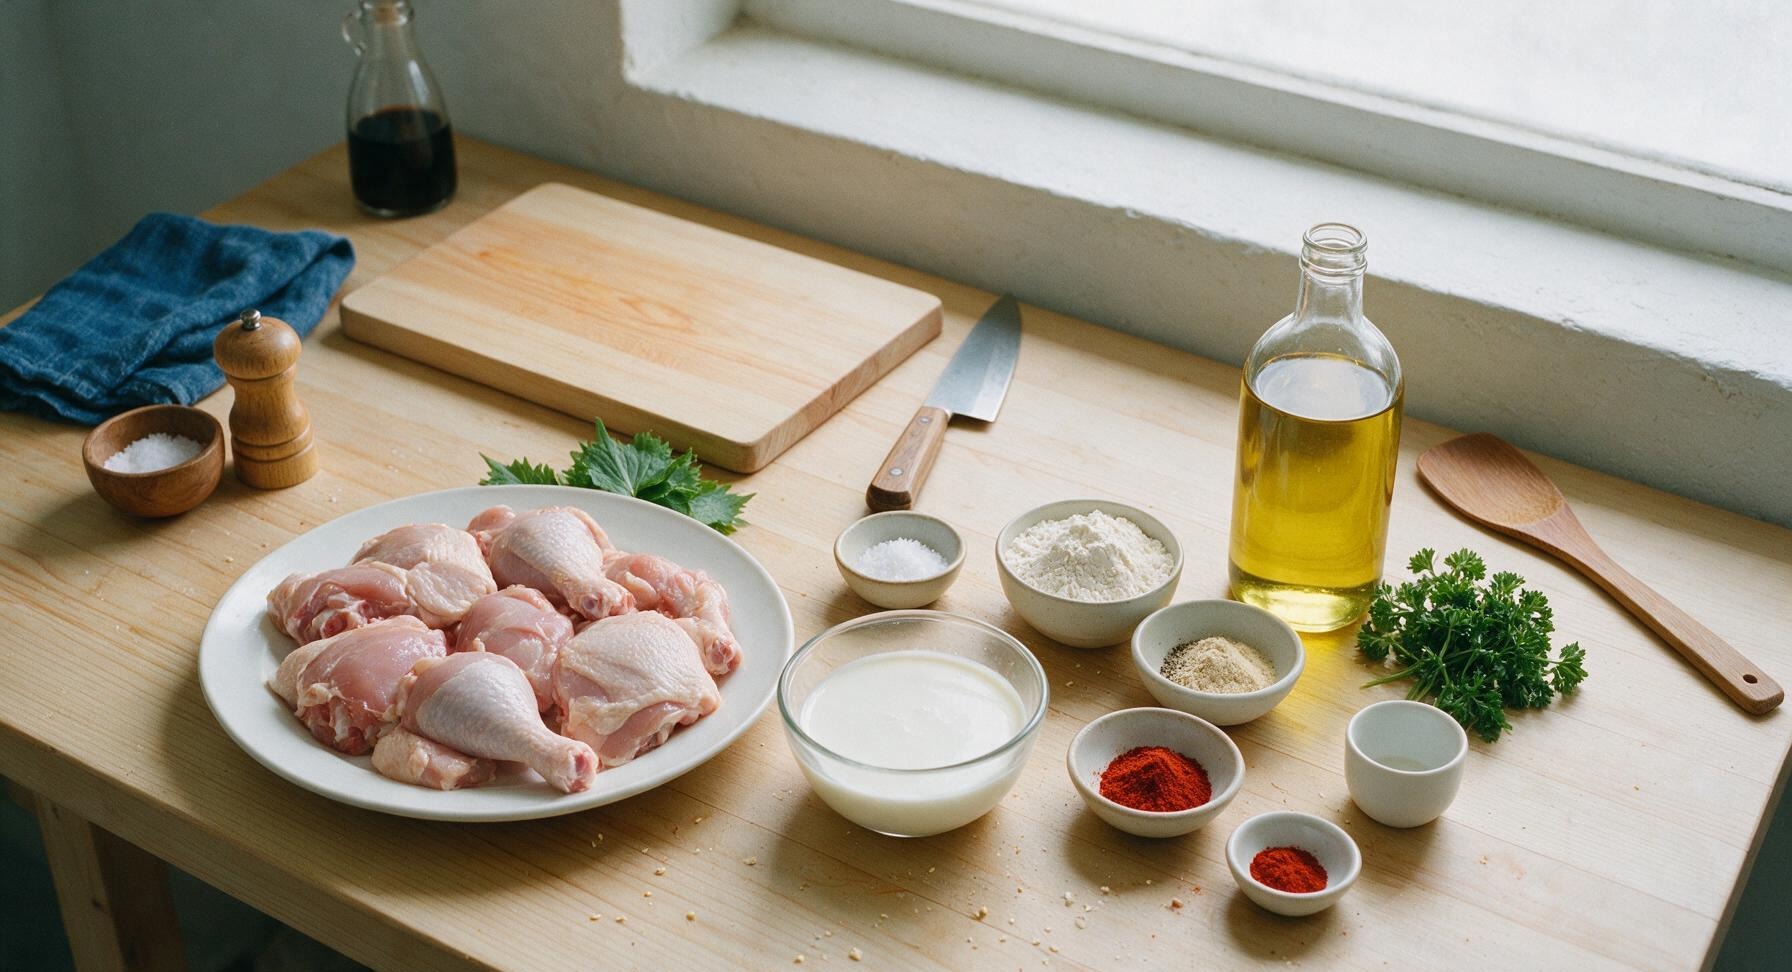
Bone-in skin-on mixed chicken pieces (thighs, drumsticks, split breasts) 1.2kg (2.6 lbs)
Full-fat buttermilk 2 cups (480ml)
All-purpose flour 1.5 cups (180g)
Kosher salt 1 tbsp (15g)
Freshly ground black pepper 1 tsp (3g)
Garlic powder 1 tsp (3g)
Sweet paprika 1 tsp (2g)
Cayenne pepper 1/4 tsp (0.5g)
Neutral canola oil (for frying) 4 cups (960ml)
Fresh curly parsley (for garnish) 1 small bunch

Steps

1

Prep Chicken for Brining

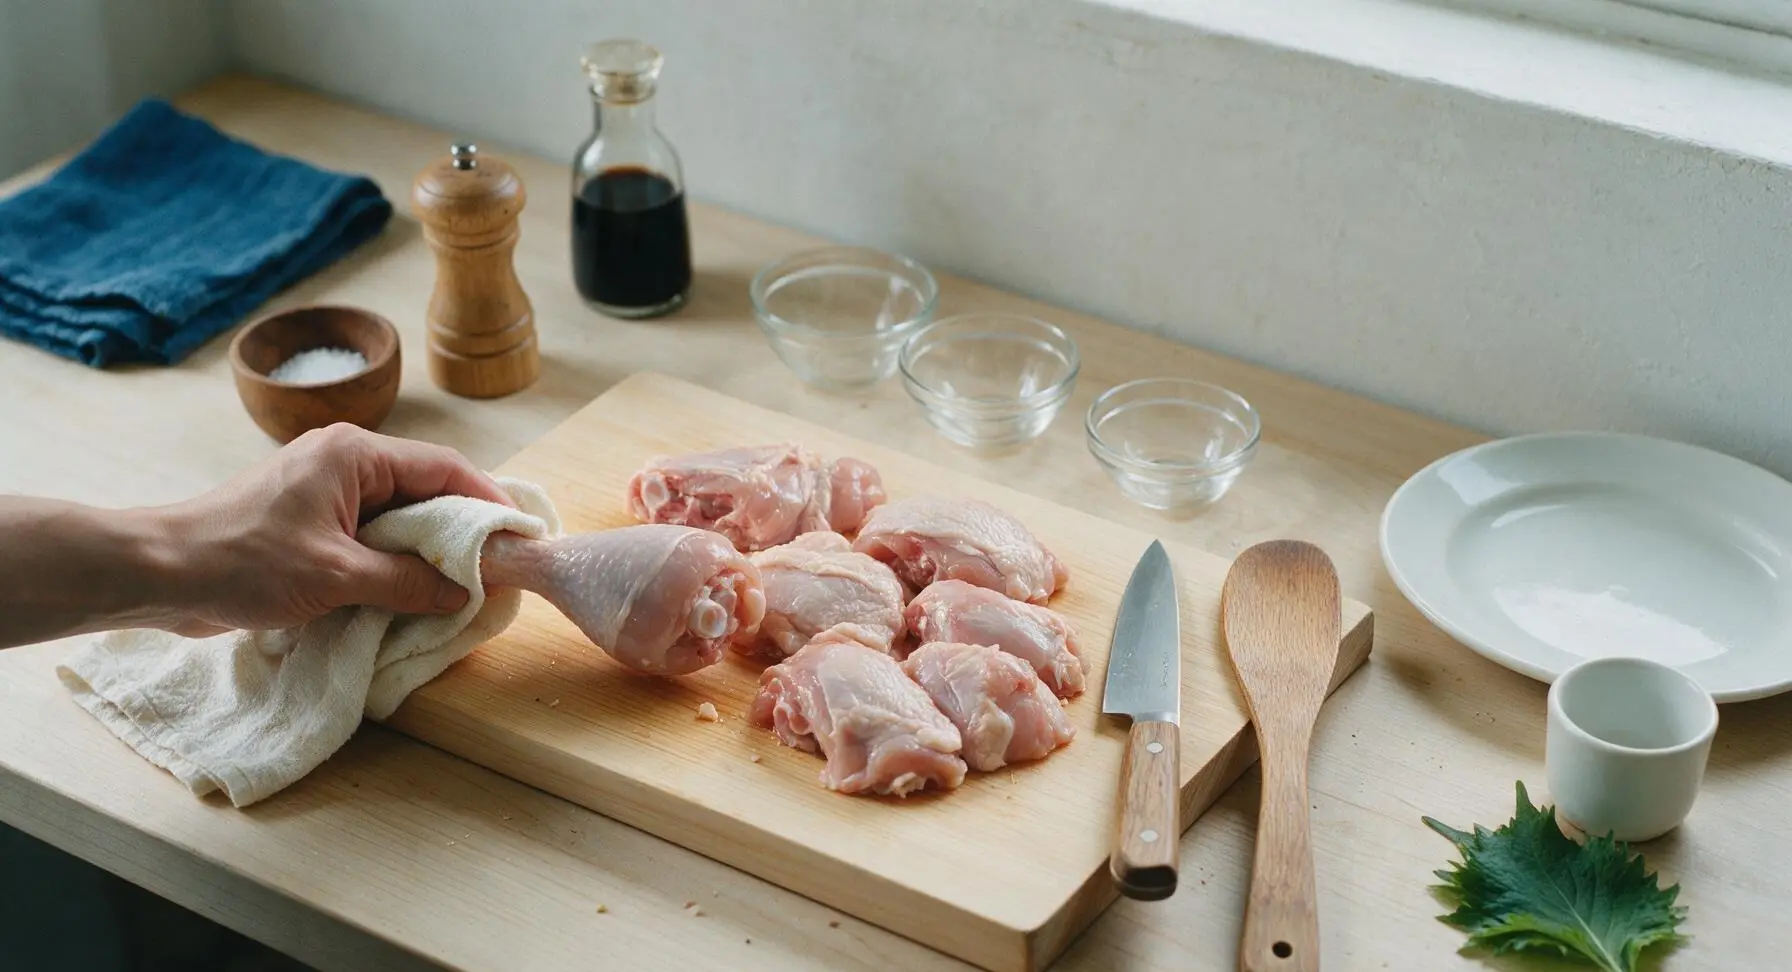
Place the mixed bone-in, skin-on chicken pieces on the light maple cutting board. Use the 6-inch boning knife to trim any loose, hanging skin or thick hard fat deposits, leaving a thin, even layer of skin attached to every piece. Pat all chicken surfaces completely dry with a corner of the fixed cream cotton kitchen towel. Transfer chicken to one of the small clear glass prep bowls, pour in 2 cups buttermilk and 1 teaspoon of the measured kosher salt, toss to fully coat every piece, and let rest for 15 minutes at room temperature to tenderize.
Step 1
step1:Prep Chicken for Brining
2

Mix Seasoned Dredge

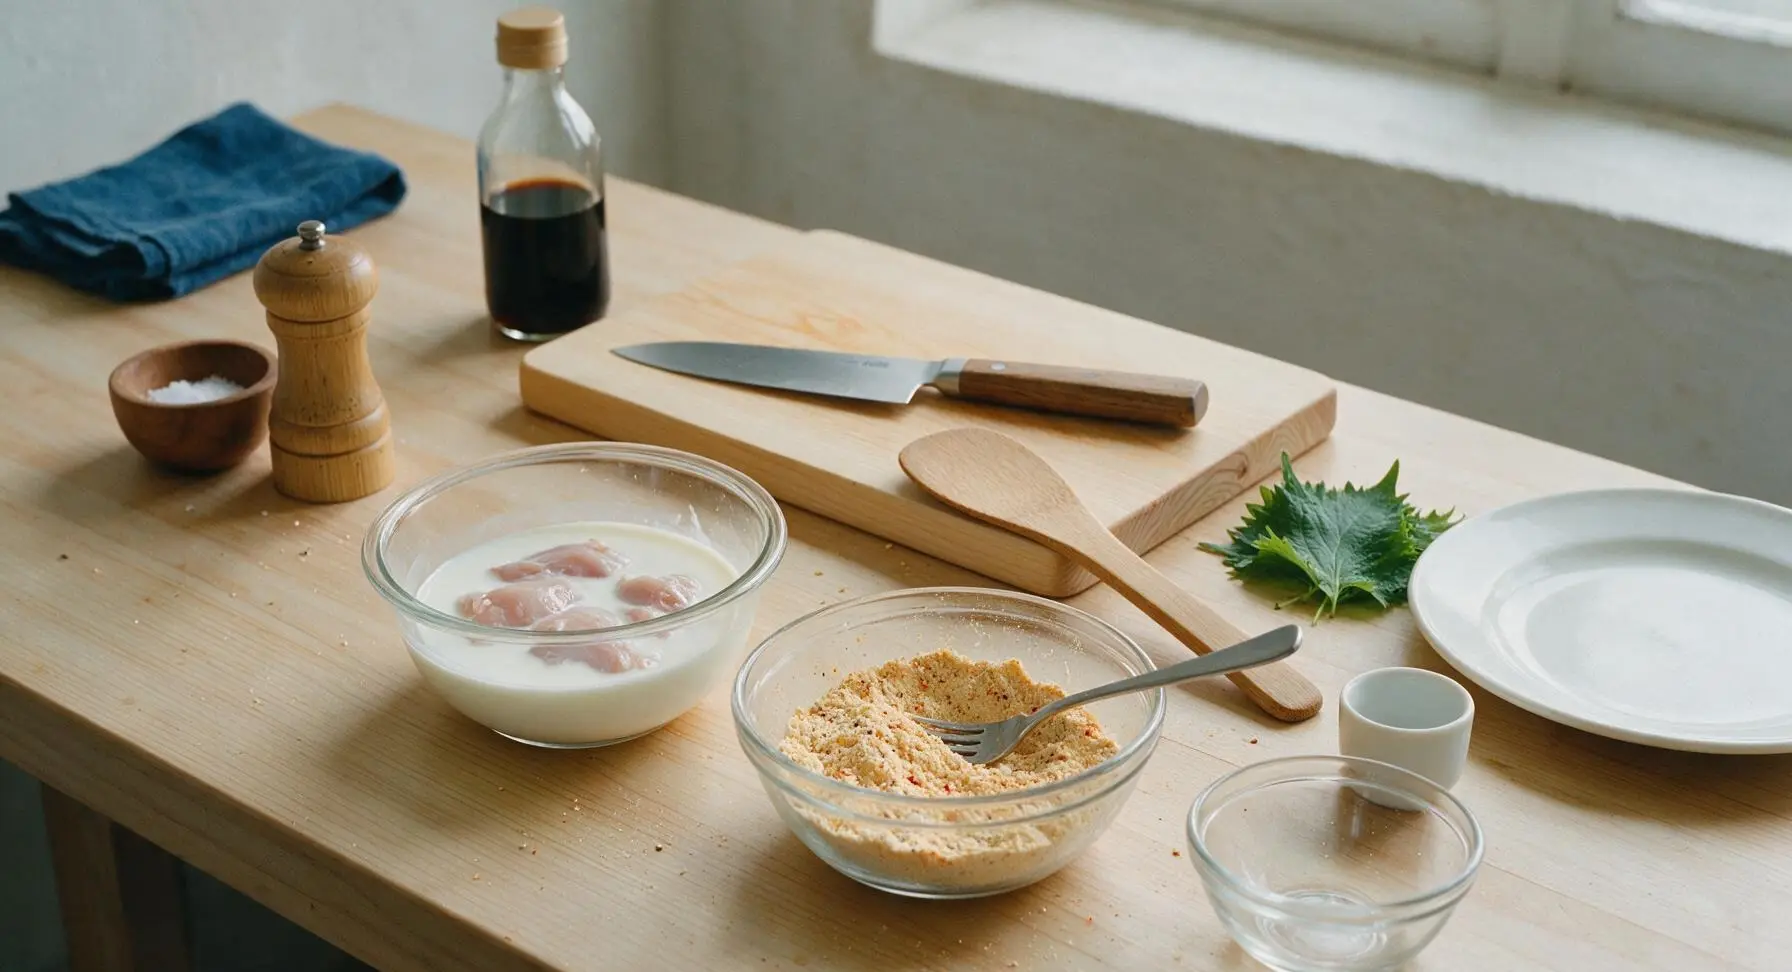
In the second small clear glass prep bowl, combine the 1.5 cups all-purpose flour, remaining 2 teaspoons kosher salt, black pepper, garlic powder, sweet paprika, and cayenne pepper. Use the stainless steel dinner fork to whisk for 30 seconds until all spices are evenly distributed throughout the flour, creating a pale golden-tan seasoned mixture with no clumps of spice.
Step 2
step2:Mix Seasoned Dredge
3

Heat Frying Oil

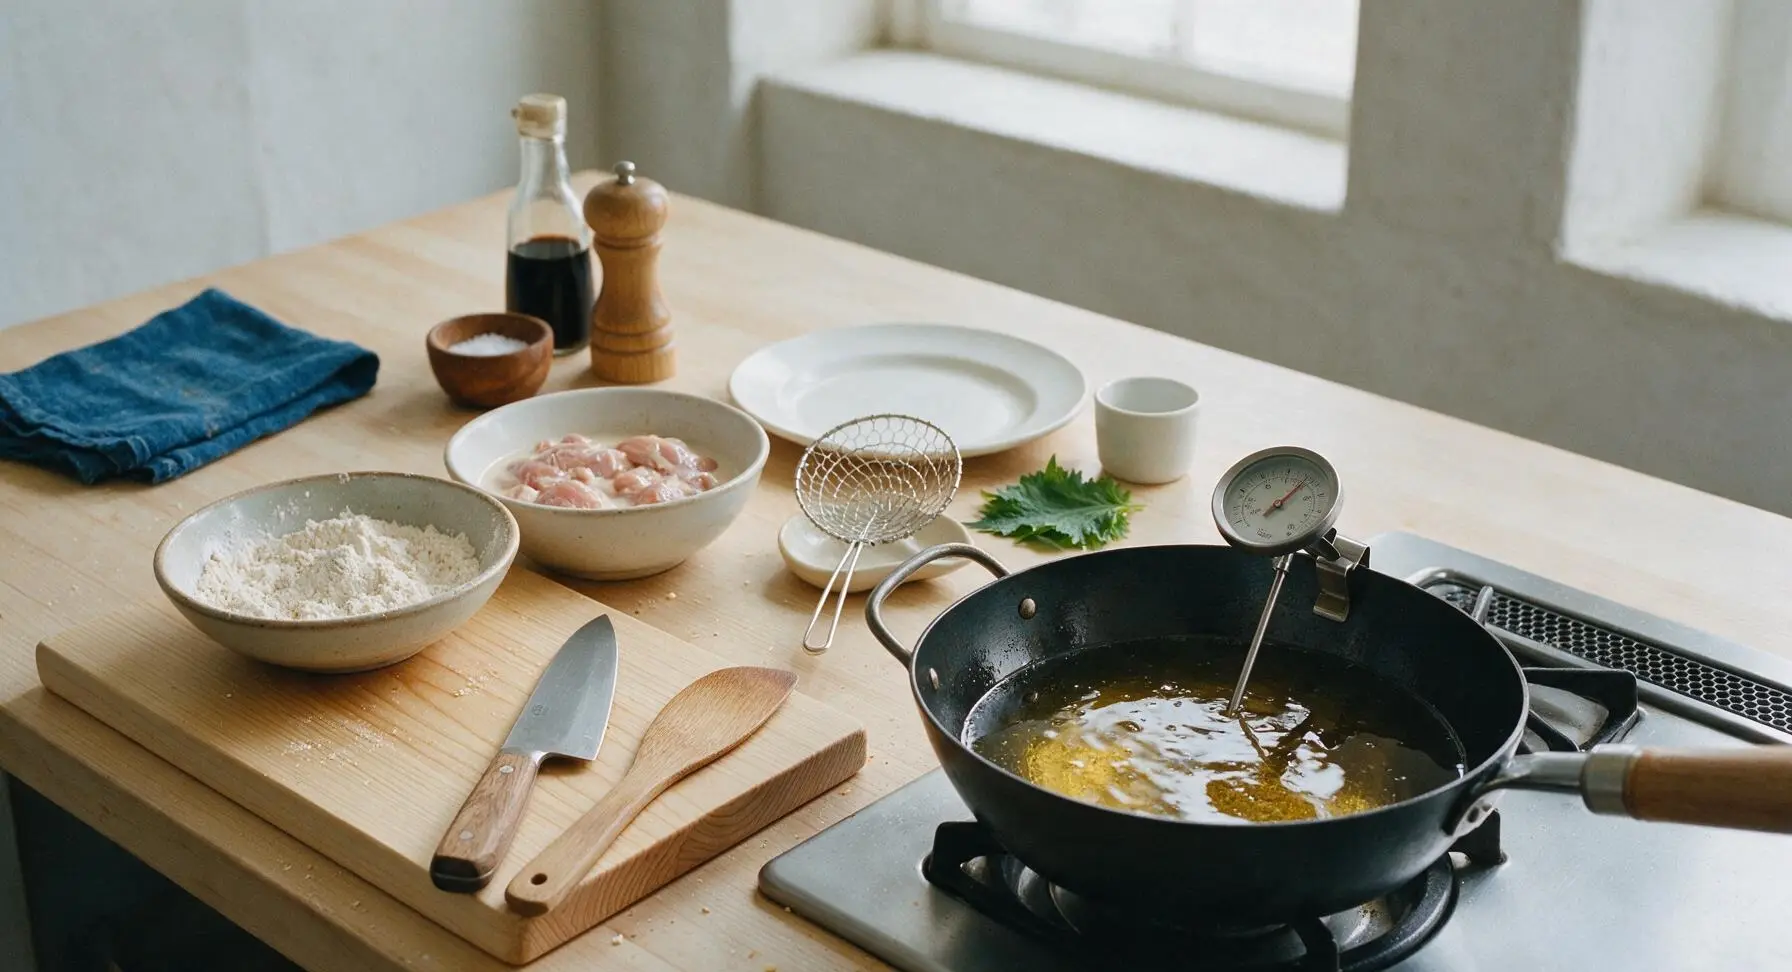
Place the 3-quart seasoned carbon steel deep skillet on the stovetop burner set to medium, pour in 4 cups of neutral canola oil from the glass cruet (oil will come roughly 1/2 inch up the skillet sides, ideal for pan-frying). Attach the clip-on candy thermometer to the inner rim of the skillet, and heat the oil until it reaches a steady 350°F (175°C), adjusting the burner as needed to maintain this temperature throughout cooking – do not let oil exceed 375°F or drop below 325°F.
Step 3
step3:Heat Frying Oil
4

Dredge Chicken in Flour

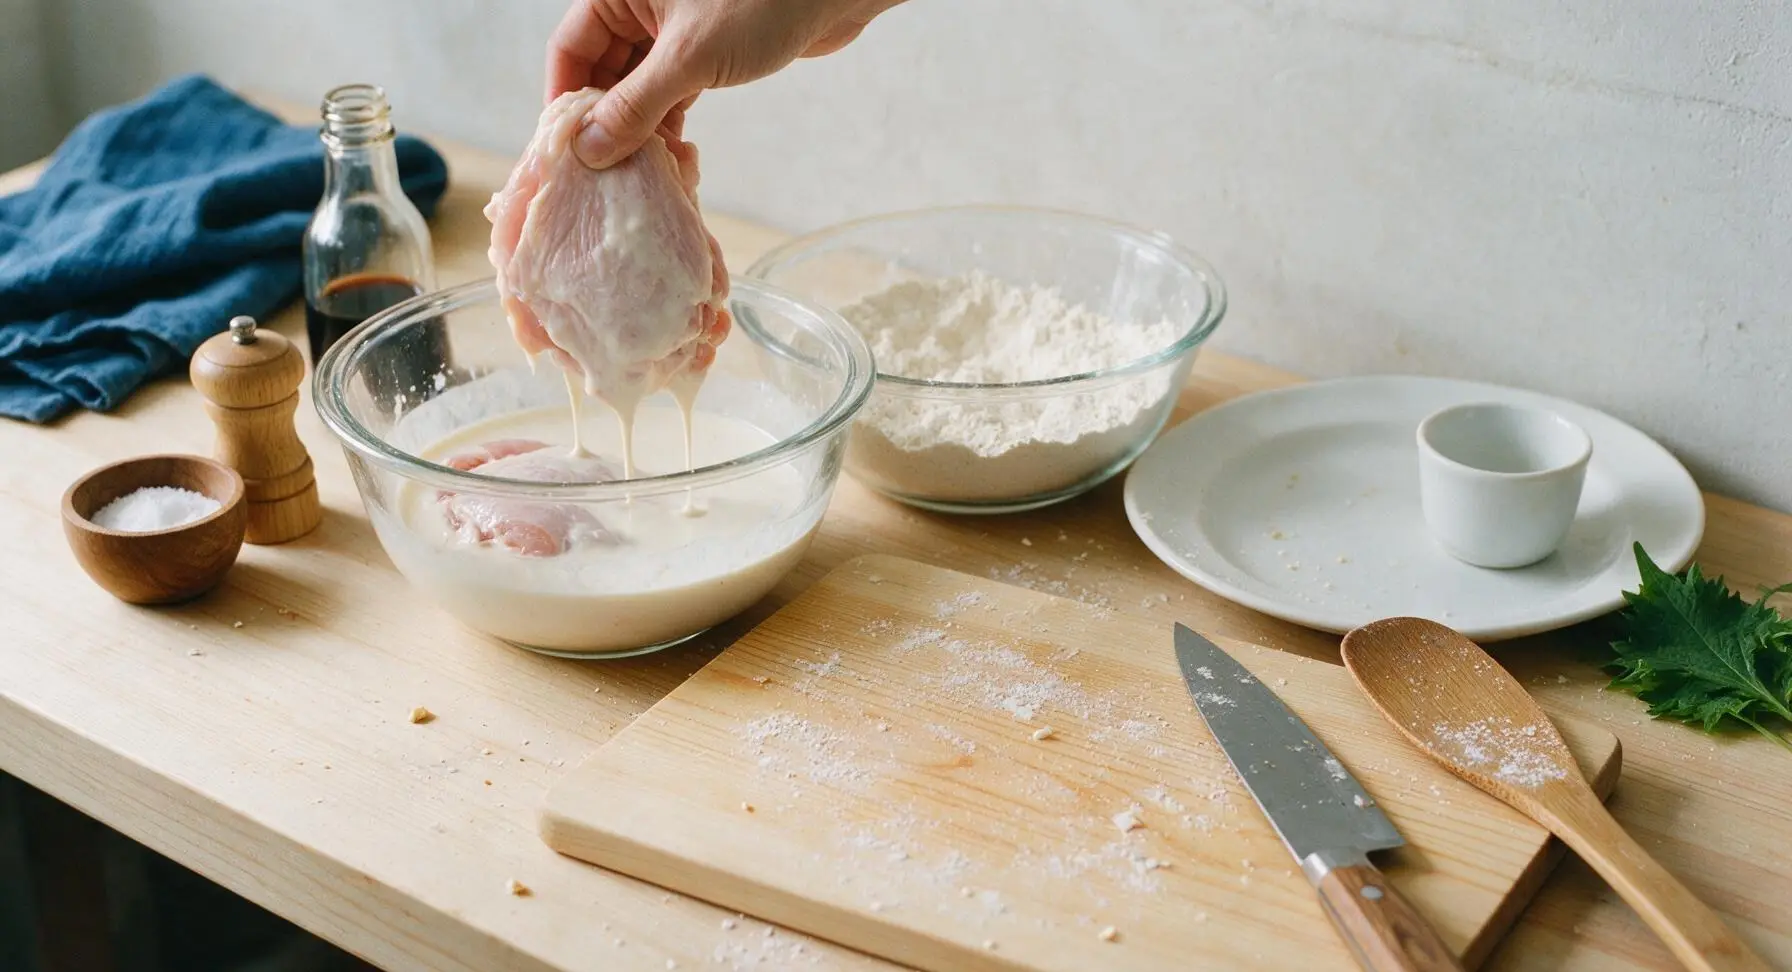
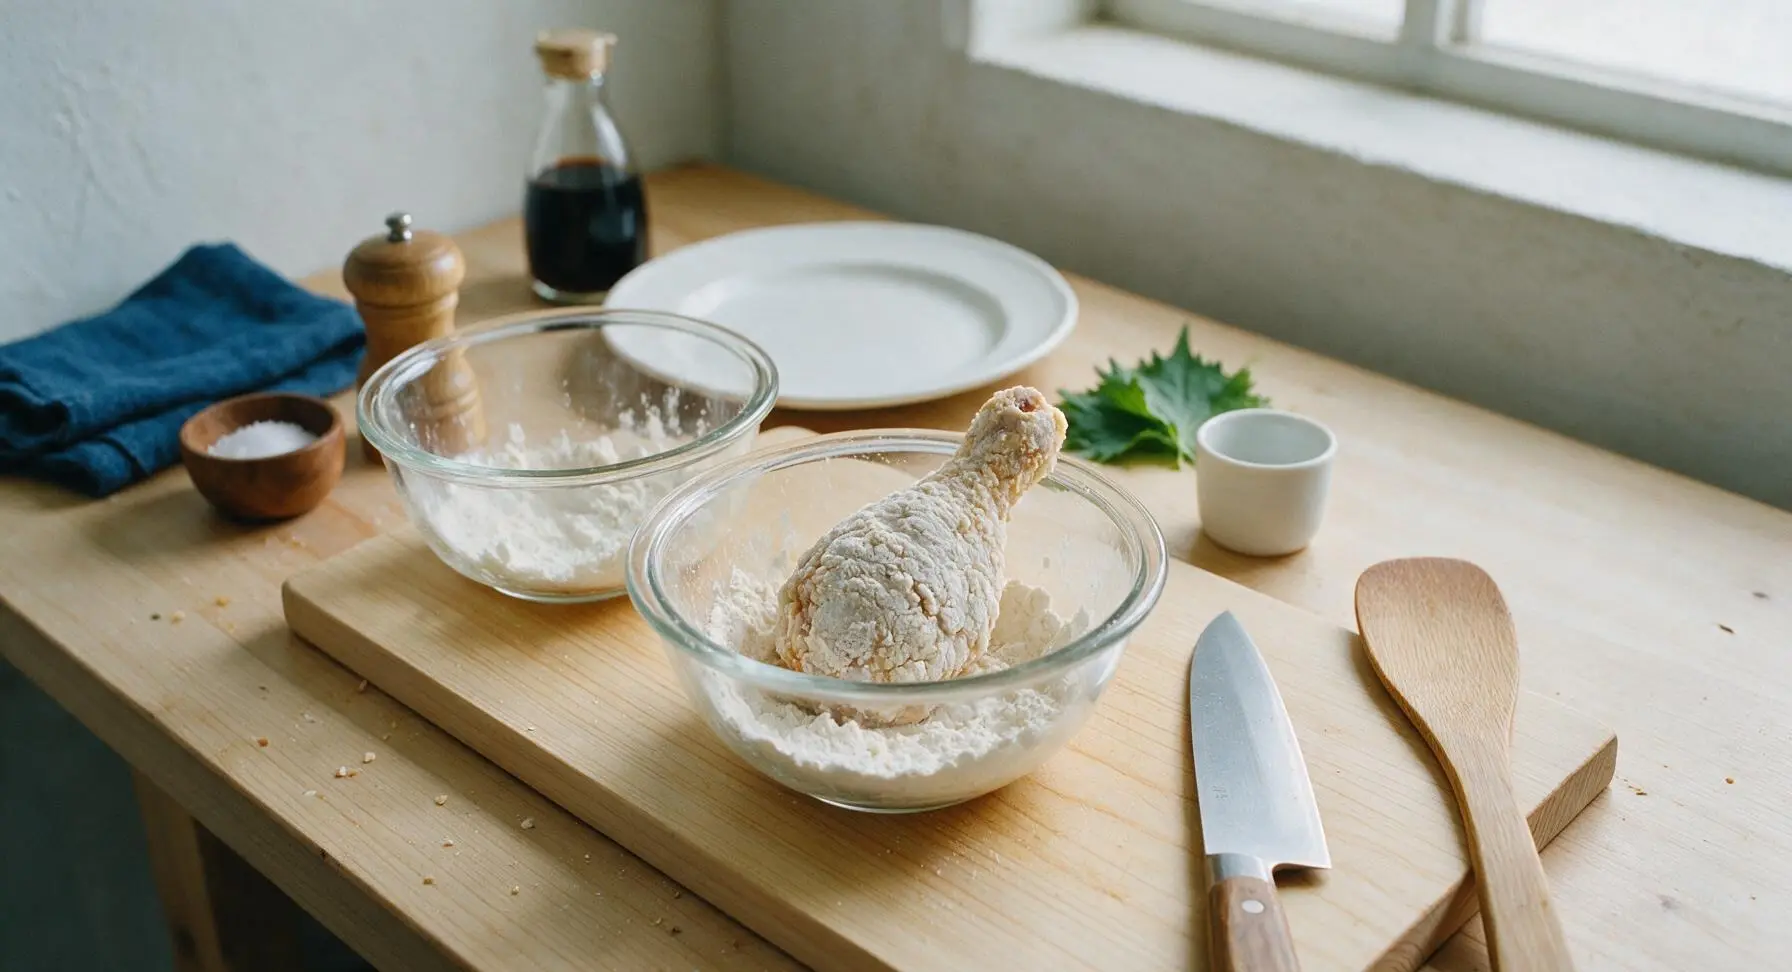
Working one piece at a time, lift chicken from the buttermilk brine, letting excess buttermilk drip off for 2 seconds. Drop the piece into the seasoned flour bowl, pressing firmly to coat every surface (including under skin flaps) with a thick, even layer of flour. Lift the coated piece, tap gently against the bowl edge to knock off loose excess flour, then set on the clean third glass prep bowl for 5 minutes to let the coating set (this prevents breading from falling off during frying).
Step 4
step4:Dredge Chicken in Flour
Step 4
step4:Dredge Chicken in Flour
5

Fry Chicken in Batches

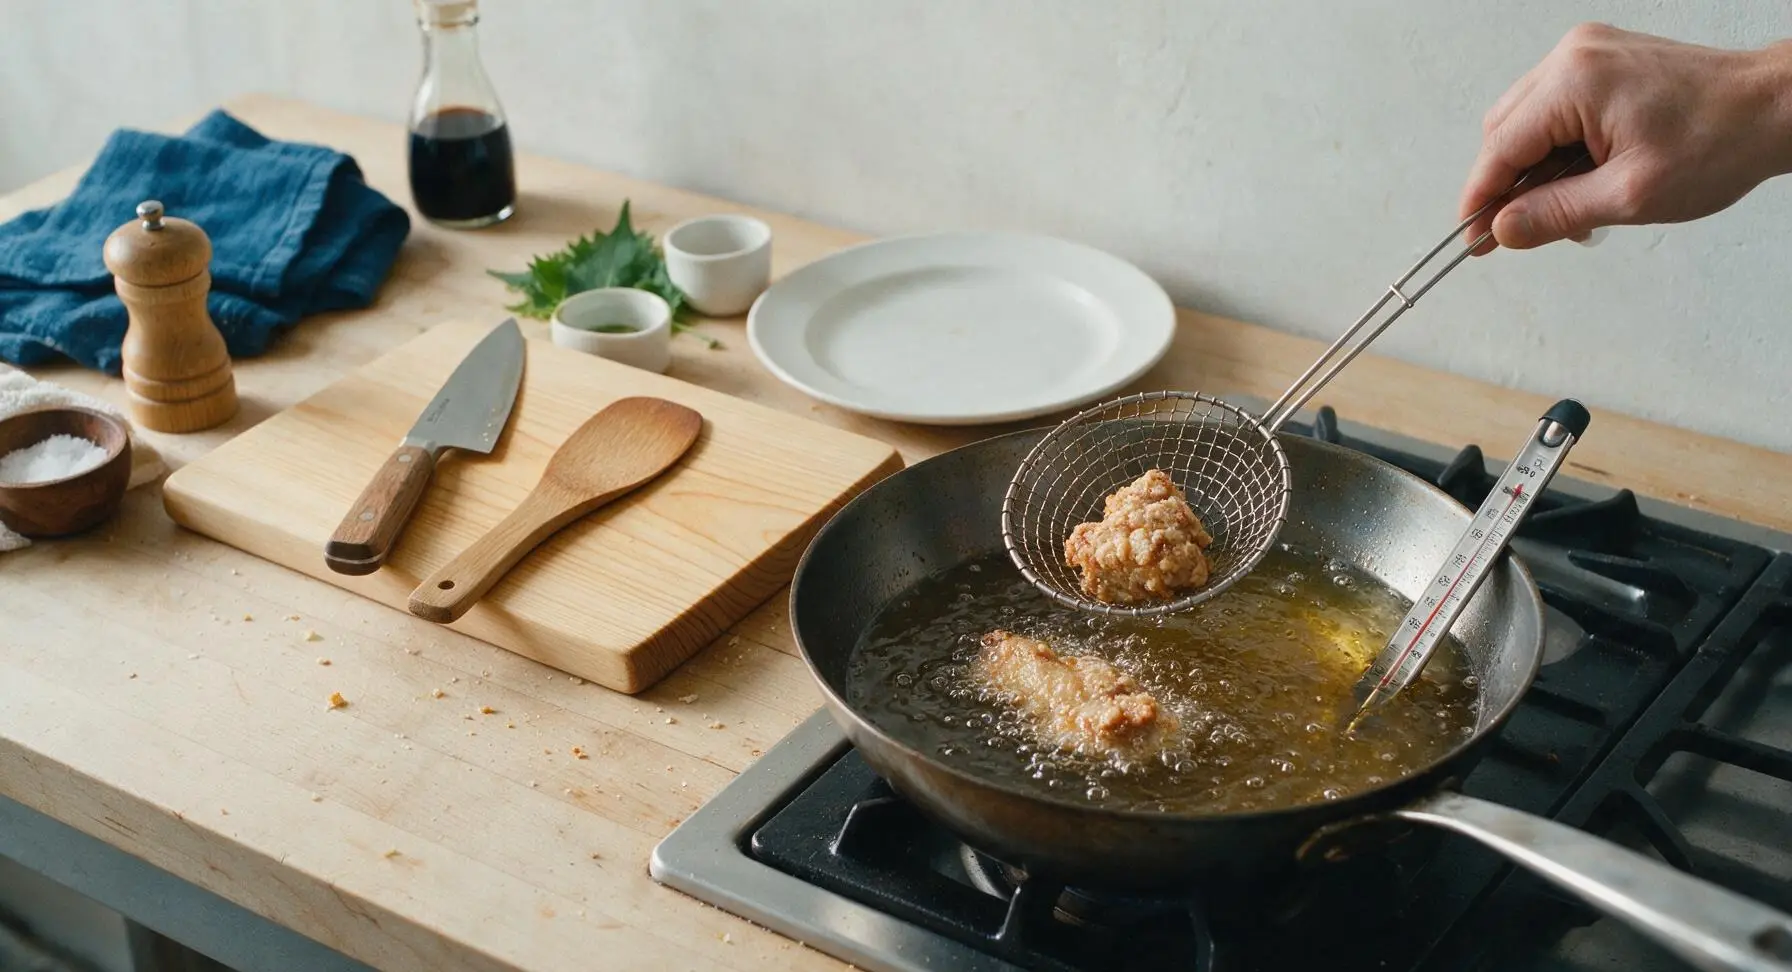
Carefully lower 2-3 coated chicken pieces into the 350°F oil, being careful not to splash hot oil – do not overcrowd the skillet (overcrowding drops oil temperature and makes chicken soggy). Fry for 12-14 minutes total, turning pieces every 4 minutes with the wire skimmer, until the breading is a deep, even golden amber and the internal temperature of the chicken reaches 165°F (74°C) at the thickest part (away from bone). Dark meat (thighs, drumsticks) may take 1-2 minutes longer than white meat (breasts), so cook dark meat first if needed to avoid temperature fluctuations.
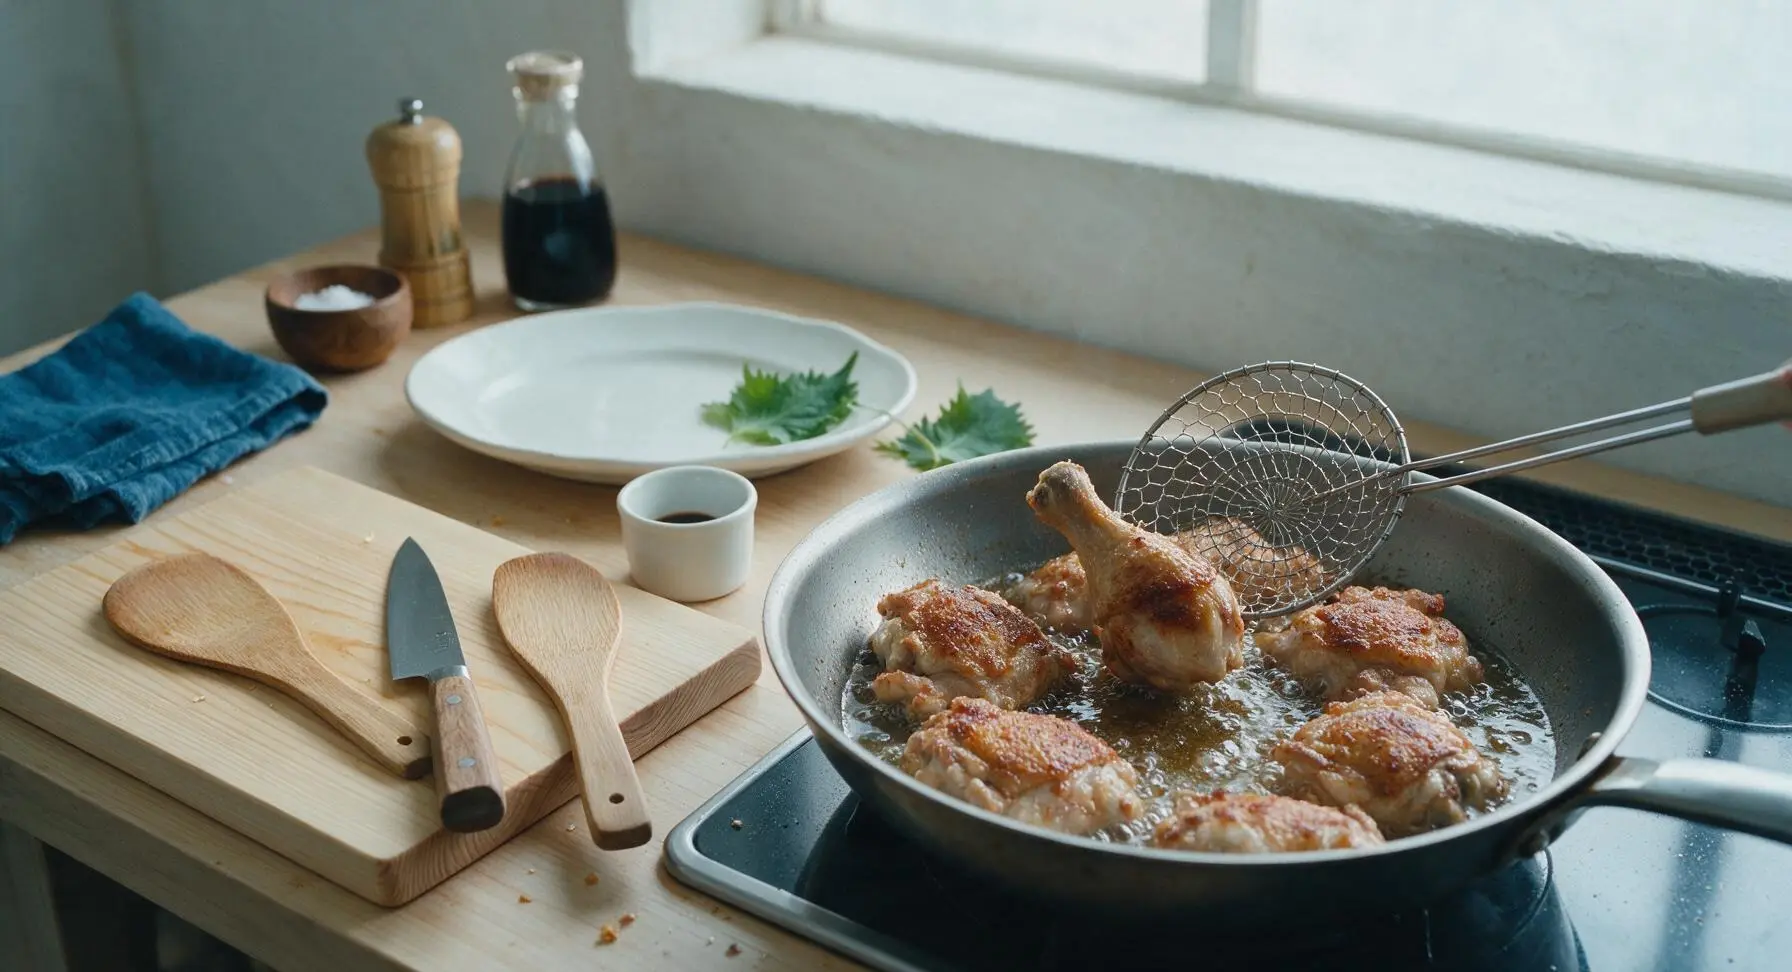
Step 5
step5:Fry Chicken in Batches
Step 5
step5:Fry Chicken in Batches
6

Drain Fried Chicken

Once chicken reaches the correct internal temperature and golden crust color, use the wire skimmer to lift pieces from the oil, holding them above the skillet for 3 seconds to let excess oil drip off. Transfer pieces to the chrome wire rack set over the aluminum baking sheet (positioned right of the skillet) to drain for 5 minutes – do not drain on paper towels directly, as this traps steam and makes the crust soggy. Lightly sprinkle warm chicken with a pinch of extra kosher salt as soon as it comes out of the oil.
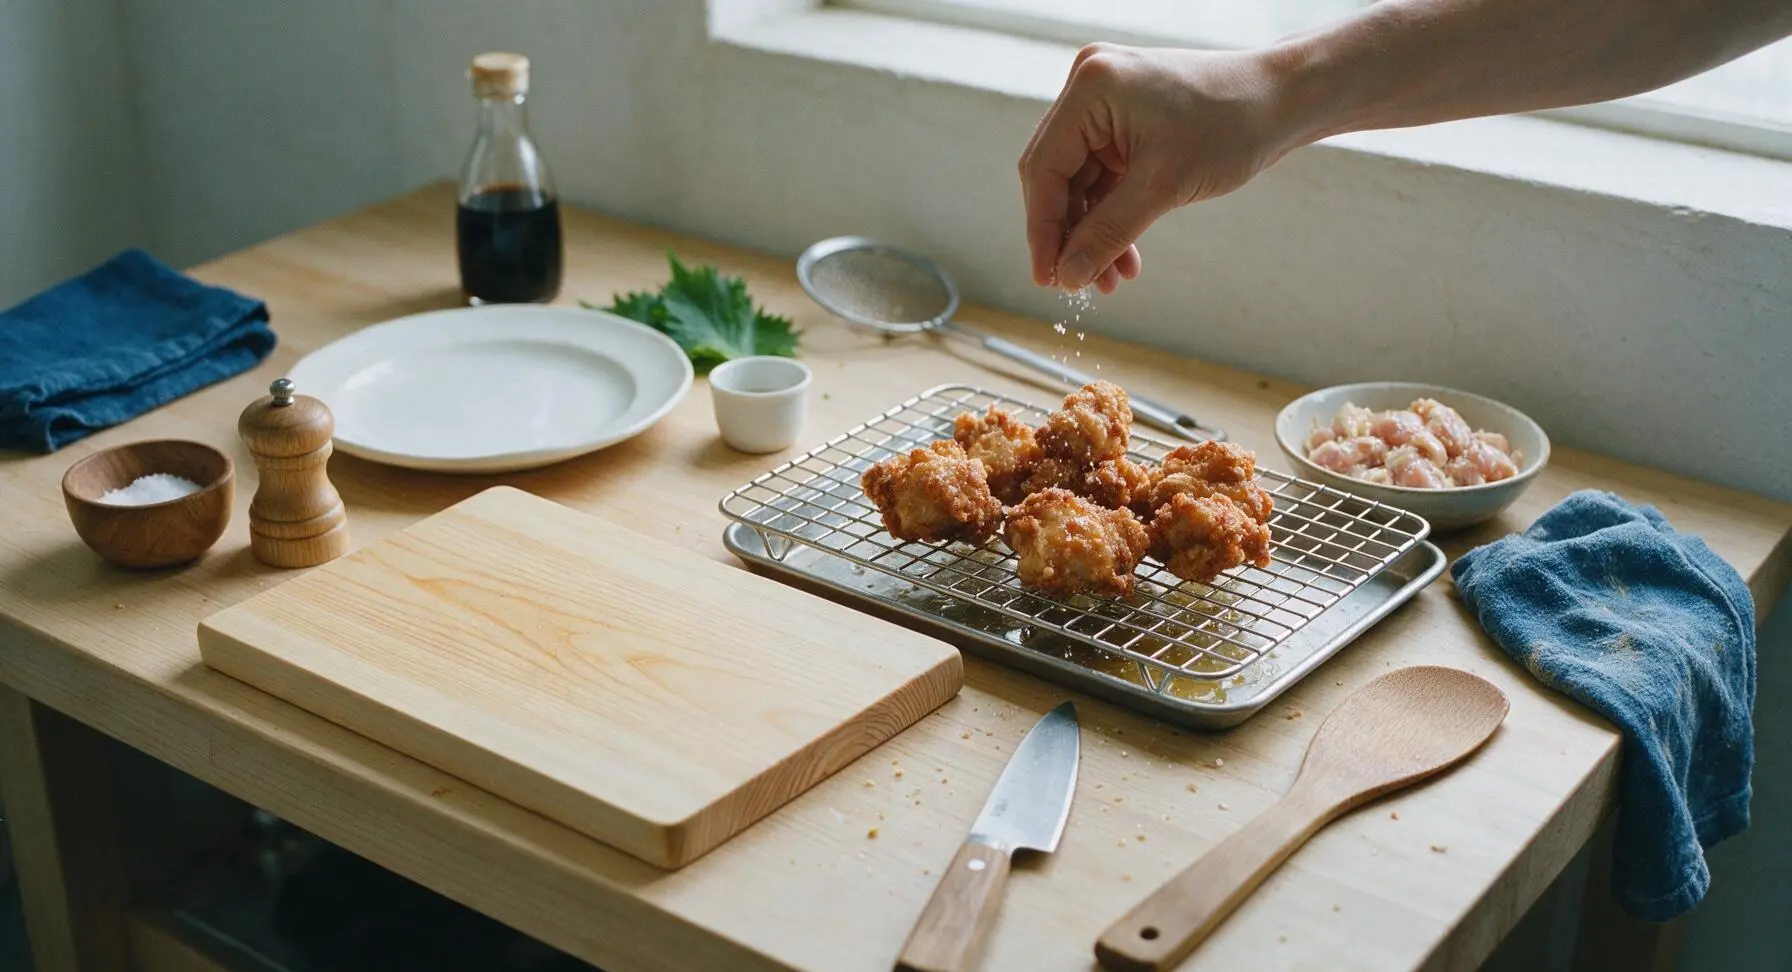
Step 6
step6:Drain Fried Chicken
7

Plate and Serve Chicken

After chicken has drained for 5 minutes, transfer pieces to the fixed matte off-white stoneware dinner plate. Tuck a single sprig of fresh curly parsley (from the fixed front-right bunch) between pieces for a simple garnish, and serve warm.
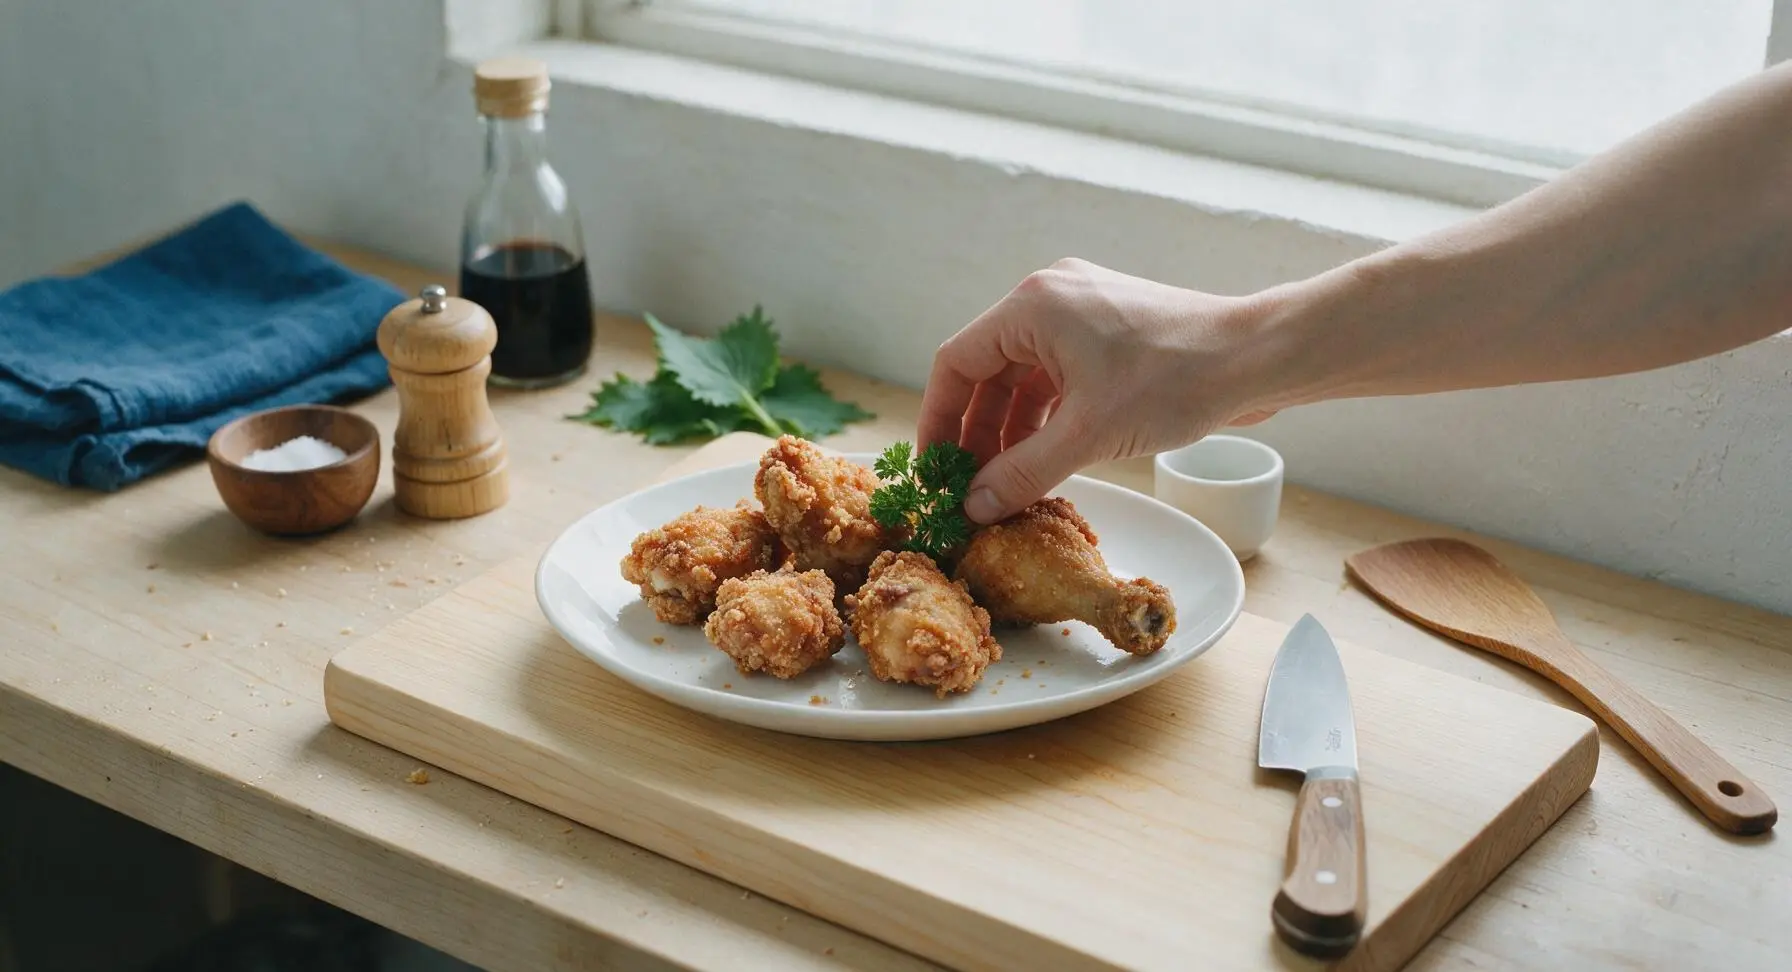
Step 7
step7:Plate and Serve Chicken

Tips

1.Let dredged chicken rest for 5 minutes before frying: this allows the flour and buttermilk to form a sticky, craggy coating that adheres to the chicken instead of sliding off into the hot oil.
2.Maintain a steady 350°F oil temperature throughout frying: oil that is too hot will burn the crust before the chicken cooks through, while oil that is too cool will make the crust greasy and soggy.
3.Drain fried chicken on a wire rack instead of paper towels: resting chicken directly on paper towels traps steam against the crust, turning crispy breading soft and soggy within minutes.


✨ You May Also Like

Main Course
🍜 United Kingdom

A showstopping classic of tender seared beef, savory mushroom duxelles, and crisp prosciutto wrapped in flaky golden puff pastry, baked to juicy perfection.

⏱️ 2 hours 1Main Course ★ 4.7
Main Course
🍜 India

Tender charred marinated chicken simmered in a rich, spiced creamy tomato sauce, this iconic Anglo-Indian curry pairs perfectly with basmati rice or warm naan.

⏱️ 50 minuteMain Course ★ 4.6
Main Course
🍜 Thailand

Classic tangy, sweet, and savory Thai stir-fried rice noodles with shrimp, tofu, and crunchy garnishes, balancing all five core Thai flavor profiles.

⏱️ 30 minuteMain Course ★ 4.5
Main Course
🍜 United Kingdom

Crispy golden beer-battered cod and fluffy double-fried chips, served with tangy tartar sauce and malt vinegar: the timeless, beloved British pub comfort classic.

⏱️ 45 minuteMain Course ★ 4.7
Main Course
🍜 Mexico

Smoky, chile-marinated pork tacos with caramelized pineapple, fresh cilantro, and lime: a beloved classic Mexican street food perfect for casual summer gatherings.

⏱️ 1 hour 45Main Course ★ 4.8
Main Course
🍜 United States

Crunchy Fritos corn chips layered with savory beef chili and melted cheddar, topped with cool, zesty fixings for a beloved, cozy Tex-Mex comfort food.

⏱️ 35 minuteMain Course ★ 4.8

basic fried chicken:Frequently Asked Questions

1.Why do I need to use full-fat buttermilk instead of regular or low-fat milk for the marinade? ▾
Full-fat buttermilk has gentle lactic acid that tenderizes chicken without making it mushy, plus a rich, thick texture that coats every piece to help the flour crust stick securely. Low-fat versions lack that coating power, and regular milk doesn’t have enough acid for proper tenderizing. In a pinch, stir 1 tbsp white vinegar into 1 cup full-fat milk and let it sit 5 minutes as a substitute.
2.How long should I let chicken marinate in buttermilk for the juiciest, most tender results? ▾
Aim for a minimum of 4 hours, and up to 24 hours, stored covered in the fridge. Any less than 2 hours and the acid won’t penetrate enough to tenderize the meat or lock in moisture. Don’t marinate longer than 24 hours, though—overexposure to acid will break down muscle fibers too much, leaving the texture unpleasantly mushy instead of tender.
3.Can I use boneless, skinless chicken pieces if I don’t have bone-in, skin-on cuts? ▾
You absolutely can, just adjust your cook time to account for thinner, faster-cooking cuts. Boneless thighs will take 8-10 minutes total to fry, while boneless breast pieces take 10-12 minutes. Keep in mind you won’t get the same rich, deep flavor from skin and bone, and the crust may not adhere as evenly without the skin’s textured surface.
4.What oil temperature should I maintain to avoid burning the crust before the meat cooks through? ▾
Hold your frying oil steady at 350°F (175°C) for the entire cook time, using a clip-on candy thermometer to monitor it. If oil is too hot, the crust will darken and burn long before the meat reaches a safe temperature; if it’s too cool, the crust will soak up excess oil and turn soggy. Always let the oil temperature recover between batches.
5.How do I get that signature craggy, crispy crust instead of a smooth, tough coating? ▾
After dredging each marinated piece in seasoned flour, press the flour firmly into every nook and cranny of the skin, then let pieces rest on a wire rack for 10-15 minutes before frying. That rest time lets the flour and buttermilk form a thick, shaggy paste that fries up into that perfect craggy crunch, instead of sliding off or turning smooth.
6.What internal temperature tells me the chicken is safe to eat but still juicy? ▾
Pull chicken from the fryer when the thickest part of each piece (away from the bone) hits 160°F (71°C) on an instant-read thermometer. The temperature will rise 3-5°F as the chicken rests, hitting the FDA-recommended 165°F (74°C) safe mark without overcooking. Skipping that temperature check leads to either undercooked meat or dry, overcooked chicken.
7.Why does my fried chicken crust sometimes fall off while it’s cooking? ▾
Crust slippage almost always stems from one of two common mistakes: either you didn’t let dredged chicken rest before frying so the coating didn’t set, or you moved the chicken too soon after adding it to oil. Let chicken cook undisturbed for the first 4-5 minutes of frying before flipping, to let the crust fully set and adhere to the skin.
8.Do I need a dedicated deep fryer, or can I make this in a regular cast iron skillet? ▾
You don’t need a dedicated deep fryer at all—this recipe works beautifully in a 12-inch cast iron skillet or heavy-bottomed Dutch oven, both of which hold heat incredibly evenly for consistent frying. Just add 1.5 inches of oil to the pan, so it comes halfway up chicken pieces, and flip each piece halfway through cooking to brown both sides evenly.
9.How long should I let fried chicken rest after it comes out of the oil? ▾
Let chicken rest on a wire rack set over a baking sheet for 5-10 minutes right after frying. Don’t drain it on paper towels, because that traps steam against the crust and makes it soggy. That short rest lets juices redistribute through the meat so they don’t run out when you take the first bite, and keeps the crust crisp as it cools slightly.
10.Can I add extra spices to the flour beyond salt and pepper for more flavor? ▾
Absolutely—this basic recipe is a perfect blank canvas for custom seasonings. Add 1 tsp each of paprika, garlic powder, onion powder, cayenne, or dried thyme to the flour mix if you want a more flavorful crust. Just stick to no more than 2 tbsp total of extra seasonings per 2 cups of flour, so you don’t throw off the crust’s light, crispy texture.
11.Why does my fried chicken turn out greasy instead of light and crispy? ▾
Greasy fried chicken almost always traces back to oil that’s too cold when you add the chicken. When oil drops below 340°F, the crust can’t form a quick, tight seal, so it soaks up excess oil as it cooks. Make sure oil comes fully back to 350°F between batches, and don’t overcrowd the pan, which drops oil temp rapidly and causes soggy results.
12.How do I store leftovers and reheat them so the crust stays crispy? ▾
Store leftover chicken in an airtight container in the fridge for up to 3 days. To reheat, place pieces on a wire rack set over a baking sheet and bake at 400°F for 12-15 minutes, until the crust is crisp again and internal temp hits 165°F. Skip the microwave—it will make the crust soggy and rubbery, no matter how short the cook time.
13.Do I need to pat raw chicken dry before marinating it in buttermilk? ▾
You don’t need to pat chicken completely dry before adding it to the buttermilk marinade. In fact, a little natural moisture on the chicken helps the buttermilk adhere evenly to every surface. Just shake off any excess pooled water from the pieces first, which would dilute the marinade and make the seasoning less effective across the meat.

Comments (11)

2 hours ago

OMG this fried chicken is absolutely perfect! Made it for our Sunday family dinner yesterday and even my super picky 7 year old ate two whole thighs. The crust stayed crispy even after we let it sit on the platter for 10 minutes while we finished the sides. 10/10 will be making this for our next neighborhood potluck too.

3 days ago

As someone who’s basically a total newbie in the kitchen (I burn toast half the time lmao) I was shocked how easy this was to pull off! Cook time was right at 25 minutes like it said, no fancy ingredients needed. Way better than the fast food fried chicken I usually order when I’m too lazy to cook. Already saved this to my meal prep rotation for next week.

1 week ago

Made this for a post-hike picnic with my friends last weekend and it was a total hit! I did add a little extra paprika to the flour mix for a tiny kick, but the base recipe is so solid you can tweak it however you want. Only note is make sure your oil is the right temp before you drop the chicken in, otherwise the crust gets soggy fast.

5 minutes ago

Wait, medium difficulty? I thought this was way easier! Wait no, hold on — my first batch came out a little undercooked near the bone even after 25 minutes. Did I do something wrong? I used bone-in thighs like the recipe says, oil was at 350 like it recommended. Any tips?

just now

Hi there! So sorry the first batch was undercooked — this can happen if your chicken pieces are extra large! Try cutting larger thighs in half, or adding 3-4 extra minutes of cook time, and always double check with a meat thermometer (internal temp should hit 165°F) to be safe. Hope that helps for next time!

yesterday

Y’all, I grew up eating my grandma’s fried chicken every Sunday and I was skeptical a “basic” recipe could measure up. Color me shocked! This is so close to hers I almost teared up when I took the first bite. The seasoning in the flour is perfectly balanced, not too salty, just right.

2 hours ago

Same here! I grew up in Alabama and thought no online recipe could touch the family recipe, but this one is on point. I brought it to a work potluck last week and people were asking for the recipe left and right!

30 minutes ago

Has anyone tried making this ahead for meal prep? I’m wondering if the crust stays crispy if I reheat it in the air fryer during the week, or if it gets soggy in the fridge? Don’t want to waste a whole batch if it doesn’t hold up!

5 minutes ago

Great question! This fried chicken holds up really well for meal prep if you store it in an airtight container in the fridge for up to 3 days. Reheat it in the air fryer at 375°F for 4-5 minutes and the crust will crisp right back up, no sogginess!

2 days ago

Made this for our football watch party on Sunday and it was gone in 10 minutes flat. Even the guys who only eat takeout wings were raving about it. Only thing I did different was brine the chicken for 2 hours in buttermilk first, made it extra juicy.

yesterday

Oh the buttermilk brine hack is chef’s kiss! I did that too last time I made this and it made such a difference, totally worth the extra time even if you’re short on it.

5 days ago

Help! I tried making this last night and the breading fell off half the chicken pieces when I was frying them. What did I do wrong? I followed the flour, egg, flour step like it said :(

3 days ago

Oh I had that happen my first time too! You have to let the breaded chicken rest for 10-15 minutes before you drop it in the oil, that helps the coating stick so it doesn’t slide off when it fries. Game changer once I started doing that!

2 days ago

Great tip from HomeCookHero! Letting the breading set is key, and also make sure you don’t overcrowd the pan when frying — too many pieces at once drops the oil temp and can make the coating slide off too. Give it another try, you’ve got this!

2 weeks ago

My teen boys eat like they have hollow legs, so I’m always looking for cheap, filling recipes that don’t take forever. This fried chicken is a new household staple! I made a double batch last night and they ate almost all of it before I could even pack leftovers for their lunches. SO good!

1 week ago

Right?! It’s so much cheaper than picking up fried chicken from the grocery store deli, and tastes way better too. I make a double batch every other Sunday for the week now.

5 days ago

Same boat with my teen athlete son! I made this after his practice last week and he ate three pieces plus two sides then asked if we could have it again the next night. Total winner.

1 week ago

Wait, has anyone tried making this with gluten free all purpose flour? My daughter has celiac so I have to swap out regular flour for everything, and I’m dying to make fried chicken that doesn’t taste like cardboard. Would that swap work here?

5 days ago

I did this last week! Used a 1:1 gluten free all purpose flour blend and added a tiny bit of extra xanthan gum, and it turned out perfectly crispy, no weird aftertaste. My whole family loved it and no one even noticed it was GF!

3 days ago

Great to hear the GF swap worked out! We’ve tested this recipe with 1:1 gluten free flour blends and they work beautifully, just make sure your blend is meant for savory cooking to avoid any sweet aftertaste. Hope your daughter loves it!

3 days ago

Who else puts hot honey on their fried chicken? I made this for a brunch I hosted last weekend, drizzled a little spicy hot honey over top after it came out of the fryer, and my guests are still texting me about it. The base recipe is so versatile!

2 days ago

Hot honey on fried chicken is elite! I do that plus a little sprinkle of flaky sea salt right when it comes out of the oil, it’s the perfect sweet-salty-spicy combo. So good.

yesterday

That hot honey hack sounds incredible! We love seeing all the fun tweaks people make to the base recipe — adding a little sweet heat is such a smart way to elevate basic fried chicken for brunch or game day. We’ll have to try that next time we test the recipe!



