
Basic Waffle
intro
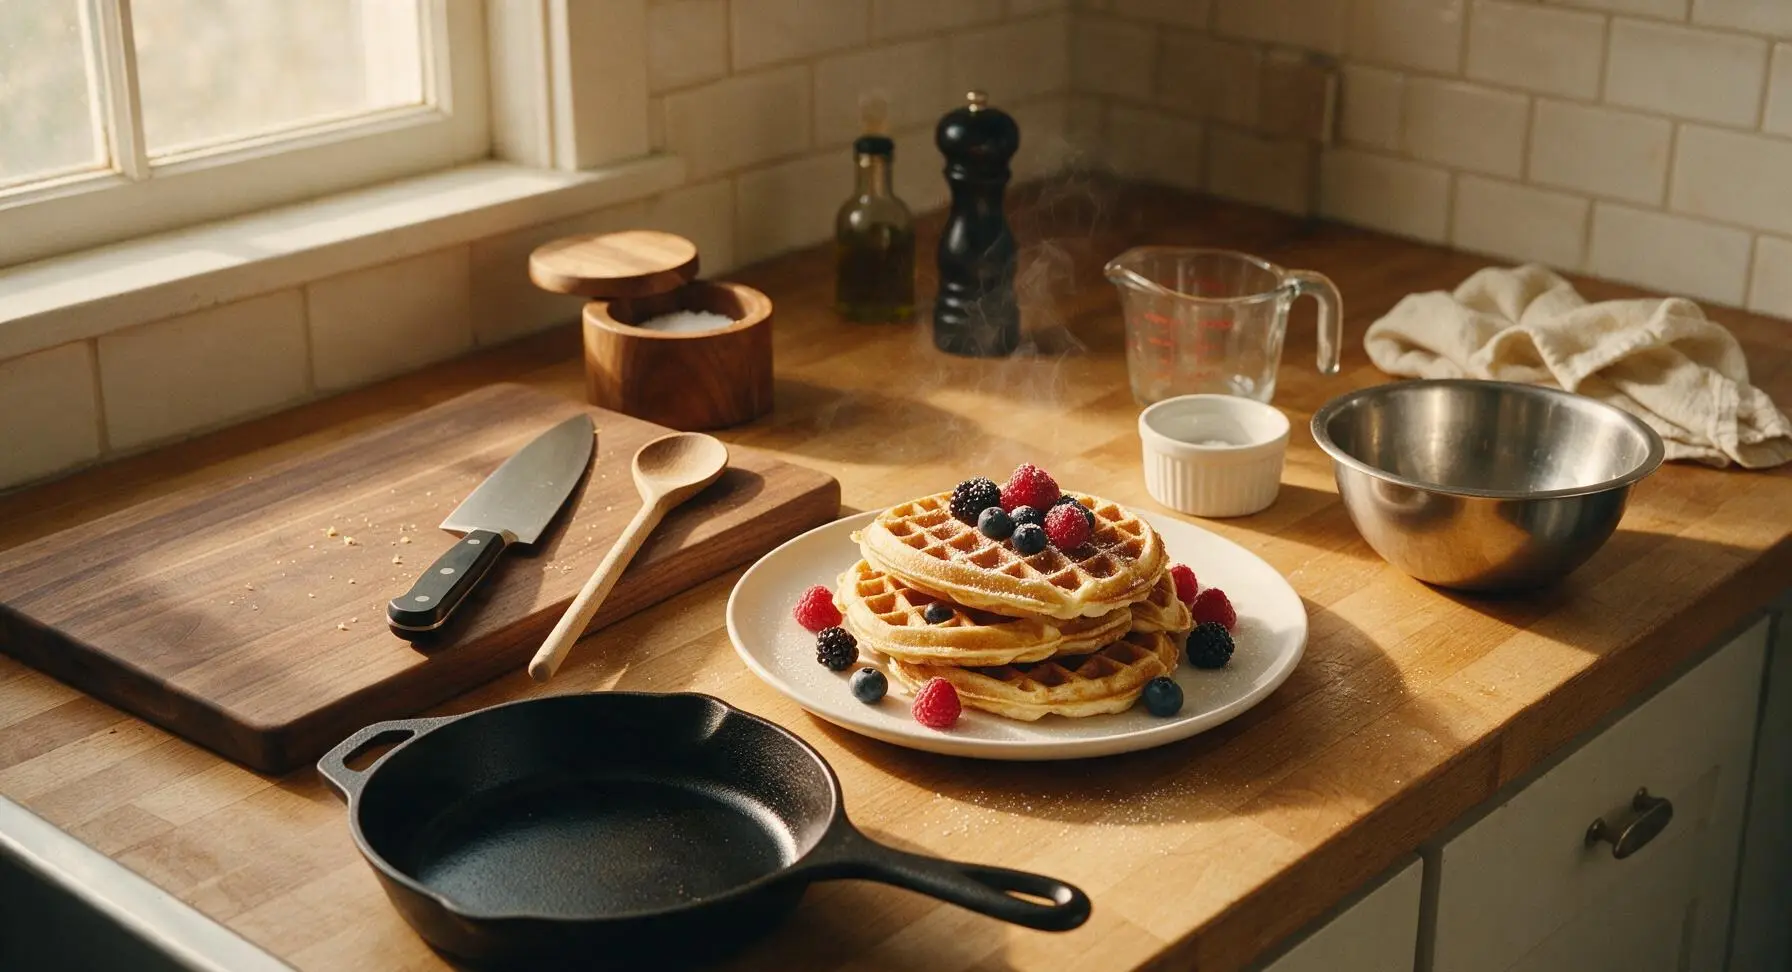
Crisp golden on the outside, light and fluffy on the inside, these classic basic waffles are an easy, customizable canvas for any sweet or savory breakfast topping.
Ingredients
Steps
Preheat Waffle Iron
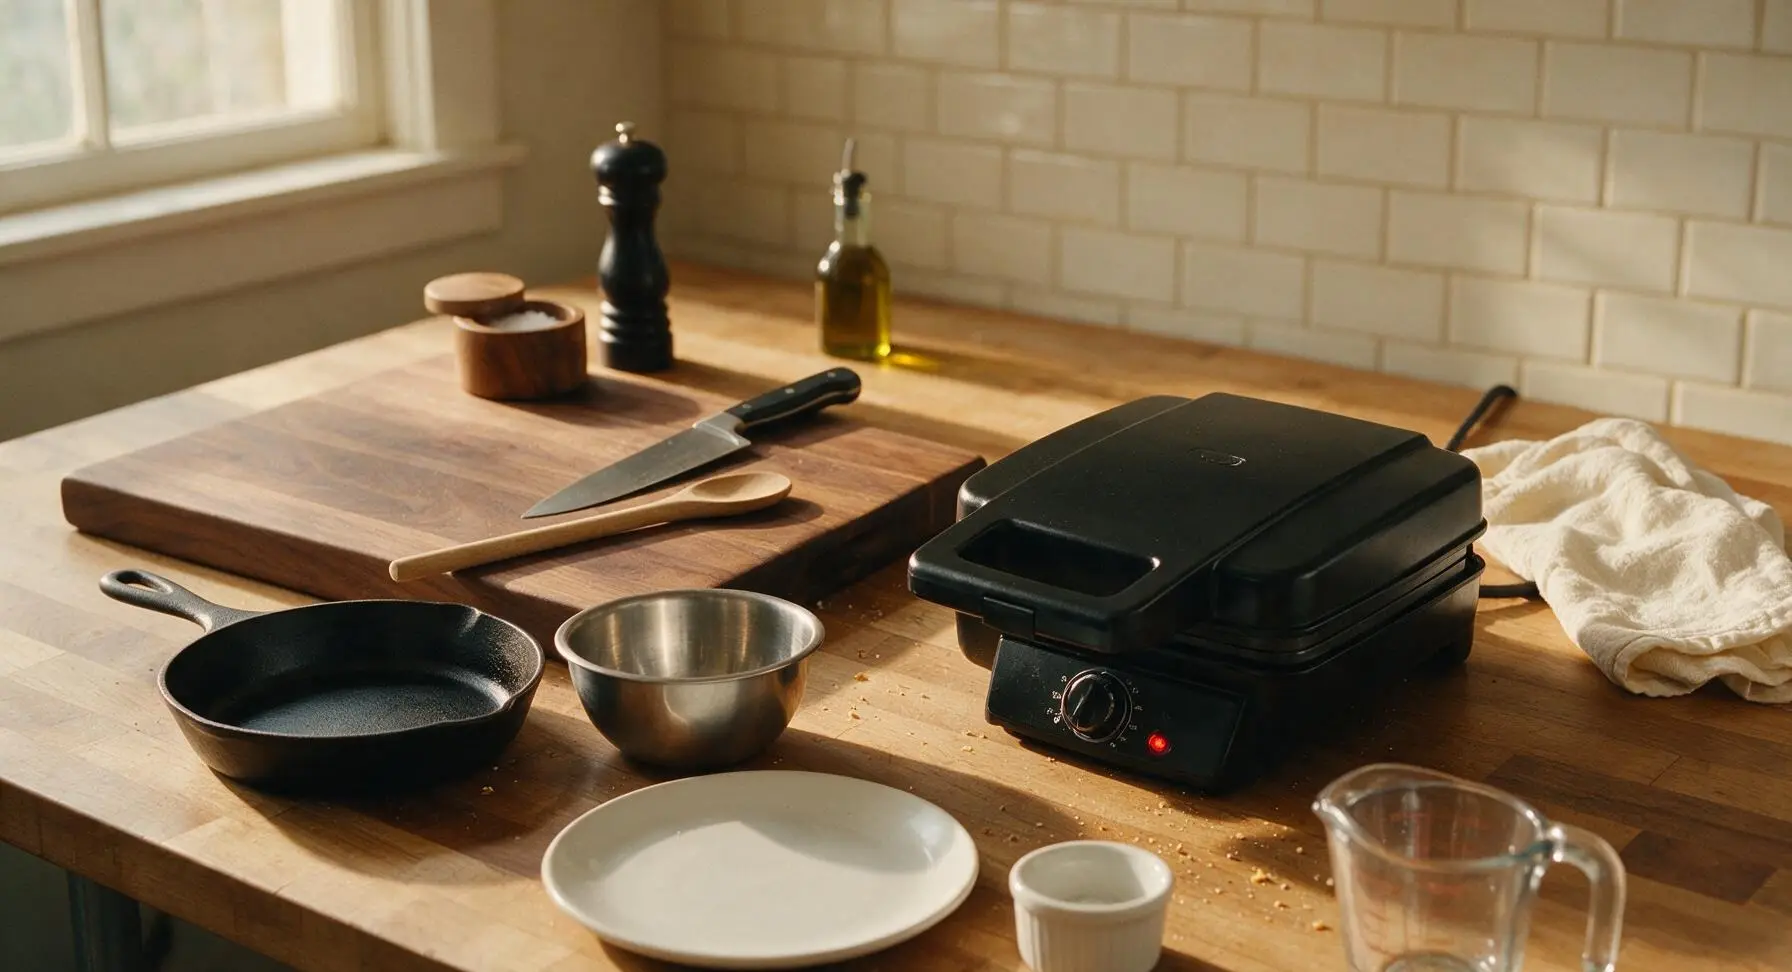
Place the matte black electric waffle iron on the right side of the maple countertop. Plug it in, turn the browning dial to medium (level 3 out of 5), and close the lid. Allow it to preheat for 5 minutes (mix the batter while it preheats to save time), until the indicator light shows it has reached cooking temperature (approximately 375°F/190°C). A drop of water dropped on the plate should sizzle and evaporate in 2 seconds when fully preheated.
Whisk Dry Ingredients
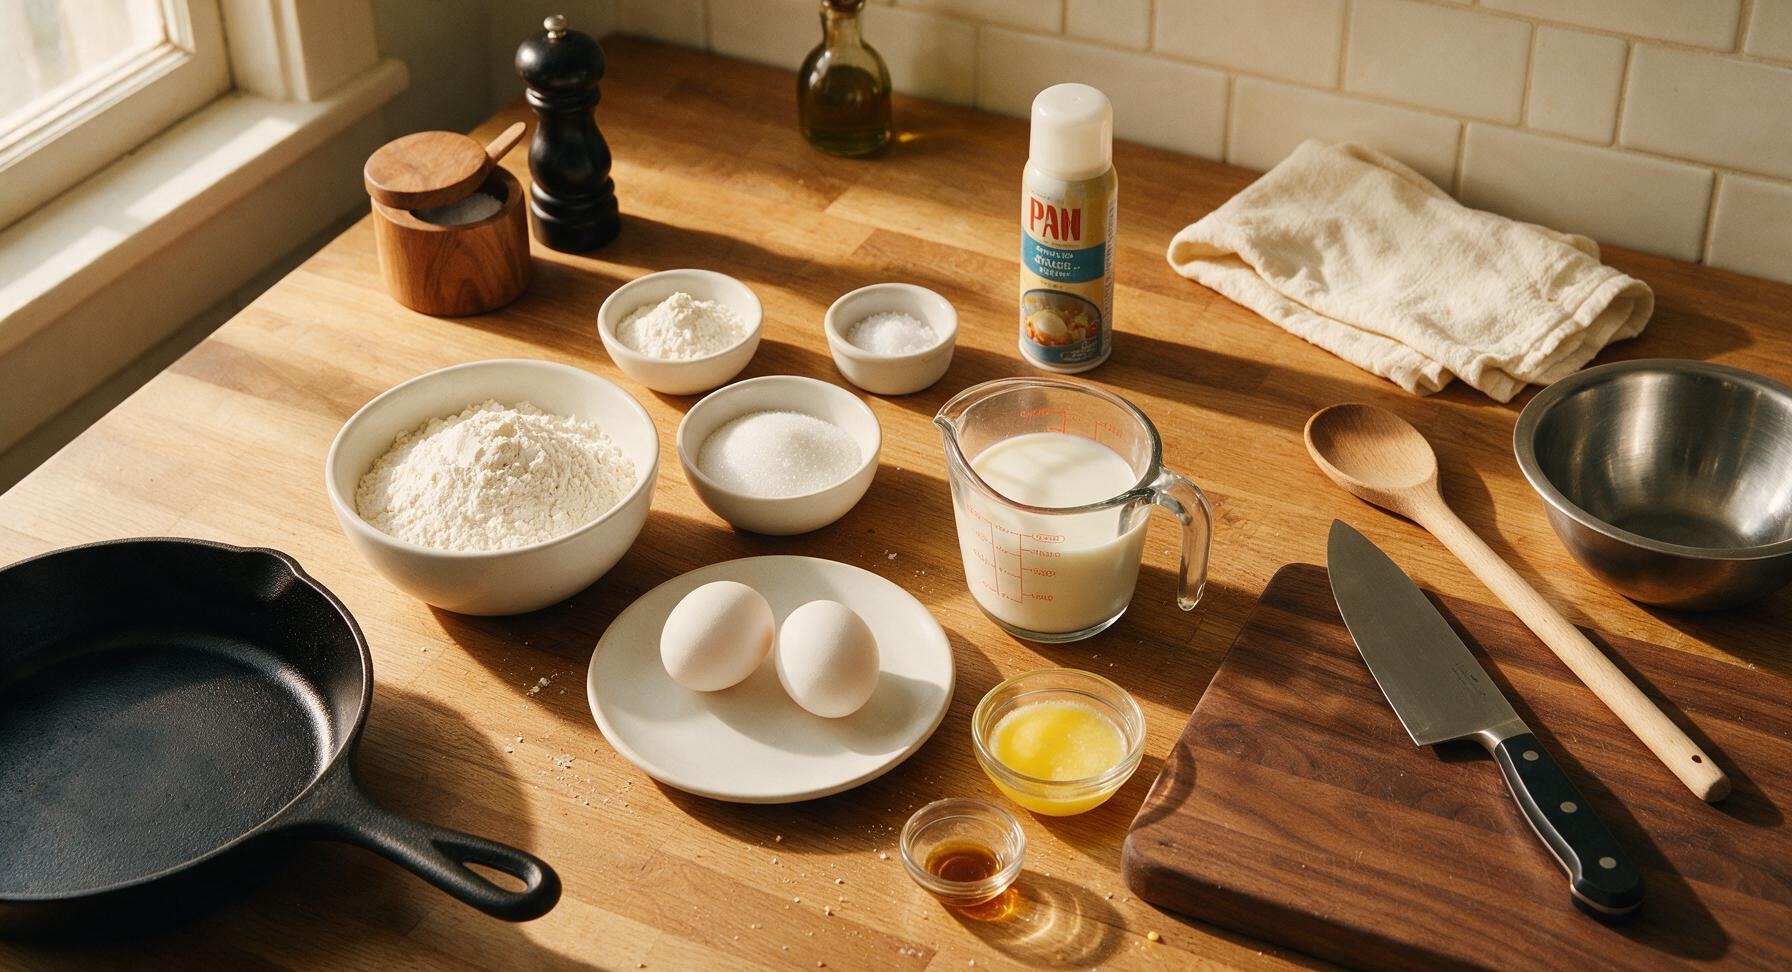
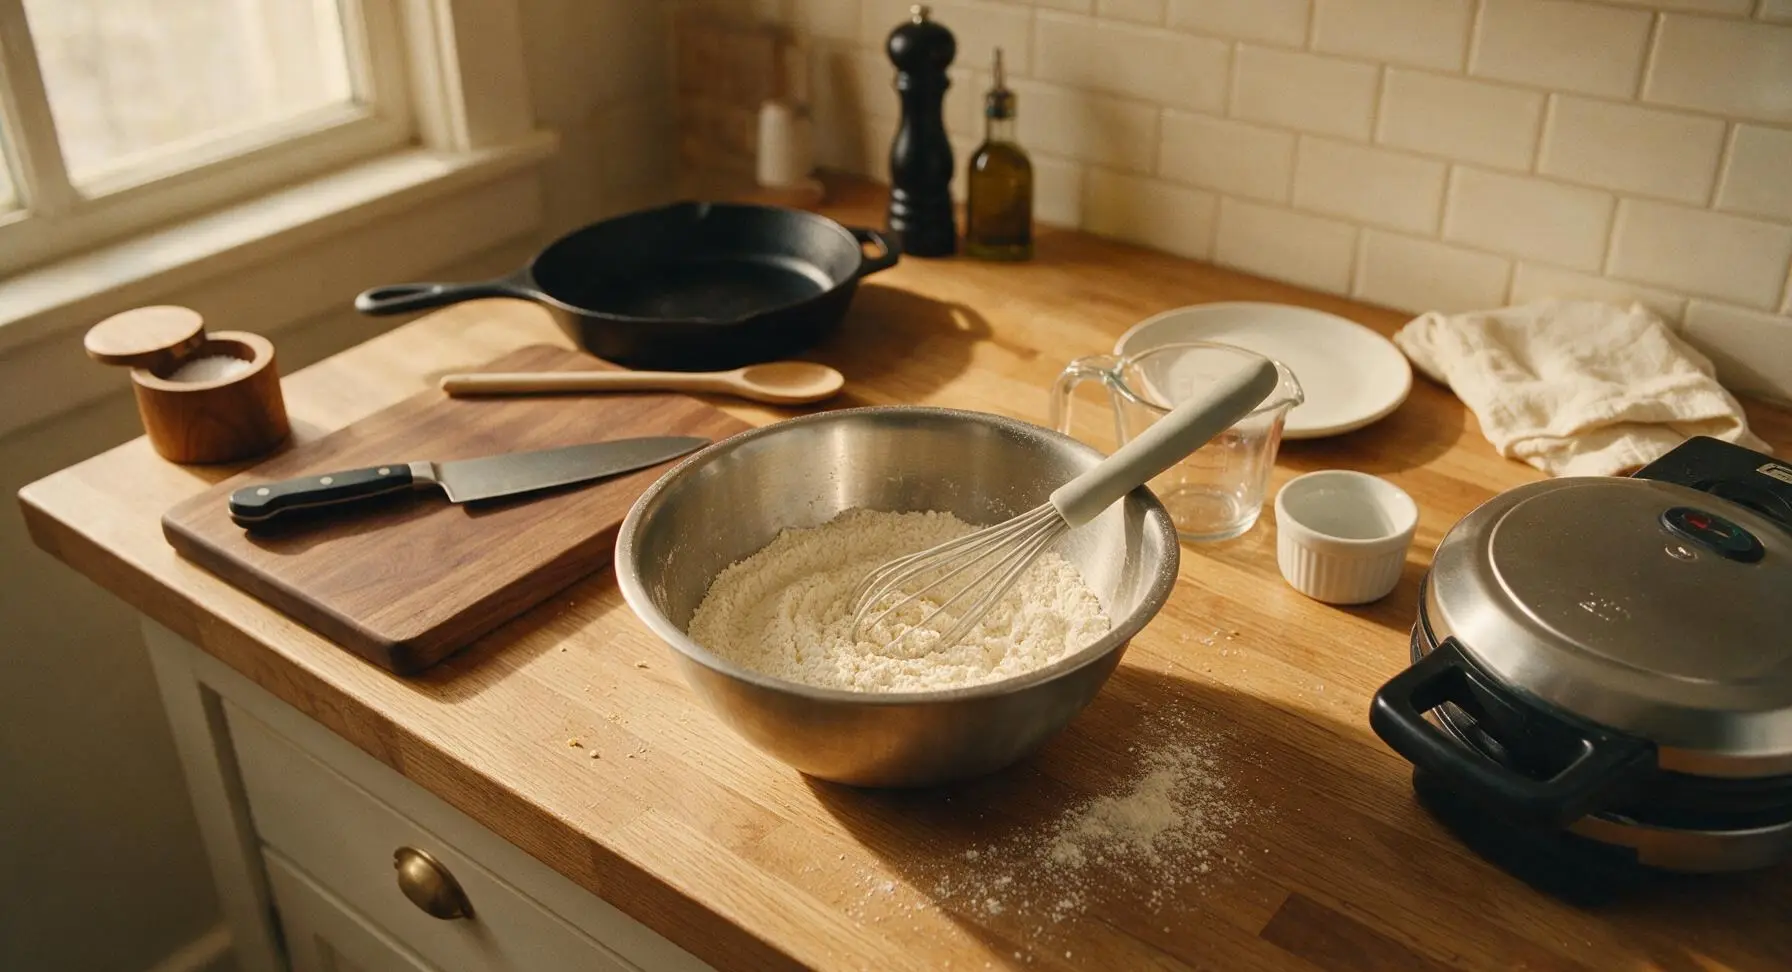
In the medium brushed stainless steel mixing bowl, add the measured 2 cups all-purpose flour, 2 tbsp granulated sugar, 1 tbsp baking powder, and 1 tsp fine sea salt. Use the light gray silicone whisk to stir the ingredients together for 30 seconds, until fully combined and no clumps of baking powder remain. Scrape the bottom of the bowl once to ensure no hidden pockets of unmixed flour are left.
Mix Wet Ingredients
In the small matte cream ceramic mixing bowl, crack the 2 large eggs, then add 1 3/4 cups whole milk, 1/2 cup cooled melted unsalted butter, and 1 tsp vanilla extract. Whisk vigorously with the same silicone whisk for 45 seconds, until the eggs are fully beaten, the mixture is smooth, and no streaks of egg white remain. Do not overmix — small bubbles on the surface are normal.
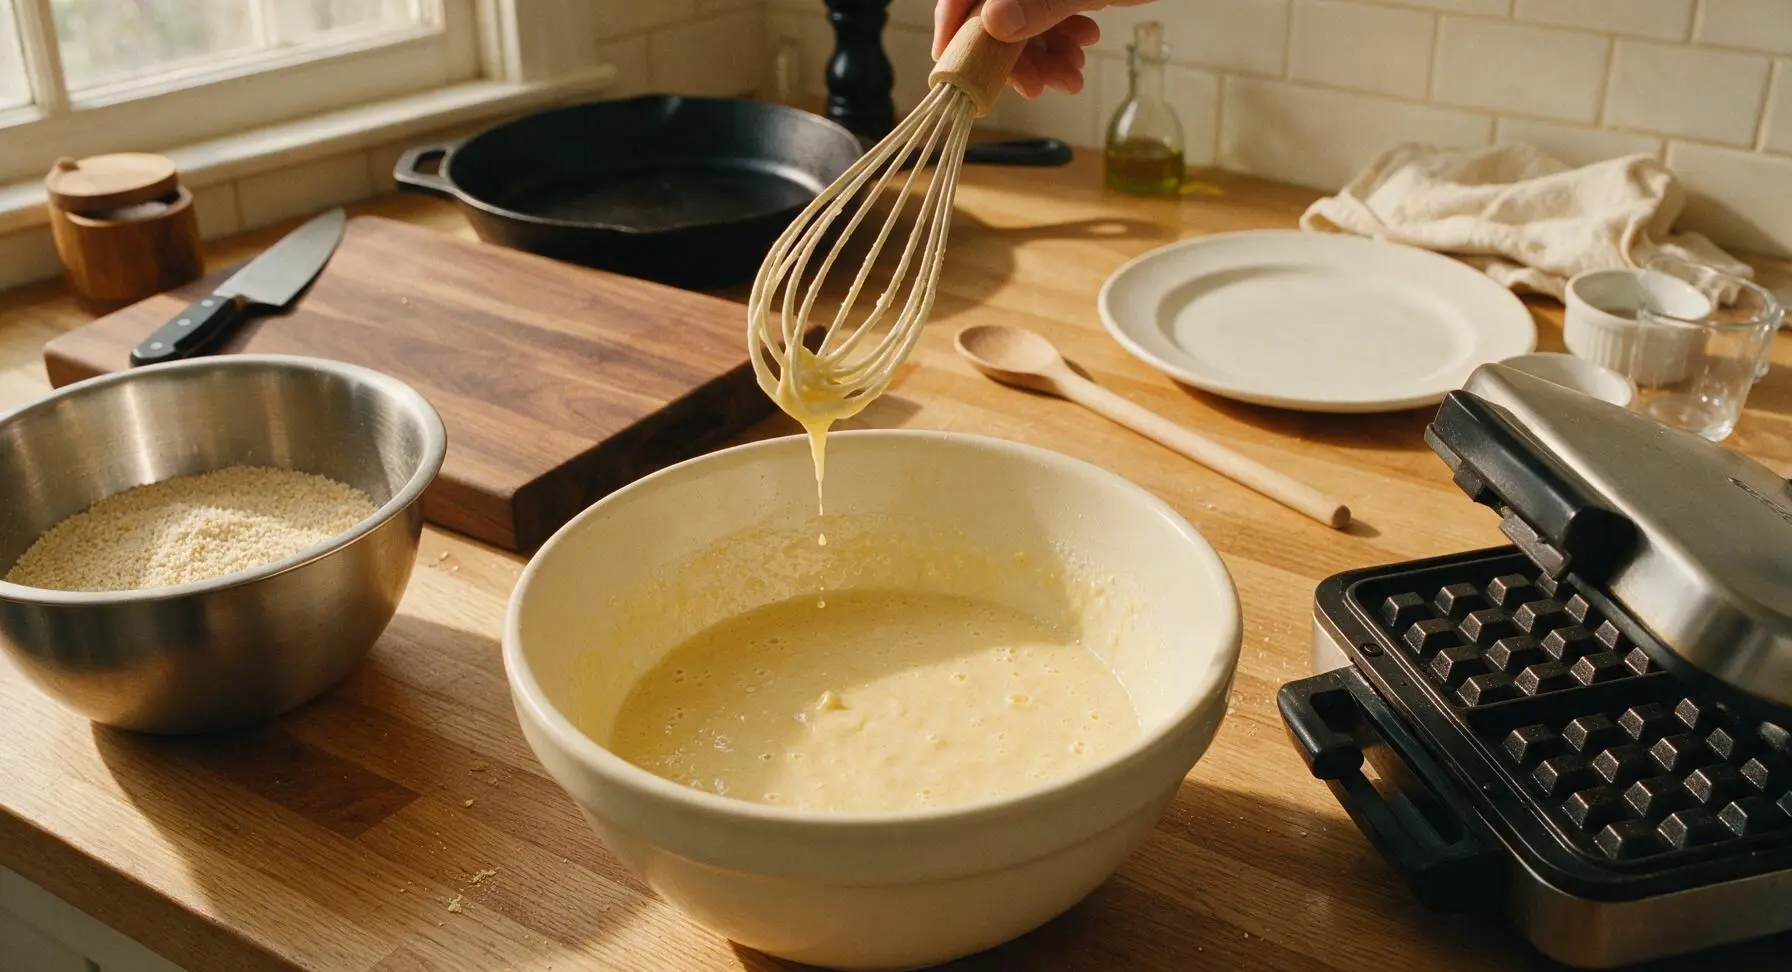
Fold Batter Gently
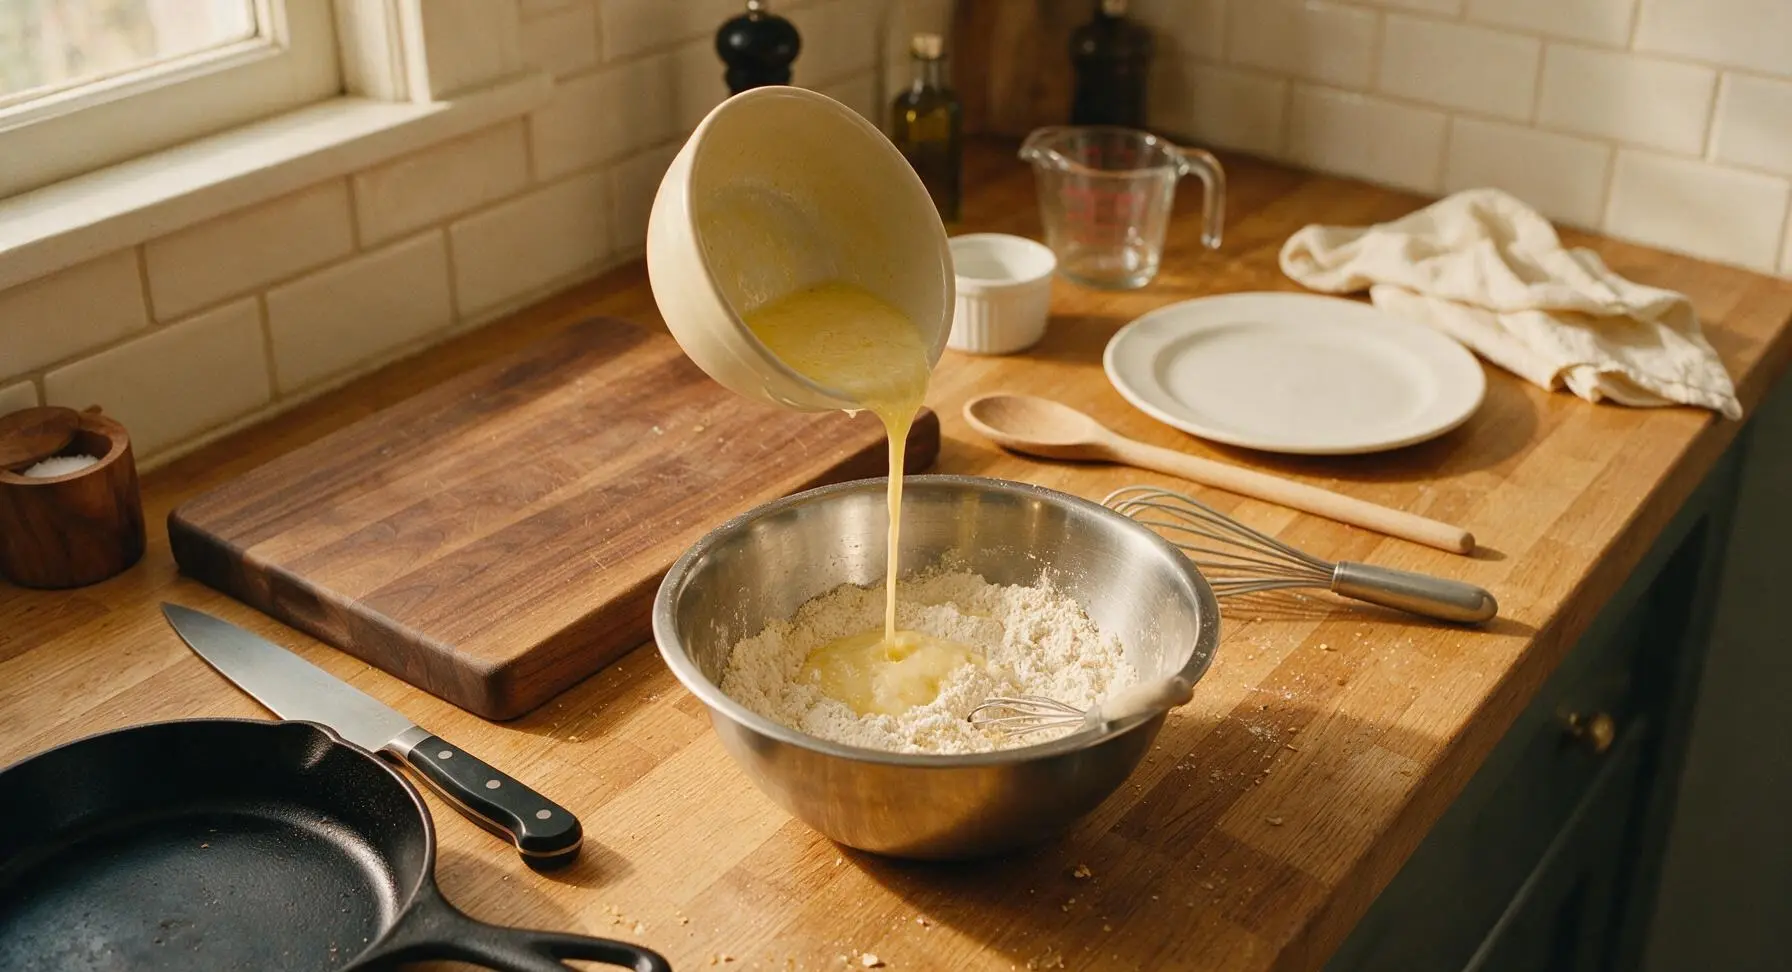
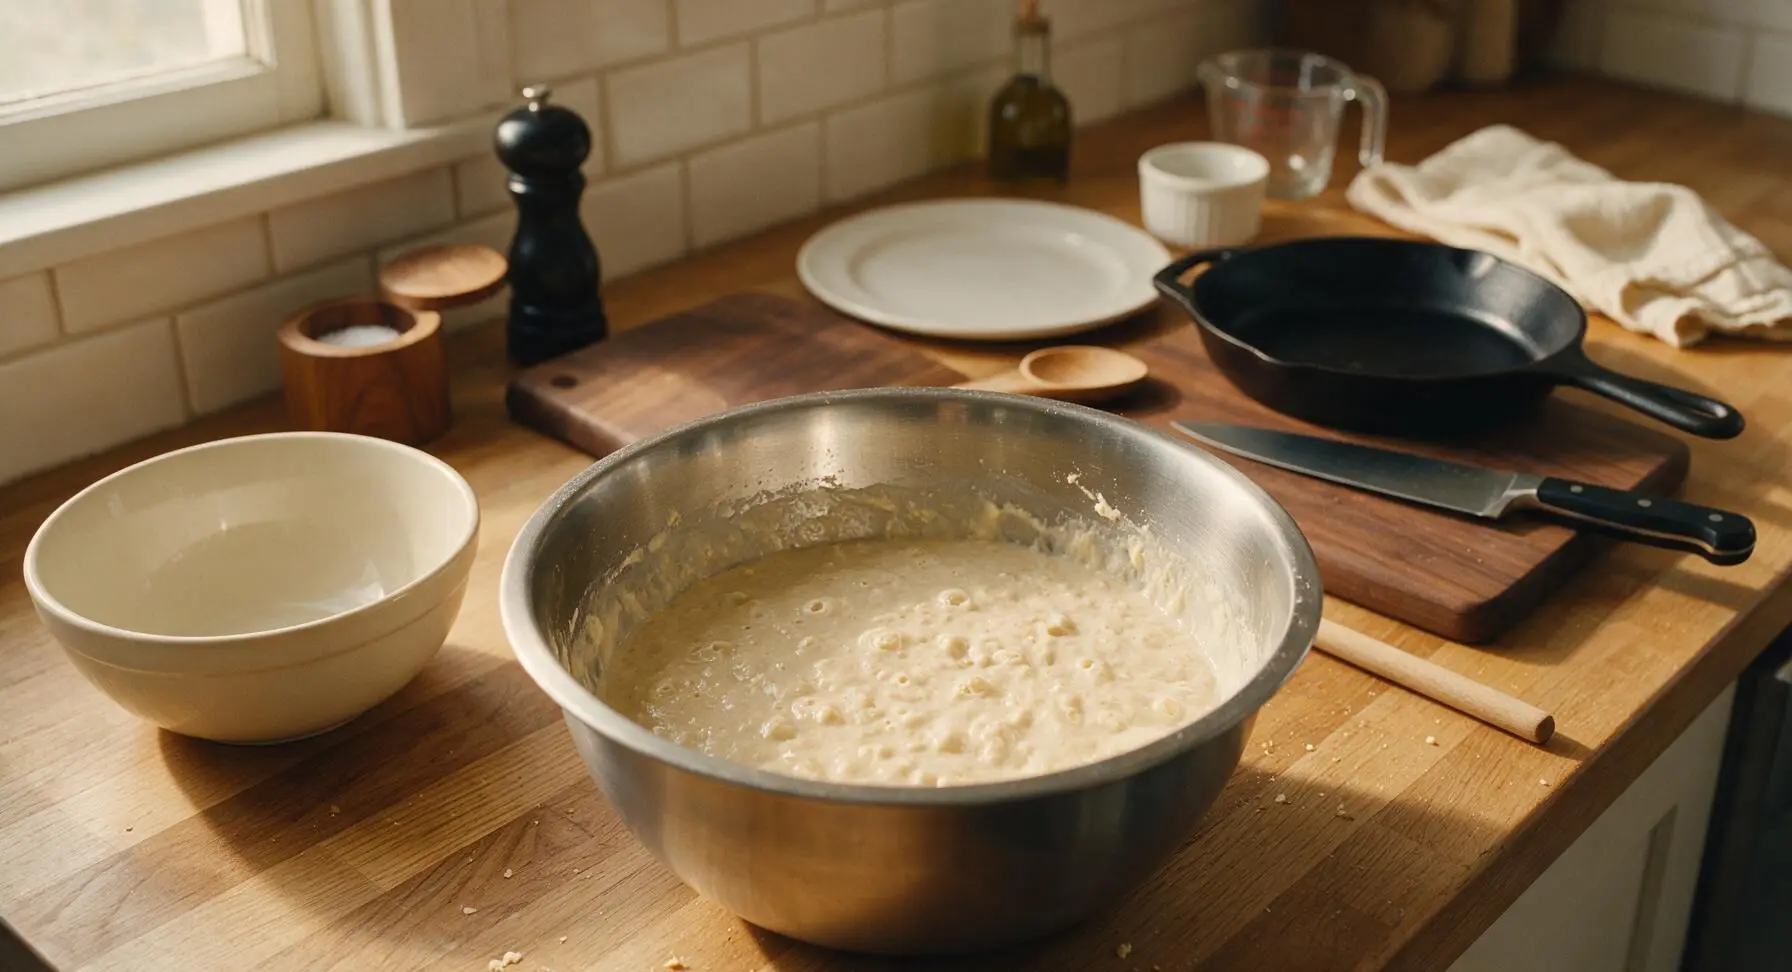
Pour the entire wet ingredient mixture into the stainless steel bowl of dry ingredients. Use the silicone whisk to gently fold the mixtures together, stirring only just until no large streaks of dry flour remain. The batter will be slightly lumpy — do NOT overmix to a smooth consistency, as this will make tough, dense waffles. Stop stirring as soon as the last traces of flour disappear; small lumps the size of peas are ideal. Let the batter rest for 3 minutes to allow the baking powder to activate.
Grease Waffle Plates
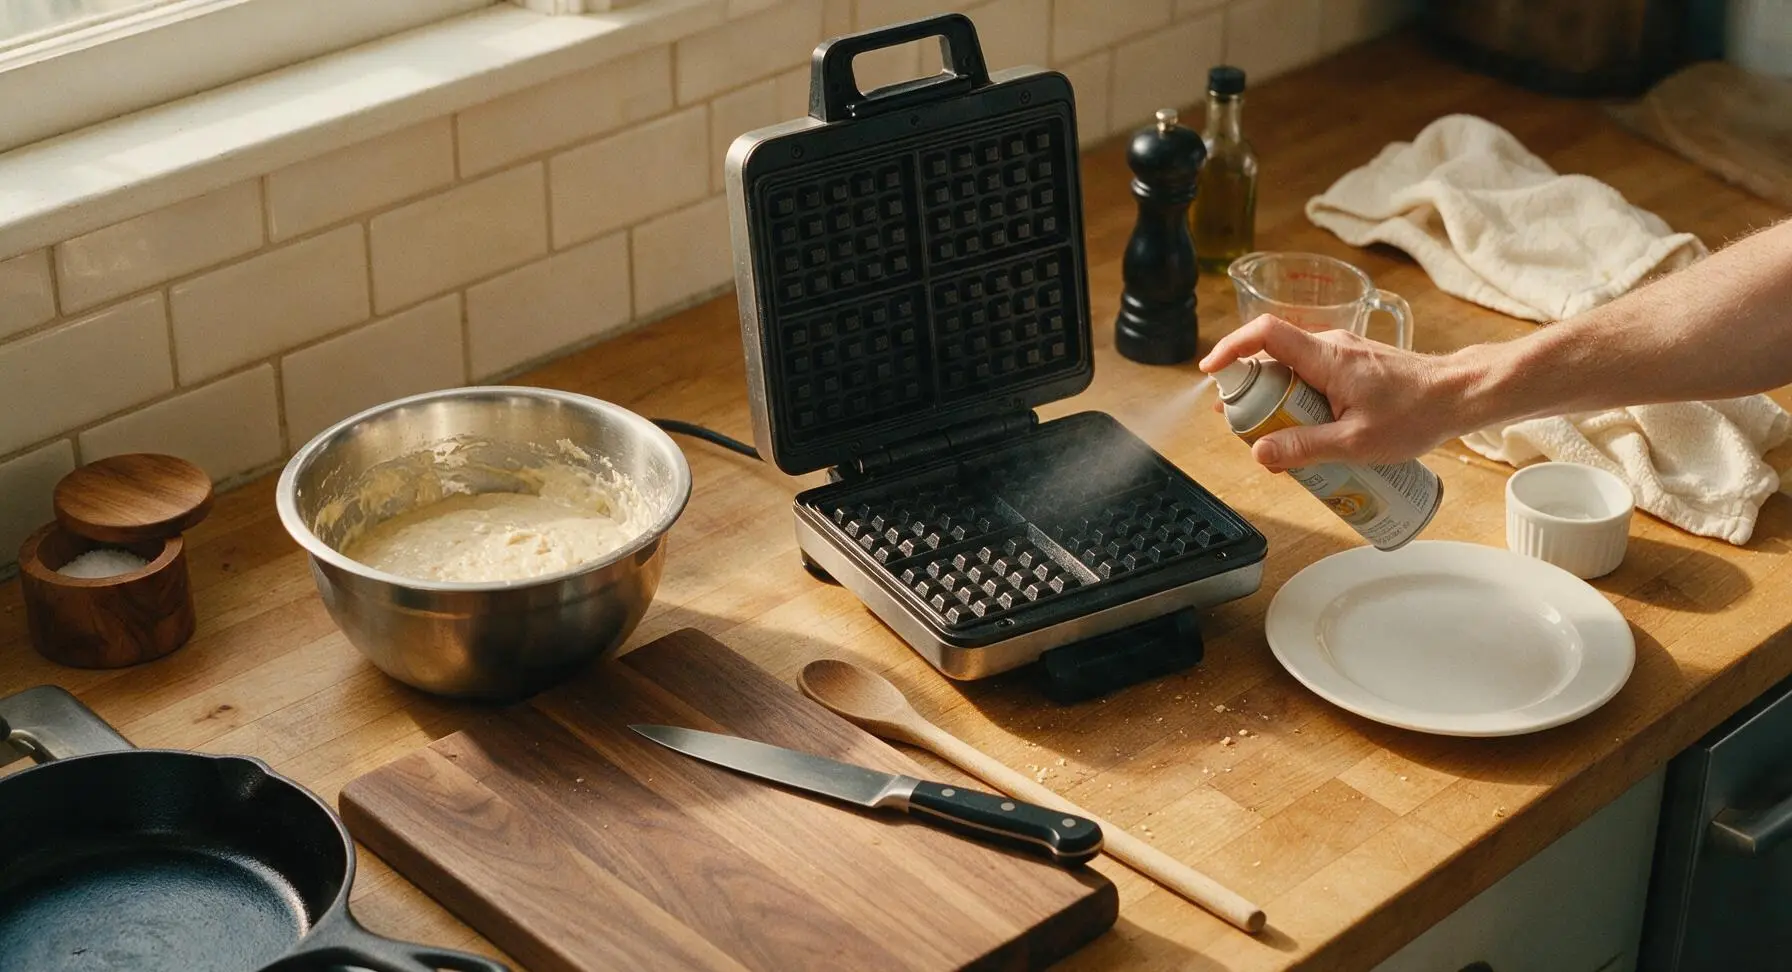
Once the waffle iron is fully preheated, open the lid carefully. Give the top and bottom non-stick plates a single short burst of unbranded non-stick cooking spray, holding the can 6 inches away from the plates to avoid over-saturating. Wipe any excess spray from the outer housing of the waffle iron with the corner of the oatmeal linen towel to prevent burning during cooking.
Cook Waffles Golden
Use the 1/2 cup matte black measuring cup to scoop batter, pouring 1/2 cup of batter directly onto the center of the greased lower waffle plate. Close the lid gently — do not press down forcefully, as this will squeeze batter out the edges. Cook for 3 to 4 minutes, until steam stops escaping from the edges of the waffle iron and the waffle is deep golden brown. Do not open the lid before the 3-minute mark, as this will cause the waffle to split and stick to the plates.
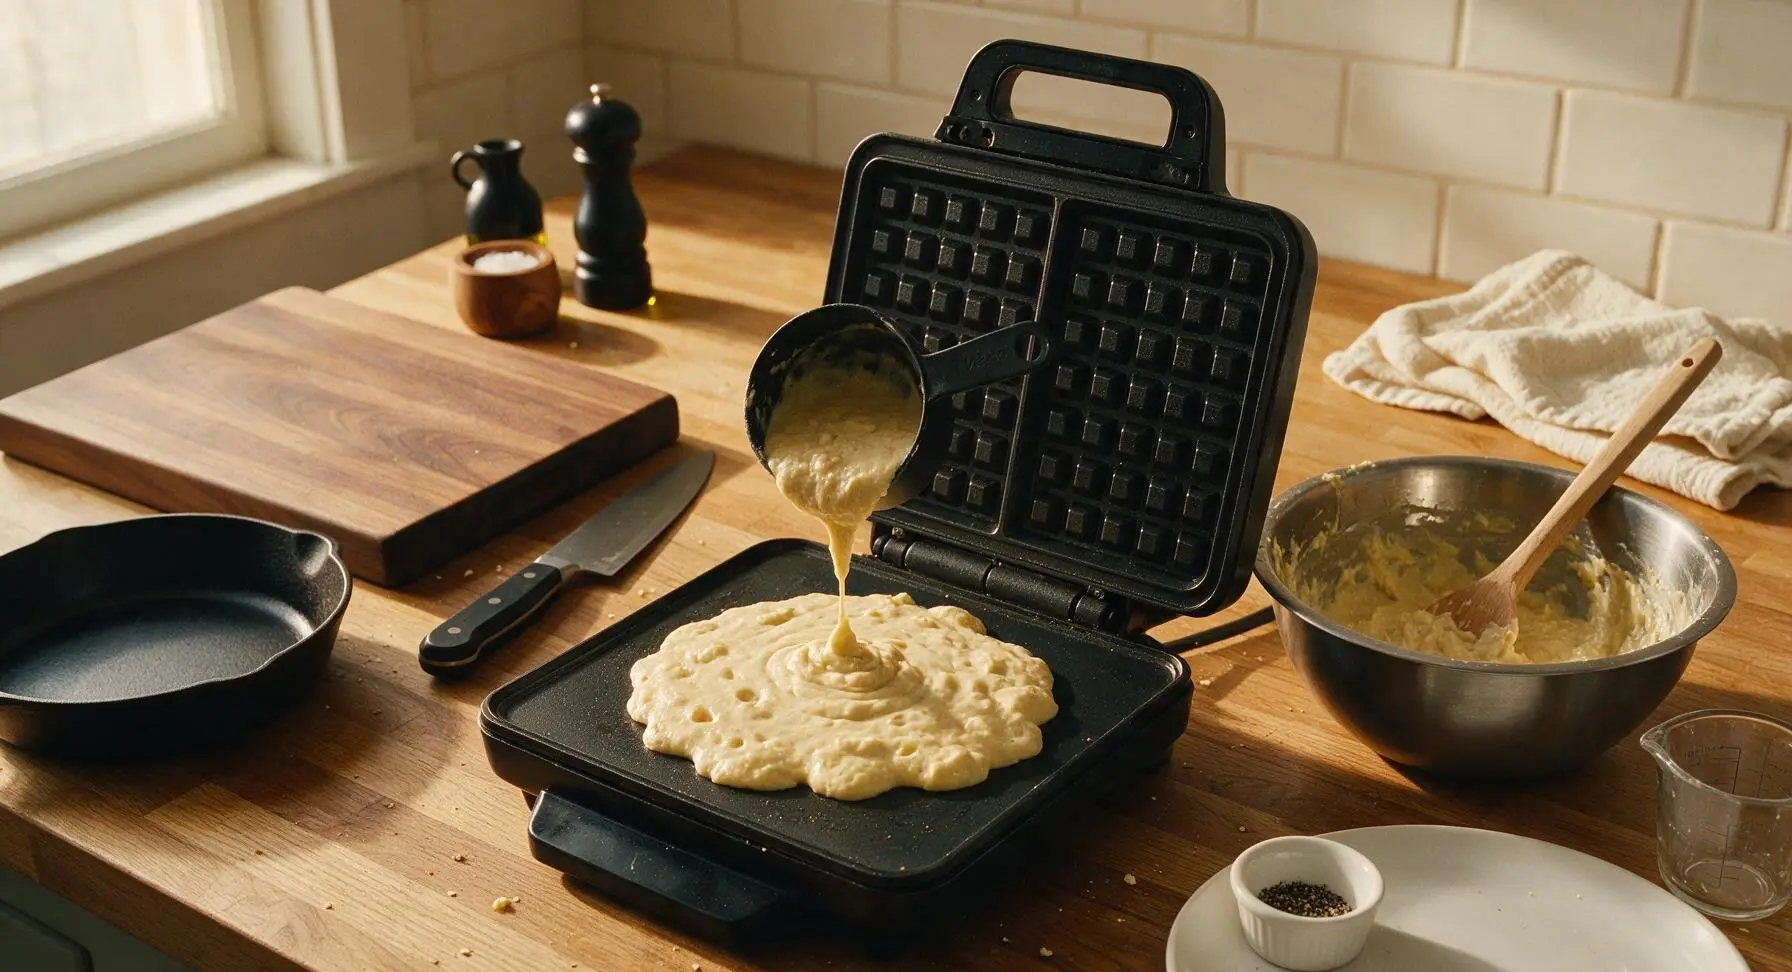
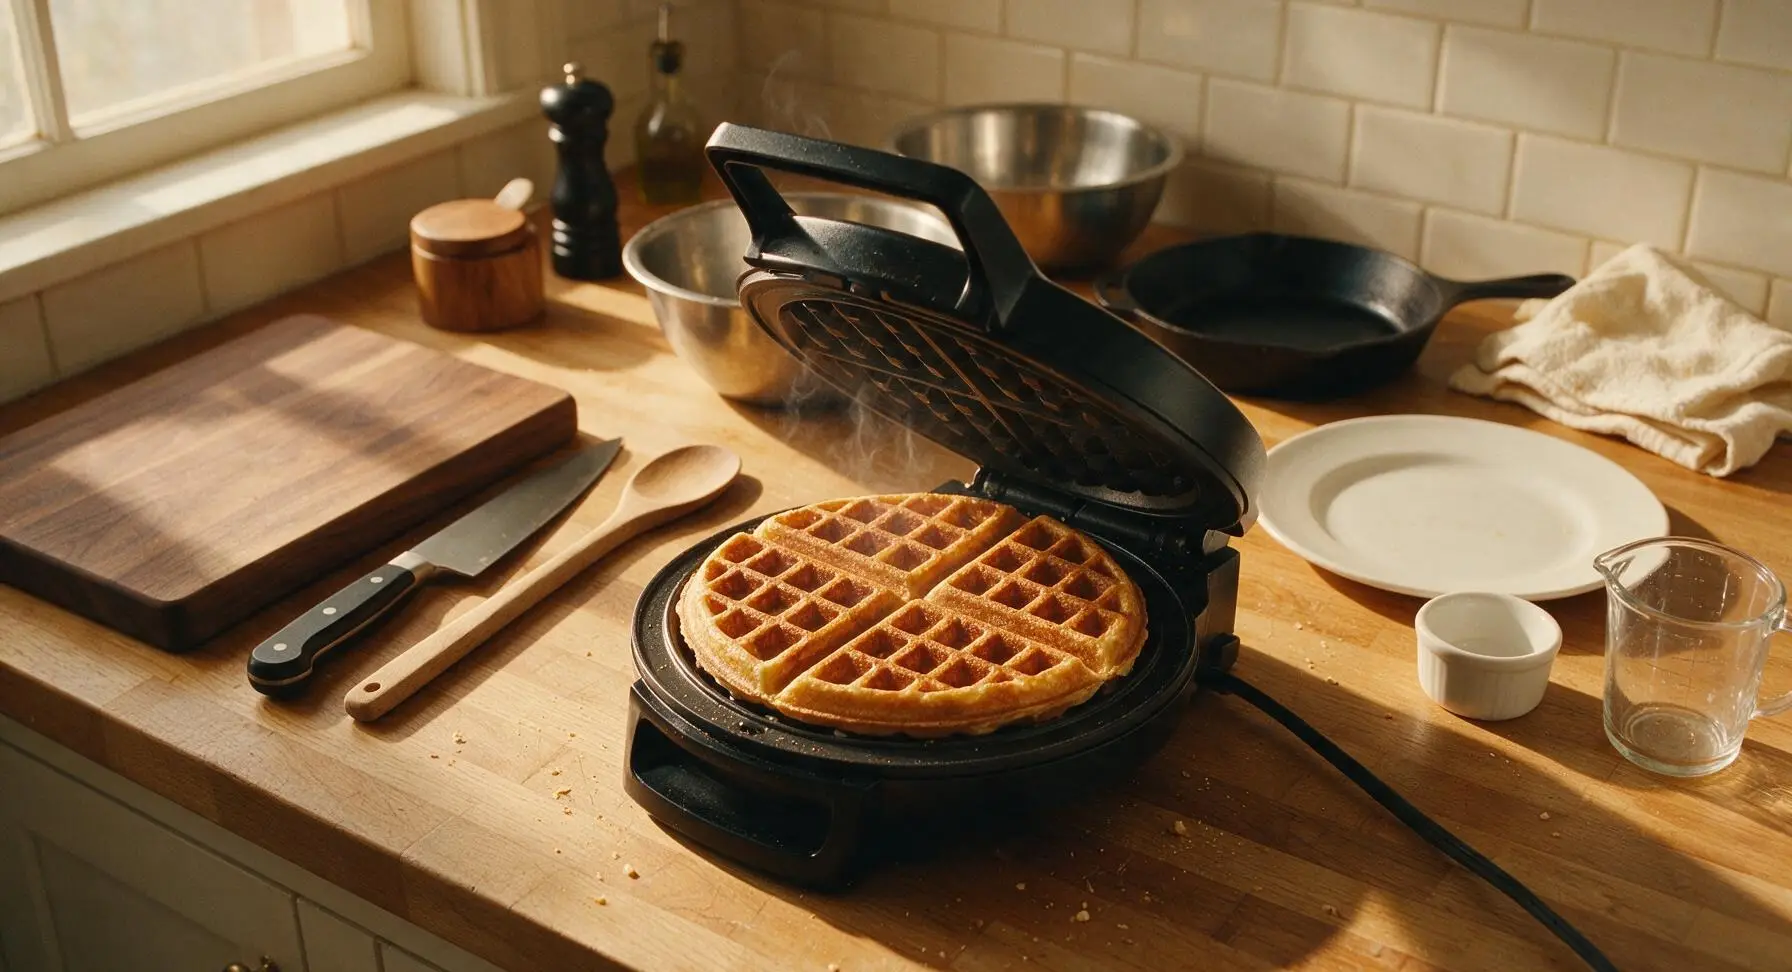
Plate and Serve Warm
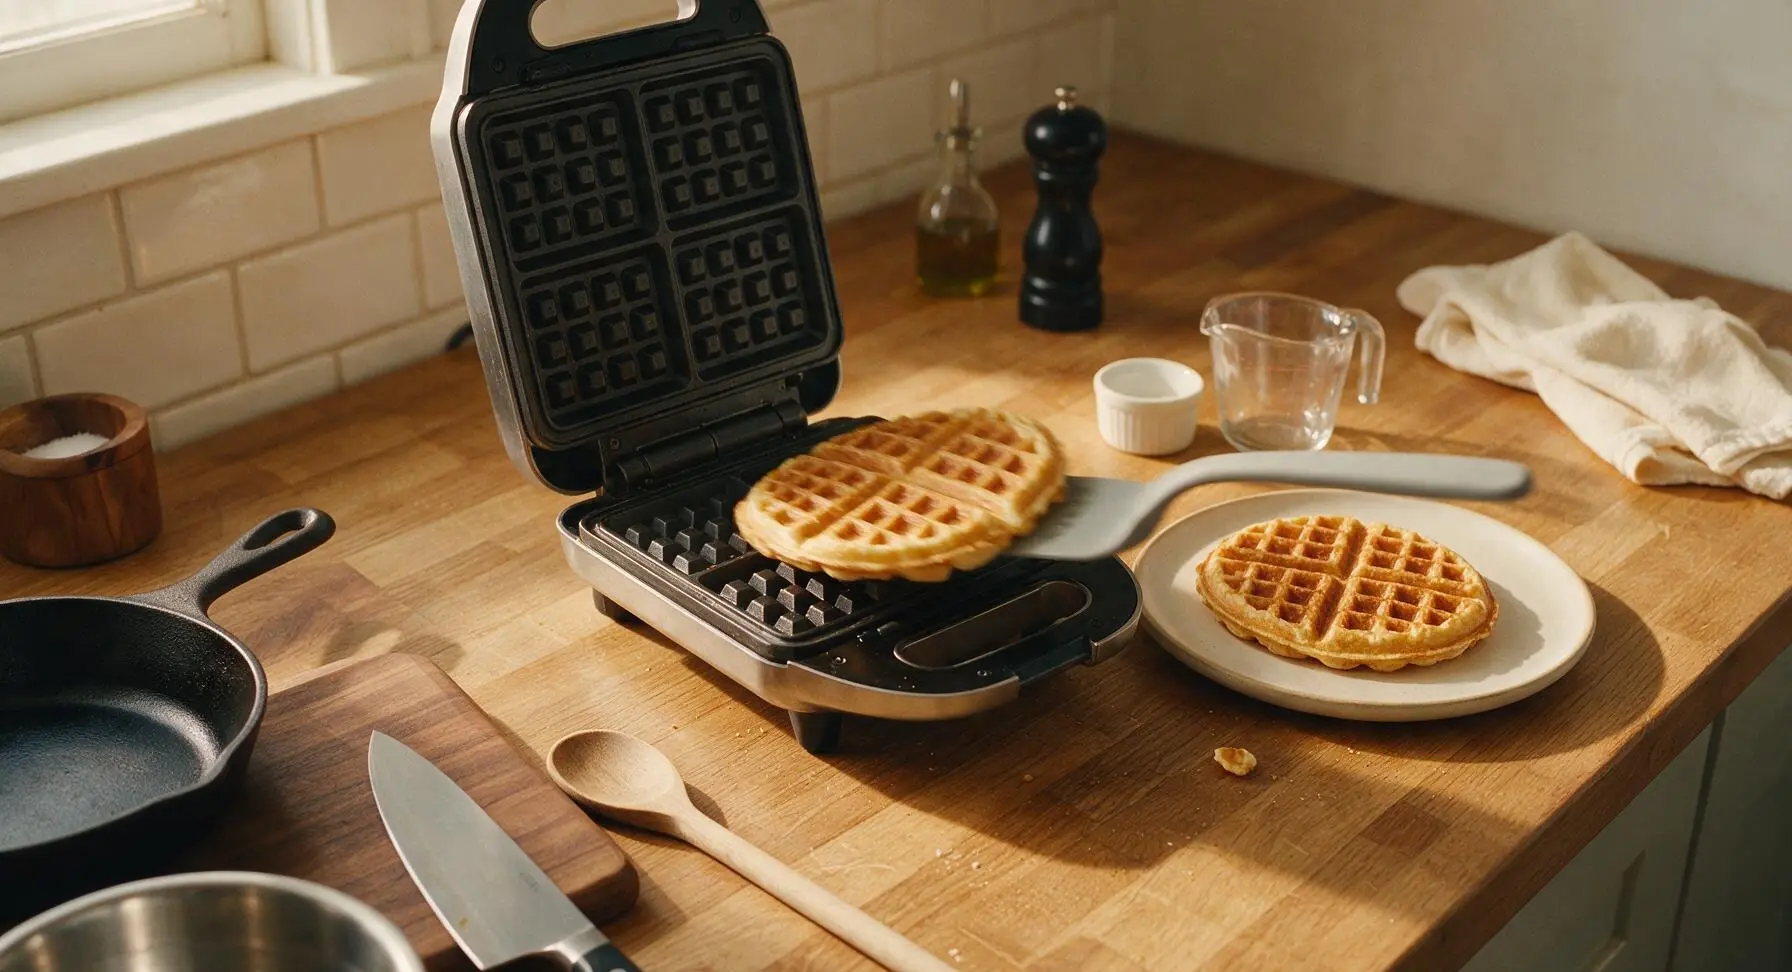
Use the light gray silicone turner to lift the cooked waffle from the iron, transferring it directly to the matte off-white ceramic dinner plate. Repeat the cooking process with the remaining batter, stacking cooked waffles on the plate as you go. Top with a pat of butter, a drizzle of maple syrup, and fresh fruit if desired, and serve immediately while hot and crisp.
Tips
2.Let the batter rest 3 minutes before cooking: This short rest allows the baking powder to activate and create tiny air bubbles, resulting in taller, lighter, fluffier waffles instead of flat, dense ones that don’t rise properly.
3.Keep waffles crisp between batches: Instead of stacking hot waffles on a plate (which traps steam and makes them soggy), place cooked waffles directly on a wire rack set over a baking sheet in a 200°F (95°C) oven until all batches are done. This keeps the exterior crisp and interior fluffy for up to 20 minutes.






OMG these are SO good! I whipped these up for Saturday breakfast with my kids and they devoured them in 10 minutes flat. Crispy on the outside, fluffy on the inside — exactly what a basic waffle should be! I added a handful of mini chocolate chips to half the batch for the little ones and they were obsessed. 10/10 will be a weekend staple from now on.
Game changer! I’ve been using that sad boxed waffle mix for years and I can’t believe how easy and way better these homemade ones are. Made them for my guys’ fantasy football watch party yesterday and everyone asked for the recipe. Even my picky brother in law went back for thirds.
Really solid base recipe! I swapped the dairy milk for oat milk and used flax eggs to make it vegan and it turned out great. Only reason I’m not giving 5 stars is I wish it had a note about adjusting cook time for different waffle irons — mine took a full minute longer than the recipe said to get crispy. Still tasty though, will make again!
Perfect for meal prep! I made a double batch on Sunday, froze the leftover waffles, and now I just pop them in the toaster for 30 seconds on busy weekday mornings. Tastes just as fresh as the day I made them. Saved me so much time this week already!
Okay so flavor was really good, but my waffles came out super flat? I followed the recipe exactly, not sure what I did wrong. Did I overmix the batter maybe? They still tasted fine, just not fluffy like the picture.
Made these for a potluck brunch last weekend and people were raving! I set up a little waffle bar with whipped cream, berries, syrup, and even fried chicken for the chicken and waffle fans. This recipe is so simple it lets all the fun toppings shine. Already got three texts asking for the link!
Honey, I’ve been making waffles for 40+ years and this basic recipe is just as good as my old go-to that I lost when we moved last year. So easy to remember the measurements, no fancy gadgets needed. My grandkids beg for these every time they come over now.
Bro I’m a broke college student with a tiny $20 waffle iron I got at Target and these still banged. Had all the ingredients already in my pantry, no weird fancy stuff. Ate 3 of them straight off the iron with just a little butter and syrup, chef’s kiss.
Great base! I swapped the all purpose flour for a 1:1 gluten free flour blend and it worked perfectly. The only heads up is gluten free batter tends to thicken up faster, so I added a splash extra milk to get the right consistency. Crispy, tasty, didn’t have that weird GF aftertaste some waffles have.
Made these for my partner’s birthday breakfast in bed and I looked like a total pro. Added a little vanilla extract and cinnamon to the batter per my mom’s old tip, topped with strawberries and powdered sugar, and they said it was better than the diner waffles we get on weekends. Win!
Such a solid staple recipe! I love that it doesn’t have a ton of added sugar, so I can top it with Greek yogurt and berries for a post-workout breakfast that actually keeps me full. Way better than the sugary frozen waffles I used to buy. Cook time was exactly 12 minutes total for my iron, too, which was perfect for getting out the door on time for spin class.