
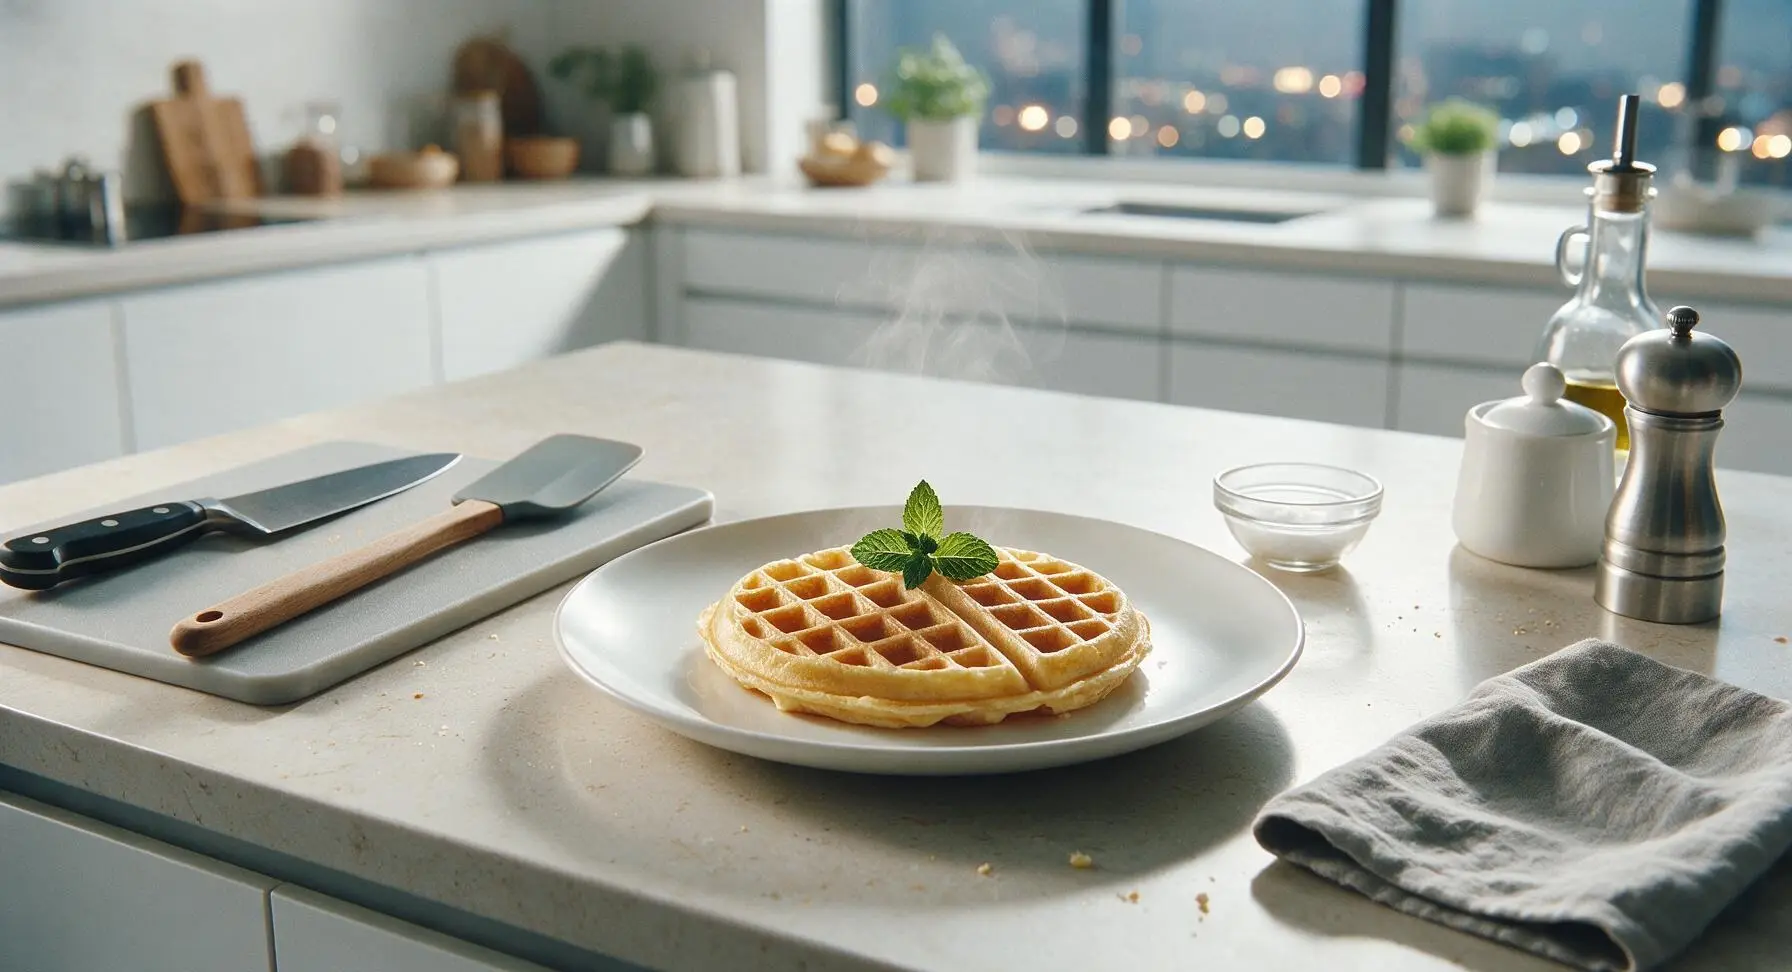
basic waffle mix

title 1
basic waffle mix
⏱️ cook time 15 minutes
🍽️ servings 4
⚡ Difficulty easy

intro

This shelf-stable basic waffle mix makes crisp, fluffy golden waffles in minutes, perfect for quick weekday breakfasts or lazy weekend brunches with your favorite toppings.

Ingredients
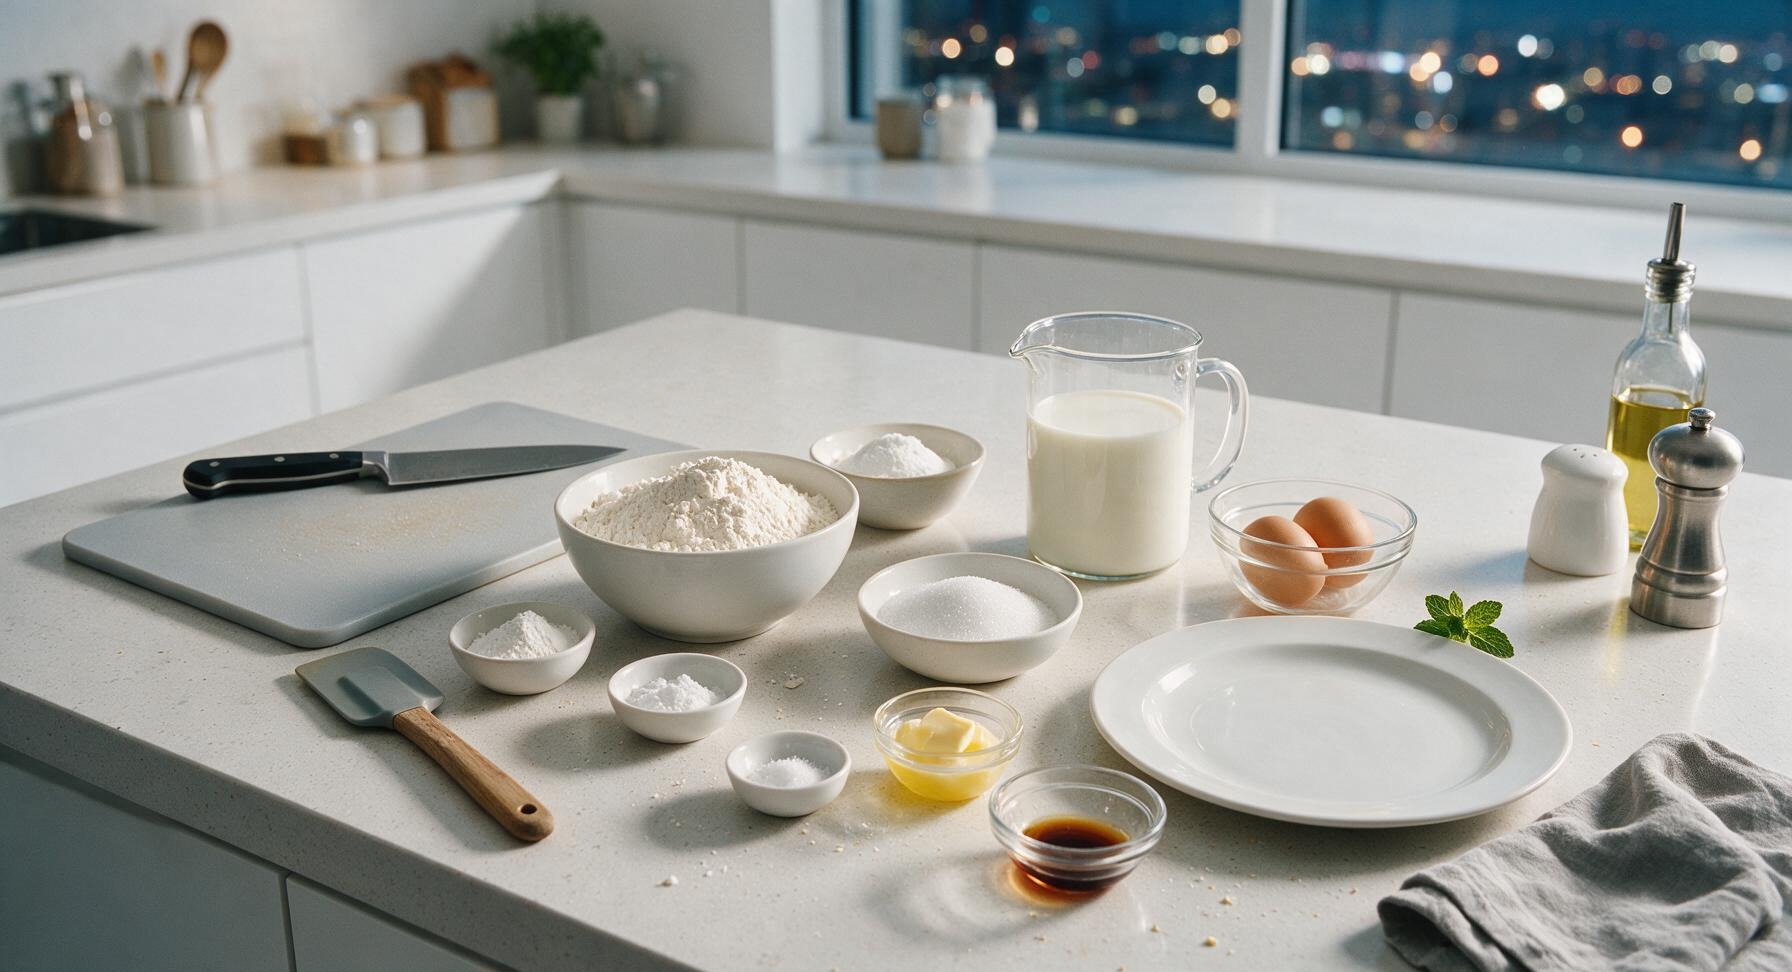
All-purpose flour 2 cups (240g)
Granulated sugar 2 tablespoons
Baking powder 1 tablespoon
Baking soda 1/2 teaspoon
Fine sea salt 1 teaspoon
Whole milk 1 3/4 cups (420ml)
Large eggs 2
Unsalted butter 1/3 cup (75g), melted and cooled
Pure vanilla extract 1 teaspoon

Steps

1

Measure Dry Ingredients

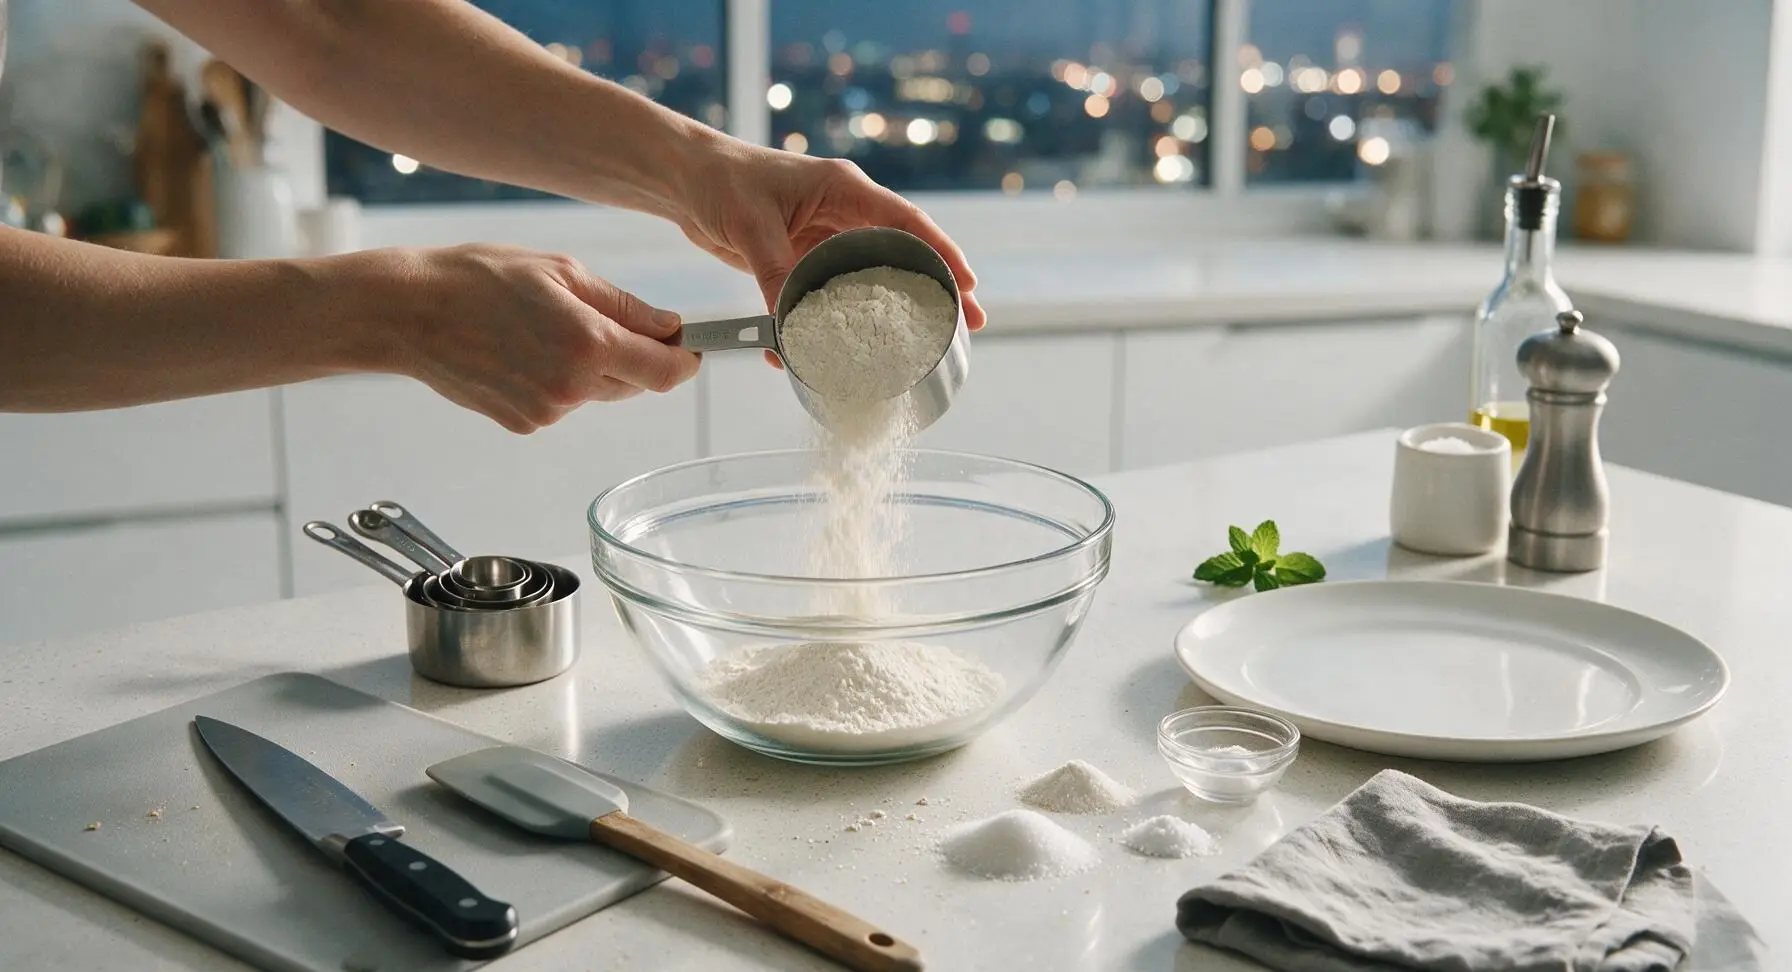
Set the large clear glass mixing bowl in its fixed center-left position on the counter. Use the stainless steel measuring cups and spoons to add 2 cups (240g) all-purpose flour, 2 tablespoons granulated sugar, 1 tablespoon baking powder, 1/2 teaspoon baking soda, and 1 teaspoon fine sea salt to the bowl. Level each dry measurement with the flat edge of a knife to ensure consistent, accurate results.
Step 1
step1:Measure Dry Ingredients
2

Whisk Dry Mix Uniformly

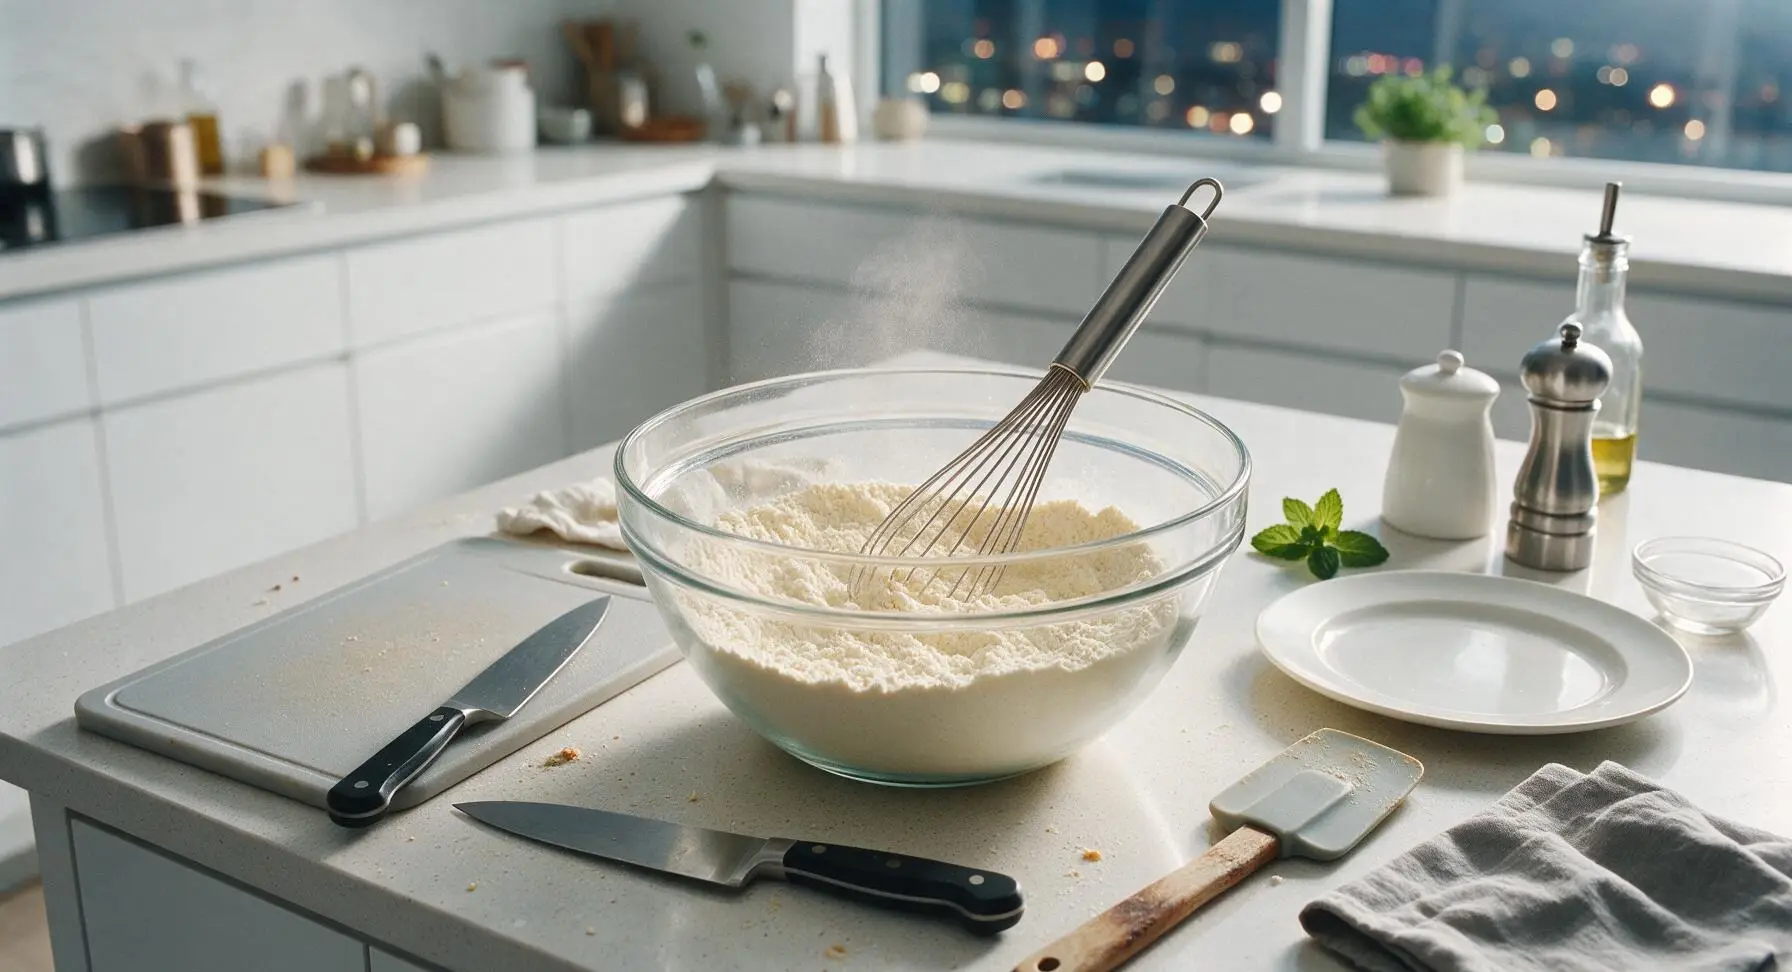
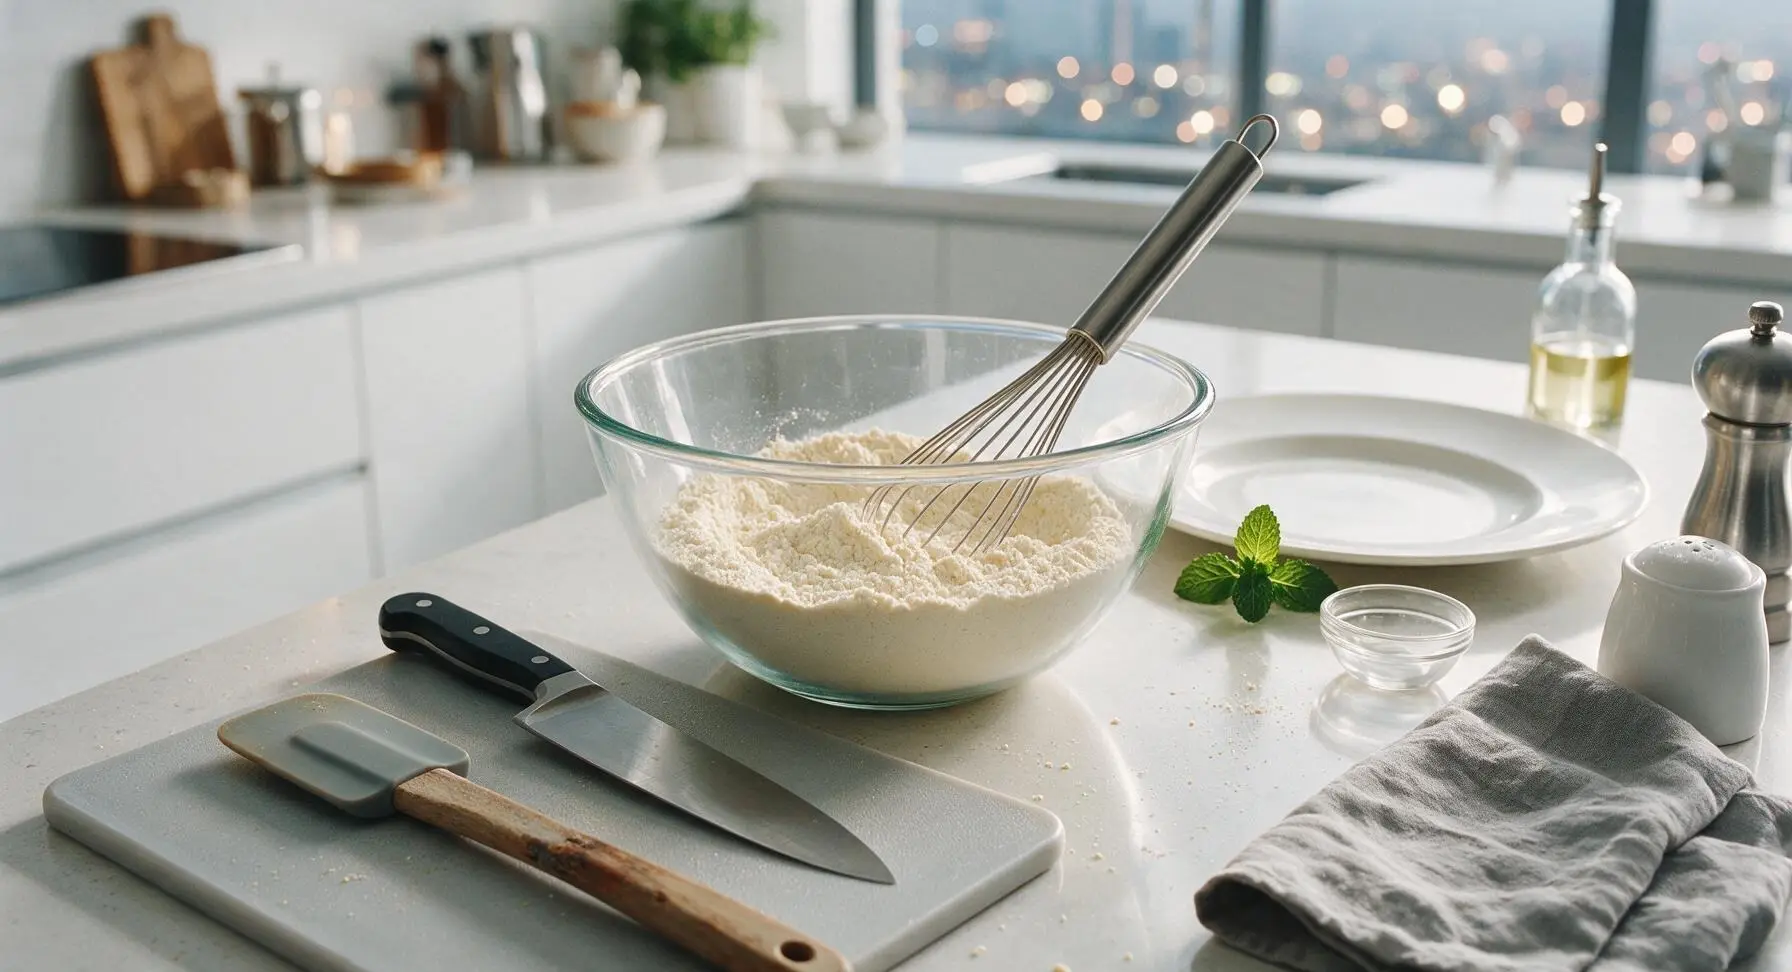
Use the long-handled stainless steel whisk to stir all the dry ingredients together for 45 to 60 seconds, until the mixture is completely uniform in pale cream color, with no visible clumps of baking powder, baking soda, or concentrated salt. Scrape the bottom and sides of the bowl halfway through mixing to eliminate hidden pockets of unincorporated flour.
Step 2
step2:Whisk Dry Mix Uniformly
Step 2
step2:Whisk Dry Mix Uniformly
3

Store Mix for Later

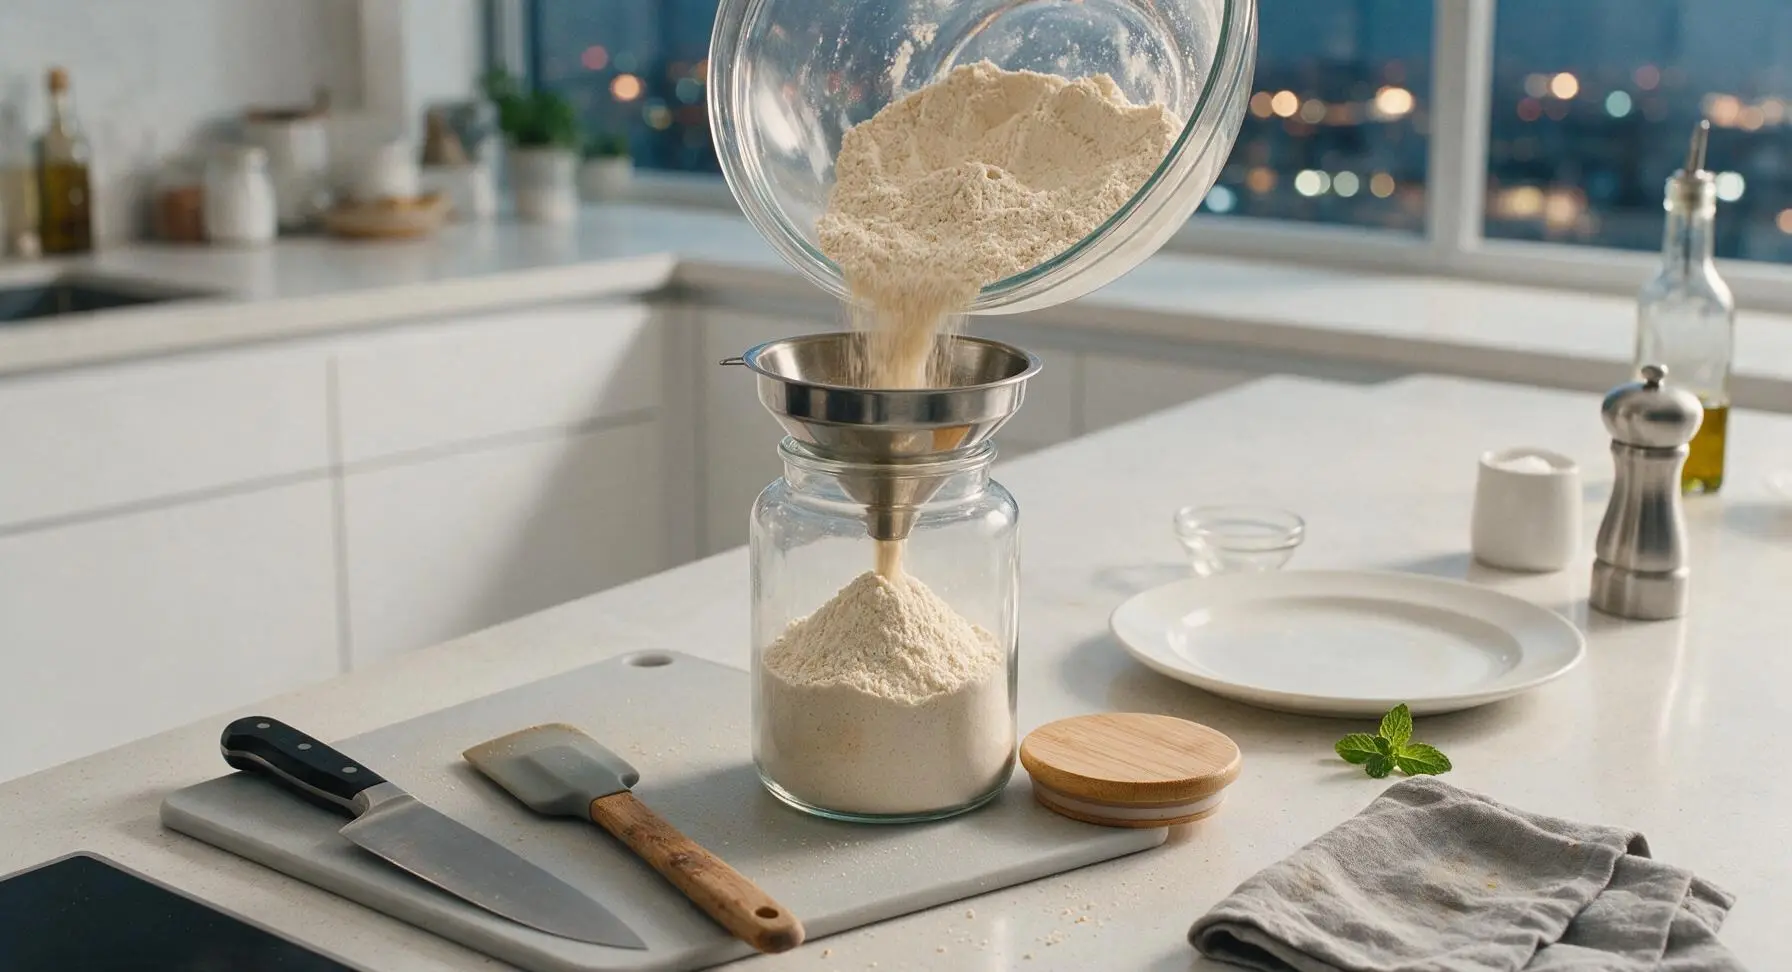
Set the small stainless steel funnel in the opening of the airtight glass storage jar. Carefully pour the fully combined dry waffle mix through the funnel into the jar, tapping the side of the funnel gently to help the mix flow freely without spilling. Seal the jar tightly with the bamboo lid; the dry mix will stay fresh in a cool, dark pantry for up to 3 months.
Step 3
step3:Store Mix for Later
4

Preheat the Waffle Iron

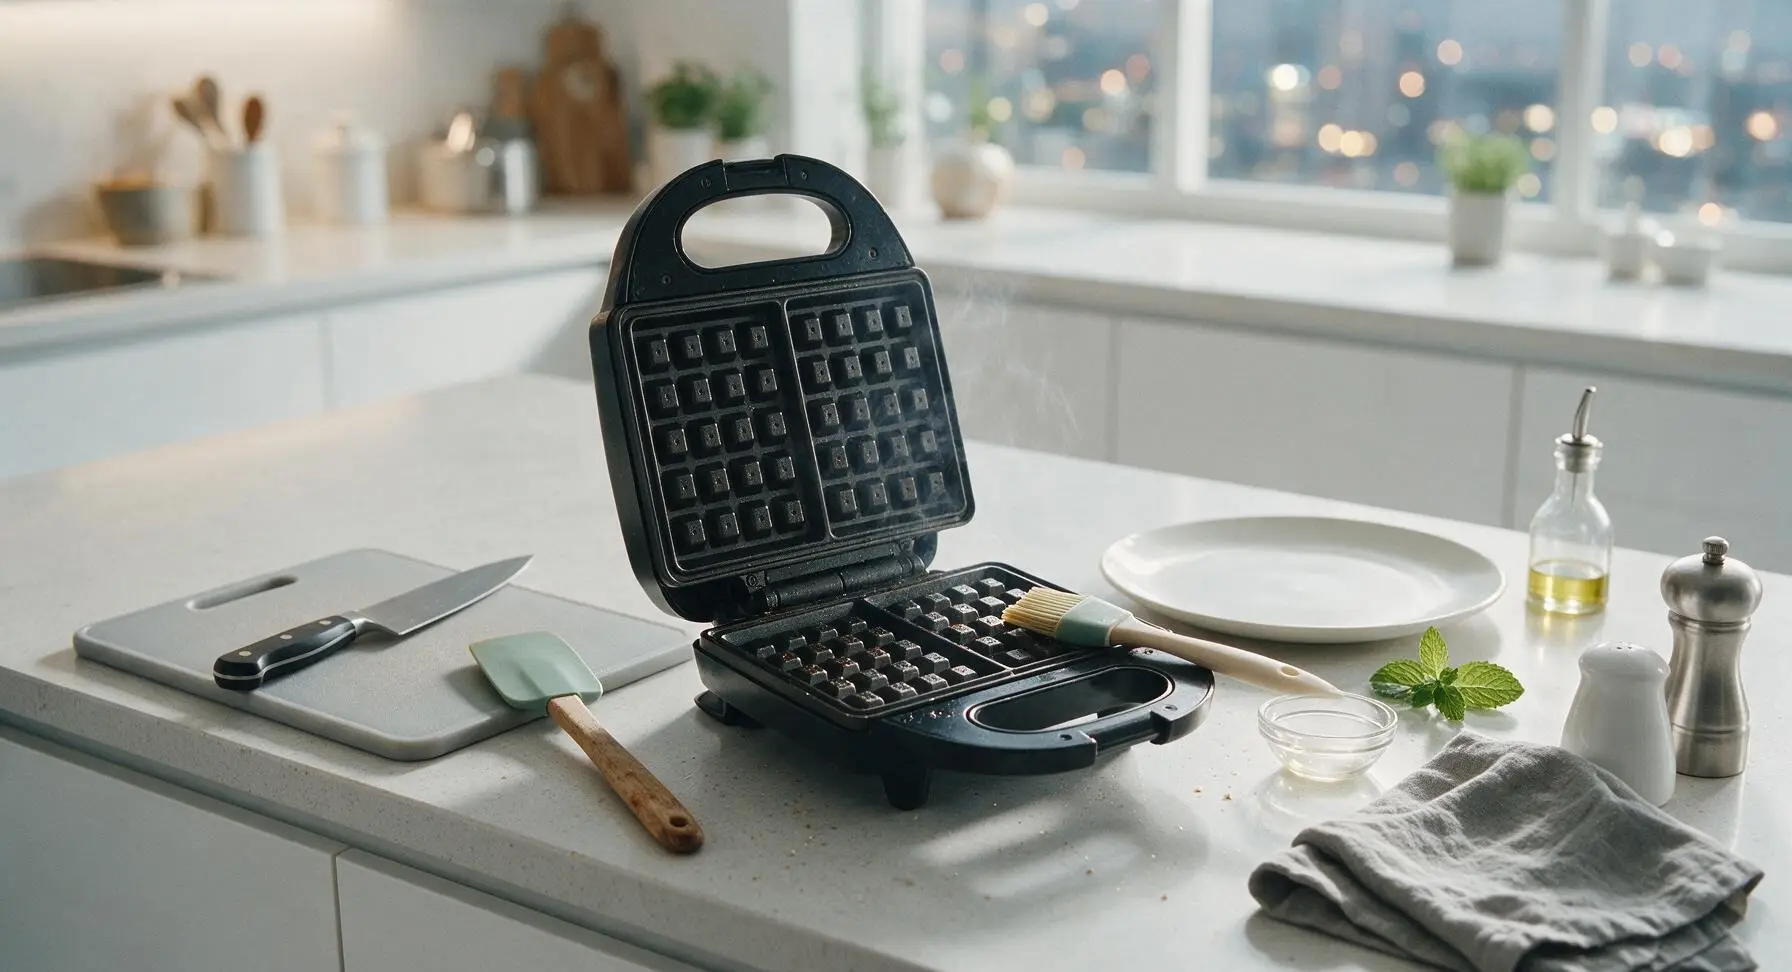
When ready to prepare waffles, plug in the matte black waffle iron and preheat to medium-high (375°F / 190°C). Use the silicone basting brush to coat the top and bottom iron grids with a thin layer of melted butter to prevent sticking. The iron is fully preheated when a single drop of water sizzles and evaporates within 2 seconds of contact with the grid surface.
Step 4
step4:Preheat the Waffle Iron
5

Prep Wet Ingredients

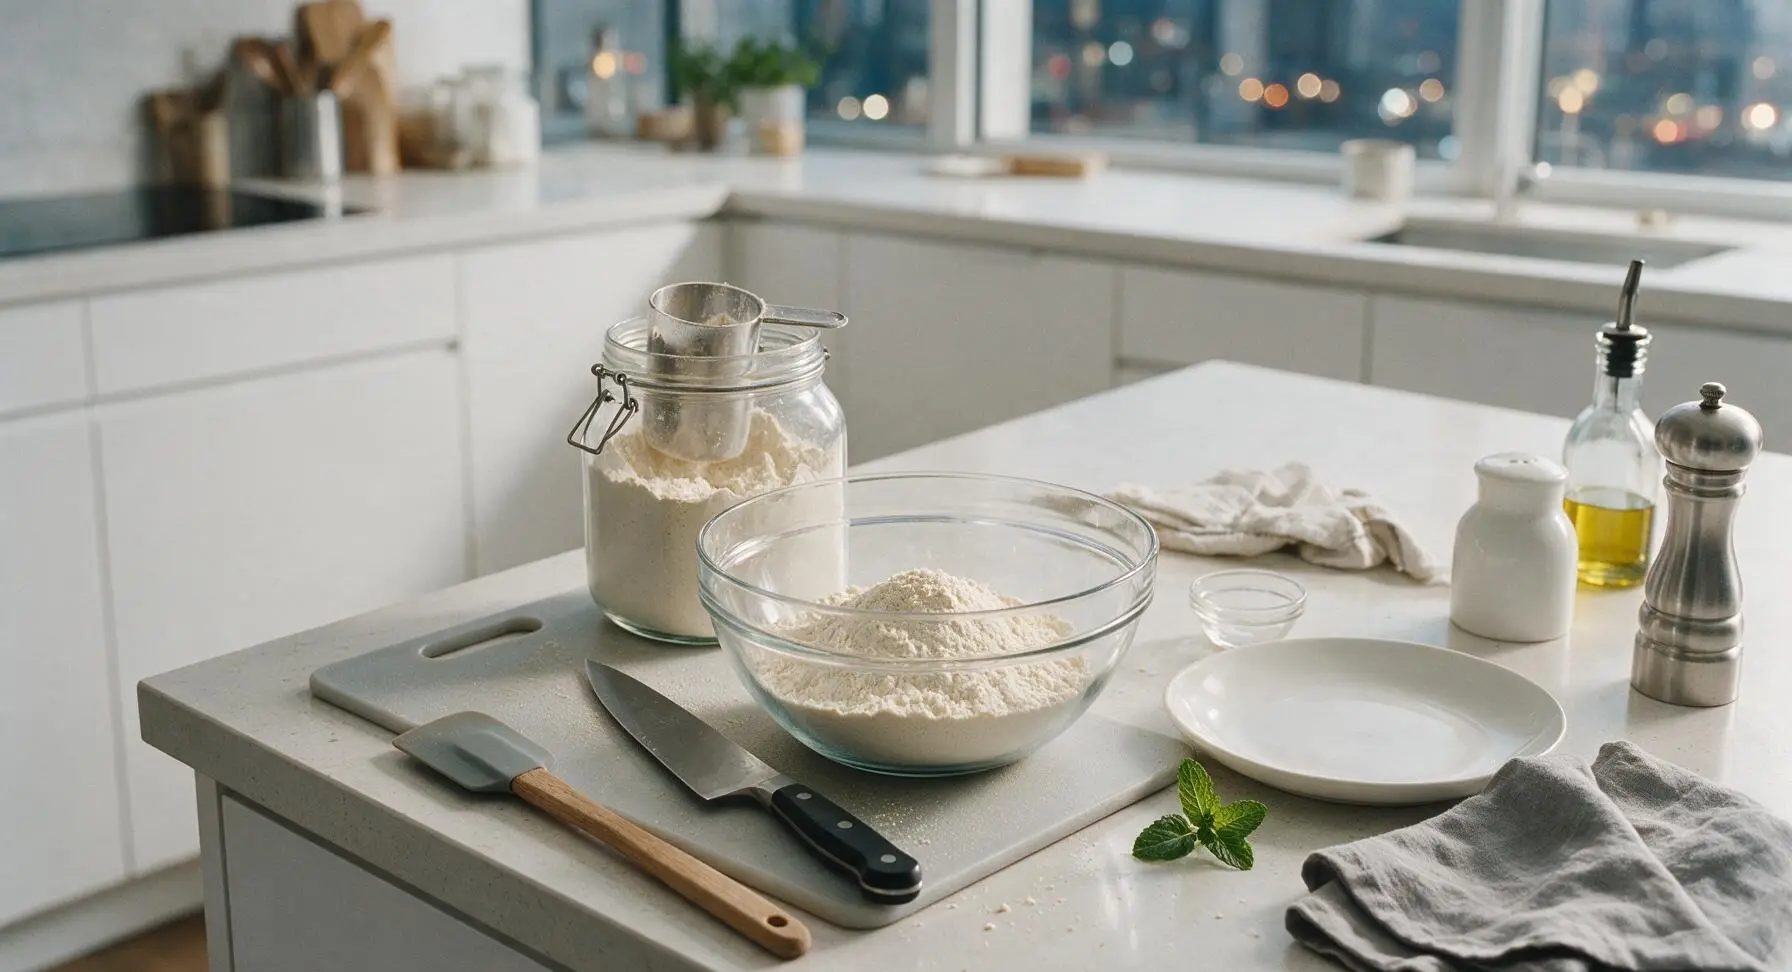
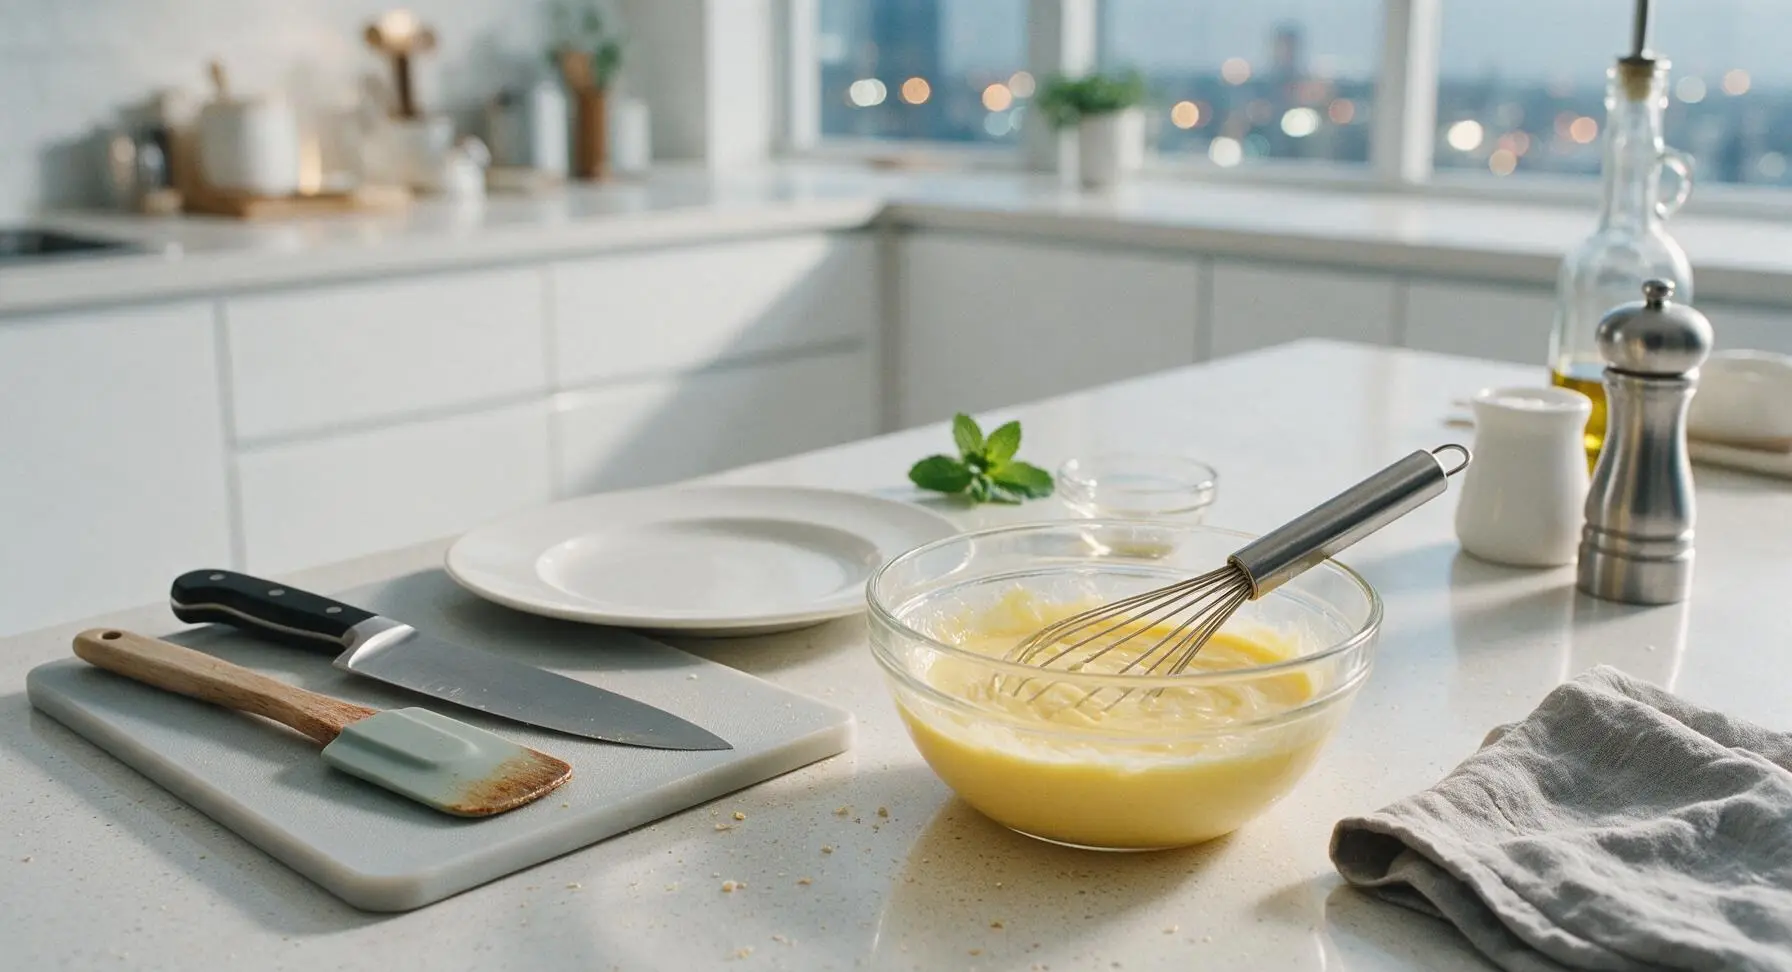
Measure 2 cups of the prepared dry waffle mix back into the clean large glass mixing bowl. In the small glass mixing bowl, add 1 3/4 cups (420ml) whole milk, 2 large lightly beaten eggs, 1/3 cup (75g) cooled melted unsalted butter, and 1 teaspoon pure vanilla extract. Whisk the wet ingredients until completely smooth, with no streaks of unblended egg white visible.
Step 5
step5:Prep Wet Ingredients
Step 5
step5:Prep Wet Ingredients
6

Gently Combine Batter

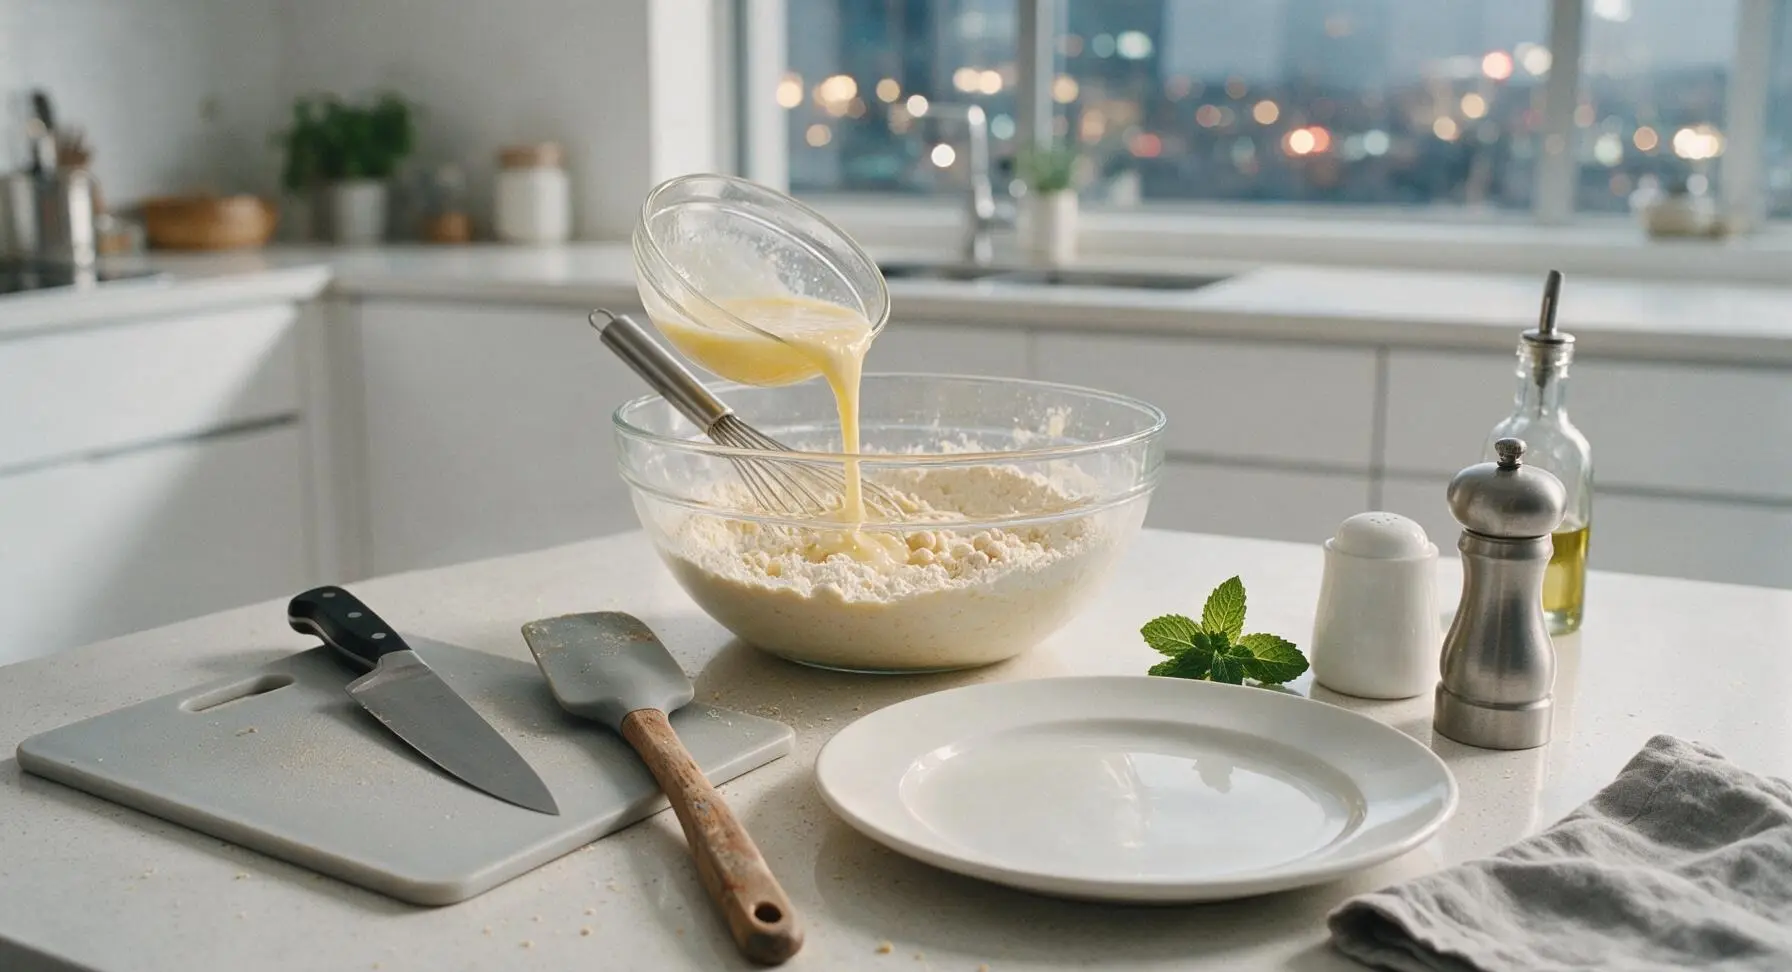
Pour the smooth wet ingredient mixture into the large bowl with the dry waffle mix. Stir slowly with the whisk just until combined—small, pea-sized lumps in the batter are normal and desirable, as overmixing will develop gluten and lead to tough, dense waffles. Let the batter rest for 5 minutes at room temperature; it will bubble slightly as the leaveners activate.
Step 6
step6:Gently Combine Batter
7

Cook Waffles Until Golden

Pour 1/2 cup of rested batter onto the center of the preheated waffle iron grid, close the lid, and cook for 3 to 4 minutes. Do not open the lid for the first 2 minutes of cooking, as this will release steam and cause the waffle to split or stick. The waffle is done when it is deep golden brown, crisp on the edges, and releases easily from the iron without tugging.


Step 7
step7:Cook Waffles Until Golden
Step 7
step7:Cook Waffles Until Golden
8

Plate and Serve Warm

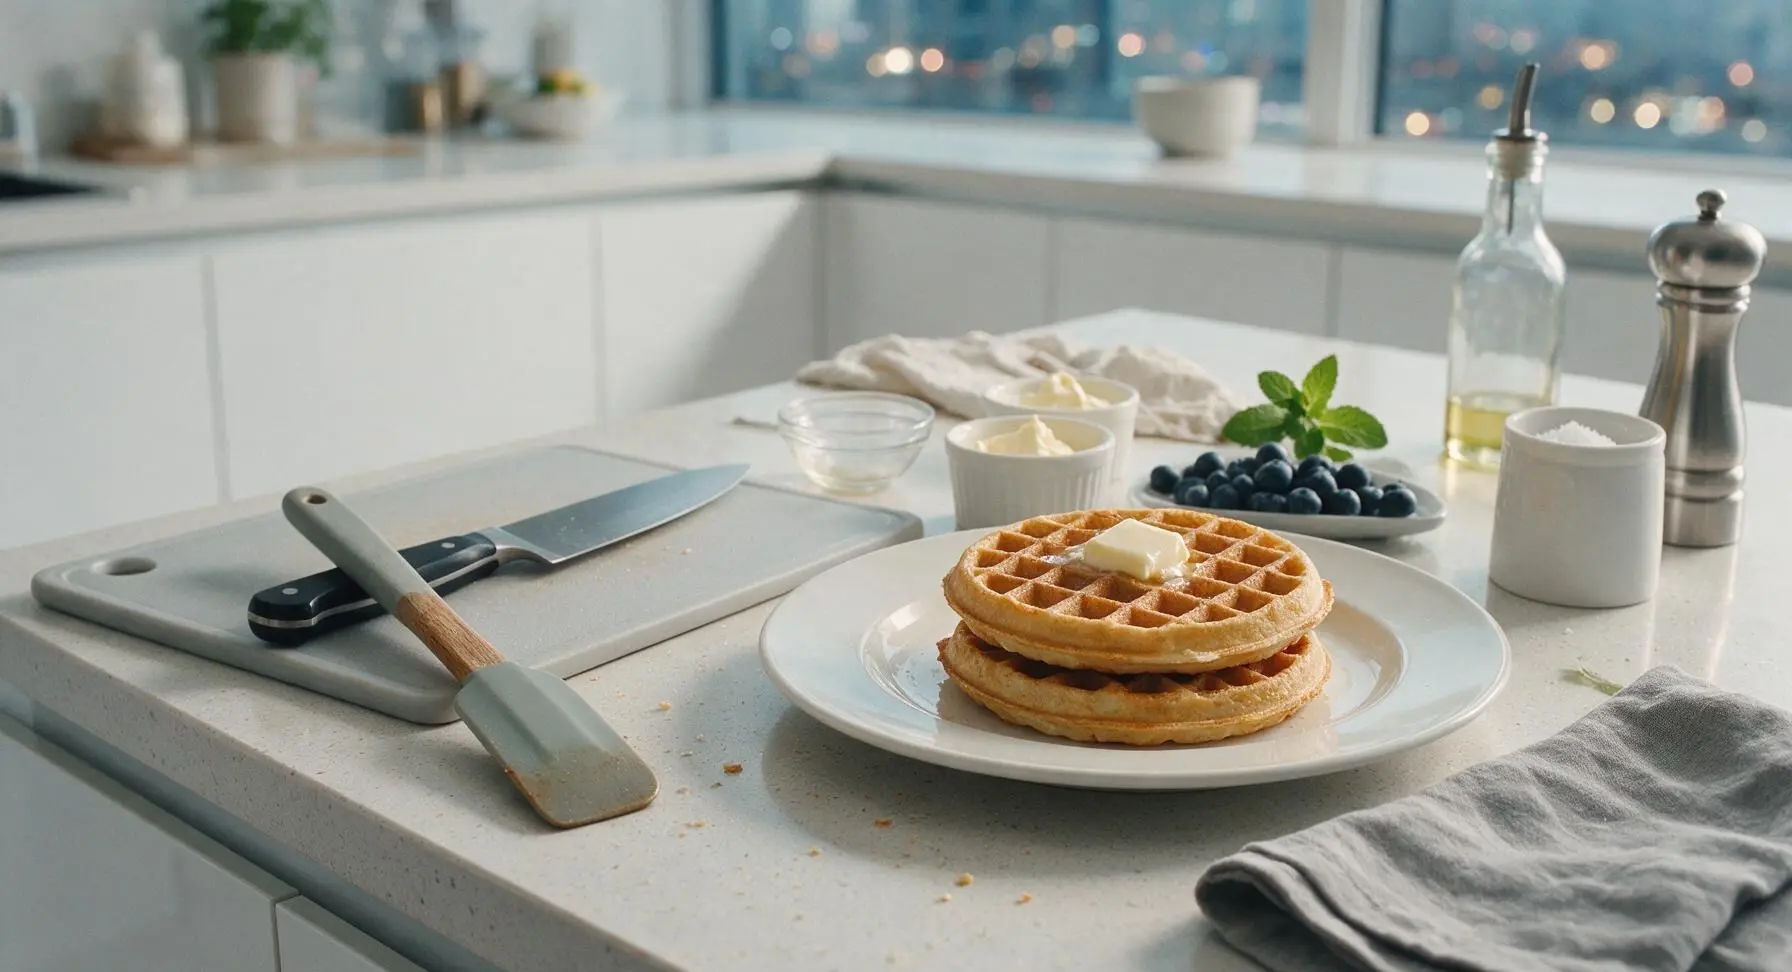
Use the tongs to transfer cooked waffles to the matte cream ceramic dinner plate. Keep cooked waffles warm on a wire rack in a 200°F (95°C) oven while cooking remaining batches to prevent sogginess. Top with butter, warm maple syrup, fresh berries, or your favorite toppings just before serving.
Step 8
step8:Plate and Serve Warm

Tips

1.Avoid overmixing the waffle batter: small, pea-sized lumps are ideal, as over-stirring develops wheat gluten that creates tough, chewy waffles instead of light, crisp ones with fluffy interiors.
2.Resist opening the waffle iron during the first 2 minutes of cooking: trapped steam is critical for creating the waffle’s tall, fluffy structure, and opening early can cause the waffle to split, stick, or deflate.
3.Store the dry waffle mix in a cool, dark pantry away from stovetop heat or sink moisture: exposure to humidity will activate the baking powder early, leading to flat, dense waffles that don’t rise properly when cooked.


✨ You May Also Like

Breakfast
🍜 United States

Crisp-edged, fluffy lard griddle cakes are a nostalgic homestyle staple, with rich savoriness from rendered lard, perfect topped with maple syrup or savory gravy.

⏱️ 25 minuteBreakfast ★ 4.8
Breakfast
🍜 United States

Flaky, buttery homemade buttermilk biscuits smothered in creamy, peppery pork sausage gravy: a beloved, hearty Southern American comfort food classic.

⏱️ 35 minuteBreakfast ★ 4.8
Breakfast
🍜 United States

Golden, custardy brioche stuffed with sweet cream cheese and fresh berries, pan-fried to crisp perfection. An indulgent, cozy breakfast perfect for slow weekend mornings.

⏱️ 30 minuteBreakfast ★ 4.7
Breakfast
🍜 United States

Flaky, buttery Southern-style biscuits stuffed with savory salty country ham, a portable, satisfying classic perfect for casual on-the-go meals.

⏱️ 25 minuteBreakfast ★ 4.8
Breakfast
🍜 United States

Iconic puffy baked pancake popularized in Seattle, with crisp golden edges and soft custardy center, served warm with classic sweet toppings.

⏱️ 35 minuteBreakfast ★ 4.6
Breakfast
🍜 United States

Fluffy, golden pancakes studded with juicy peak-summer mixed berries, drizzled with maple syrup for a bright, comforting, crowd-pleasing family breakfast.

⏱️ 25 minuteBreakfast ★ 4.7

basic waffle mix:Frequently Asked Questions

1.How long does this homemade waffle mix stay fresh in the pantry? ▾
Stored in an airtight container in a cool, dry pantry away from direct sunlight or stovetop heat, this mix stays fresh for up to 3 months. For longer storage, keep it in the fridge or freezer for up to 6 months—just give it a good whisk before measuring, as fine ingredients may settle slightly over time.
2.What additional ingredients do I need to add to make waffles from this mix? ▾
When you’re ready to cook, you’ll stir in standard wet ingredients per batch: melted cooled butter, large eggs, milk (dairy or unsweetened plant-based works), and a splash of vanilla, if you like. No extra dry add-ins are needed, as the pre-mixed base has all the leavening and seasoning for great waffles.
3.Can I swap all-purpose flour for whole wheat flour to make this mix healthier? ▾
Absolutely! Swap up to half of the all-purpose flour for white whole wheat flour for a nuttier, more fiber-dense mix without making waffles dense or tough. I don’t recommend using 100% whole wheat, as it will produce heavier, less crisp waffles that don’t rise as well during cooking.
4.Why does the mix include both baking powder and baking soda? ▾
The combination of both leaveners creates the perfect light, fluffy interior and crisp, golden exterior we love in waffles. Baking powder provides steady, consistent rise during cooking, while baking soda reacts with acidic wet ingredients (like buttermilk) to boost lift and encourage even, fast browning.
5.Can I adapt this waffle mix to be gluten-free? ▾
Yes, this mix is easy to adapt for gluten-free diets. Swap the all-purpose flour for a high-quality 1:1 gluten-free all-purpose flour blend that contains xanthan gum. Double check that your baking powder is labeled gluten-free to avoid cross-contamination, and whisk the mix well before each use to prevent settling.
6.How much dry mix do I need for a standard batch of waffles? ▾
A standard 4-serving batch uses 2 cups of this dry mix, paired with 1 ¾ cups milk, 2 large eggs, ½ cup melted cooled butter, and 1 teaspoon vanilla. That yields roughly 4 to 6 7-inch round waffles, depending on your waffle iron size, enough for 2 to 3 adults with toppings.
7.Will this mix work for pancakes, or is it only for waffles? ▾
This mix works great for quick pancakes with a tiny adjustment! Use 2 cups of mix, 1 ½ cups milk (a little less than you’d use for waffles) and 2 eggs, skipping extra melted butter if you prefer thinner pancakes. The pancakes will be light and fluffy, though they won’t have the crisp edge of iron-cooked waffles.
8.What’s the best way to store the dry mix to maximize shelf life? ▾
Store the dry mix in a tightly sealed, food-safe glass jar, plastic canister, or resealable freezer bag with all excess air pressed out. Keep it in a cool, dark pantry cabinet away from your stove, dishwasher, or sink, where heat, steam, or moisture can cause clumping or reduce leavener potency.
9.Can I use regular table salt instead of fine sea salt in the mix? ▾
Fine sea salt distributes evenly throughout the dry mix to balance sugar and enhance the warm, toasty flavor of cooked waffles, without random salty bites. You can substitute table salt if that’s what you have, but cut the amount by 25%—table salt is denser, so a full measure will make your mix too salty.
10.Can I stir extra mix-ins like cinnamon or chocolate chips into the dry mix ahead of time? ▾
Ground spices like cinnamon, nutmeg, or pumpkin spice work great stirred right into the dry mix (stick to 1 to 2 teaspoons total per full batch of mix). Wait to add chocolate chips, sprinkles, or dried fruit until you’re mixing wet batter to cook, as those add-ins can go stale or settle unevenly in storage.
11.How can I tell if my stored waffle mix has gone bad? ▾
First, check for visible spoilage signs: hard clumps that won’t break when stirred, mold, odd rancid or off smells, or signs of pantry pests. If the mix looks and smells fine but your waffles turn out flat and dense, the leaveners have lost potency, and it’s time to mix a fresh batch.
12.Does this mix work in a deep-pocket Belgian waffle maker? ▾
Absolutely! This mix works perfectly in both standard thin waffle irons and deep-pocket Belgian waffle makers. You don’t need to adjust the dry mix at all—just pour a slightly larger amount of batter per grid, and cook until the waffle is deep golden and pulls away easily from the iron without sticking.
13.Can I reduce the amount of sugar in the mix for less sweet, savory waffles? ▾
You can cut the granulated sugar in half, or even leave it out entirely, if you prefer savory waffles for toppings like fried chicken, melted cheese, or eggs. The small base sugar amount is just enough to encourage golden browning and subtle sweetness that pairs well with fruit, syrup, and whipped cream without tasting cloying.
14.Why is my mix developing clumps after a few weeks in the pantry? ▾
Minor, soft clumps that break apart easily when you whisk the mix are totally normal, caused by small amounts of ambient moisture in the air. If clumps are hard, solid, and won’t break apart, that means the mix was exposed to too much moisture, which reduces leavening power and raises mold risk, so discard that batch.
15.Can I package this waffle mix to give as a homemade gift? ▾
This mix makes a fantastic, thoughtful homemade gift! Layer the measured dry ingredients in a clear glass mason jar, add a handwritten tag with the wet ingredient measurements and cooking instructions, and tie it with a ribbon for a simple, useful present for housewarmings, holidays, or busy new parents.
16.My waffles turn out soft instead of crisp when I use this mix—what am I doing wrong? ▾
Most often, soft waffles come from pouring too much batter leading to undercooked dense centers, or opening the waffle iron too early before the exterior sets. Make sure your iron is fully preheated, cook until steam stops escaping from the iron edges, and rest waffles on a wire rack for 1 minute before plating to keep exteriors crisp.

Comments (14)

2 days ago

OMG this mix is such a game changer for busy school mornings! I whipped up a big batch on Sunday, stored it in a mason jar, and we had fresh waffles in literally 10 minutes flat yesterday. My kids loved it, even my picky 7 year old asked for seconds. SO good!

1 week ago

Took this mix to a neighborhood potluck last weekend and everyone was asking for the recipe! I added a handful of chocolate chips to the batter when I made them, and they were a total hit. Super easy to throw together, no fancy ingredients needed.

3 days ago

Perfect staple for my weekly meal prep! I portion the dry mix into individual baggies so all I have to do in the morning is add milk, egg, and a splash of vanilla. Cuts my morning routine down so much, and the waffles come out crispy on the outside, fluffy inside every time.

5 days ago

Solid basic mix, nothing fancy but it works! I swapped a quarter of the all purpose flour for whole wheat to add a little fiber, and it turned out great. Only reason it’s not 5 stars is I wish it had a little more built-in cinnamon flavor, but that’s an easy add on my end.

2 hours ago

Wait, how long does the dry mix stay good in the pantry? I want to make a huge batch to keep on hand for when friends crash at our place after game nights. We always end up craving late night waffles and running to the diner down the street, so this would save us so much cash!

30 minutes ago

Great question! Stored in an airtight container in a cool, dry pantry spot, the dry mix stays fresh for up to 3 months! I like to write the prep date right on the jar so I never lose track. Enjoy those late night game night waffles!

yesterday

Has anyone tried making this with a 1:1 gluten free flour blend? My youngest has celiac so I’m always hunting for easy mixes I can make ahead that don’t have weird additives. I’d love to stop paying $8 a box for the GF waffle mix at the grocery store! I’d give it 5 stars if I can make it work for our GF diet, but for now 4 until I test it out.

2 hours ago

I did this last week with the Bob’s Red Mill 1:1 GF blend and it worked perfectly! I added a tiny bit extra baking powder to make sure they fluffed up right, and my non-GF husband couldn’t even tell the difference.

yesterday

As someone who literally burns toast half the time, I was shocked how easy this was! No weird steps, no fancy equipment, just mix the dry stuff and you’re good to go. My waffles came out perfectly golden on the first try, my roommate thought I ordered takeout lmao

yesterday

That’s what we love to hear! This recipe is designed specifically to be foolproof for new cooks, so I’m stoked you nailed it on the first go. Pro tip: let your waffle iron preheat fully before pouring batter in for extra crispy edges every time.

1 week ago

I made these for Sunday brunch after church last week, served them with fried chicken and hot honey, and my whole family raved! The mix is so neutral it works for sweet toppings *and* savory, which is perfect for my crew who can never agree on toppings.

5 days ago

Oh the fried chicken and hot honey combo sounds insane! I’m stealing that for my next brunch with my girlfriends, thanks for the idea!

2 weeks ago

Wait, doing the math on this — this is literally half the cost of the name brand waffle mix at the grocery store, and there are no weird preservatives I can’t pronounce. Why did I ever buy pre-made mix? Total no brainer.

2 weeks ago

Couldn’t agree more! Homemade staples like this save so much money over time, and you get total control over what goes into your food. I love adding a pinch of nutmeg to my batch for a little extra cozy flavor without any extra cost.

5 days ago

Made this in my dorm’s tiny shared kitchen last night! I kept the dry mix in a ziplock bag under my bed, borrowed the waffle iron from the common room, and me and my floor mates had waffles for a late night study break. 10/10, will be making this all semester.

3 days ago

This is such a smart dorm hack! I’m an RA and I’m totally going to make a big batch of this for our next floor event, the kids are going to lose it.

2 days ago

Quick question — I made this once with the melted butter and it was delicious, but do you have to add it? The pre-made mix I usually use only needs water, so I’m curious if I can skip the butter for a lower fat option, or if that will make the waffles soggy. I’m knocking a star just because I wish the recipe noted lower fat swaps right on the page!

yesterday

I’ve made this with unsweetened applesauce swapped for the melted butter before and it worked great! The waffles were still fluffy, just a tiny bit denser, no sogginess at all if you let them cook a minute extra.

yesterday

Great swap from Haley! If you want to skip butter entirely, you can also use a neutral oil like canola or avocado oil in the same measurement — it’ll still give you that crispy outer edge without the dairy. The water-only mixes usually have added oil powder to replicate that texture, which is why you don’t have to add it separately!

1 week ago

My toddler is going through a phase where he will only eat food that is ‘crunchy’ — will these waffles hold up if I make them ahead and freeze them for quick weekday breakfasts? I need something I can pop in the toaster straight from the freezer that won’t turn mushy.

5 days ago

I freeze these all the time! Let them cool completely, stack them with parchment paper between each waffle so they don’t stick, and they toast up perfectly crispy from frozen. My 3 boys devour them on school mornings.

5 days ago

Couldn’t have said it better myself! This mix freezes incredibly well, which is one of my favorite parts. If you want extra crunch for your little one, try toasting them on the highest setting for 30 seconds extra, it gives that perfect crunchy texture toddlers go crazy for.

3 days ago

I added a handful of blueberries and lemon zest to the batter when I made these this weekend and HOLY COW they were the best waffles I’ve ever had. The base mix is so versatile, I feel like I can come up with a million different flavor combinations!

2 days ago

Lemon blueberry sounds chef’s kiss! I added crushed pecans and a dash of maple extract to my last batch and it tasted like a fancy restaurant waffle for a fraction of the price.

yesterday

Wait why didn’t I think of lemon zest? I’m making a batch tomorrow morning and adding that plus some poppy seeds, that sounds like the perfect bright weekend breakfast.

30 minutes ago

I just got my first waffle iron for my birthday and this was the first recipe I tried! The waffles that actually made it onto my plate were SO good, but I overfilled the iron the first time and batter oozed all over the counter, made a huge mess lmao. Quick question — how much batter do you usually pour per waffle?

5 minutes ago

Oh girl I’ve been there! I usually pour about ⅔ cup for my standard size waffle iron, just enough to cover the middle grid without going all the way to the edges — it spreads as it cooks, I promise.

just now

That’s the exact measurement I recommend too! It can be tempting to pour extra to get a ‘full’ waffle, but a little less batter goes a long way to avoid that oozing mess. Pro tip: keep a paper towel handy to wipe up any drips right as they happen so they don’t burn onto your waffle iron plates!



