
BBQ Chicken (Weekday Feasts)

title 1
BBQ Chicken (Weekday Feasts)
⏱️ cook time 25 minutes
🍽️ servings 4
⚡ Difficulty easy

intro

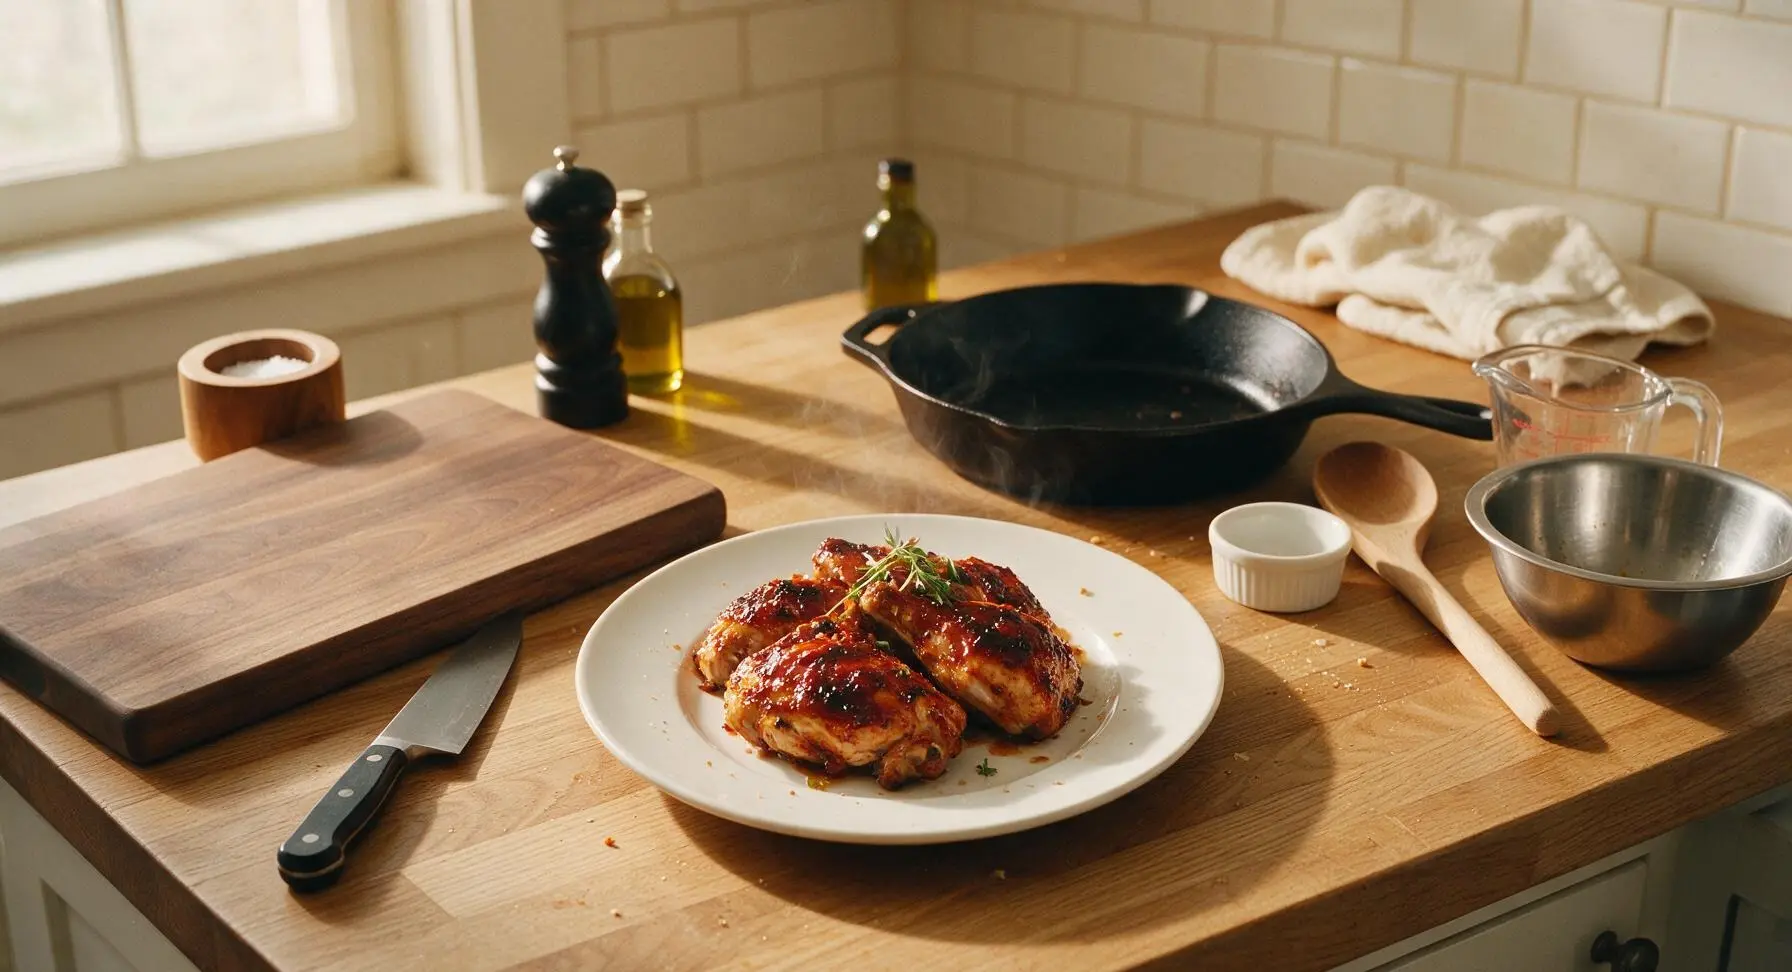
Juicy, crisp-skinned chicken coated in sticky, caramelized BBQ sauce, ready in under 40 minutes for a no-fuss weeknight dinner that tastes like a summer cookout.

Ingredients
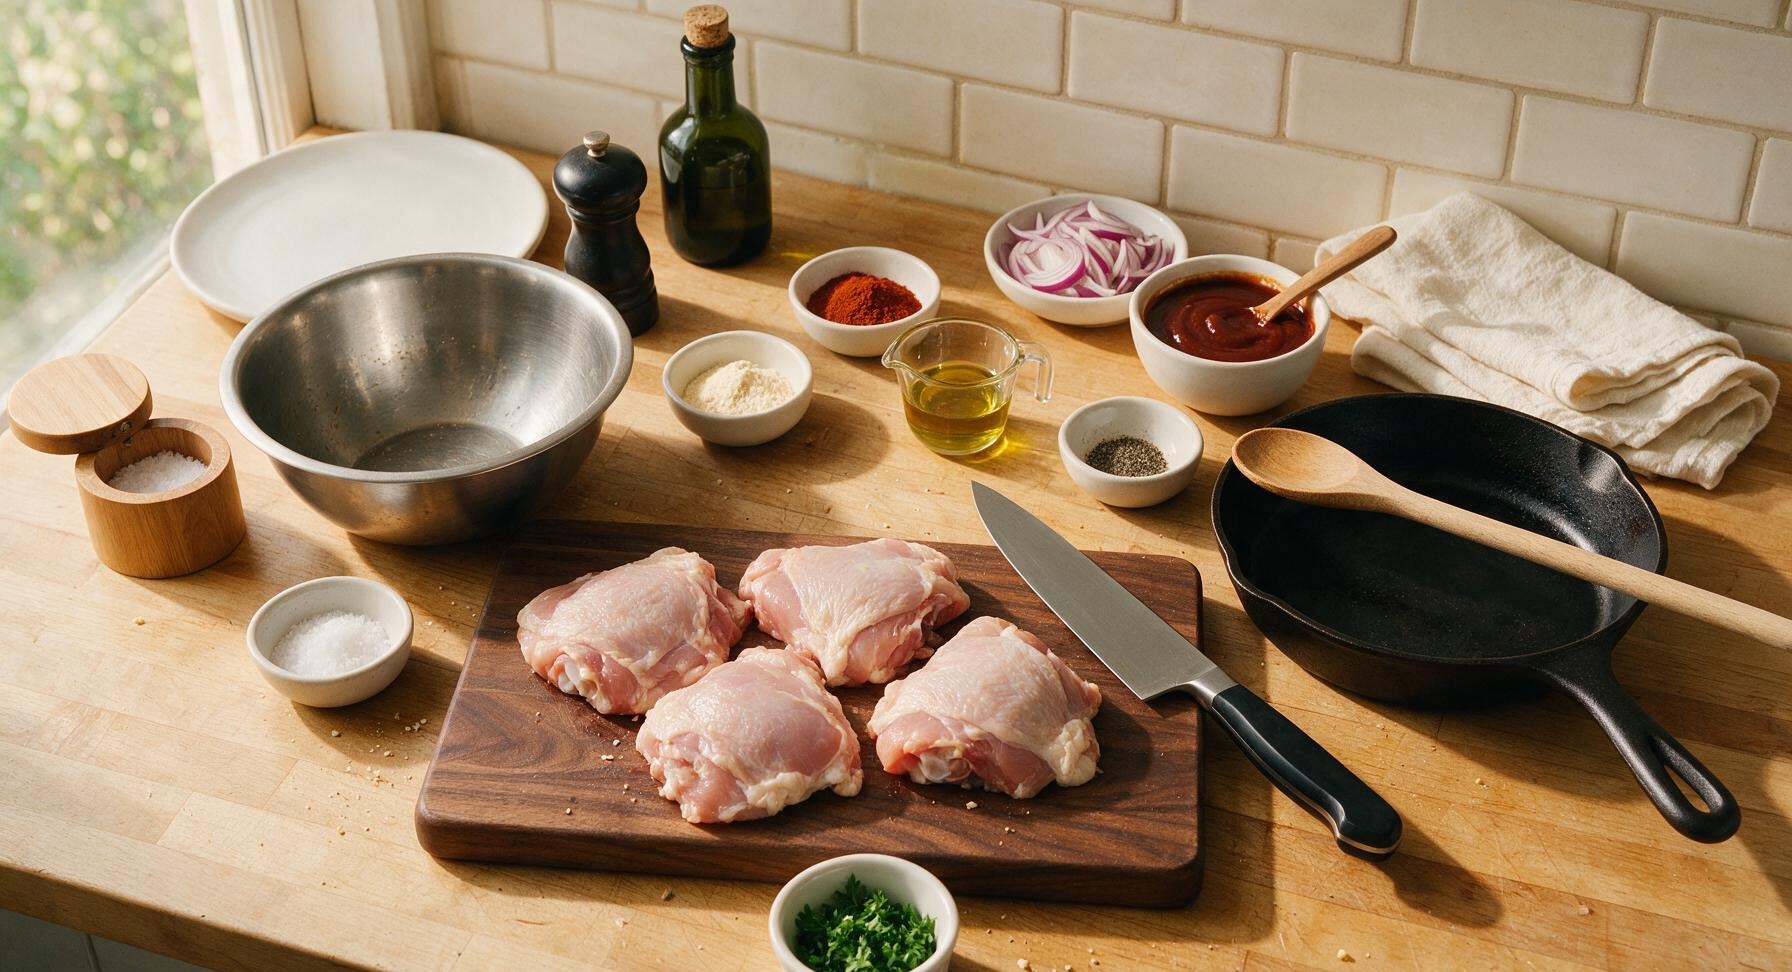
Bone-in skin-on chicken thighs 800g (4 pieces)
Smoky BBQ sauce 180ml (3/4 cup)
Smoked paprika 1 tsp
Garlic powder 1 tsp
Kosher salt 1 tsp
Freshly ground black pepper 1/2 tsp
Extra-virgin olive oil 1 tbsp
Small red onion 1 (100g, thinly sliced)
Fresh curly parsley 2 tbsp (chopped, for garnish)

Steps

1

Prep and Season Chicken

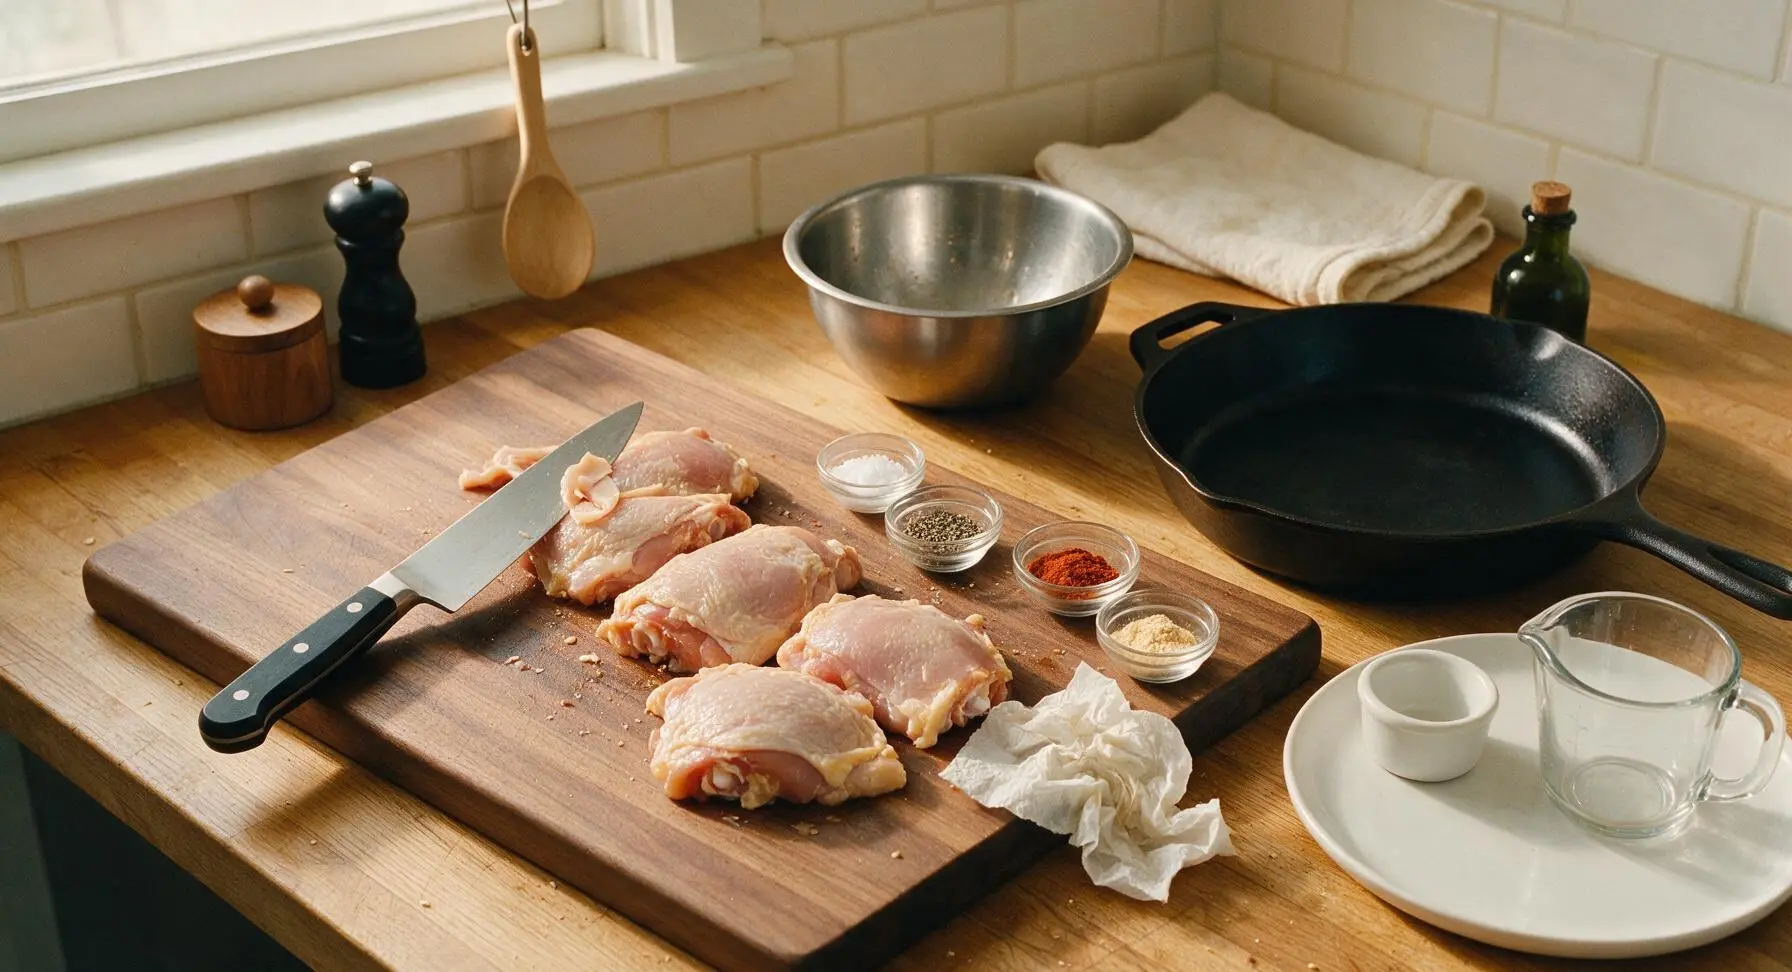
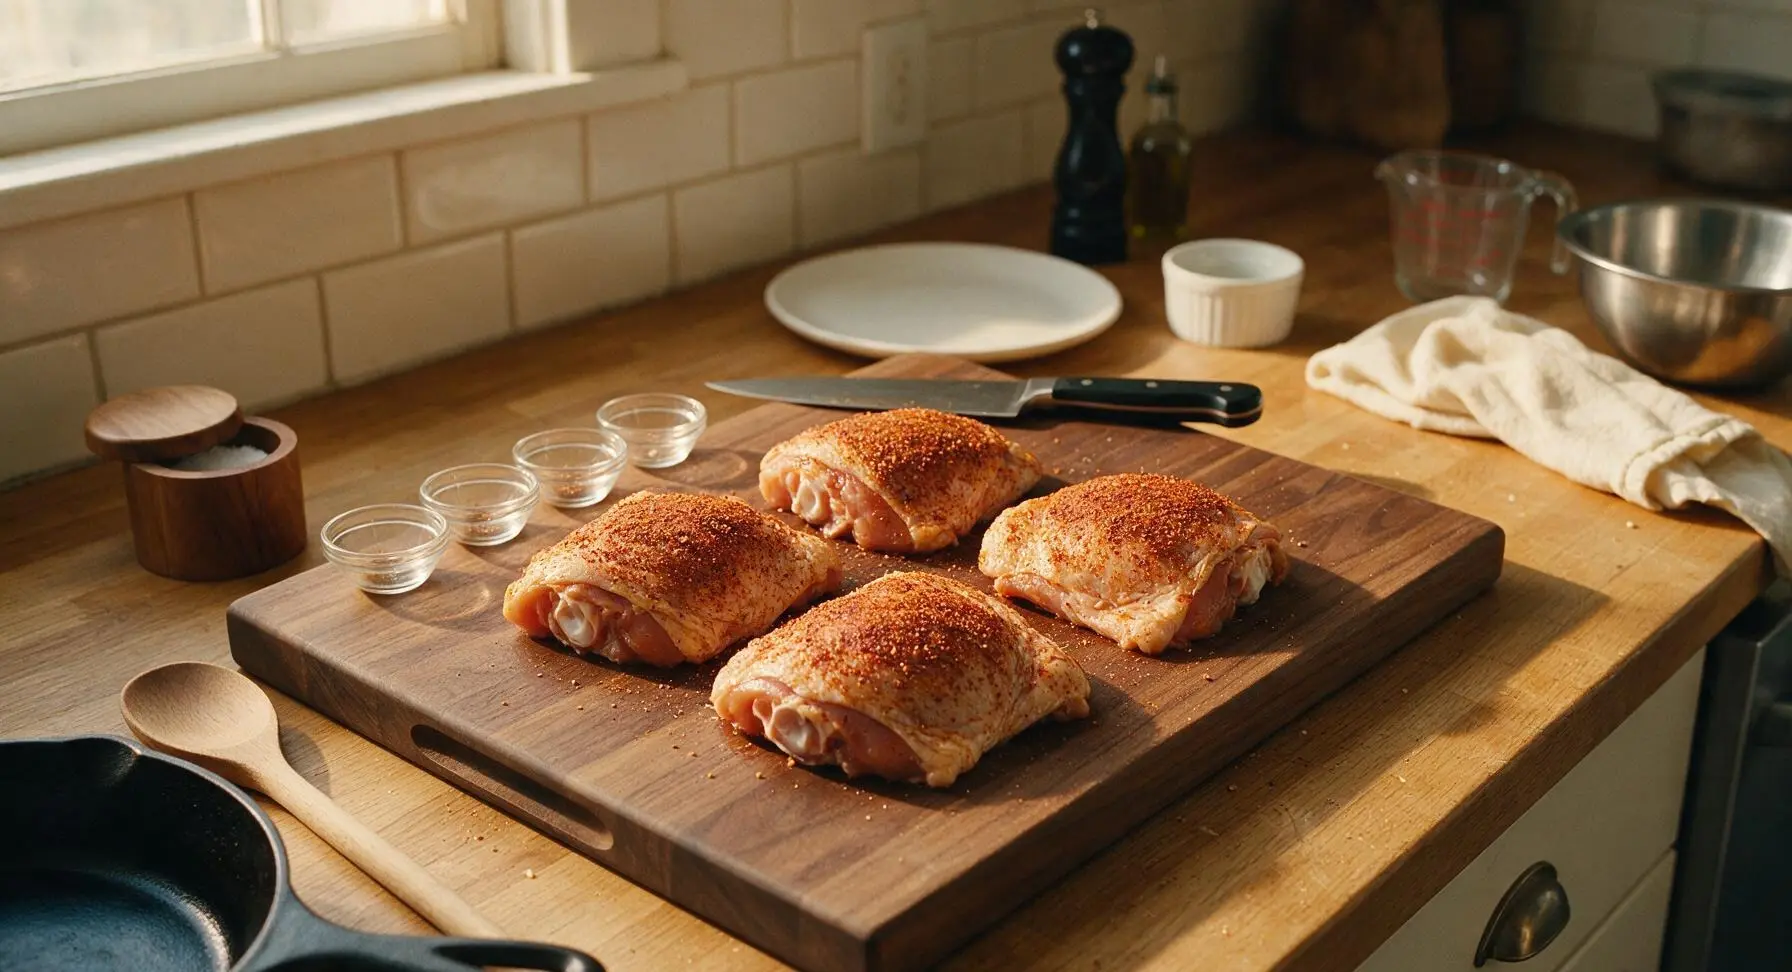
Pat the 4 bone-in, skin-on chicken thighs completely dry with paper towels to ensure crisp skin. Place the chicken on the acacia wood cutting board, and use the 8-inch chef knife to trim any excess loose skin or hanging hard fat from the edges. Combine 1 tsp kosher salt, 1/2 tsp black pepper, 1 tsp smoked paprika, and 1 tsp garlic powder in one of the small glass pinch bowls, then rub the spice mix evenly over every surface of the chicken, including gently under the skin where it separates easily from the meat. Let the seasoned chicken rest for 5 minutes at room temperature while the pan preheats.
Step 1
step1:Prep and Season Chicken
Step 1
step1:Prep and Season Chicken
2

Preheat Grill Pan

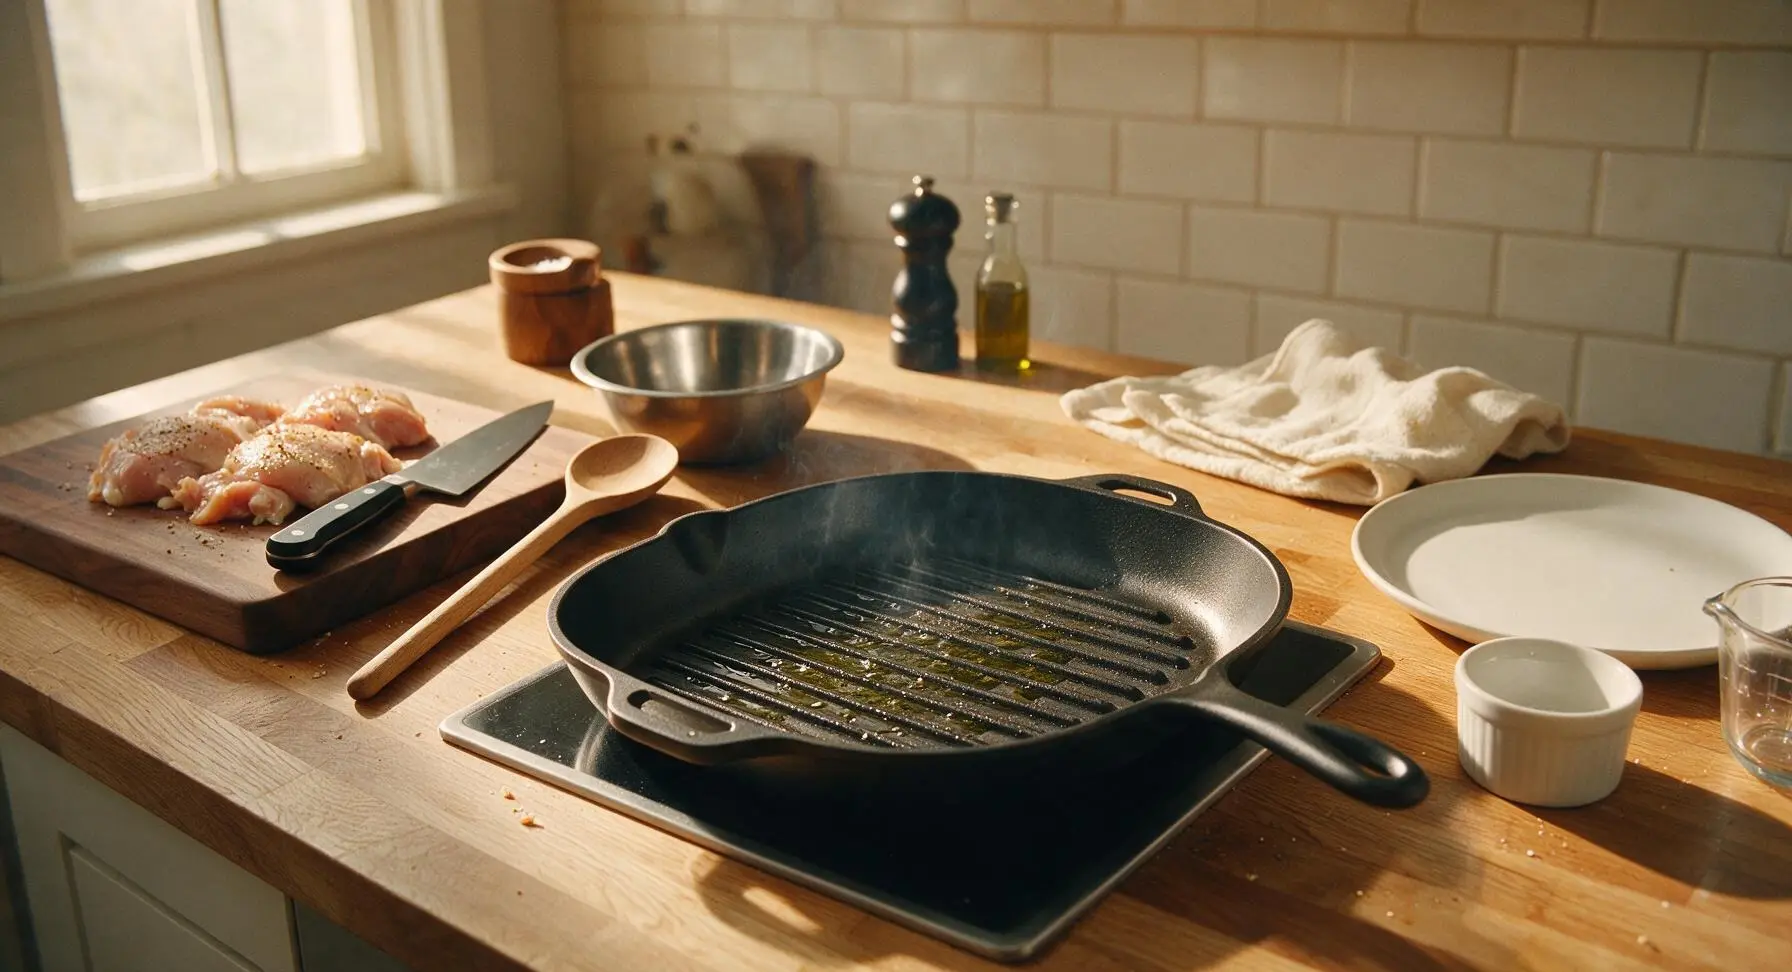
Place the 12-inch matte black hard-anodized grill pan on the stovetop burner over medium-high heat. Add 1 tbsp olive oil, and heat for 3 minutes until the oil shimmers and moves easily across the raised pan ridges, sending up faint, thin wisps of smoke. Do not let the oil reach a dark, heavy smoke point, as this will make the chicken taste burnt.
Step 2
step2:Preheat Grill Pan
3

Sear Chicken Skin-Side

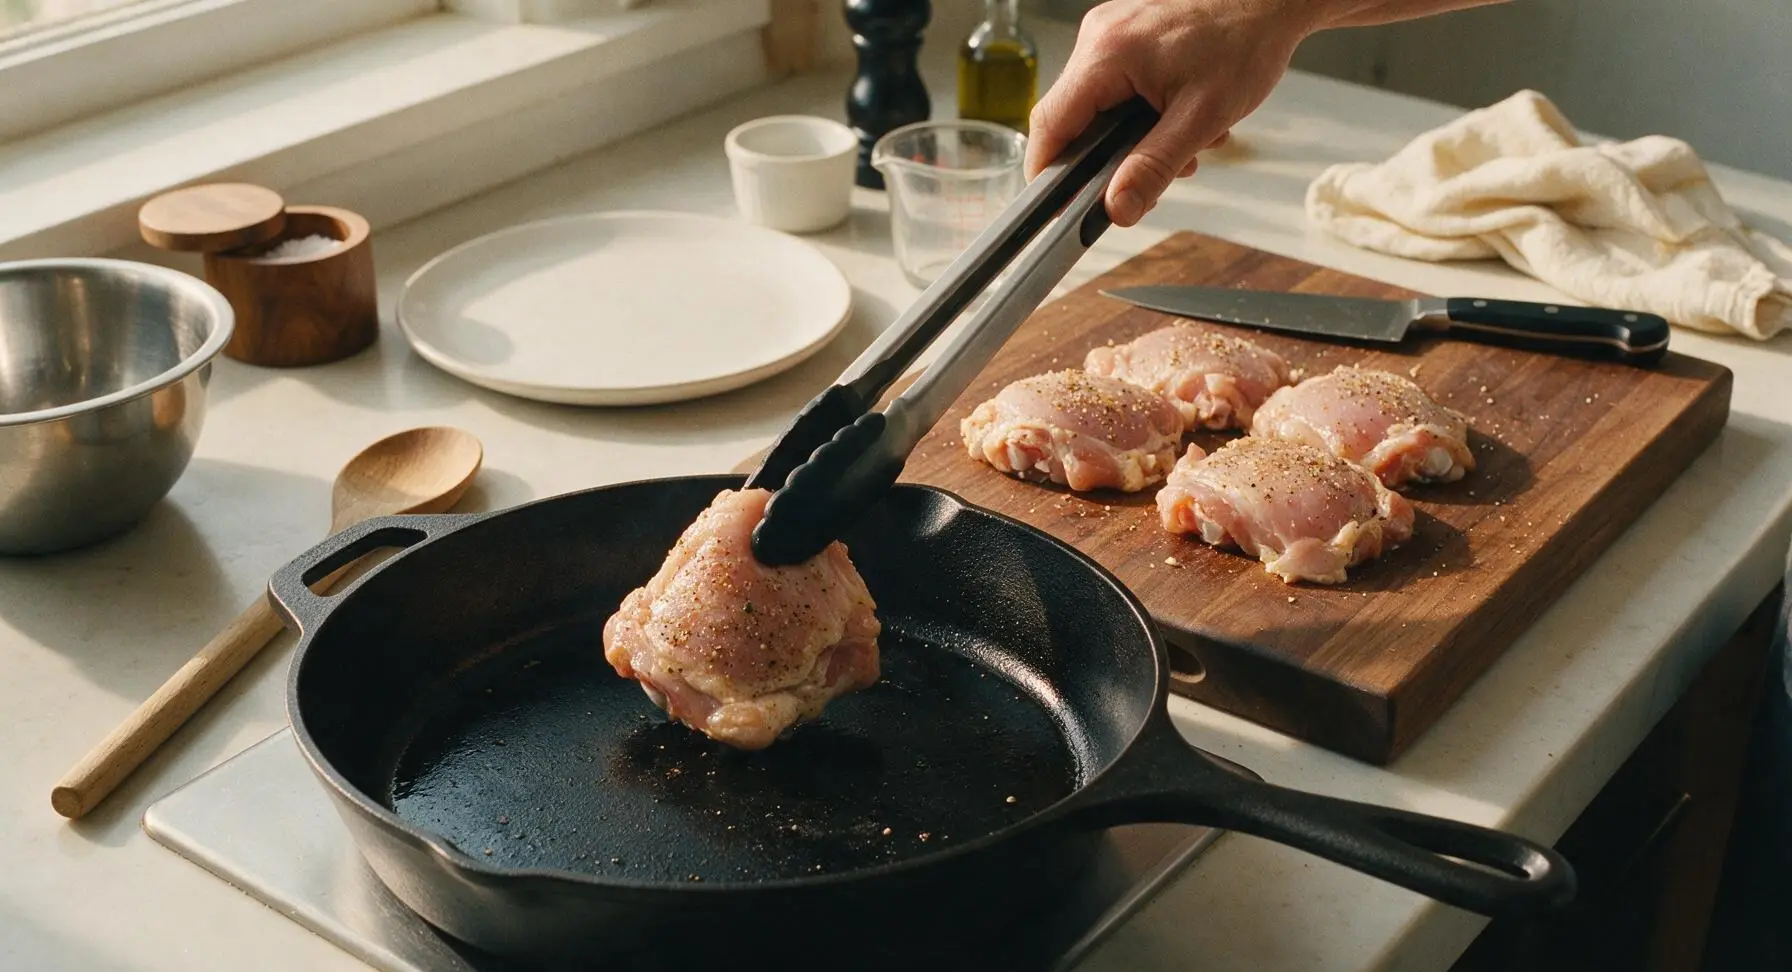
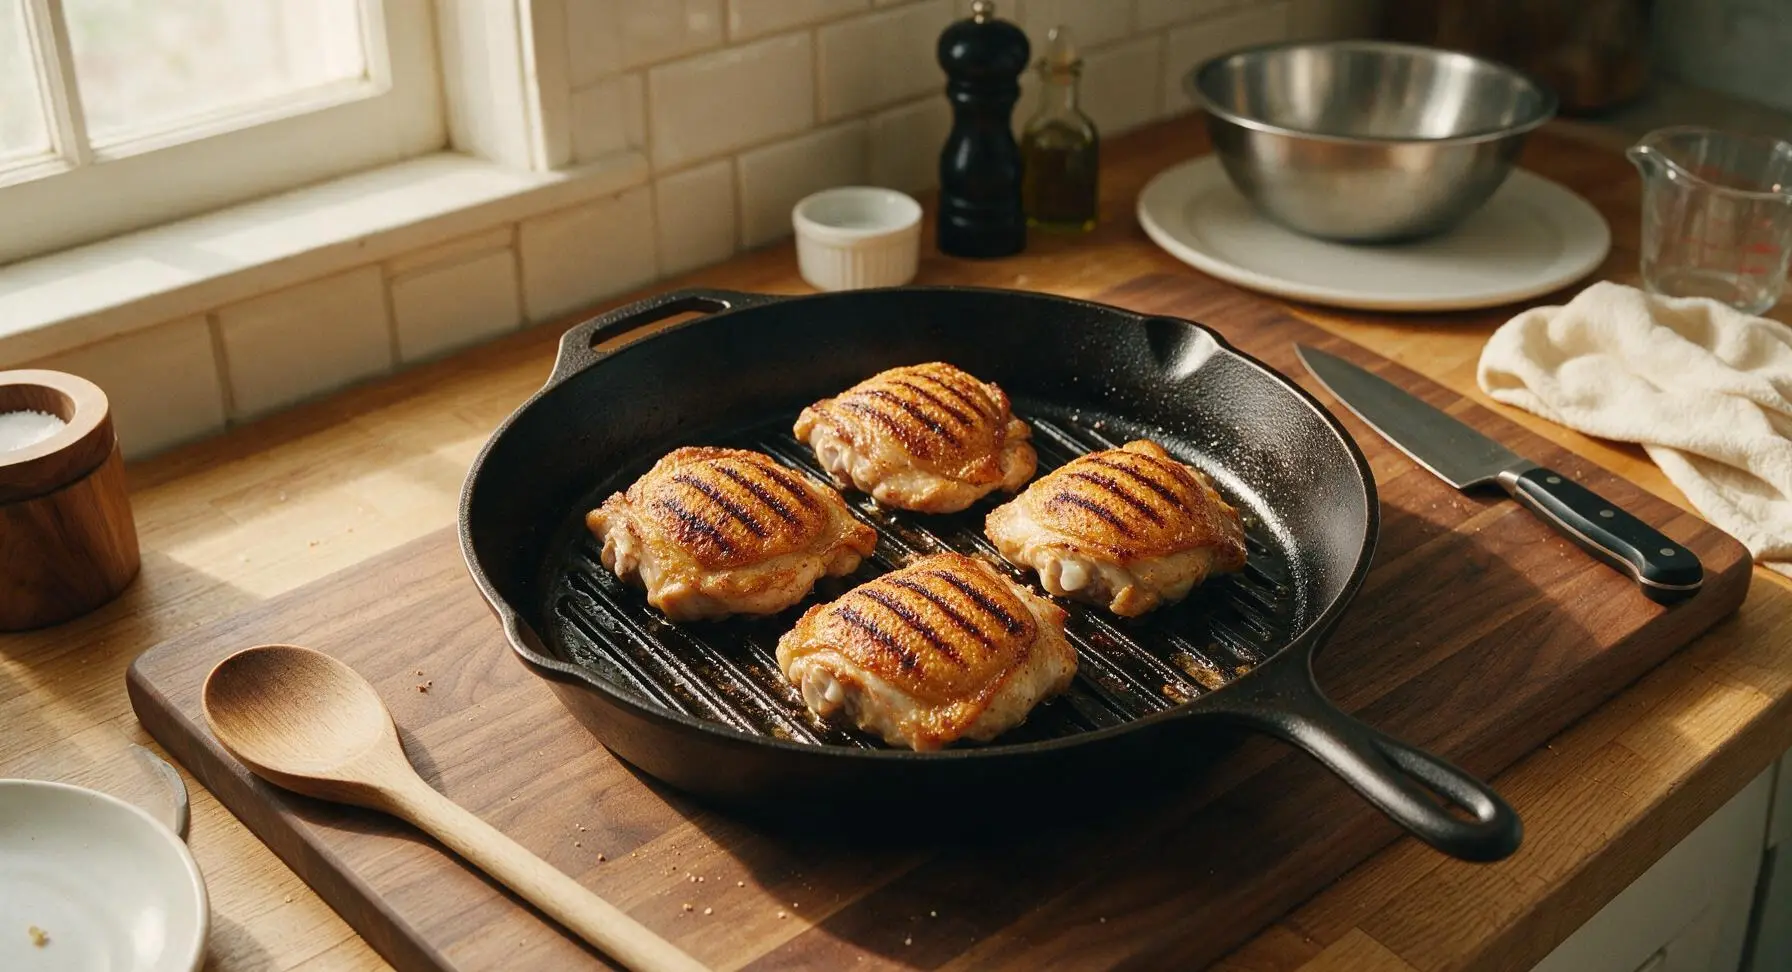
Use the 30cm silicone-tipped tongs to carefully place each chicken thigh skin-side down in the hot grill pan, arranging them so they do not touch (cook in batches if your pan is too small to avoid crowding). Do not move, poke, or press the chicken for 6-7 minutes, until the skin is deep golden brown, perfectly crisp, and releases easily from the pan ridges without sticking. Crowding the pan will steam the chicken instead of searing it.
Step 3
step3:Sear Chicken Skin-Side
Step 3
step3:Sear Chicken Skin-Side
4

Flip and Cook Through

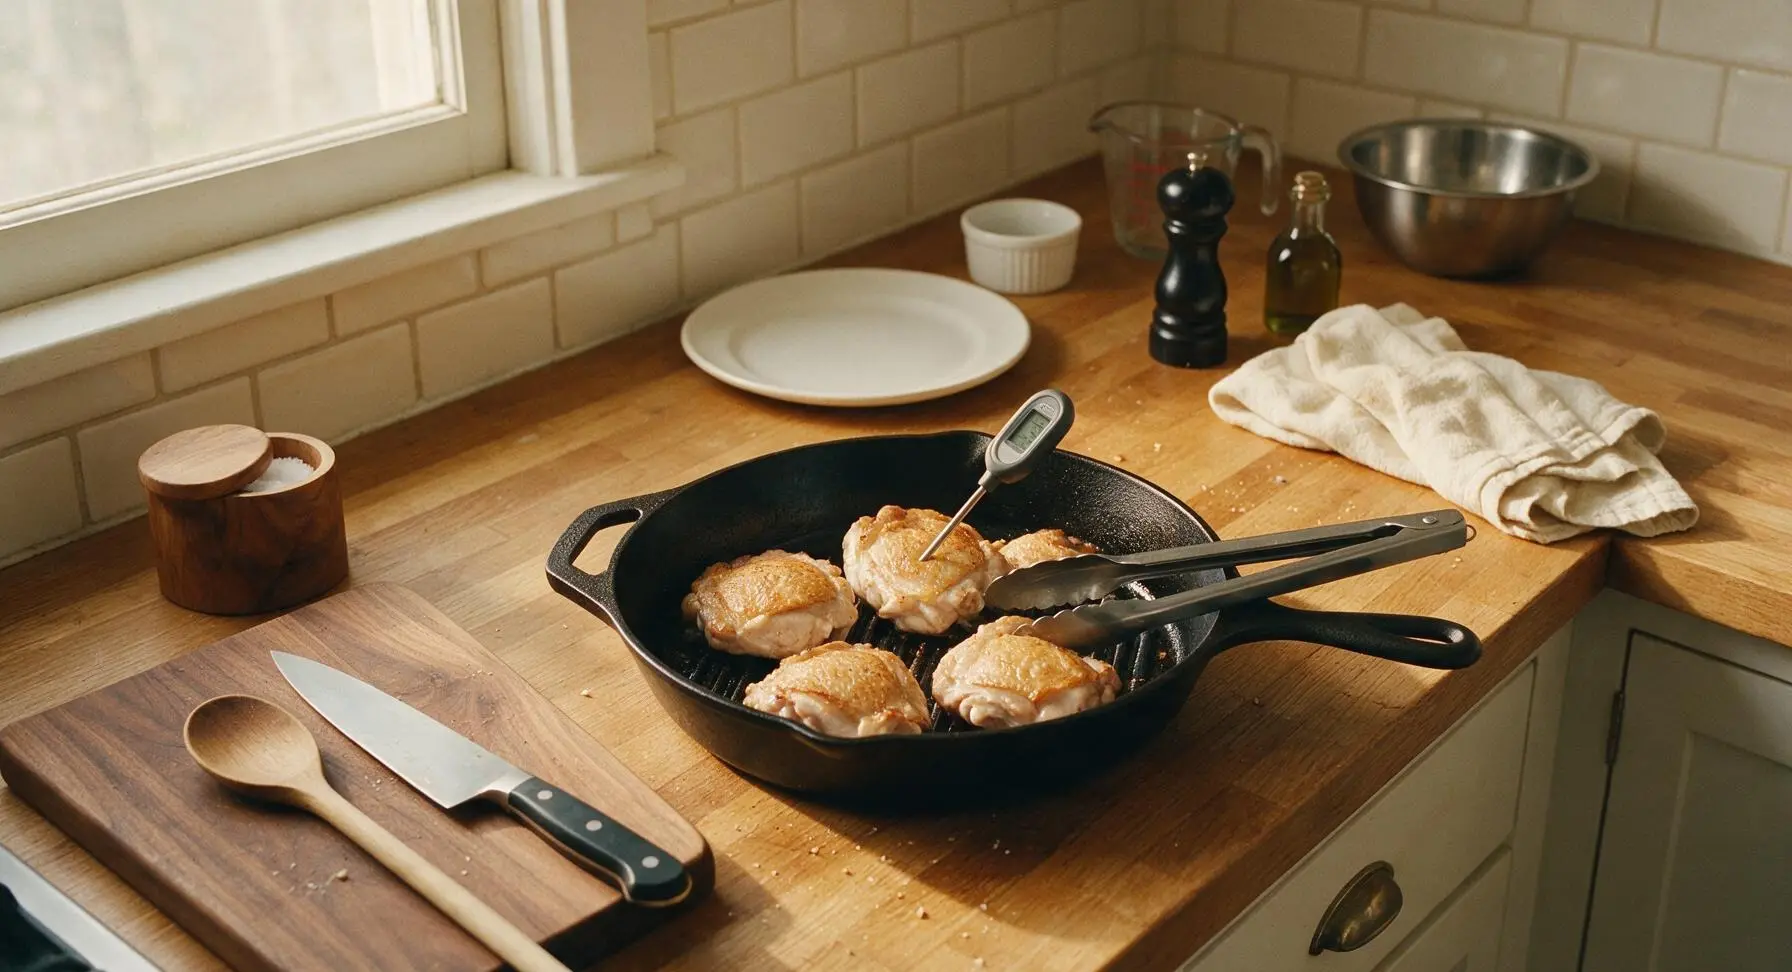
Use the tongs to flip each chicken thigh so the crisp skin side faces up. Reduce stovetop heat to medium, cover the pan loosely with a sheet of aluminum foil, and cook for another 10-12 minutes. Verify doneness by inserting the digital instant-read thermometer into the thickest part of the thigh, avoiding contact with bone: the internal temperature must read 165°F (74°C). The meat will feel firm when pressed gently with tongs, with clear (not pink) running juices.
Step 4
step4:Flip and Cook Through
5

Baste with BBQ Sauce

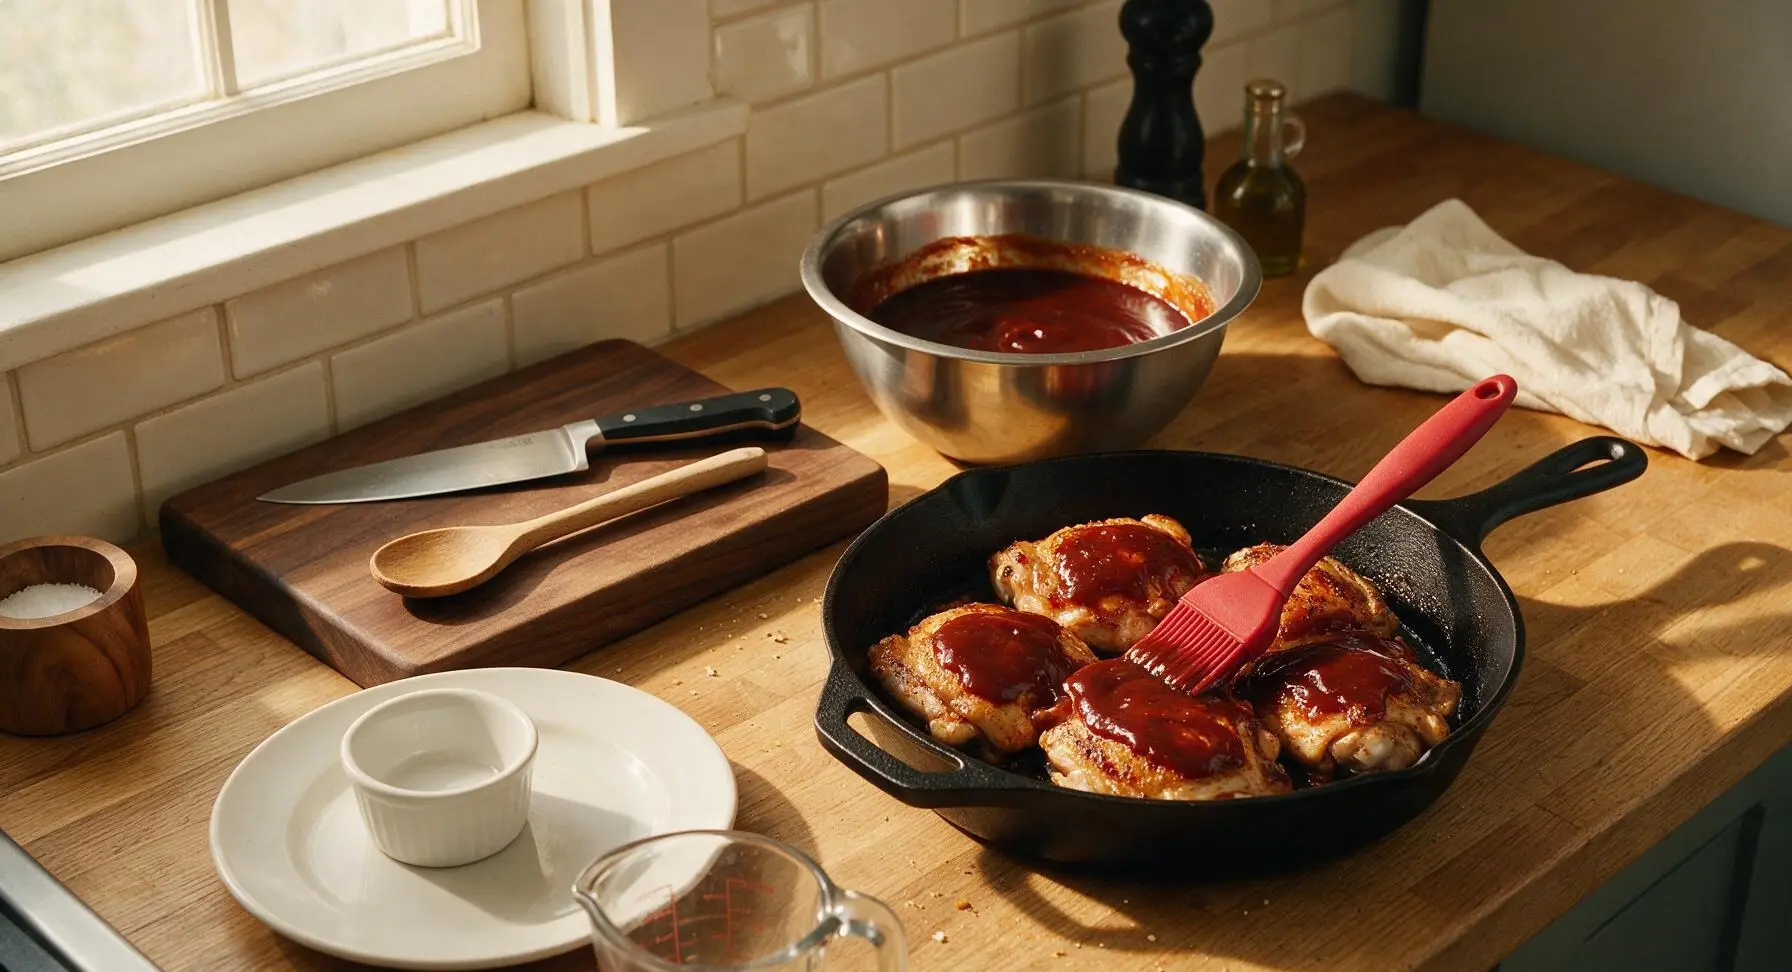
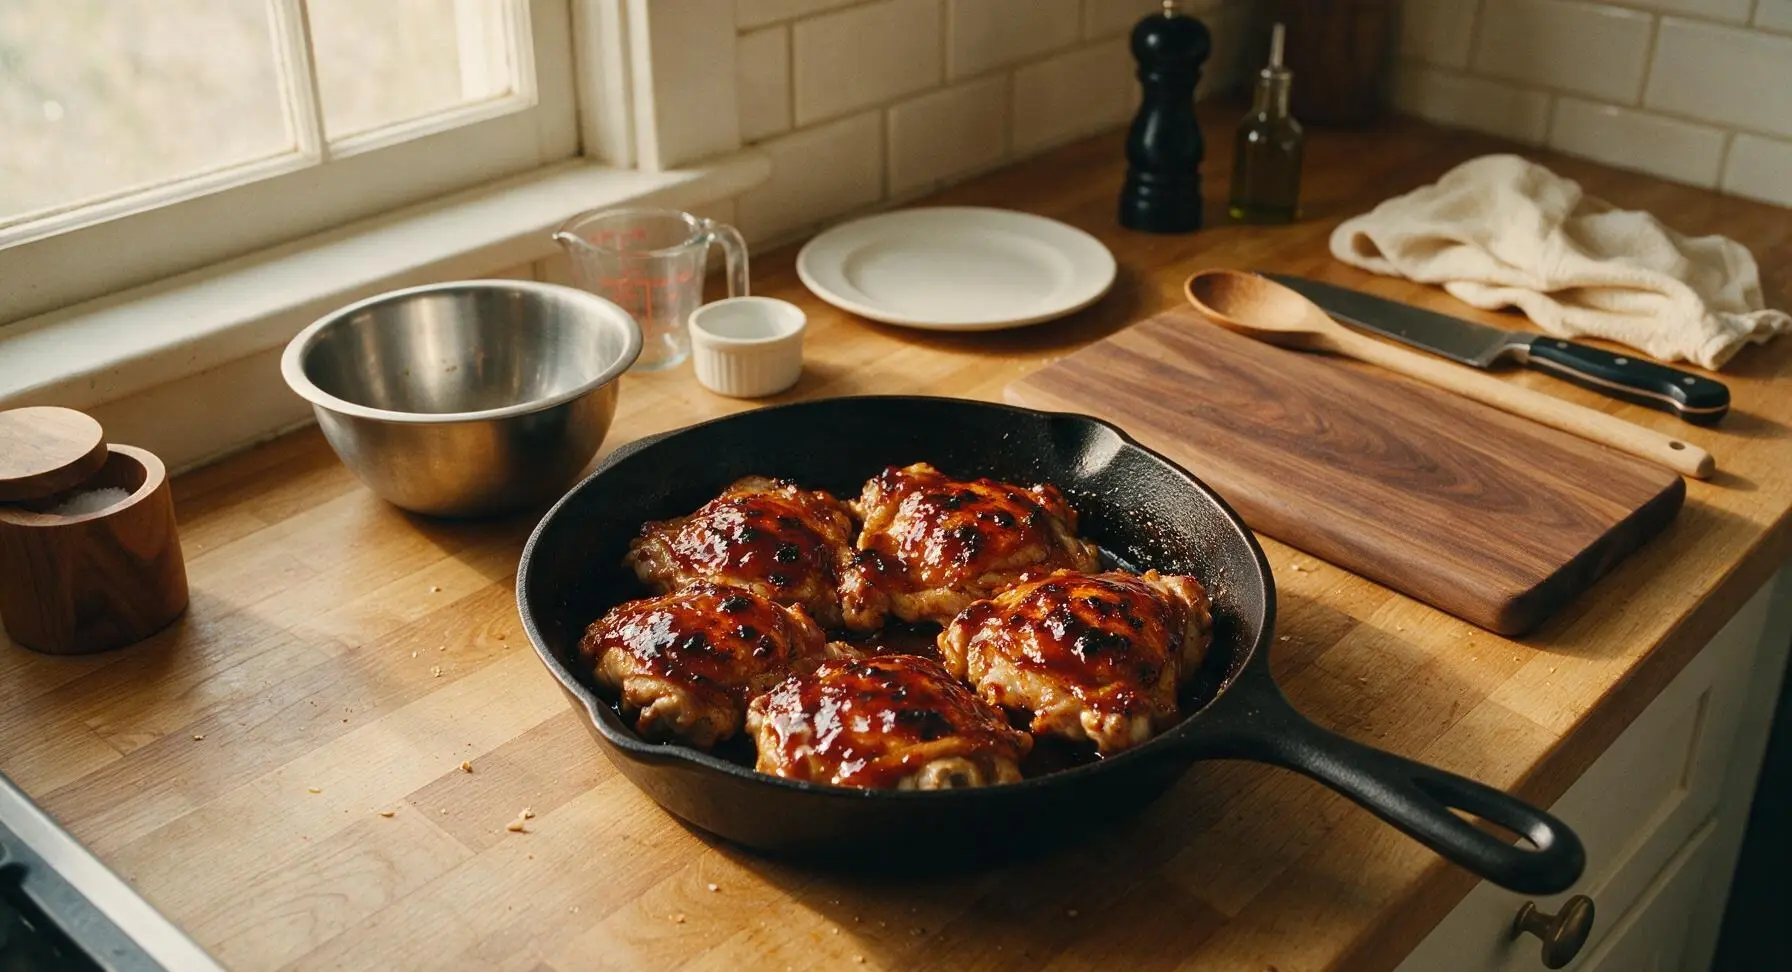
Pour 3/4 cup smoky BBQ sauce into the medium brushed stainless steel mixing bowl, and set it next to the pan. Use the red-handled silicone basting brush to spread a thick, even coat of BBQ sauce over the exposed skin side of each chicken thigh. Flip the chicken with tongs, brush sauce on the bone side, and continue cooking for 2 minutes per side, until the sauce is sticky, glossy, and slightly charred in dark spots. Watch closely to avoid burning the sugar in the sauce, which turns bitter quickly.
Step 5
step5:Baste with BBQ Sauce
Step 5
step5:Baste with BBQ Sauce
6

Let Chicken Rest

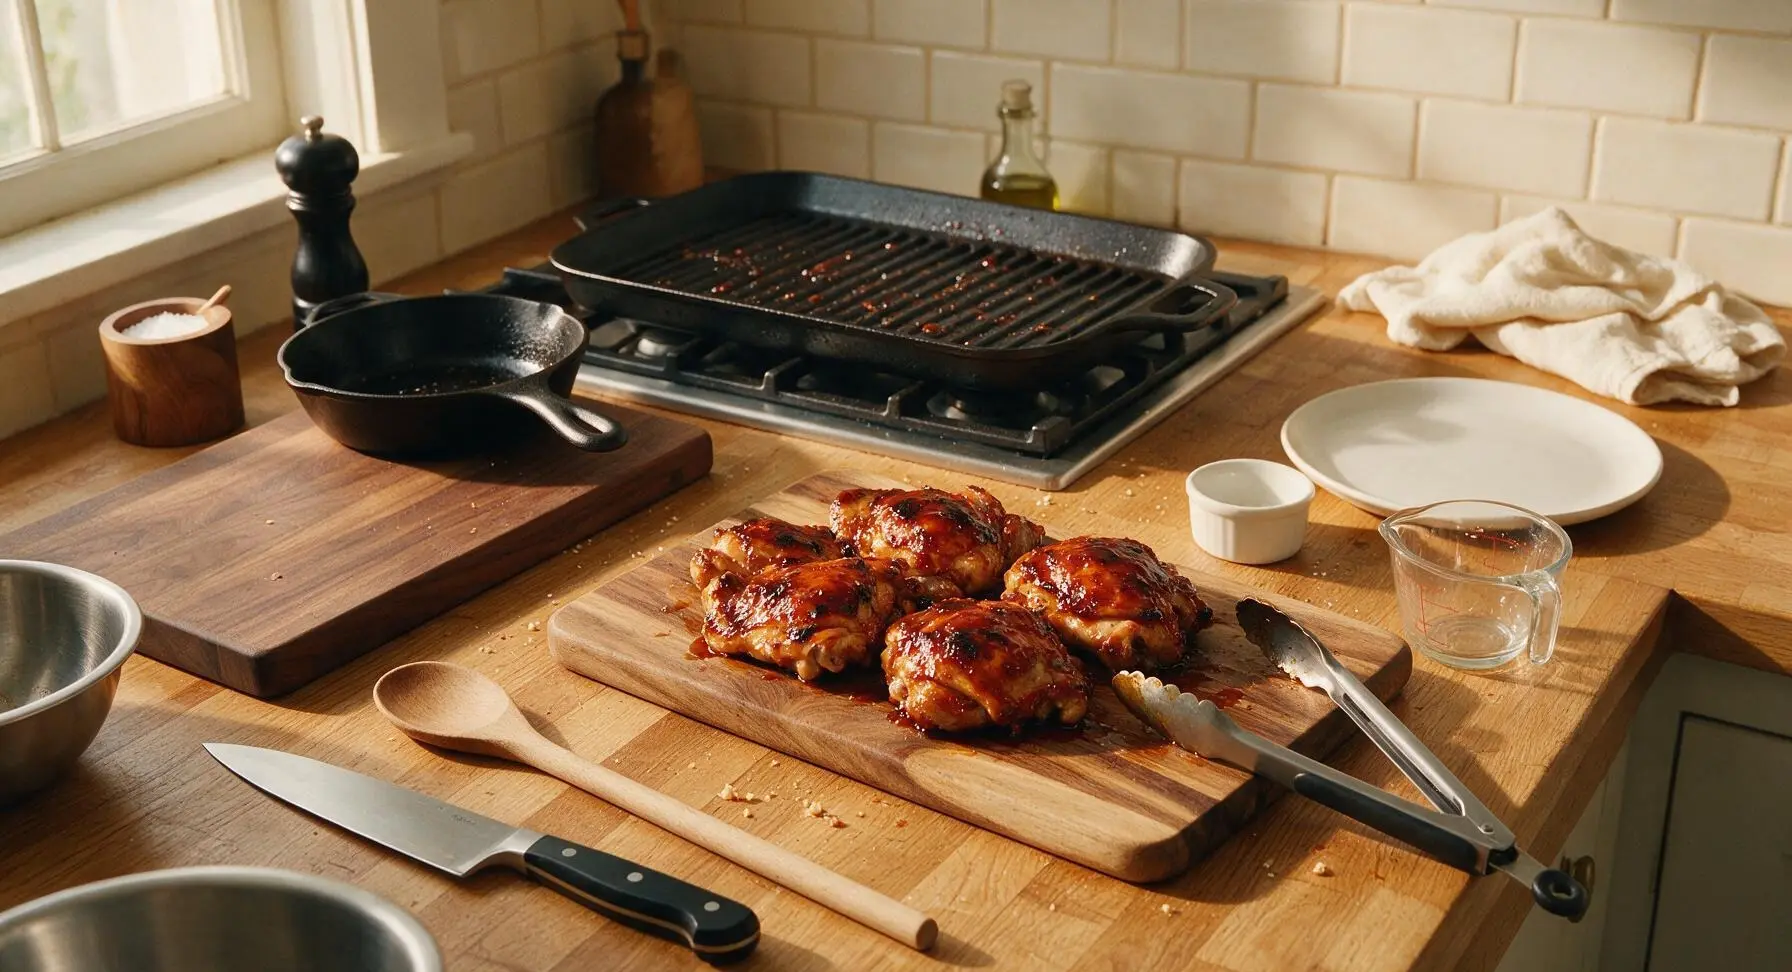
Use the tongs to transfer the sauced, cooked chicken thighs from the grill pan back to the clean acacia wood cutting board. Let rest uncovered for 5 minutes to allow muscle fibers to relax and juices to redistribute back into the meat. Covering the chicken tightly while resting will trap steam and make the crisp, sauced skin turn soggy.
Step 6
step6:Let Chicken Rest
7

Plate and Garnish

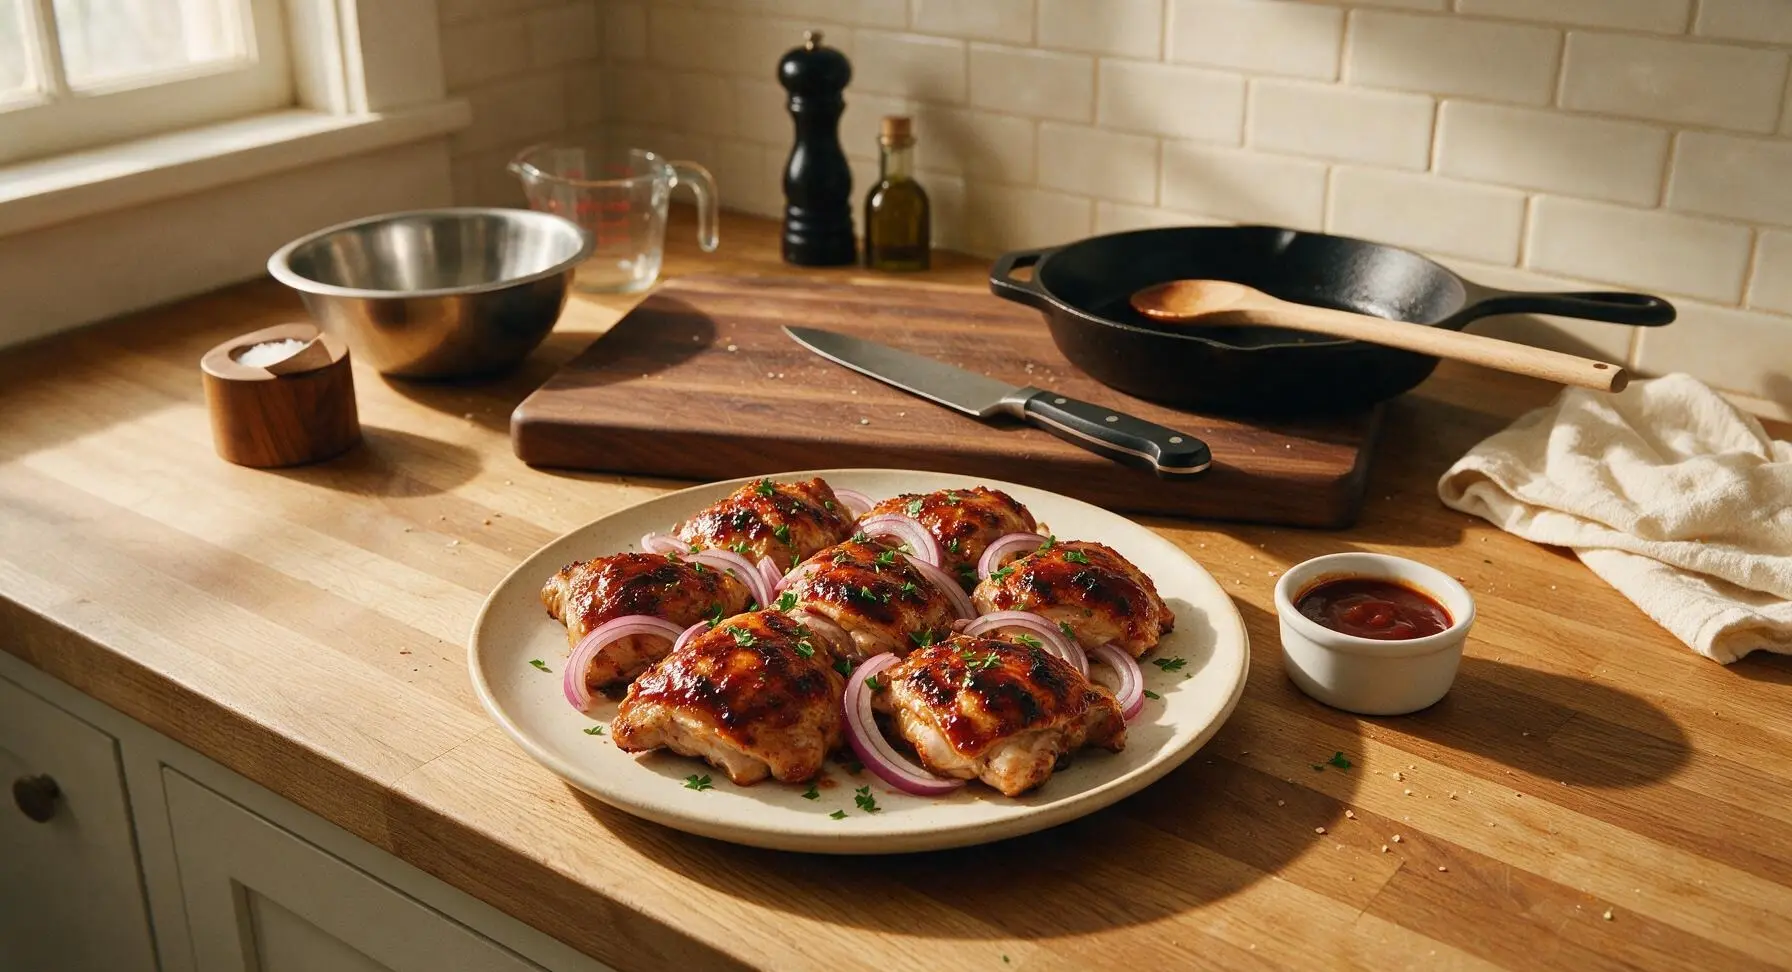
Arrange the rested BBQ chicken thighs on the matte cream ceramic dinner plate. Tuck thin half-moon slices of red onion between the chicken pieces, sprinkle evenly with 2 tbsp chopped fresh parsley, and set the small clear glass ramekin of remaining BBQ sauce on the plate side for dipping. Serve immediately.
Step 7
step7:Plate and Garnish

Tips

1.Always pat chicken completely dry with paper towels before searing: excess surface moisture creates steam that prevents the skin from crisping, leading to rubbery, soggy skin instead of the caramelized, crisp crust that makes BBQ chicken great.
2.Resist the urge to move or press chicken while searing skin-side down: constant flipping disrupts the Maillard reaction that builds deep, savory flavor and clear grill marks, and pressing the chicken squeezes out precious juicy fat that keeps the meat moist.
3.Keep a close eye on the pan after adding BBQ sauce: the high sugar content in most BBQ sauce can burn in as little as 60 seconds over high heat, turning from sweet and sticky to sharp and bitter. Reduce heat to medium-low if you see dark, acrid smoke rising from the pan.


✨ You May Also Like

BBQ & Grilling
🍜 United States

Tender, melt-in-your-mouth beef brisket with a crisp, spiced bark, slow-smoked to deep smoky perfection, the iconic centerpiece of Texas backyard barbecue.

⏱️ 12 hours BBQ & Grilling ★ 4.4
BBQ & Grilling
🍜 Korea

Tender, sweet-savory marinated beef short ribs, a beloved Korean BBQ staple with caramelized, slightly charred edges and deep umami flavor, perfect for outdoor summer gatherings.

⏱️ 4 hours 2BBQ & Grilling ★ 4.8
BBQ & Grilling
🍜 United States

Juicy grilled beef patties topped with smoky homemade chili, melted cheddar, and tangy pickles on toasted brioche buns for a hearty, flavor-packed handheld meal.

⏱️ 40 minuteBBQ & Grilling ★ 4.7
BBQ & Grilling
🍜 United States

A sweet, smoky, tangy BBQ sauce brightened with peak-season dark cherries, ideal for glazing grilled ribs, chicken, pork, or summer roasted veggies.

⏱️ 35 minuteBBQ & Grilling ★ 4.7
BBQ & Grilling
🍜 United States

Rich, smoky, slightly sweet homemade bourbon BBQ sauce with deep caramel notes, ideal for glazing grilled ribs, chicken, and burgers at cookouts.

⏱️ 25 minuteBBQ & Grilling ★ 4.7
BBQ & Grilling
🍜 United States

Iconic Alabama-style BBQ featuring tender hickory-smoked chicken slathered in tangy creamy white sauce, a beloved regional Southern cookout staple.

⏱️ 3 hoursBBQ & Grilling ★ 5

BBQ Chicken (Weekday Feasts):Frequently Asked Questions

1.Why does this recipe call for bone-in, skin-on chicken thighs instead of other chicken cuts? ▾
Bone-in, skin-on thighs are ideal for quick weeknight cooking: they stay juicy even at high heat, the skin crisps up perfectly to hold sticky BBQ sauce, and they cook fully in under 25 minutes without drying out. Unlike leaner boneless breasts, they’re forgiving if you misjudge cook time by a minute or two on a busy night.
2.How much total time does this recipe take to make on a busy weeknight? ▾
Total time clocks in right at 35 minutes, with zero fancy advance prep required. You’ll spend 5 minutes patting chicken dry and applying the spice rub, 25 minutes roasting at high heat, and 5 minutes saucing and broiling for that caramelized, cookout-style finish, no long marinade needed.
3.Can I use store-bought BBQ sauce, or do I need to make it from scratch? ▾
Store-bought smoky BBQ sauce works perfectly here—this is a no-fuss weekday recipe, after all! Pick a brand you already love, and if you want to amp up the flavor fast, stir in a pinch of extra smoked paprika for deeper cookout smokiness. Homemade sauce works too, but it’s totally not required.
4.How do I get crispy chicken skin instead of soggy skin under the BBQ sauce? ▾
The number one trick is patting chicken completely dry with paper towels before adding the dry rub—any surface moisture will steam the skin instead of crisping it. Roast skin-side up at 425°F for the first 20 minutes without sauce, then add sauce only at the end to broil for a sticky, not soggy, top.
5.Do I need to marinate the chicken ahead of time for this recipe? ▾
Nope, no advance marinating is required—that’s what makes this perfect for busy weekdays! The simple dry rub of smoked paprika, garlic powder, and kosher salt seasons the chicken deeply as it roasts, and the BBQ sauce added at the end delivers that classic tangy, smoky flavor without hours of wait time.
6.Can I make this on an outdoor grill instead of in the oven? ▾
Absolutely! This recipe translates perfectly to a grill for that authentic summer cookout flavor. Cook spice-rubbed thighs over medium-high indirect heat for 20 to 25 minutes skin-side up, then brush with BBQ sauce during the last 5 minutes of cooking, flipping once to caramelize sauce evenly on all sides.
7.What internal temperature should the chicken reach to be safe to eat? ▾
Cook chicken thighs until they hit 165°F measured at the thickest part, away from the bone, per FDA food safety guidelines. Because thighs have higher fat content, they’ll stay perfectly juicy even if you go a few degrees over, so you don’t have to stress about hitting the temp exactly on a chaotic night.
8.What quick side dishes pair well with this BBQ chicken for a full weeknight meal? ▾
Stick to low-prep sides that come together while the chicken roasts to keep the whole meal under 40 minutes: roasted frozen corn tossed with paprika, bagged coleslaw, microwaved baked potatoes, or a simple green salad with ranch dressing all pair beautifully with the smoky, sweet chicken.
9.My smoked paprika is old—can I substitute regular sweet paprika? ▾
You can, but you’ll miss that deep, campfire-style smokiness that makes this taste like a summer cookout. If you only have regular sweet paprika, add a tiny pinch of ground cumin or 1/4 teaspoon of liquid smoke to your BBQ sauce to mimic that smoky note, or the final flavor will feel a little flat.
10.Why do you add BBQ sauce at the end instead of coating chicken before roasting? ▾
BBQ sauce is high in sugar, which burns quickly at the high oven temps needed to crisp chicken skin. If you sauce too early, the sauce will turn bitter and char before the chicken cooks through, and the skin will stay soggy. Adding it in the last 5 minutes under a quick broil gives perfect sticky, caramelized coating without burnt bits.
11.Can I use boneless, skinless chicken thighs if that’s what I have in the fridge? ▾
You can, just adjust the cook time to avoid drying them out: boneless, skinless thighs will cook in 15 to 18 minutes at 425°F, rather than 25 minutes for bone-in cuts. You won’t get that crisp skin texture, but you’ll still have juicy, sauced chicken ready fast—just spritz the pan with oil first to prevent sticking.
12.How should I store leftovers, and how long will they keep? ▾
Let leftover chicken cool completely, then store it in an airtight container in the fridge for up to 4 days. Reheat in a 400°F oven or air fryer for 8 to 10 minutes to crisp the skin back up instead of using the microwave, which makes skin rubbery and turns the chicken texture mushy.
13.I don’t have garlic powder—can I use fresh garlic instead? ▾
You can, but use it carefully to avoid burning. Mince 2 small garlic cloves and toss them with the dry rub, but don’t press it directly onto the skin surface where it will hit the hot pan and turn bitter. For zero stress, stir the minced garlic into your BBQ sauce instead, so it cooks gently when added at the end.

Comments (18)

2 days ago

OMG this is my new go-to weeknight dinner! 25 minutes total? I didn’t believe it at first but it came out perfectly juicy, even my super picky middle son asked for seconds. I used a little extra paprika in the rub because we love smoky flavor, 10/10.

1 day ago

Wait I added extra paprika too! Game changer, right? I served mine with roasted corn and coleslaw for a little weekend cookout vibe even on a Tuesday.

1 day ago

So glad your family loved it! The paprika swap is such a smart call — we love that this recipe is flexible enough to tweak to your family’s taste. The coleslaw side sounds chef’s kiss.

1 week ago

Wow this is perfect for my Sunday meal prep! I made a double batch on Sunday, portioned it out with roasted broccoli and quinoa, and it reheated like a dream all week. No sad desk lunch for me this week! The BBQ sauce caramelizes so nicely even in the oven, no grill needed which is a huge win for my tiny apartment.

6 days ago

That’s such a great meal prep idea! So happy this works for you even without a grill — we designed it specifically for apartment dwellers who don’t have outdoor space, so that makes our day to hear.

3 days ago

Super easy to make even in my dorm kitchen! I only had a regular baking sheet and some store-bought BBQ sauce and it still turned out SO good. My roommate stole a bite and immediately asked for the recipe, win.

5 days ago

I brought this to my neighborhood potluck last weekend and people were hovering over the platter! I was worried it would be dry because I had to keep it warm in the crockpot for an hour before serving, but it stayed moist and flavorful. Three people asked me for the recipe before I even left. So easy to throw together before an event too!

4 days ago

Wait I was at that potluck! That was your chicken? I’ve been thinking about it all week, no wonder everyone was raving. Can’t wait to make it for my kid’s birthday party next month.

4 days ago

Potluck win! That makes us so happy to hear — the trick to keeping it moist is tossing it with a little extra sauce before you hold it warm, sounds like you nailed that. Hope the birthday party is a hit!

2 hours ago

I usually only make BBQ chicken on the grill in the summer, but it’s been pouring rain all week so I gave this oven version a shot. Color me impressed! The char from the broiler at the end gave it that grilled texture I love, I didn’t even miss standing out in the rain. Will be making this year round for sure.

1 hour ago

That broiler trick is our secret for that grilled feel without the actual grill! So glad it worked out for you on a rainy week — no need to wait for summer for good BBQ.

yesterday

Got home late from work, threw this together while my kid did their homework, and we were eating by 6:30. No fancy ingredients, no complicated steps, just good chicken. The only change I made was using boneless thighs instead of breasts because that’s what I had in the freezer, worked great.

2 weeks ago

This is a great base recipe! I added a pinch of cayenne and a dash of garlic powder to the rub to give it a little kick, and it was perfect. Cook time was exactly 25 minutes like the recipe said, no guessing if it’s done if you use a meat thermometer (which I 100% recommend). Will make again.

1 week ago

I added cayenne too! I did about a quarter teaspoon because my partner can’t handle too much heat, and it was the perfect balance. Way better than the pre-marinated chicken from the grocery store.

1 week ago

Love the cayenne add! You’re so right about the meat thermometer — it takes all the guesswork out, especially when you’re crunched for time on a weeknight. So happy you enjoyed it.

30 minutes ago

I’m literally terrible at cooking chicken, it always comes out dry or rubbery no matter what I do. I followed this recipe exactly and it came out juicy and flavorful on the first try! I almost cried, lol. My partner thought I ordered takeout, that’s how good it was.

20 minutes ago

That’s the best news ever! We designed this recipe to be foolproof even for folks who are nervous about cooking chicken, so this makes us so happy. Great job nailing it on the first try!

5 minutes ago

High protein, minimal prep, tastes amazing. This checks all my boxes for post-workout dinners. I paired it with a sweet potato and some steamed green beans, and it kept me full all evening without feeling heavy. Love that the cook time is so short, I don’t want to spend an hour cooking after the gym.

3 days ago

Wait, do y’all baste with extra sauce the last 5 minutes of cook time like the recipe says? Because if you don’t, you’re missing OUT. That sticky, caramelized sauce crust on the outside is unreal. I used a honey BBQ sauce for mine and it was sweet, smoky, perfect. My kids loved it, ate every last bite with no complaints.

2 days ago

I did the honey BBQ swap too! It’s so good, I even made extra sauce to drizzle on top at the end. My 4 year old had sauce all over his face but he ate two whole pieces, so that’s a total mom win.

2 days ago

That baste step is non-negotiable for that sticky, perfect BBQ crust! Honey BBQ is such a great swap, that sounds absolutely delicious. So glad the kids loved it — sauce-stained faces are the sign of a good dinner, in our book.

1 week ago

This is so budget friendly! I picked up chicken breasts on sale, used the BBQ sauce I already had in my fridge, and the whole meal cost like $6 for four servings. Way cheaper than getting takeout BBQ, and tastes just as good if not better. Perfect for anyone trying to save money on groceries right now.

6 days ago

We love a budget-friendly weeknight win! So glad this works for your grocery budget — good food doesn’t have to be expensive, and we’re happy this recipe delivers without breaking the bank.

yesterday

Made this last night, it was solid. I wish the recipe had a note about lining the baking sheet with foil for easier cleanup, but that’s my only gripe. Flavor was great, cook time was accurate, will make again but definitely line the pan next time.

2 weeks ago

So happy this is naturally gluten free as long as you use a GF BBQ sauce! I’ve been looking for easy weeknight meals that don’t require a ton of special ingredients, and this fits the bill. I served it with cornbread (GF, obviously) and collard greens, it felt like a proper Sunday dinner even on a Wednesday.

1 week ago

Thanks for the note about GF BBQ sauce! I almost didn’t think to check the label, that would’ve been a bad mistake for my gluten sensitive kid. This is going on next week’s meal plan for sure.

1 week ago

That’s such a great callout! We always recommend double checking your sauce labels for dietary needs, and we’re so glad this recipe works for your GF household. The cornbread and collard greens side sounds absolutely perfect.

2 days ago

The leftovers make the BEST BBQ chicken sandwiches the next day! Just shred the chicken, toss it with a little extra sauce, pile it on a toasted bun with some pickles, and chef’s kiss. I almost look forward to the leftovers more than the first night’s dinner, tbh.

1 day ago

That leftover sandwich hack is legendary around our test kitchen! Toasted bun and pickles are the perfect touch, so glad you’re enjoying the leftovers as much as the first meal.

5 days ago

Tried this in my air fryer instead of the oven because I didn’t want to heat up the whole house, worked like a charm! 375 degrees for 18 minutes, basted with sauce the last 3 minutes, came out perfect. Great versatile recipe.

just now

Made this for a casual at-home date night with my boyfriend, and he was so impressed he thought I spent hours cooking. Little does he know it only took 25 minutes, I’ll take that secret to my grave. We paired it with mac and cheese and a side salad, 10/10 date night meal that doesn’t require a ton of effort.

just now

I did this for date night too! I even added a little smoked salt on top to make it taste fancy, no one needs to know it’s a 25 minute weeknight recipe. Our little secret, lol.

just now

Your secret is safe with us! We love that this recipe feels special enough for date night but is easy enough for a random Tuesday. The mac and cheese side sounds like the perfect pairing, hope you two had a great night!

3 days ago

This is a lifesaver on nights when we have soccer practice straight after school! I can pop this in the oven as soon as we get home, and by the time the kids are done changing out of their uniforms and washing up, dinner is ready. No more drive thru runs on practice nights, thank you!!

2 days ago

We built these Weekday Feast recipes exactly for nights like that! So glad this helps you skip the drive thru and get a good dinner on the table even on your busiest nights. Go team!

1 week ago

I wanted to love this, but my chicken came out a little underdone when I followed the 25 minute cook time? My chicken breasts were pretty thick, maybe that’s why? Flavor was great when I put it back in for 10 more minutes, just wish I’d thought to adjust for thickness first.

6 days ago

So sorry the cook time didn’t line up for you! You’re exactly right that extra thick chicken breasts can take a little longer — we recommend pounding thicker breasts to an even thickness before cooking, or adding 5-10 minutes if they’re extra bulky, to make sure they cook all the way through. So glad the flavor was still good when you gave it extra time!



