
bean and cheese burrito el monterey

title 1
bean and cheese burrito el monterey
⏱️ cook time 18 minutes
🍽️ servings 4
⚡ Difficulty easy

intro

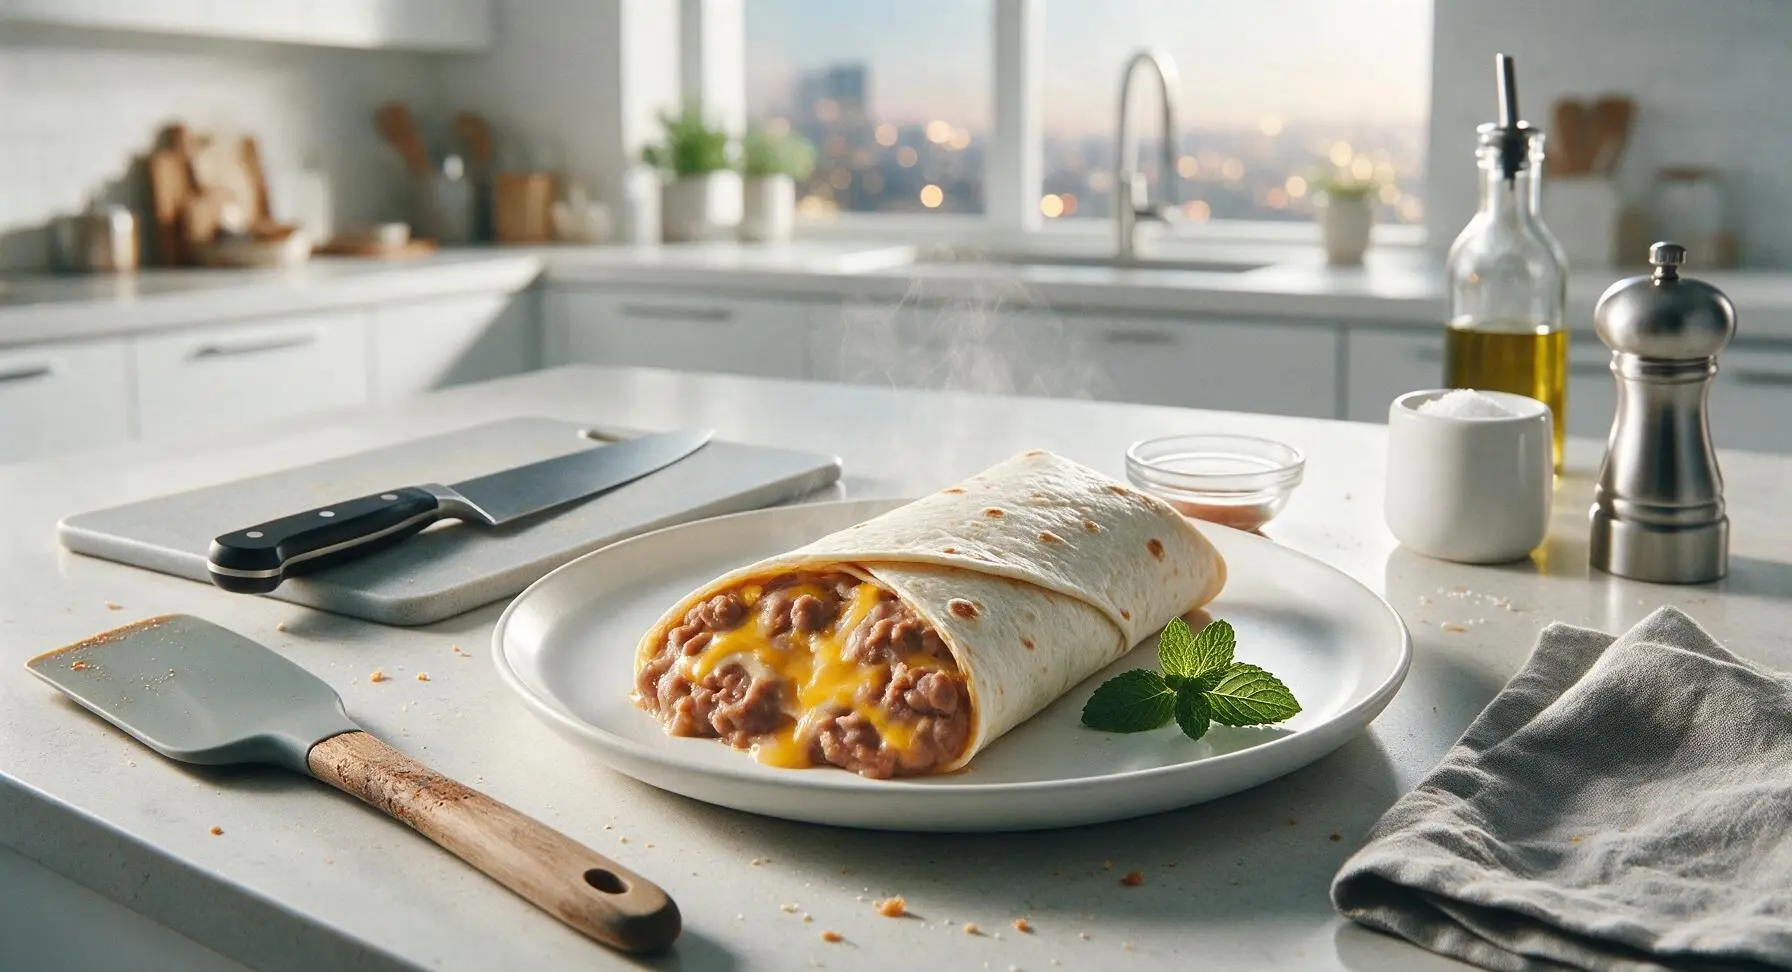
Warm, creamy refried beans and melted cheddar wrapped in a lightly crisped flour tortilla: the nostalgic homemade take on the classic El Monterey frozen burrito, perfect for fast, satisfying meals.

Ingredients
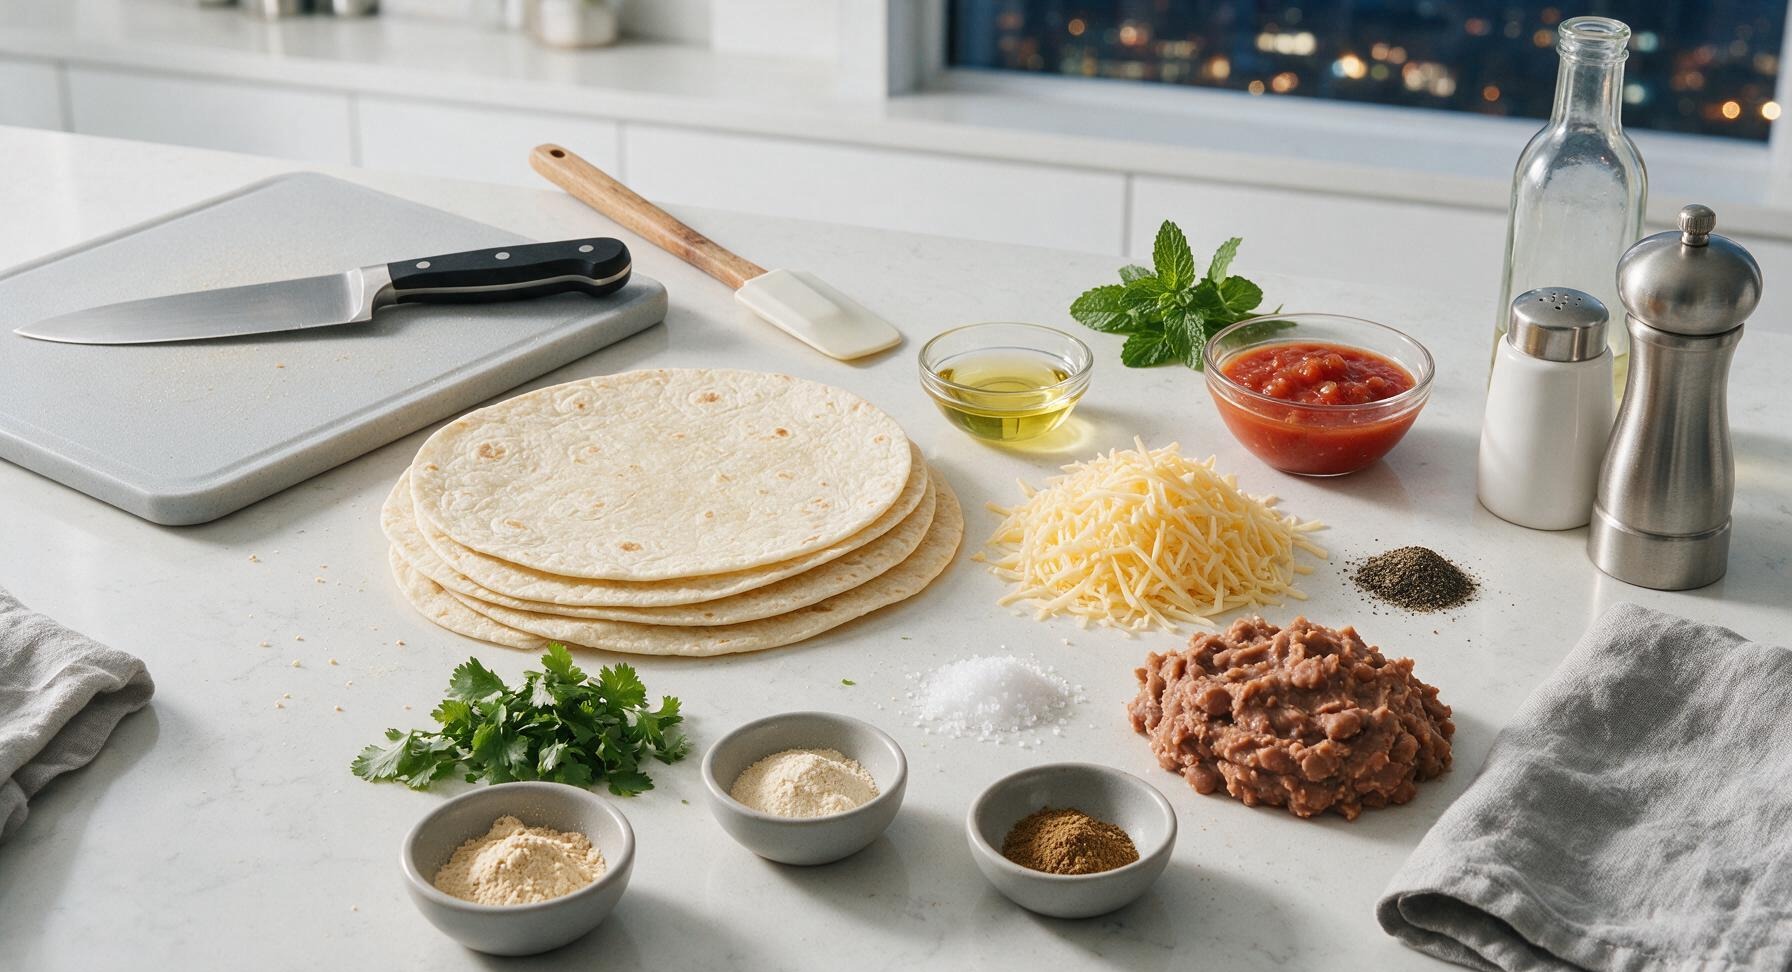
10-inch flour tortillas 4 each
Canned refried pinto beans 1.5 cups (1 15oz can, lightly drained)
Shredded mild cheddar cheese 1.5 cups
Garlic powder 1 tsp
Onion powder 1 tsp
Ground cumin 1/2 tsp
Kosher salt 1/2 tsp
Ground black pepper 1/4 tsp
Neutral canola oil 1 tbsp
Fresh cilantro 1 small bunch (2 tbsp chopped)
Mild red salsa (for serving) 1/2 cup

Steps

1

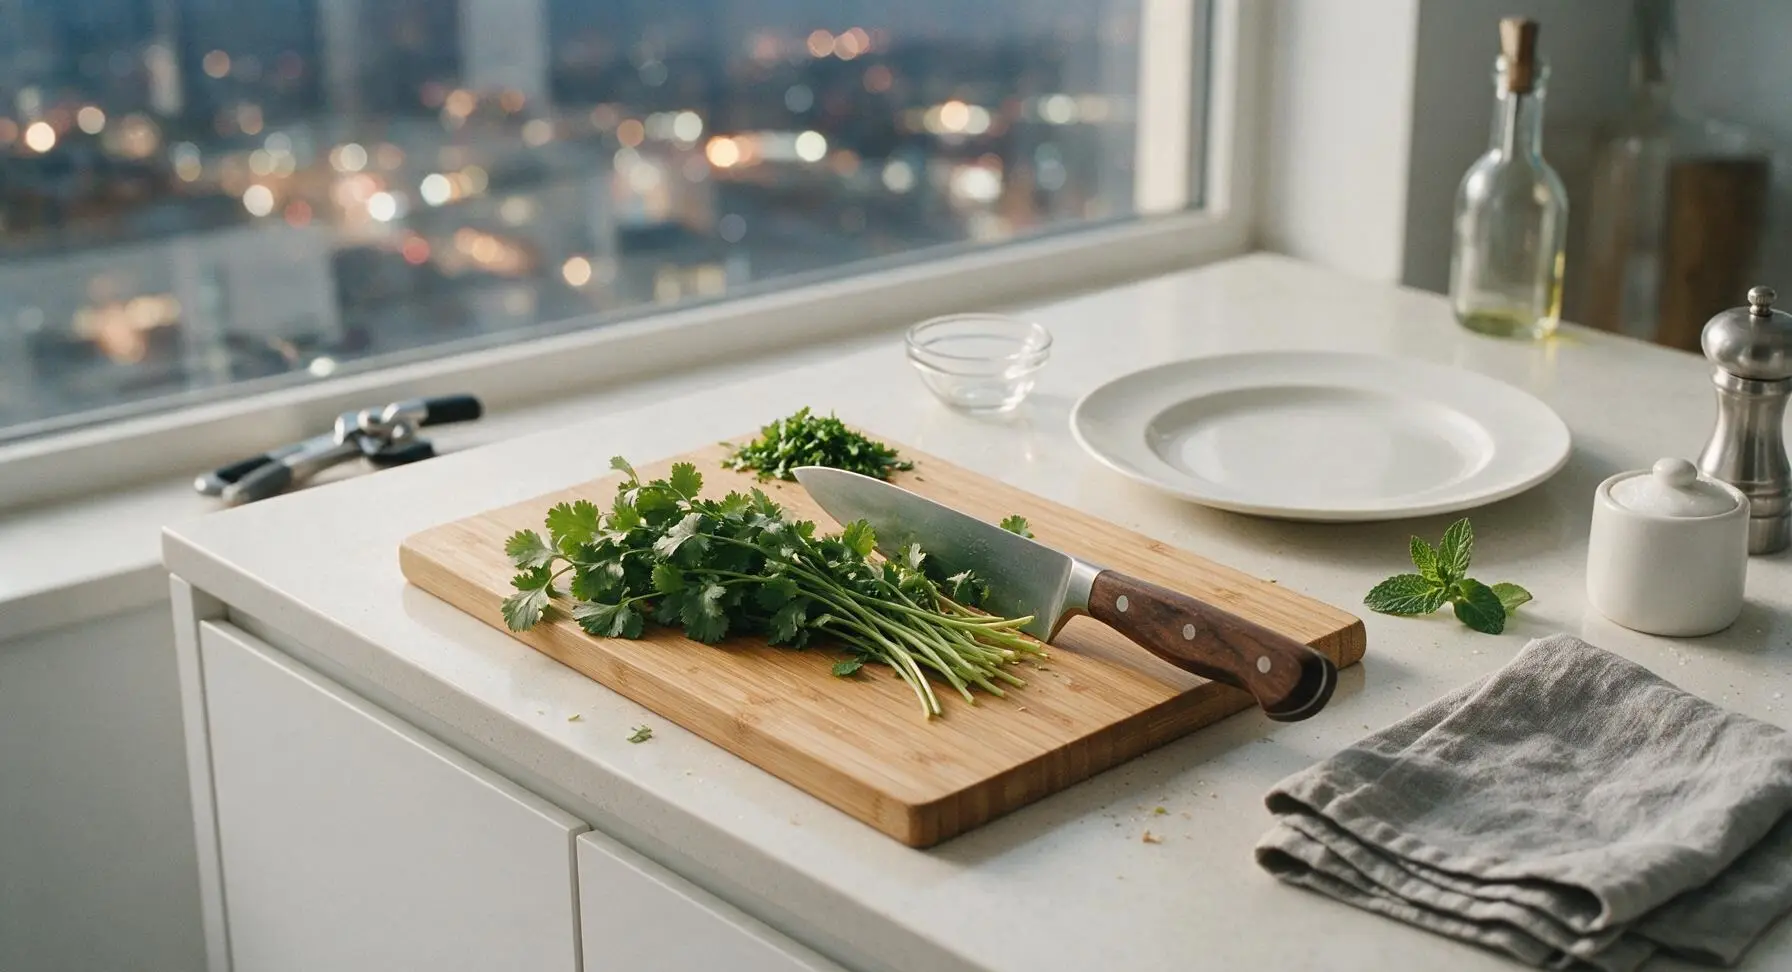
Chop fresh cilantro garnish

Lay the fresh cilantro bunch on the honey bamboo cutting board. Using the walnut-handled 7-inch chef knife, chop the leafy cilantro leaves and tender upper stems into fine 1/4-inch pieces, discarding the thick woody lower stems. Pile chopped cilantro at the top corner of the cutting board and set aside for garnish. The 10-inch black comal skillet will remain off during this step, waiting to preheat.
Step 1
step1:Chop fresh cilantro garnish
2

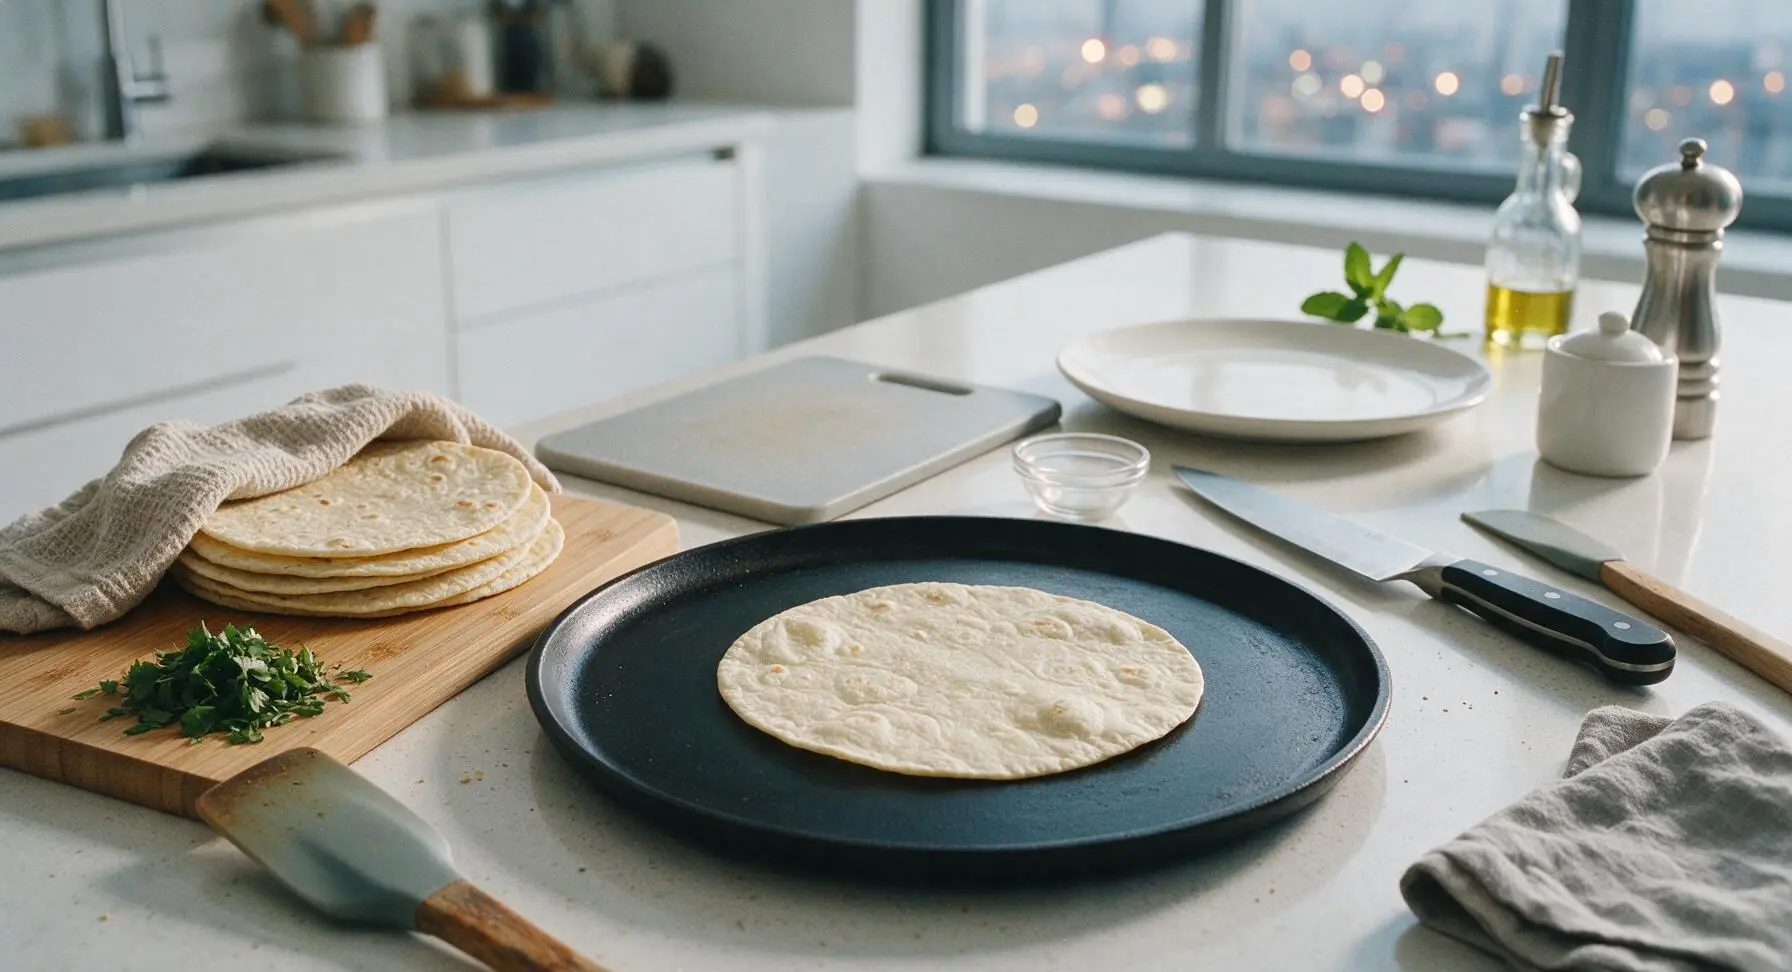
Warm tortillas until pliable

Turn stovetop heat to medium (350°F) to preheat the black comal skillet. Place one flour tortilla on the dry preheated skillet for 15 seconds per side, until soft and flexible with no crisp or browned spots. Transfer warmed tortillas to a neat stack on the bamboo cutting board, covering loosely with a corner of the oatmeal cotton towel to trap heat and keep them pliable. Repeat for all 4 tortillas.
Step 2
step2:Warm tortillas until pliable
3

Warm seasoned bean filling

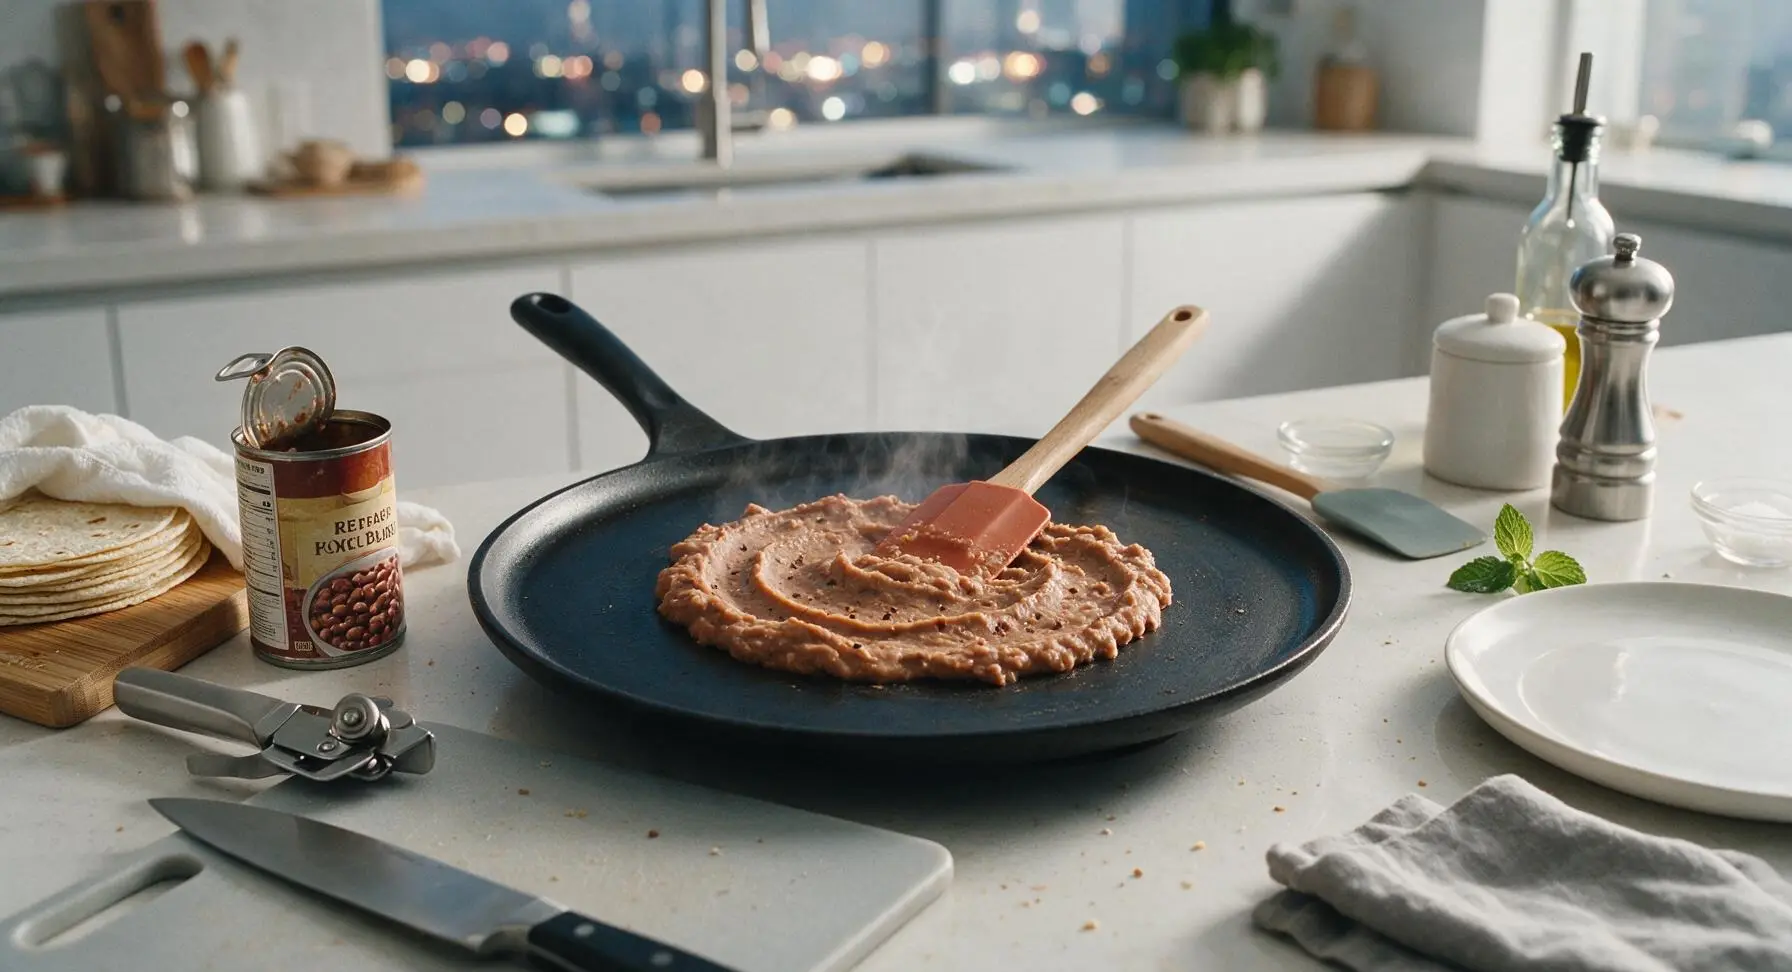
Use the matte stainless steel can opener to open the can of refried pinto beans. Reduce comal heat to medium-low (325°F). Scoop 1.5 cups of lightly drained refried beans onto the center of the comal, stirring with the terracotta silicone spatula as they warm. Add garlic powder, onion powder, ground cumin, kosher salt, and ground black pepper, stirring to fully incorporate the spices into the beans. Cook for 4 minutes, stirring occasionally, until the beans are smooth, spreadable, and hold their shape slightly when stirred with no runny liquid pooling at the edges.
Step 3
step3:Warm seasoned bean filling
4

Layer beans and cheese

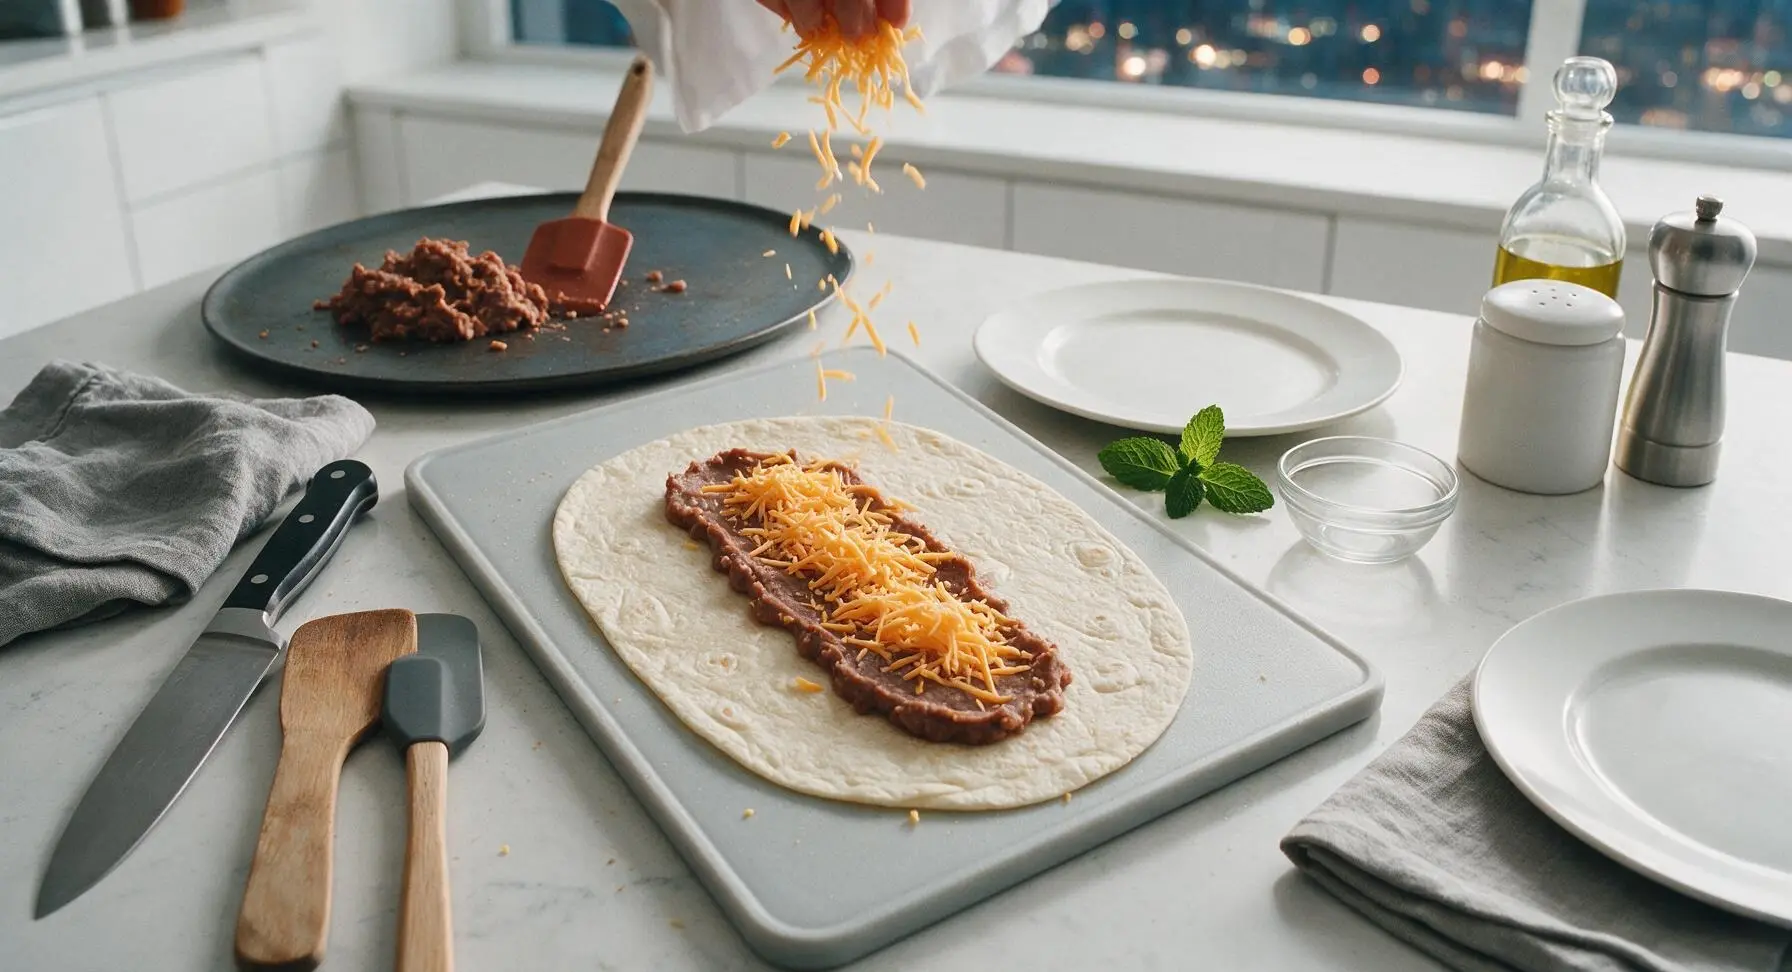
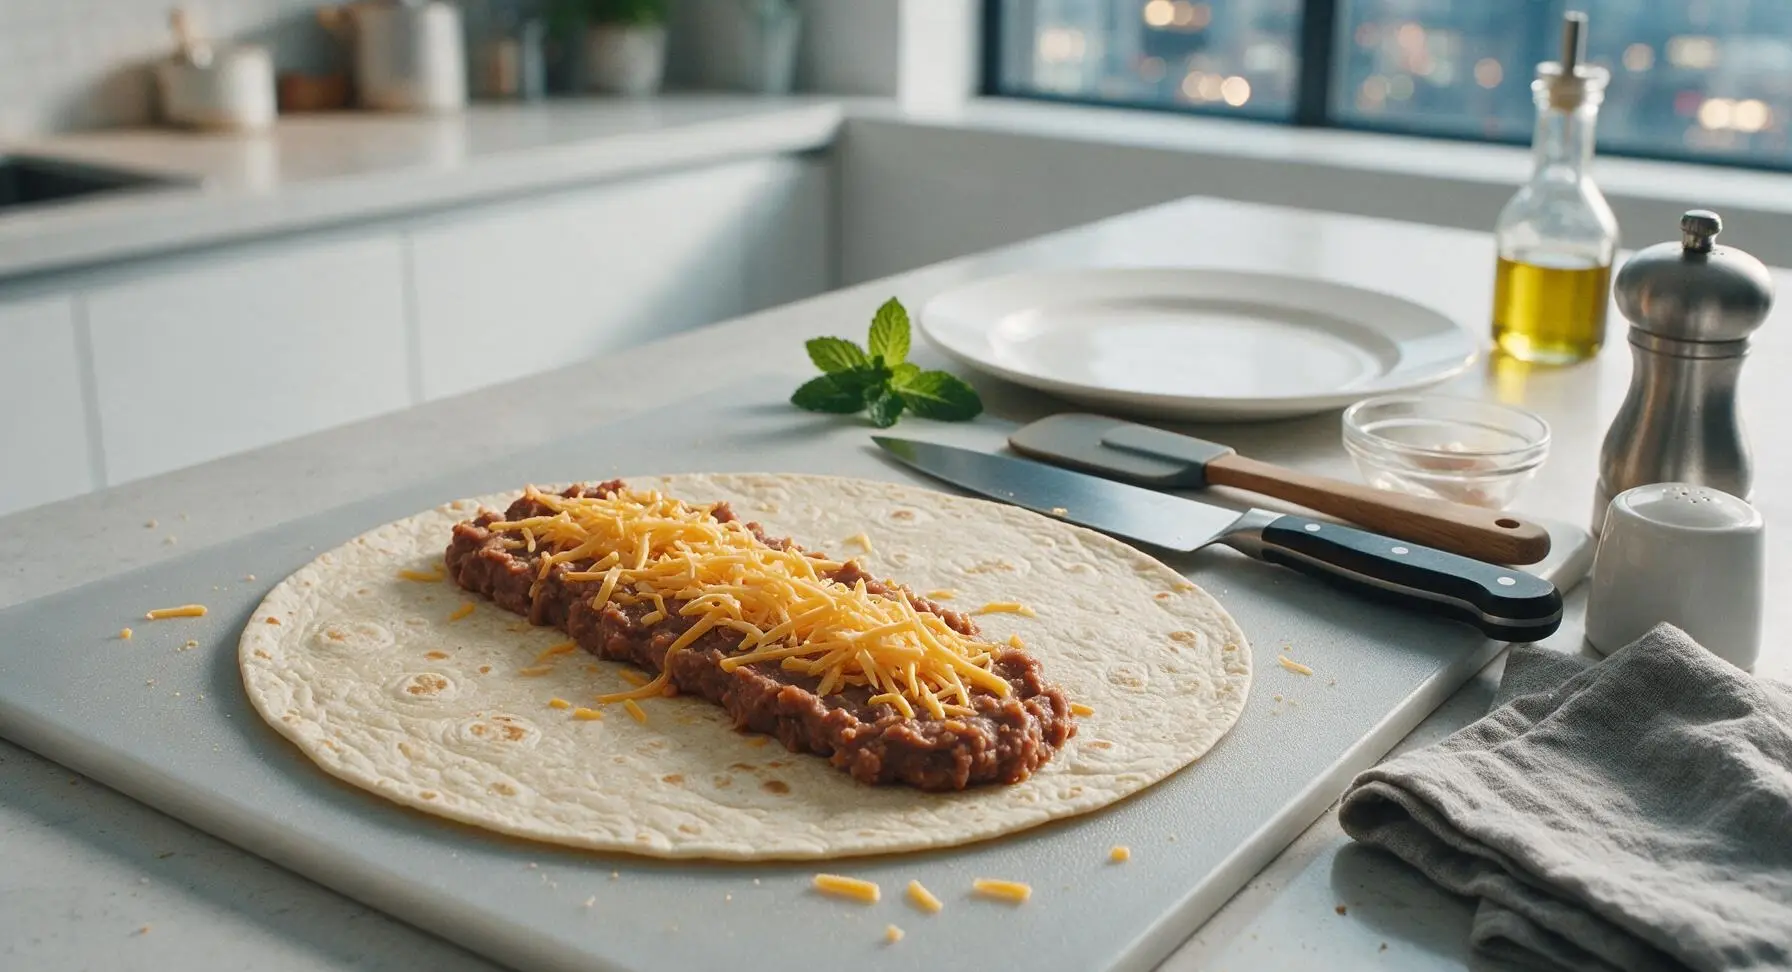
Lay one warm tortilla flat on the bamboo cutting board. Scoop 3/8 cup of the warm seasoned beans in a thick 4-inch line down the center of the tortilla, leaving 2 inches of empty space at the top and bottom edges to allow for folding. Top the bean line with 3/8 cup of shredded mild cheddar cheese, spreading evenly over the beans so the cheese starts to melt from the residual bean heat. Repeat for remaining tortillas, keeping unassembled tortillas covered under the towel to stay soft.
Step 4
step4:Layer beans and cheese
Step 4
step4:Layer beans and cheese
5

Roll burritos tightly

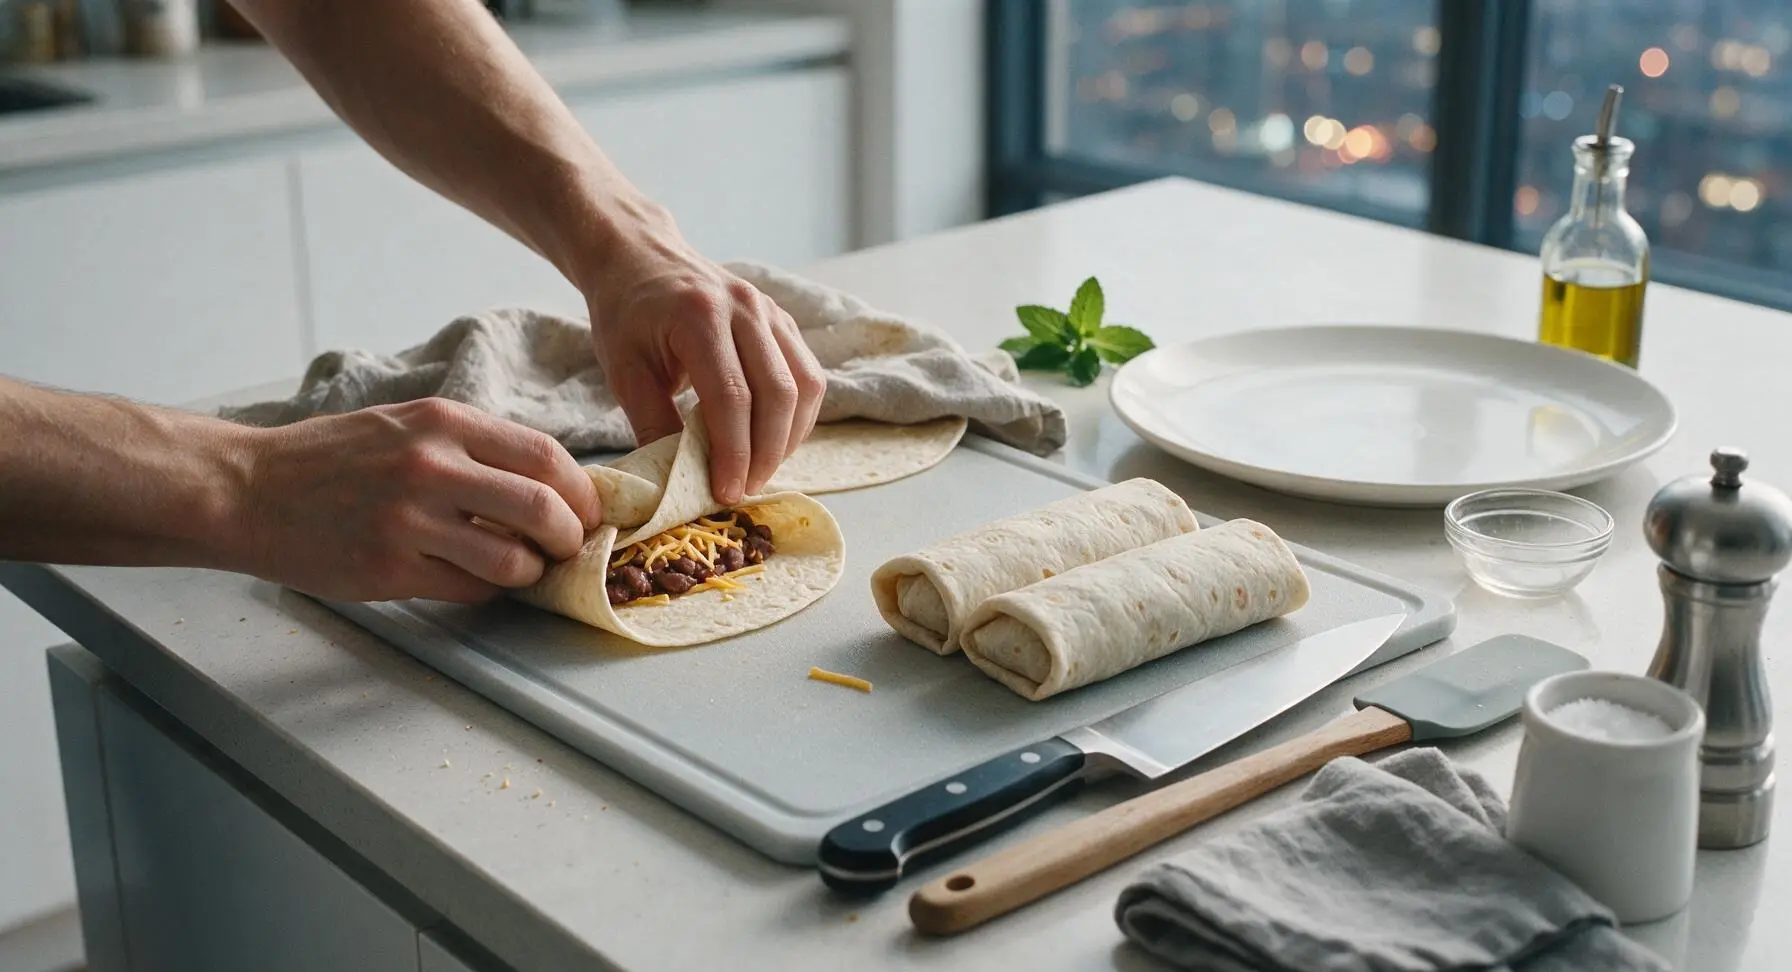
Fold the top and bottom 2-inch empty edges of the tortilla in over the ends of the bean and cheese line. Hold the folded ends in place with one hand, then roll the tortilla tightly from the right edge over the filling, tucking the tortilla edge under the filling as you roll to create a tight, sealed cylinder with no open gaps for filling to leak during cooking. Set rolled burritos seam-side down on the empty section of the cutting board.
Step 5
step5:Roll burritos tightly
6

Sear burritos until crisp

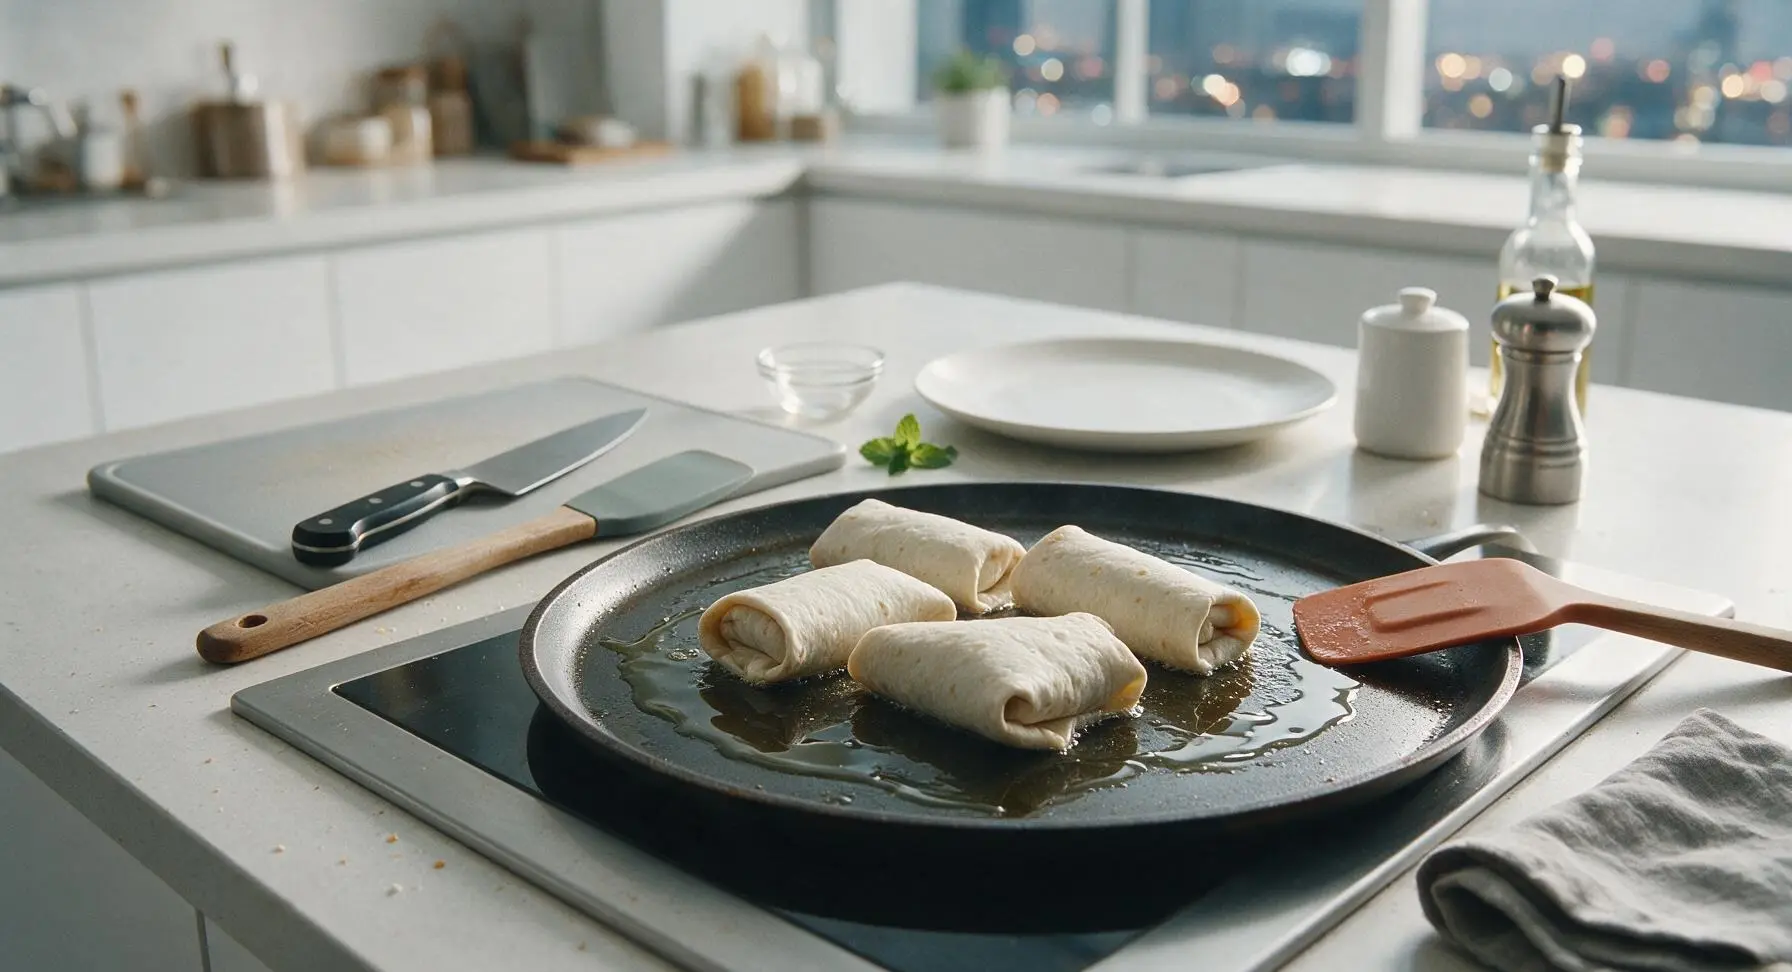
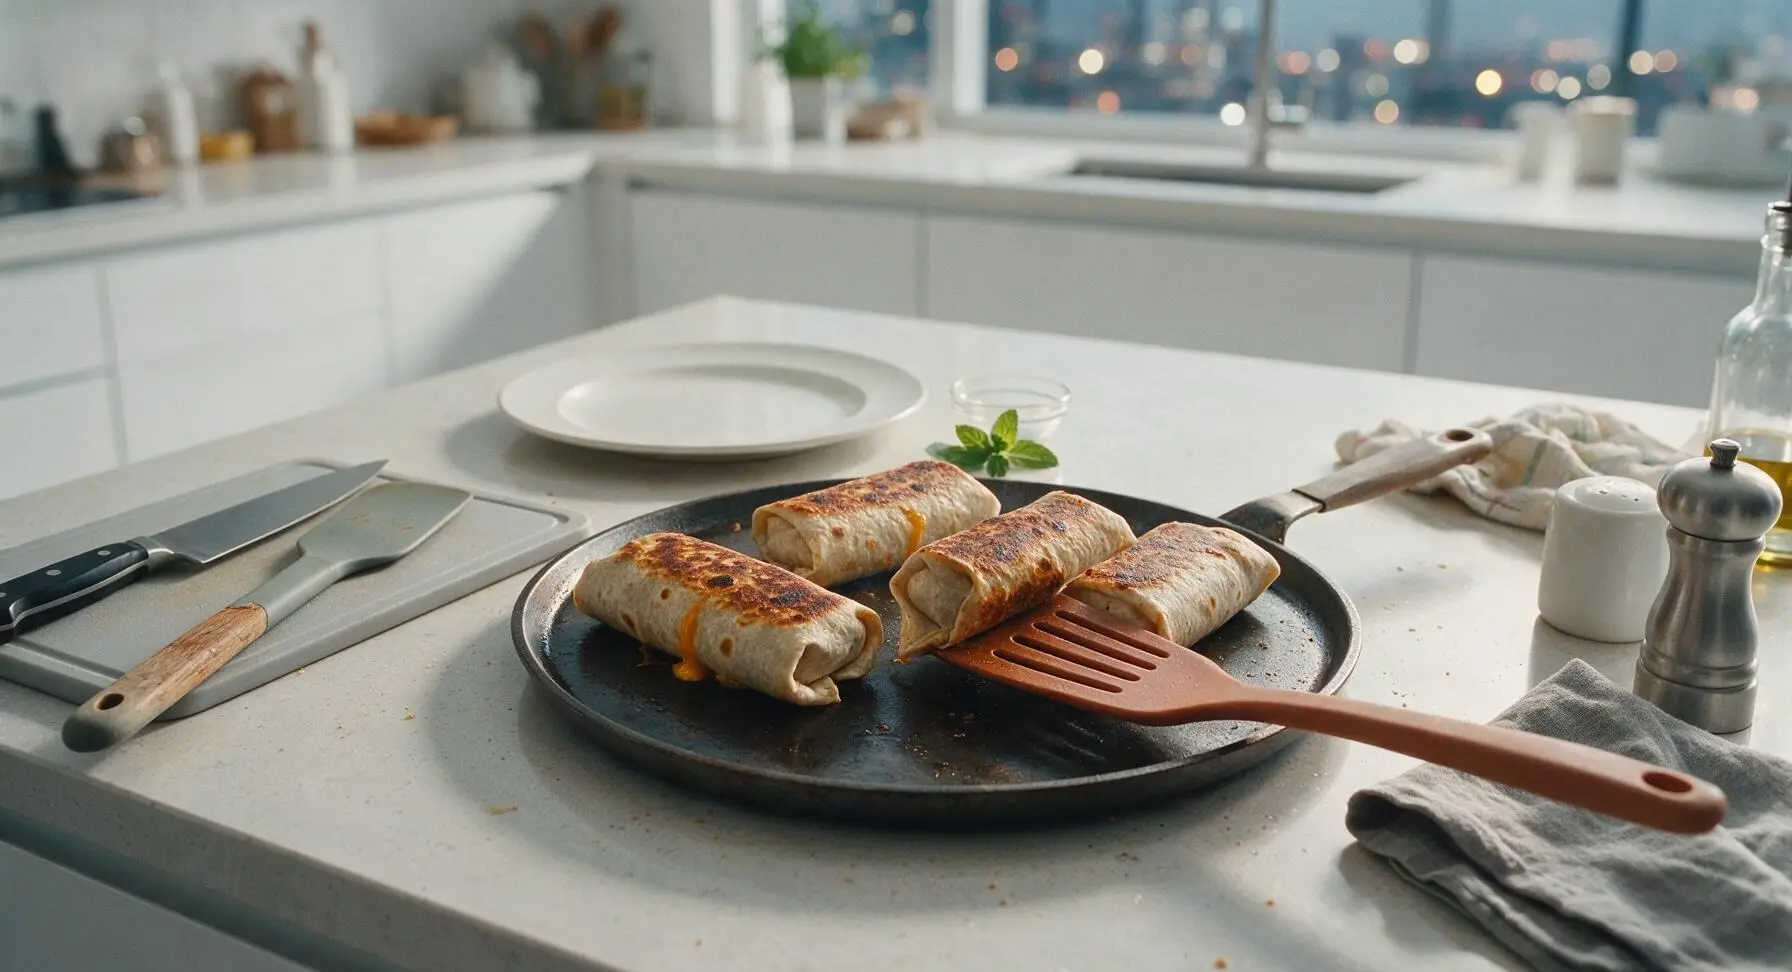
Add 1 tablespoon of canola oil to the comal skillet, spreading evenly across the surface with the terracotta silicone spatula, and return heat to medium (350°F). Place burritos seam-side down on the oiled skillet, cooking for 2-3 minutes per side, turning gently with the spatula, until all sides are golden brown with slight crisp, toasted spots. Burritos are done when small bubbles of melted cheese seep out of the seams, indicating the cheese inside is fully melted.
Step 6
step6:Sear burritos until crisp
Step 6
step6:Sear burritos until crisp
7

Rest and serve burritos

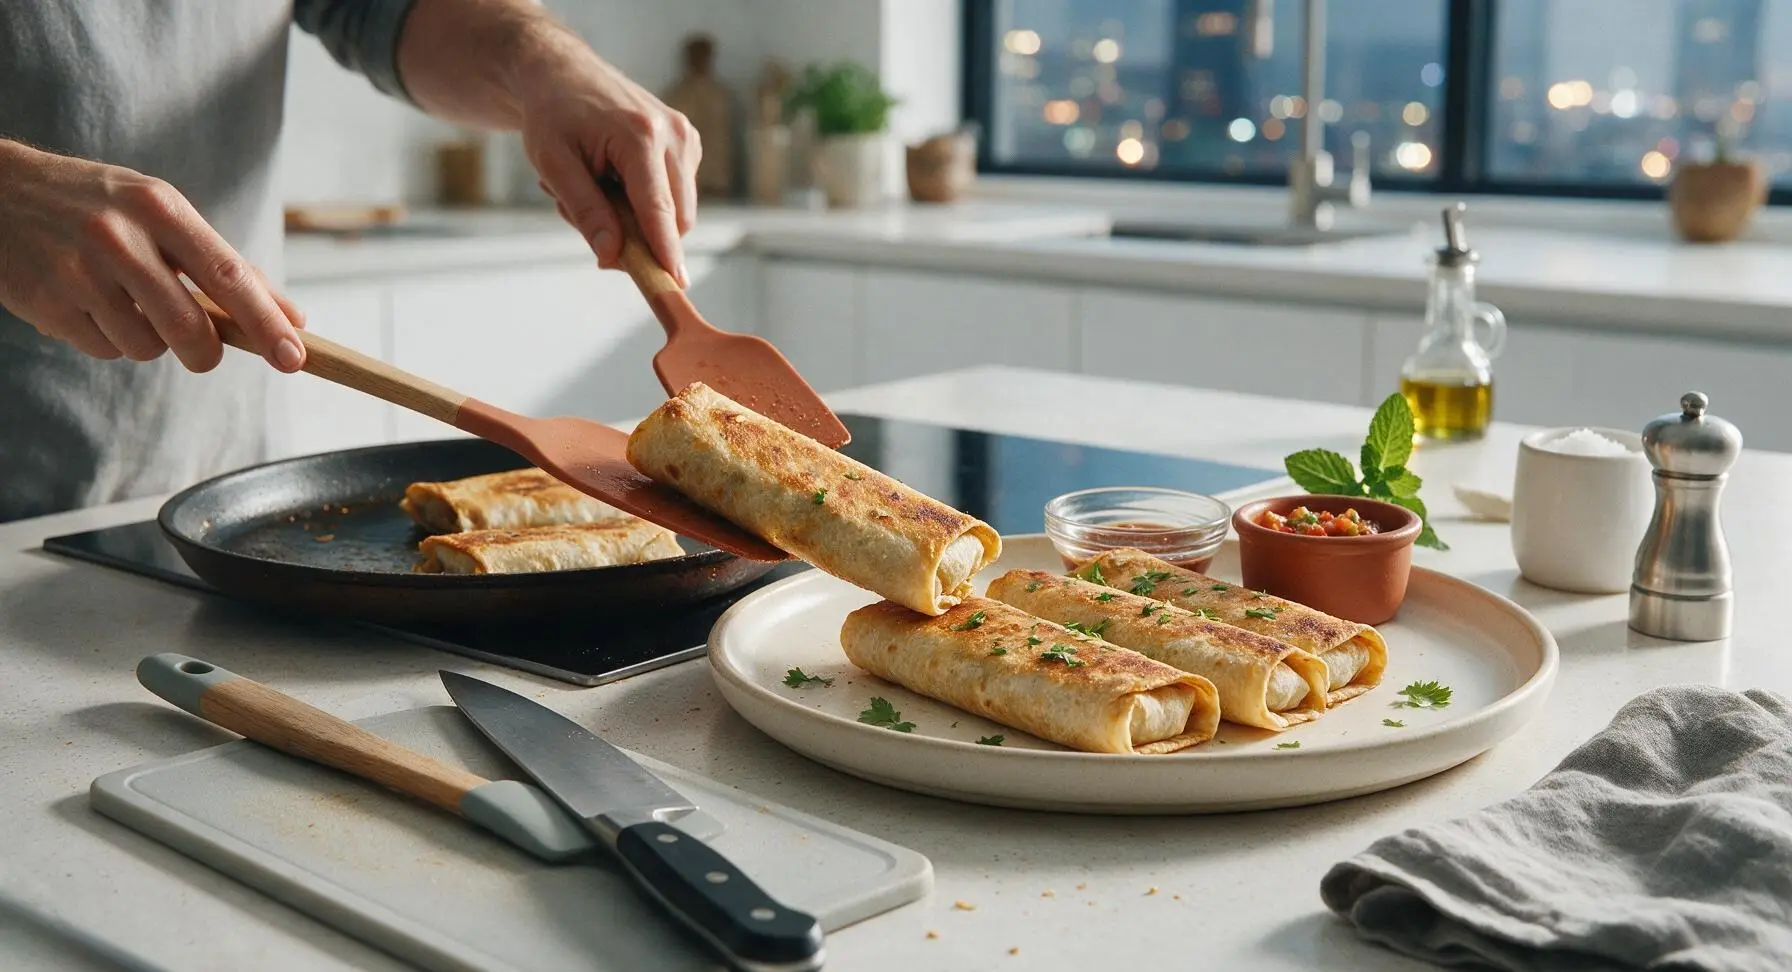
Transfer cooked burritos to the cream stoneware dinner plate, letting them rest for 2 minutes to allow the melted cheese to set slightly so it does not run out when bitten. Sprinkle the reserved chopped cilantro lightly over the burritos, and serve with the terracotta ramekin of mild red salsa on the side.
Step 7
step7:Rest and serve burritos

Tips

1.Always warm tortillas before rolling: Cold room-temperature tortillas crack and split when folded, leading to filling leaks during cooking; the 15-second dry sear on the comal makes them flexible enough to roll tightly without breaking.
2.Avoid overfilling burritos: Using more than 3/8 cup beans and 3/8 cup cheese per tortilla will make tight rolling impossible and cause filling to burst out during searing, leading to burnt cheese residue on your skillet.
3.Cook burritos seam-side down first: The weight of the burrito will seal the folded edge shut as it crisps, preventing the roll from unravelling when you flip it to brown the remaining sides.


✨ You May Also Like

Main Course
🍜 United Kingdom

A showstopping classic of tender seared beef, savory mushroom duxelles, and crisp prosciutto wrapped in flaky golden puff pastry, baked to juicy perfection.

⏱️ 2 hours 1Main Course ★ 4.7
Main Course
🍜 India

Tender charred marinated chicken simmered in a rich, spiced creamy tomato sauce, this iconic Anglo-Indian curry pairs perfectly with basmati rice or warm naan.

⏱️ 50 minuteMain Course ★ 4.6
Main Course
🍜 Thailand

Classic tangy, sweet, and savory Thai stir-fried rice noodles with shrimp, tofu, and crunchy garnishes, balancing all five core Thai flavor profiles.

⏱️ 30 minuteMain Course ★ 4.5
Main Course
🍜 United Kingdom

Crispy golden beer-battered cod and fluffy double-fried chips, served with tangy tartar sauce and malt vinegar: the timeless, beloved British pub comfort classic.

⏱️ 45 minuteMain Course ★ 4.7
Main Course
🍜 Mexico

Smoky, chile-marinated pork tacos with caramelized pineapple, fresh cilantro, and lime: a beloved classic Mexican street food perfect for casual summer gatherings.

⏱️ 1 hour 45Main Course ★ 4.8
Main Course
🍜 United States

Crunchy Fritos corn chips layered with savory beef chili and melted cheddar, topped with cool, zesty fixings for a beloved, cozy Tex-Mex comfort food.

⏱️ 35 minuteMain Course ★ 4.8

bean and cheese burrito el monterey:Frequently Asked Questions

1.What makes these burritos taste like the classic El Monterey frozen bean and cheese burritos? ▾
The nostalgic match comes down to three key choices: keeping the filling simple with no fancy add-ins, using a 2:1 ratio of smooth refried pinto beans to mild cheddar, seasoning lightly with just garlic and onion powder, and crisping the tortilla just enough to match that signature tender-crisp bite you remember from the frozen version.
2.Can I use whole wheat tortillas instead of white flour tortillas for this recipe? ▾
You absolutely can, though note that whole wheat tortillas have a nuttier, heartier flavor and slightly chewier texture that will shift the classic mild El Monterey taste a bit. Stick to 10-inch whole wheat tortillas for easy rolling, and warm them briefly in the microwave before filling to prevent cracking as you fold.
3.Do I need to heat the refried beans before filling the burritos? ▾
Yes, warming canned refried beans first (stir in the garlic and onion powder as you heat them on the stovetop or microwave for 1-2 minutes) makes them much smoother and easier to spread evenly across the tortilla. It also cuts down on final cook time, so your cheese melts fully before the tortilla gets too crisp.
4.How much filling should I add to each burrito to avoid leaking while cooking? ▾
For 10-inch tortillas, stick to ¼ cup of seasoned refried beans and 2 tablespoons of shredded mild cheddar per burrito. Spread the filling in a tight line down the tortilla center, leaving 1.5 inches of space on the top and bottom ends to fold in before rolling, which seals in filling and prevents messy leaks as it cooks.
5.Can I use a different type of cheese instead of mild cheddar? ▾
You can swap in other melty cheeses, but to stay true to the classic El Monterey flavor, stick to mild, creamy melting options. Monterey Jack, a mild cheddar-Jack blend, or even American cheese work well; avoid sharp cheddar, crumbly cheeses like feta, or hard cheeses like parmesan, as they won’t give that smooth, mild melted cheese pull.
6.How do I get that signature lightly crisped tortilla exterior? ▾
After rolling your burritos tightly, cook them seam-side down in a dry nonstick skillet over medium heat for 2-3 minutes per side, pressing gently with a spatula as they cook. You don’t need extra oil if your pan is well-seasoned; the light contact heat will crisp the tortilla evenly without making it greasy or tough.
7.Can these burritos be frozen ahead of time like the store-bought version? ▾
Absolutely—this recipe is perfect for meal prep! Let cooked burritos cool completely, then wrap each individually tightly in plastic wrap followed by a layer of aluminum foil, and store in the freezer for up to 3 months. There’s no need to thaw before reheating, so they’re just as convenient as store-bought.
8.What’s the best way to reheat these burritos from frozen? ▾
For the closest texture to fresh, unwrap the foil and plastic, wrap the burrito in a damp paper towel, and microwave for 1.5 minutes, then finish it in a dry skillet over medium heat for 1 minute per side to crisp the tortilla. For a quicker option, microwave for 2.5 minutes total, flipping halfway, for a softer tortilla.
9.My canned refried beans are really thick and hard to spread—what should I do? ▾
If your refried beans are extra thick, stir in 1-2 teaspoons of warm water or low-sodium chicken broth as you heat them, until they reach a smooth, spreadable consistency similar to thick hummus. Don’t add too much liquid, though, or the filling will be runny and leak out of your burritos as they cook.
10.Do I need to add any extra seasonings besides garlic and onion powder? ▾
To match the classic mild El Monterey flavor, you don’t need any extra seasonings. If you prefer a little more depth, you can add a pinch of cumin, a tiny dash of chili powder, or a sprinkle of salt if your beans are low-sodium, but skip bold add-ins like hot sauce or jalapeños for that authentic nostalgic taste.
11.Why do my tortillas crack when I try to roll the burritos? ▾
Cold tortillas almost always crack when rolled, even if they’re fresh. Take 30 seconds to warm each tortilla before filling: either stack them between damp paper towels and microwave for 20 seconds, or heat each one for 10 seconds per side on a dry skillet. Warm tortillas are flexible enough to roll tight without splitting.
12.Can I cook these burritos in the air fryer instead of a skillet? ▾
Yes, air frying works great for a crisp exterior! Preheat your air fryer to 375°F, place rolled burritos seam-side down in the basket in a single layer, and cook for 6-8 minutes, flipping halfway through. Lightly spritz tortillas with a tiny bit of cooking oil first if you want an extra golden, evenly crisped shell.
13.What’s the right way to fold a burrito so it stays sealed while cooking? ▾
Start with your filling centered in a line down the lower third of the warmed tortilla. Fold the left and right sides in over the ends of the filling line, then fold the bottom edge of the tortilla up tight over the filling, tucking it under ingredients as you roll firmly upward. Keep the roll tight to prevent filling from slipping out.
14.Can I make these with homemade refried beans instead of canned? ▾
You absolutely can, just make sure your homemade refried pinto beans are smooth, not chunky, and seasoned very mildly to match the classic flavor. Avoid adding bacon, heavy spices, or large chunks of onion to your homemade beans, as those will overpower the simple, familiar bean and cheese flavor profile.
15.How long will leftover cooked burritos stay good in the fridge? ▾
Cooked, cooled burritos will stay fresh in an airtight container in the fridge for up to 4 days. To reheat refrigerated burritos, wrap them in a damp paper towel and microwave for 45 seconds to 1 minute, then crisp for 30 seconds per side in a hot skillet to bring back that signature light tortilla crunch.
16.Should I use pre-shredded cheddar or shred my own block cheese for this recipe? ▾
Pre-shredded mild cheddar works perfectly here, and it actually melts into that smooth, slightly stringy texture that matches frozen burrito filling really well, thanks to the light anti-caking coating on pre-shredded cheese. If you shred your own, it will melt a bit creamier, but either option gives a great final result.
17.Can I add extra fillings like rice or ground beef to these burritos? ▾
You can absolutely add extra fillings if you want a heartier burrito, but keep in mind that add-ins like rice, ground beef, or veggies will move the flavor away from the classic simple bean and cheese El Monterey profile. If you do add extras, keep portions small to avoid overstuffing and leaks during cooking.
18.Why is my cheese not fully melting even after the tortilla is perfectly crisp? ▾
This usually happens if you use cold filling or don’t spread the cheese evenly through the beans. Make sure you warm the refried beans first, and toss the shredded cheese into the warm beans a little before spreading, so residual heat starts melting the cheese right away for fully gooey results.

Comments (4)

2 hours ago

OMG these are SO good! I’ve been buying the frozen El Monterey burritos for my kids’ after school snacks for years and never thought I could nail the exact flavor at home. The texture of the refried beans mixed with that melty cheese is spot on, and they only took me 18 minutes total like the recipe said? Total game changer for meal prep too, I wrapped a bunch individually and froze them so I can grab one on busy work mornings.

30 minutes ago

Wait did you freeze them after assembling raw or after cooking? I tried freezing homemade burritos once and they got all soggy when I reheated them, would love tips!

5 minutes ago

Great question! We recommend assembling them fully, wrapping tightly in plastic wrap then foil before freezing (no pre-cooking needed!), and when you’re ready to eat, unwrap and microwave for 2 minutes then crisp in a pan for 1 minute to avoid sogginess.

yesterday

Made these for our football watch party potluck this past weekend and they were gone in 10 minutes flat. I added a little dash of taco seasoning to the bean mix because I like a tiny kick, but otherwise followed the recipe exactly. Even my picky brother who swears only the store bought frozen ones taste good asked me for the recipe. 10/10, super easy even for someone who mostly cooks burgers and brats.

2 hours ago

Love the taco seasoning add-in! So glad these were a hit at your watch party, that little extra kick sounds delicious. We’ll have to test that variation for our next recipe update!

3 days ago

Solid easy recipe! I swapped the regular refried beans for low-sodium black refried beans and used a dairy-free cheese blend for my partner who’s lactose intolerant, and it still came out tasting just like the classic frozen burritos we used to eat in college. Great quick weeknight dinner when we don’t feel like putting a ton of effort in, will definitely be making these again.

1 week ago

Wait this is way cheaper than buying the frozen boxes! I live in a tiny dorm with just a microwave and a small countertop griddle, and I was able to make these no problem. No fancy equipment needed, ingredients are super cheap at the campus grocery store, and they taste way better than the dining hall burritos. 10/10 for broke college students.

5 days ago

Second this! I made them in my dorm too, pro tip: stock up on the cheap large flour tortillas from the dollar store near campus, they work perfectly for these.



