
instant pot roast
intro
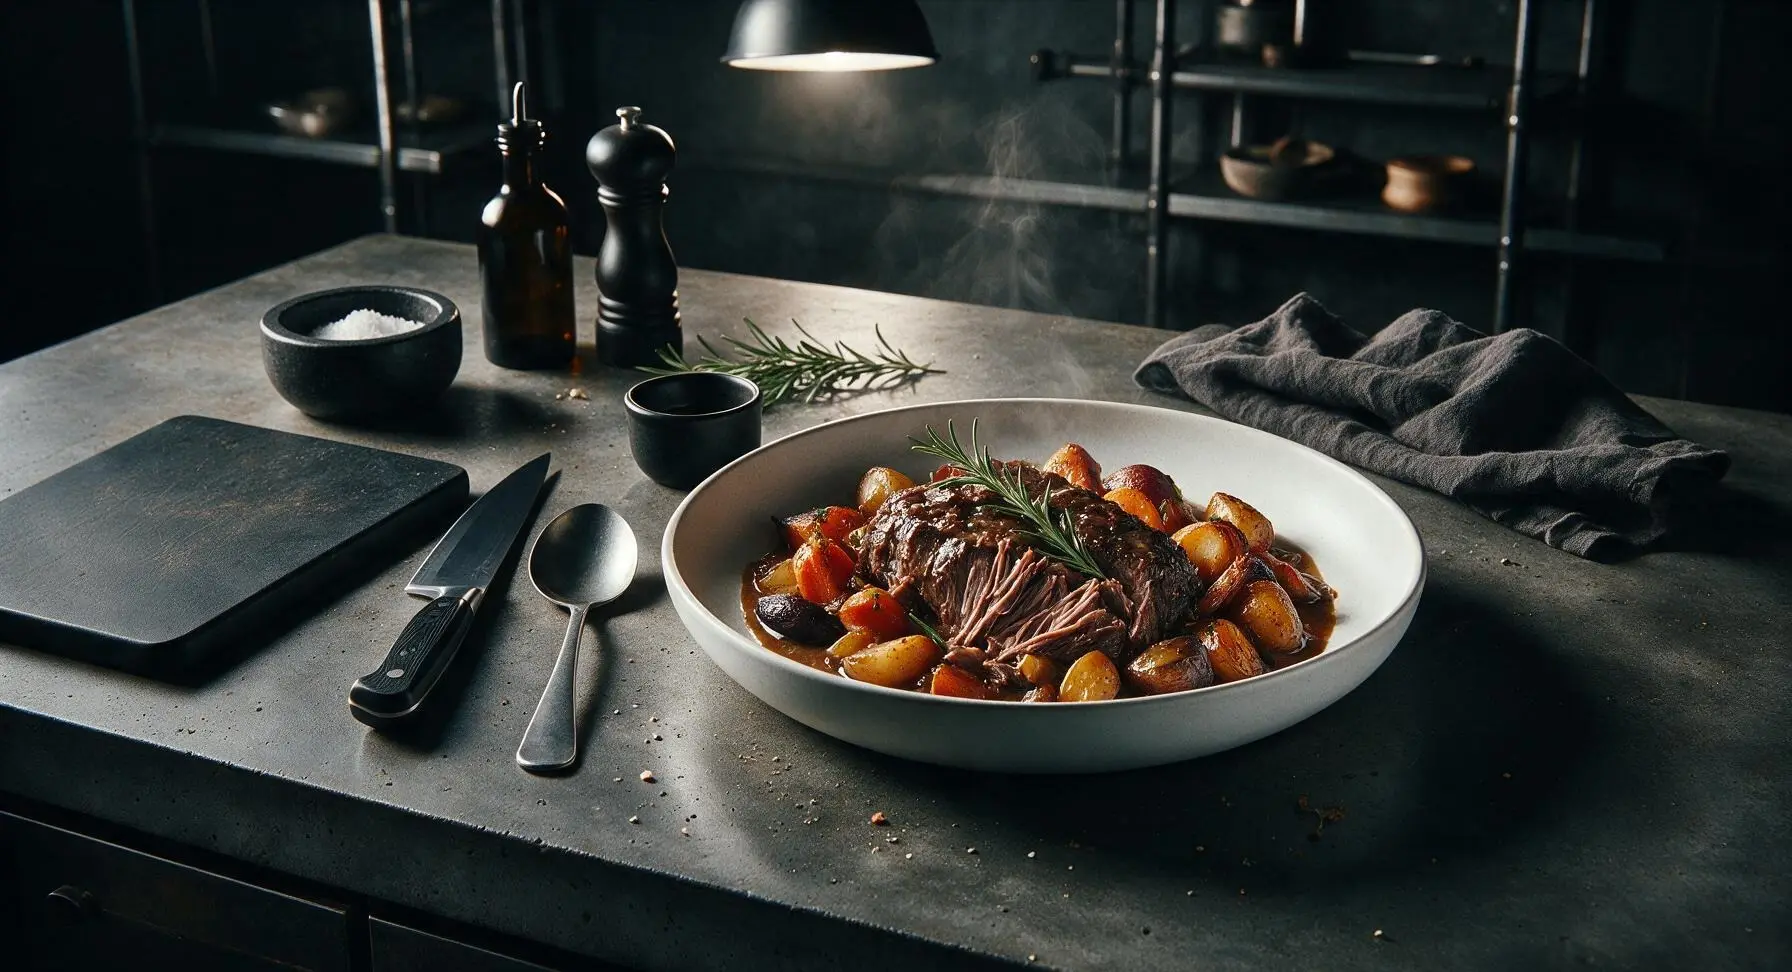
Juicy, fork-tender beef roast with caramelized root vegetables and rich savory gravy, made in a fraction of traditional oven roast time for cozy, satisfying family meals.
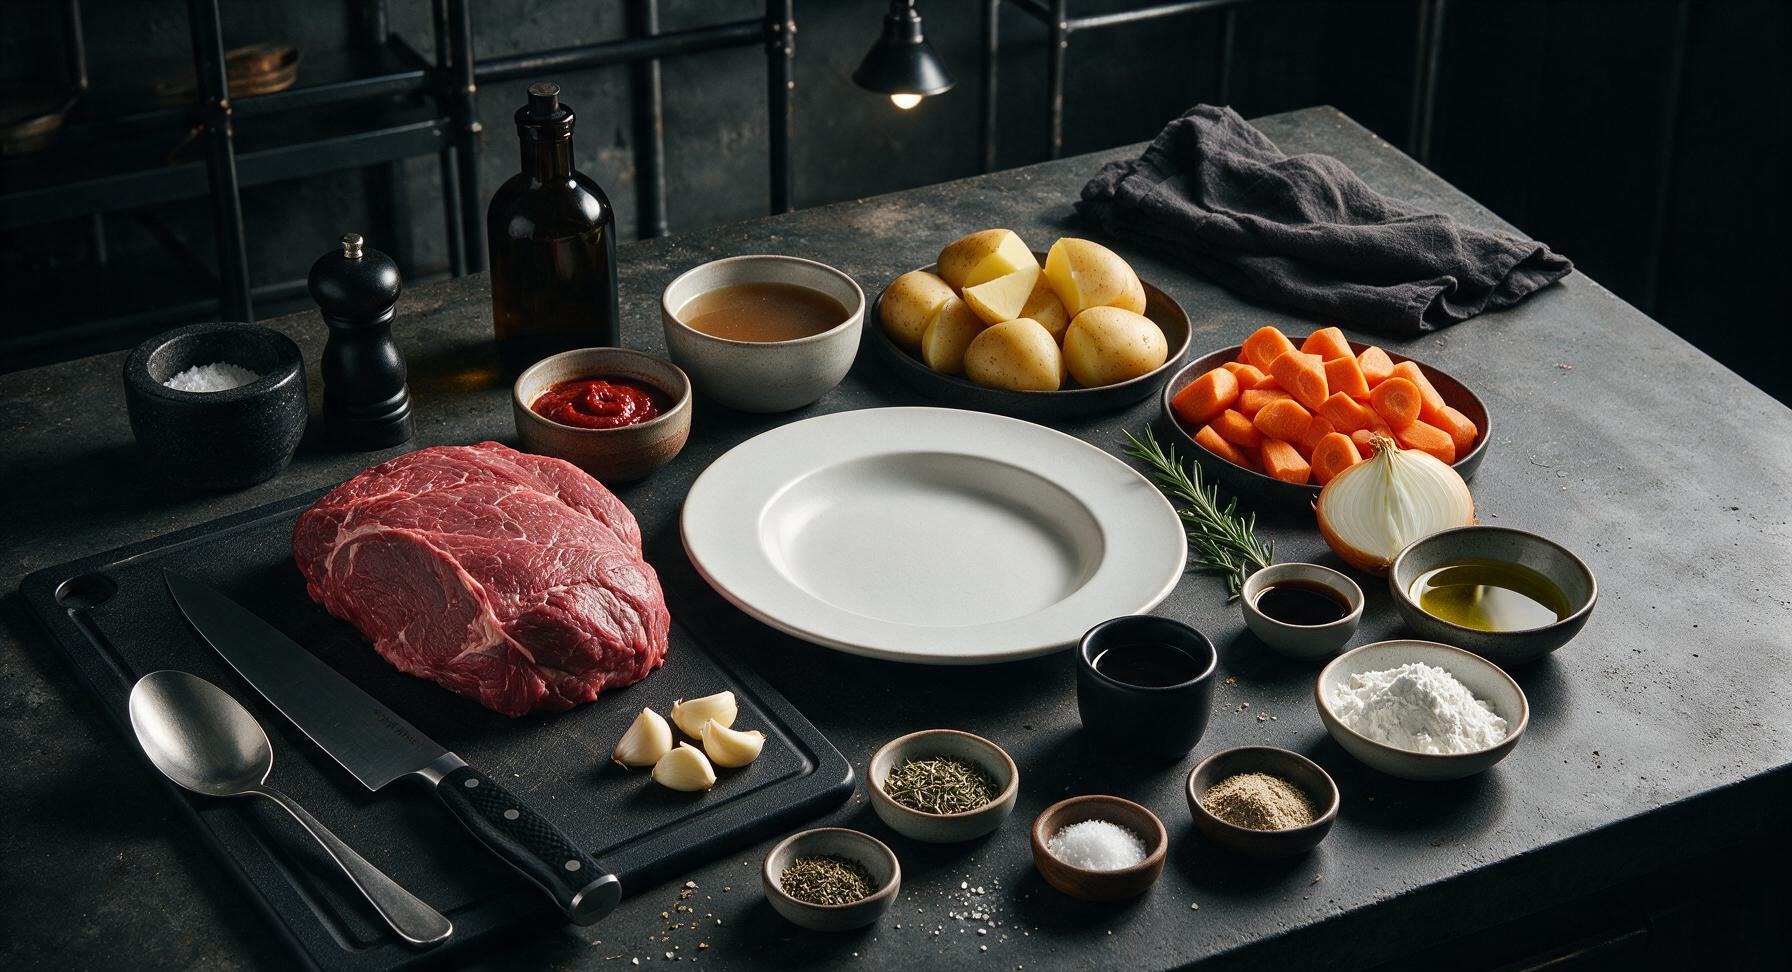
Ingredients
Steps
Season the Beef Roast
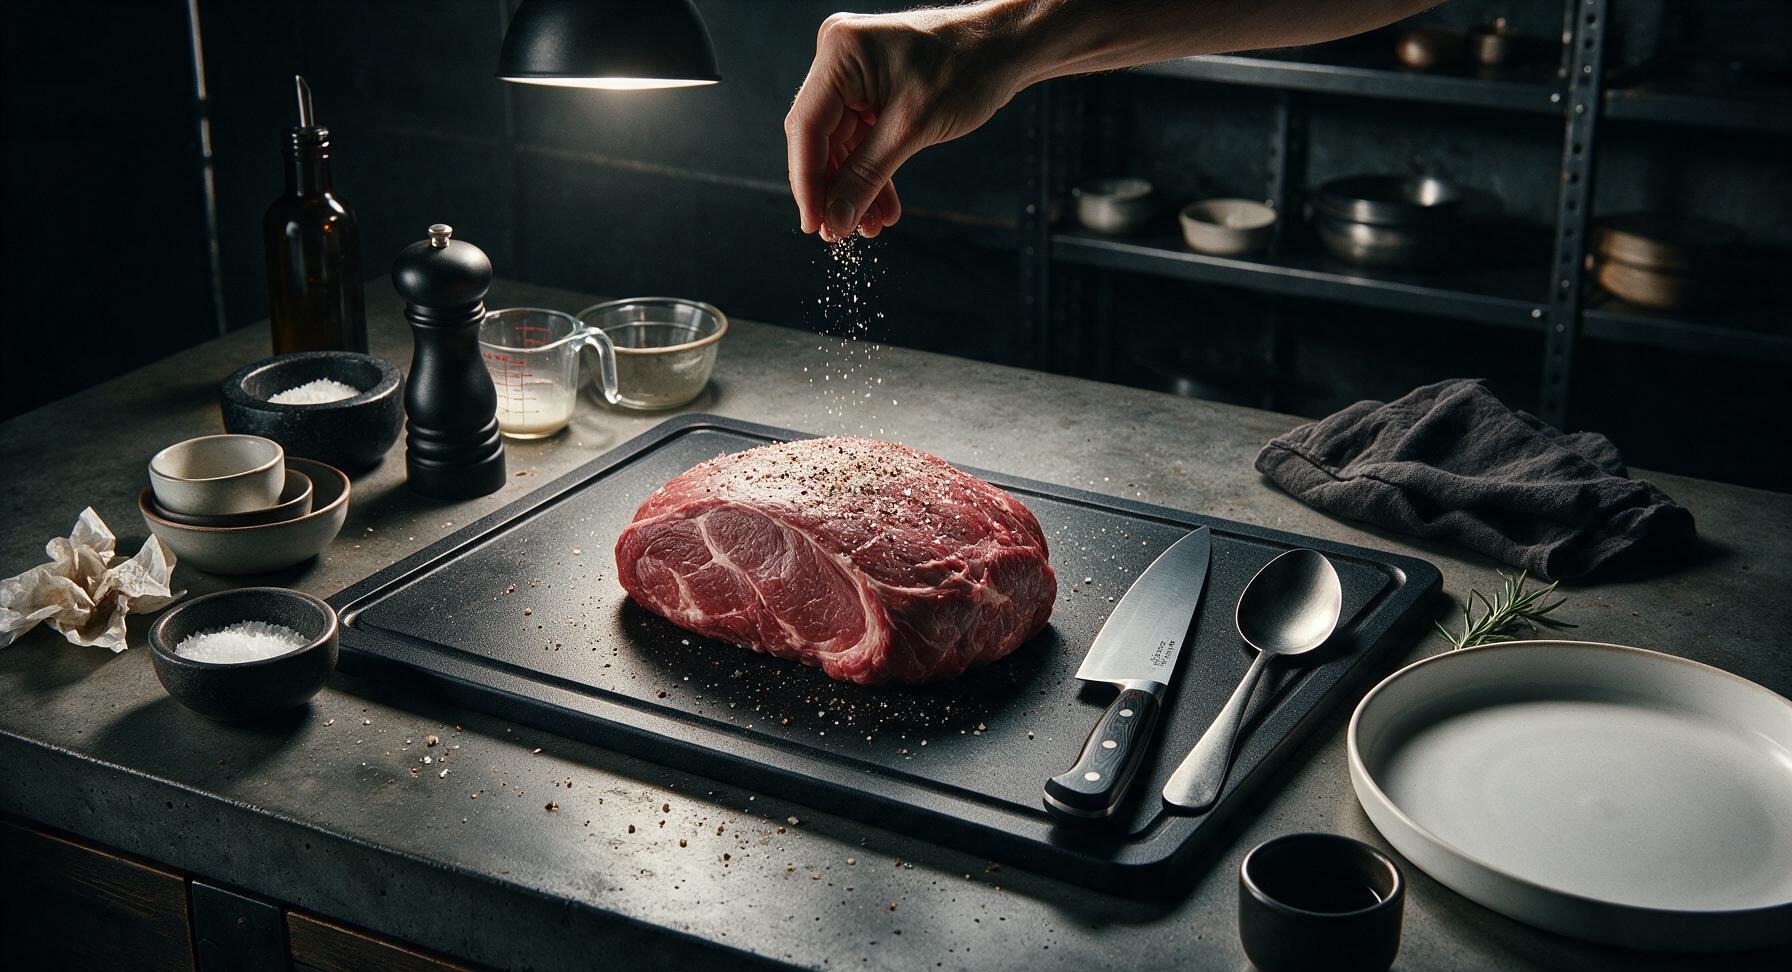
Pat the 1.5kg boneless chuck roast completely dry all over with paper towels from the counter roll. Season all sides evenly with 1 teaspoon kosher salt and ½ teaspoon freshly ground black pepper, pressing the seasoning gently into the meat surface so it adheres. Let the roast rest at room temperature for 10 minutes while you prep vegetables, to ensure even browning.
Sear Roast in Instant Pot
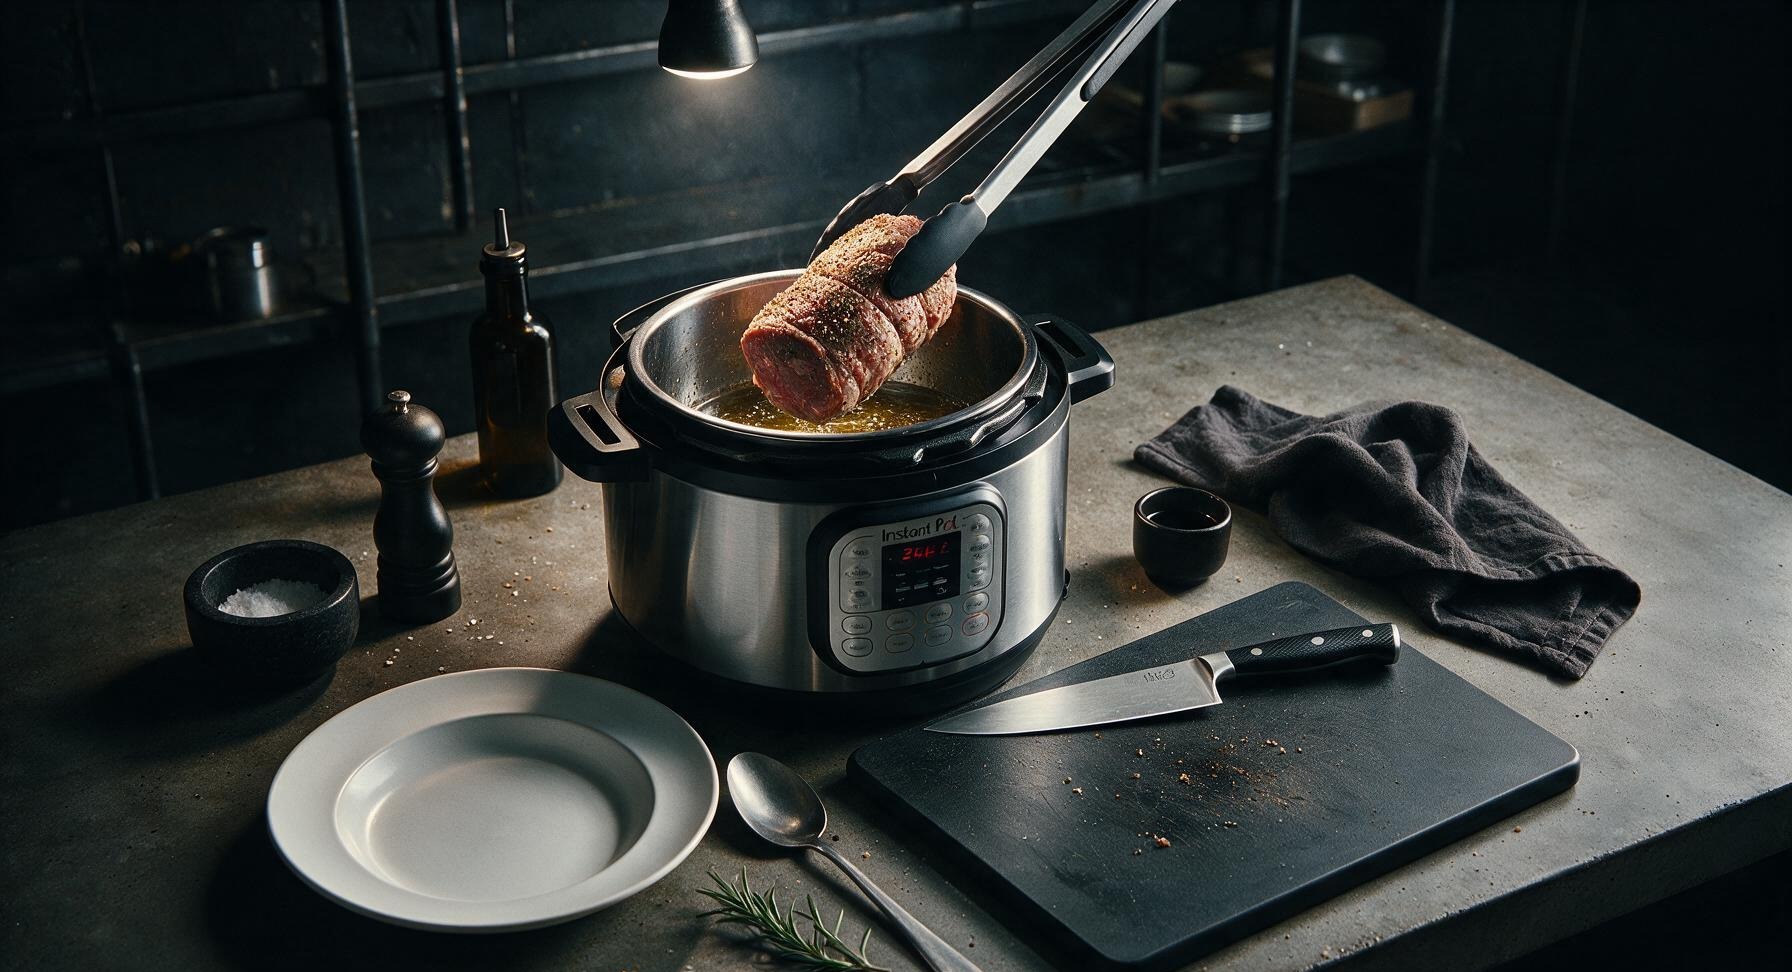
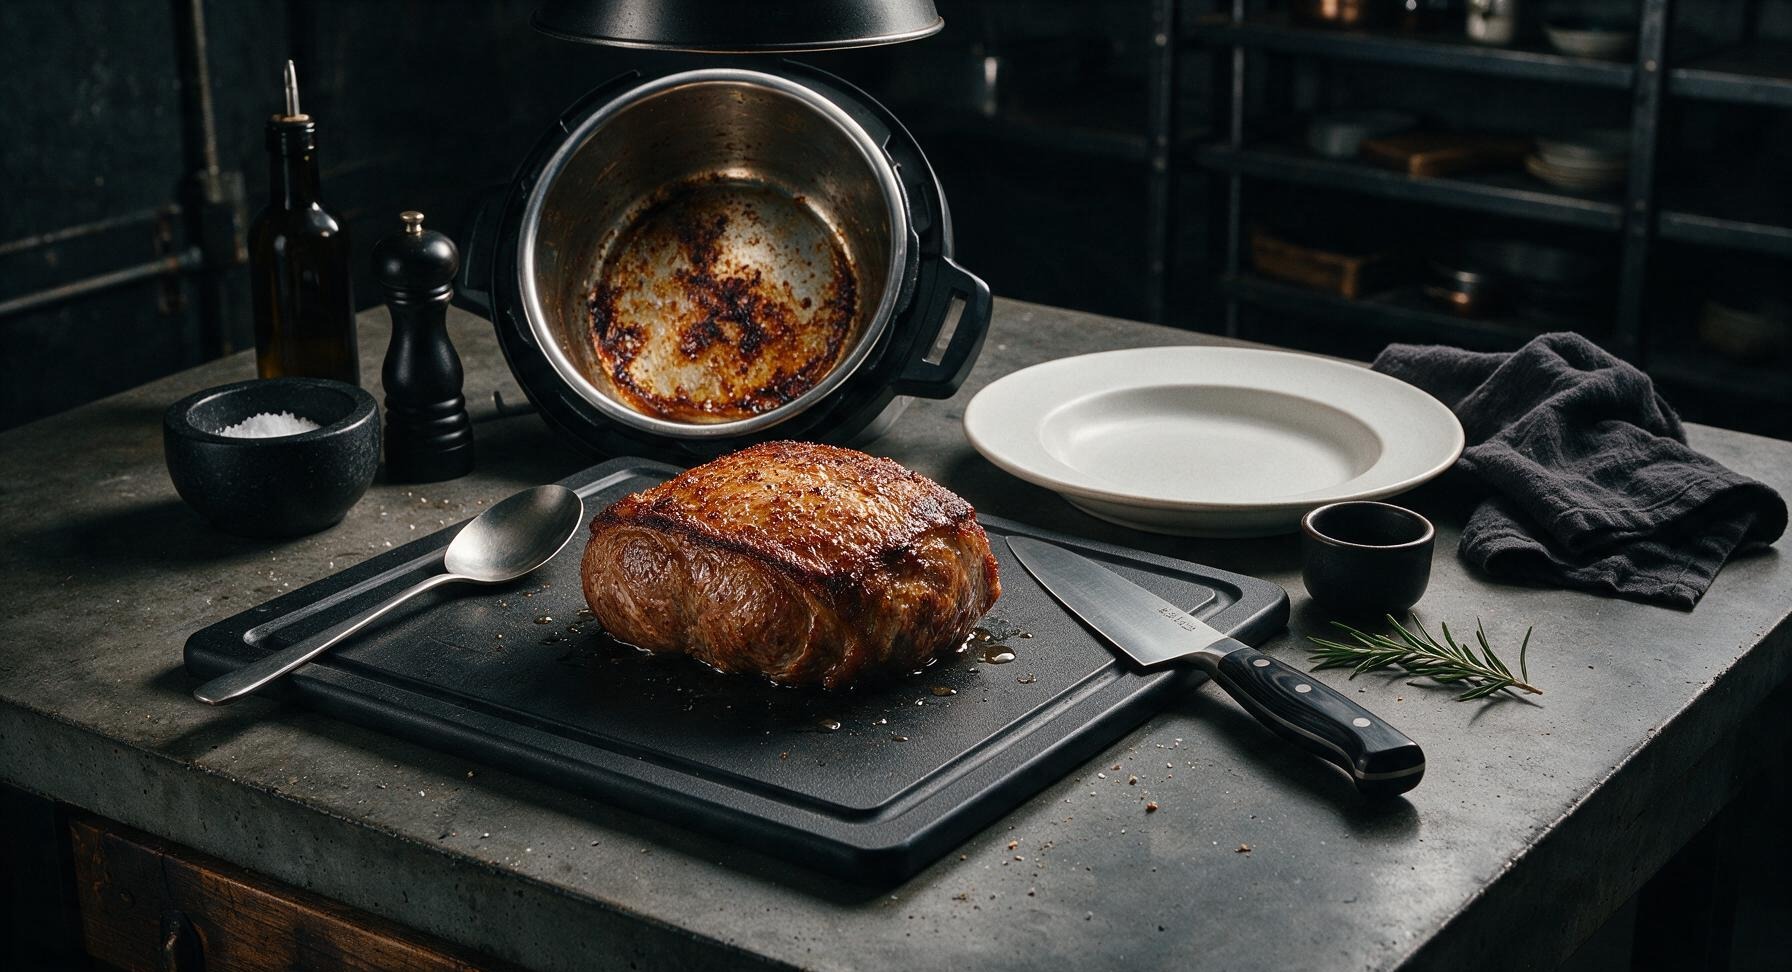
Turn the Instant Pot to the 'Sauté' setting on high heat. Add 2 tablespoons olive oil to the inner pot, and wait 1 minute until the oil shimmers. Use the silicone-tipped tongs to lower the seasoned roast into the hot oil. Sear for 3 minutes per side, until a deep golden-brown crust forms on all 4 sides, then transfer the seared roast temporarily back to the cutting board. Do not scrape the browned bits (fond) from the bottom of the pot—this adds deep, savory flavor to the finished gravy.
Sauté Aromatic Base
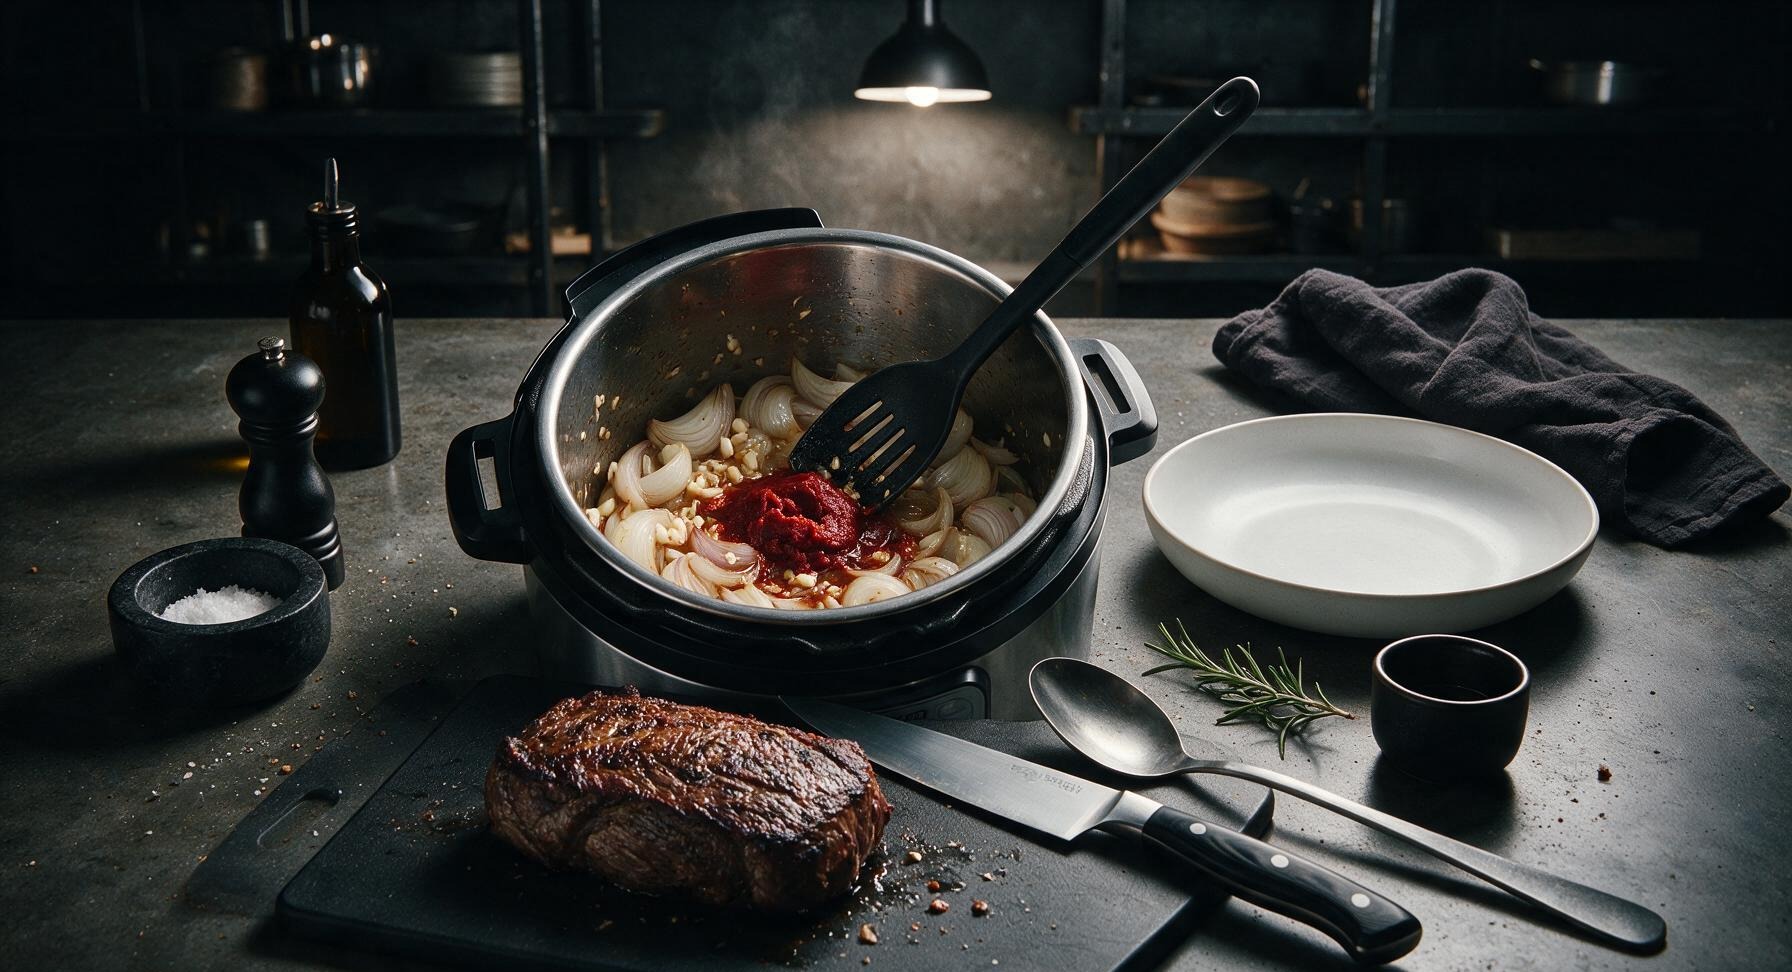
Add the cut onion wedges and crushed garlic to the remaining hot oil and fond in the Instant Pot. Sauté for 2 minutes, stirring with the silicone slotted spoon, until the onions turn translucent and smell fragrant. Stir in 2 tablespoons tomato paste, and cook for 1 more minute until the paste darkens slightly to a deep rust color and evenly coats the onions.
Pressure Cook Roast
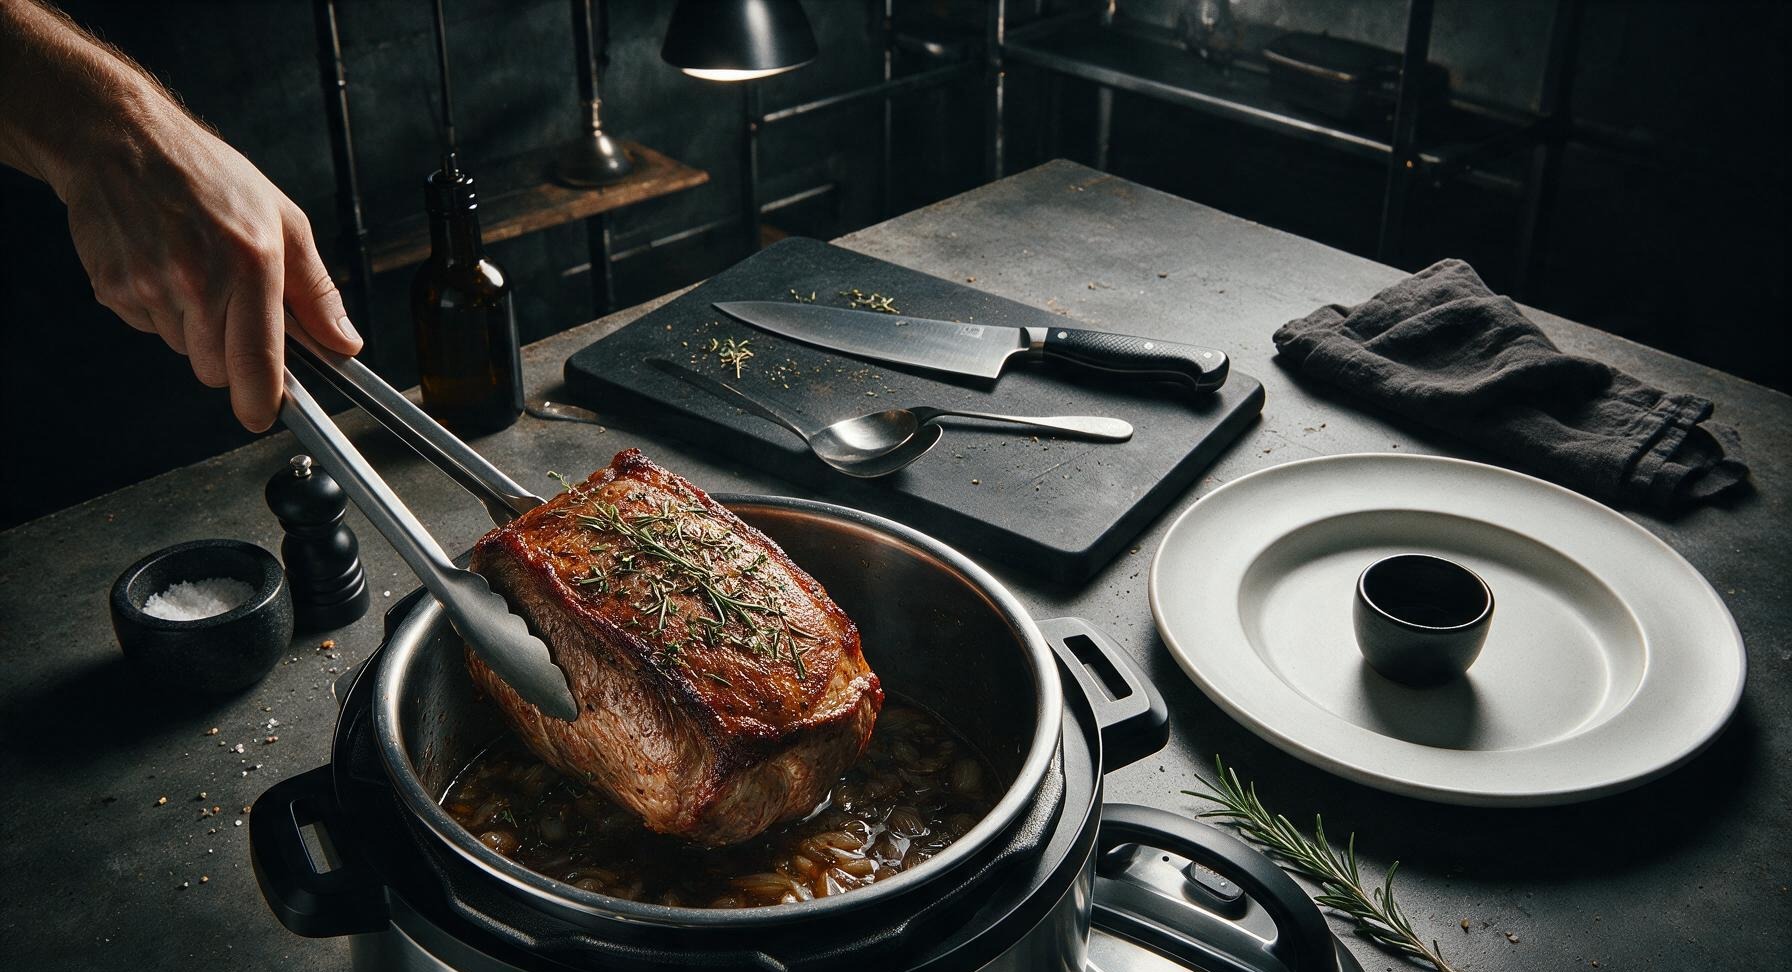
Pour 250ml beef broth and 2 tablespoons Worcestershire sauce into the pot, stirring with the silicone spoon to scrape up all browned fond from the pot bottom. Add 1 tablespoon dried rosemary and 1 teaspoon dried thyme, then use the tongs to place the seared roast back into the pot, nestling it into the liquid. Lock the Instant Pot lid into place, turn the pressure release valve to 'Sealing', and set to cook on High Pressure for 45 minutes. When the cook time ends, allow a 15-minute natural pressure release before carefully switching the valve to quick release any remaining pressure.
Add Vegetables to Cook
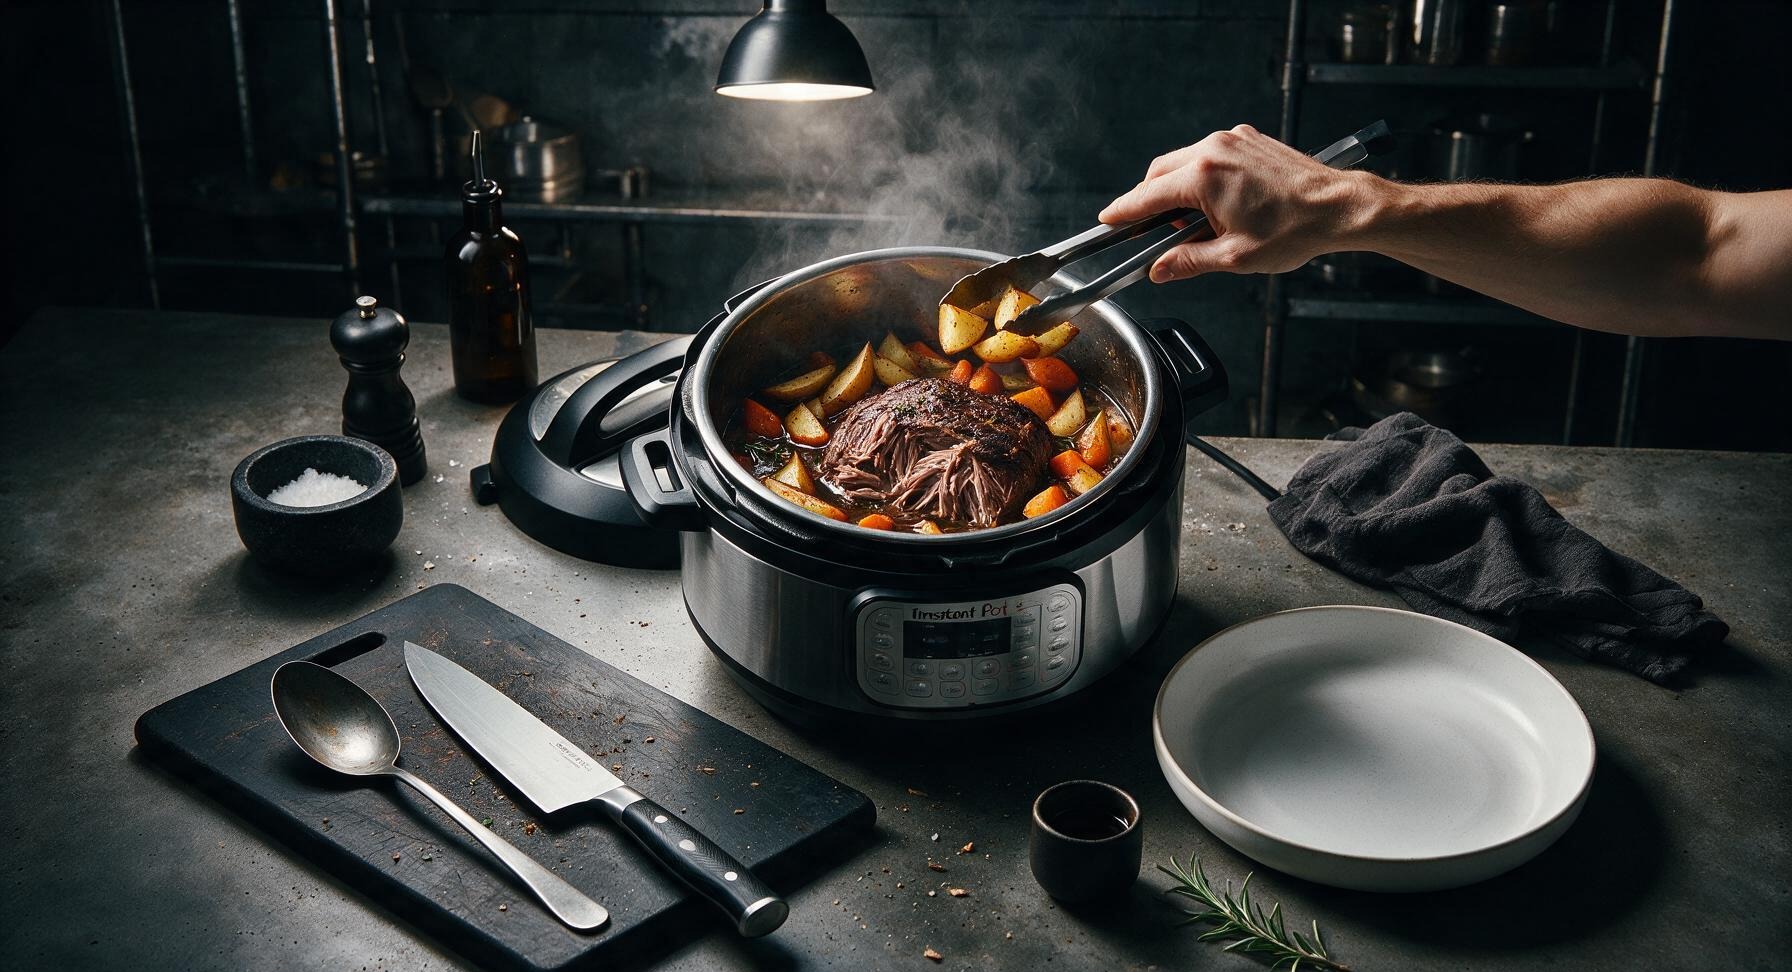
Once pressure is fully released, carefully remove the lid (tilt it away from your face to avoid steam burns). Use the tongs to lift the roast slightly, and tuck the cut potato wedges and carrot chunks into the cooking liquid around the roast, making sure they are partially submerged. Lock the lid back into place, seal the valve, and cook on High Pressure for an additional 5 minutes, followed by a quick pressure release.
Thicken Savory Gravy
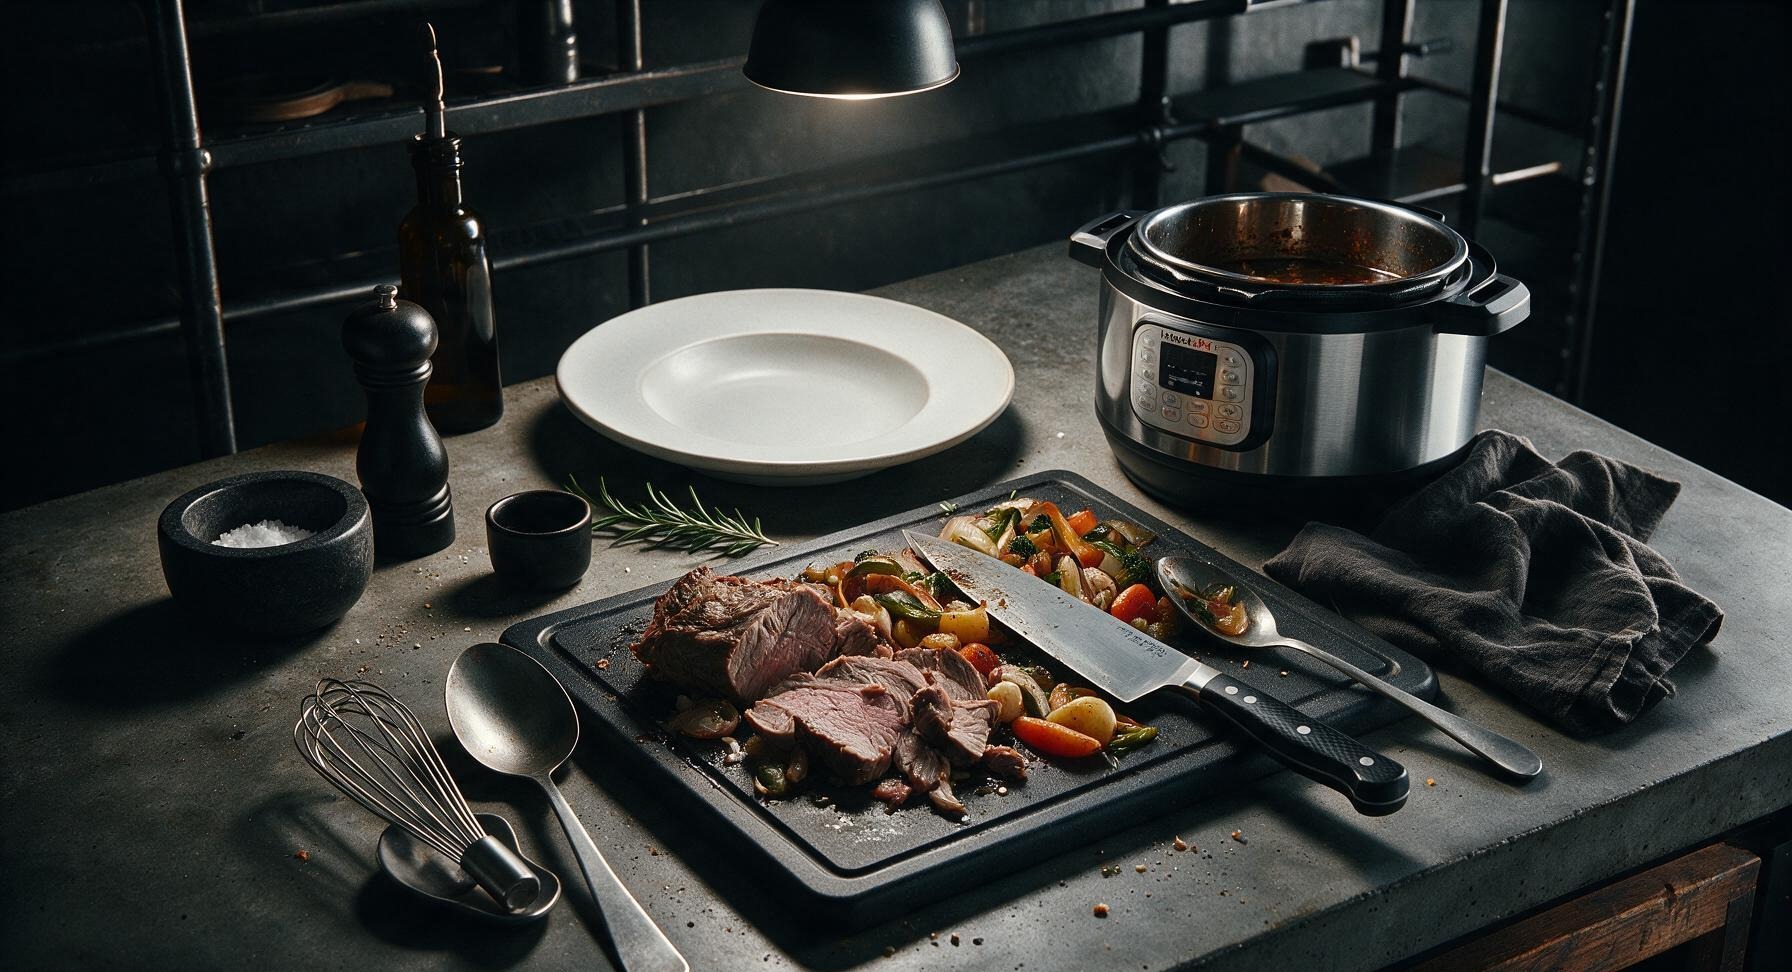
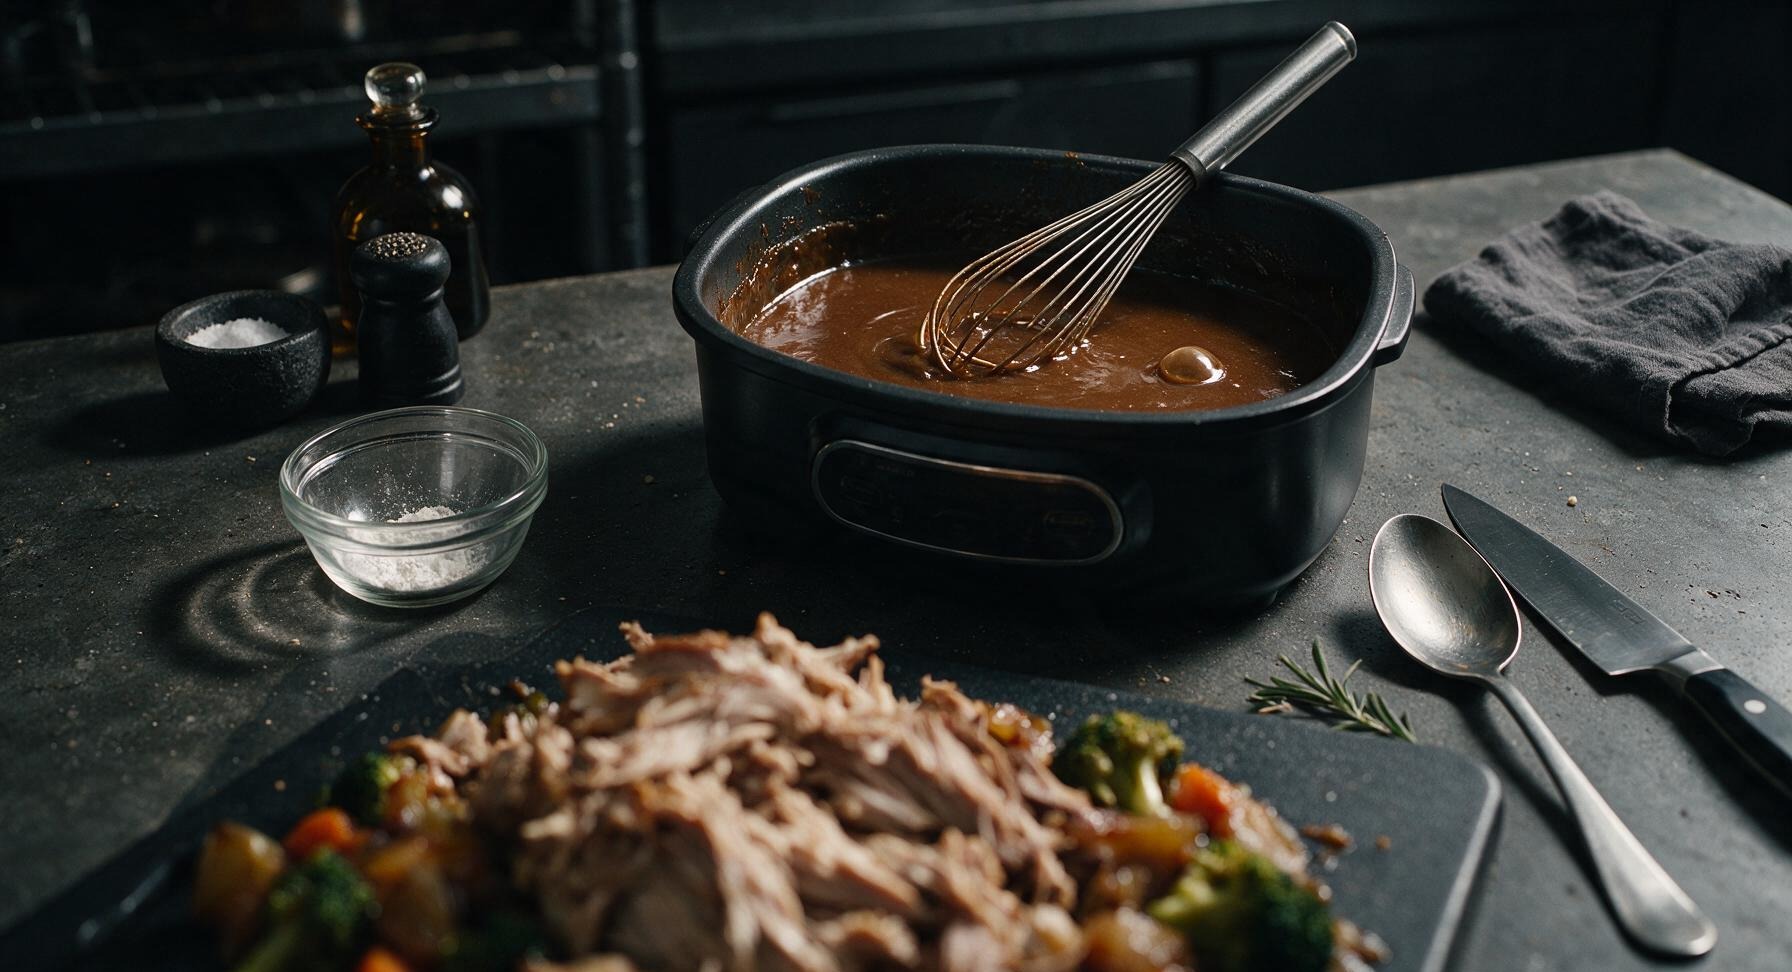
Transfer the cooked roast and vegetables to a clean section of the cutting board using the tongs, leaving the cooking liquid in the Instant Pot. Turn the pot back to Sauté mode on high. Whisk 2 tablespoons cornstarch with 2 tablespoons cold water in the clear glass ramekin to make a smooth slurry, then pour the slurry into the simmering cooking liquid. Whisk constantly with the stainless steel wire whisk for 2-3 minutes, until the gravy thickens to a smooth consistency that coats the back of a spoon. Taste and adjust salt and pepper if needed.
Rest and Slice Roast
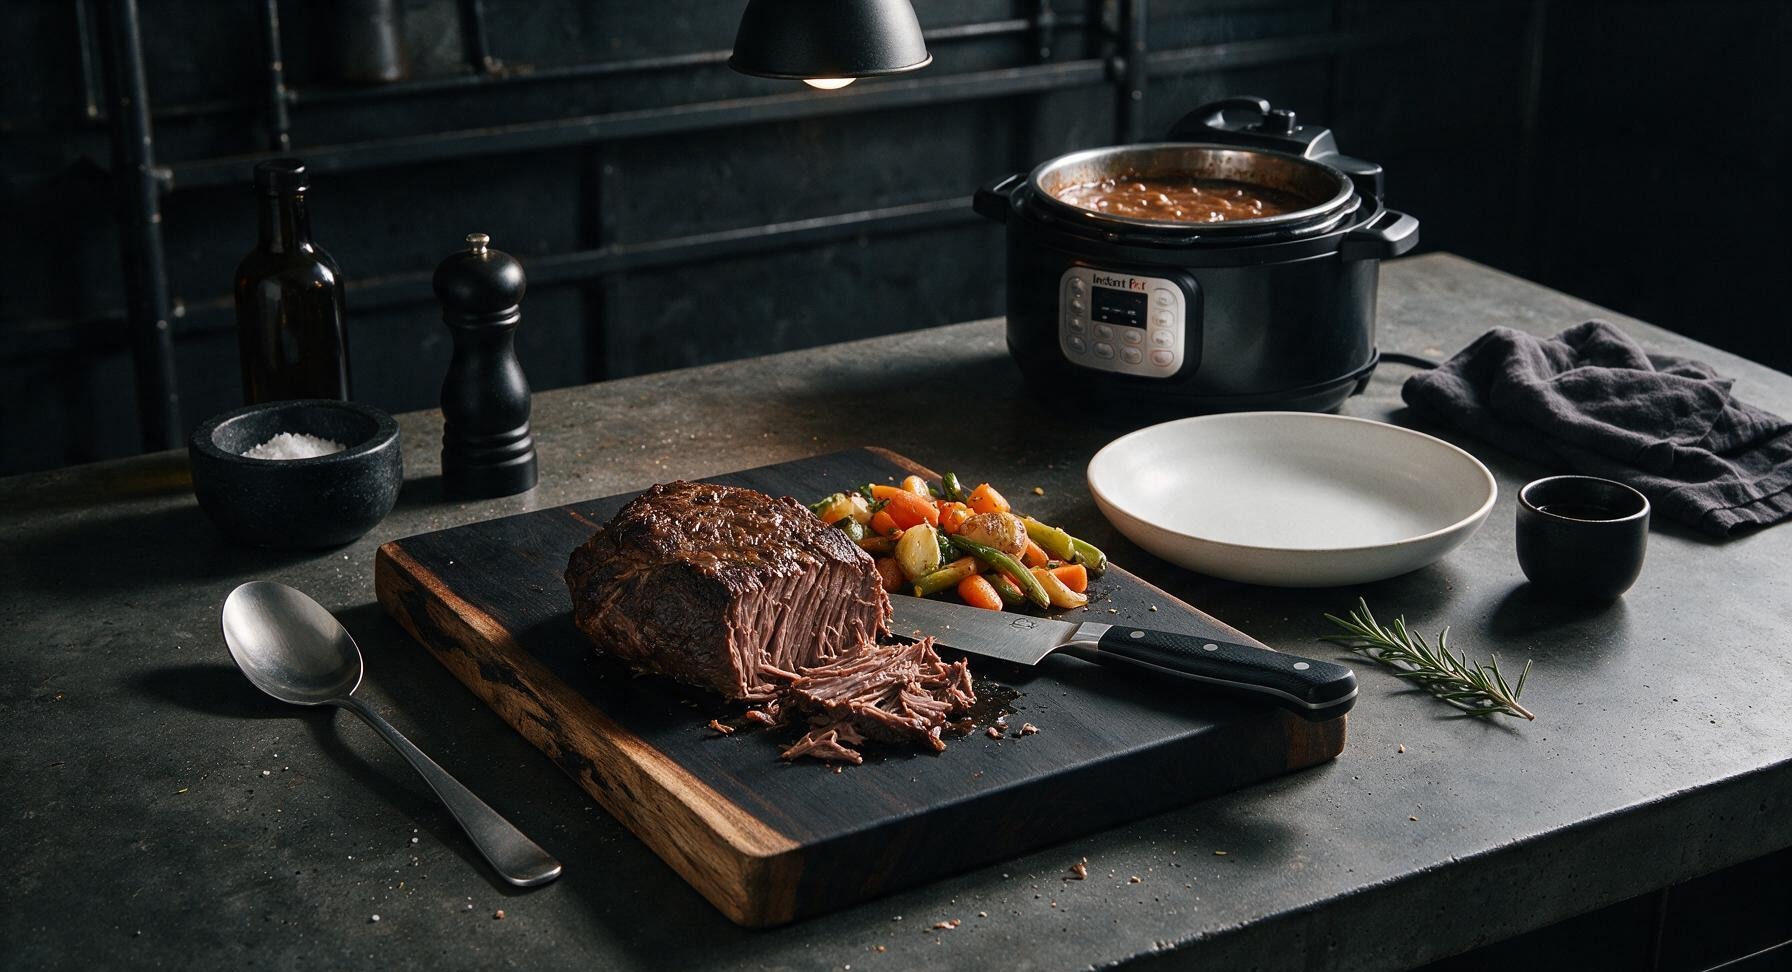
Let the roast rest for 10 minutes on the cutting board to allow juices to redistribute, then slice it against the grain into 2cm thick slices, or pull it into large chunks with two forks if it is extra tender. The meat should pull apart easily with no resistance, with no tough, chewy sections remaining.
Tips
2.Do not skip the 15-minute natural pressure release after cooking the roast: quick-releasing pressure immediately can cause meat fibers to seize up and become tough, while a slow, gradual release allows the meat to relax and retain its juicy, tender texture.
3.Use chuck roast instead of leaner cuts like sirloin or eye of round: the marbled fat and connective tissue in chuck breaks down during pressure cooking to create that signature fall-apart texture and rich flavor, while lean cuts will turn dry and stringy even with long cooking.






OMG this roast was SO good! I made it for Sunday family dinner and all three of my boys went back for seconds, even the picky one who swears he hates beef. It was literally fall apart tender just like the recipe says, no knife needed. Total game changer for busy weeknights too since the Instant Pot does all the work.
Made this for our neighborhood potluck last weekend and people were asking me for the recipe before we even finished eating! Quick question though – can I use a chuck roast that’s a little over 3 pounds? I grabbed one from the grocery store that’s 3.7 lbs and don’t want it to turn out tough.
I make a big batch of this every Sunday for meal prep and it holds up so well all week! I toss the shredded beef with the cooking juices and pack it with roasted carrots and mashed potatoes, and it’s way better than any sad office lunch I used to buy.
Uh oh, help! I’ve had my Instant Pot for 2 weeks and this is the first real recipe I’m trying. I did exactly what the recipe said but my roast is still a little tough? Did I do something wrong?
This was the first roast I’ve made that didn’t turn out dry or stringy since the kids moved out! It’s the perfect size for me and my husband to eat for dinner plus have enough leftover for hot beef sandwiches the next day. No more wasting half a roast because I made too big of a batch.
So excited to try this! Quick question – is the recipe gluten free if I swap the regular soy sauce for tamari? I don’t see any other gluten containing ingredients but wanted to double check before I make it for my sister who has celiac.
Made this for our college football watch party yesterday and it was gone in 20 minutes flat. I served it slathered on slider buns with a little horseradish sauce and people were raving the whole game. 10/10 will be making this every game weekend from now on.
Wow, this was way cheaper to make than I thought! I grabbed a chuck roast on sale for $12, had all the veggies and seasonings already in my pantry, and it fed me and my roommates for two nights. Way better than spending $50 on takeout for the three of us.
I’m a total beginner cook and I was so nervous to make roast for my husband for our first married anniversary dinner, but this recipe was so easy to follow! It came out perfectly tender, he said it tasted just like his grandma’s roast. I felt like a total pro pulling it out of the Instant Pot.
I don’t eat potatoes, so I swapped them for turnips and parsnips in this and it turned out amazing! The cooking time was exactly the same, and the veggies soaked up all that delicious beef flavor so well. Definitely recommend that swap for anyone who’s low carb.
Wait a second – can I put a completely frozen roast in the Instant Pot for this recipe? I forgot to thaw mine out last night and I’m supposed to make this for dinner tonight, don’t want to run to the store last minute.
My 10 year old golden retriever was sitting by the kitchen the whole time this was cooking begging for scraps, and I swear even he gave it two paws up when I gave him a tiny bite of plain beef. Jokes aside, this is the most tender roast I’ve ever made in my life, no exaggeration.
I have to watch my sodium intake so I cut the added salt in half and used low sodium beef broth, and it still had so much flavor! The herbs and garlic and onion do all the heavy lifting so you don’t need a ton of salt to make this taste great.
Y’all, I have a reputation for burning every single thing I cook, so I went into this fully expecting to mess it up. But??? It came out perfect?? The meat was fall apart tender, the carrots and potatoes were cooked just right, my roommate thought I ordered takeout. This recipe is foolproof I swear.