
bean burrito casserole

title 1
bean burrito casserole
⏱️ cook time 30 minutes
🍽️ servings 6
⚡ Difficulty easy

intro

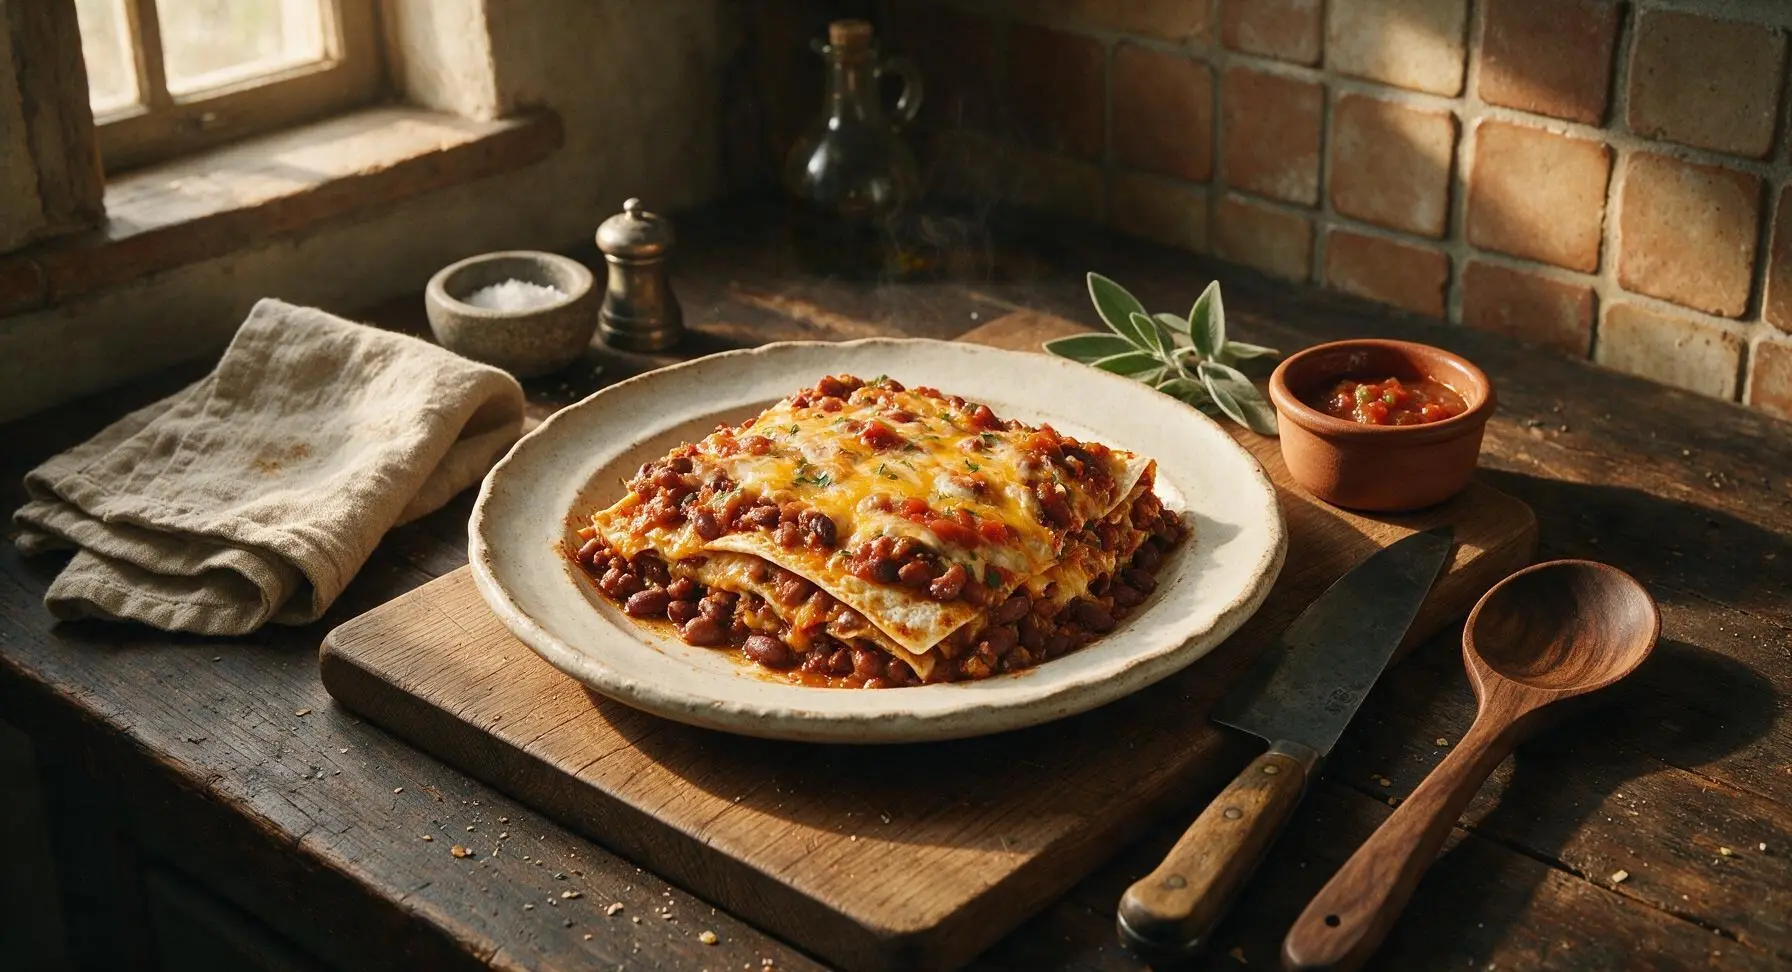
Layers of seasoned beans, melted cheddar, soft tortillas, and zesty salsa baked to bubbly perfection—this cozy, Tex-Mex inspired casserole delivers classic burrito flavor with minimal prep.

Ingredients
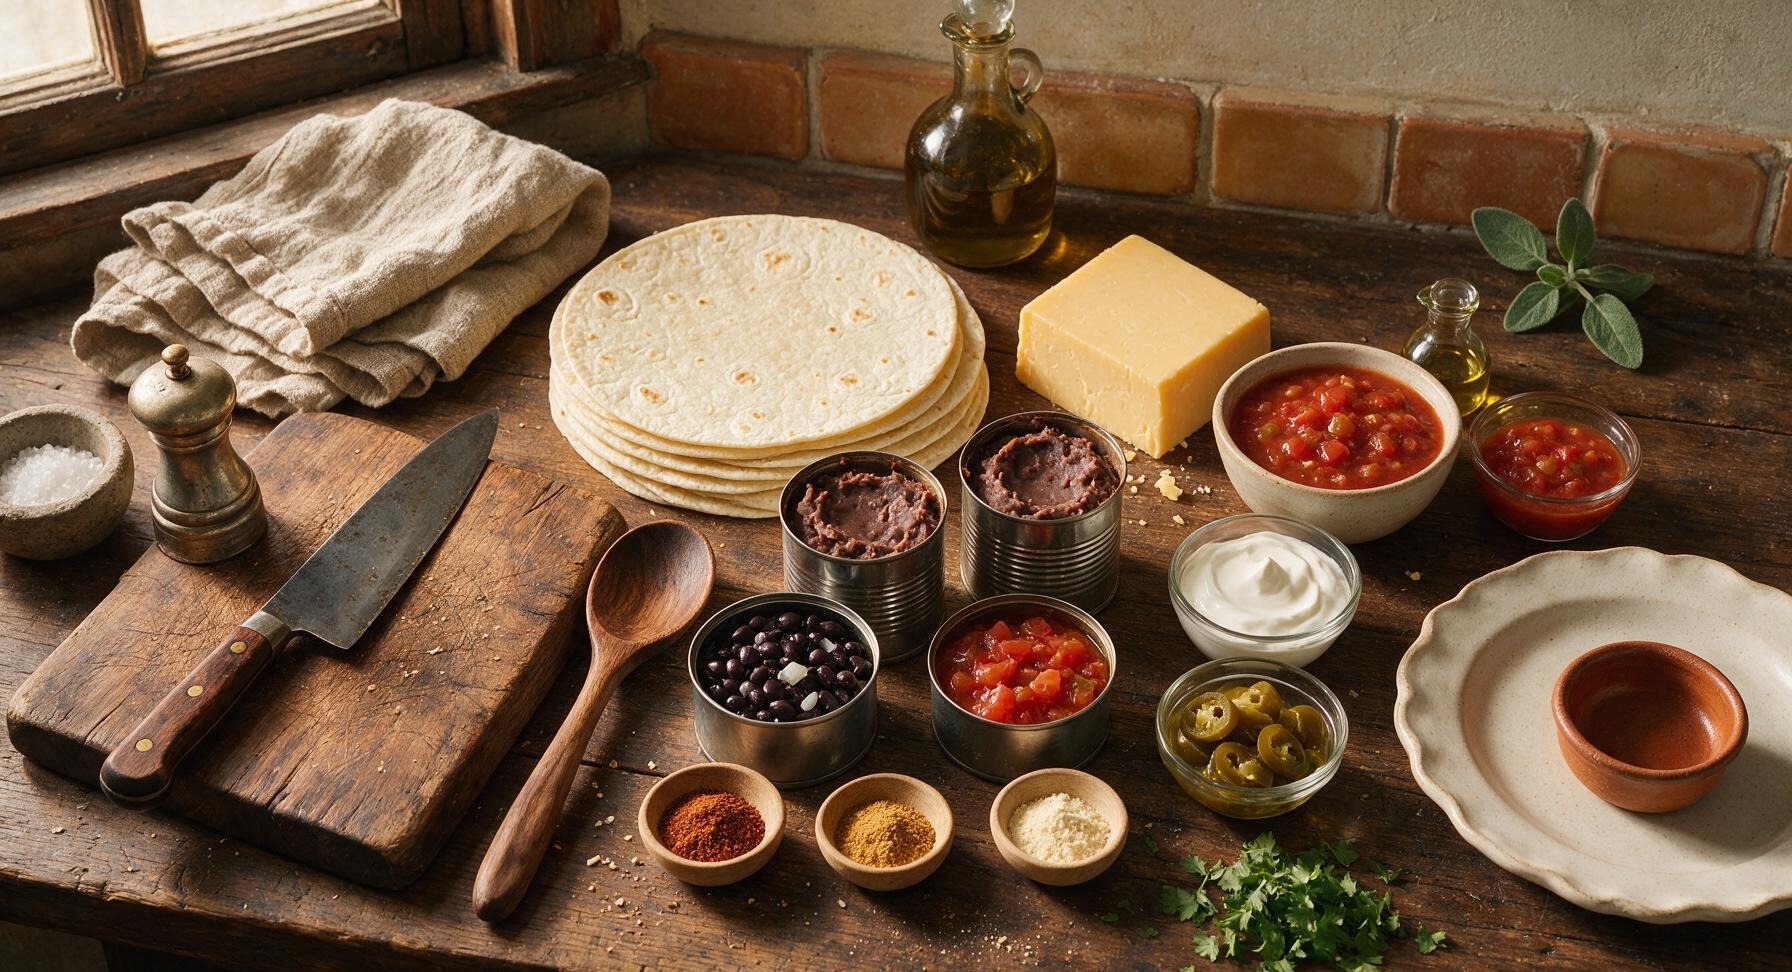
10-inch flour tortillas 6 pieces
Refried beans 2 cans (450g each, lightly drained)
Black beans, rinsed and drained 1 can (425g)
Sharp cheddar cheese, block 350g
Mild red salsa 500g
Diced tomatoes with green chiles, drained 1 can (280g)
Taco seasoning 2 tablespoons
Ground cumin 1 teaspoon
Garlic powder 1 teaspoon
Sour cream 120g
Fresh cilantro, chopped 15g
Pickled jalapeño slices 60g
Extra-virgin olive oil 1 teaspoon

Steps

1

Preheat and Grease Dish

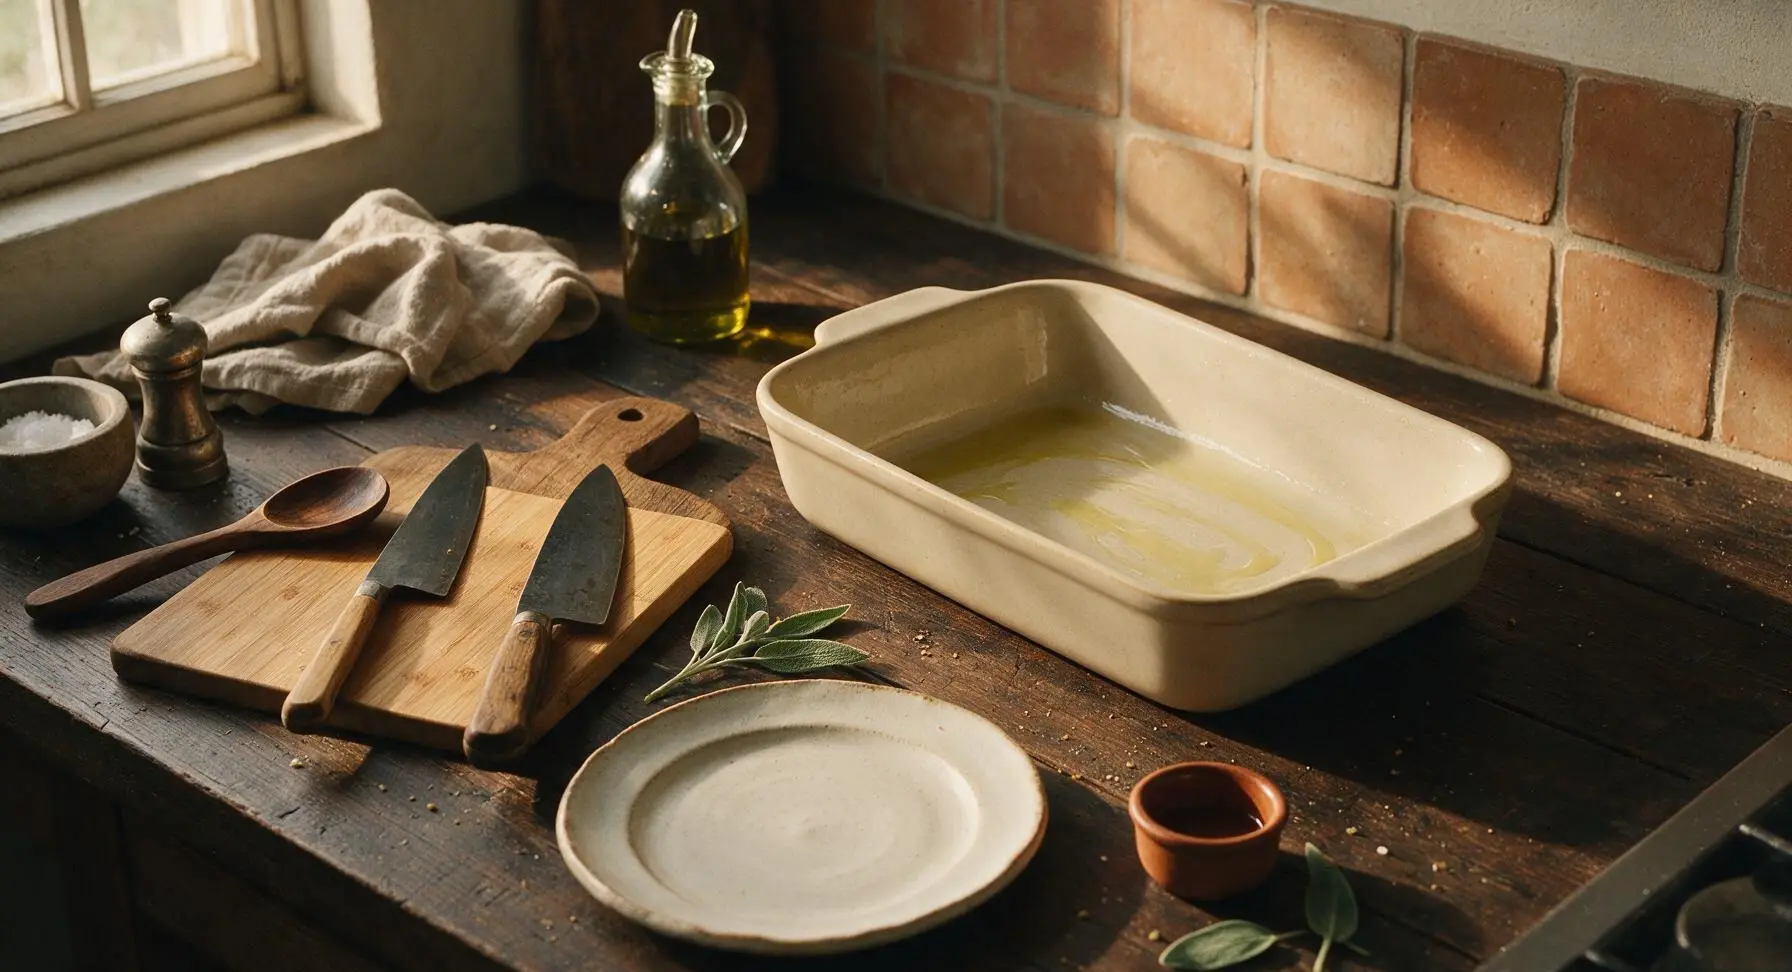
Preheat your oven to 190°C (375°F). Drizzle 1 teaspoon of olive oil into the 9x13 inch matte stoneware baking dish, then use a small piece of paper towel to wipe the oil across the entire interior surface (bottom and 1 inch up the sides) to prevent sticking. Set the prepared dish on the center-right section of the counter.
Step 1
step1:Preheat and Grease Dish
2

Mix Seasoned Bean Filling

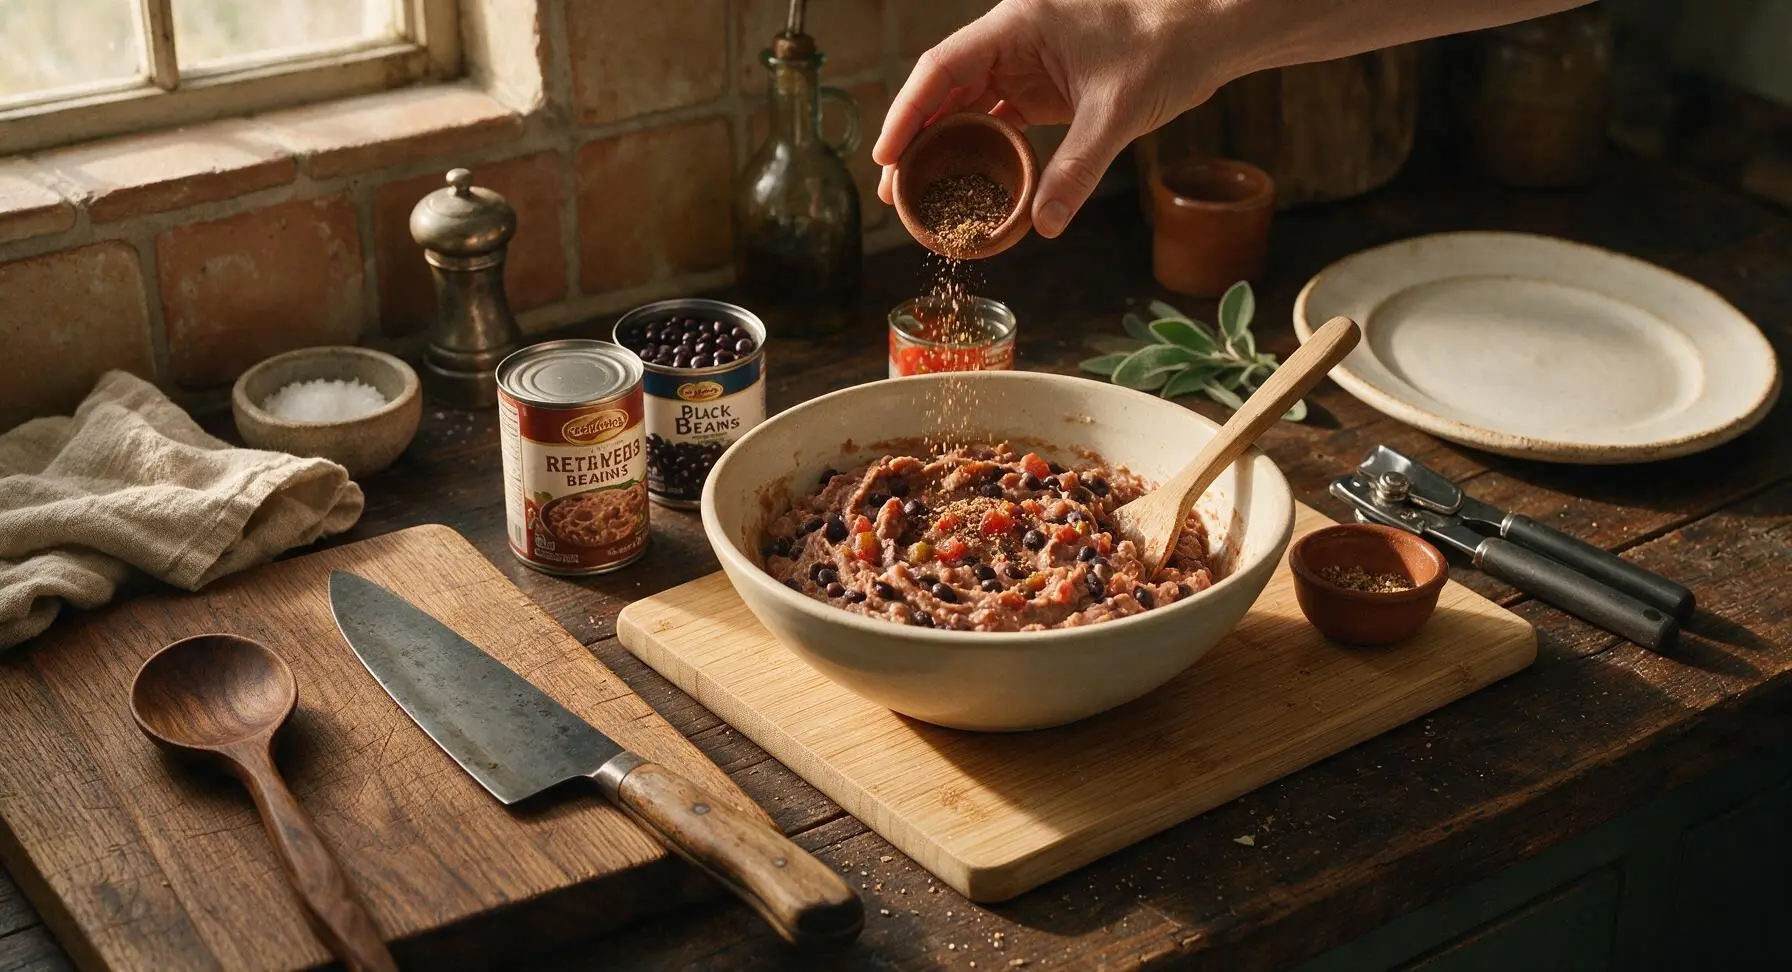
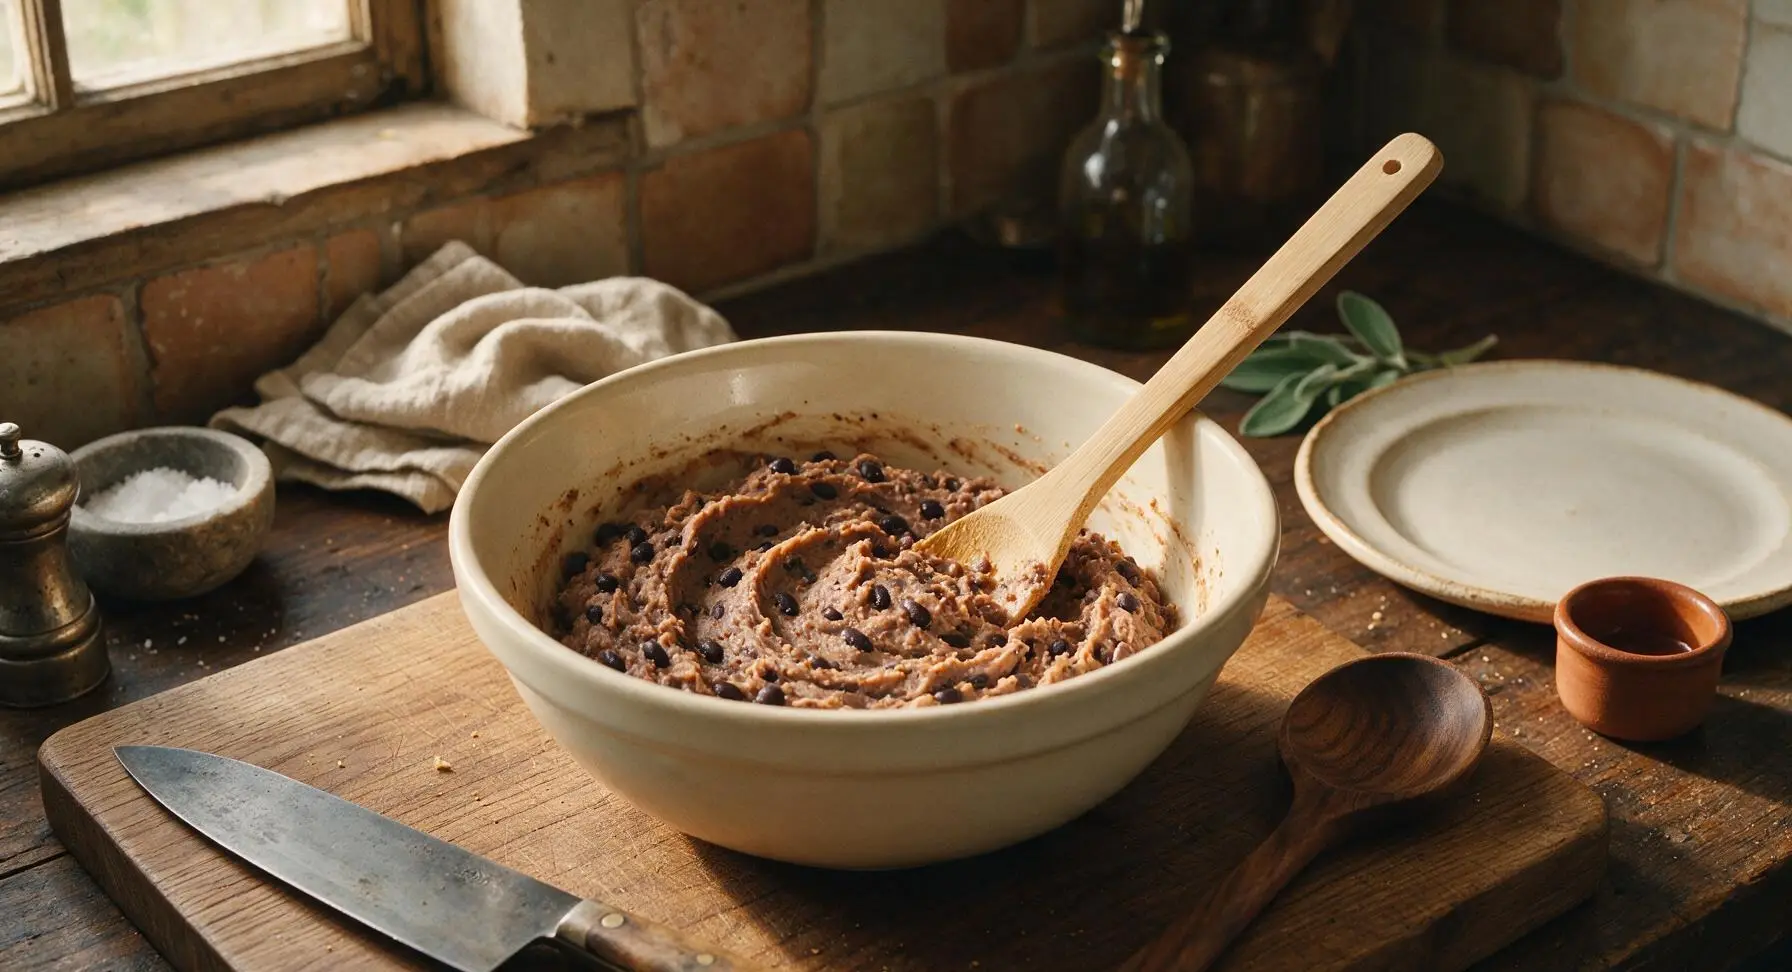
Combine the lightly drained refried beans, rinsed black beans, drained diced tomatoes with green chiles, 2 tablespoons taco seasoning, 1 teaspoon ground cumin, and 1 teaspoon garlic powder in the 24cm matte cream ceramic mixing bowl. Stir thoroughly with the bamboo mixing spoon for 1-2 minutes, until all spices are evenly distributed, no dry spice clumps remain, and black beans are scattered uniformly throughout the smooth refried bean base.
Step 2
step2:Mix Seasoned Bean Filling
Step 2
step2:Mix Seasoned Bean Filling
3

Shred Sharp Cheddar

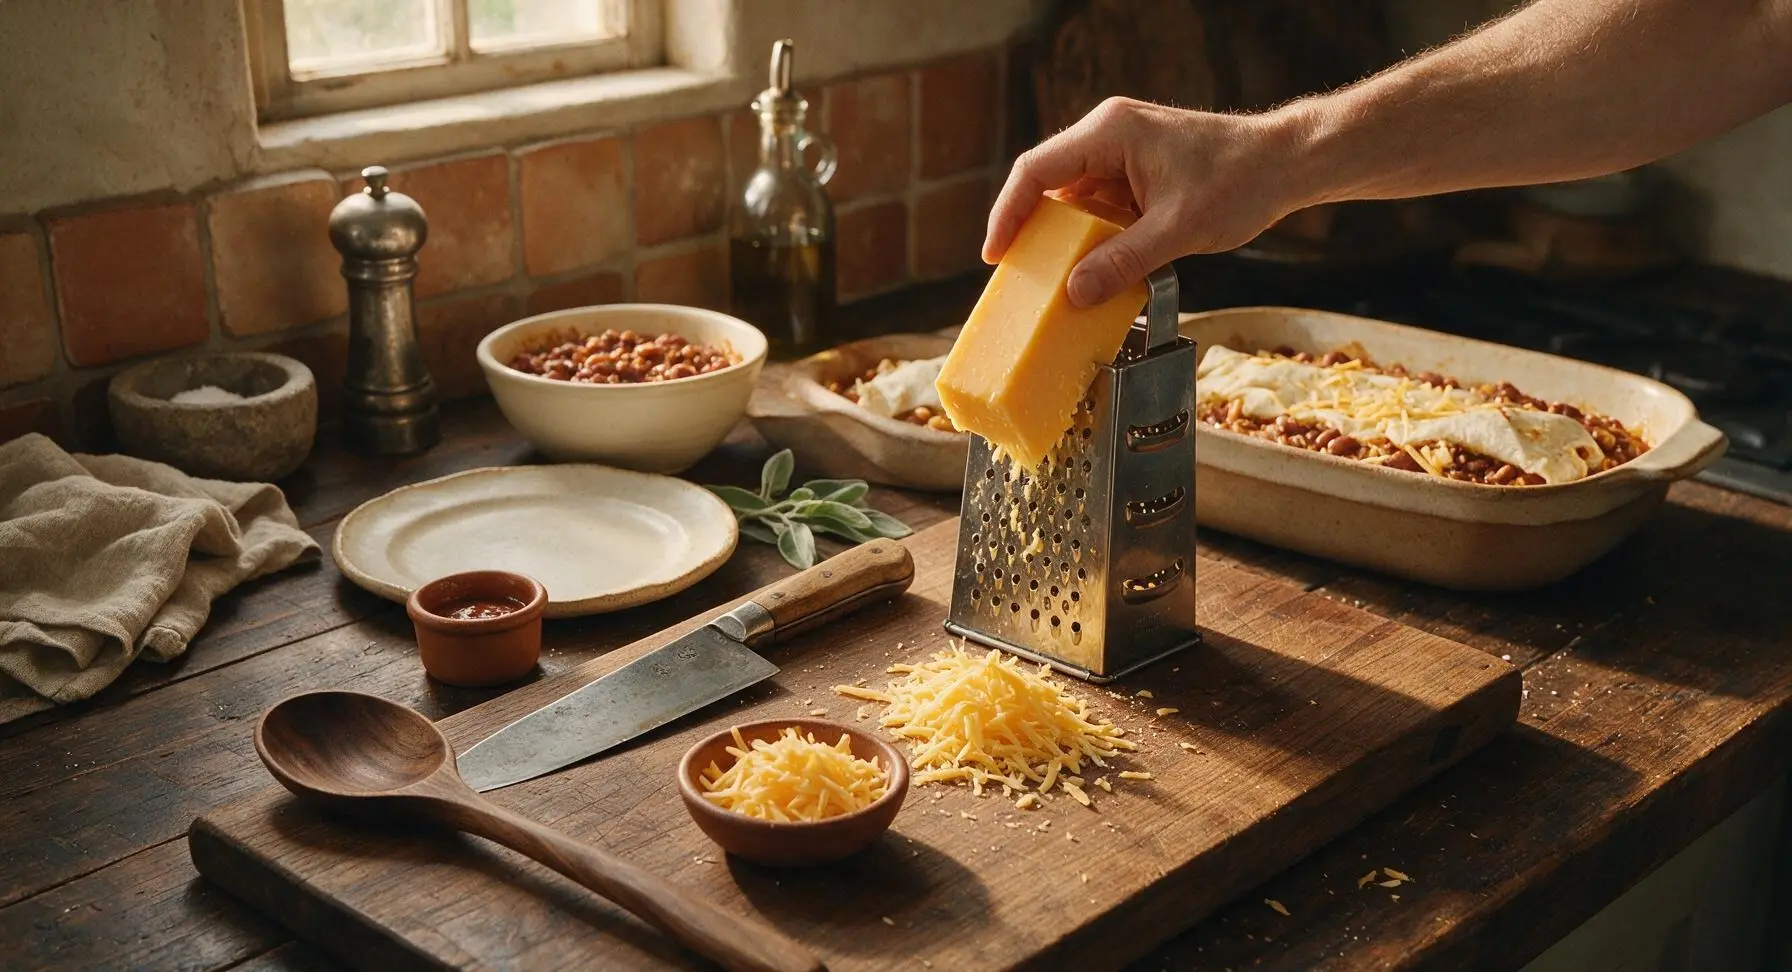
Position the stainless steel box grater on a clean section of the bamboo cutting board. Hold the block of sharp cheddar firmly against the large grating holes, and shred the entire block into coarse, even shreds. Set aside 50g of the shredded cheese in a small terracotta pinch bowl to use for the crispy top crust.
Step 3
step3:Shred Sharp Cheddar
4

Layer Tortilla Base

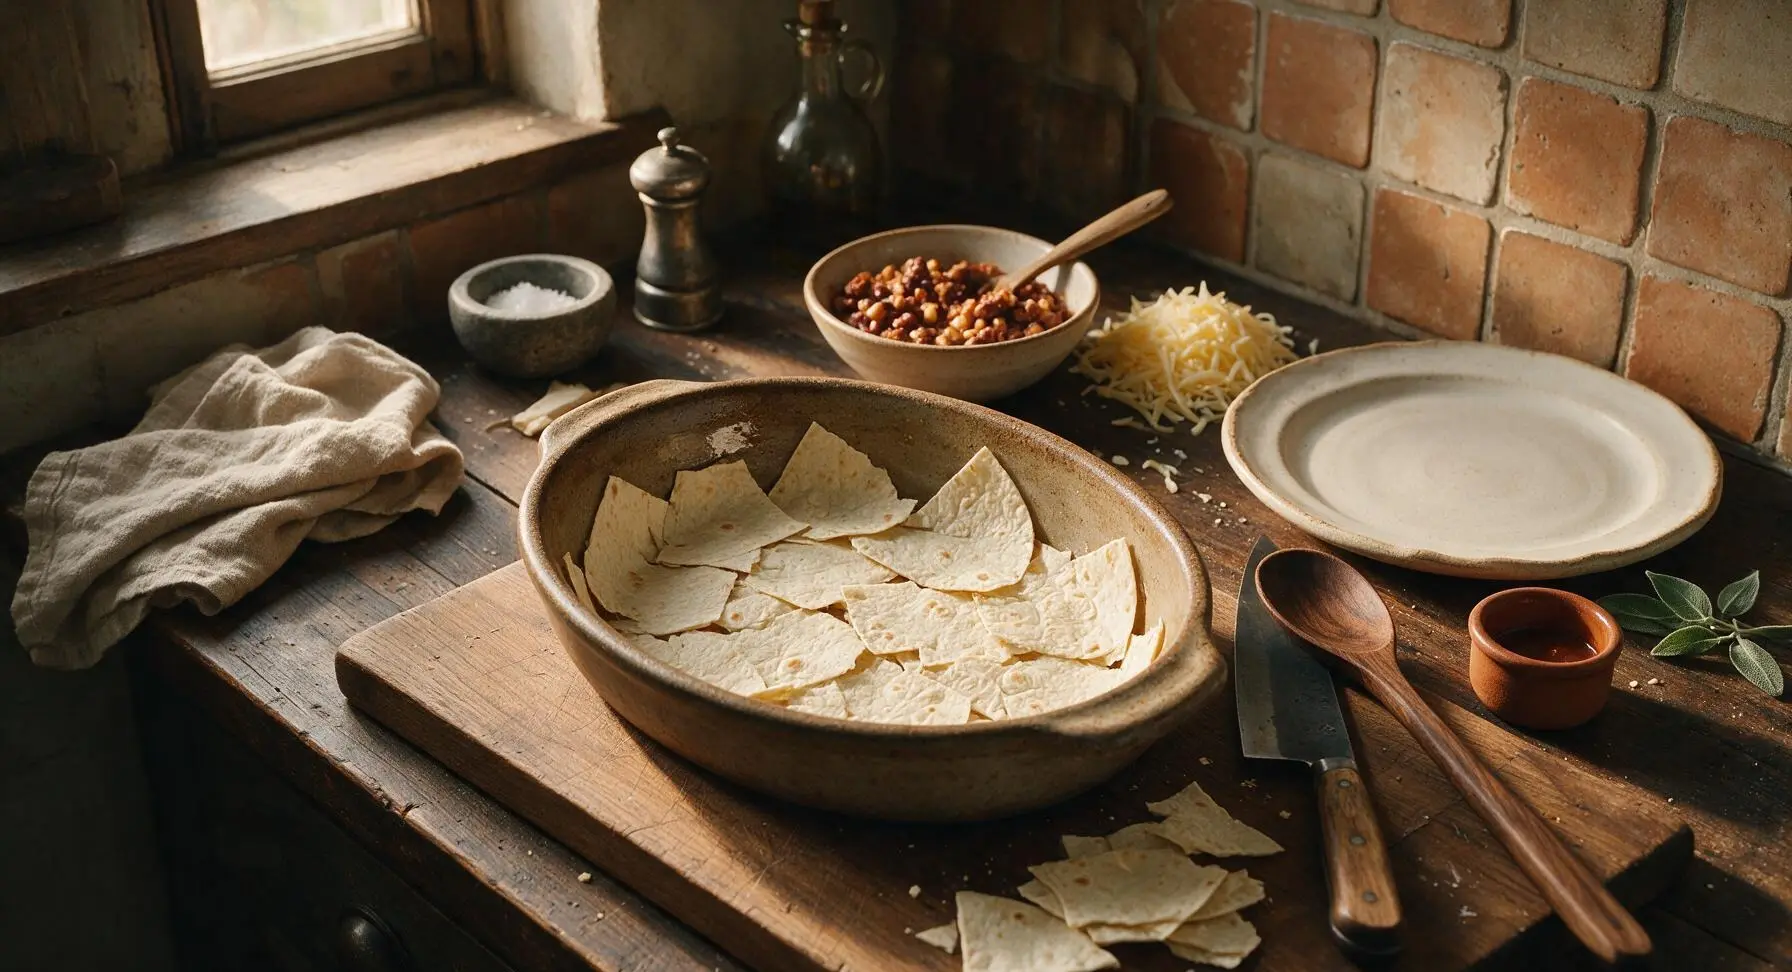
Tear 2 of the 10-inch flour tortillas into rough halves, then arrange them in the bottom of the greased baking dish, overlapping pieces slightly to cover the entire dish bottom with no visible gaps. Press the tortillas gently against the oiled dish surface to help them adhere and prevent shifting during layering.
Step 4
step4:Layer Tortilla Base
5

Stack Casserole Layers

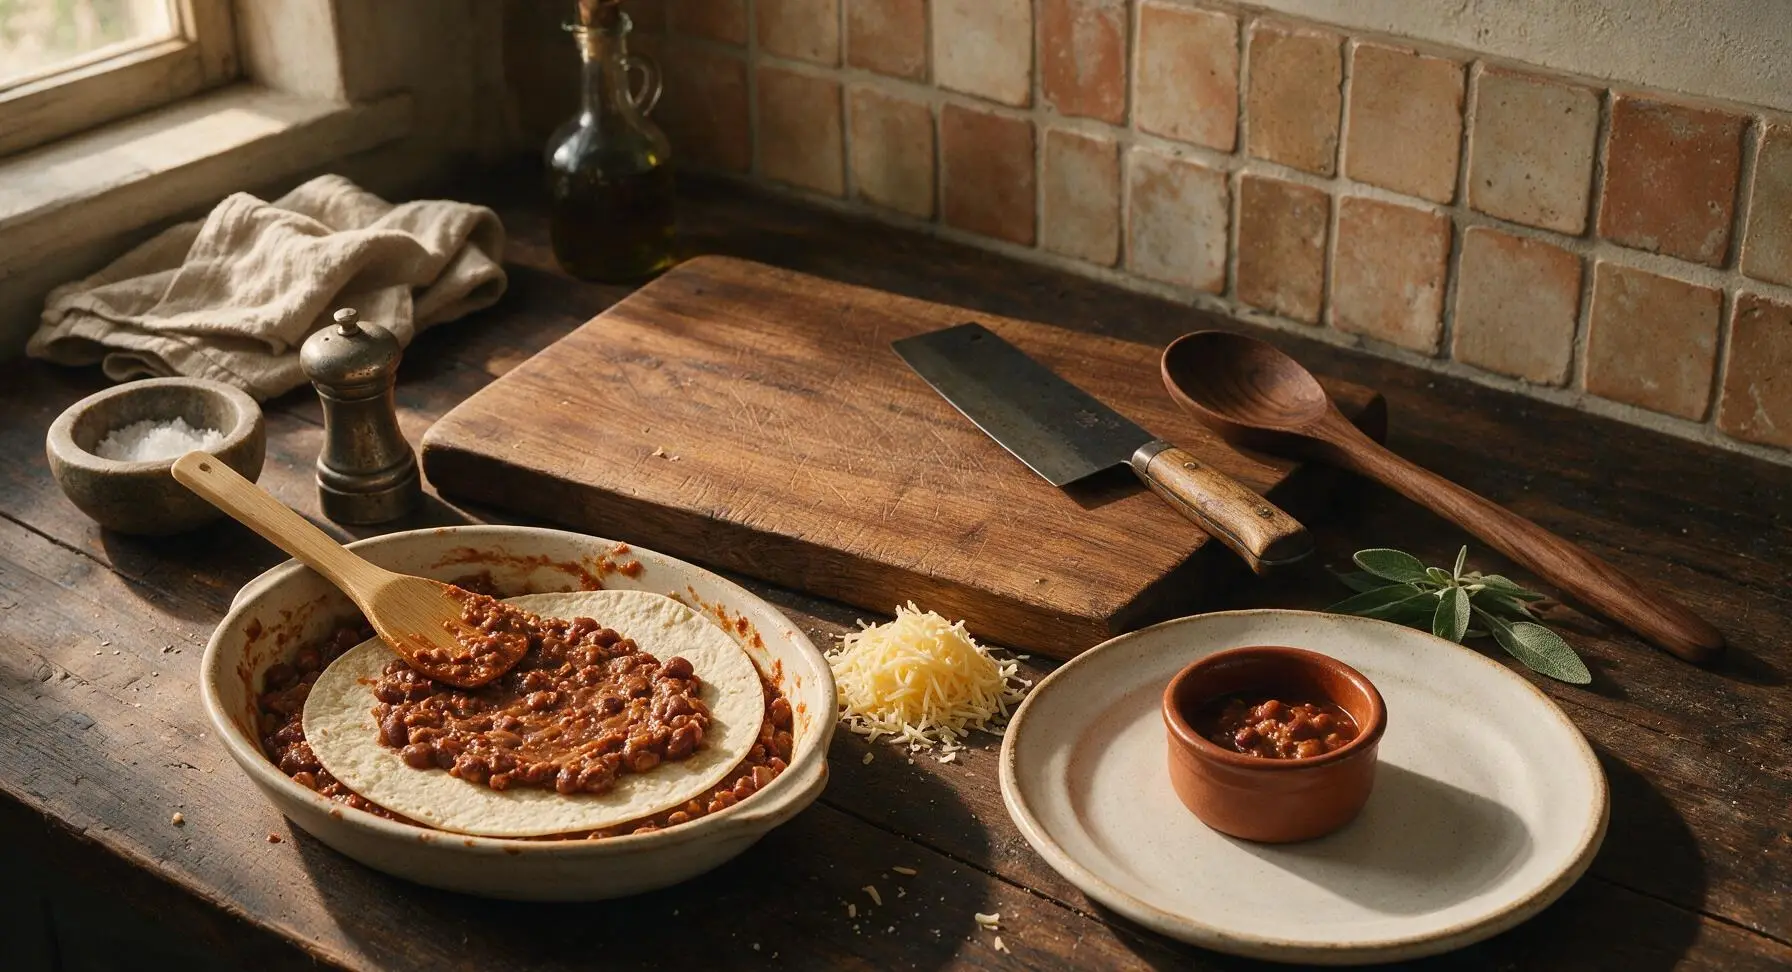
Scoop one-third of the seasoned bean mixture evenly over the tortilla base, spreading it gently with the bamboo spoon to cover all tortilla pieces without shifting them. Top the bean layer with one-third of the shredded cheddar (excluding the reserved 50g for the top), followed by one-quarter of the red salsa spread in a thin, even layer. Repeat this layering sequence (torn tortillas, bean mixture, cheese, salsa) two more times, finishing with a final top layer of tortillas that covers the entire casserole surface.
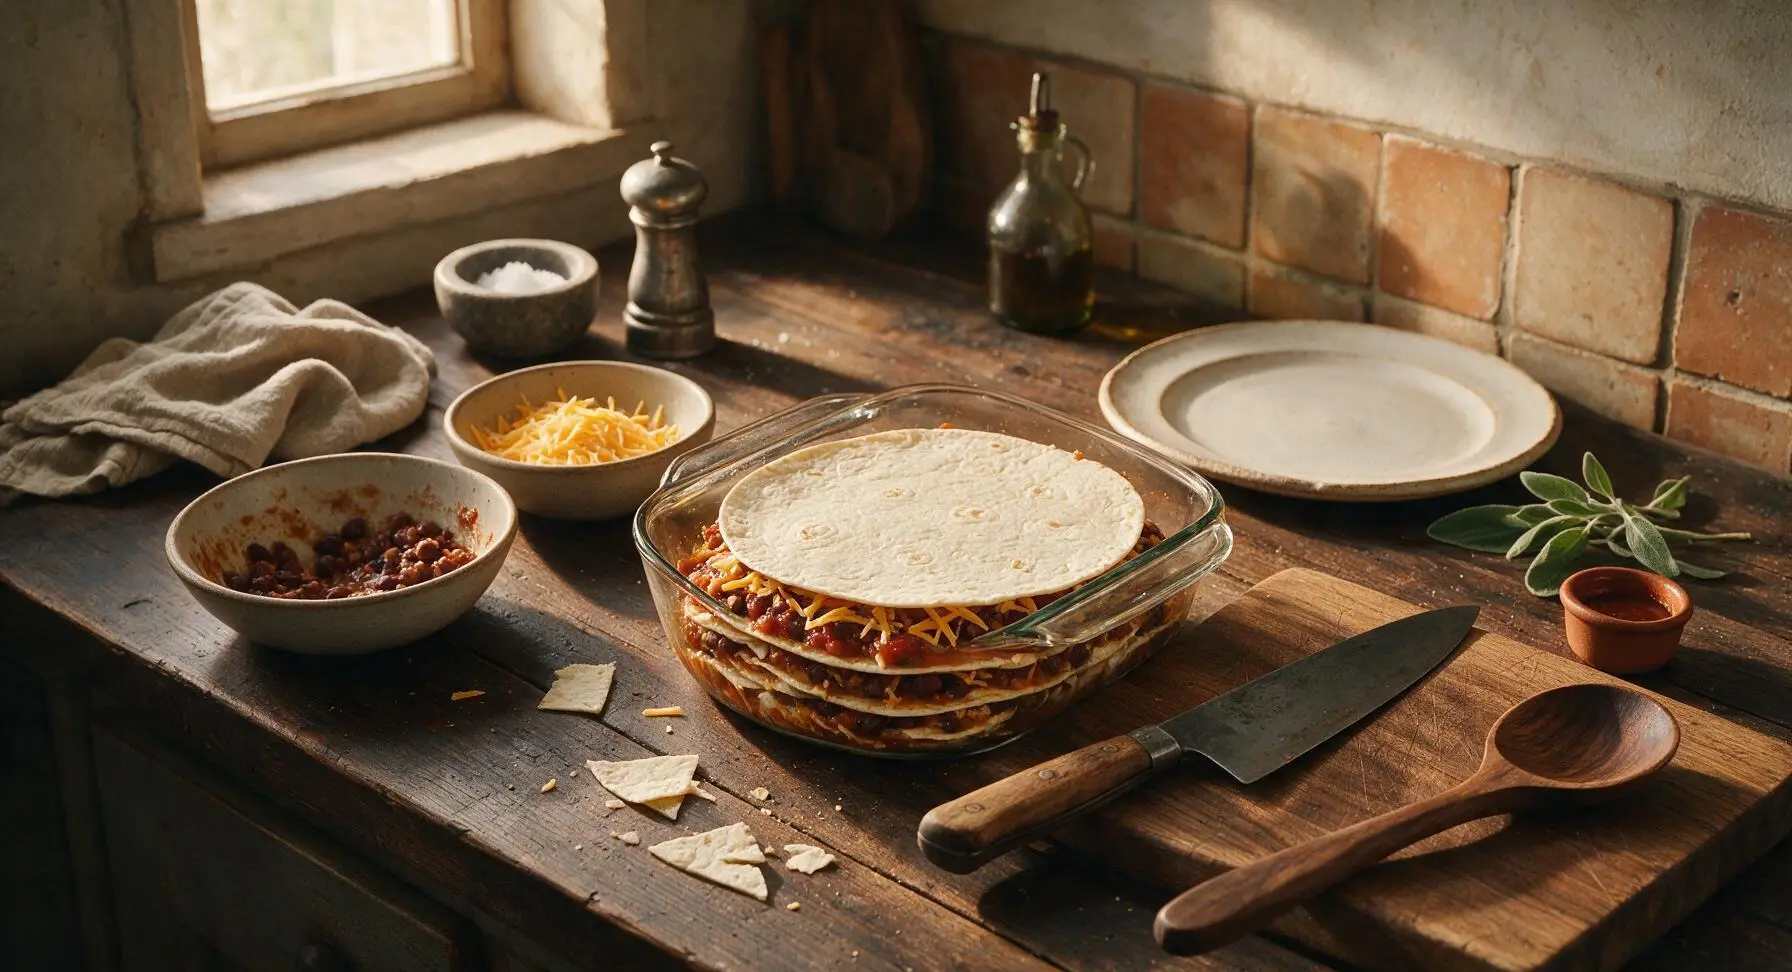
Step 5
step5:Stack Casserole Layers
Step 5
step5:Stack Casserole Layers
6

Top and Bake Casserole

Spread the remaining red salsa evenly over the top tortilla layer, then sprinkle the reserved 50g of shredded cheddar across the salsa in a thin, even layer. Carefully place the baking dish on the middle rack of the preheated 190°C (375°F) oven, and bake for 28-30 minutes, until the cheese is fully melted, the casserole edges bubble vigorously, and the top cheese develops light golden brown spots.
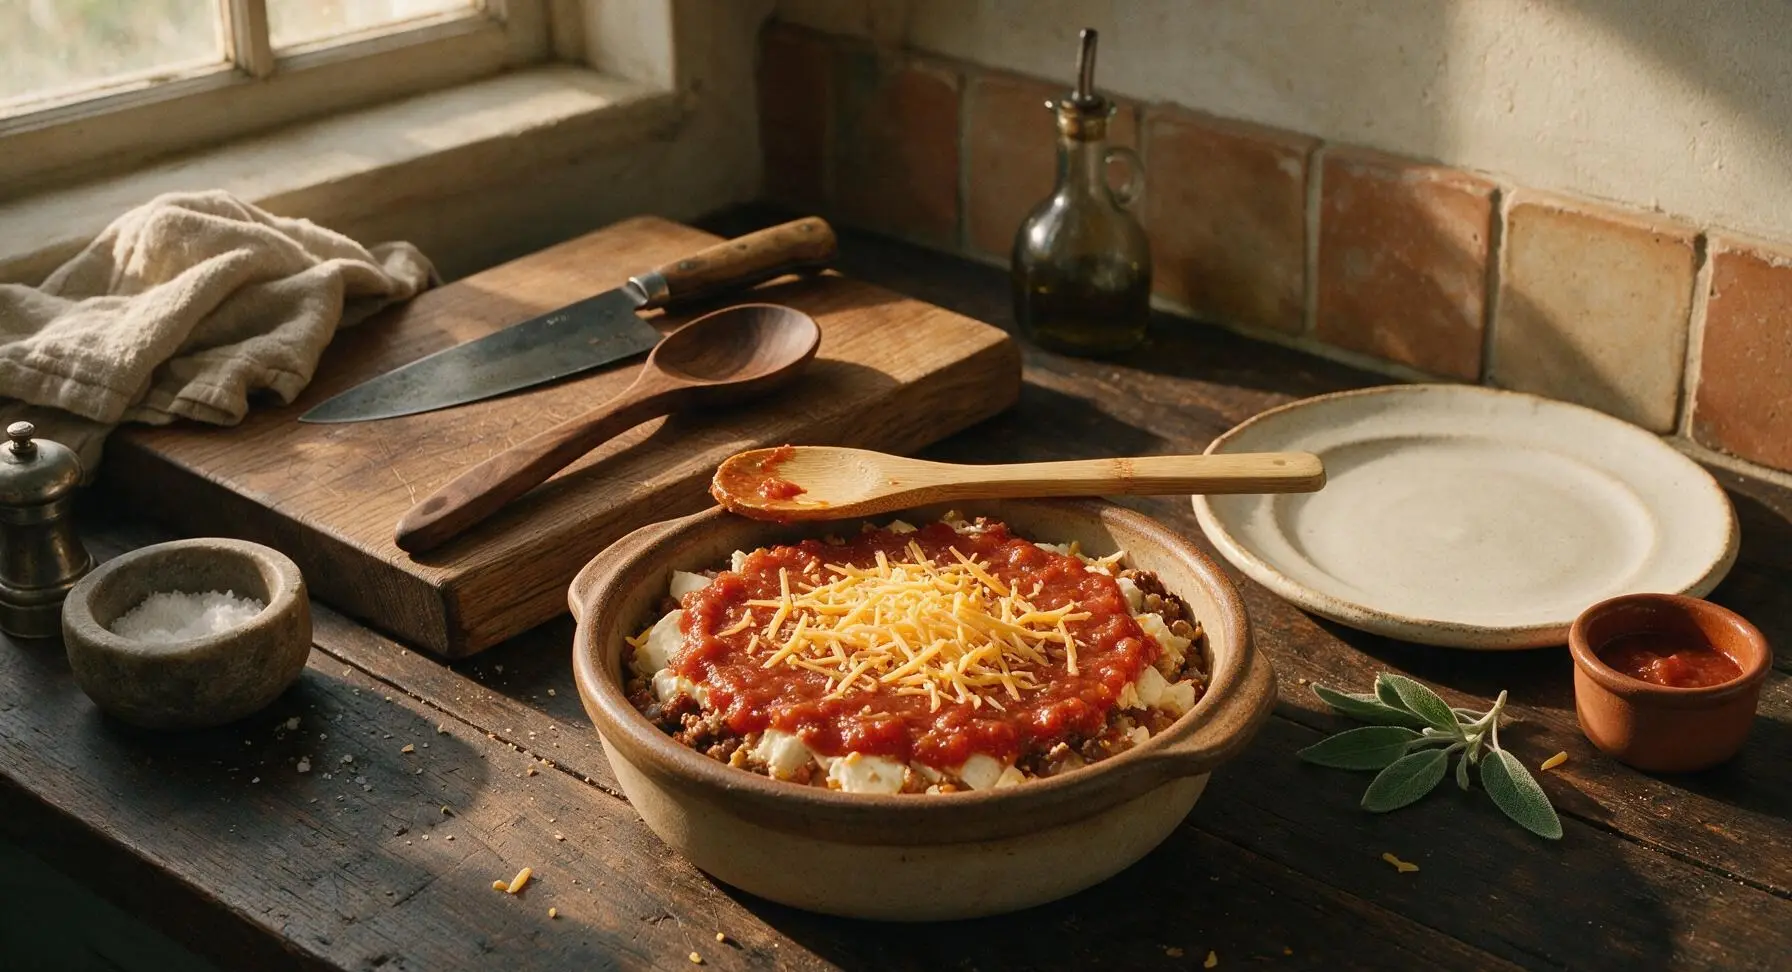
Step 6
step6:Top and Bake Casserole
7

Rest Baked Casserole

Use oven mitts to carefully remove the hot baking dish from the oven, and set it on the heat-safe counter space next to the folded burnt orange towel to rest for 10 minutes. This rest allows the layers to set, so portions hold their clean square shape instead of sliding apart when served.
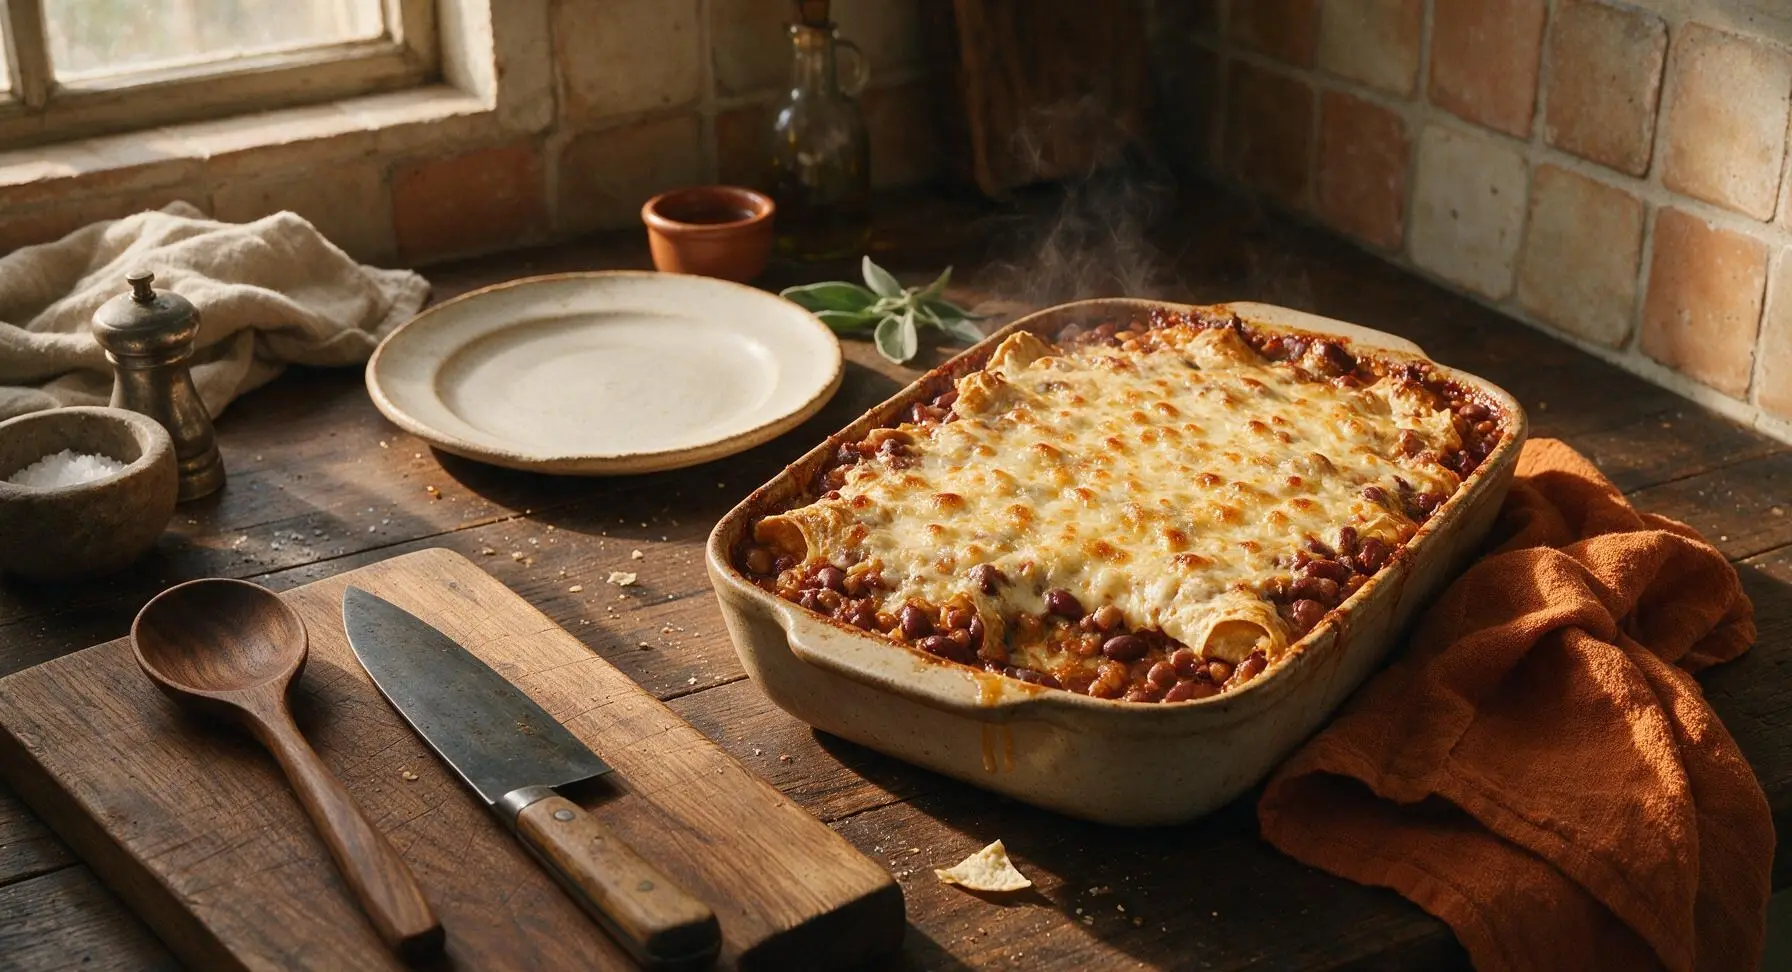
Step 7
step7:Rest Baked Casserole
8

Plate and Add Garnishes

Use the stainless steel serving spatula to cut the rested casserole into 6 equal square portions. Lift one portion onto the matte off-white ceramic dinner plate, then top with a 2-tablespoon dollop of sour cream, a sprinkle of chopped fresh cilantro, and 2-3 pickled jalapeño slices (if desired). Serve immediately while warm.
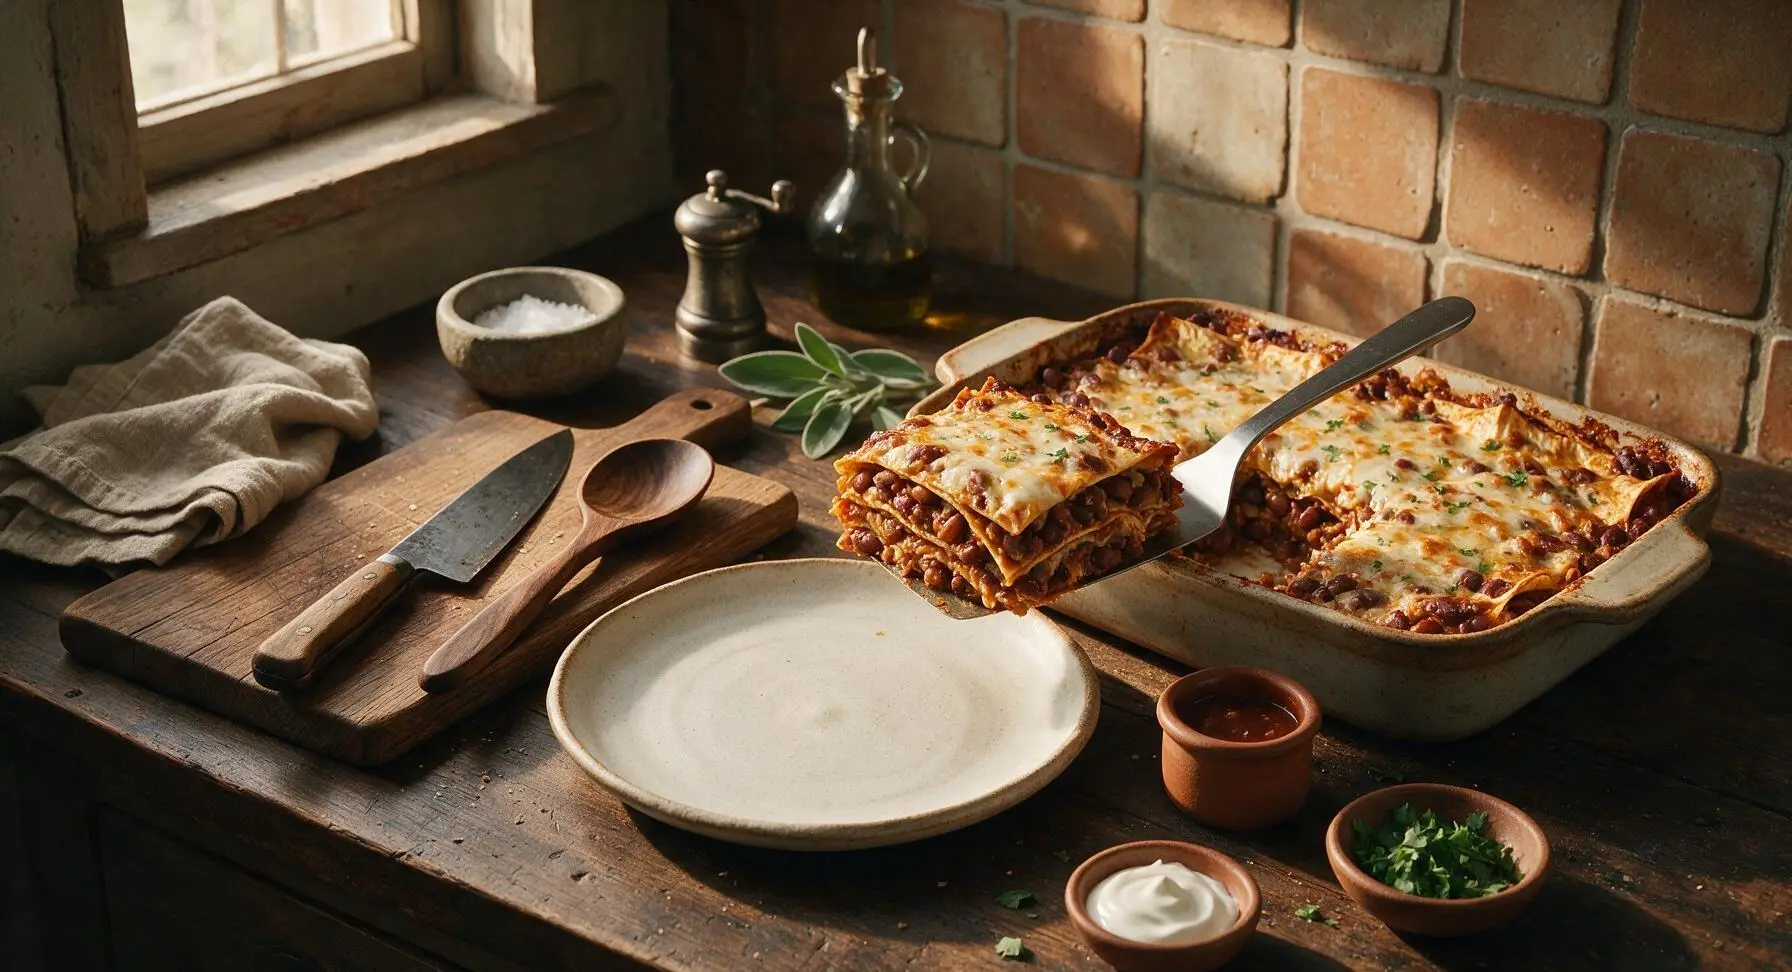
Step 8
step8:Plate and Add Garnishes

Tips

1.Warm refried beans for 60 seconds in the microwave before mixing: this softens their thick, dense texture, making them easy to spread over tortillas without tearing the soft tortilla layers during assembly.
2.Don’t skip the 10-minute post-bake rest: straight from the oven, the cheese and bean filling are hot and runny, and resting allows layers to set so you get clean, intact square portions instead of a messy, sliding scoop.
3.Prep the casserole up to 24 hours in advance: assemble all layers in the baking dish, cover tightly with plastic wrap, and refrigerate. Add 5-7 minutes to the bake time when cooking from cold, for an easy, low-effort Sunday dinner with zero last-minute prep.


✨ You May Also Like

Main Course
🍜 United Kingdom

A showstopping classic of tender seared beef, savory mushroom duxelles, and crisp prosciutto wrapped in flaky golden puff pastry, baked to juicy perfection.

⏱️ 2 hours 1Main Course ★ 4.7
Main Course
🍜 India

Tender charred marinated chicken simmered in a rich, spiced creamy tomato sauce, this iconic Anglo-Indian curry pairs perfectly with basmati rice or warm naan.

⏱️ 50 minuteMain Course ★ 4.6
Main Course
🍜 Thailand

Classic tangy, sweet, and savory Thai stir-fried rice noodles with shrimp, tofu, and crunchy garnishes, balancing all five core Thai flavor profiles.

⏱️ 30 minuteMain Course ★ 4.5
Main Course
🍜 United Kingdom

Crispy golden beer-battered cod and fluffy double-fried chips, served with tangy tartar sauce and malt vinegar: the timeless, beloved British pub comfort classic.

⏱️ 45 minuteMain Course ★ 4.7
Main Course
🍜 Mexico

Smoky, chile-marinated pork tacos with caramelized pineapple, fresh cilantro, and lime: a beloved classic Mexican street food perfect for casual summer gatherings.

⏱️ 1 hour 45Main Course ★ 4.8
Main Course
🍜 United States

Crunchy Fritos corn chips layered with savory beef chili and melted cheddar, topped with cool, zesty fixings for a beloved, cozy Tex-Mex comfort food.

⏱️ 35 minuteMain Course ★ 4.8

bean burrito casserole:Frequently Asked Questions

1.How do I keep my Hearty Bean Burrito Casserole from getting soggy? ▾
Great question! First, pat your rinsed black beans lightly with a paper towel to remove excess starchy moisture, and skip extra-watery store-bought salsas. Spread a thin base layer of refried beans directly on tortillas to create a moisture barrier, and bake uncovered for the final 10 minutes to keep the top layer crisp, not mushy.
2.Can I prep this casserole a day ahead before baking? ▾
Absolutely! Assemble all your layers of tortillas, beans, salsa, and ⅔ of the shredded cheddar right in your baking dish, then cover tightly with plastic wrap and store in the fridge for up to 24 hours. When ready to bake, remove the plastic, top with remaining cheddar, and add 5 to 7 minutes to total bake time to account for the chilled dish.
3.Why do you recommend using block sharp cheddar instead of pre-shredded cheese? ▾
Pre-shredded cheddar is coated in anti-caking agents like potato starch that keep it from clumping in the bag, but those additives also prevent it from melting into that smooth, gooey, pull-apart texture we want here. Freshly shredding your own block sharp cheddar gives richer, creamier melted cheese with better flavor, for barely 2 minutes of extra prep.
4.Can I swap flour tortillas for corn tortillas if that’s what I have on hand? ▾
You absolutely can! Just note that standard 6-inch corn tortillas are smaller than the 10-inch flour tortillas called for, so you’ll need a couple extra to cover each layer. Corn tortillas have a heartier, slightly nutty flavor and hold up firmer to moisture, making them a great pick if you prefer a more textured, less soft casserole bite.
5.What’s the best way to layer this casserole so every bite has all the flavors? ▾
Stick to a consistent, repeat layer order for even flavor: start with a thin smear of salsa on the dish bottom to prevent sticking, then add a tortilla layer, followed by refried beans, rinsed black beans, a sprinkle of cheddar, and a light drizzle of salsa. Repeat until the dish is full, finishing with salsa and remaining cheddar for a bubbly golden top.
6.Can I add meat to this vegetarian casserole for extra protein? ▾
Of course! This flexible base works beautifully with 1 to 1.5 cups of cooked, crumbled ground beef, shredded chicken, or crumbled chorizo mixed in with the black bean layer. Just make sure any meat you add is fully cooked before layering, and pat off excess grease to keep the casserole from getting greasy or soggy as it bakes.
7.I only have spicy salsa on hand—will that throw off the recipe’s flavor? ▾
Not at all! The original recipe uses mild red salsa to keep it family-friendly, but swapping in medium or hot salsa is an easy way to kick up the heat if you prefer bolder flavor. If you’re worried it will be too spicy for kids or sensitive eaters, mix half spicy salsa with half mild to balance the heat.
8.How do I know when the casserole is fully done baking? ▾
Your casserole is ready when the edges are actively bubbling all the way around the dish, the cheddar on top is fully melted with light golden brown spots, and the center is hot all the way through with no cold, uncooked tortilla layers. You can test this with an instant-read thermometer, which should read 165°F in the middle; this usually takes 25 to 30 minutes at 375°F.
9.Can I freeze leftover baked casserole for later quick meals? ▾
Definitely! Let the fully baked casserole cool completely to room temperature first, then cut it into individual serving-sized portions and wrap each tightly in plastic wrap followed by a layer of aluminum foil. Frozen portions will keep well for up to 3 months, and you can reheat them straight from frozen in the oven or microwave.
10.What sides go best with this hearty bean burrito casserole? ▾
This rich, cheesy casserole pairs perfectly with light, bright sides to cut through the richness. My go-tos are a simple crisp green salad with lime vinaigrette, a dollop of tangy sour cream, fresh pico de gallo, sliced avocado, pickled jalapeños, or a side of tortilla chips for scooping up extra cheesy bits on your plate.
11.Can I make this recipe vegan or dairy-free? ▾
You can easily adapt this to be dairy-free and vegan with a couple simple swaps. Trade the sharp cheddar for your favorite meltable vegan cheddar shreds, double-check that your refried beans are lard-free (most canned vegetarian refried beans are!), and use your standard tortillas and mild red salsa, which are almost always vegan by default.
12.My refried beans are really thick and hard to spread—what should I do? ▾
Super easy fix! Thick, stiff refried beans can tear soft flour tortillas when you try to spread them, so stir in 1 to 2 tablespoons of warm water, vegetable broth, or a little extra salsa to thin them to a smooth, spreadable consistency similar to thick peanut butter. Don’t thin them too much, though, or they’ll add excess moisture that causes sogginess.
13.Do I need to cover the casserole with foil while it bakes? ▾
I recommend covering the dish tightly with foil for the first 20 minutes of baking to help the layers heat through evenly without the top cheese burning before the center is warm. Remove the foil for the last 5 to 10 minutes of bake time to let the cheese bubble up and develop those delicious little golden, crispy spots on top.
14.What’s the best way to reheat leftovers so they don’t get rubbery? ▾
For the best texture, reheat single portions in a 350°F oven, covered with a small piece of foil, for 10 to 12 minutes until heated through. If you’re short on time, use the microwave at 50% power in 30-second bursts, stopping to stir edges slightly, to keep cheese gooey and tortillas soft instead of tough and rubbery.
15.Can I swap the black beans for a different type of bean if I don’t have any? ▾
Absolutely! This recipe is super flexible when it comes to beans. Rinsed pinto beans, light red kidney beans, or even a drained can of mild chili beans work perfectly as a swap for black beans. Just be sure to rinse off excess can brine and pat beans lightly dry before layering to keep the casserole from getting watery as it bakes. A half cup of drained sweet corn makes a nice add-in too, if you’d like.

Comments (5)

2 days ago

OMG this casserole is a total game changer for our weeknight family dinners! It only took 30 minutes total, which is perfect for those chaotic school nights when I don’t have time to fuss over a complicated meal. My kids are super picky and they both went back for seconds! I threw in a little extra corn because we had some leftover in the fridge and it worked perfectly. 10/10 will be making this for our next potluck too!

yesterday

Wait adding extra corn sounds chef’s kiss! I have a bag of frozen corn in my freezer I’ve been needing to use up, definitely throwing that in when I make this tonight!

yesterday

So glad your family loved it! Adding extra corn is such a great call, feel free to toss in any leftover veggies you have on hand – this recipe is super forgiving! Hope it’s a hit at your potluck!

1 week ago

SO good. I made a big pan of this on Sunday for my weekly meal prep and it held up perfectly all week for lunches! It’s so easy to throw together, I didn’t even have to run to the store – I had all the canned beans, tortillas, and cheese in my pantry already. Will absolutely be adding this to my regular rotation.

5 days ago

That’s amazing to hear! This casserole is such a great meal prep option because the flavors actually get better as it sits in the fridge. So smart to use up pantry staples for it!

5 minutes ago

I was a little worried a bean-only casserole would feel too heavy or bland, but wow, the seasoning is spot on! I swapped the regular cheese for a dairy-free pepper jack and it worked so well, even my meat-obsessed boyfriend didn’t complain that there was no ground beef in it. Great quick dinner for busy nights!

2 weeks ago

Made this for my neighborhood block party last weekend and people were begging me for the recipe! It’s so hearty, you don’t even need a ton of sides to go with it. I topped mine with a dollop of sour cream and some fresh cilantro before serving and it was chef’s kiss. Only complaint is I wish I made a double batch because it was gone in 10 minutes!

1 week ago

Wait I was at that party! That was the casserole you brought? I had three helpings lmao, no wonder it was gone so fast. Can’t wait to make it for my family this weekend!

30 minutes ago

As a single dad with two wild elementary schoolers, quick easy dinners are my love language. This took literally 30 minutes from grabbing the cans out of the pantry to pulling it out of the oven, no fancy steps or weird ingredients. My kids thought it tasted just like the burritos from their favorite fast food place but way better for them. Total win in my book!

5 minutes ago

Love that this worked out for your family! It’s so rewarding to hear recipes make busy weeknights a little easier for folks. The fast food comparison is the highest compliment, ha!

just now

Right?! I’m terrible at cooking and even I didn’t mess this up. I added a little taco sauce on top when I served it and it was *chef’s kiss*



