
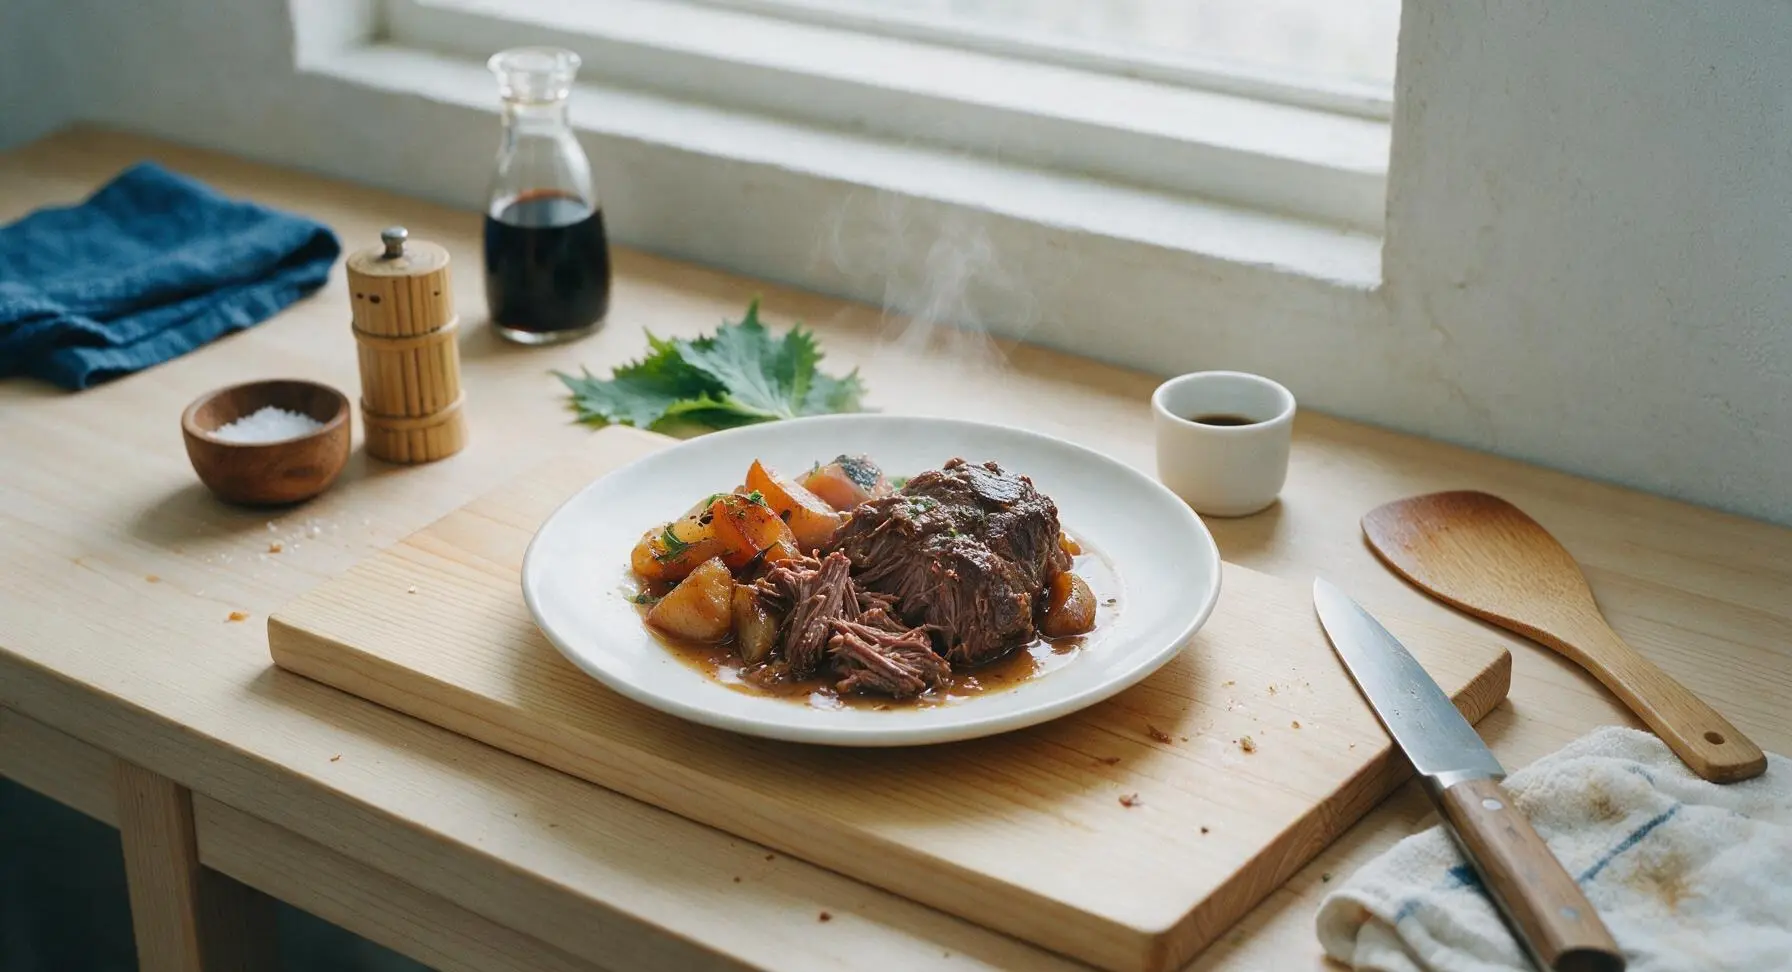
beef chuck tender

title 1
beef chuck tender
⏱️ cook time 2 hours 30 minutes
🍽️ servings 4
⚡ Difficulty medium

intro

Slow-braised beef chuck tender, fall-apart tender with deep savory flavor, served with caramelized root vegetables and silky pan gravy, perfect for cozy autumn family meals.

Ingredients
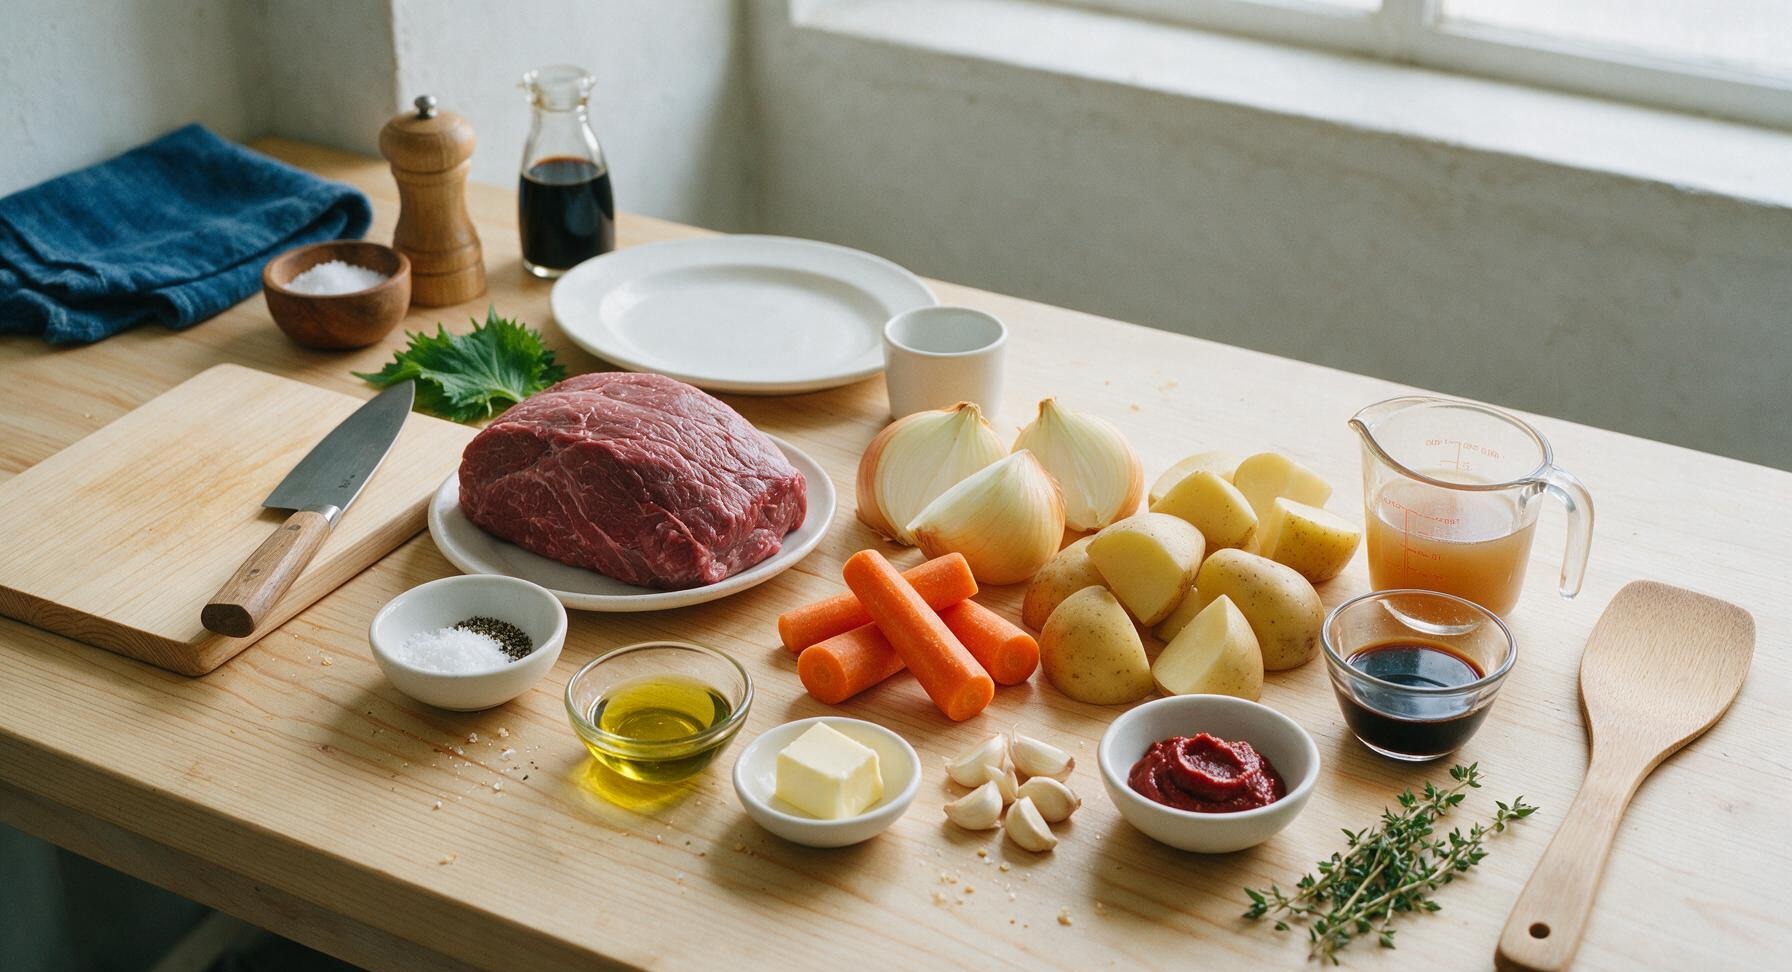
Beef chuck tender roast 1.5 lbs (680g)
Kosher salt 1.5 tsp
Coarsely ground black pepper 1 tsp
Extra-virgin olive oil 2 tbsp
Unsalted butter 1 tbsp
Yellow onion 1 large (220g, cut into wedges)
Carrots 3 medium (180g, peeled, cut into 2-inch chunks)
Yukon gold potatoes 2 medium (300g, cut into 2-inch wedges)
Garlic 6 cloves, lightly crushed
Tomato paste 2 tbsp
Low-sodium beef broth 1 cup (240ml)
Worcestershire sauce 2 tbsp
Fresh thyme 4 sprigs

Steps

1

Season the Chuck Roast

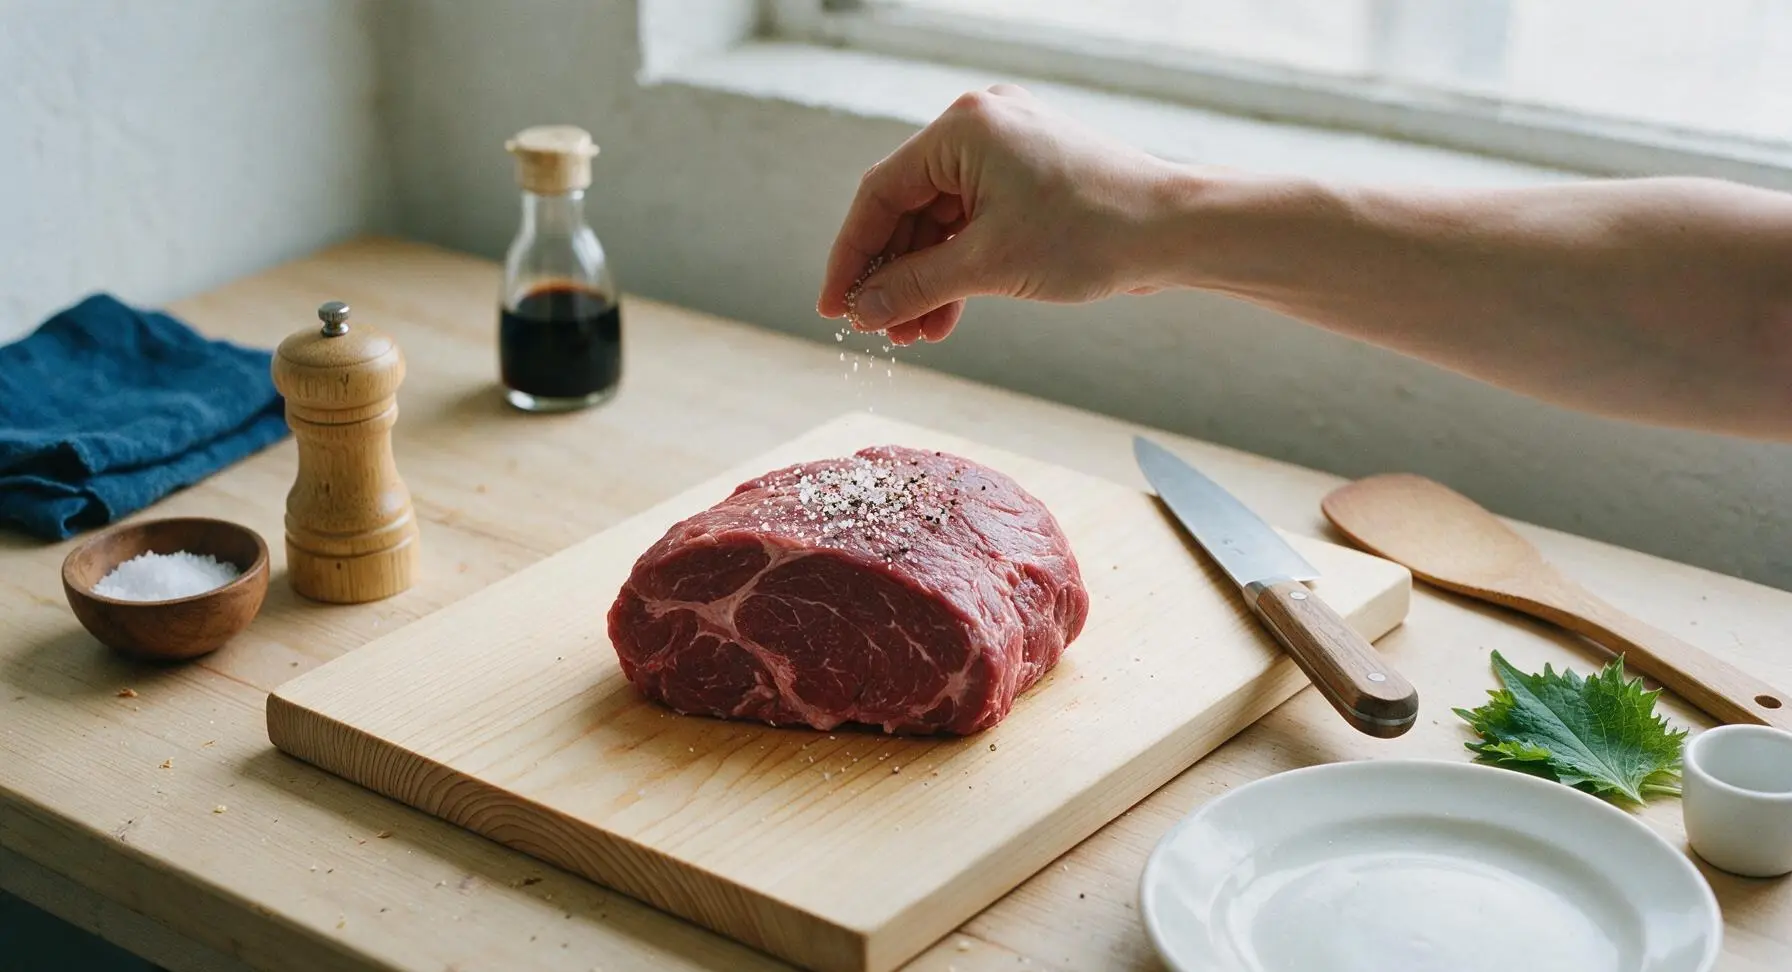
Pat the beef chuck tender completely dry with paper towels, rubbing all surfaces to remove every trace of surface moisture. Sprinkle 1 tsp kosher salt and ½ tsp coarse black pepper evenly across all sides of the roast (top, bottom, and narrow edges), pressing the seasoning gently into the meat so it adheres firmly. Let the seasoned roast rest at room temperature for 15 minutes to allow the salt to begin penetrating the muscle fibers.
Step 1
step1:Season the Chuck Roast
2

Chop Aromatic Vegetables

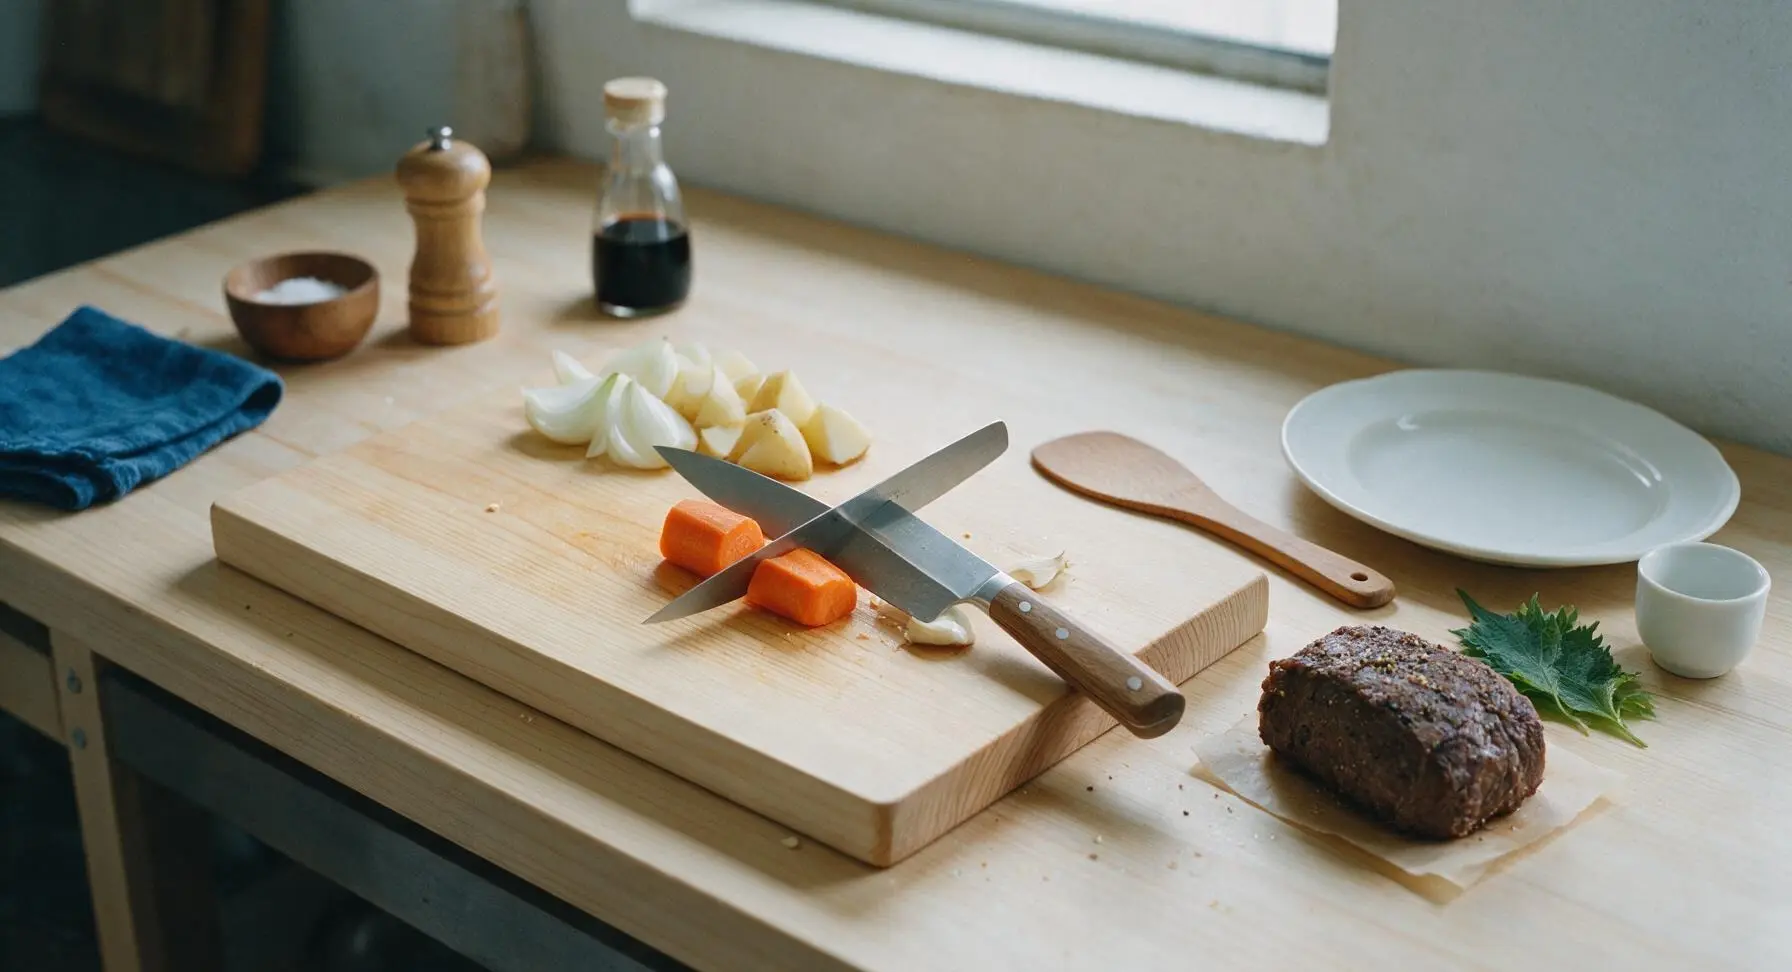
After the beef has rested 15 minutes, set it temporarily on a small square of parchment paper next to the cutting board. Place the onion, carrots, potatoes, and garlic on the acacia cutting board. Using the chef’s knife, cut the onion into 6 thick wedges, peel carrots and cut into rough 2-inch chunks, cut potatoes into 2-inch wedges, and lightly crush garlic cloves with the flat of the knife (do not fully mince into a paste). Gather prepped vegetables into a loose pile at the far edge of the cutting board.
Step 2
step2:Chop Aromatic Vegetables
3

Sear Beef to Deep Crust

Move the navy enameled Dutch oven from its back right counter position to the center stovetop burner. Heat 2 tbsp olive oil and 1 tbsp unsalted butter over medium-high heat until the butter stops foaming and shimmers (about 2 minutes, 375°F). Carefully lower the seasoned chuck roast into the hot pot using the stainless steel tongs. Sear for 3-4 minutes per side, until a deep, rich mahogany-brown crust forms on every surface, including the narrow end edges. Do not shift or move the beef while searing to allow the crust to develop fully without sticking.
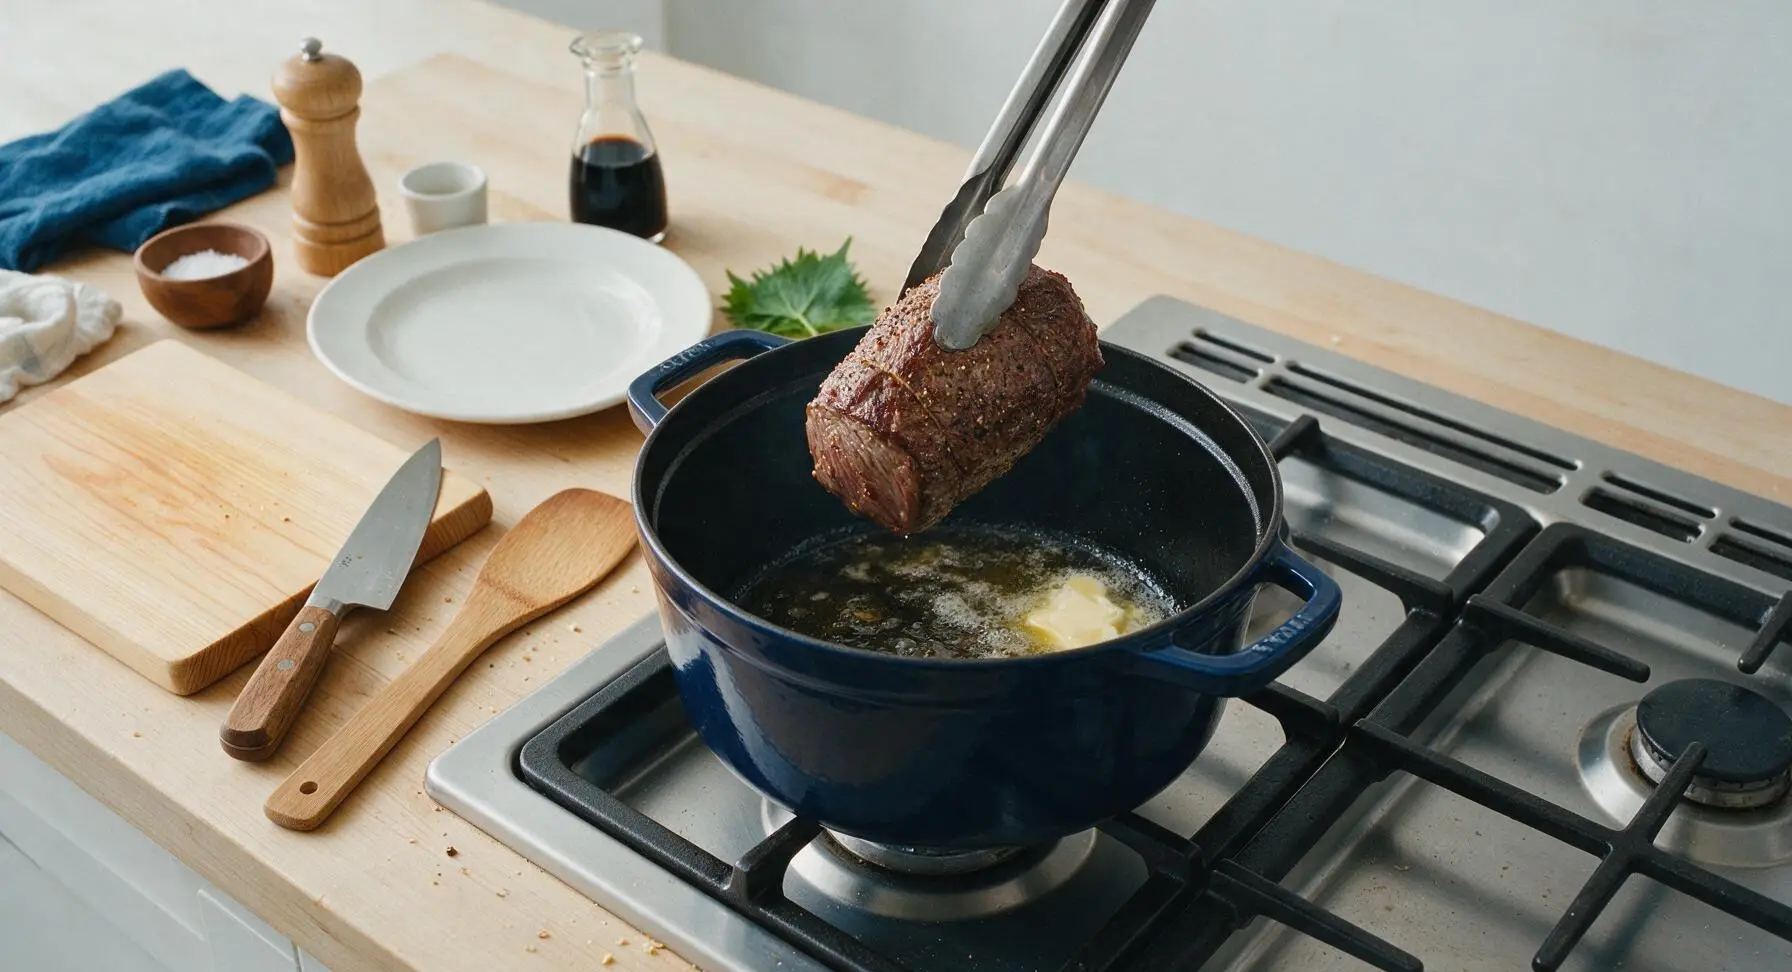
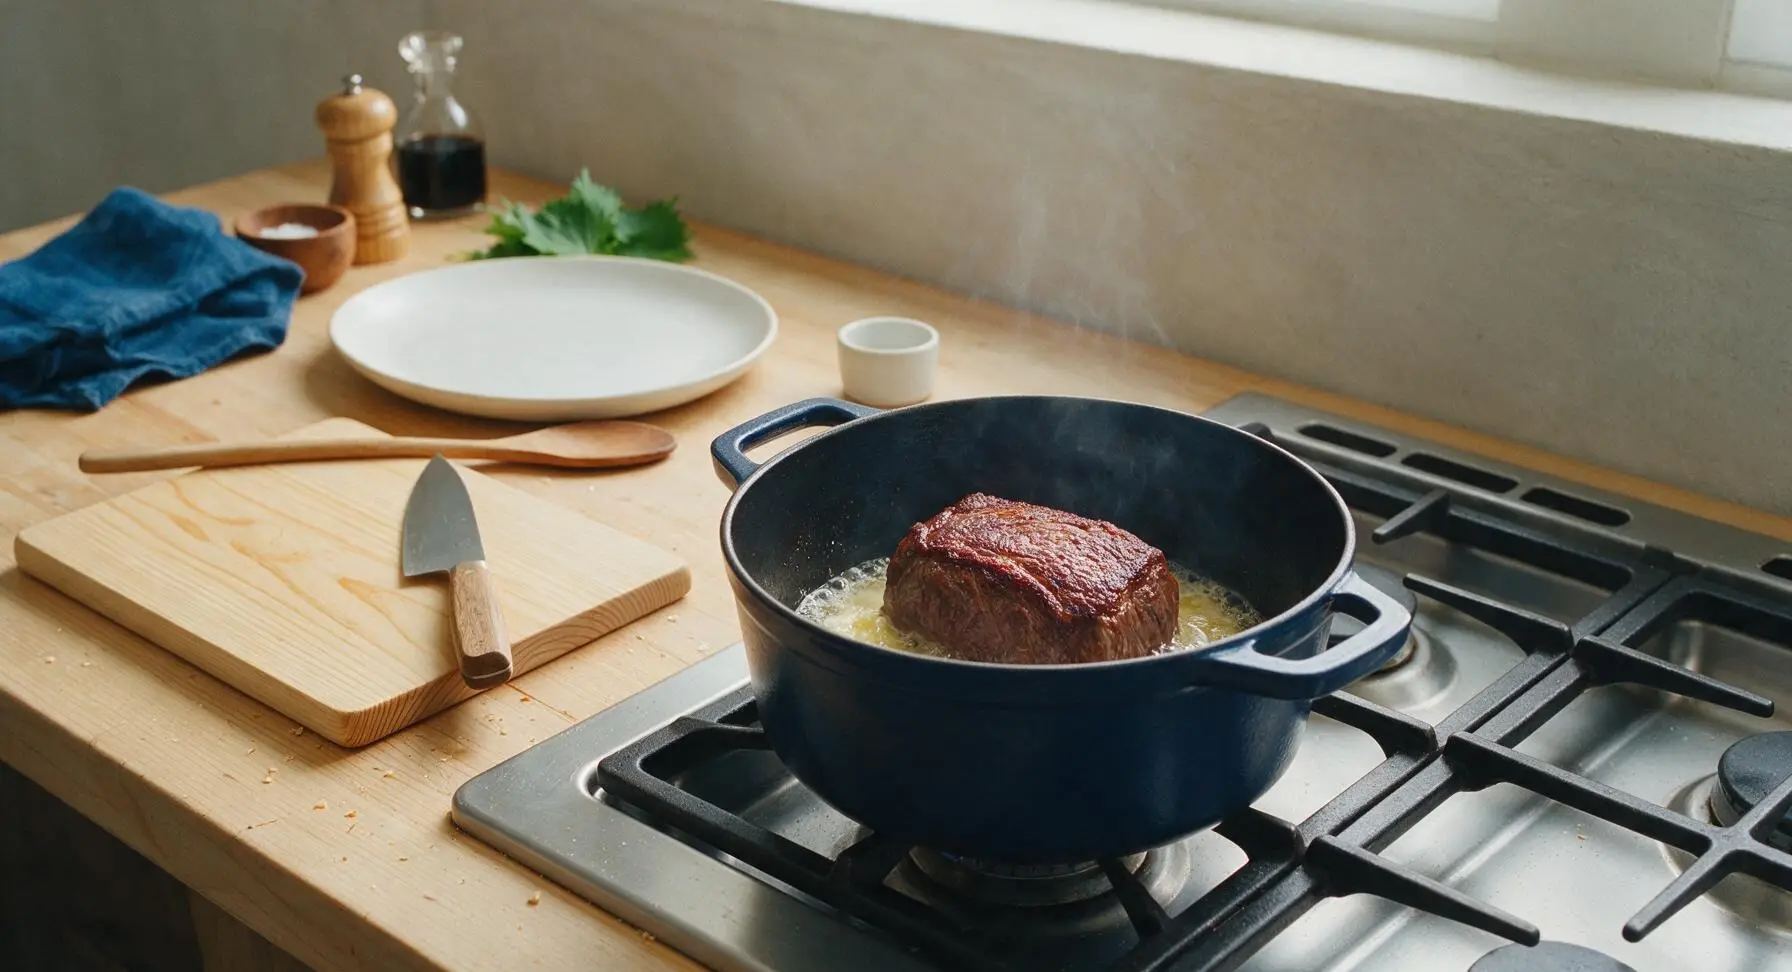
Step 3
step3:Sear Beef to Deep Crust
Step 3
step3:Sear Beef to Deep Crust
4

Sauté Aromatics and Paste

Once the beef is fully crusted on all sides, use the tongs to transfer it temporarily back to the clean edge of the acacia cutting board. Lower stovetop heat to medium, add the chopped onion, carrots, and crushed garlic to the remaining fat in the Dutch oven. Sauté for 4 minutes, stirring occasionally with the maple wooden spoon, until onion edges turn translucent and start to turn light golden. Add 2 tbsp tomato paste, stirring constantly for 1 full minute, until the paste darkens to a deep rust red and releases a sweet, rich aroma.
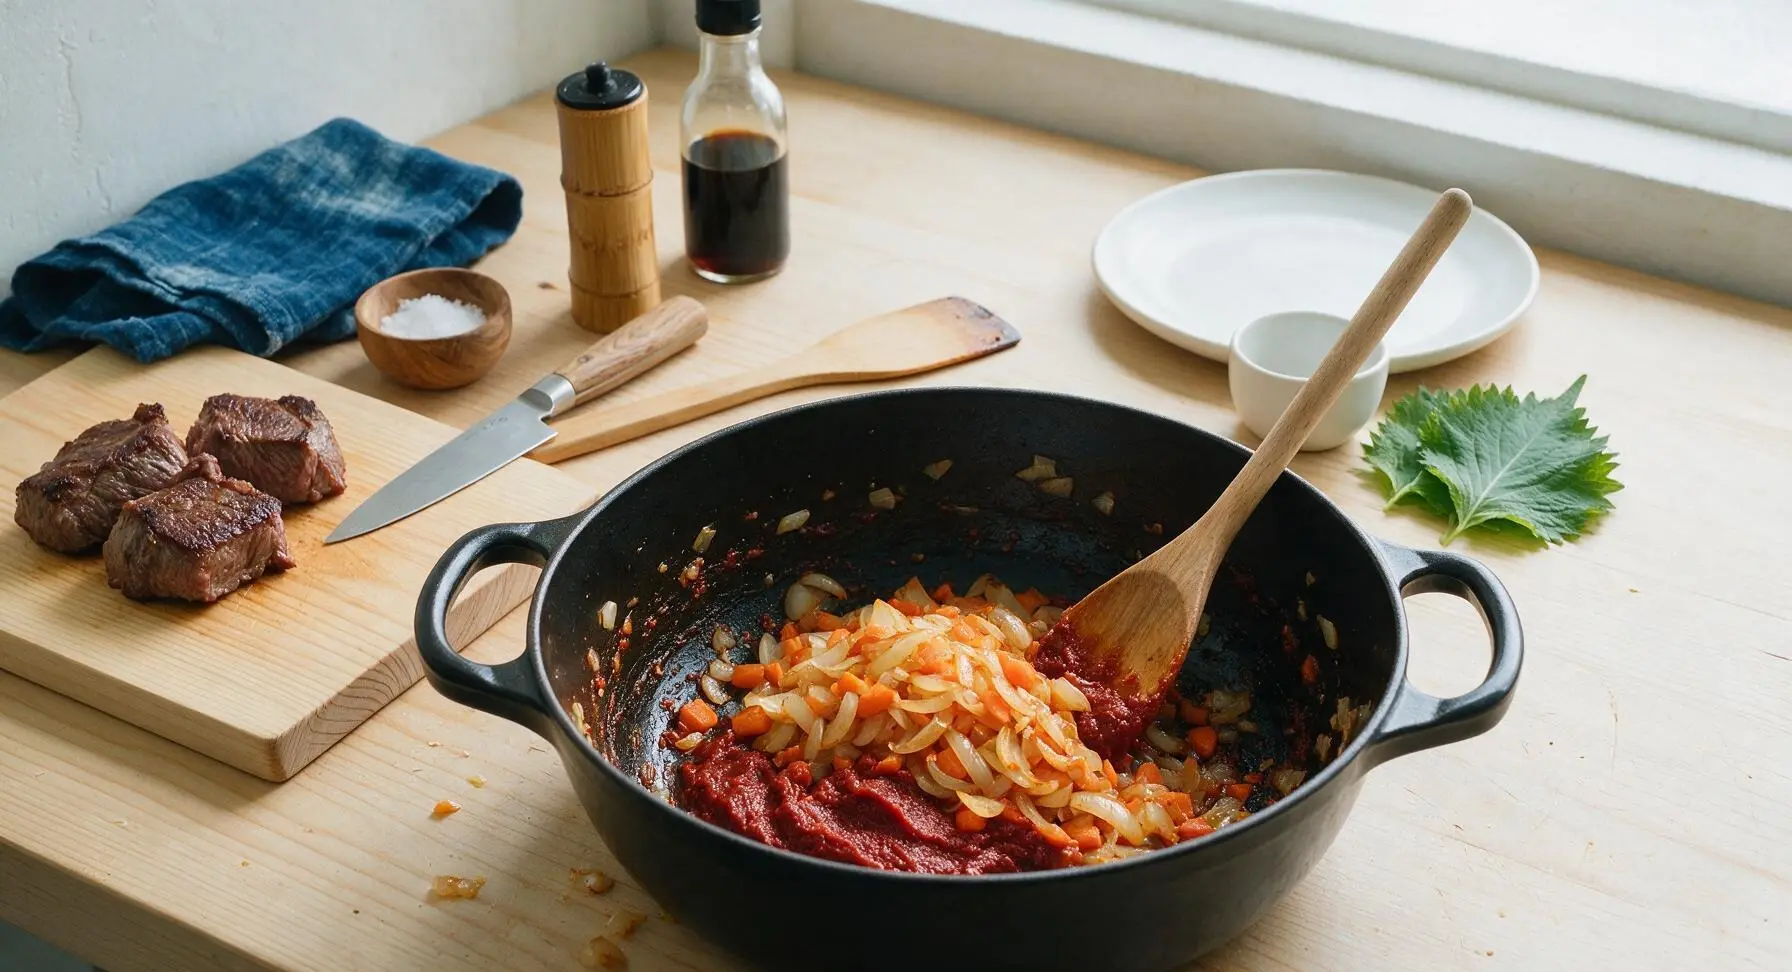
Step 4
step4:Sauté Aromatics and Paste
5

Slow Braise the Roast

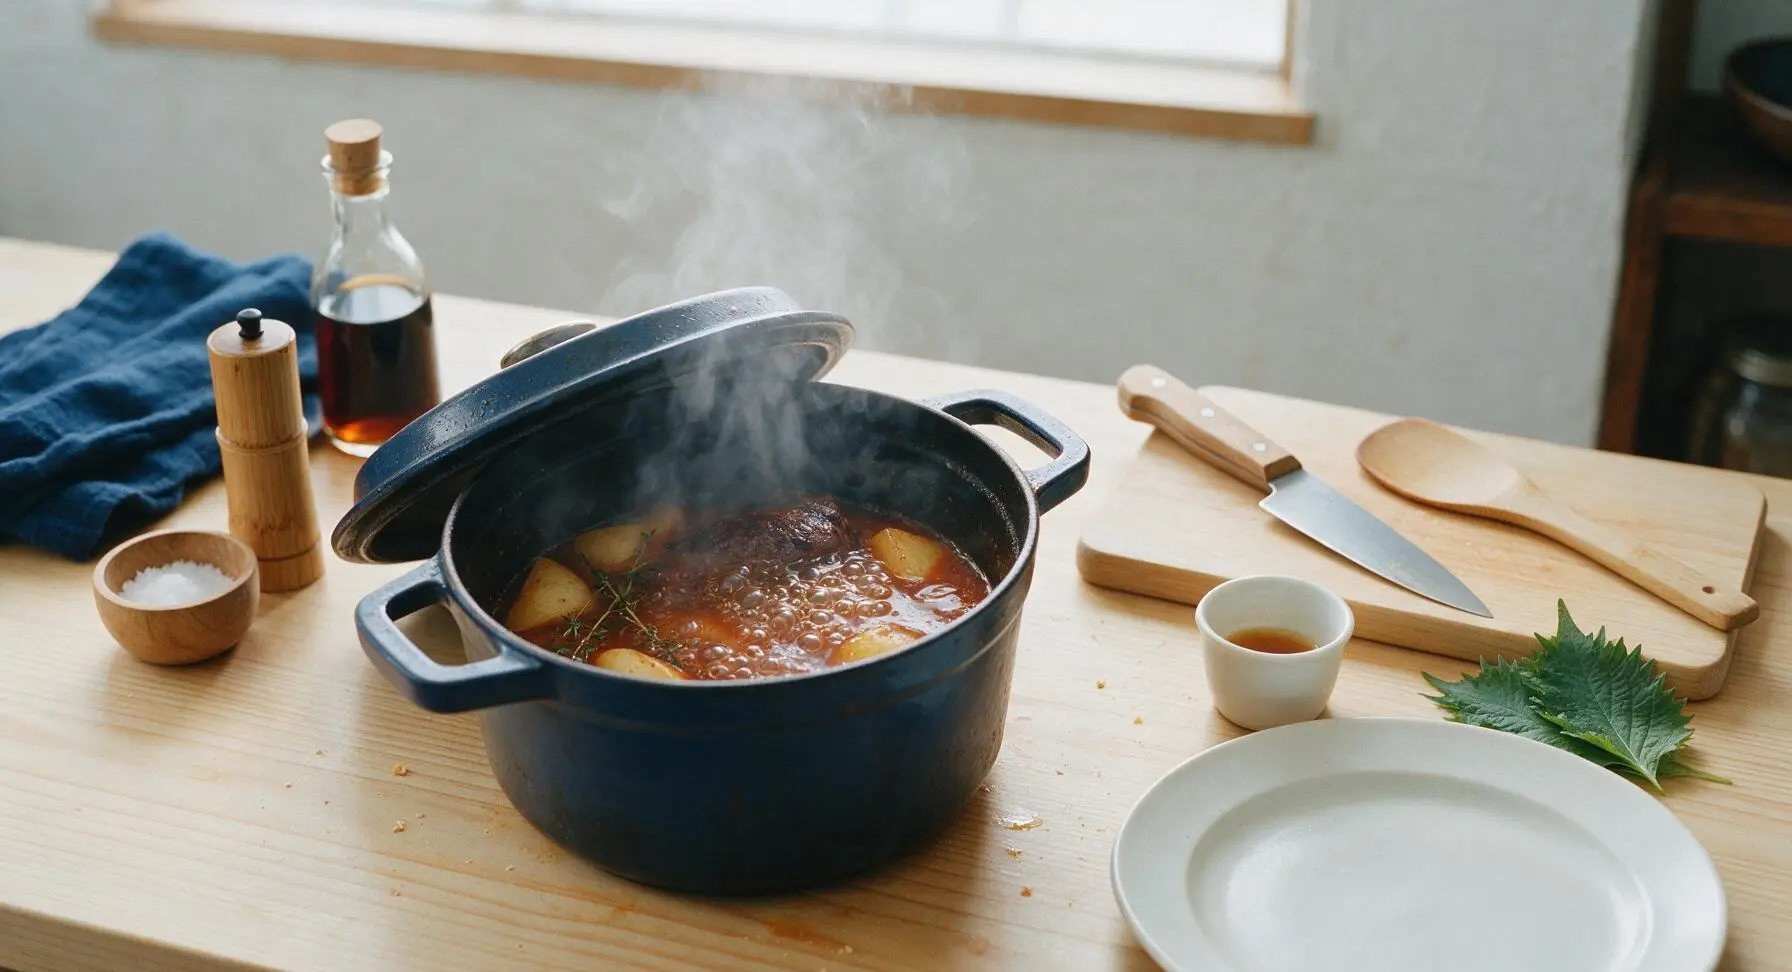
Pour 1 cup beef broth and 2 tbsp Worcestershire sauce into the Dutch oven, stirring firmly with the wooden spoon to scrape up all browned fond bits from the bottom of the pot—these bits carry most of the dish’s deep flavor. Add the potato wedges and 3 sprigs of fresh thyme, then nestle the seared beef roast back into the pot, sitting partially above the liquid (the broth should come ⅔ of the way up the roast, not fully cover it). Bring the liquid to a gentle, low simmer, then place the navy Dutch oven lid on top, reduce heat to low, and cook at a steady soft simmer for 2 hours. The beef is done when a fork inserted into the center twists easily and pulls apart tender meat with no resistance.
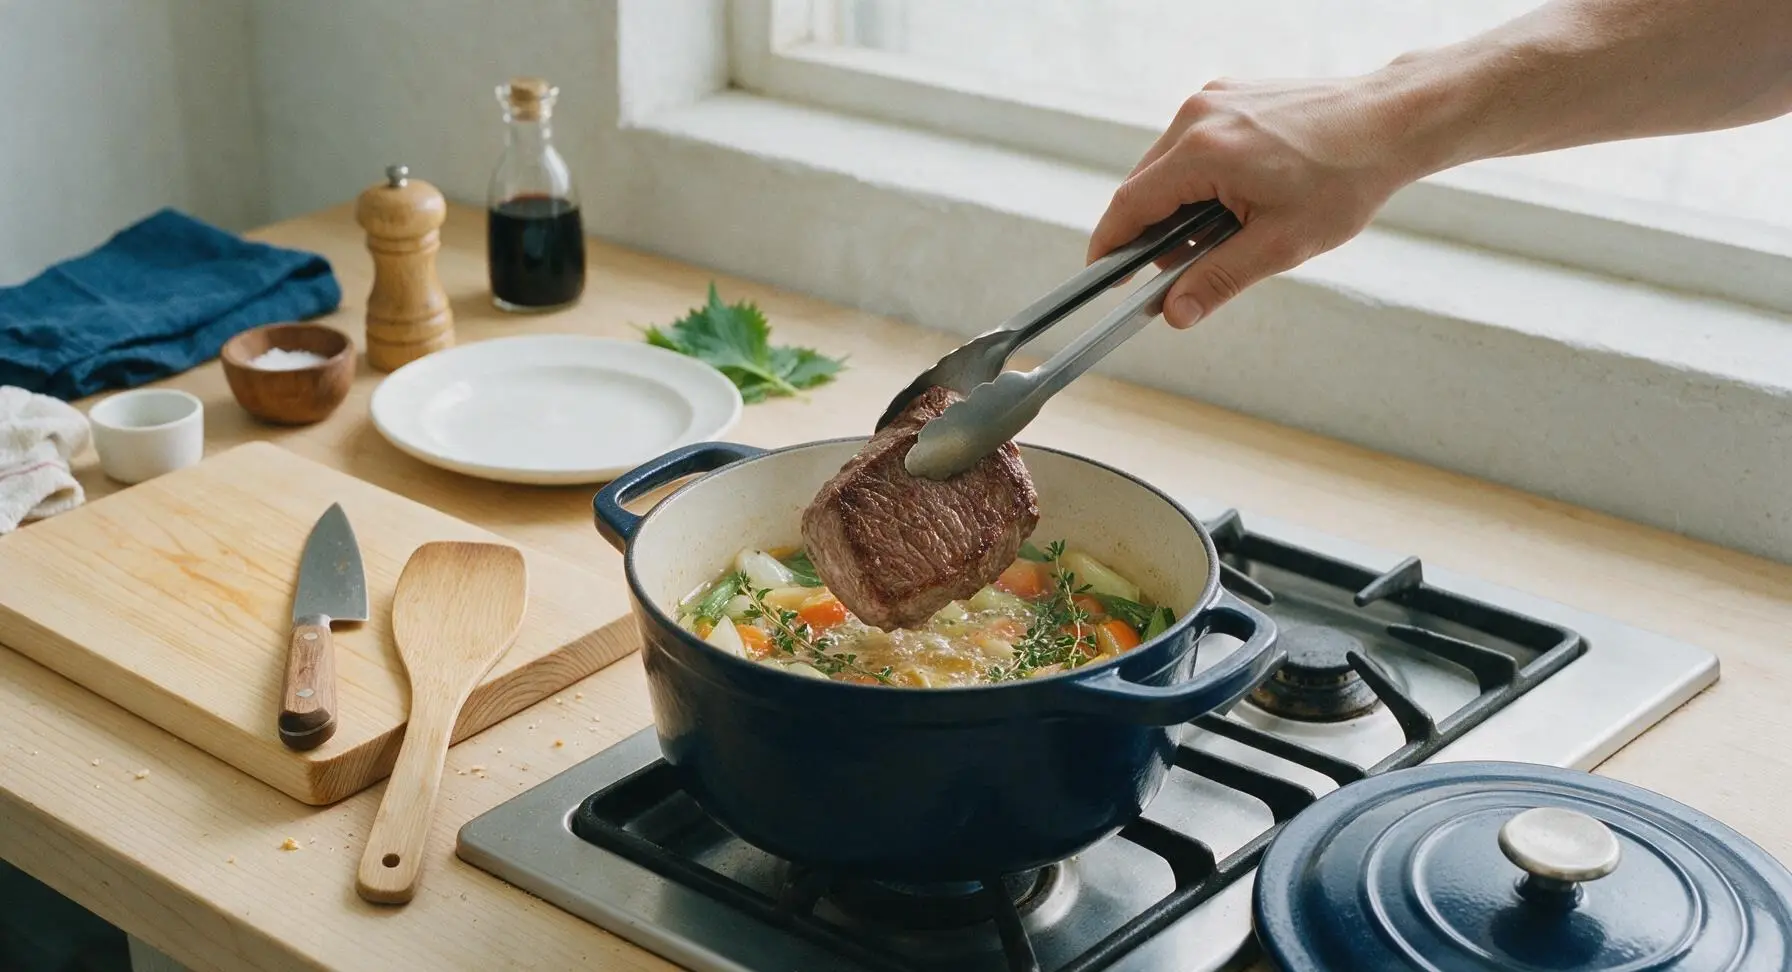
Step 5
step5:Slow Braise the Roast
Step 5
step5:Slow Braise the Roast
6

Rest Beef, Thicken Gravy

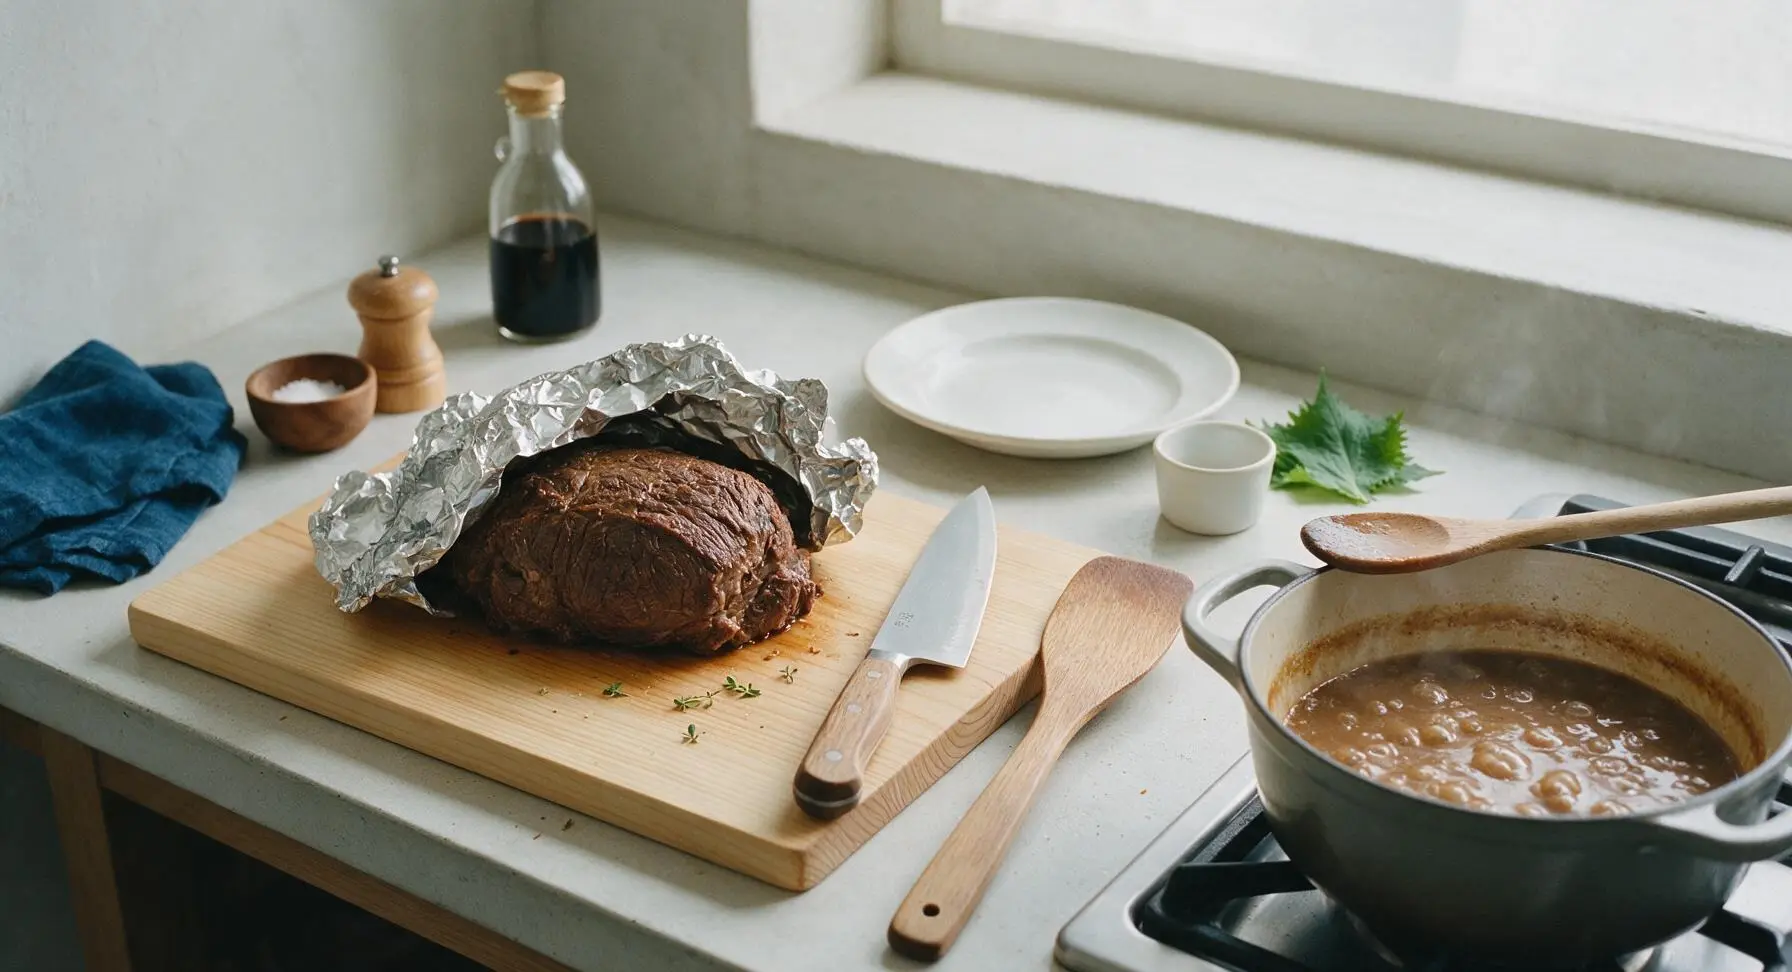
Once the beef is fork-tender, use tongs to carefully lift it from the pot and transfer it back to the acacia cutting board. Tent the roast loosely with a small sheet of aluminum foil to rest for 10 minutes—this allows muscle fibers to relax and reabsorb juices so the meat does not bleed out when sliced. While the beef rests, bring the remaining liquid and vegetables in the Dutch oven to a gentle simmer over medium heat, stirring with the wooden spoon, and simmer for 5 minutes to reduce slightly into a silky, light gravy. Taste and adjust seasoning with the remaining ½ tsp kosher salt and ½ tsp black pepper as needed.
Step 6
step6:Rest Beef, Thicken Gravy
7

Slice and Plate Dish

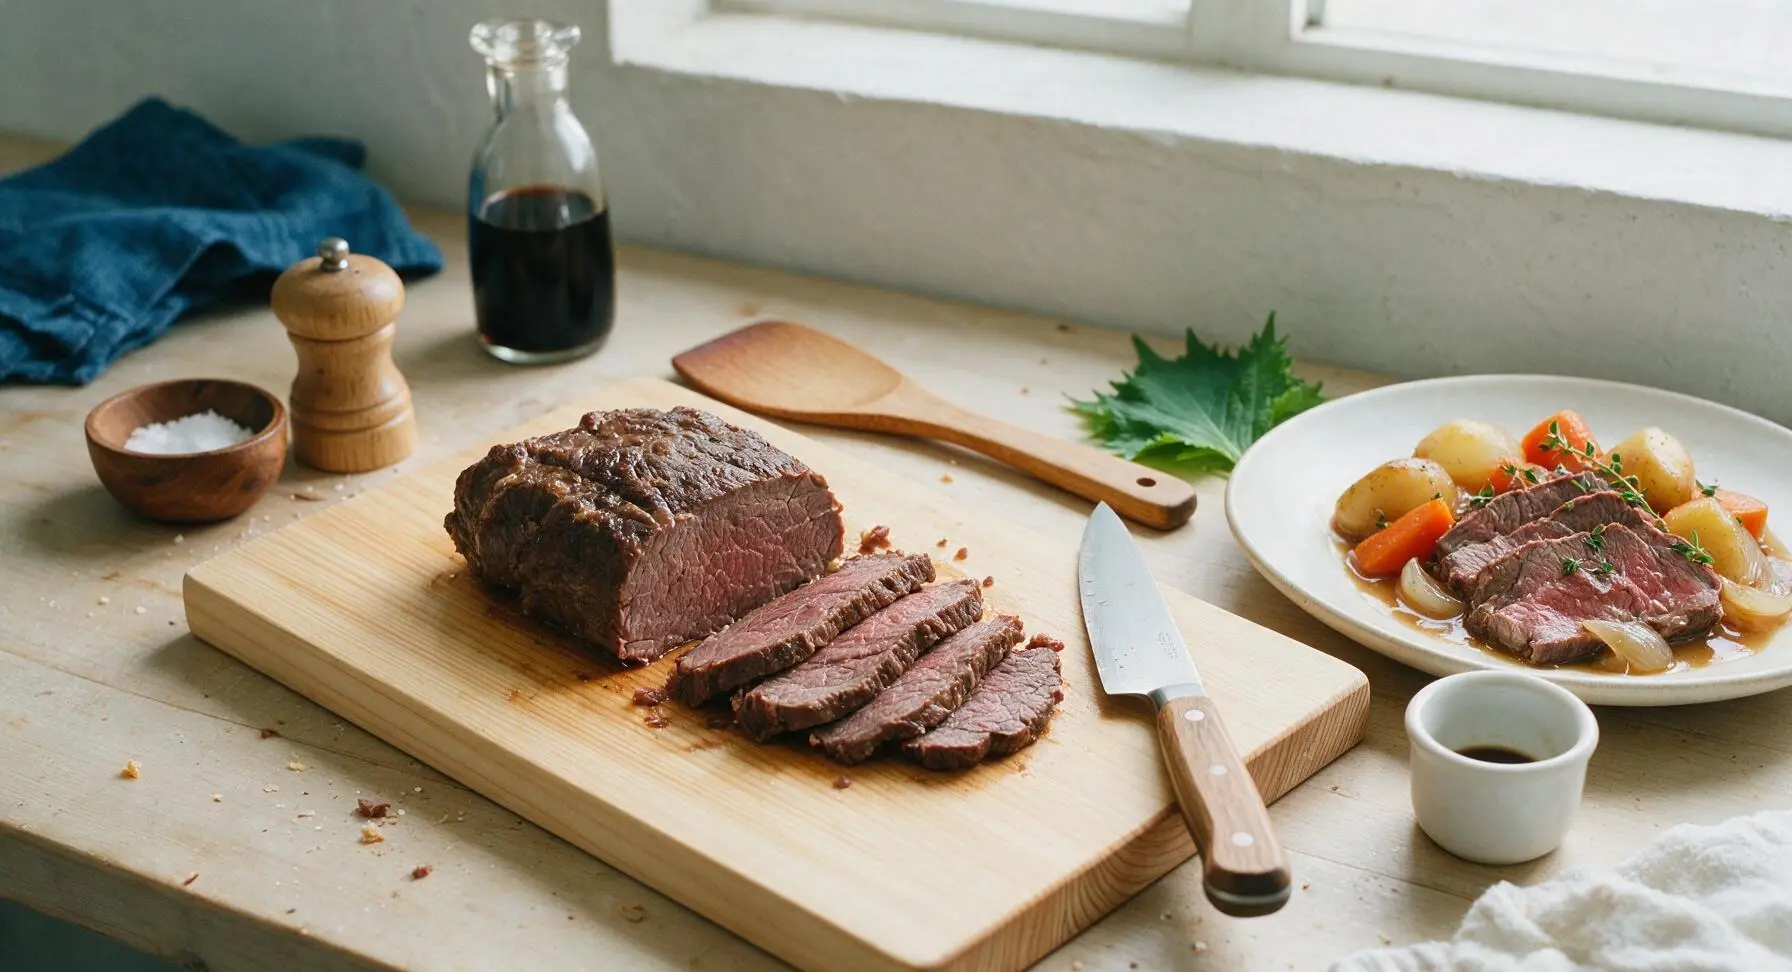
After the 10-minute rest, remove the foil from the beef. Use the chef’s knife to cut the roast across the grain into ½-inch thick slices—cutting against the grain shortens the long muscle fibers to guarantee tender, easy-to-chew bites. Arrange the fanned slices on the matte warm off-white dinner plate, spoon the tender braised carrots, potatoes, and onion alongside the beef, then drizzle the silky pan gravy over the top of the meat. Garnish with fresh thyme leaves plucked from the remaining sprig.
Step 7
step7:Slice and Plate Dish

Tips

1.Always pat the beef completely dry with paper towels before searing: excess surface moisture will cause the meat to steam instead of forming a deep, caramelized brown crust, which is the foundation of the dish’s rich, savory flavor and dark pan gravy.
2.Never fully submerge the beef in braising liquid: cooking the roast partially above the liquid allows for gentle, moist heat circulation that tenderizes the meat without boiling it, which would result in tough, stringy, dry texture.
3.Do not skip the 10-minute rest period before slicing: resting allows the hot meat juices to redistribute back into the muscle fibers instead of running out onto the cutting board, keeping every bite juicy and flavorful. Always slice against the grain for maximum tenderness.


✨ You May Also Like

Main Course
🍜 United Kingdom

A showstopping classic of tender seared beef, savory mushroom duxelles, and crisp prosciutto wrapped in flaky golden puff pastry, baked to juicy perfection.

⏱️ 2 hours 1Main Course ★ 4.7
Main Course
🍜 India

Tender charred marinated chicken simmered in a rich, spiced creamy tomato sauce, this iconic Anglo-Indian curry pairs perfectly with basmati rice or warm naan.

⏱️ 50 minuteMain Course ★ 4.6
Main Course
🍜 Thailand

Classic tangy, sweet, and savory Thai stir-fried rice noodles with shrimp, tofu, and crunchy garnishes, balancing all five core Thai flavor profiles.

⏱️ 30 minuteMain Course ★ 4.5
Main Course
🍜 United Kingdom

Crispy golden beer-battered cod and fluffy double-fried chips, served with tangy tartar sauce and malt vinegar: the timeless, beloved British pub comfort classic.

⏱️ 45 minuteMain Course ★ 4.7
Main Course
🍜 Mexico

Smoky, chile-marinated pork tacos with caramelized pineapple, fresh cilantro, and lime: a beloved classic Mexican street food perfect for casual summer gatherings.

⏱️ 1 hour 45Main Course ★ 4.8
Main Course
🍜 United States

Crunchy Fritos corn chips layered with savory beef chili and melted cheddar, topped with cool, zesty fixings for a beloved, cozy Tex-Mex comfort food.

⏱️ 35 minuteMain Course ★ 4.8

beef chuck tender:Frequently Asked Questions

1.What exactly is beef chuck tender, and how is it different from regular chuck roast? ▾
Beef chuck tender is a lean, cylindrical muscle cut from the shoulder (chuck) primal, sometimes called "mock tender" for its loose resemblance to filet mignon. It has less visible marbling than blade chuck roast, so it relies entirely on low-and-slow braising to break down its tight connective tissue into melt-in-your-mouth texture.
2.Can I make this recipe in a slow cooker instead of a Dutch oven in the oven? ▾
Absolutely! Sear the beef and sauté any aromatic base as directed first, then transfer everything to a 6-quart slow cooker. Cook on LOW for 7 to 8 hours, avoid lifting the lid unnecessarily to hold in heat, and thicken the finished braising liquid on the stovetop for silky gravy.
3.How long should I let the beef rest after braising before serving? ▾
Let the roast rest, tented loosely with foil, for 15 to 20 minutes after pulling it from the braising liquid. This pause lets the tight muscle fibers relax and reabsorb all their juicy, flavorful moisture, so you won’t lose all those delicious juices running out onto your plate when you slice or shred the beef.
4.Why is my braised beef still tough even after cooking for a few hours? ▾
Tough braised beef almost always stems from two common mistakes: cooking at too high a temperature, or cutting the cook time short. Chuck tender needs a steady, gentle simmer (not a rolling boil) at 300–325°F to melt connective tissue; high heat makes muscle fibers seize up and stay chewy, even with long cooking.
5.Do I really need to sear the beef before braising, or can I skip that step? ▾
Don’t skip the sear! Searing the beef over medium-high heat creates a deep, caramelized crust via the Maillard reaction, which adds layers of rich, nutty, savory depth you can never get from slow cooking alone. Pat the roast completely dry with paper towels first to get an even, crisp crust without steaming.
6.What root vegetables work best for braising alongside this beef? ▾
Stick to sturdy, low-moisture root veggies that hold up to long cook times: carrots, parsnips, turnips, Yukon Gold potatoes, and pearl onions are all ideal. Cut them into uniform 2-inch chunks for even cooking, and add them during the last 90 minutes of braising so they don’t turn mushy and waterlogged.
7.How do I make a lump-free, silky pan gravy from the braising liquid? ▾
First, skim any excess pooled fat off the top of the braising liquid, then strain it through a fine-mesh sieve into a small saucepan. Simmer over medium heat, whisking in small bits of beurre manié (equal parts softened butter and flour kneaded together) until the gravy thickens enough to coat the back of a spoon.
8.Can I prep this dish ahead of time for a holiday or dinner party? ▾
This braised beef actually tastes better when made a day ahead! Let the beef and veggies cool fully in the braising liquid, then store covered in the fridge for up to 3 days. The fat will solidify on top for easy skimming, the flavors will deepen as it chills, and you can reheat it gently in a 300°F oven before serving.
9.What’s the ideal oven temperature for slow braising this cut? ▾
Stick to a steady 300 to 325°F (150–160°C) for the most consistent results. Any higher, and your braising liquid will boil rather than gently simmer, leading to tough, stringy beef; any lower, and the connective tissue won’t break down fully in a reasonable time, leaving you with chewy roast.
10.How much kosher salt should I use to season the roast before searing? ▾
Use 1 teaspoon of Diamond Crystal kosher salt per pound of beef, rubbed evenly across all sides. If you have time, apply the salt 45 minutes to an hour before searing to let it penetrate deep into the meat; cut the amount in half if using denser Morton’s kosher salt to avoid over-seasoning.
11.What can I substitute for chuck tender if I can’t find it at my grocery store? ▾
If chuck tender is out of stock, swap it for an equal weight of boneless chuck blade roast, brisket flat, or bottom round roast. All of these cuts have tough, collagen-rich connective tissue that melts into rich, silky texture during low-and-slow braising, so you’ll still get that signature fall-apart tender result.
12.Why does the recipe call for both olive oil and butter for searing? ▾
Extra-virgin olive oil has a higher smoke point than butter, so it prevents the fat from burning as you build a deep, even crust on the roast. Adding a tablespoon of unsalted butter toward the end of searing adds rich, nutty flavor and helps coarsely ground black pepper stick to the beef for even seasoning.
13.How do I tell when the beef is perfectly done, instead of relying on cook time? ▾
Skip the meat thermometer for this cut—doneness is all about texture. Insert a thin paring knife into the thickest part of the roast; if it slides in with almost no resistance and pulls out without tugging, usually after 3 to 3.5 hours, the connective tissue has fully broken down and the beef is ready.
14.Can I freeze leftover braised beef for later meals? ▾
Yes, leftovers freeze beautifully for up to 3 months. Store sliced or shredded beef in an airtight container, completely covered in strained pan gravy to prevent freezer burn. Thaw overnight in the fridge, then reheat gently on the stovetop or in a low oven, stirring the gravy back to a silky consistency.
15.What should I serve with this braised beef besides the caramelized root vegetables? ▾
Buttery egg noodles, creamy parmesan polenta, crusty sourdough bread, or roasted Brussels sprouts all make fantastic pairings. Starchy sides soak up every drop of the rich pan gravy, while bright, lightly bitter roasted greens cut through the beef’s richness for a perfectly balanced, cozy bite.
16.Should I braise the roast covered or uncovered in the oven? ▾
Keep your Dutch oven tightly covered for 90% of the cook time to trap steam and maintain a steady, gentle simmer around the roast. If the braising liquid is too thin once the beef is tender, remove the lid for the last 15 to 20 minutes to let the liquid reduce into richer, more concentrated gravy.

Comments (12)

2 days ago

Made this for our Sunday family dinner last night and OMG, it was a total hit! The beef was fall-apart tender, the gravy had so much depth, even my super picky 10 year old asked for seconds. Served it over mashed potatoes with roasted green beans, zero leftovers. 10/10 will be making this for our next neighborhood potluck for sure!

3 days ago

SO good! I was a little nervous about the cook time since I’m usually juggling after school sports and homework, but it was so low-effort once it got in the oven. The only swap I made was using cremini mushrooms instead of button because that’s what I had on hand. Do you think this would freeze well for meal prep?

2 days ago

So glad your family enjoyed it, Mia! That mushroom swap sounds delicious. This freezes beautifully for up to 3 months—just let it cool completely, store in an airtight container, and reheat low and slow on the stovetop when you’re ready to eat. Perfect for busy weeknights!

1 week ago

Game changer! I’ve always messed up chuck roast before, it always comes out tough no matter what I do. Followed this recipe exactly and it was melt-in-your-mouth perfect. My partner said it’s better than the braised beef we get at our favorite steakhouse. No notes!

5 days ago

Wait, did you sear it first like the recipe says? I skipped that step once and it was so bland, wondering if that’s where I went wrong before too?

3 days ago

Great question! Searing is definitely a key step here—it builds that deep, savory fond at the bottom of the pot that gives the braising liquid so much flavor. If you skip it, the end result will still be tender, but it’ll lack that rich, caramelized depth we love. Give it another go with the sear next time!

5 days ago

Tried this for my first ever time cooking a big cut of beef for my roommates, and they all thought I was a secret chef! Only thing is I didn’t have a Dutch oven so I used my deep baking dish covered tight with foil, worked like a charm. Saved me from ordering takeout all week, meal prep win!

2 weeks ago

I’ve been making braised beef for 40+ years and I have to say, this recipe is up there with my own! The balance of herbs and the little splash of balsamic at the end? *Chef’s kiss.* My grandkids practically licked their plates clean. Will be adding this to my regular rotation.

1 week ago

The balsamic is such a good touch right? I was skeptical when I saw that in the ingredients but it cuts through the richness so well, I’ll never make it without that splash now!

yesterday

Made this last night and the flavor was incredible, but my beef came out a little chewy? I cooked it for the full 2.5 hours at 325 like the recipe said, did I do something wrong? My kids still ate it but I wanted that fall-apart texture everyone is talking about!

2 hours ago

Oh that happened to me the first time too! Turns out my oven runs super hot, so I turned it down to 300 and added an extra 20 minutes and it was perfect. Maybe grab an oven thermometer to check your temp?

30 minutes ago

So sorry to hear the texture was off, Liz! Carly’s oven temp tip is spot-on—home ovens can vary wildly in actual temperature vs what the dial says. Also, make sure your lid is sealed super tight so steam doesn’t escape; if too much moisture gets out, the beef won’t break down properly. Give it another shot and I bet you get that perfect tender result!

5 days ago

Brought this to my office potluck on Wednesday and people were lined up for seconds! I shredded the beef and served it on crusty rolls with a little horseradish sauce, it made the best sliders. So many coworkers asked me for the recipe, I sent them all straight here. Absolute crowd pleaser!

3 days ago

The slider idea is genius, Sue! So happy it was a hit at your potluck—horseradish sauce is the perfect pairing with that rich, savory beef. Thanks for sharing the recipe with your coworkers, we appreciate it!

1 week ago

Solid recipe, great technique. I added a tablespoon of tomato paste when I sautéed the aromatics and let it caramelize a bit, added a nice depth. Finished it with a handful of fresh parsley from my garden. Will make again, perfect for a cold rainy weekend.

2 days ago

Meal prep game is STRONG with this one! I made a big batch on Sunday, portioned it out with roasted carrots and cauliflower mash, and it’s kept me full all week for lunches. The flavor actually gets better the longer it sits in the fridge, no joke. 10/10 for anyone who hates cooking during the work week!

30 minutes ago

Wait how long does it stay good in the fridge? I was gonna make a batch this weekend for my lunches too and don’t wanna make too much!

5 minutes ago

Great question! Stored in a sealed airtight container, this will keep perfectly in the fridge for 4-5 days, which makes it ideal for weekly meal prep. Like Joe said, the flavors meld and get even better after a day or two—lunch win for sure!

3 days ago

Made this before a big backpacking trip last weekend, vacuum sealed portions and took them with me to reheat on my camp stove. Best trail food I’ve ever had, no sad dehydrated meals for me! Even shared a portion with a fellow hiker who said it was the best backcountry meal he’d ever eaten.

2 hours ago

Dude, that camping hack is genius! I’m taking my kid cub scout camping next month, definitely making this to bring along. Way better than hot dogs over the fire, that’s for sure.

1 week ago

This is so keto friendly if you skip the flour thickener! I used a little xanthan gum to thicken the gravy instead, and it came out perfect. Served it over roasted radishes and it was such a cozy, low carb dinner. My non-keto husband didn’t even notice a difference, he went back for thirds.

5 days ago

Love that keto swap, Carly! Xanthan gum works perfectly here for anyone looking to cut the carbs, and I’m so glad your husband loved it too. Roasted radishes are such an underrated side, great call!

just now

Made this for my parents’ anniversary dinner last weekend and they were raving about it the whole time. Paired it with a bold cabernet sauvignon, just like the recipe notes suggested, and it was chef’s kiss. My mom asked for the recipe twice, which is the highest possible compliment honestly.



