
Beef Pares
intro
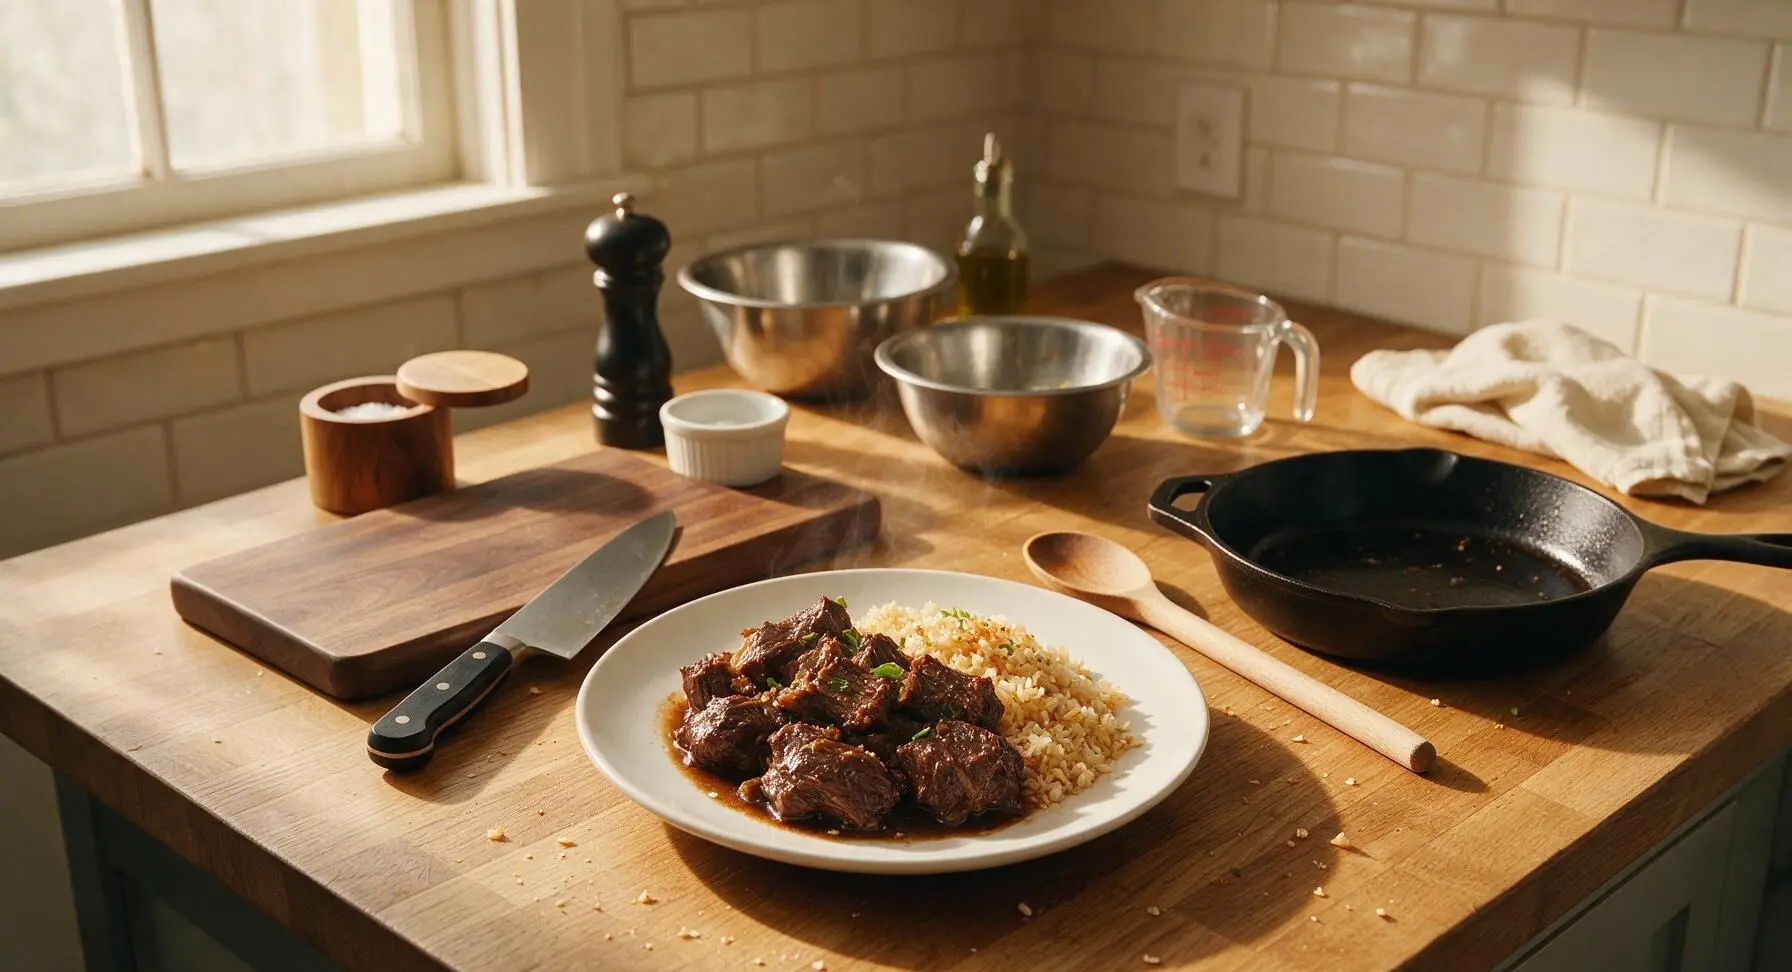
Glossy, soy-braised beef brisket slow-cooked until fall-apart tender, served with toasty garlic fried rice. This iconic Filipino comfort food is warm, savory, and made for gathering.
Ingredients
Steps
Prep Beef and Aromatics
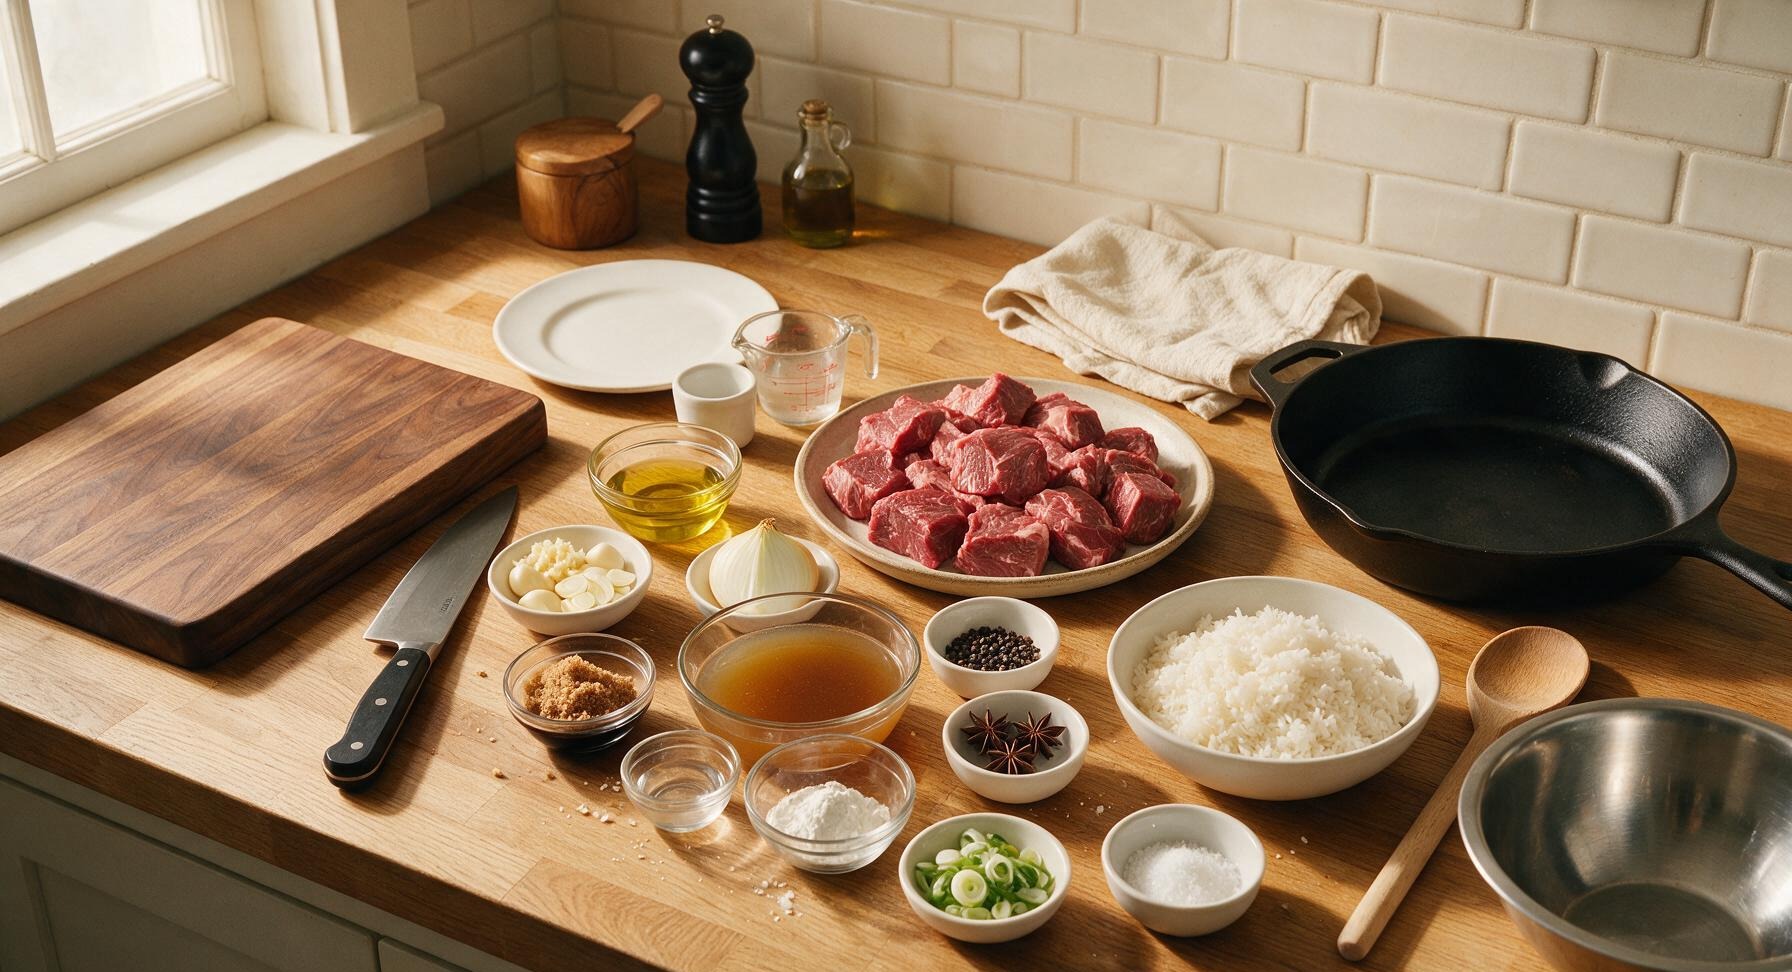
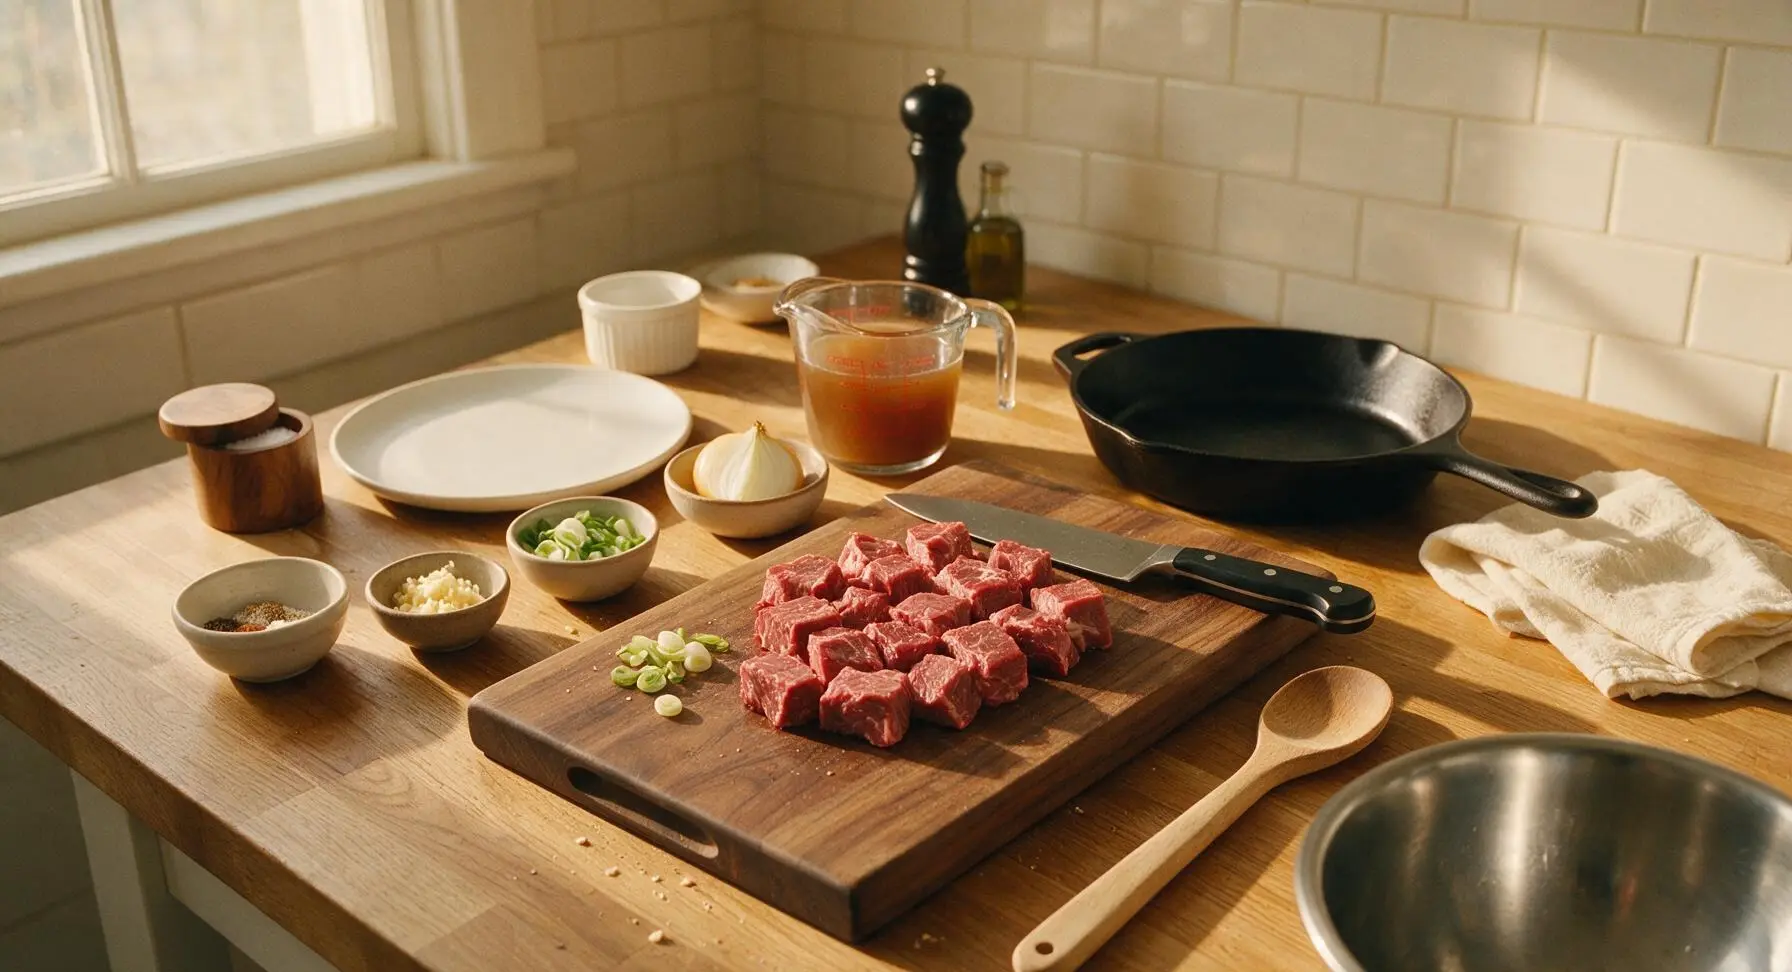
Place the walnut cutting board in the center of the counter. Use the chef knife to trim any thick, hard external fat from the beef brisket, then cut the meat into uniform 5cm (2 inch) chunks, patting completely dry with paper towel. Peel and mince 4 garlic cloves, quarter the yellow onion, thinly slice the remaining 4 garlic cloves for garnish, and slice scallions on a bias. Use the glass measuring cup to portion out soy sauce and beef broth, and place pre-measured spices and sugar into the small stainless steel prep bowls. Set all prepped ingredients within easy reach.
Sear Beef Until Browned
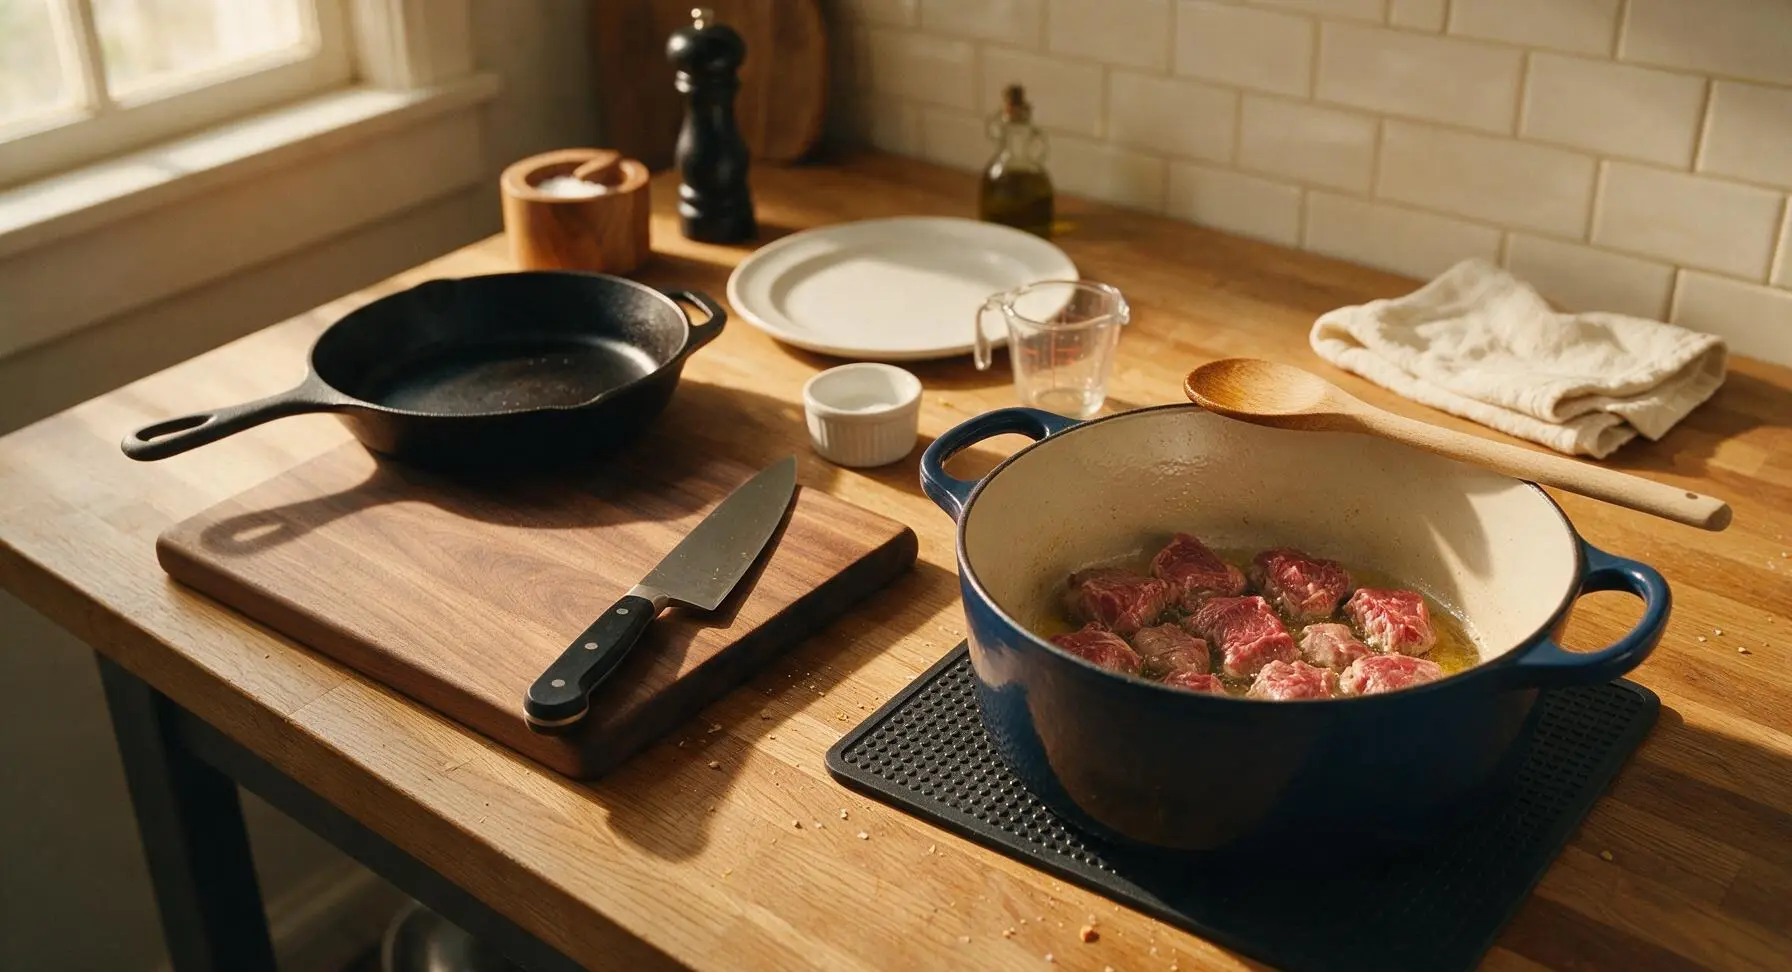
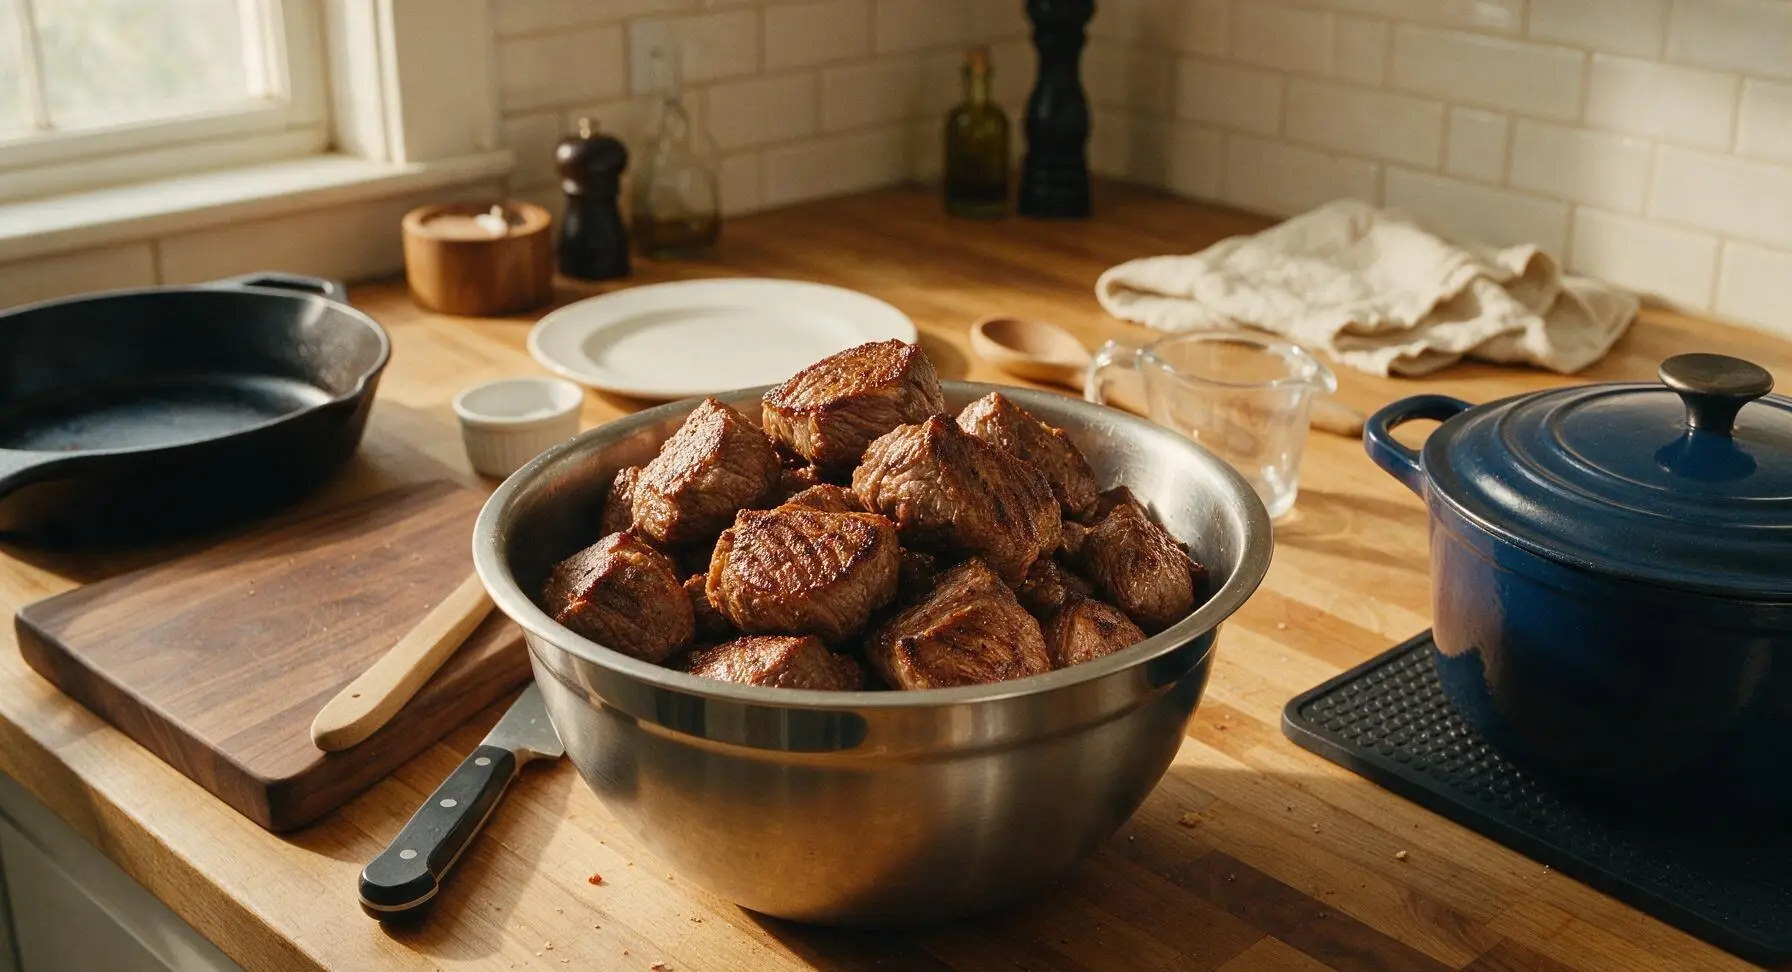
Place the navy enameled Dutch oven on the fixed black silicone heat mat on the right counter, heat over medium-high, then add 2 tablespoons canola oil. Once the oil shimmers (about 2 minutes), add beef chunks in a single layer, working in 2 batches to avoid crowding the pan (crowding causes steaming instead of searing). Sear for 3-4 minutes per side until a deep golden-brown crust forms on all edges. Transfer seared beef to a clean prep bowl and set aside.
Sauté Aromatic Base
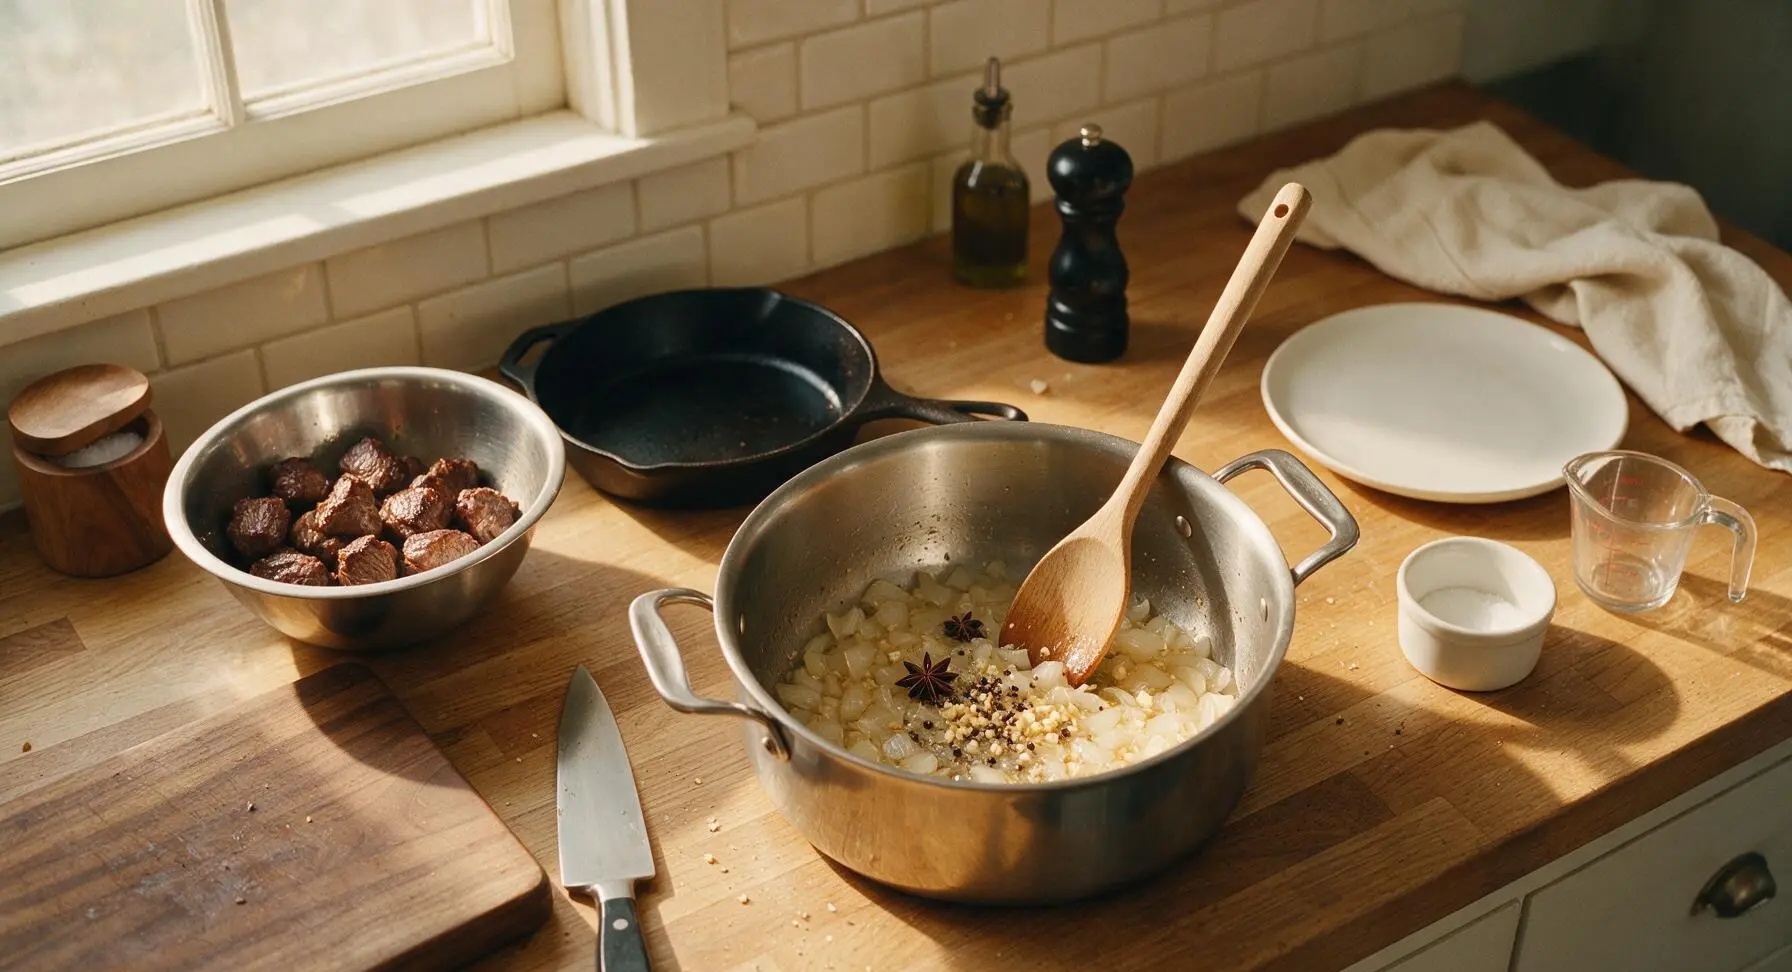
Reduce heat under the Dutch oven to medium, leaving 1 tablespoon of rendered beef fat in the pot. Add the quartered onion and minced garlic, sautéing for 2-3 minutes while stirring frequently with the beech wood spoon, until the onion turns translucent and the garlic is fragrant and pale golden (do not let the garlic burn, as it will turn bitter). Add cracked black peppercorns and star anise, toasting for 30 seconds until their warm aroma releases.
Braise Beef Until Tender
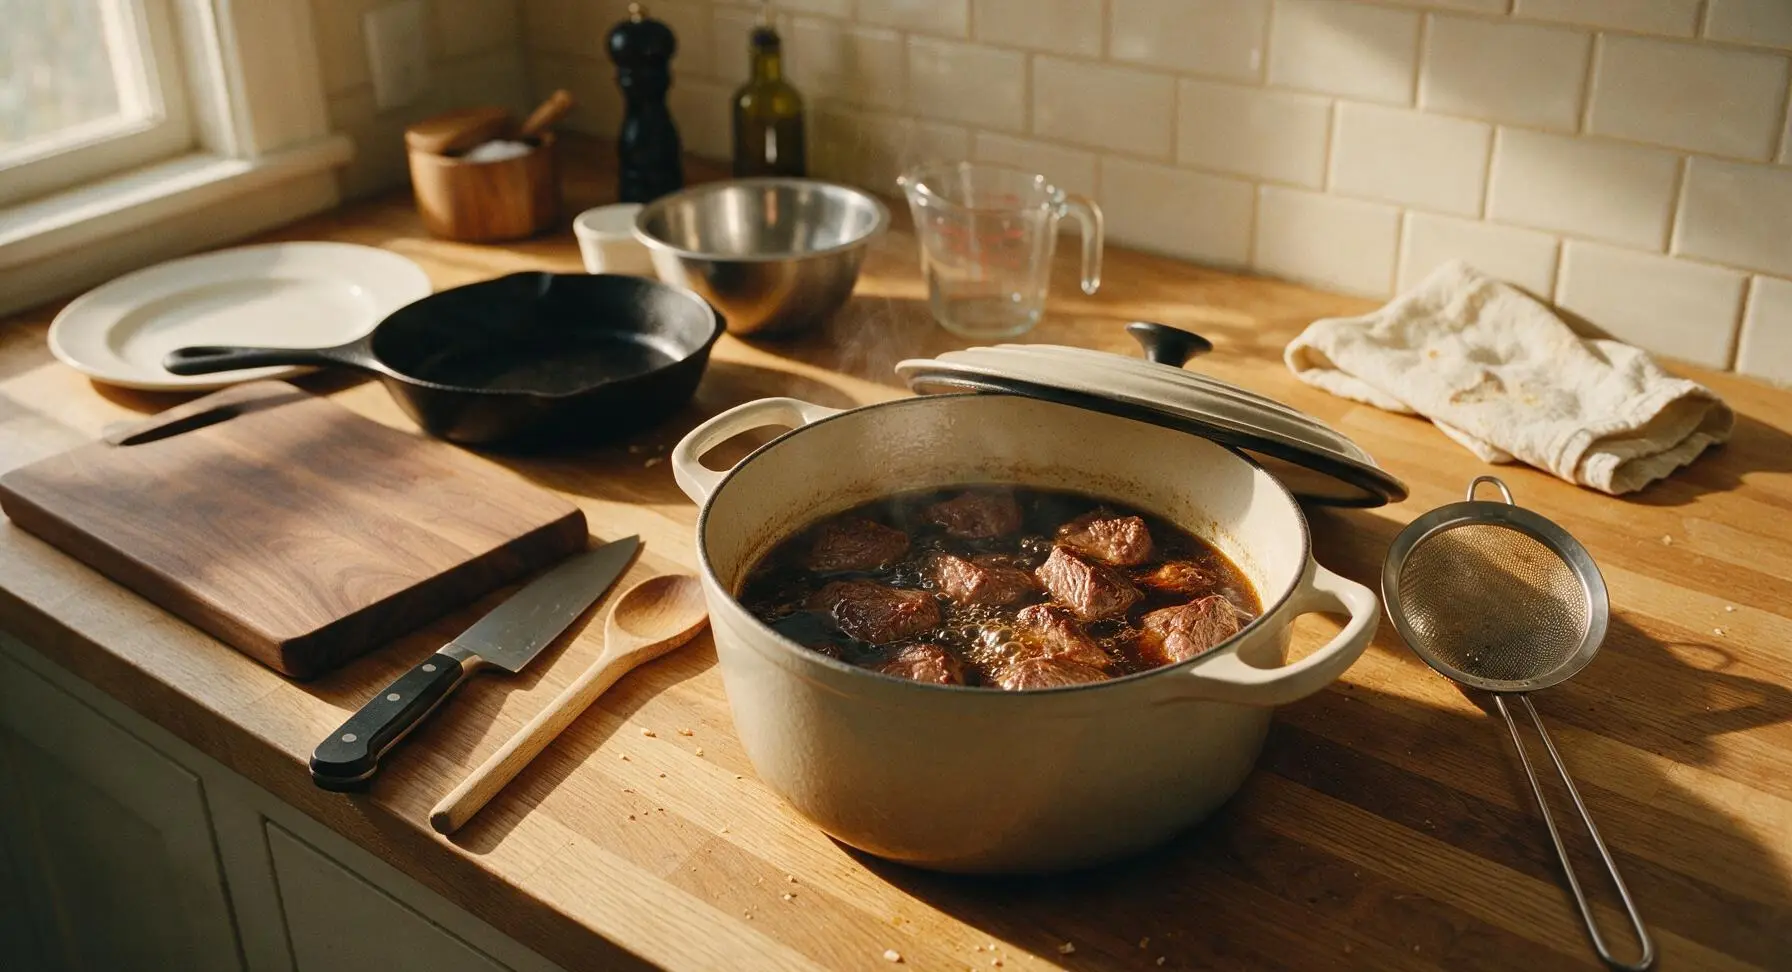
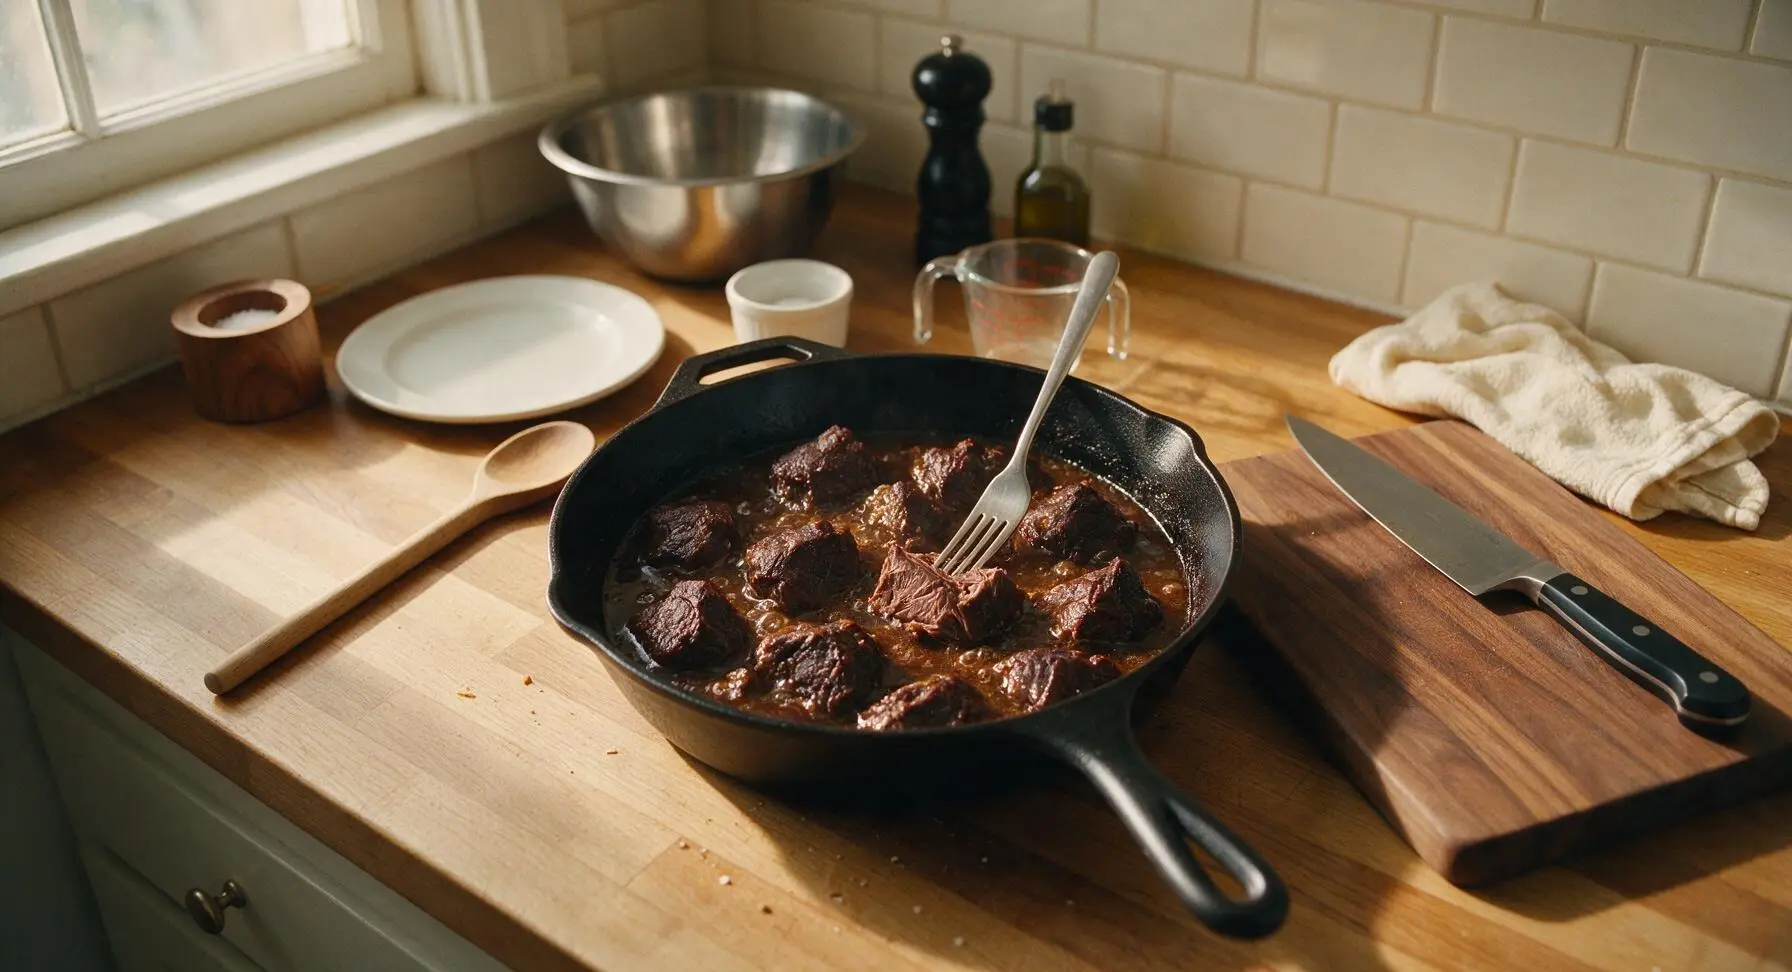
Return all seared beef chunks to the Dutch oven, stirring to coat them in the aromatic oil and spices. Pour in the measured soy sauce, brown sugar, and beef broth, stirring to combine. Bring the liquid to a gentle simmer (small, steady bubbles breaking the surface, about 5 minutes), then reduce heat to the lowest setting, cover the pot with its lid. Simmer for 1 hour and 15 minutes, stirring occasionally, until the beef is fork-tender (a fork pierces a chunk with no resistance). Use the fine-mesh skimmer to remove any grey foam or impurities that rise to the surface during the first 10 minutes of simmering.
Thicken Braising Sauce
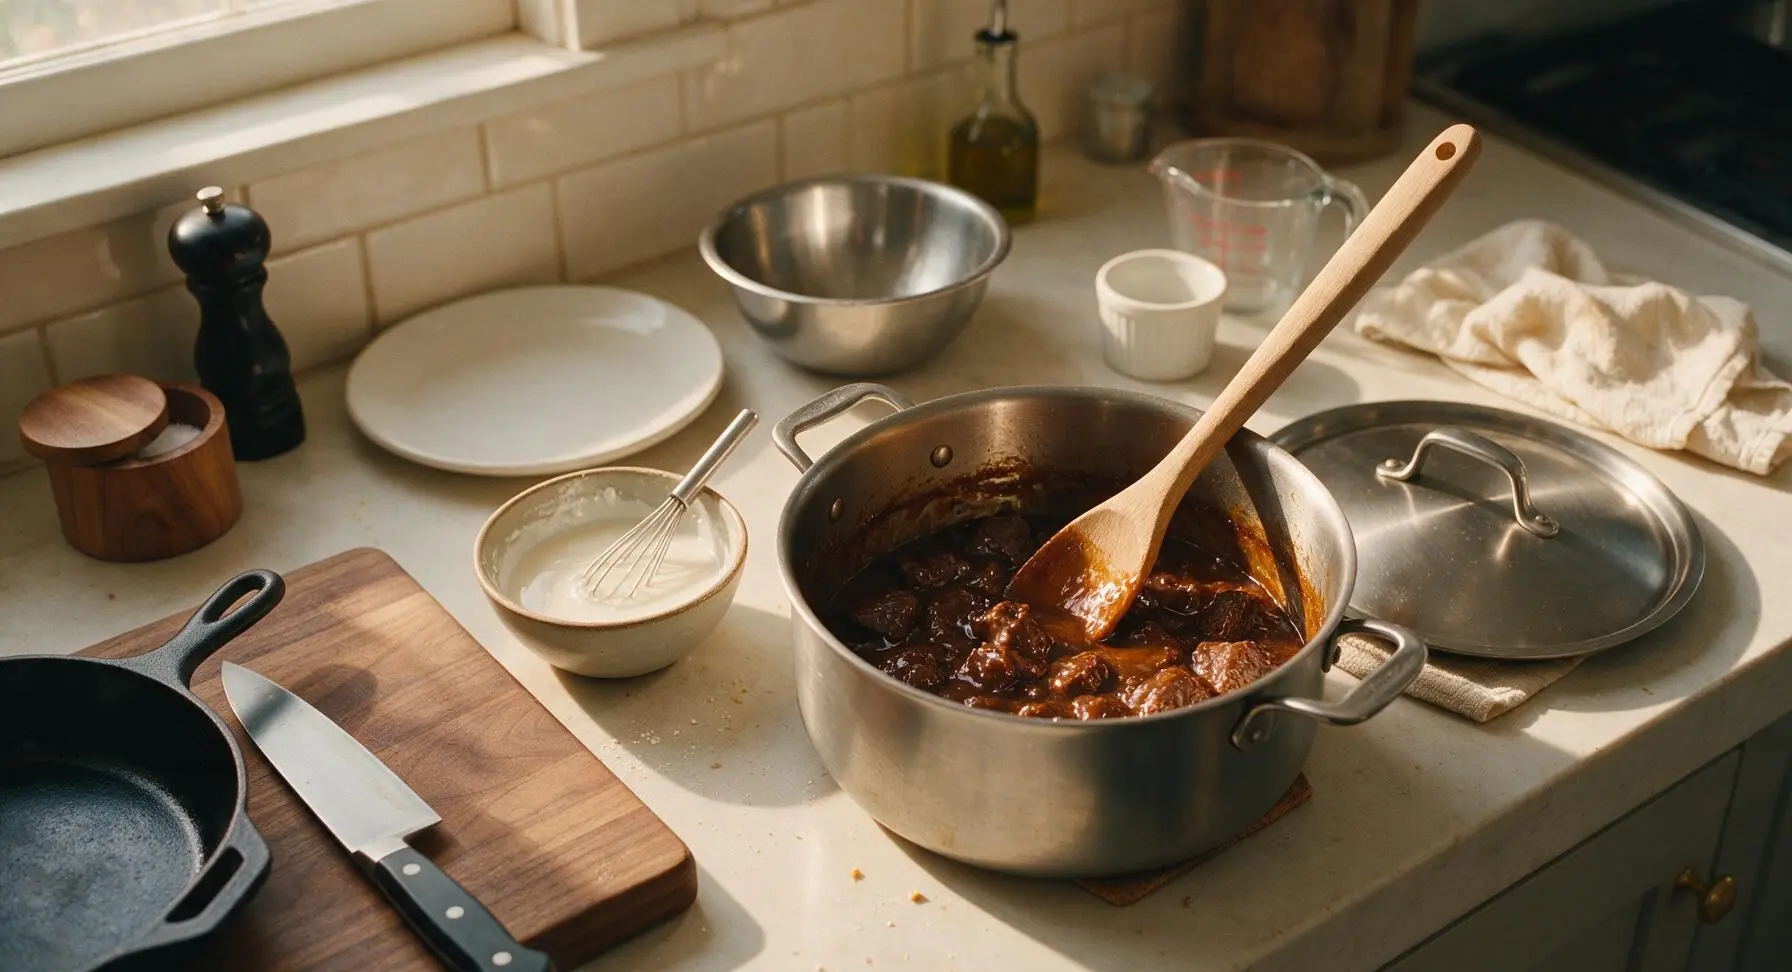
Use the small whisk to mix 1 tablespoon cornstarch with 2 tablespoons cold water in a small prep bowl, stirring until completely smooth with no lumps. Remove the Dutch oven lid, turn heat up to medium-low, then slowly pour the cornstarch slurry into the braising liquid while stirring constantly with the beech wood spoon. Simmer for 3-4 minutes, stirring occasionally, until the sauce thickens to a glossy, nappe consistency that coats the back of the wooden spoon evenly.
Make Garlic Rice and Garnish
While the sauce thickens, place the small stainless steel saucepan on the left side of the counter, heat 2 tablespoons canola oil over medium-low. Add the thinly sliced garlic, frying for 1-2 minutes while stirring constantly, until pale golden and fragrant. Use the fine-mesh skimmer to remove 3/4 of the garlic slices to a paper-towel lined plate to drain (these will crisp as they cool for garnish, transfer to the small ceramic ramekin once cool). Leave the remaining 1/4 of garlic in the pan, add 4 cups of day-old cooked jasmine rice, tossing continuously for 2 minutes until coated in garlic oil, slightly toasty, and heated through. Season rice with a small pinch of kosher salt, then transfer to a bowl and set aside. Watch garlic closely, as it burns quickly once golden.
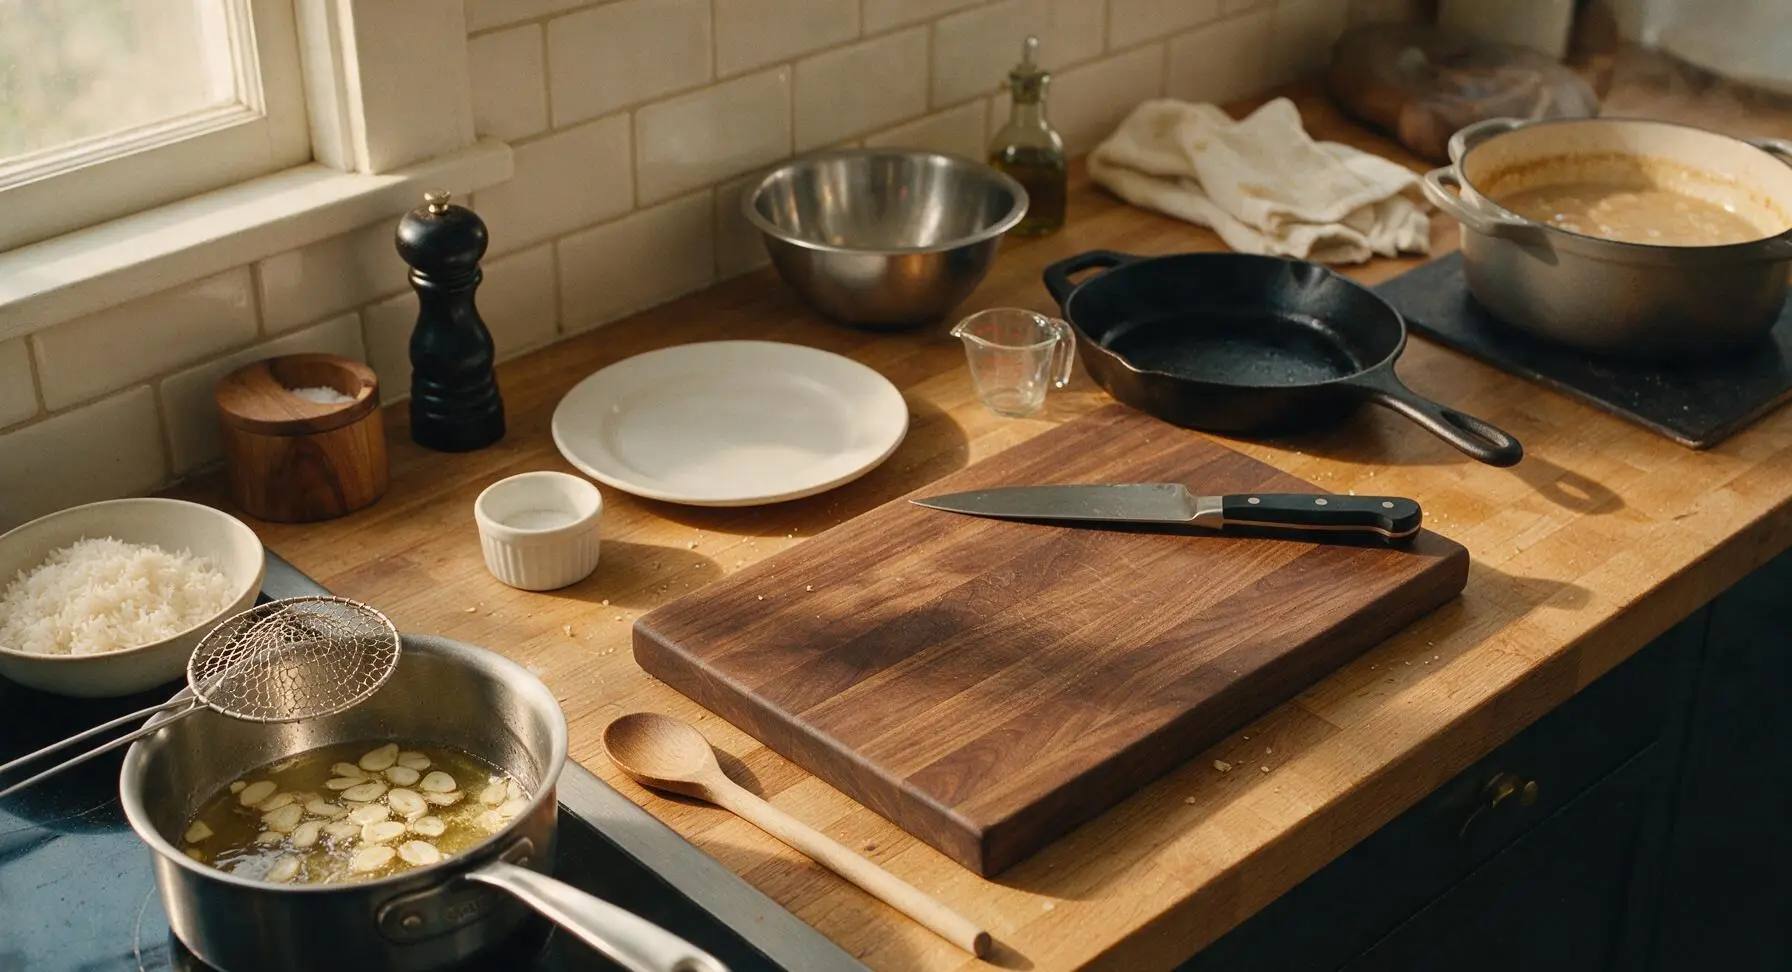
Plate and Garnish Dish
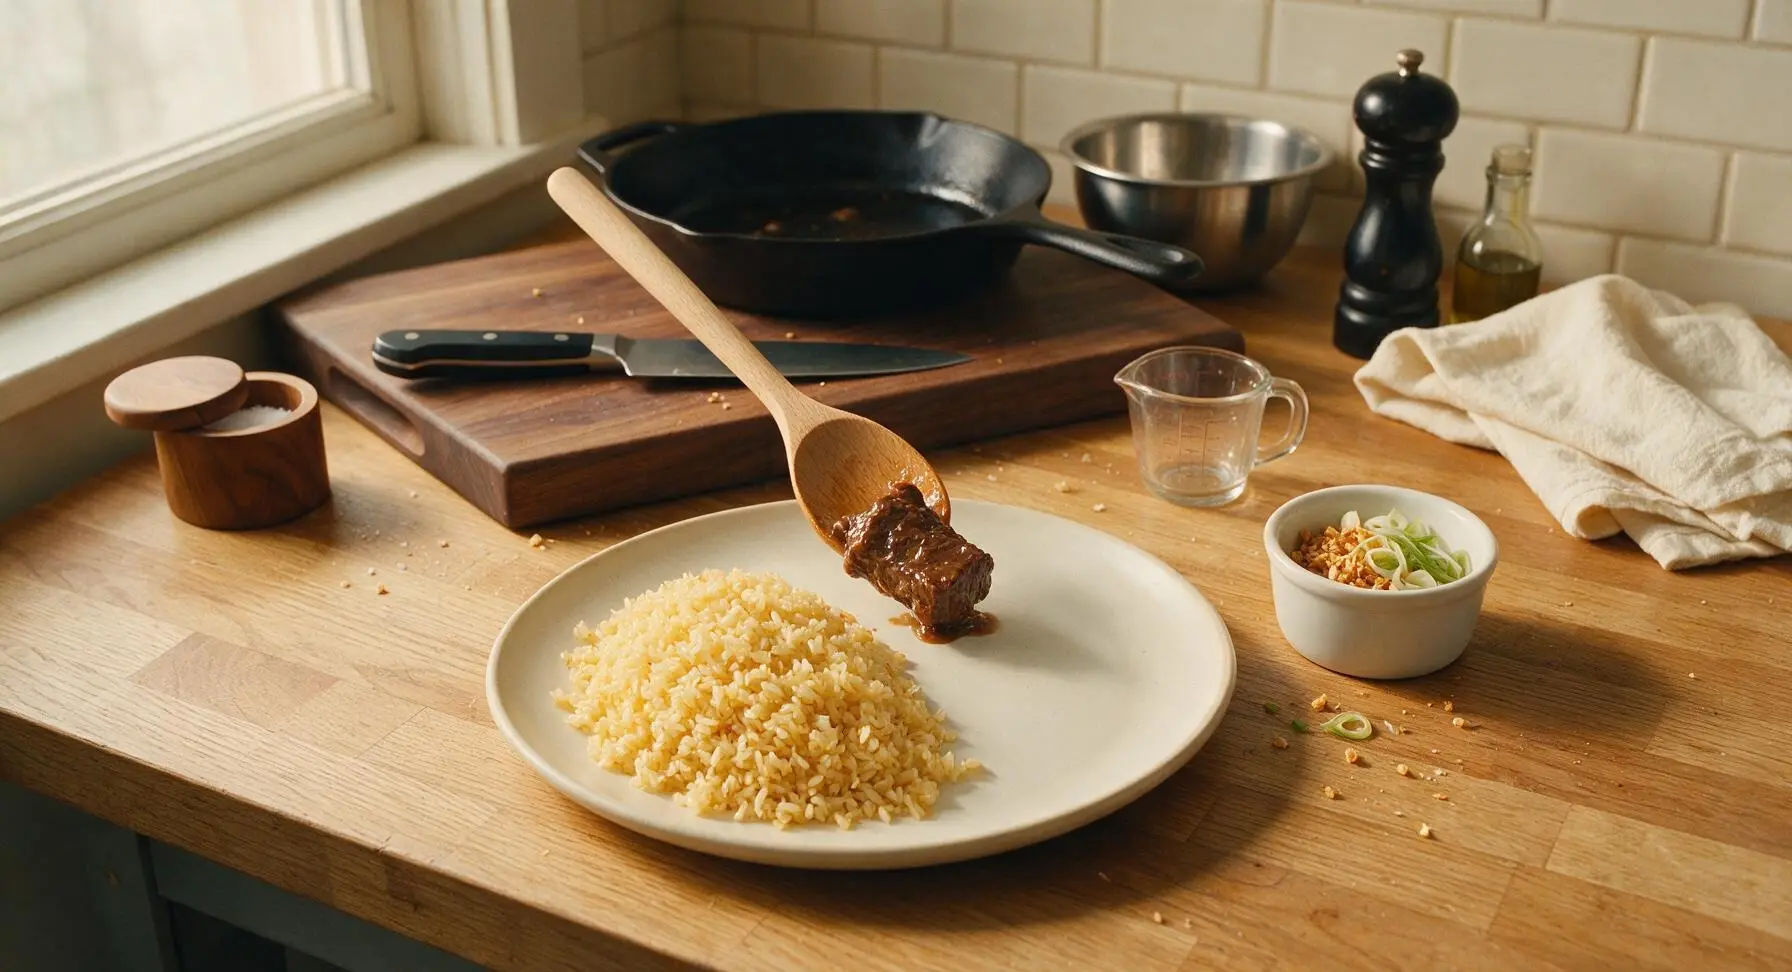
Place one off-white ceramic dinner plate at the center of the counter. Scoop 1 cup of warm garlic fried rice onto the left half of the plate, mounding it gently. Pile 1/4 of the sauced braised beef adjacent to the rice, spooning 1 tablespoon of extra glossy sauce over the top of the beef. Sprinkle 1 teaspoon of crispy fried garlic and a pinch of thinly sliced scallions over the beef as garnish. Repeat for remaining 3 servings.
Tips
2.Maintain a gentle, low simmer during the braising step, never a rolling boil. High heat causes the muscle fibers in the brisket to seize up and turn tough and chewy, while steady low heat slowly breaks down tough connective tissue for melt-in-your-mouth tender beef.
3.Remove fried garlic from the oil the moment it turns pale golden. Garlic continues to cook for 30-60 seconds after being removed from hot oil due to residual heat, and will turn bitter and burnt if left until dark golden before draining.






OMG this classic beef pares is a total game changer! I made it for our Sunday family dinner last night and even my super picky 7-year-old asked for seconds. The beef got so fall-apart tender after that slow simmer, and pairing it with garlic fried rice? *Chef's kiss* 10/10 will be adding this to our regular monthly meal rotation.
SO good! I was a little intimidated by the medium difficulty tag at first, but the steps were super straightforward even for someone like me who burns white rice half the time. The star anise gives it that perfect warm, cozy flavor that reminds me of the pares I used to get at the Filipino food truck near my old college campus. 100% worth the 90 minute cook time, don’t skip the simmer!
Total meal prep win! I made a big batch on Sunday and portioned it out for work lunches all week, and it somehow tastes even better reheated the next day. My cubemate kept leaning over my desk asking what smelled so good, I had to send her the link mid-lunch. Pro tip: use chuck roast like the recipe says, it literally falls apart, no chewy tough bits at all!
Took me a little longer than the 90 minute cook time because my old apartment stove runs super low, but man was it worth the wait. My partner is Filipino and said this tastes exactly like his lola’s version, which is the highest compliment I could possibly get. Will definitely be making this for our next game night with friends.
Really solid recipe! I gave it 4 stars only because I wish it had a little heads up about how quickly the soy sauce reduction can thicken and burn if you don’t watch it — I almost ruined mine when I stepped away to answer a delivery at the door. Other than that tiny mishap, the flavor is incredible, and my roommates devoured half the pot in like 10 minutes flat.
Made this for my kid’s soccer team potluck last weekend and people were coming up to me for the recipe all night! I doubled the recipe because I know how much teenage boys can eat, and we still only had a tiny bit left over by the end of the night. Perfect cozy fall food, I’ll be making this nonstop once the weather cools down even more.
First time making beef pares ever and it came out perfect! I was worried the medium difficulty tag meant I’d mess it up, but the instructions were so clear and easy to follow. Served it with some pickled papaya on the side like my tita used to make, and it was chef’s kiss. 10/10.
Took a Saturday afternoon to make this and it was the best weekend cooking project I’ve done in months. The beef is so melt-in-your-mouth tender, and that sweet-savory sauce is straight up addictive. I even packed up a couple containers to drop off to my parents, and my mom texted me three times to say how much they loved it. Will absolutely be making this again!