
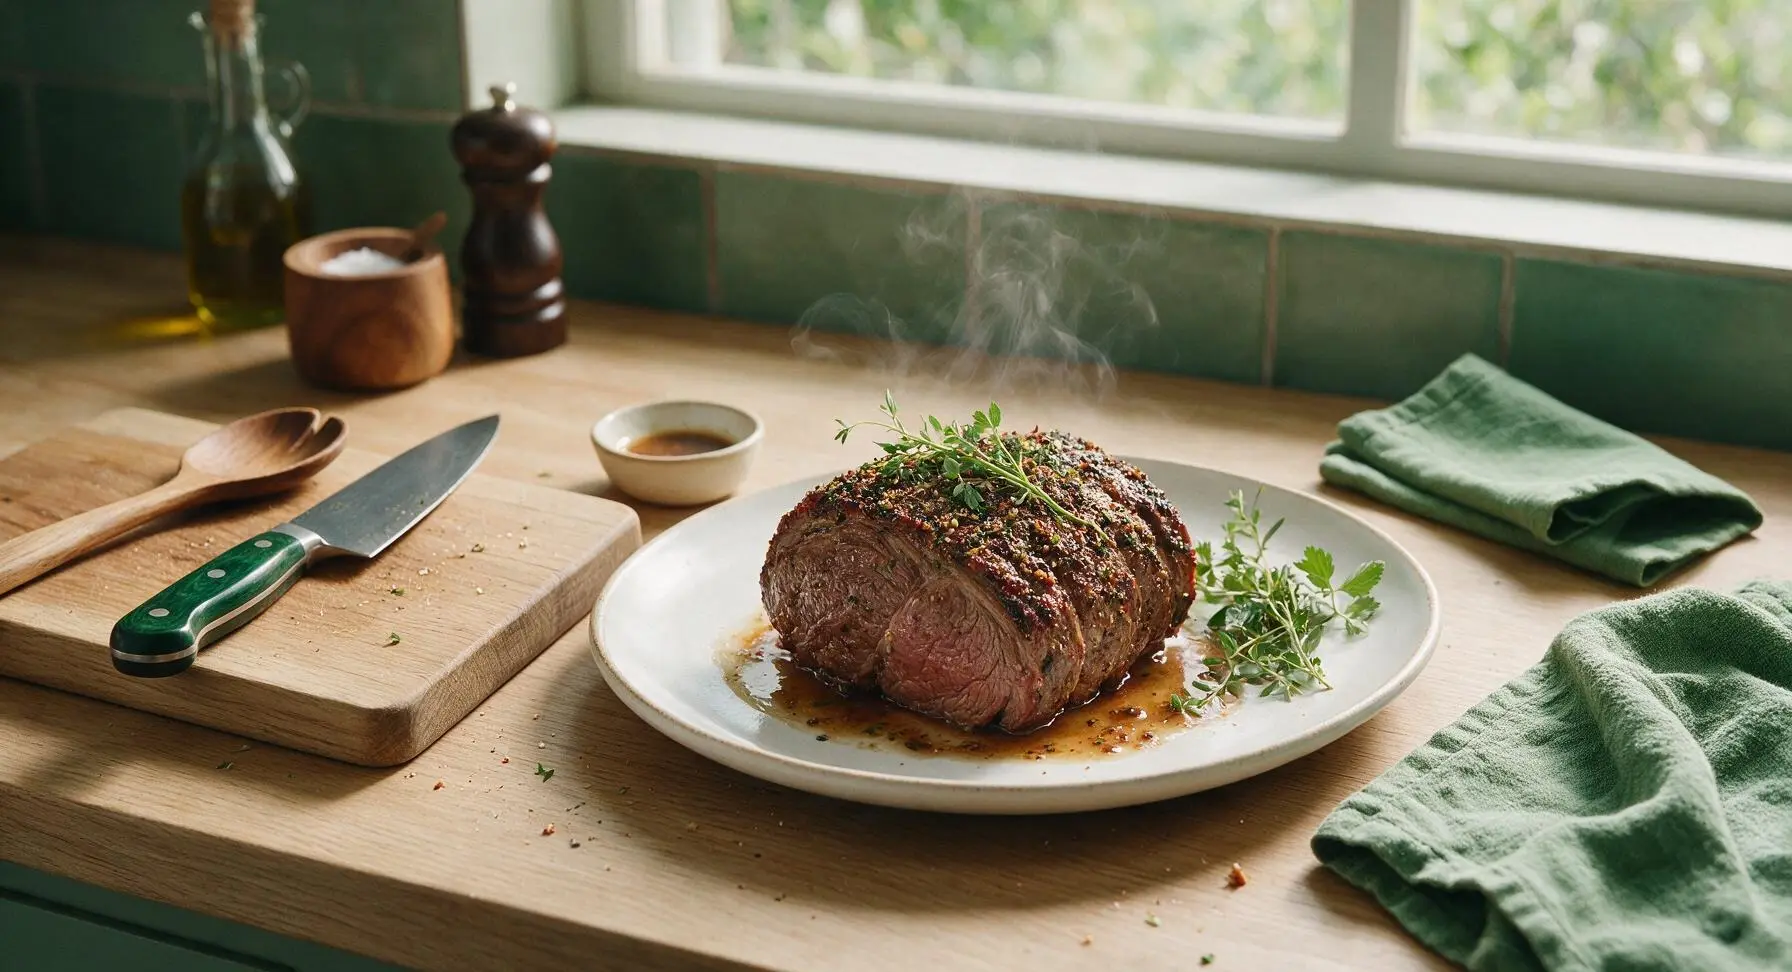
beef rump roast

title 1
beef rump roast
⏱️ cook time 1 hour 30 minutes
🍽️ servings 4
⚡ Difficulty medium

intro

Tender, juicy slow-roasted beef rump with a crisp herb-and-spice crust and rich pan jus, perfect for gathering loved ones around the Sunday dinner table.

Ingredients
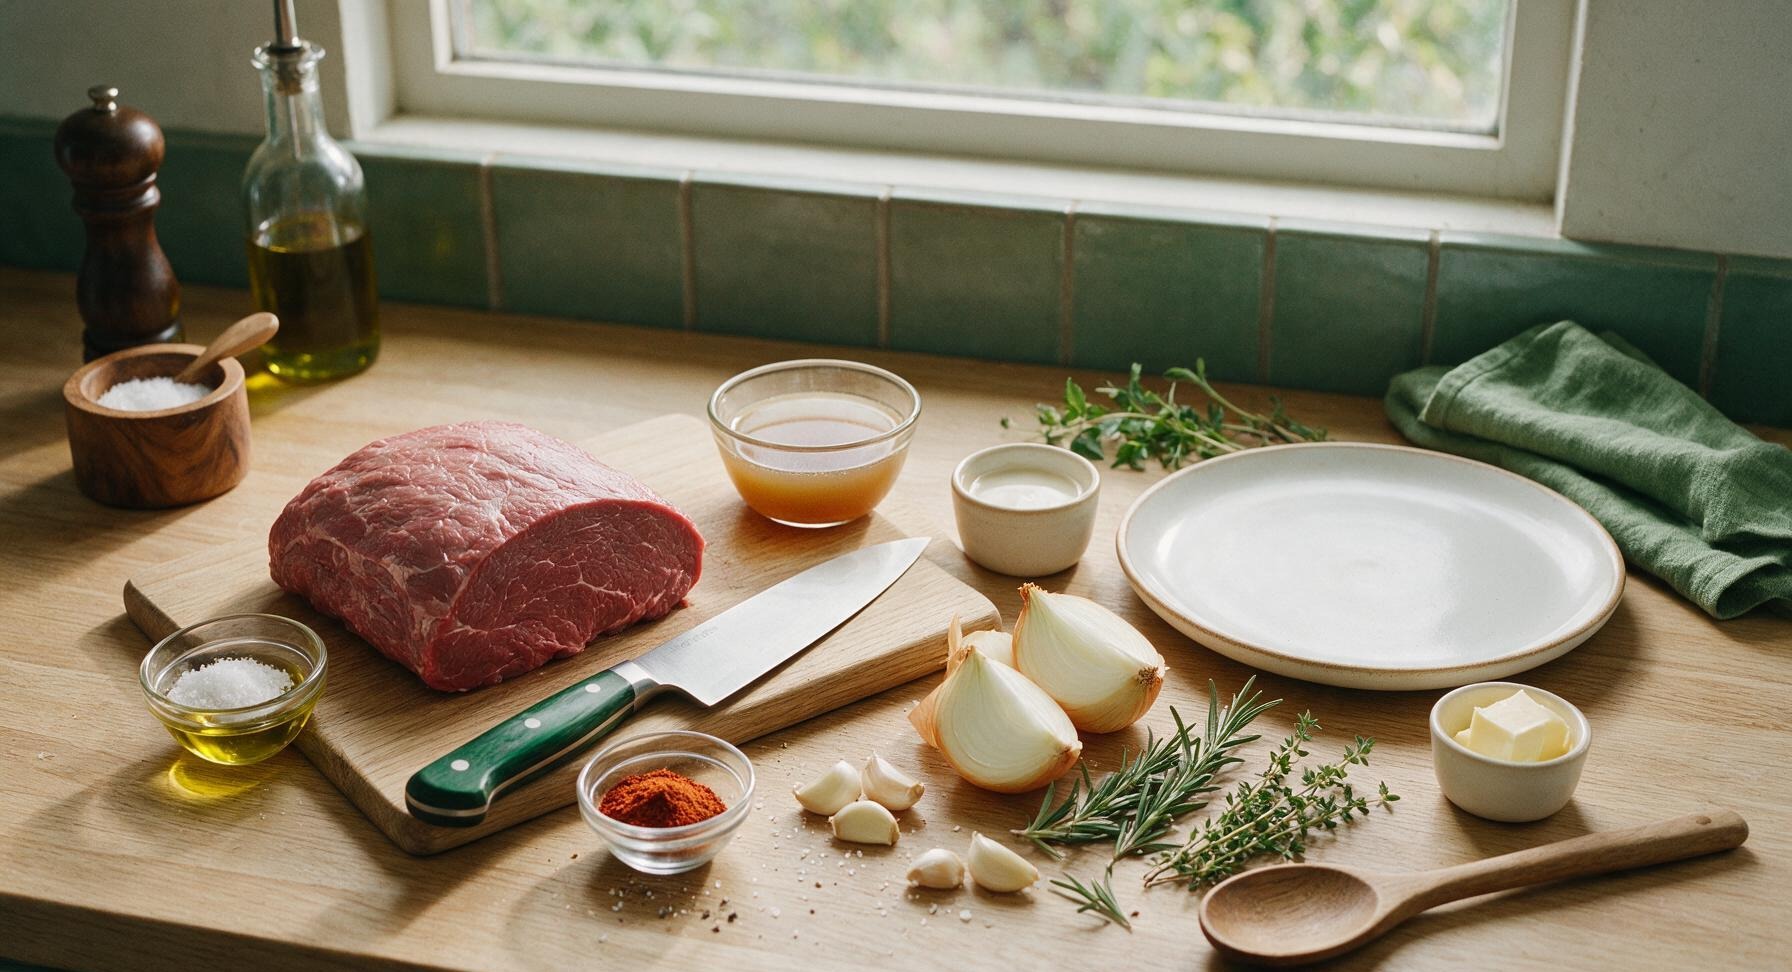
Boneless beef rump roast 1.5kg (3.3lb)
Kosher salt 1 tbsp
Freshly cracked black pepper 2 tsp
Garlic powder 1 tsp
Smoked paprika 1 tsp
Extra-virgin olive oil 2 tbsp
Large yellow onion 1 (cut into thick wedges)
Garlic cloves 4 (crushed)
Fresh rosemary 3 sprigs
Fresh thyme 4 sprigs
Low-sodium beef broth 120ml (1/2 cup)
Unsalted butter 2 tbsp

Steps

1

Trim the Rump Roast

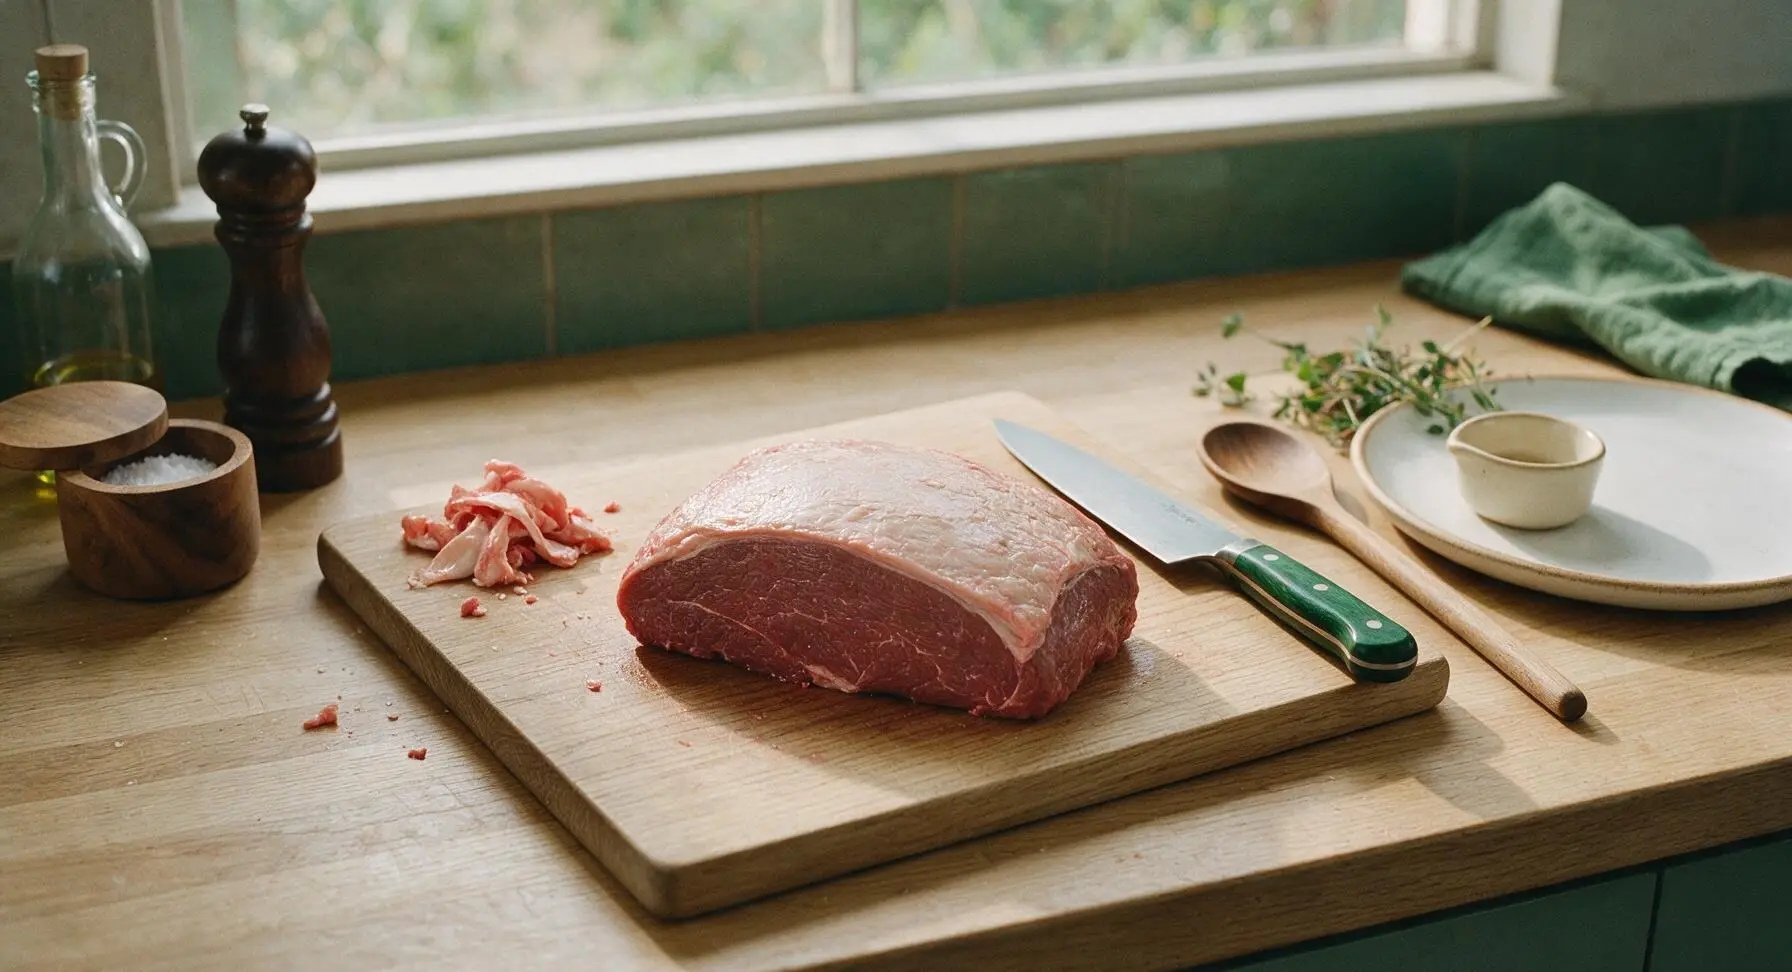
Place the 1.5kg boneless beef rump roast on the honey maple cutting board. Use the 8-inch walnut-handled chef knife to trim away any loose, dangling fat and tough silver skin from the roast, leaving a uniform 1/4-inch thick fat cap across the top. Pat the entire surface of the roast completely dry with paper towels to ensure optimal browning. The meat should feel dry to the touch across all sides before proceeding.
Step 1
step1:Trim the Rump Roast
2

Mix Dry Spice Rub

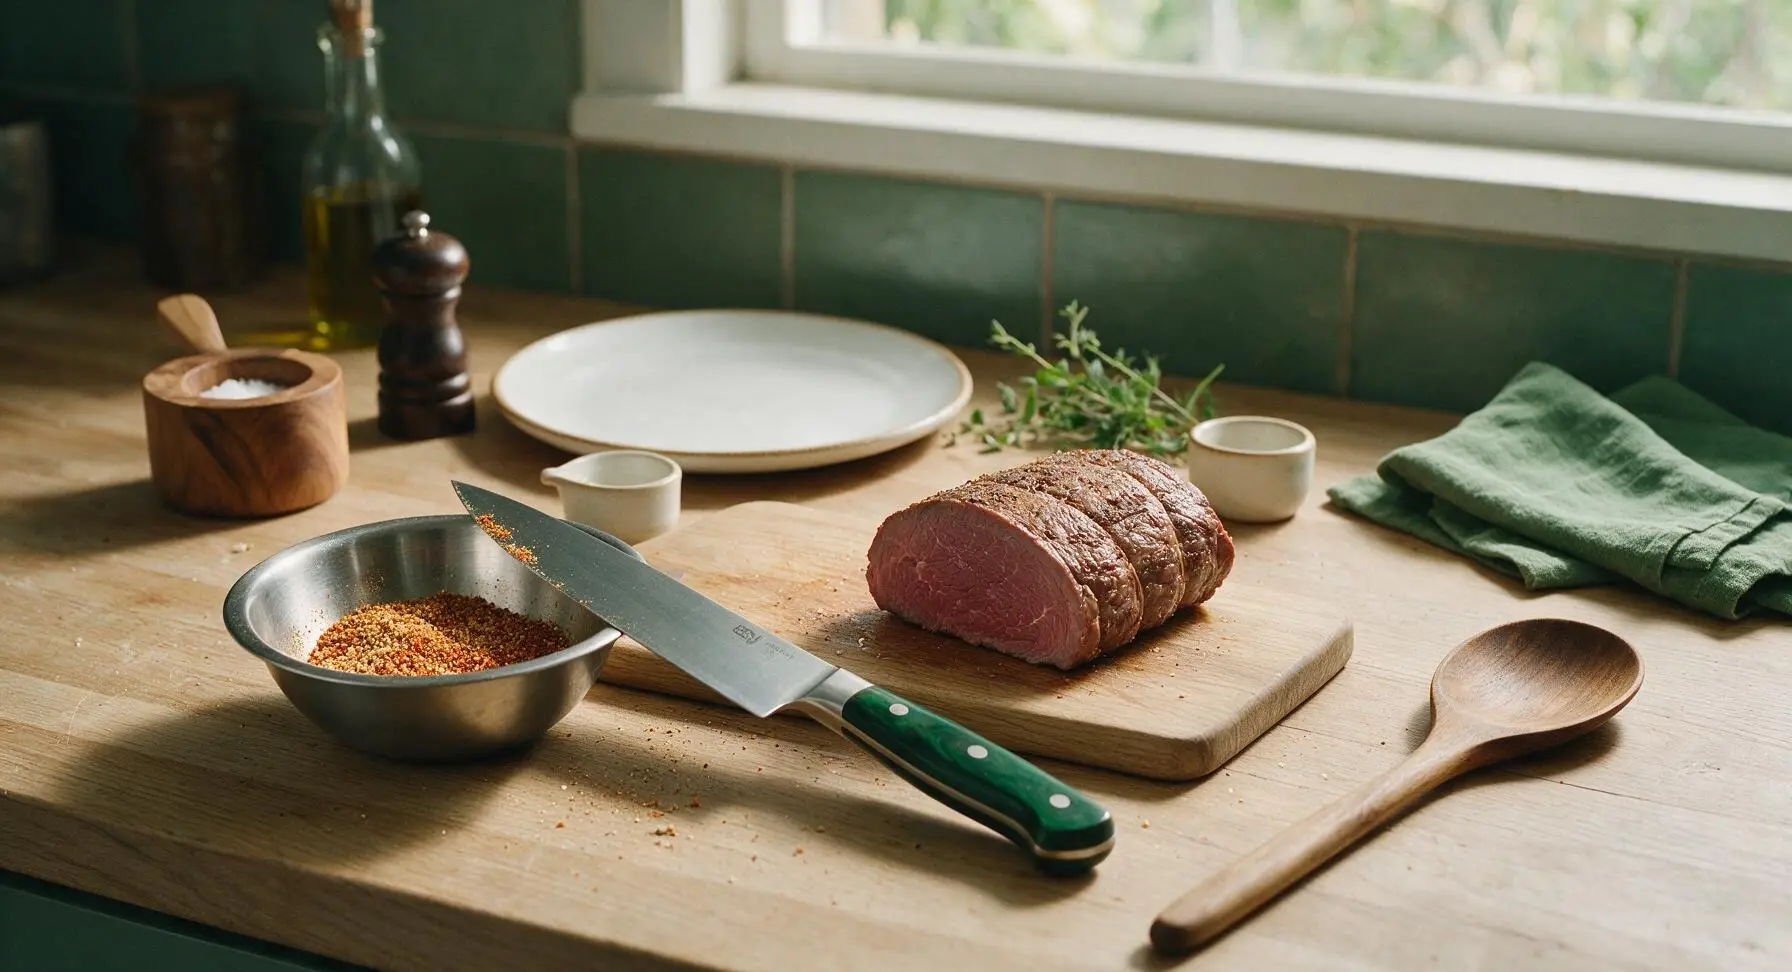
Set the small brushed stainless steel mixing bowl to the left of the cutting board. Combine 1 tbsp kosher salt, 2 tsp freshly cracked black pepper, 1 tsp garlic powder, and 1 tsp smoked paprika in the bowl. Stir with the tip of the chef knife until spices are evenly blended, with no clumps of paprika or garlic powder remaining.
Step 2
step2:Mix Dry Spice Rub
3

Coat Roast with Rub

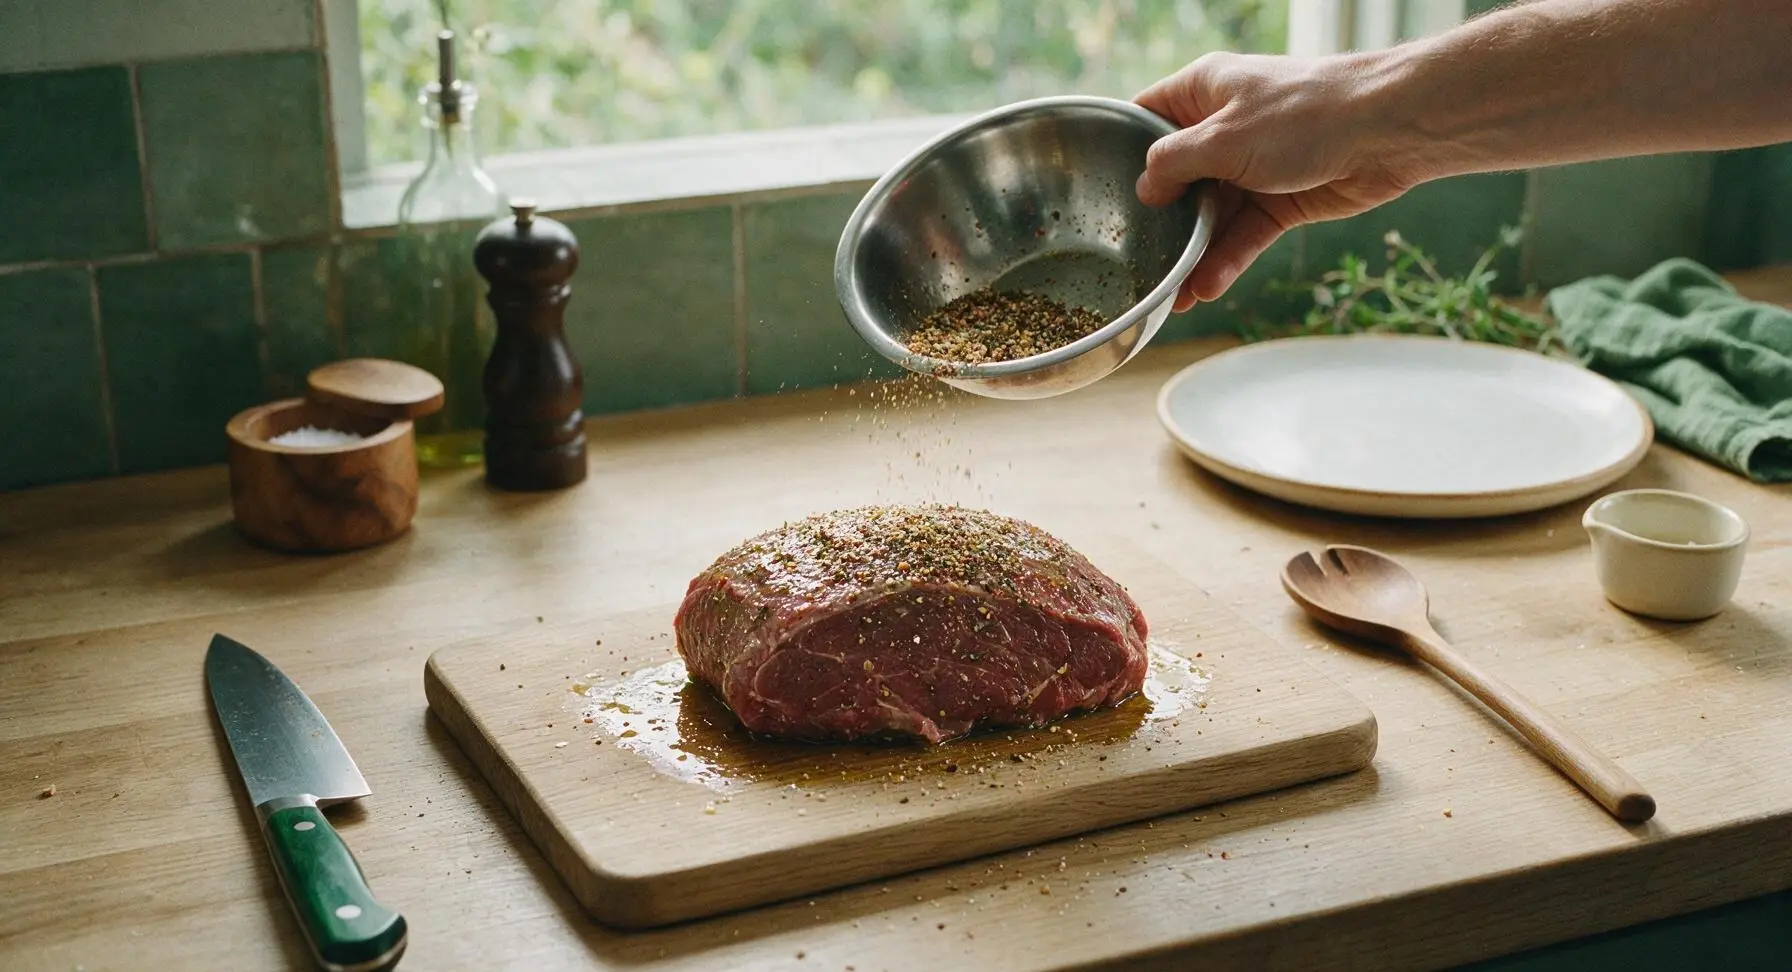
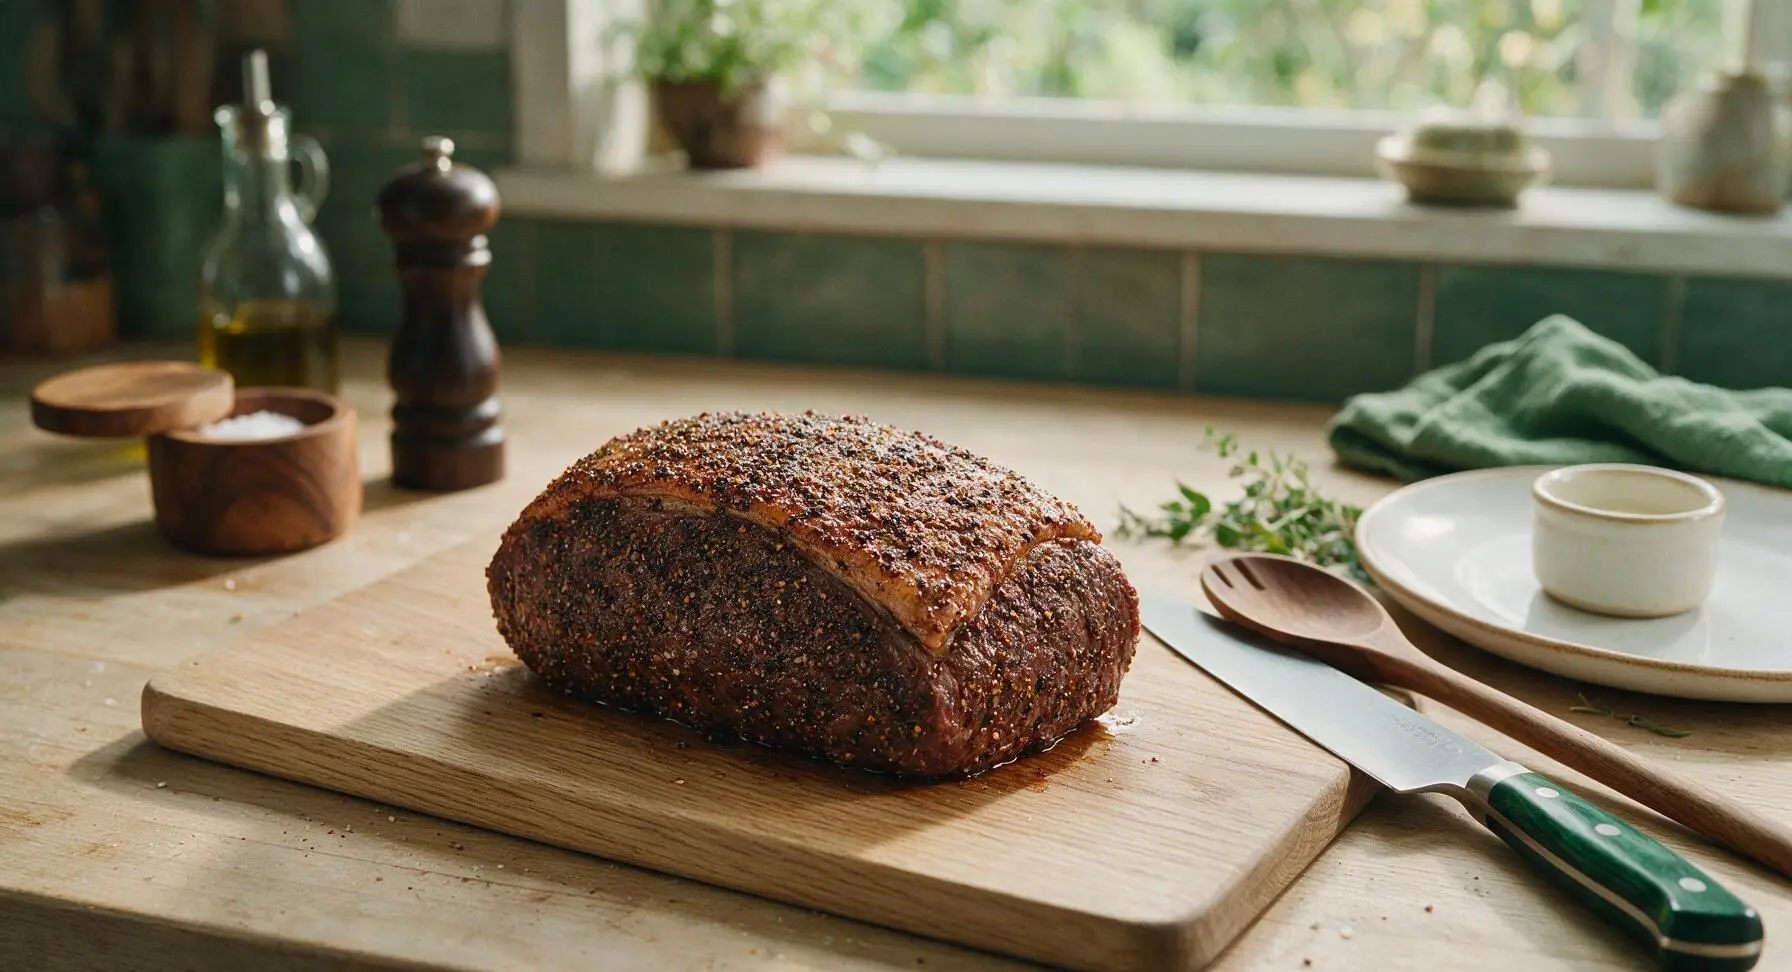
Drizzle 1 tbsp of extra-virgin olive oil over the entire surface of the dried roast, rubbing it in with clean hands to coat every side. Sprinkle the blended spice rub evenly across all surfaces of the roast, pressing gently so the spices adhere firmly to the meat and fat cap. No bare patches of meat should be visible once seasoned.
Step 3
step3:Coat Roast with Rub
Step 3
step3:Coat Roast with Rub
4

Sear All Roast Sides

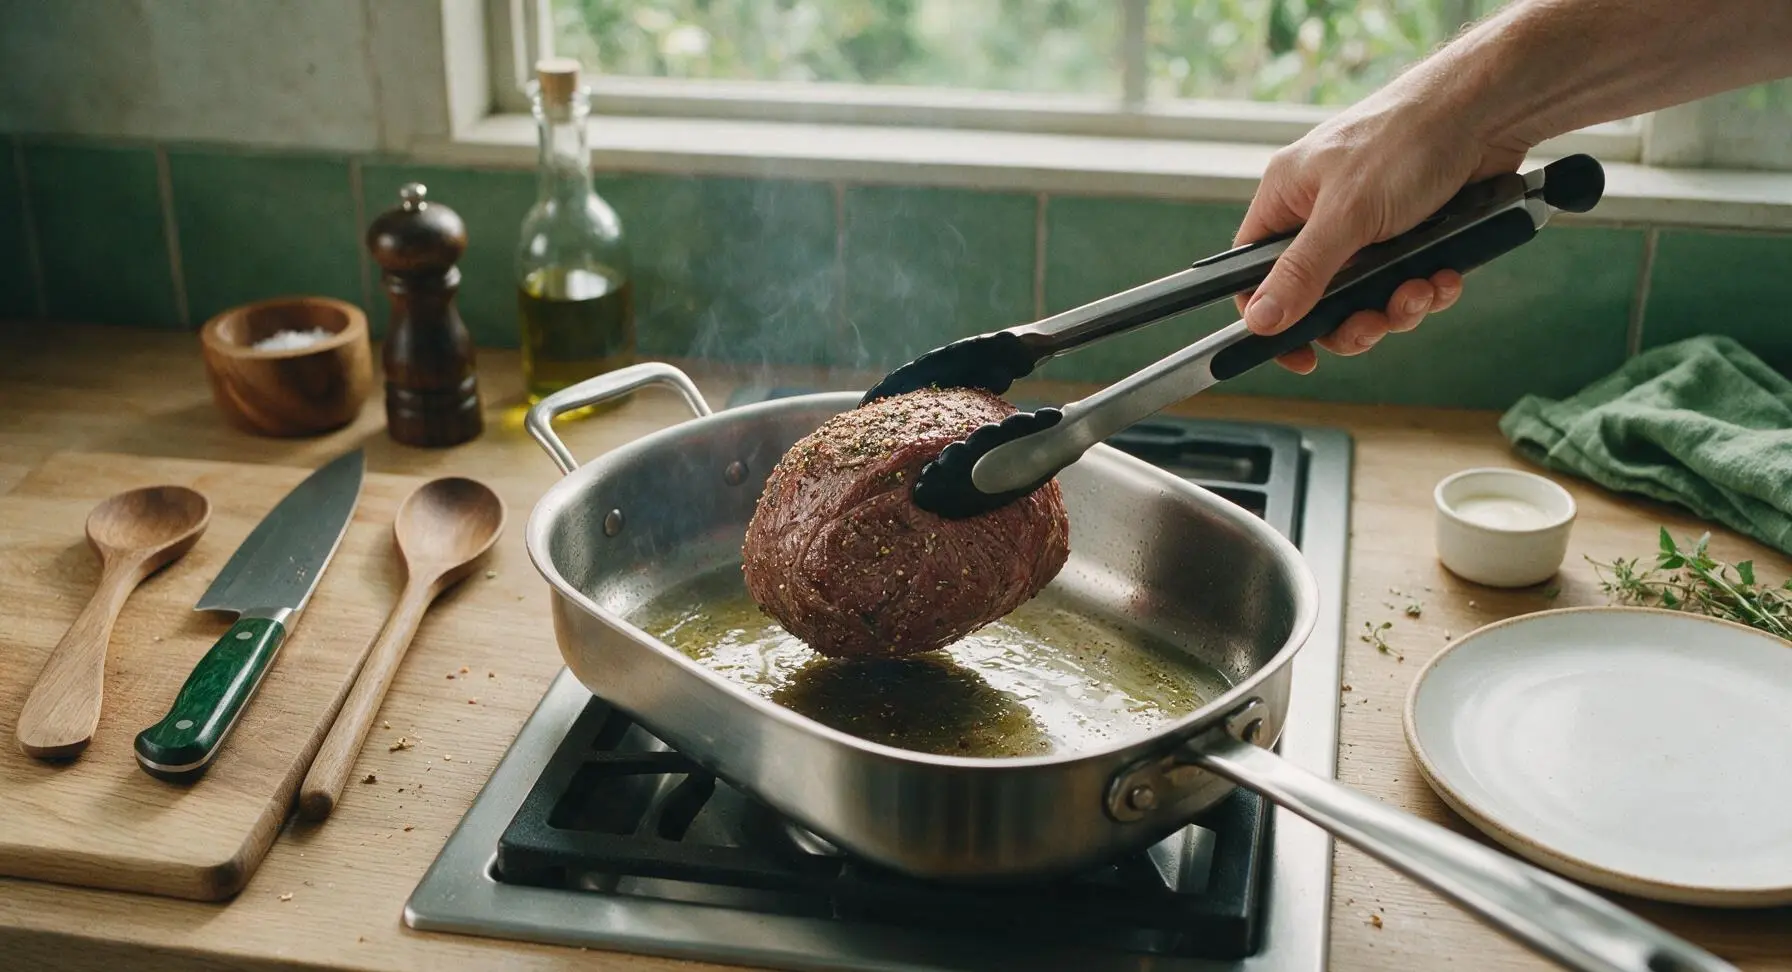
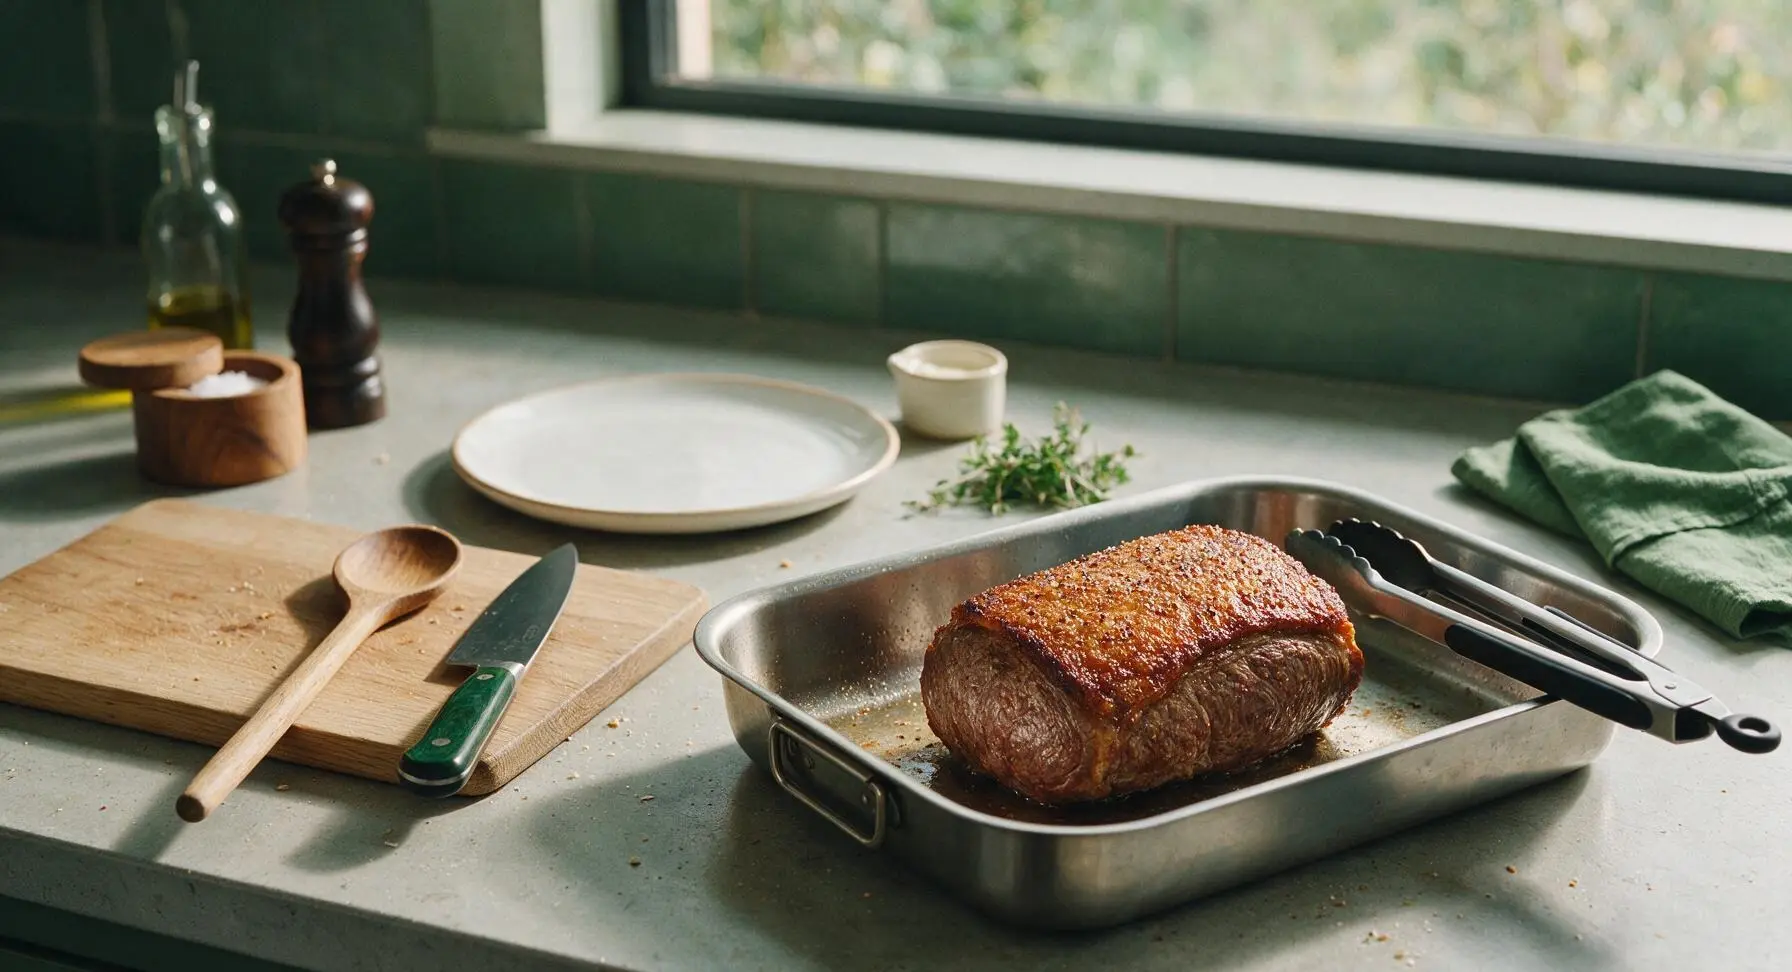
Preheat oven to 160°C (325°F). Place the stainless steel roasting pan across two stovetop burners over medium-high heat, add the remaining 1 tbsp olive oil. Once the oil is shimmering, use the black-grip stainless steel tongs to place the seasoned roast in the pan. Sear for 2-3 minutes per side, including the narrow edges, until a deep golden-brown crust forms across every surface. Do not move the roast while searing each side to build a crisp, even crust.
Step 4
step4:Sear All Roast Sides
Step 4
step4:Sear All Roast Sides
5

Add Aromatics and Broth

Once the roast is fully seared, set the wire roasting rack under the roast to elevate it slightly. Scatter the thick-cut yellow onion wedges, crushed whole garlic cloves, 3 rosemary sprigs, and 3 thyme sprigs around the base of the roast in the roasting pan. Pour the 120ml low-sodium beef broth into the pan, taking care not to pour it directly over the crusted top of the roast to keep the spice crust intact.
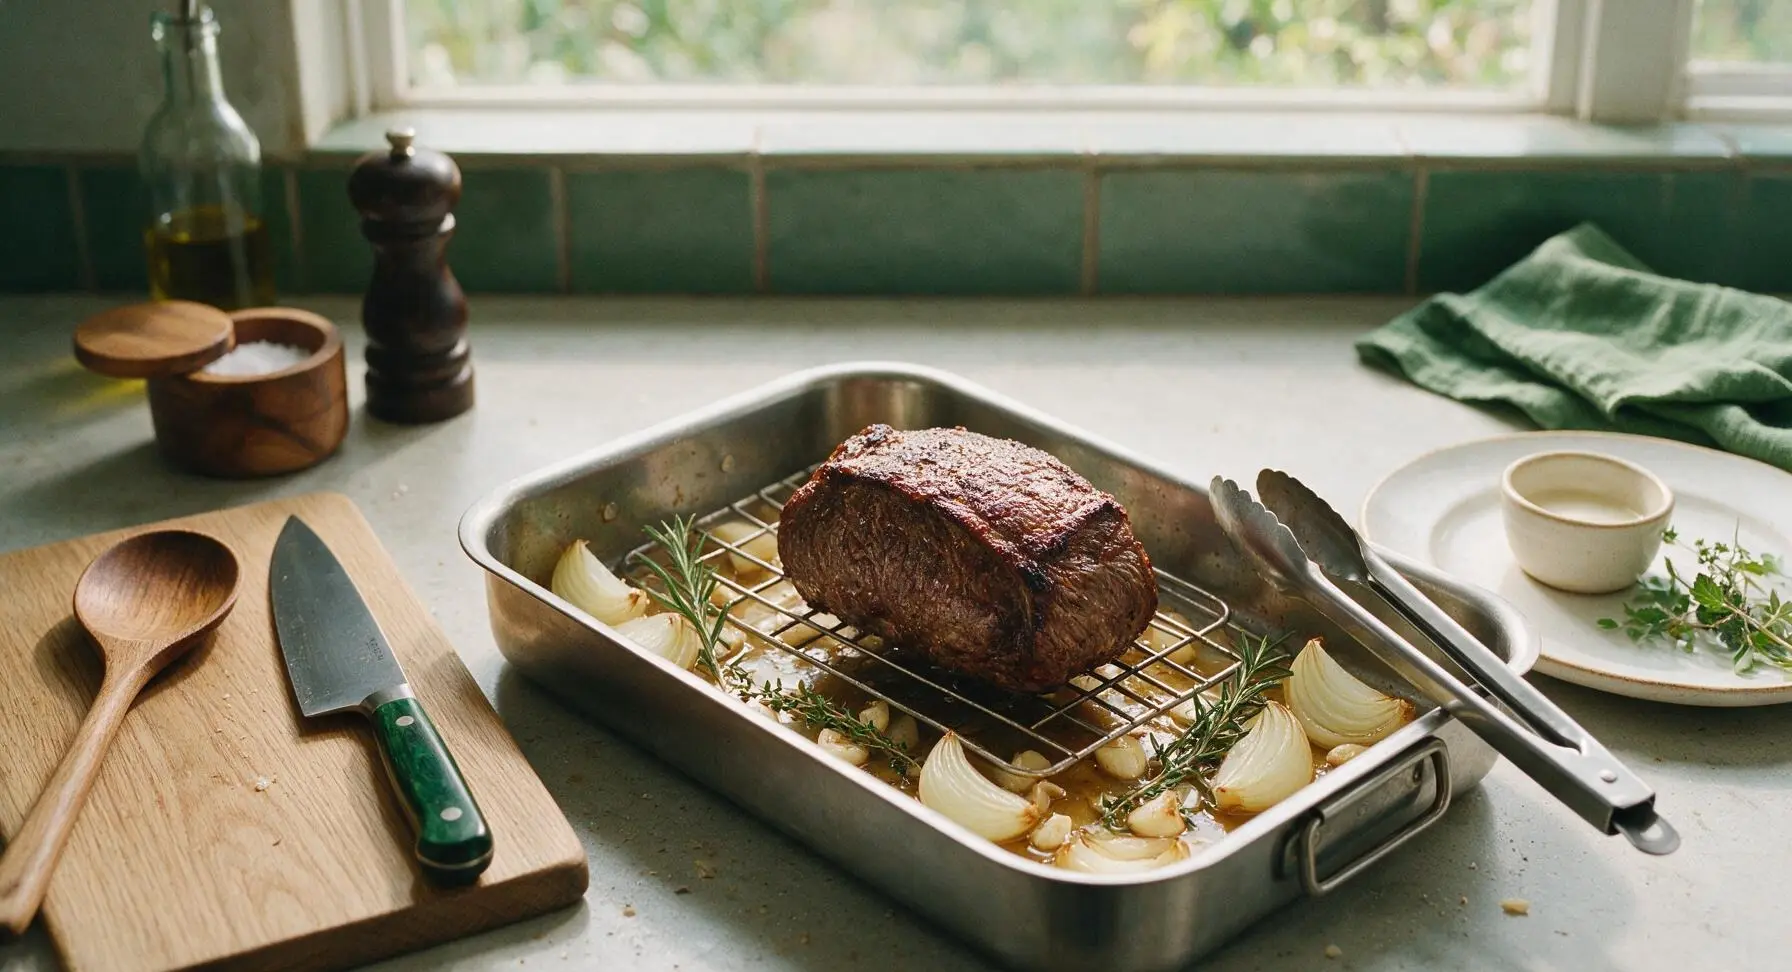
Step 5
step5:Add Aromatics and Broth
6

Slow Roast to Temp

Transfer the uncovered roasting pan to the preheated 160°C (325°F) oven. Roast for approximately 1 hour to 1 hour 15 minutes, pulling the pan out briefly to check temperature with the instant-read meat thermometer inserted into the thickest part of the roast (not touching fat or the pan). Remove the roast when the thermometer reads 57°C (135°F) for medium-rare, or 63°C (145°F) for medium. Carryover cooking will raise the internal temperature by 3-5°C while resting.
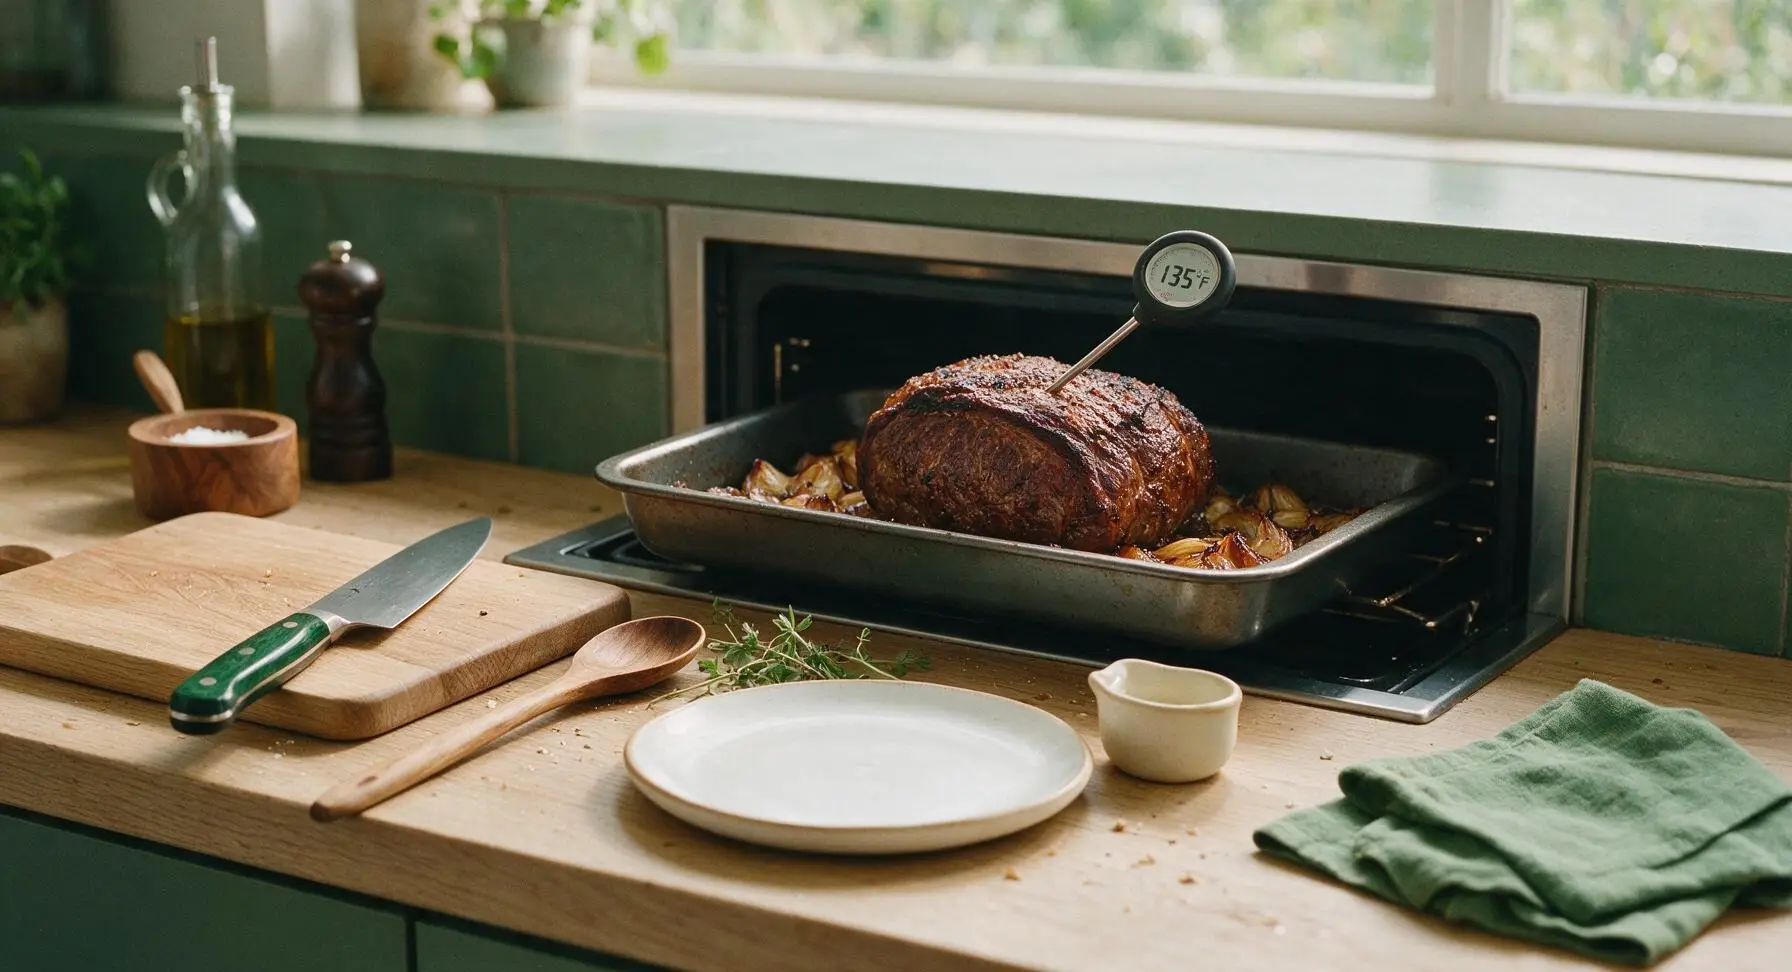
Step 6
step6:Slow Roast to Temp
7

Rest Roast Properly

Use the tongs to carefully transfer the cooked roast from the roasting pan back to the honey maple cutting board. Top the roast with the 2 tbsp of unsalted butter, letting it melt over the warm crust, then tent loosely with a small sheet of aluminum foil. Let the roast rest for 20 full minutes to allow juices to redistribute back into the meat fibers, which prevents juice from running out when slicing.
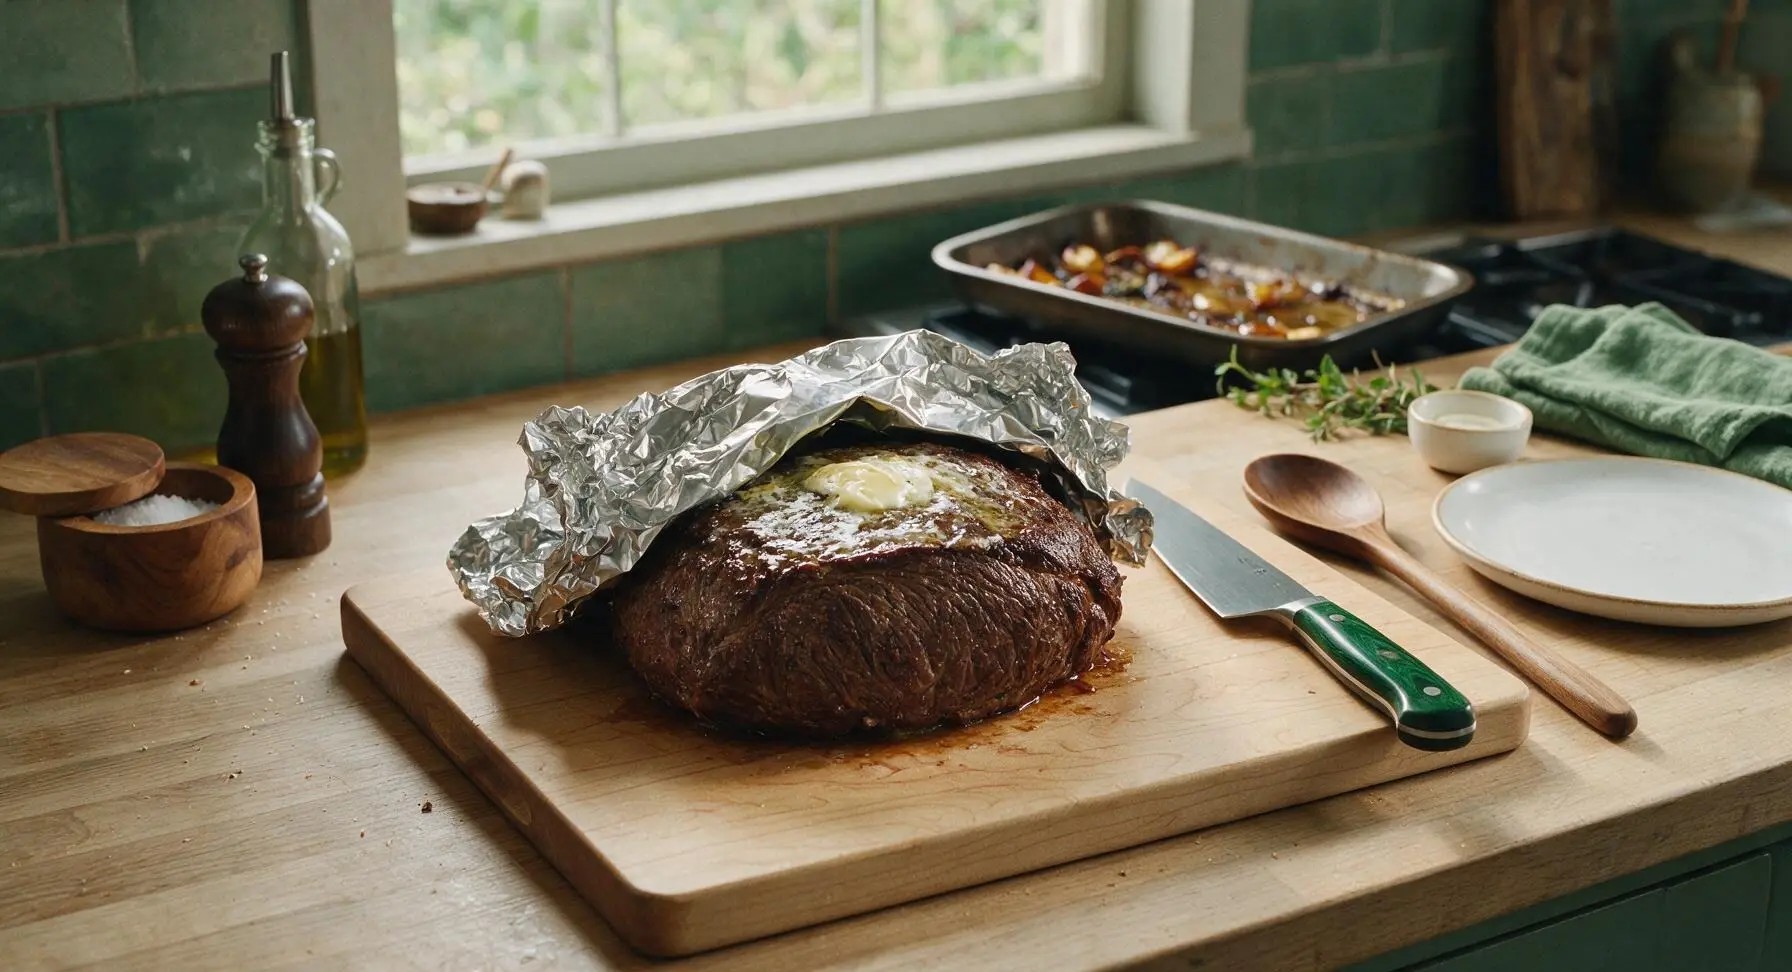
Step 7
step7:Rest Roast Properly
8

Slice and Plate Roast

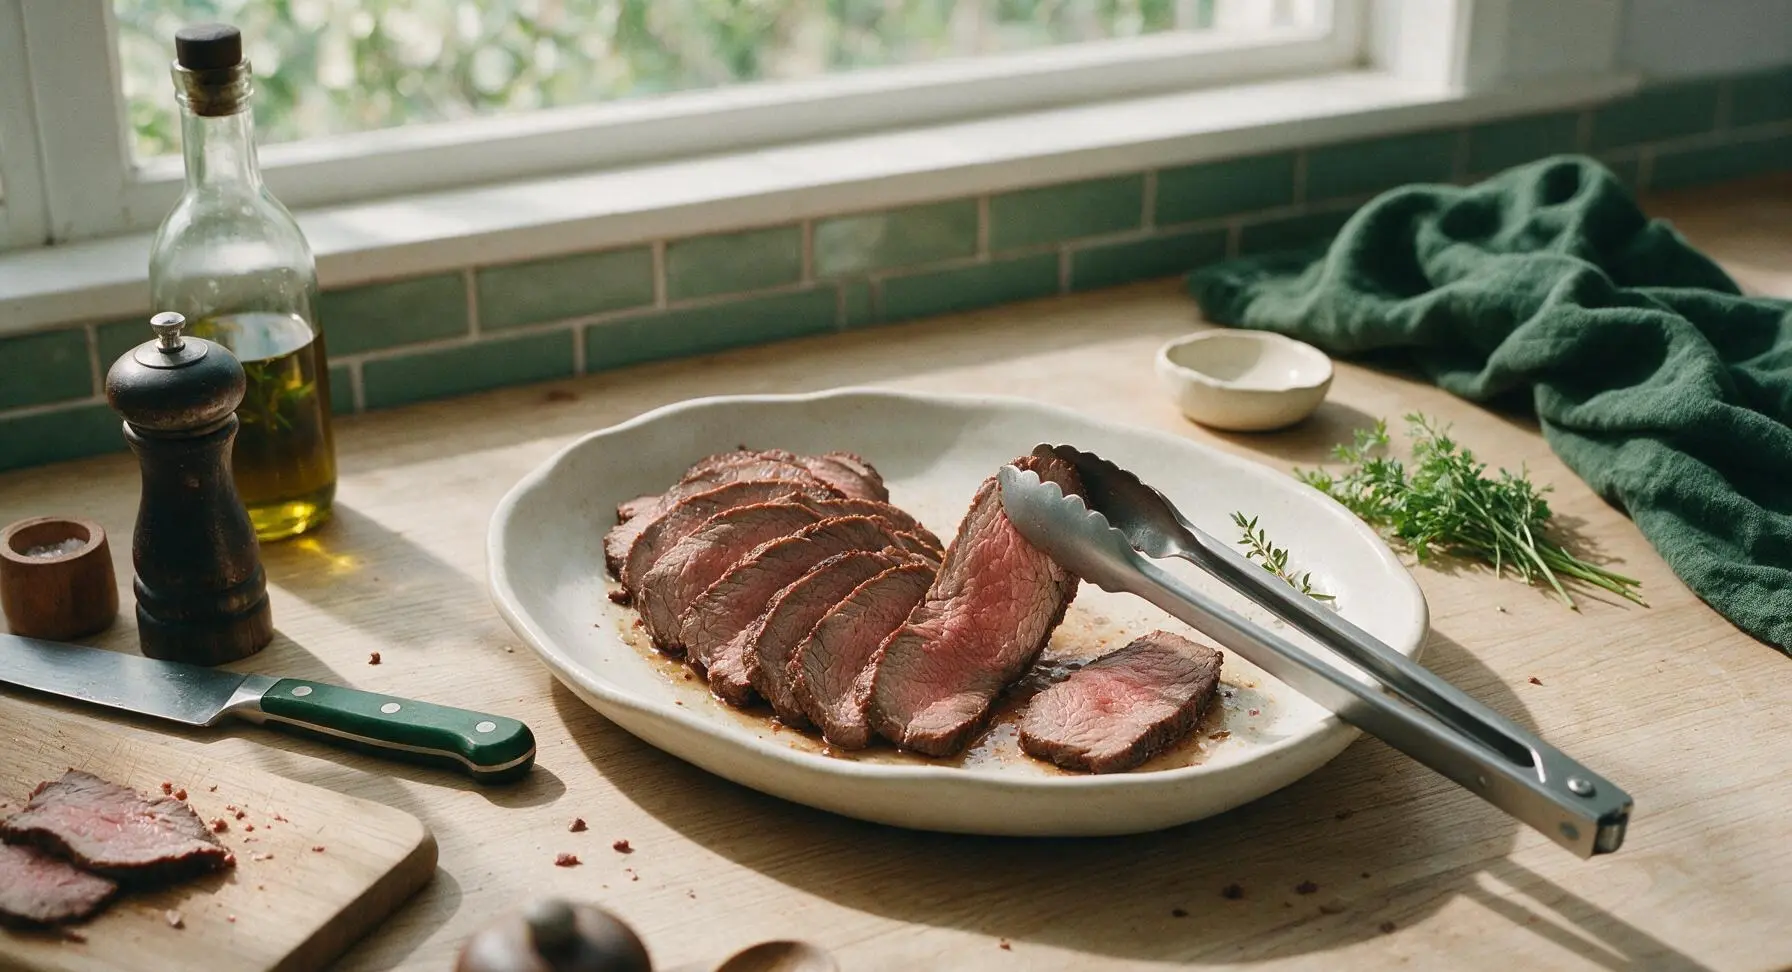
After the 20-minute rest, discard the foil tent. Hold the roast steady with tongs, then use the sharp chef knife to slice cleanly against the grain into uniform 1/4-inch thick slices. Arrange the slices in a gentle fan across the warm matte off-white ceramic serving platter, spoon 2-3 tbsp of strained pan drippings lightly over the top, and tuck a fresh thyme sprig at the platter edge for garnish.
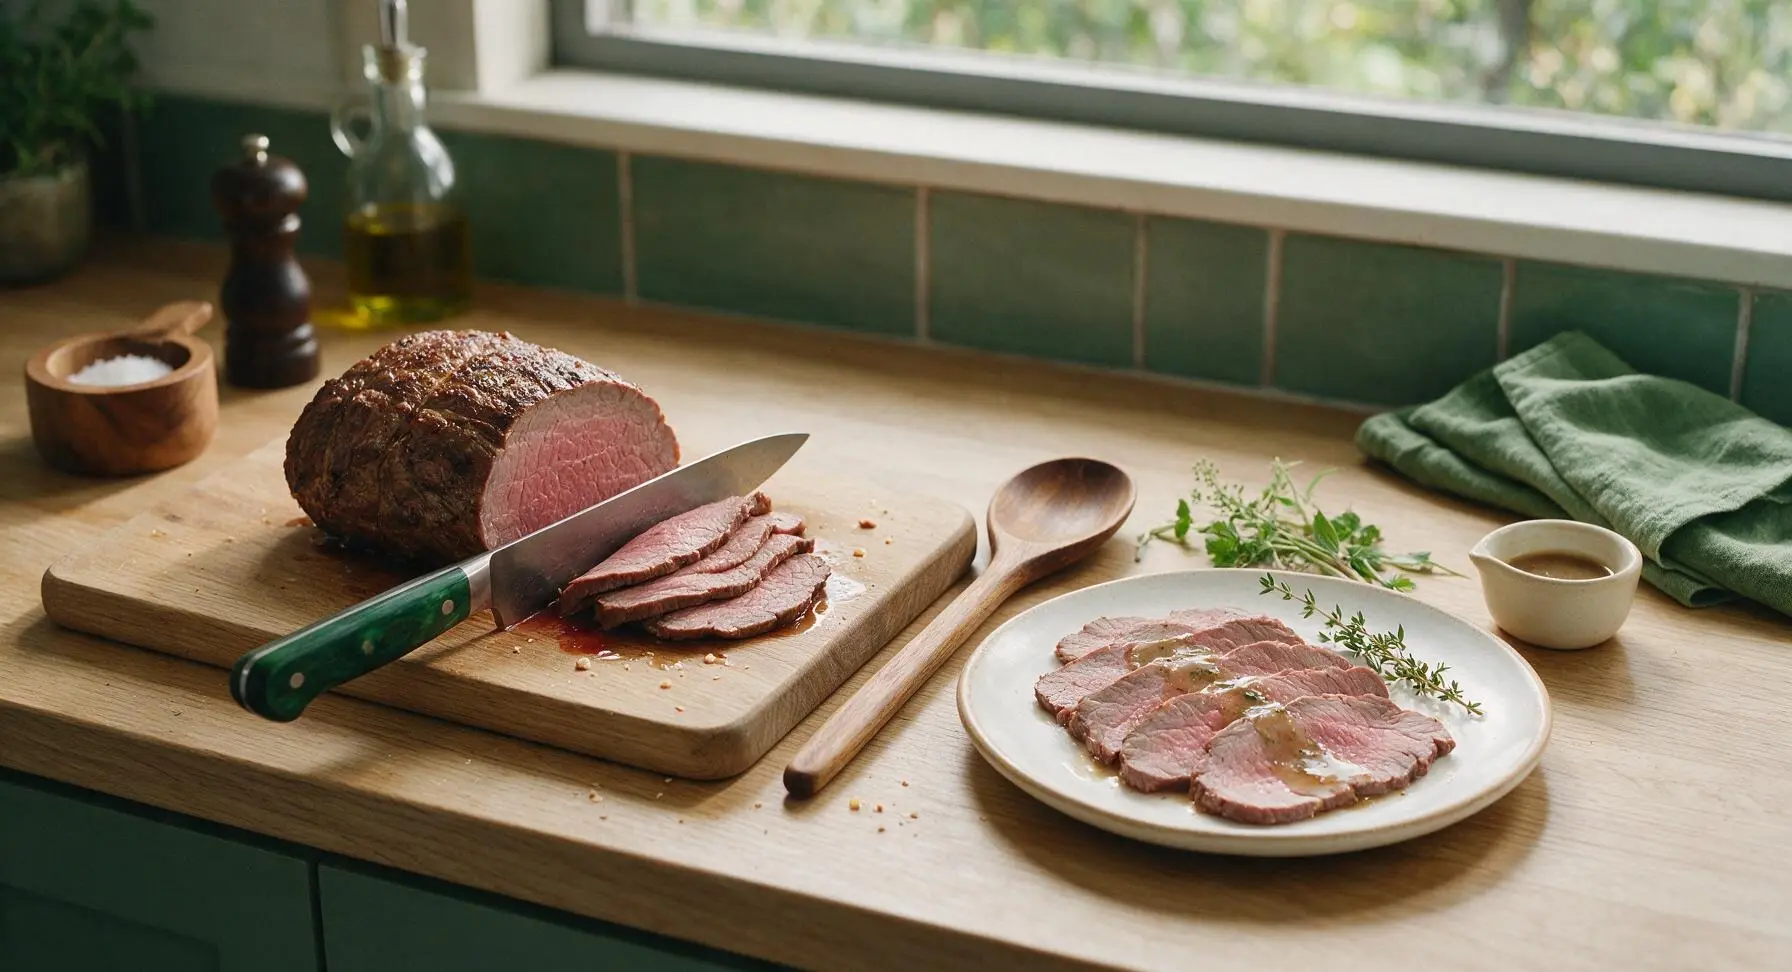
Step 8
step8:Slice and Plate Roast
Step 8
step8:Slice and Plate Roast

Tips

1.Always pat the roast completely dry with paper towels before searing: surface moisture will cause the meat to steam instead of forming a crisp, flavorful golden crust, which is critical for building deep, rich roast flavor.
2.Never skip the full 20-minute rest period: cutting into a hot roast immediately will cause all the internal juices to run out onto the platter, leaving the meat dry and tough instead of juicy and tender, even if it was cooked to the correct temperature.
3.Slice the roast strictly against the grain: rump roast comes from a well-exercised part of the cow with long, tough muscle fibers, so cutting across (not parallel to) those fibers shortens them, making each bite feel tender even if the roast is cooked to a slightly higher doneness than preferred.


✨ You May Also Like

Main Course
🍜 United Kingdom

A showstopping classic of tender seared beef, savory mushroom duxelles, and crisp prosciutto wrapped in flaky golden puff pastry, baked to juicy perfection.

⏱️ 2 hours 1Main Course ★ 4.7
Main Course
🍜 India

Tender charred marinated chicken simmered in a rich, spiced creamy tomato sauce, this iconic Anglo-Indian curry pairs perfectly with basmati rice or warm naan.

⏱️ 50 minuteMain Course ★ 4.6
Main Course
🍜 Thailand

Classic tangy, sweet, and savory Thai stir-fried rice noodles with shrimp, tofu, and crunchy garnishes, balancing all five core Thai flavor profiles.

⏱️ 30 minuteMain Course ★ 4.5
Main Course
🍜 United Kingdom

Crispy golden beer-battered cod and fluffy double-fried chips, served with tangy tartar sauce and malt vinegar: the timeless, beloved British pub comfort classic.

⏱️ 45 minuteMain Course ★ 4.7
Main Course
🍜 Mexico

Smoky, chile-marinated pork tacos with caramelized pineapple, fresh cilantro, and lime: a beloved classic Mexican street food perfect for casual summer gatherings.

⏱️ 1 hour 45Main Course ★ 4.8
Main Course
🍜 United States

Crunchy Fritos corn chips layered with savory beef chili and melted cheddar, topped with cool, zesty fixings for a beloved, cozy Tex-Mex comfort food.

⏱️ 35 minuteMain Course ★ 4.8

beef rump roast:Frequently Asked Questions

1.What size boneless beef rump roast should I buy to serve 4 to 6 dinner guests? ▾
Opt for a 3–4 pound boneless beef rump roast for 4–6 guests, which allows for 6–8 ounces of cooked beef per person plus a small amount of leftovers for weekday sandwiches. Pick a roast with even, thin marbling throughout, rather than thick chunks of external fat, for the most tender, juicy final result.
2.Why is kosher salt preferred over table salt for seasoning this roast? ▾
Kosher salt has larger, flakier crystals that distribute more evenly across the roast’s surface, drawing out moisture slowly to build that crisp, well-seasoned spice crust without making the beef overly salty. Table salt is much denser, so it’s easy to over-season, and it can leave a harsh, metallic aftertaste if used in the same volume.
3.How far in advance should I season the rump roast before slow roasting? ▾
For the deepest flavor and juiciest texture, season the roast all over with kosher salt, cracked black pepper, garlic powder, and smoked paprika 12 to 24 hours before cooking, letting it rest uncovered on a wire rack in the fridge. If you’re short on time, season it right before cooking, though the crust won’t be quite as crisp.
4.What oven temperature is best for slow roasting this rump roast to keep it tender? ▾
Set your oven to a steady 275°F for slow roasting. This low, even heat breaks down the rump’s tough connective tissue gradually without seizing up muscle fibers, so you get melt-in-your-mouth tender beef instead of dry, chewy slices, plus enough drippings to make a rich, flavorful pan jus.
5.Do I need to sear the rump roast before putting it in the oven to slow roast? ▾
Searing is totally optional here, but it does add an extra layer of deep, savory flavor to the crust. If you skip searing, the blend of smoked paprika, garlic powder, pepper, and salt will still form a deliciously crisp, flavorful outer layer as the roast cooks, especially if you rested it uncovered in the fridge to dry the surface.
6.How do I know when the roast is done without overcooking it? ▾
Use an instant-read meat thermometer inserted into the thickest part of the roast, away from any fat, for the most accurate read. Pull the roast when it hits 135°F for medium-rare, or 145°F for medium; remember it will rise 5 to 10 degrees as it rests, so don’t wait for it to hit your final target temp in the oven.
7.How long should I let the roast rest after pulling it out of the oven, and why does that matter? ▾
Let the roast rest for 20 to 25 minutes, tented loosely with foil, before slicing. This resting period lets muscle fibers relax and reabsorb all the juicy, flavorful juices pushed to the surface during cooking, so you won’t lose all that delicious moisture onto your cutting board when you slice into it.
8.What’s the easiest way to make pan jus from the roast drippings? ▾
After removing the roast to rest, set your roasting pan on the stovetop over medium heat, scrape up all the browned bits from the bottom, stir in 1 cup of low-sodium beef broth, and simmer for 3 to 5 minutes. Season with a pinch of extra black pepper if needed, then strain for a rich, silky jus to pour over slices.
9.Can I add vegetables to the roasting pan to cook alongside the roast? ▾
Absolutely! Toss hearty root veggies like carrots, Yukon gold potatoes, and quartered onions with a little olive oil, salt, and pepper, and add them to the pan during the last 90 minutes of cooking. They’ll soak up the savory, spiced drippings from the paprika and garlic rub for an easy one-pan Sunday dinner.
10.Why is my roast coming out tough and chewy even after slow cooking? ▾
Tough, chewy rump roast usually happens for one of two reasons: either you cooked it at too high an oven temperature, which seized muscle fibers before connective tissue could break down, or you pulled it too early, before tough collagen had time to melt into silky gelatin. Double check your oven temp with an oven thermometer to avoid hot spots.
11.Do I need to use a roasting rack when cooking this rump roast? ▾
Using a wire roasting rack set inside your pan is highly recommended, because it elevates the roast so hot air can circulate evenly around every side. This helps that spice crust crisp up uniformly instead of getting soggy on the bottom where the roast sits in drippings, and it prevents the bottom edge from overcooking.
12.Can I use this recipe to cook a frozen rump roast without thawing it first? ▾
I don’t recommend cooking a fully frozen rump roast for this recipe, because it will cook unevenly, leaving the outside overdone by the time the center reaches a safe temperature, and the spice rub won’t adhere properly to the icy surface. Thaw it fully in the fridge for 2 to 3 days before seasoning and roasting for best results.
13.How thick should I slice the finished roast for the most tender bite? ▾
Slice the rested rump roast against the grain into ¼-inch thick slices for serving. Rump is a well-exercised muscle with long, tough muscle fibers, so cutting across those fibers shortens them, making each slice feel much more tender even if you cooked the roast to a slightly higher doneness.
14.Can I adjust the spice rub if I don’t love smoked paprika? ▾
Of course! The base rub of kosher salt, black pepper, and garlic powder works beautifully on its own, so you can swap the smoked paprika for sweet paprika, a pinch of dried thyme, ground cumin, or even a little brown sugar for a subtle sweet-savory crust. Just keep total spice volume consistent to avoid under-seasoning.
15.How should I store leftover roast and pan jus? ▾
Store sliced leftover roast and cooled pan jus in separate airtight containers in the fridge for up to 4 days. The jus will solidify as it chills, which makes it easy to skim off any excess solid fat before reheating. Reheat slices gently in a covered dish with a splash of jus at 325°F to keep them from drying out.
16.Is it normal for the roast to have a bright pink center even when it’s fully cooked? ▾
A soft, rosy pink center at 135–145°F (after resting) is totally normal and desirable for medium-rare to medium rump roast. That pink color doesn’t mean the beef is undercooked; it comes from myoglobin in the muscle reacting to heat, and it signals you’ve got juicy, perfectly cooked roast rather than dry, gray overdone beef.
17.Why is my spice crust soggy instead of crisp like the recipe describes? ▾
A soggy crust almost always traces back to excess moisture on the roast’s surface before seasoning. Make sure you pat the roast completely dry with paper towels before applying the salt, pepper, garlic powder, and smoked paprika, and avoid covering the roast tightly with foil while it cooks, as trapped steam will soften the outer layer.
18.Can I make this roast in a slow cooker instead of the oven? ▾
You can adapt this recipe for a slow cooker, though you won’t get quite the same crisp crust. Season the roast as directed, sear it first if you’d like, then cook on low for 6 to 8 hours until it reaches your target internal temp. Broil the seasoned roast for 2 to 3 minutes after cooking to crisp up the outer rub before resting.
19.What’s the best way to serve this slow-roasted rump roast for a Sunday family dinner? ▾
Serve thin slices of the roast drizzled with warm pan jus, alongside classic sides like creamy mashed potatoes, roasted green beans, or buttery dinner rolls. The bold, smoky crust and rich, juicy beef pairs perfectly with bright, tangy add-ons like horseradish cream or a simple arugula salad to cut through the richness.

Comments (14)

1 week ago

OMG this slow-roasted beef rump roast was an absolute game changer for our Sunday family dinner! I was worried rump would be too tough, but following the temp guide exactly left it perfectly pink and juicy all the way through. My kids loved it, went back for seconds, even my picky 7 year old! Served it with roasted garlic mashed potatoes and glazed carrots, 10/10.

5 days ago

Did you let it rest the full time the recipe says? I always skimp on resting time and end up with juice running all over my plate instead of staying in the meat!

3 days ago

So glad your family loved it, Mike! Quick note for Jen too - that full 20 minute rest is non-negotiable for lockin' in those juices, I promise it makes all the difference! If you're short on time, tent it loosely with foil while it rests to keep it warm.

3 days ago

SO good! I made this on Sunday for meal prep for the week, sliced it thin for roast beef sandwiches and tossed chunks into weekday salads. It held up perfectly all 5 days in the fridge, no dry bits at all! Way better than the deli roast beef I usually buy, and way cheaper too.

2 days ago

Wait how thin are you slicing it for sandwiches? I tried last time and my slices were too thick, made the sandwiches super chewy.

yesterday

Thrilled it worked for your meal prep, Liz! For anyone making sandwich slices, pop the roast in the fridge for 30 minutes after it cools to firm it up - it makes slicing paper-thin so much easier, no fancy meat slicer required!

2 weeks ago

Brought this to our neighborhood block party potluck last weekend and people were begging for the recipe! The crust from the seasoning rub is insane, I added a little extra smoked paprika like I do for all my roasts and it's chef's kiss. Only thing is I wish I'd made two, it was gone in 15 minutes flat.

1 week ago

Oh the extra paprika move is genius! Did you cook it on a wire rack in the pan like the recipe says? I skipped that once and the bottom got a little soggy instead of crispy.

5 days ago

Love the extra smoked paprika hack, Kate! And totally agree - the wire rack is key for getting even air flow all around the roast so every side gets that crispy, flavorful crust. Next time double the batch, I guarantee it'll disappear just as fast!

5 days ago

Tasted great, but my roast came out a little more done than I wanted at the medium-rare mark? I pulled it when my meat thermometer hit 135 like the recipe said, but after resting it was closer to medium. Flavor was incredible though, the herb rub is so much better than the random seasoning blends I've used before.

3 days ago

Oh that's carryover cooking! You have to pull it 5 degrees lower than your target because the internal temp keeps going up while it rests, learned that the hard way after so many overdone roasts lol

2 days ago

So glad you loved the flavor, Jake! Steve is exactly right about carryover cooking - for perfect medium-rare, pull the roast when the thickest part hits 130°F, then let it rest and it'll climb to that perfect 135°F as it sits. I'll add that note to the recipe card to make it clearer for folks!

2 days ago

I was skeptical a rump roast could turn out this tender with only 90 minutes cook time, color me impressed! I've always done low and slow for 4+ hours for rump roasts, but this high temp slow roast method is a total weeknight game changer. No more waiting all day for roast beef dinner!

yesterday

So happy you gave the method a shot, Rob! The higher initial temp kickstarts that maillard reaction for the crust, then the lower temp finishes it tender without the all-day cook time. Perfect for those busy weeknights when you still want a hearty dinner!

yesterday

Paired this with a bold cabernet sauvignon for my date night in last night and it felt like a fancy steakhouse dinner for a fraction of the price! The seasoning is perfectly balanced, not too salty, lets the beef flavor really shine. 10/10 will be making this for my next dinner party.

2 hours ago

Great call on the cab pairing! I did a zinfandel with mine last month and it was chef's kiss, the peppery notes in the wine went so well with the herb crust.

2 hours ago

Used a grass-fed rump roast from my local farm stand for this recipe and it turned out absolute perfection. I was worried grass-fed would be leaner and easier to dry out, but following the cook time exactly left it so juicy even my farm-raised husband said it's the best roast I've ever made.

30 minutes ago

That makes me so happy to hear, Jess! Grass-fed beef can definitely be trickier since it's leaner, so I'm thrilled the cook times worked out for you. Nothing beats local, farm-fresh beef for a roast like this!

5 days ago

Made this in my tiny apartment oven last week and it was so easy even with my janky old oven that runs 25 degrees hot! I just adjusted my temp down, used a cheap oven thermometer, and it came out perfect. Way better than the frozen dinners I've been living off of all semester.

3 days ago

Wait do you think this would work in one of those tiny countertop toaster ovens? My dorm doesn't have a full oven and I've been dying to make a real roast.

2 days ago

Great flavor, but I had a hard time getting the rub to stick to the roast like the pictures show. I patted it dry like the recipe said, but a lot of the seasoning fell off when I moved it to the cutting board to rest. Any tips? Still tasted amazing, just missed that crispy crust all over.

yesterday

Sorry the rub gave you trouble, Gail! Next time try rubbing a very thin layer of olive oil or dijon mustard all over the roast before adding the seasoning - it helps the spices adhere way better and adds an extra little depth of flavor without being noticeable. It'll get you that full crispy crust every time!

1 week ago

My whole extended family came over for Sunday dinner last week and I made this roast, plus your creamy horseradish sauce recipe to go with it. Let me tell you, my uncle who swears he only makes 'real' roast beef went back for thirds. Total crowd pleaser!

5 days ago

The horseradish sauce pairing is non-negotiable! I made the mistake of skipping it the first time I made this, and it was good, but with the sauce? Next level.

just now

Made this for my partner's birthday dinner and they said it's better than the prime rib we got at the fancy steakhouse for our anniversary. Win for me! The cook time was spot on, no guesswork needed. SO good.

3 days ago

I've been making rump roast for over 40 years and I'll admit, this method is better than the one my mom taught me. The seasoning blend is just right, not overdone, and the cook time leaves it tender without being mushy. Already shared the recipe with my old bowling league group.

2 weeks ago

Perfect for my low carb lifestyle! No weird fillers, just simple seasonings and beef, paired it with roasted broccoli and cauliflower gratin for a full keto-friendly dinner. Leftovers made the best quick lunch I've had all month.

5 minutes ago

First time ever making a roast of any kind and I was so nervous I'd ruin it, but this recipe was so easy to follow! Mine came out perfectly medium rare, my roommate thought I ordered takeout from the fancy deli down the street. So proud of myself!



