
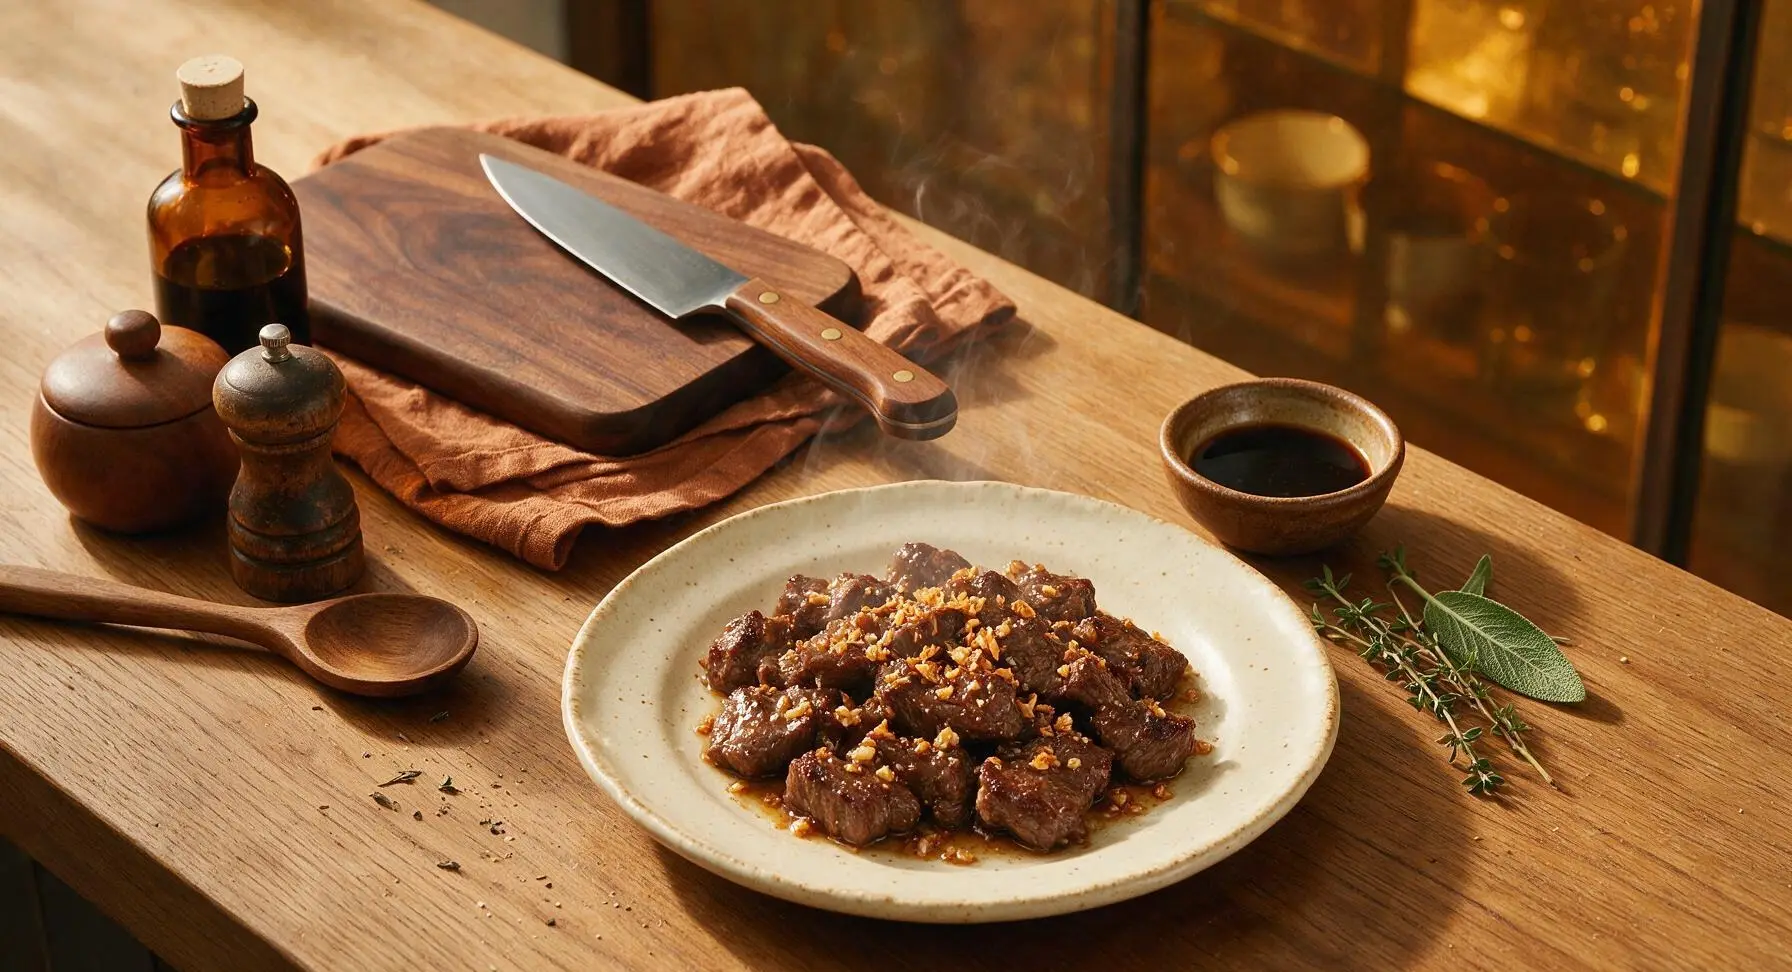
beef salpicao

title 1
beef salpicao
⏱️ cook time 15 minutes
🍽️ servings 4
⚡ Difficulty easy

intro

Juicy, seared beef bites tossed in glossy garlic-butter soy sauce, topped with crispy golden garlic—this bold, umami-packed Filipino favorite comes together in under 30 minutes.

Ingredients
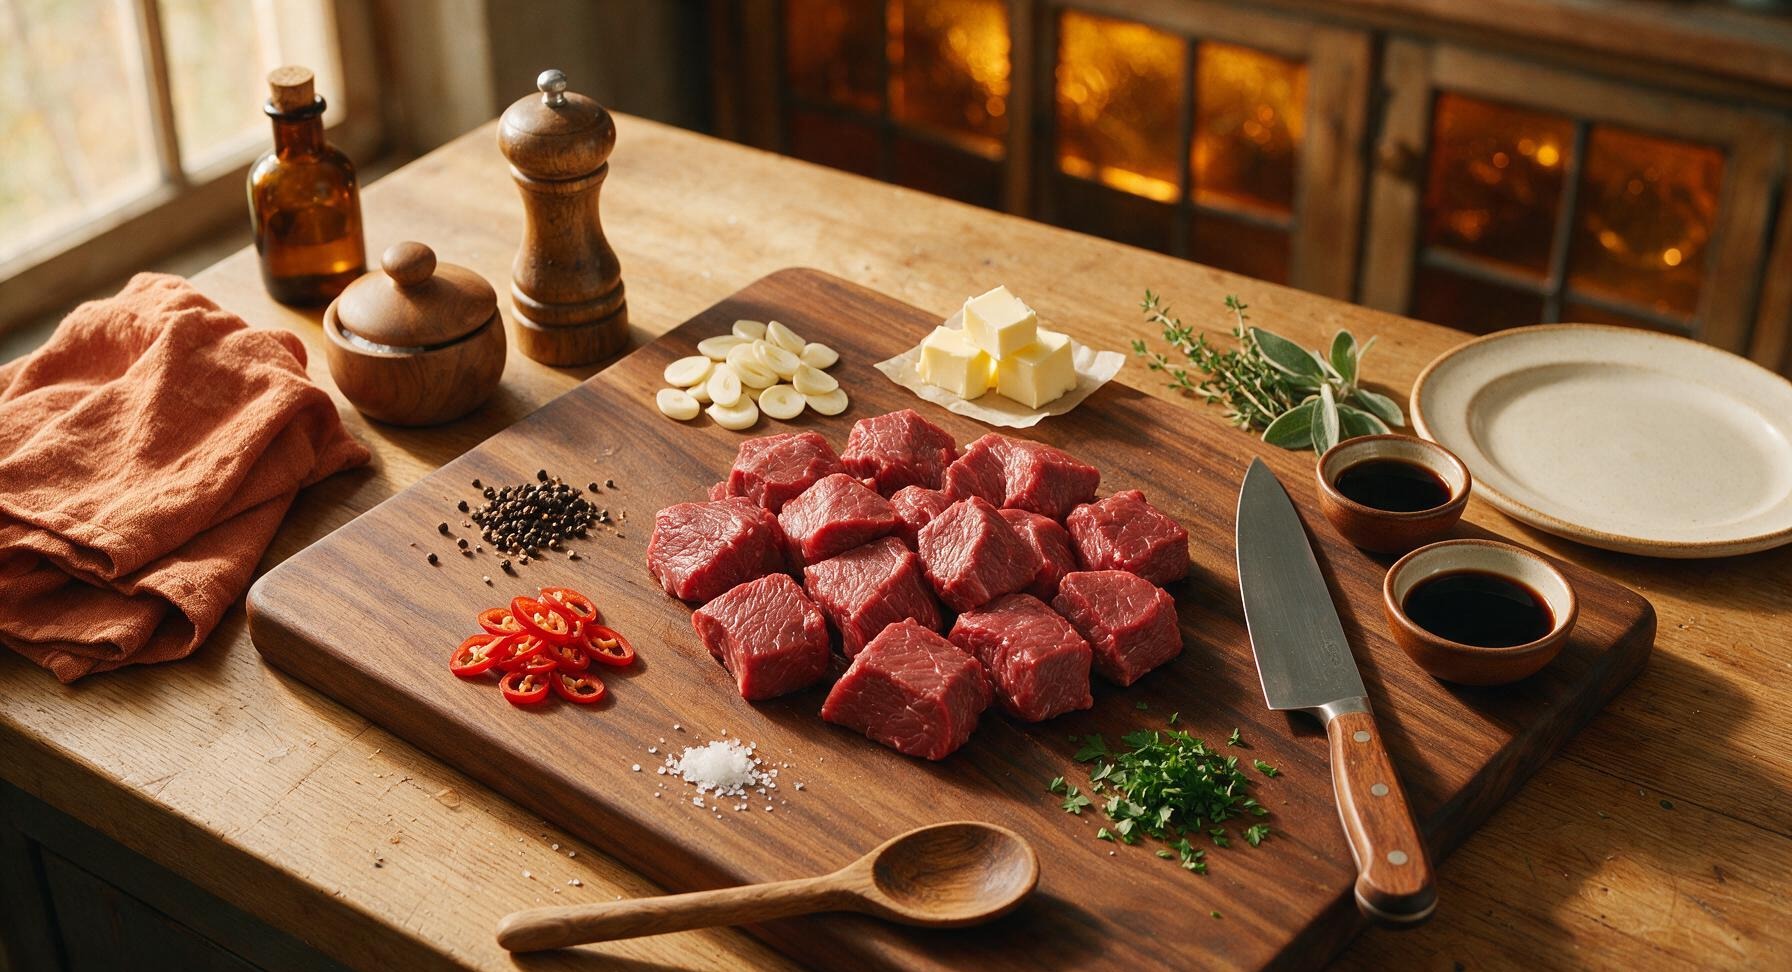
Beef tenderloin 500g, cut into 2.5cm cubes
Garlic 12 cloves (1 medium head), thinly sliced
Unsalted butter 3 tbsp, cold, cut into small cubes
Low-sodium soy sauce 2 tbsp
Worcestershire sauce 1 tbsp
Whole black peppercorns 1 tsp, coarsely crushed
Red finger chili 1, thinly sliced (seeds removed for mild heat)
Flaky sea salt 1/2 tsp
Neutral canola oil 1 tbsp
Fresh flat-leaf parsley 1 tbsp, chopped (for garnish)

Steps

1

Cut and Pat Beef Dry

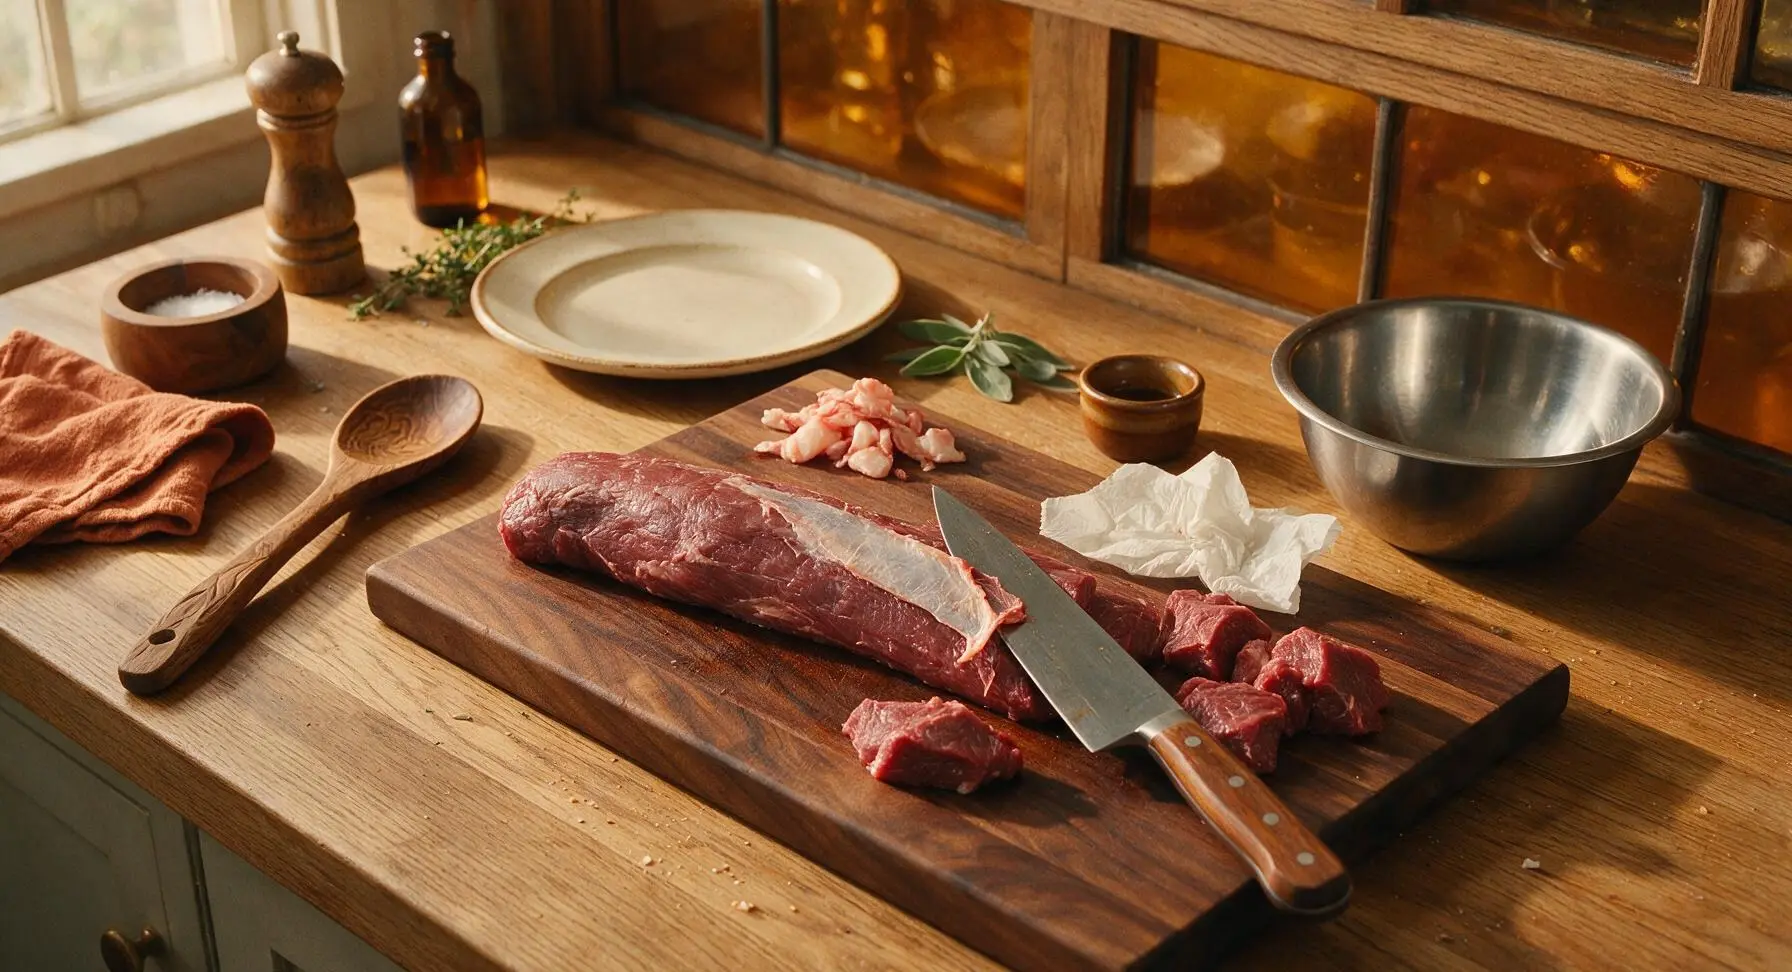
Place the 500g beef tenderloin on the acacia wood cutting board. Using the chef knife, trim any tough silver skin and excess hard fat from the beef, then cut into uniform 2.5cm (1-inch) cubes. Pat all sides of the beef cubes thoroughly with a paper towel until completely dry to the touch—this is critical for a deep, even sear. Season lightly with 1/2 tsp flaky sea salt from the pinch bowl, tossing to coat evenly.
Step 1
step1:Cut and Pat Beef Dry
2

Prep Garlic and Aromatics

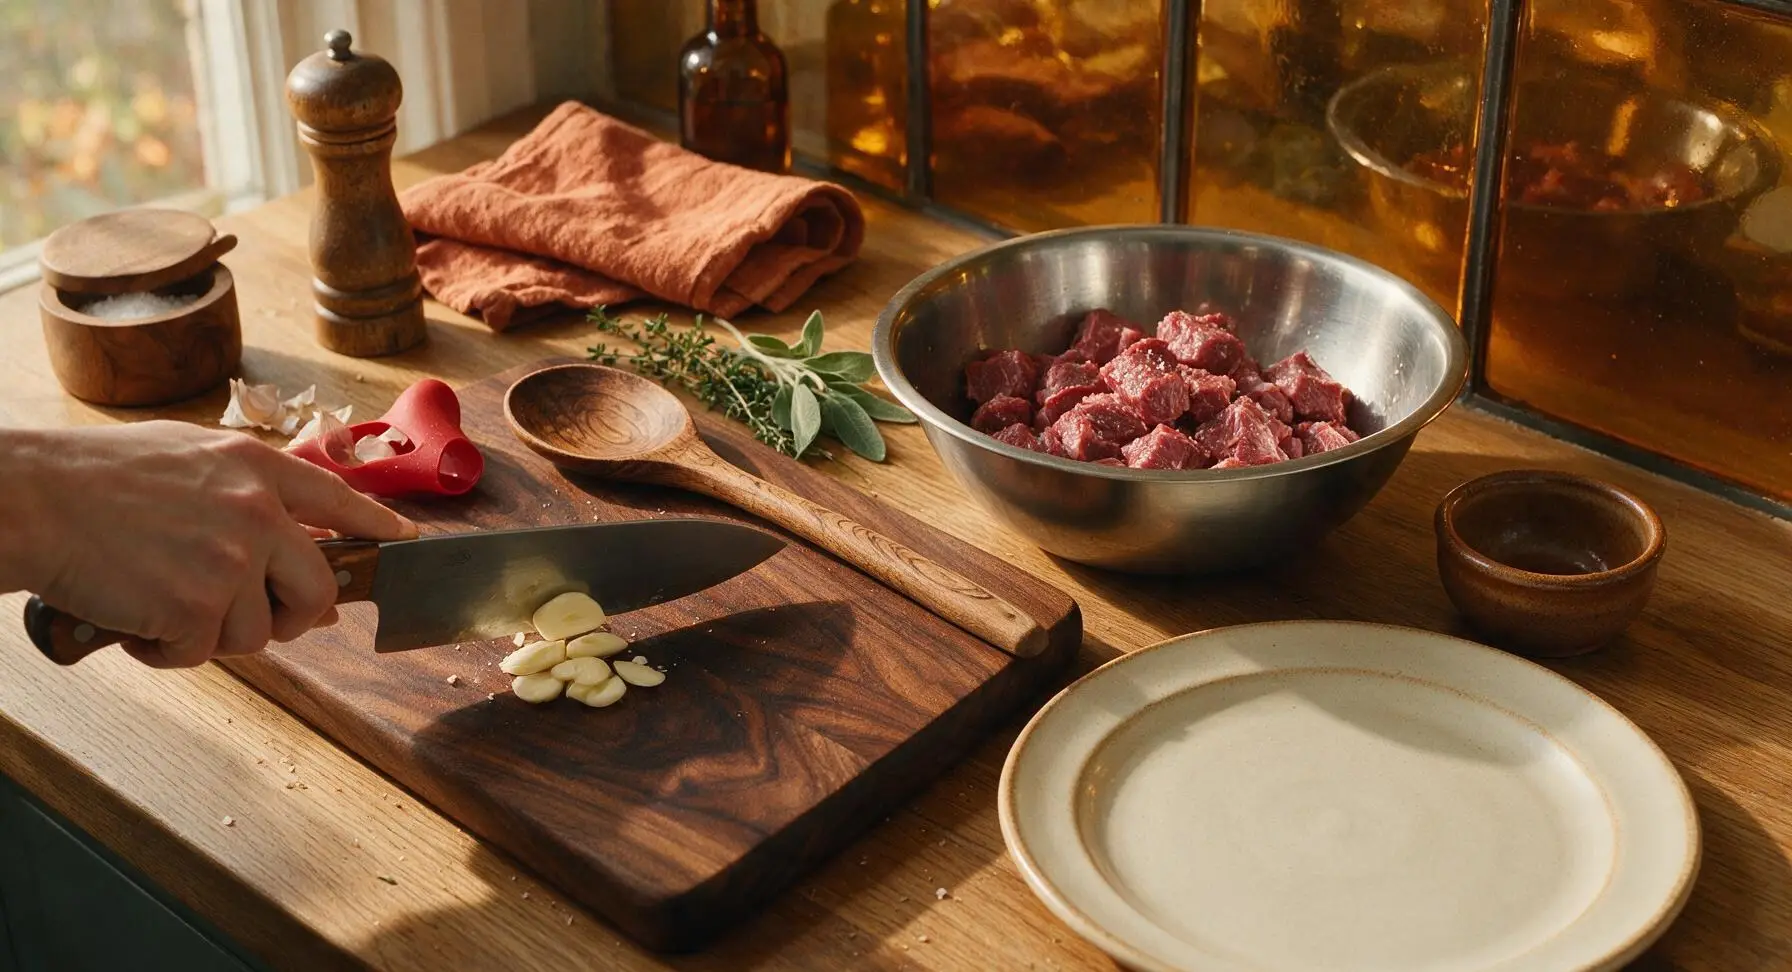
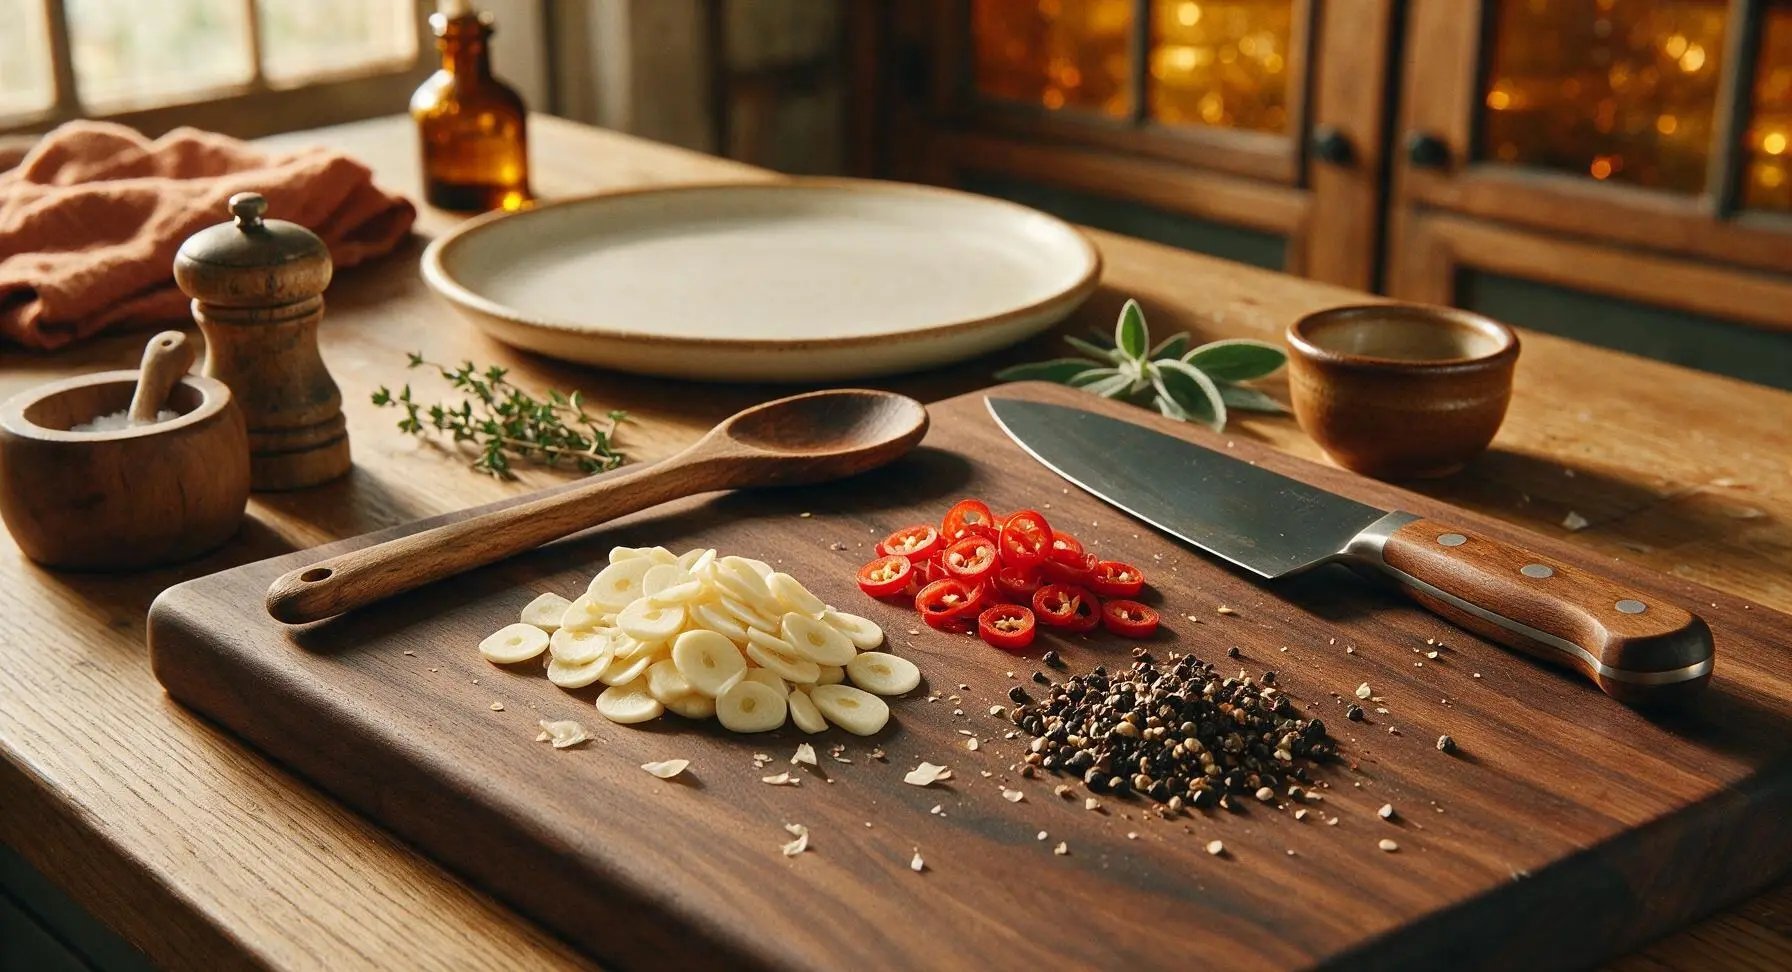
Separate all cloves from the garlic head, peeling them using the red silicone garlic peeler. Use the chef knife to slice the peeled cloves into thin, even 2mm slices, taking care not to chop them too finely (thin slices will crisp evenly without burning). Thinly slice the red finger chili, discarding seeds and white pith for milder heat, and set aside with the garlic. Coarsely crush the 1 tsp whole black peppercorns with the flat side of the chef knife, leaving some larger pieces for texture. Transfer the seasoned, cubed beef to the stainless steel mixing bowl and set aside.
Step 2
step2:Prep Garlic and Aromatics
Step 2
step2:Prep Garlic and Aromatics
3

Crisp Garlic Slices

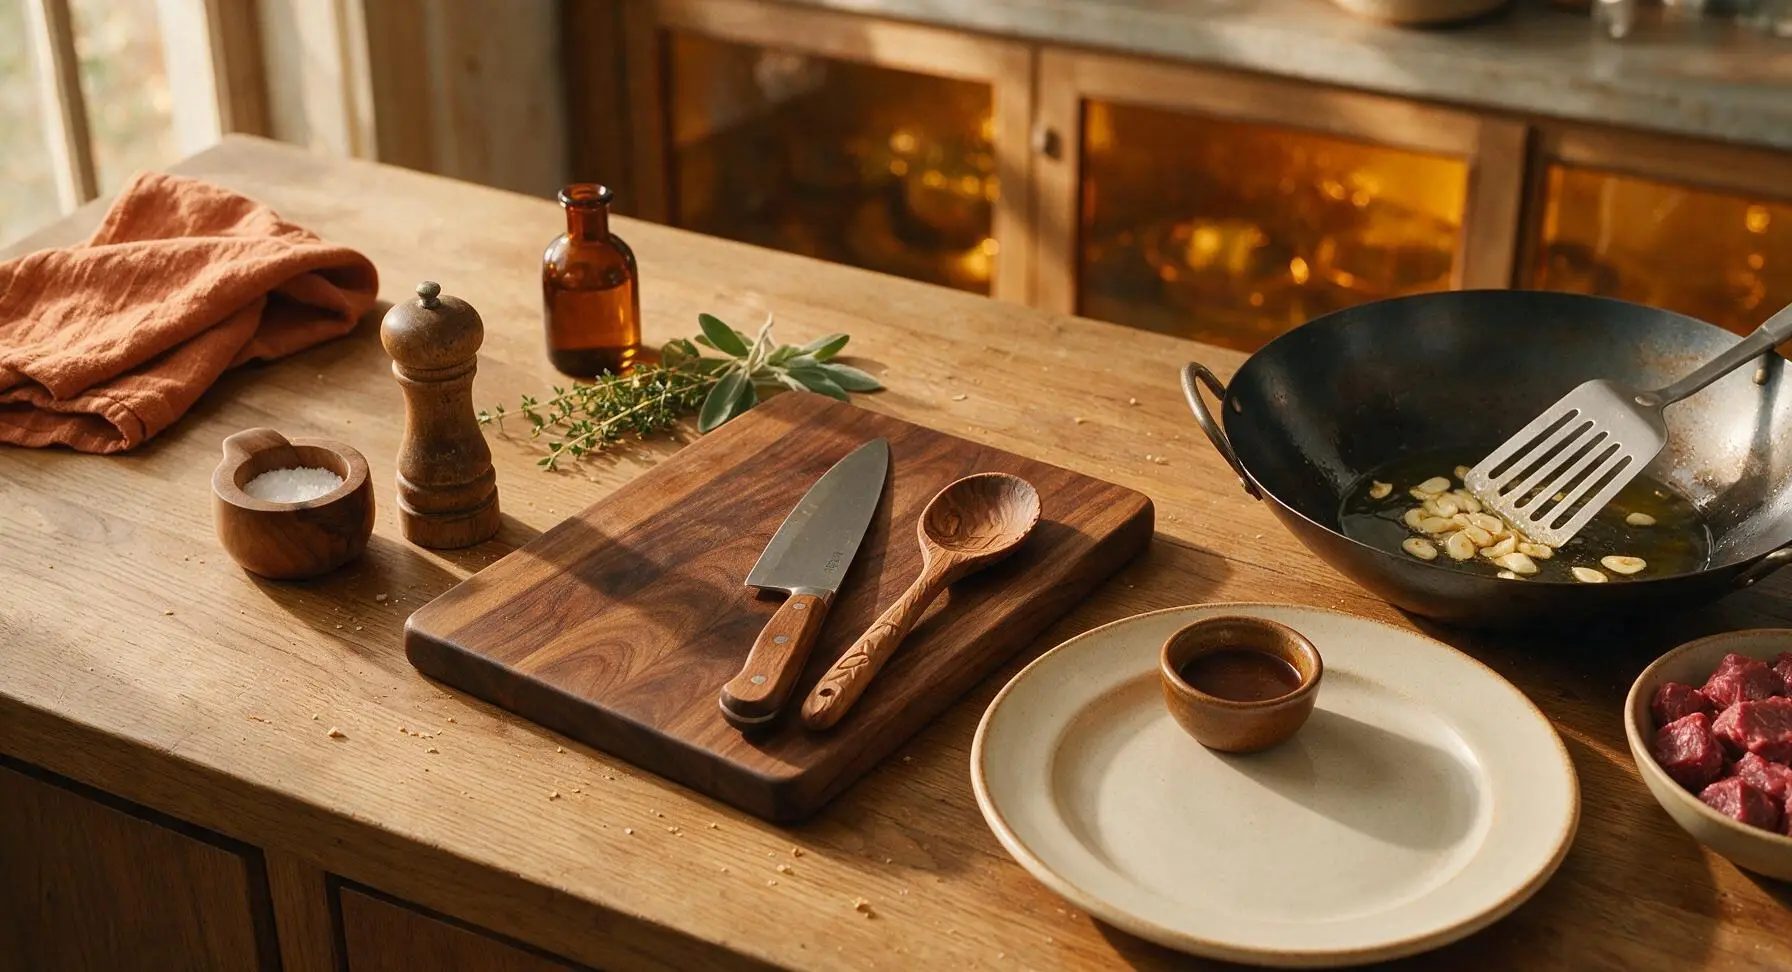
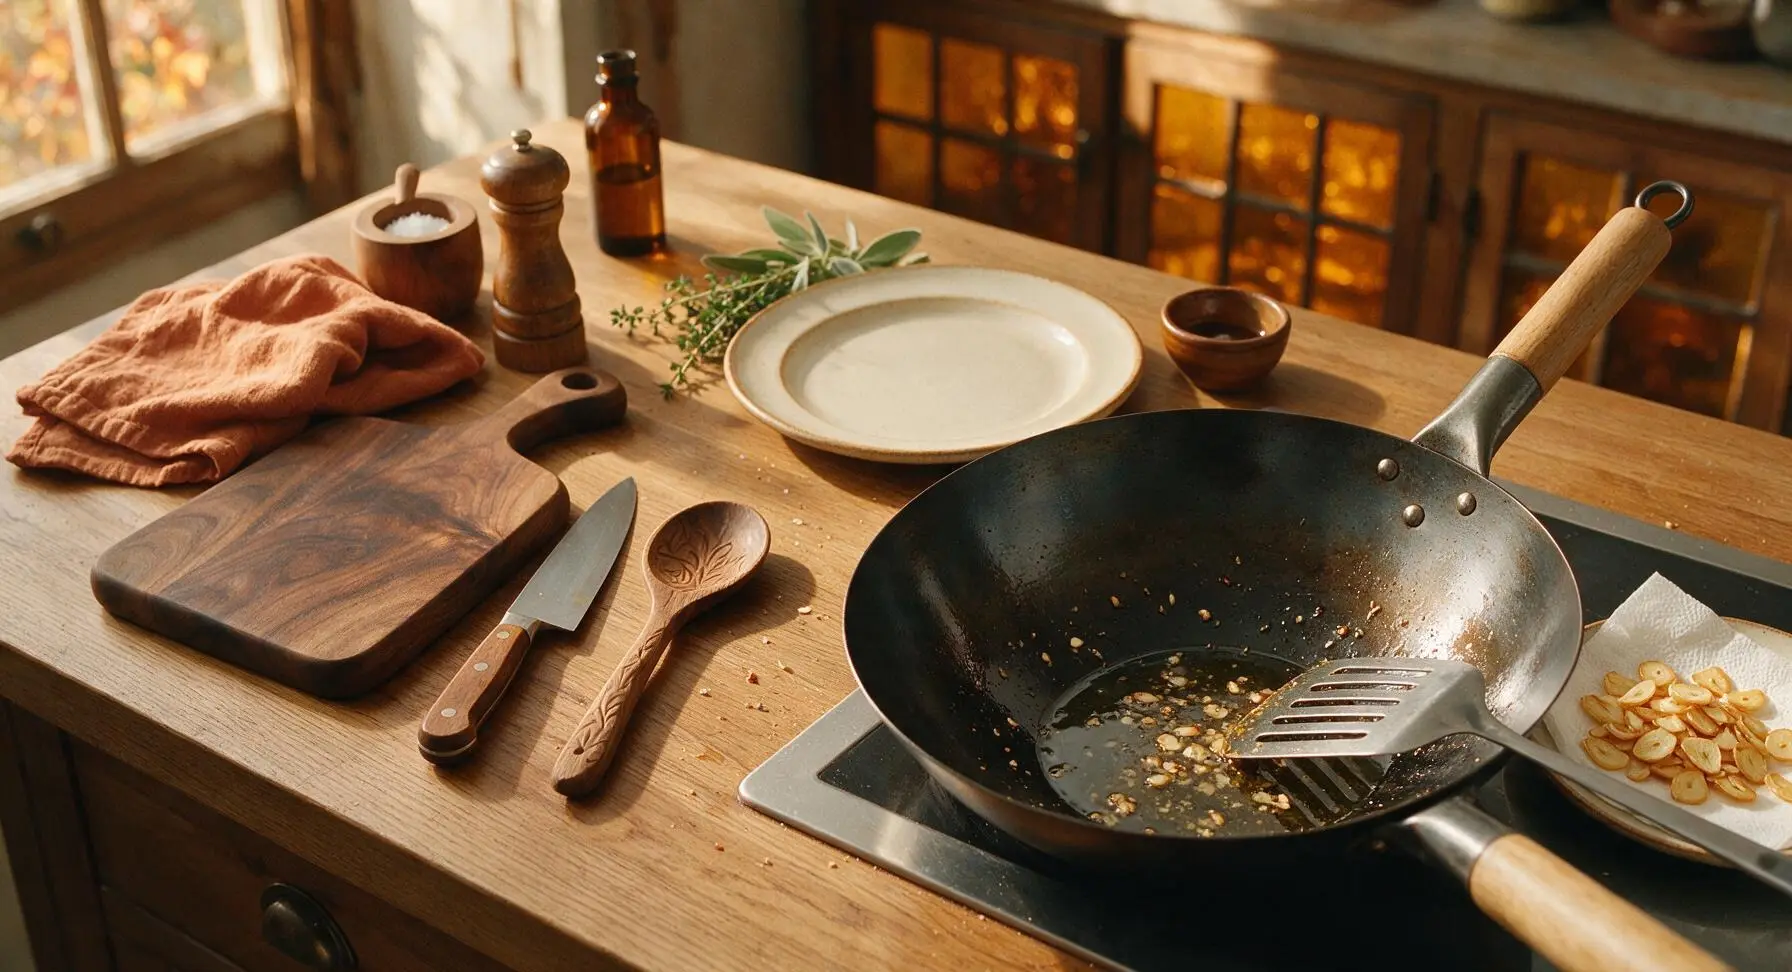
Retrieve the 12-inch carbon steel wok and slotted stainless steel turner from under the counter, placing the wok in its fixed position to the right of the mixing bowl. Heat the wok over medium-low heat, add 1 tbsp neutral canola oil, then toss in the sliced garlic. Cook, stirring constantly with the slotted turner, for 2-3 minutes until the garlic turns pale golden and crisp. Watch closely—garlic burns in seconds and will turn bitter if overcooked. Use the slotted turner to scoop out the crispy garlic, leaving the garlic-infused oil in the wok, and set the garlic aside on a small paper-towel lined plate.
Step 3
step3:Crisp Garlic Slices
Step 3
step3:Crisp Garlic Slices
4

Sear Beef in Batches

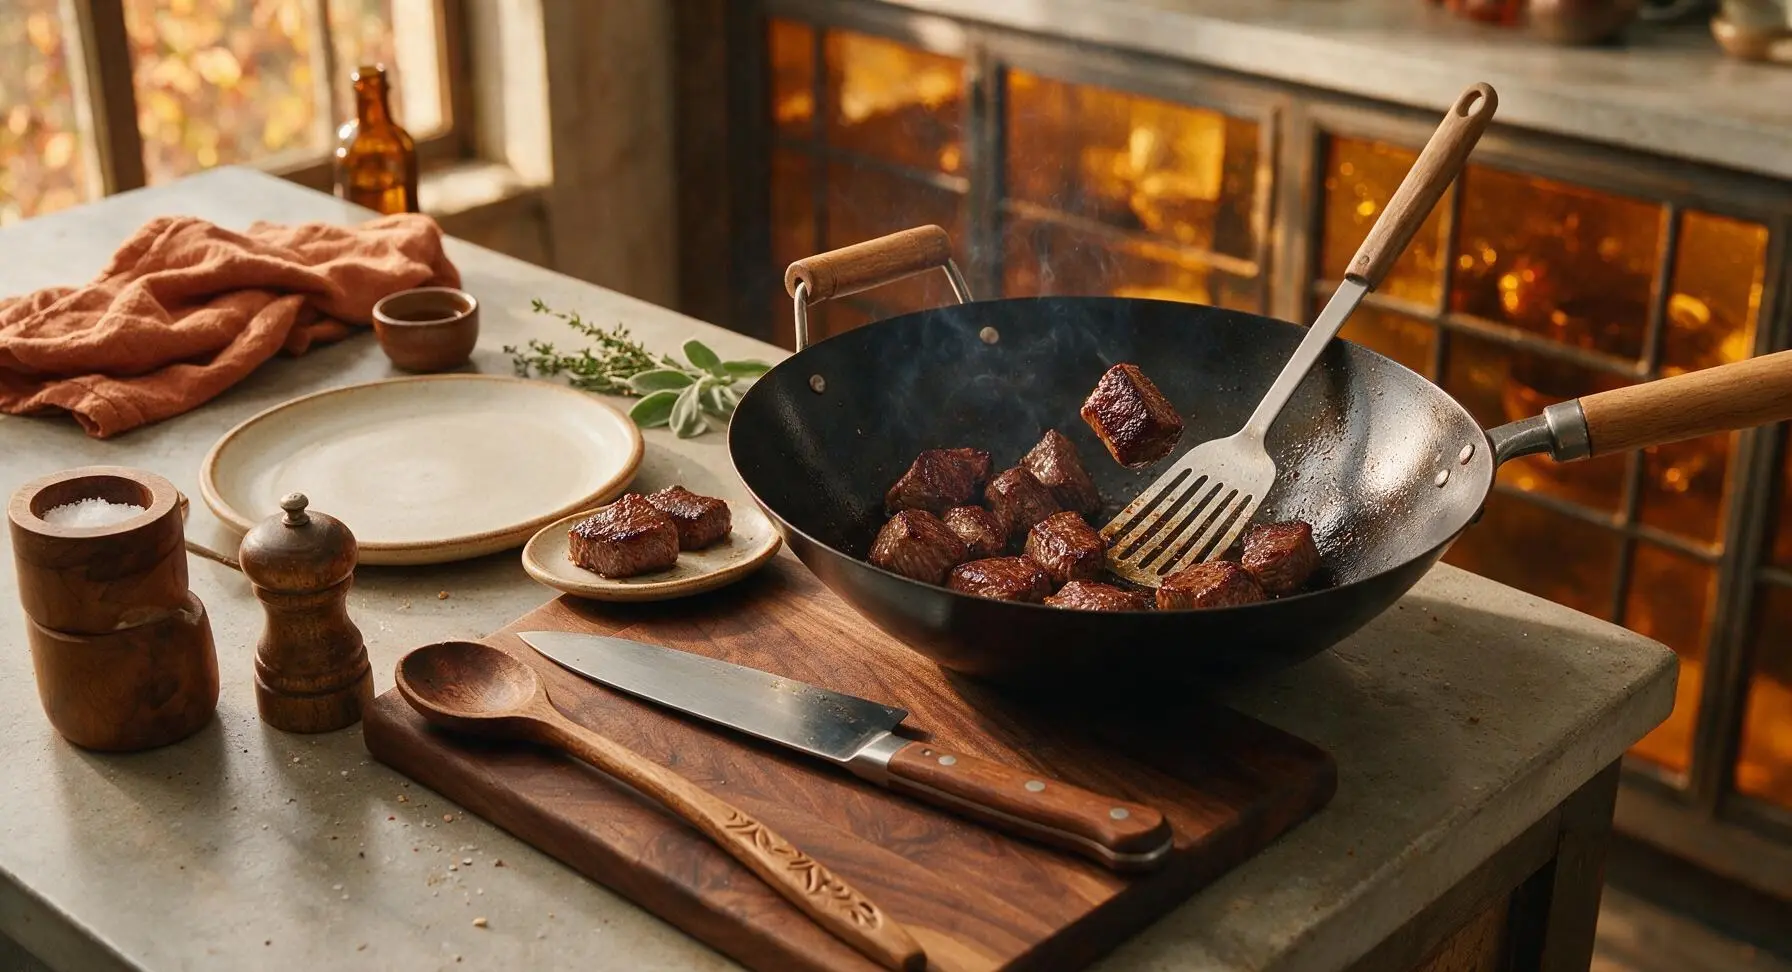
Turn the stovetop heat up to high, letting the garlic-infused oil in the wok heat until it just starts to shimmer and send up faint wisps of smoke. Working in 2 equal batches to avoid crowding the pan (crowding causes steaming instead of searing), add half the beef cubes in a single, even layer. Let sear undisturbed for 1.5 minutes, until a deep caramelized brown crust forms on the bottom, then flip and sear the remaining sides for another 1 minute, until all sides are browned but the beef is still rare in the center. Transfer the first batch to a clean small plate, then repeat with the second batch of beef.
Step 4
step4:Sear Beef in Batches
5

Toss with Sauce and Butter

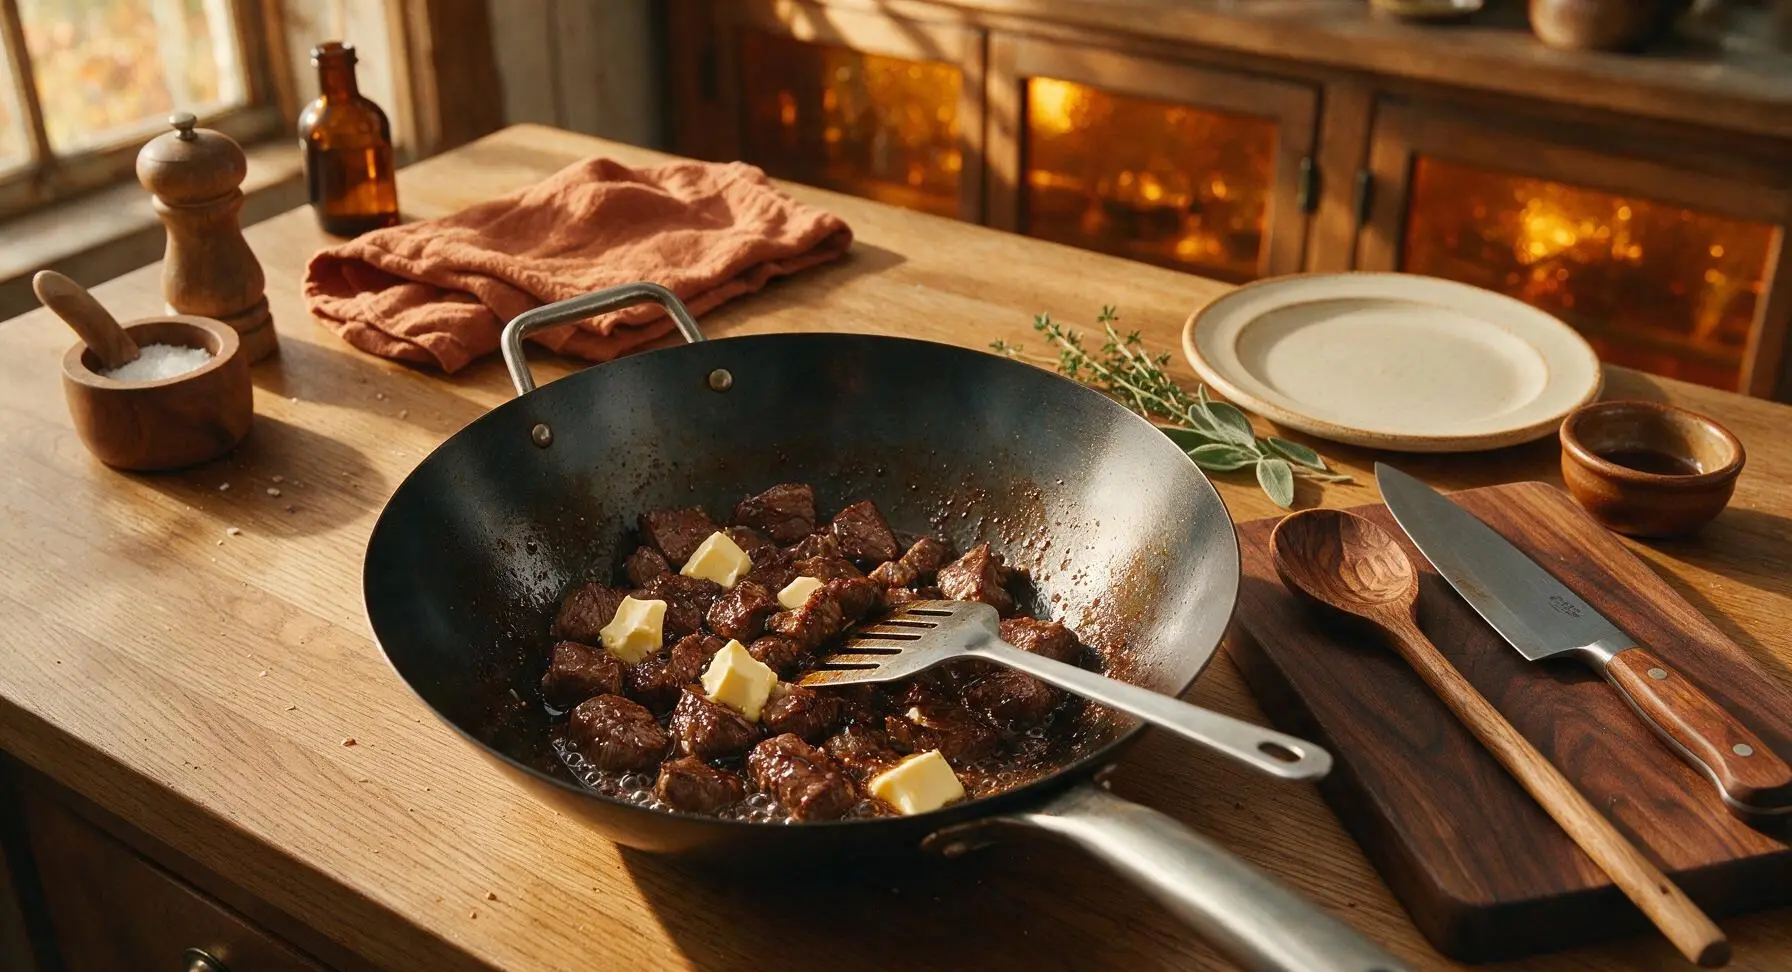
Once both batches of beef are seared, return all beef to the wok over medium heat. Add 2 tbsp low-sodium soy sauce, 1 tbsp Worcestershire sauce, and the coarsely crushed black pepper, stirring rapidly with the slotted turner to coat the beef evenly, about 30 seconds. Turn the heat off, add 3 tbsp cold unsalted butter cut into small cubes, and toss continuously until the butter melts into a glossy, emulsified sauce that clings to every beef cube. Do not overcook the beef at this stage—residual pan heat will finish cooking it to perfect medium-rare.
Step 5
step5:Toss with Sauce and Butter
6

Plate and Add Garnish

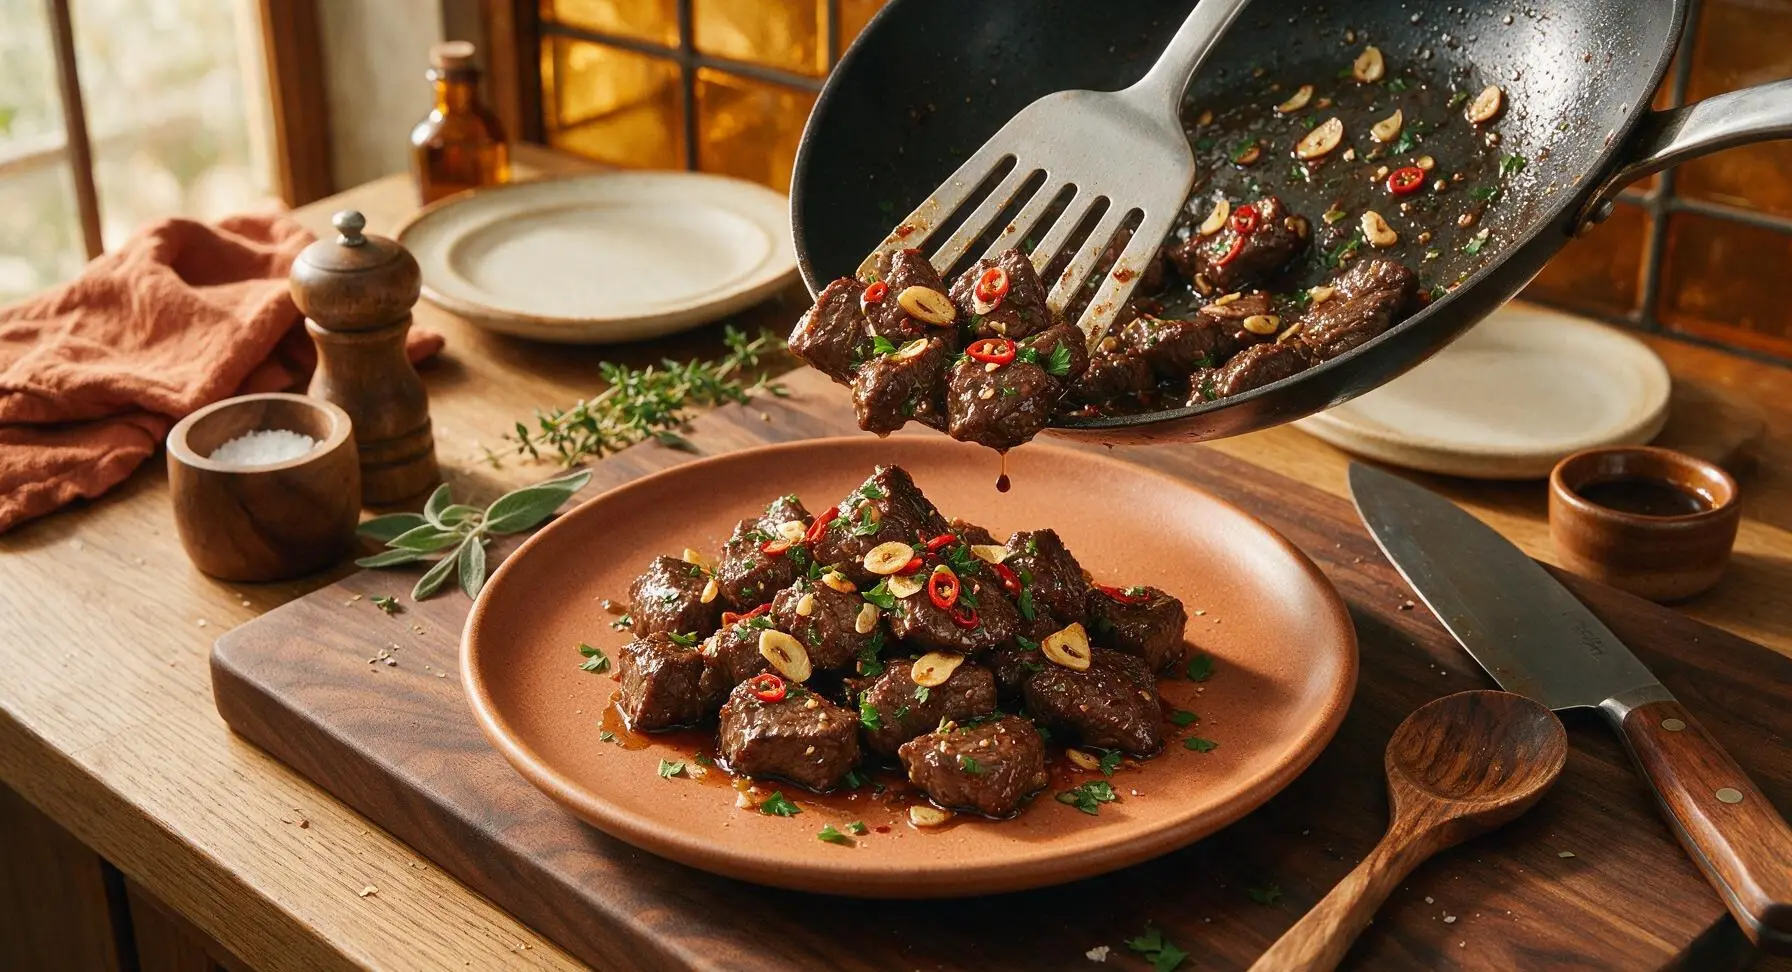
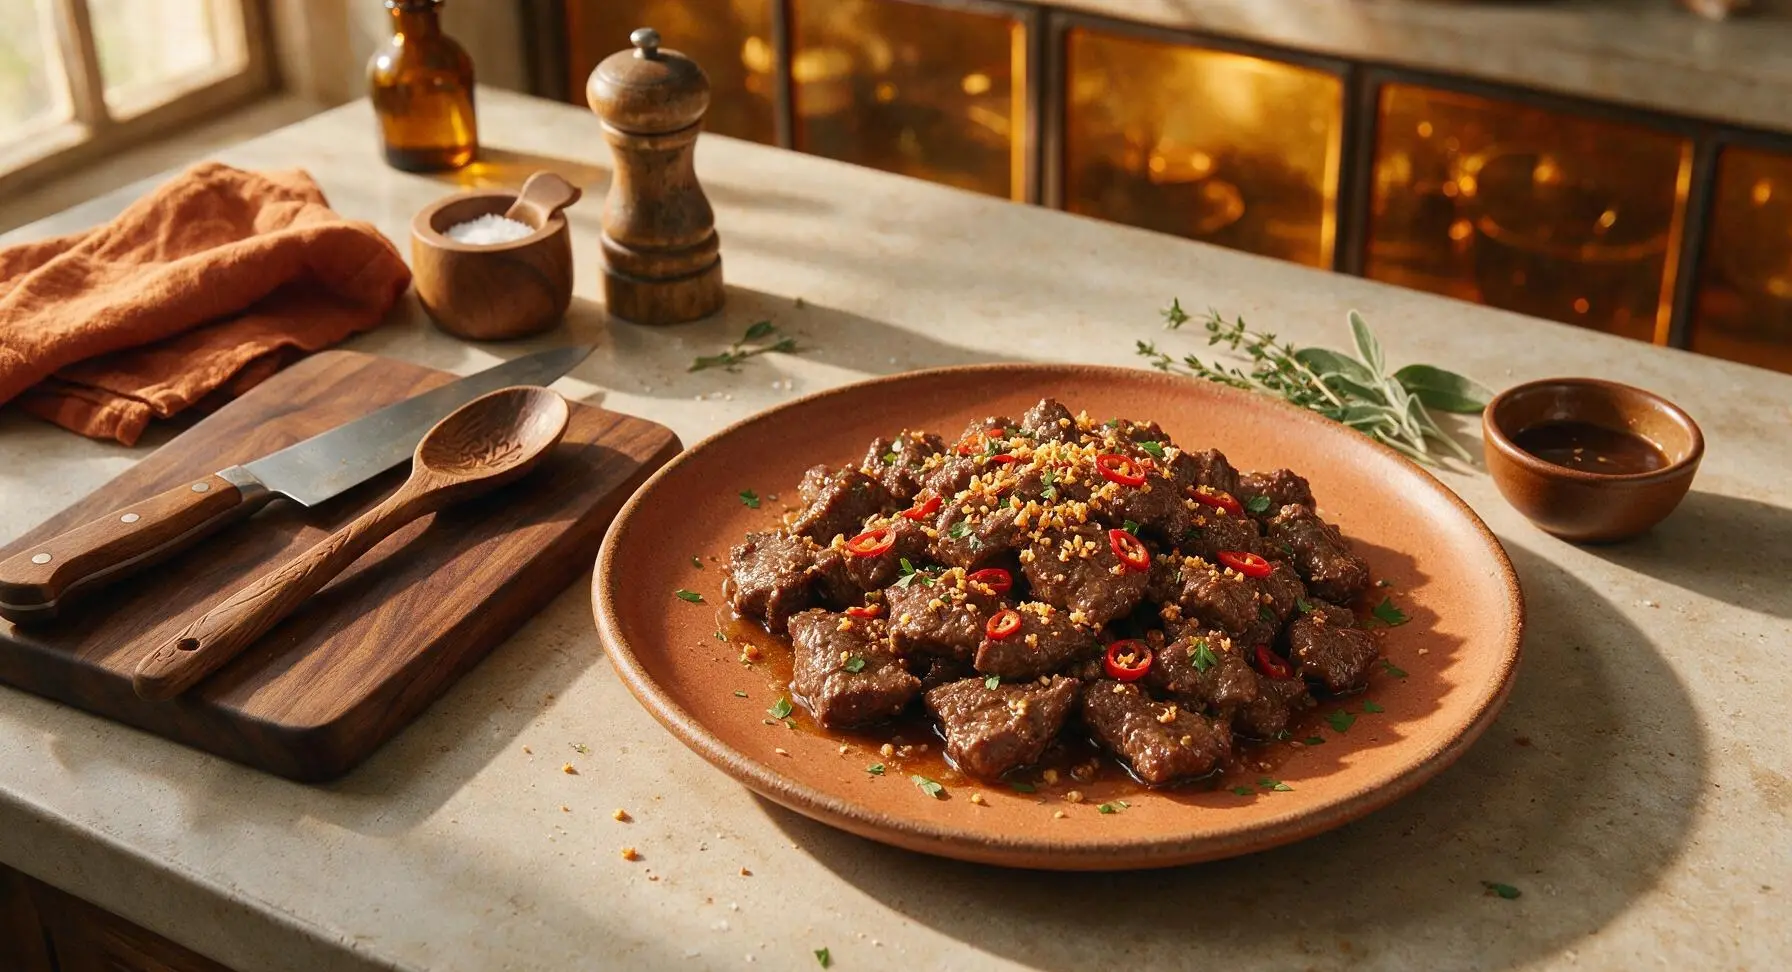
Transfer the sauced beef bites directly to the matte warm terracotta dinner plate, piling them slightly in the center. Sprinkle the reserved crispy garlic slices evenly over the top of the beef, then scatter the sliced red chili and chopped fresh flat-leaf parsley over top. Drizzle any remaining glossy butter-soy sauce from the wok over the pile of beef, and serve immediately while hot, ideally with steamed white rice.
Step 6
step6:Plate and Add Garnish
Step 6
step6:Plate and Add Garnish

Tips

1.Pat beef completely dry before searing: any residual moisture on the beef surface will cause steaming instead of the deep, caramelized Maillard reaction crust that gives salpicao its signature rich, savory depth. For best results, leave cubed beef uncovered on a paper-towel lined plate in the fridge for 20 minutes if you have extra time.
2.Remove garlic from the pan the moment it turns pale golden: garlic will continue to cook and crisp from residual heat after being scooped out, and even 10 extra seconds over medium-low heat will turn it dark brown and bitter, ruining the dish’s balanced flavor.
3.Never overcrowd the wok when searing: if beef cubes are stacked or touching too closely, the pan temperature drops rapidly, leading to gray, steamed, tough beef instead of juicy, crusty, medium-rare bites. For 500g of beef, two separate batches is the sweet spot to keep the pan hot enough for a proper sear.


✨ You May Also Like

Main Course
🍜 United Kingdom

A showstopping classic of tender seared beef, savory mushroom duxelles, and crisp prosciutto wrapped in flaky golden puff pastry, baked to juicy perfection.

⏱️ 2 hours 1Main Course ★ 4.7
Main Course
🍜 India

Tender charred marinated chicken simmered in a rich, spiced creamy tomato sauce, this iconic Anglo-Indian curry pairs perfectly with basmati rice or warm naan.

⏱️ 50 minuteMain Course ★ 4.6
Main Course
🍜 Thailand

Classic tangy, sweet, and savory Thai stir-fried rice noodles with shrimp, tofu, and crunchy garnishes, balancing all five core Thai flavor profiles.

⏱️ 30 minuteMain Course ★ 4.5
Main Course
🍜 United Kingdom

Crispy golden beer-battered cod and fluffy double-fried chips, served with tangy tartar sauce and malt vinegar: the timeless, beloved British pub comfort classic.

⏱️ 45 minuteMain Course ★ 4.7
Main Course
🍜 Mexico

Smoky, chile-marinated pork tacos with caramelized pineapple, fresh cilantro, and lime: a beloved classic Mexican street food perfect for casual summer gatherings.

⏱️ 1 hour 45Main Course ★ 4.8
Main Course
🍜 United States

Crunchy Fritos corn chips layered with savory beef chili and melted cheddar, topped with cool, zesty fixings for a beloved, cozy Tex-Mex comfort food.

⏱️ 35 minuteMain Course ★ 4.8

beef salpicao:Frequently Asked Questions

1.What cut of beef works best for Beef Salpicao if I can’t find tenderloin? ▾
If tenderloin is out of stock or over your budget, reach for ribeye, top sirloin, or filet mignon tips. All are tender enough for the quick, high-heat searing this recipe needs. Just trim any tough silverskin first, and cut uniform 1-inch cubes so every bite cooks at the same even rate.
2.Why does my Beef Salpicao turn out tough instead of juicy? ▾
Tough beef almost always stems from three common missteps: overcrowding the pan, cooking over too-low heat, or leaving the beef on the heat too long. Make sure your pan is smoking hot before adding beef, cook in batches if needed, and pull bites once seared on all sides and slightly pink inside to lock in juices.
3.How do I get perfectly crispy golden garlic topping without burning it? ▾
Crispy garlic is easy to nail if you cook it low and slow, not over high heat. Slice garlic thinly and evenly, fry it in melted butter over medium-low heat while stirring constantly, until it hits a pale golden hue. Scoop it out immediately—it keeps cooking off heat, so pull it early to avoid bitter, burnt bits.
4.Can I use regular soy sauce instead of low-sodium soy sauce for this recipe? ▾
You absolutely can, but adjust the ratio to avoid an overly salty final dish. Cut regular soy sauce by about 1/3, and add a tiny splash of water or low-sodium beef broth to make up the liquid difference. Taste the sauce as you go, since salt content varies between soy sauce brands, to keep umami balanced.
5.How long does it actually take to make Beef Salpicao from start to finish? ▾
This dish comes together in 25 to 30 minutes total, making it perfect for fast weeknight dinners. The bulk of that time is prep: cubing beef, slicing garlic, and mixing your quick sauce. Actual cook time is only 8 to 10 minutes, since beef sears fast and the sauce comes together in the same pan in seconds.
6.Do I need to marinate the beef before cooking Salpicao? ▾
You don’t need a long marinade for this recipe, since the high-heat sear and glossy pan sauce deliver bold flavor without it. If you want an extra boost, toss cubed beef in a splash of soy and Worcestershire 10 to 15 minutes before cooking, but don’t marinate longer—too much soy draws out moisture and makes beef tough.
7.What is the best pan to use for getting a good sear on the beef bites? ▾
A heavy-bottomed cast iron or carbon steel pan is ideal, as it holds high heat evenly without hot spots that burn parts of the beef. If you don’t have those, a thick stainless steel skillet works too. Skip non-stick pans, since most can’t handle the high heat needed for a crisp, caramelized sear without steaming the meat.
8.Can I make Beef Salpicao ahead of time for meal prep? ▾
This dish is best eaten fresh right after cooking, when beef is juiciest and garlic is crispiest, but you can prep components ahead. Cube the beef, slice the garlic, and mix your sauce blend 1 to 2 days in advance, stored in airtight containers in the fridge, so you can toss it all together in 10 minutes when ready to eat.
9.What side dishes pair best with Beef Salpicao? ▾
The rich, garlicky, umami flavor of Salpicao pairs perfectly with starchy sides that soak up the extra butter-soy sauce. Classic Filipino pairings include garlic fried rice for a silog-style meal, but it also works great with buttery mashed potatoes, steamed white rice, roasted veggies, or even buttered pasta for a quick fusion twist.
10.Why do I need to cook the beef in batches instead of adding it all at once? ▾
If you dump all your beef cubes into the pan at once, they’ll steam instead of sear, because the cold meat drops pan temperature too fast and releases excess moisture all at once. Cook beef in a single layer, with space between cubes, in 2 to 3 small batches to get that deep, caramelized crust on every bite.
11.Is there a non-dairy substitute for the unsalted butter in this recipe? ▾
If you’re avoiding dairy, swap unsalted butter for a high-quality neutral plant-based butter with similar fat content, or use ghee if you’re sensitive to lactose. Avoid using liquid oils like olive oil for a full swap, since you’ll lose that rich, creamy, glossy texture that makes the sauce coat every beef bite perfectly.
12.How do I know when the beef is done so I don’t overcook it? ▾
For that perfect tender, juicy bite, cook beef cubes until deep golden brown on all sides, and register 135°F on an instant-read thermometer for medium-rare, the ideal doneness for Salpicao. If you prefer medium, pull them at 140°F—remember they’ll keep cooking for a couple minutes off heat from residual carryover cooking.
13.Can I add other ingredients to Beef Salpicao to bulk it up? ▾
Absolutely! While classic Salpicao is simple, focused on beef and garlic, you can toss in sautéed button mushrooms, bell pepper strips, or thinly sliced red onion right after searing the beef. Just cook any added veggies first and set them aside, so they don’t release moisture that ruins the sear on your beef bites.
14.What’s the purpose of Worcestershire sauce in this recipe? ▾
Worcestershire sauce adds a deep, tangy, savory layer of umami that cuts through the richness of butter and the salt of soy sauce. It balances the bold garlic flavor and adds subtle, complex depth you can’t get from soy alone. If you don’t have it, swap it for a tiny splash of fish sauce mixed with a pinch of sugar to mimic that profile.
15.How should I store leftover Beef Salpicao, and how long will it keep? ▾
Store leftover Salpicao in an airtight container in the fridge for up to 3 days. Keep the crispy garlic topping separate if you can, so it doesn’t get soggy. When reheating, warm it quickly in a hot pan over medium-high heat for 2 to 3 minutes, just until heated through—long microwave zaps will turn beef tough and rubbery.
16.Can I use frozen beef to make this recipe? ▾
You can, but you have to thaw it completely and pat it very, very dry first before searing. Any excess moisture from partially thawed beef will make it steam instead of sear, leaving you with tough, gray, flavorless bites. For best results, thaw beef in the fridge overnight, then press all sides with paper towels to remove surface moisture.
17.Why is patting the beef dry before searing such an important step? ▾
Any surface moisture on the beef will immediately turn to steam when it hits the hot pan, which prevents that crispy, caramelized Maillard reaction crust from forming on the outside of the bites. Take 30 seconds to pat all sides of your cubed beef with paper towels right before cooking, and you’ll get a perfect, flavorful sear every time.
18.Is Beef Salpicao a spicy dish? ▾
Classic Beef Salpicao isn’t inherently spicy—it’s focused on rich, garlicky, buttery umami flavor from its core ingredients. If you want to add a little heat, toss in a pinch of red pepper flakes with the garlic, or add a sliced Thai chili to the sauce as it simmers. You can also serve hot sauce on the side for diners who want extra kick.
19.Can I make this recipe with a cheaper, tougher cut of beef like chuck? ▾
Chuck is too tough for this recipe’s quick-cook method, since it needs long, slow braising to break down its tough connective tissue. If you only have chuck on hand, cube it, marinate for an hour, and pressure cook for 15 minutes first before searing and tossing in sauce—otherwise the bites will be unpleasantly chewy.
20.How do I get that glossy, perfectly coated sauce on every beef bite? ▾
That signature glossy finish comes from tossing seared beef in the sauce over low heat right at the end, letting the cold butter emulsify with the soy and Worcestershire. Don’t add too much extra liquid—just a couple tablespoons of sauce total, and toss constantly for 30 to 60 seconds as butter melts, so sauce clings instead of pooling.

Comments (4)

2 hours ago

OMG this beef salpicao is a total game changer! I threw it together last night for my family dinner after work since it only takes 15 minutes, and even my super picky 8 year old asked for seconds. The garlicky, buttery flavor is SO good, I didn’t even have to marinate for long. 10/10 will be adding this to my weekly meal prep rotation!

30 minutes ago

Wait did you use sirloin or ribeye? I’m making this for a potluck this weekend and want to make sure it turns out as good as yours!

5 minutes ago

So glad your family loved it, Mia! @Jake M. both cuts work great, but sirloin is a budget-friendly pick that holds up perfectly for potlucks—just make sure not to overcook the beef so it stays tender!

yesterday

Super easy weeknight recipe, but my sauce came out a little oilier than I expected? Did I add too much butter? Flavor was still chef’s kiss though, my partner ate three servings lol.

2 hours ago

Great question! If the sauce feels too oily, you can cut the butter by 1 tablespoon next time, or toss in a tiny squeeze of fresh lime juice right before serving to cut through the richness. So happy you two enjoyed the flavor otherwise!

3 days ago

Made this for my weekly meal prep on Sunday and it held up perfectly all week for lunch! Tossed it with some roasted broccoli and rice, and all my coworkers were asking where I got the recipe. So quick to throw together even on a busy Sunday, no fancy ingredients needed. Absolute winner.

1 week ago

First time making any kind of Filipino-inspired dish and I was so nervous it would flop for our neighborhood potluck, but everyone raved about it! I added a little extra red pepper flakes for a tiny kick and it was chef’s kiss. Will absolutely be making this again for our next game night spread.

5 days ago

The red pepper flakes addition sounds genius! I’m definitely trying that next time I make this, my family loves a little zesty heat in their dinners.



