
beef tips instant pot
intro
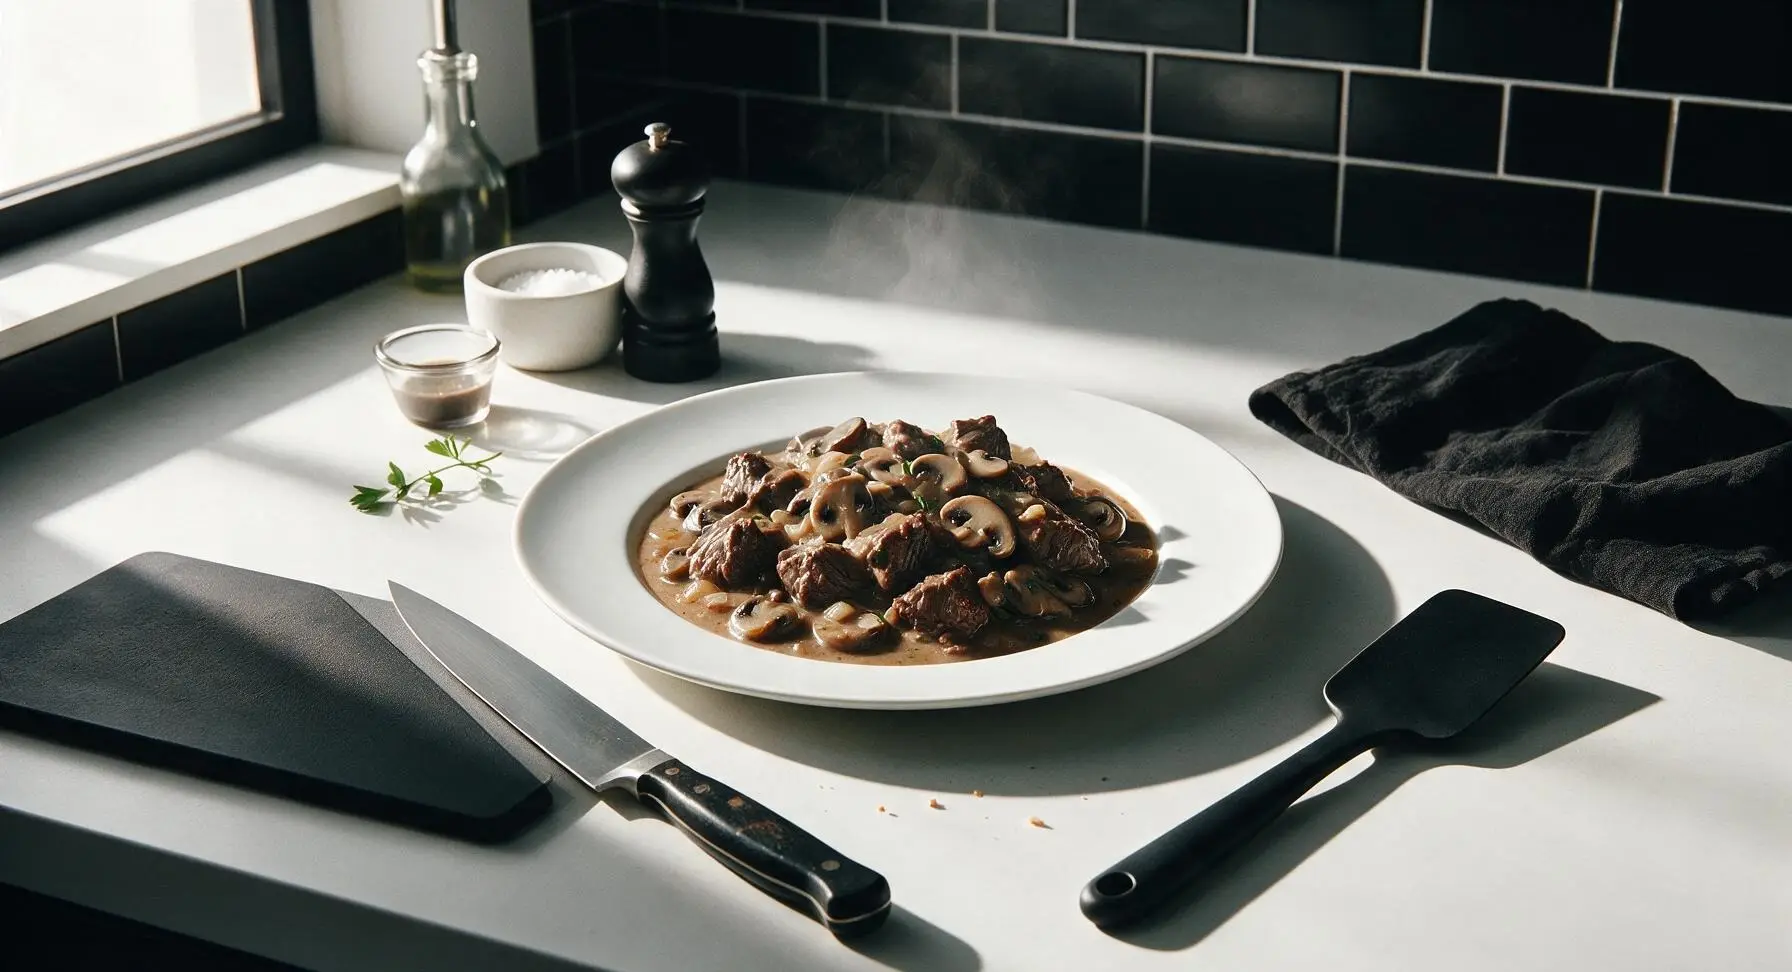
Tender, fall-apart beef tips smothered in silky mushroom-onion gravy, made fast in the Instant Pot for a cozy, no-fuss cold-weather dinner.
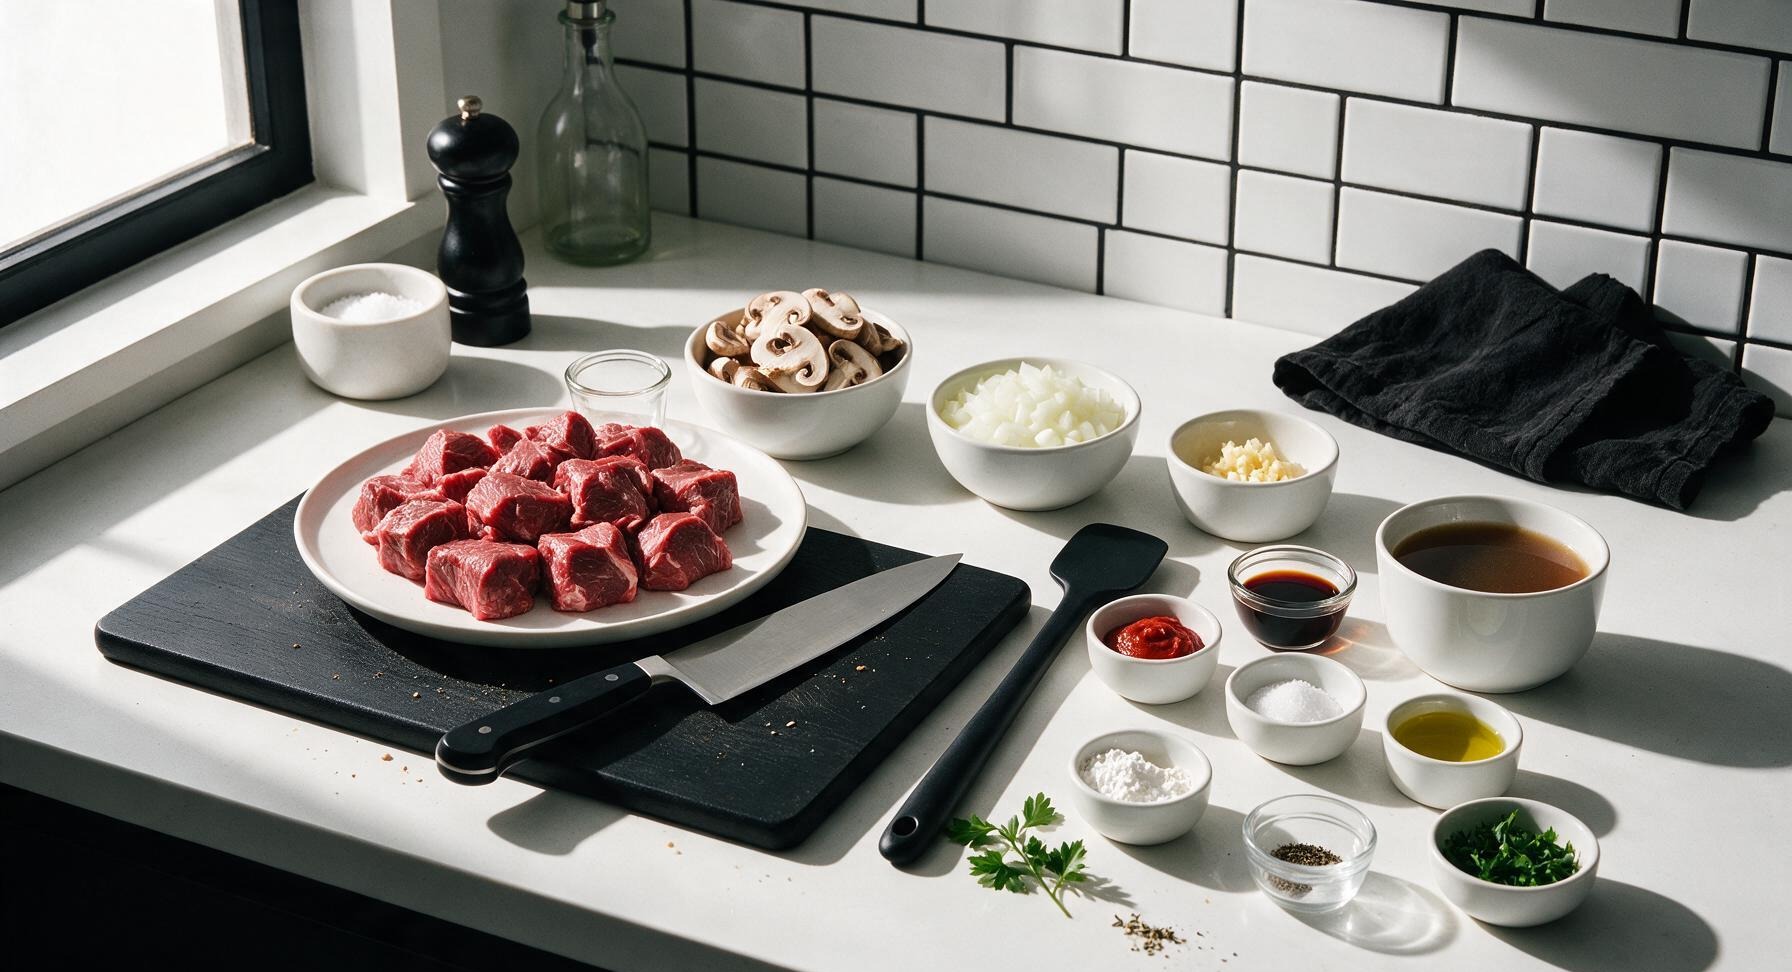
Ingredients
Steps
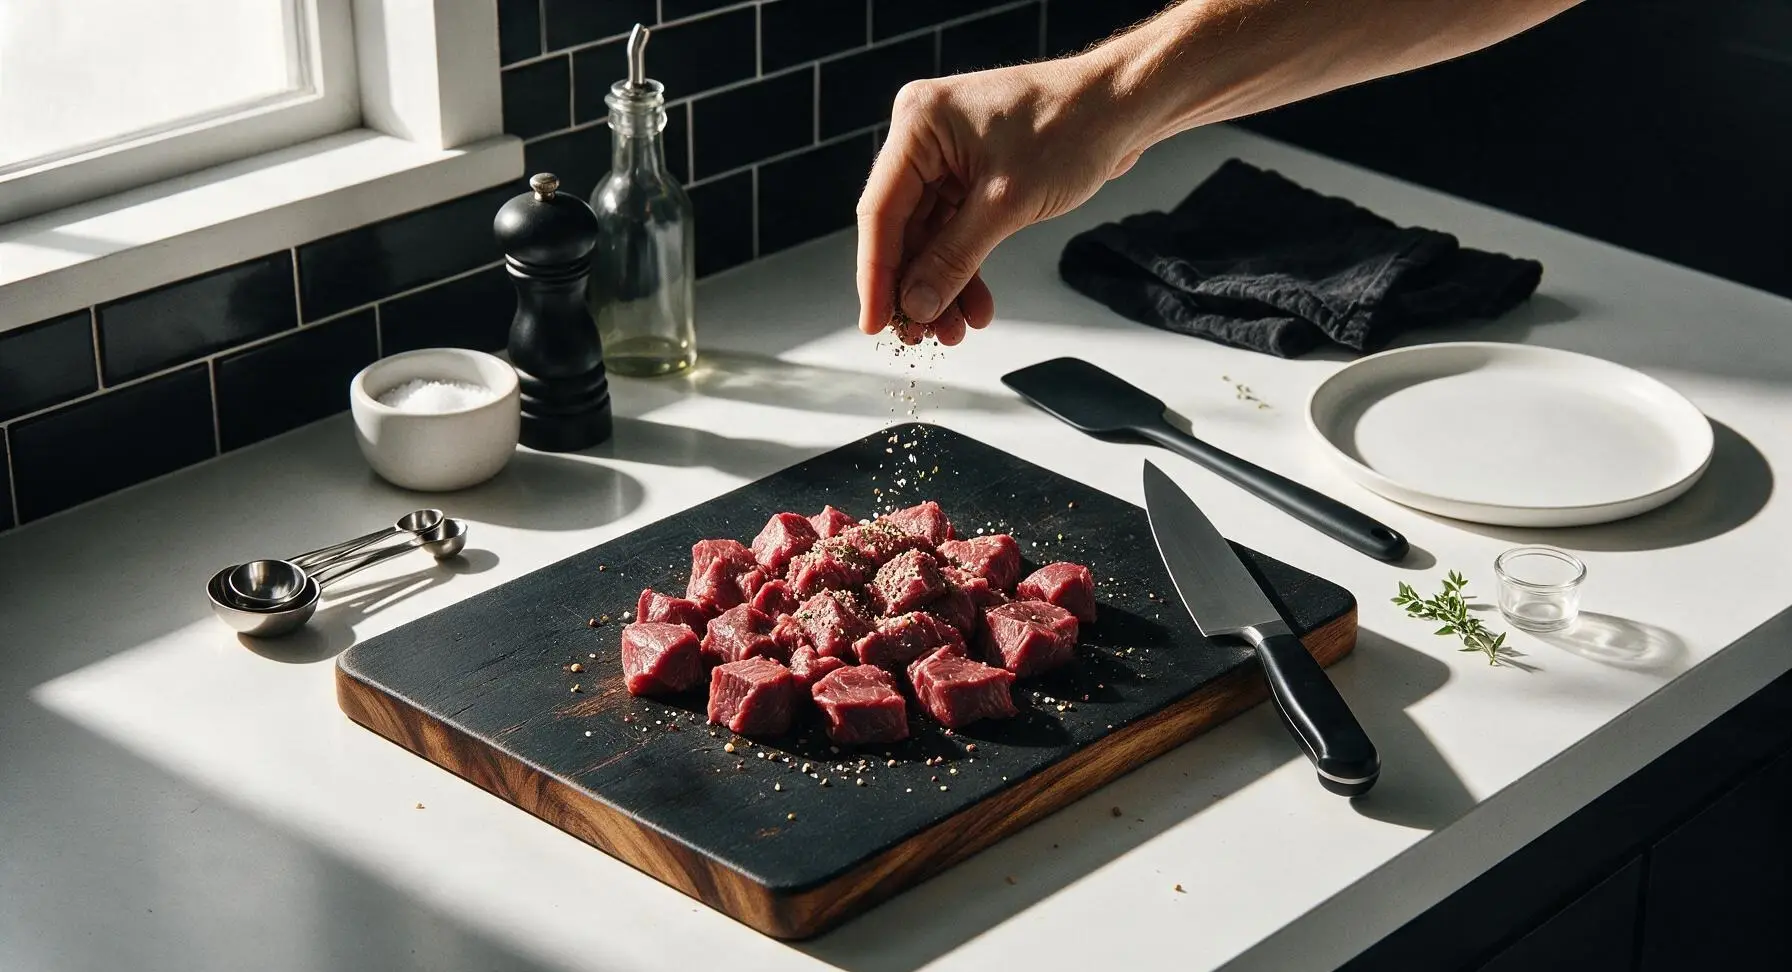
Season the Beef Cubes
Place the 1-inch cubed beef chuck on the acacia wood cutting board. Pat all surfaces completely dry with a paper towel to encourage better browning. Sprinkle evenly with 1 tsp kosher salt, 1/2 tsp freshly ground black pepper, and 1/2 tsp dried thyme, tossing the cubes with your hands to ensure every side has a light, even coating of seasoning, with no bare spots remaining.
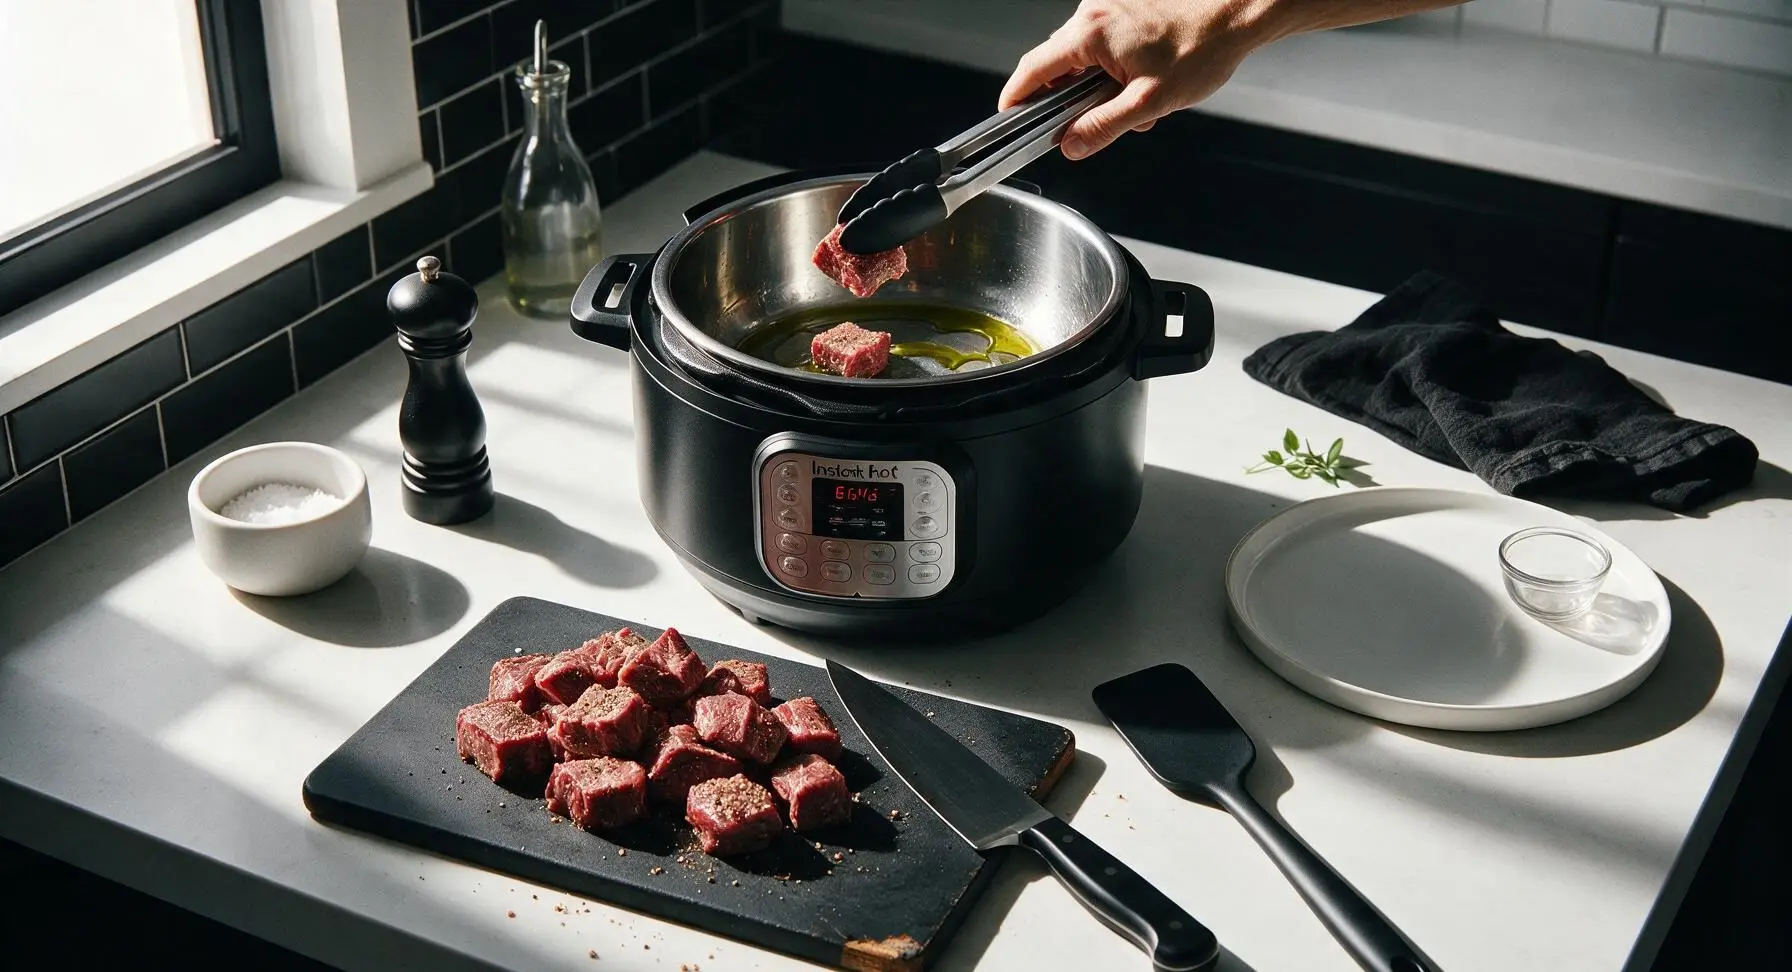
Sear Beef in Pot
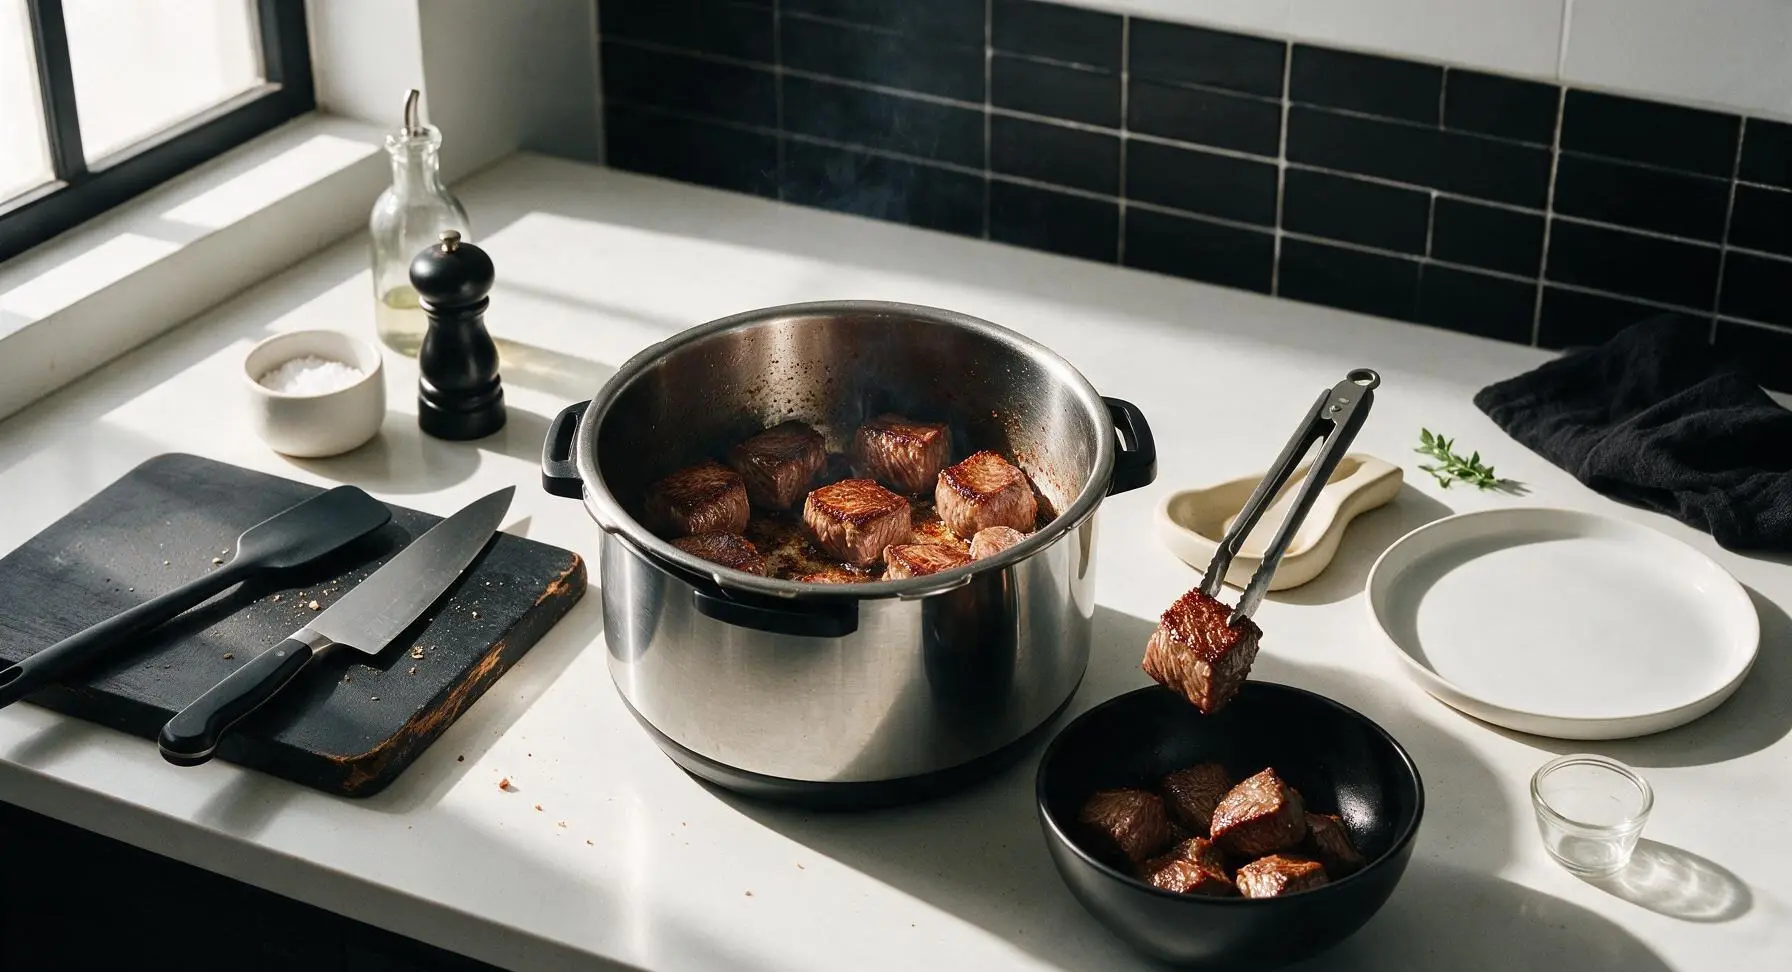
Turn the Instant Pot to the high-heat Sauté function. Add 1 tbsp olive oil to the inner pot, and wait 1 minute until the oil shimmers and moves easily across the pot bottom. Working in 2 equal batches to avoid crowding (which causes steaming instead of searing), add seasoned beef cubes in a single layer, searing 2 minutes per side until a deep golden-brown crust forms on all edges. Transfer seared beef to the matte black mixing bowl once browned; do not scrape the dark brown fond (browned bits) from the pot bottom, as it builds rich gravy flavor.
Sauté Aromatics and Veggies
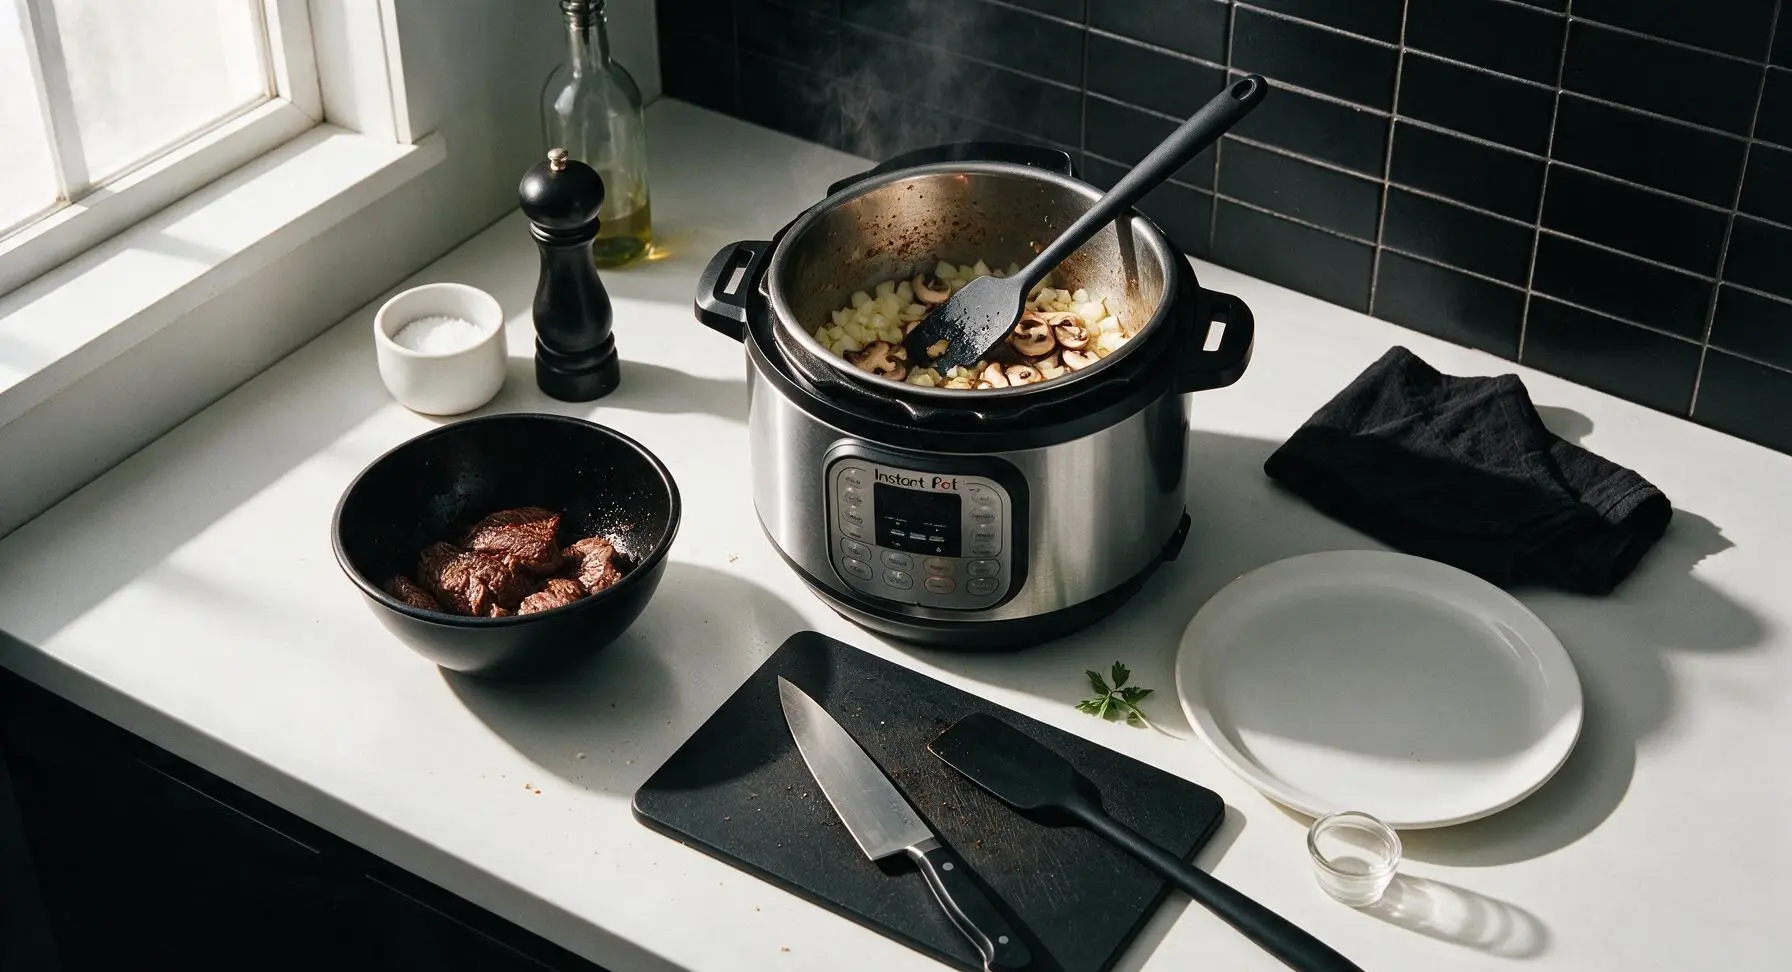
Leave the Instant Pot on Sauté mode, using the residual beef fat and oil left in the inner pot. Add the diced yellow onion and sliced cremini mushrooms, stirring occasionally with the silicone spatula for 4 minutes, until onions are soft and translucent and mushrooms have released their liquid and turned golden brown at the edges. Add minced garlic and 1 tbsp tomato paste, stirring constantly for 30 seconds until the tomato paste deepens to a rusty red color and smells fragrant, taking care not to burn the garlic which will turn bitter.
Pressure Cook Beef
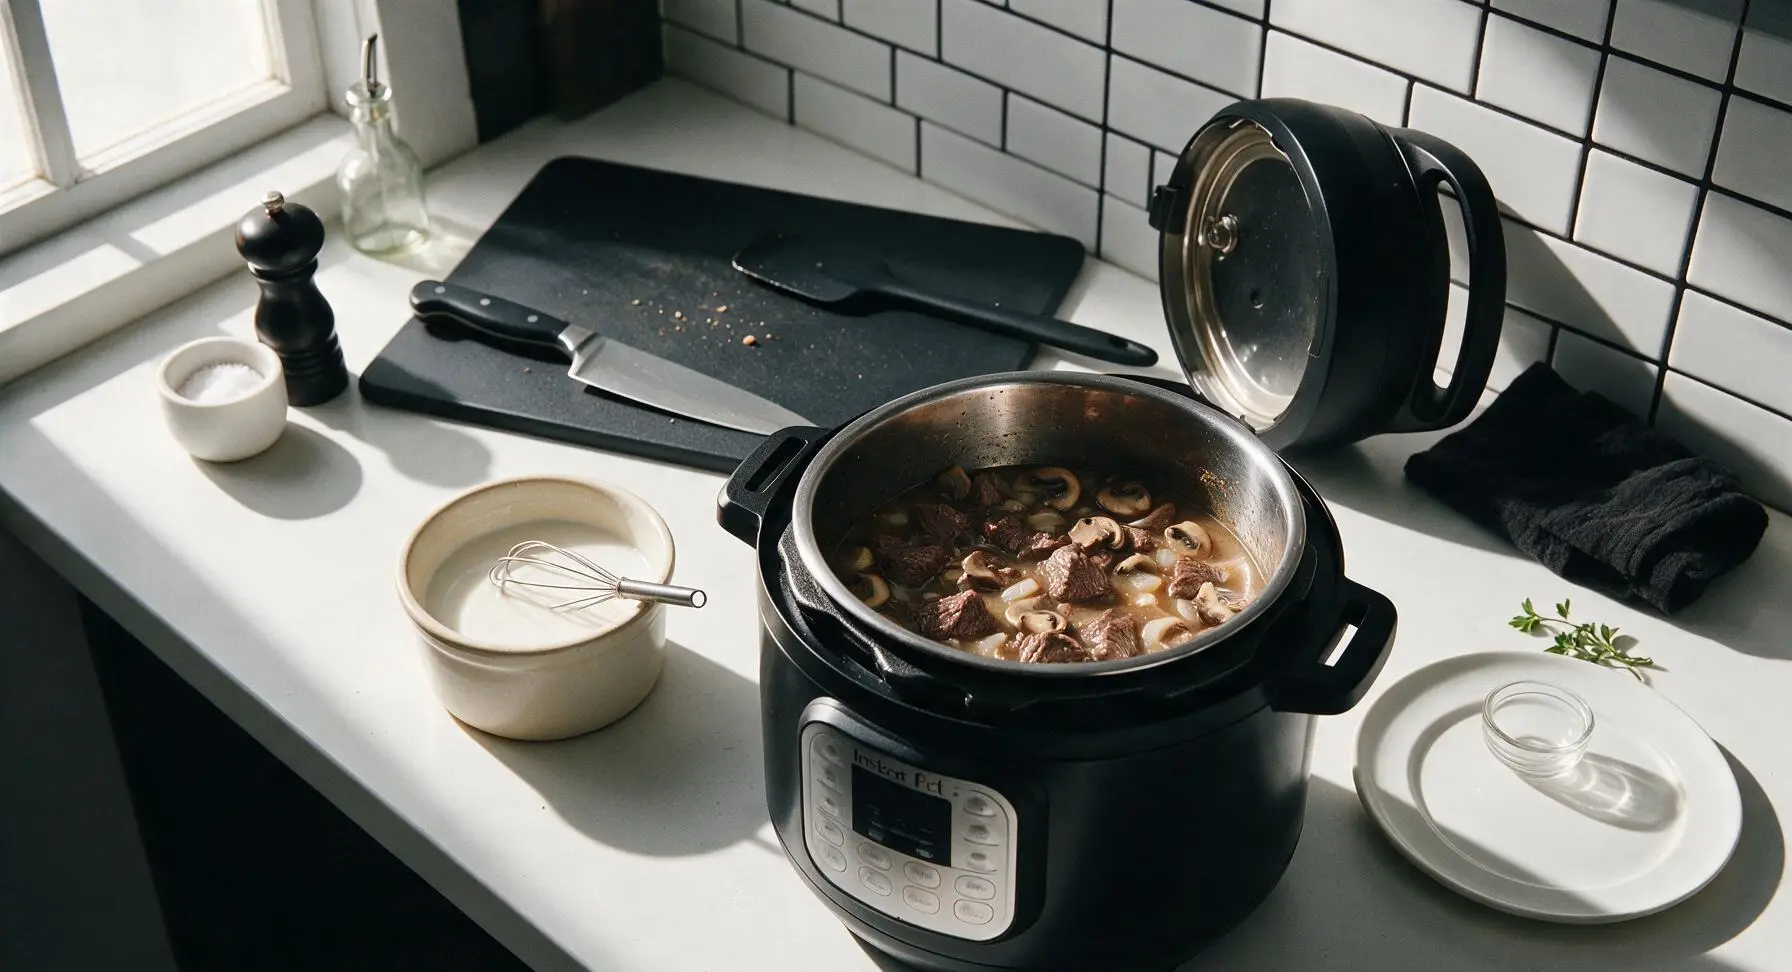
Pour 1 cup low-sodium beef broth and 2 tbsp Worcestershire sauce into the Instant Pot, using the silicone spatula to scrape every bit of browned fond from the pot bottom to prevent Instant Pot burn errors and maximize flavor. Return all seared beef cubes and any accumulated juices from the mixing bowl to the pot, stirring gently to combine with the vegetables and liquid. Secure the Instant Pot lid, set the pressure release valve to the Sealing position, and cook on High Pressure for 20 minutes. The pot will take roughly 10 minutes to build to full pressure before the cook timer begins counting down.
Release Pressure Safely
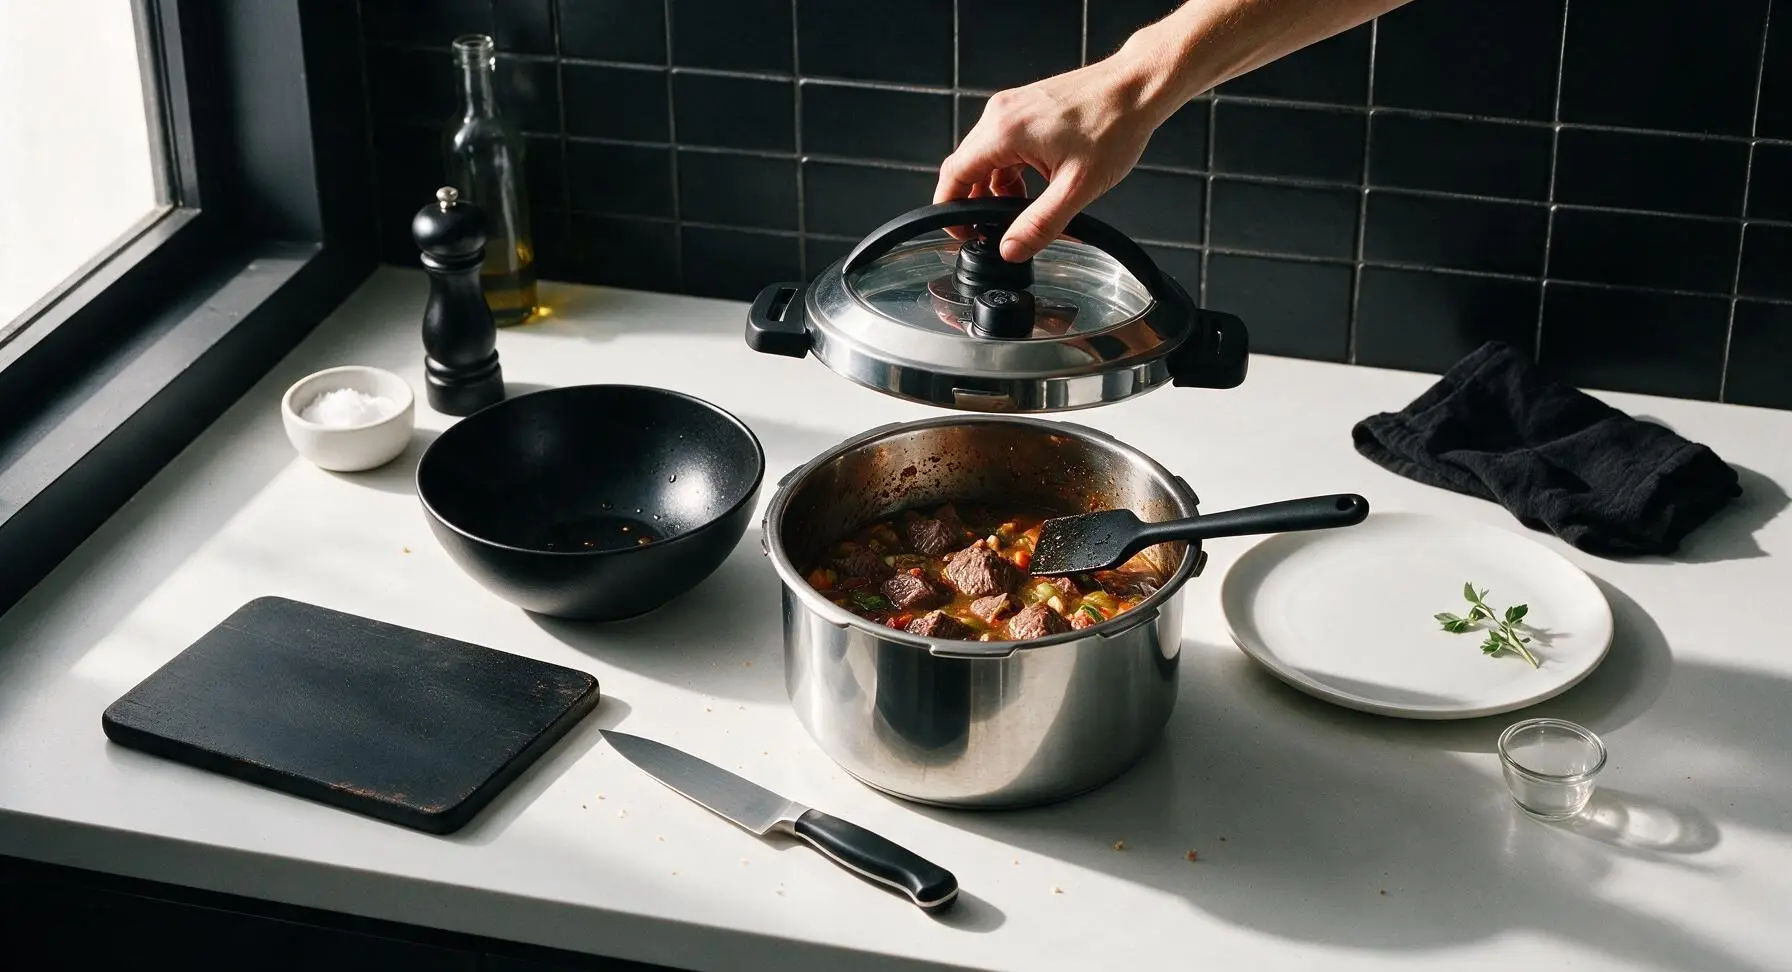
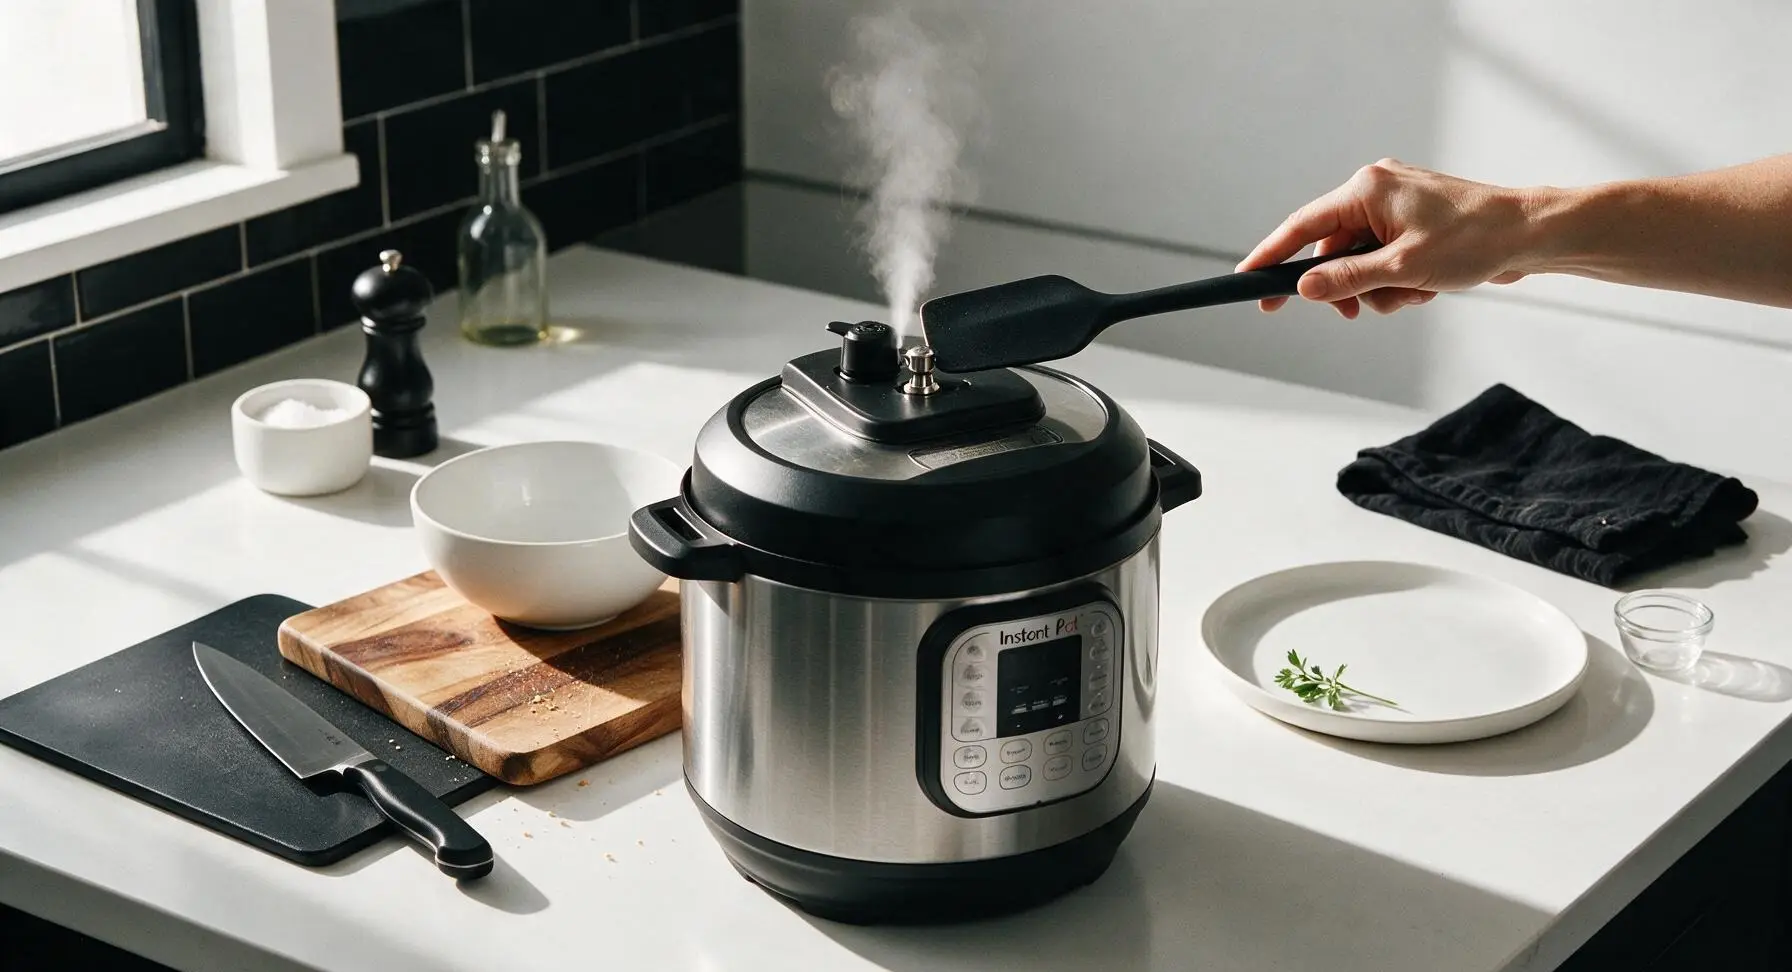
When the 20-minute high pressure cook time finishes, allow a 5-minute natural pressure release: leave the valve in the Sealing position for 5 minutes without touching the pot. After 5 minutes, use the long handle of the silicone spatula to carefully nudge the pressure release valve to the Venting position to quick-release all remaining pressure, keeping your hands and face well away from the jet of hot steam to avoid burns. Wait until the silver float valve drops completely, indicating all pressure is gone, before unlocking and removing the lid, tilting the lid away from your face to let trapped steam escape safely.
Thicken the Gravy
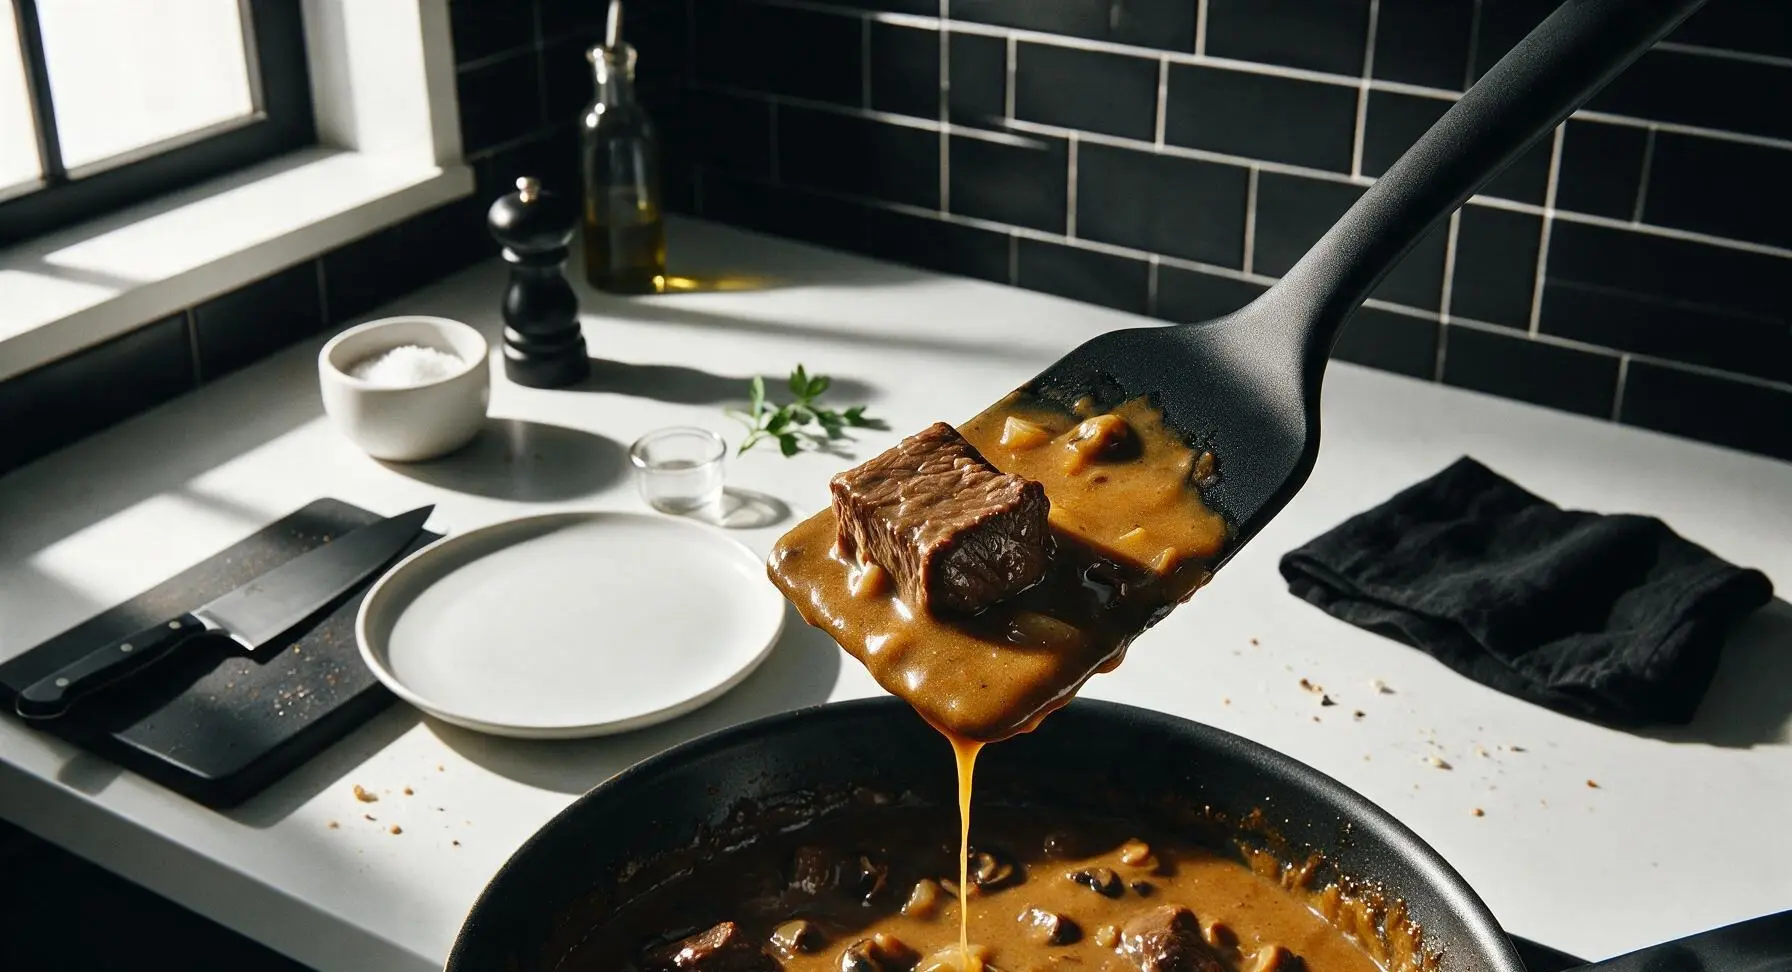
Turn the Instant Pot back to medium-heat Sauté mode. In the small cream stoneware ramekin, whisk 2 tbsp cornstarch and 2 tbsp cold water together with the mini whisk until completely smooth, with no dry lumps remaining, to make a slurry. Stir the slurry into the hot beef and liquid mixture, stirring constantly with the silicone spatula for 2-3 minutes, until the gravy comes to a gentle bubble and thickens to a consistency that coats the back of the spatula without running off quickly. Taste and add extra salt or pepper if desired.
Garnish and Serve
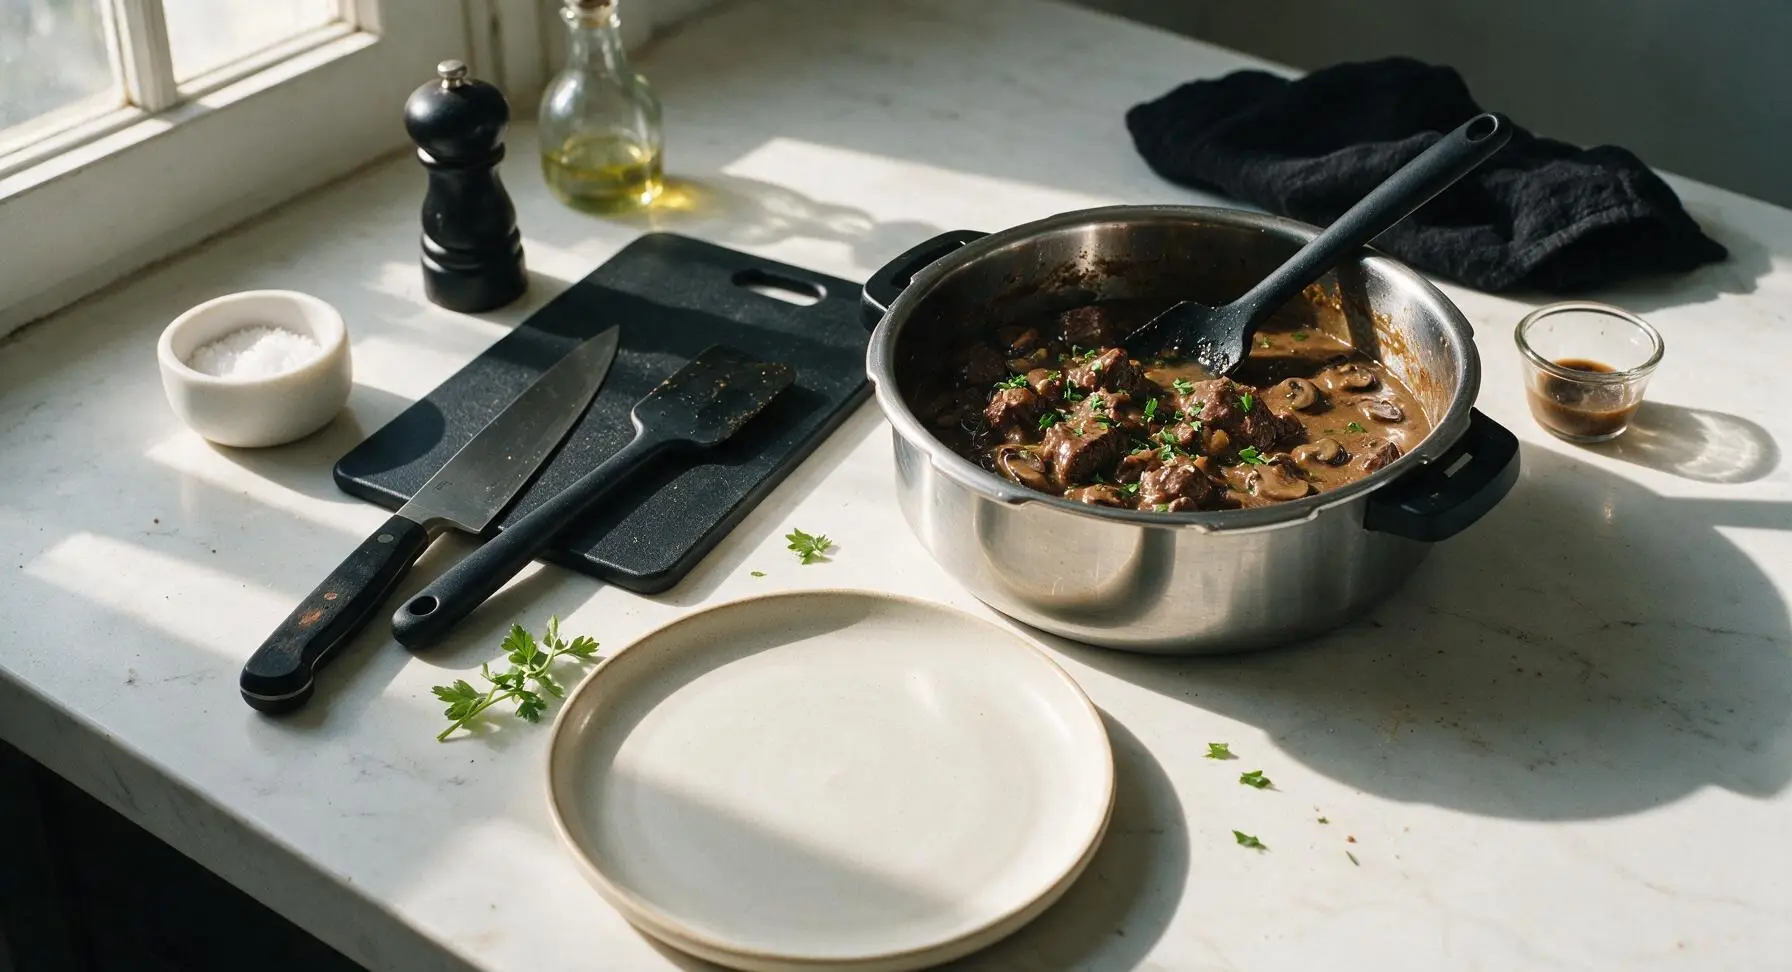
Turn off the Instant Pot. Sprinkle 2 tbsp chopped fresh flat-leaf parsley over the top of the beef tips and gravy, stirring lightly to distribute the bright green garnish. Serve hot, spooning beef and extra gravy over buttery mashed potatoes, buttered egg noodles, or steamed white rice.
Tips
2.Always scrape the entire pot bottom thoroughly after adding broth: leftover browned fond stuck to the stainless steel inner pot can trigger the Instant Pot’s overheat burn error, which stops the cook cycle early, so scrape every bit up before sealing the lid.
3.Use ice-cold water to mix your cornstarch slurry: warm or room-temperature water will cause cornstarch to clump immediately when mixed, leading to lumpy, uneven gravy instead of the smooth, silky texture you want.






OMG y’all, this Instant Pot beef tips recipe was a total game changer for our weeknight family dinner! I was so stressed getting home late from soccer practice and had zero clue what to make, threw this together in 40 minutes flat and my kids literally asked for seconds before they even finished their first serving. The mushroom gravy is SO good I wanted to drink it straight from the pot lmao. 10/10 will be adding this to our regular meal prep rotation!
Made this for our neighborhood potluck last weekend and people were lined up to get the recipe! The beef came out so fall-apart tender I couldn’t believe it only took 40 minutes in the Instant Pot. I did add a little extra Worcestershire because I’m obsessed with that flavor, and it was chef’s kiss. Only tiny note: I wish the gravy was a touch thicker, but that was an easy fix with a little cornstarch slurry.
Wow, this was way easier than I thought it would be! I’m still pretty new to using my Instant Pot (got it for Christmas last year and barely touched it oops) and this was the first recipe that didn’t make me panic about burning something or pressure release messes. The beef tips were juicy, the mushroom gravy was rich, and my partner who swears he ‘hates mushrooms’ ate three whole servings. Wild.
SO good. Served this over mashed cauliflower for a lower carb dinner last night and it did not disappoint. The gravy has so much depth of flavor I didn’t even miss the mashed potatoes. Will absolutely make this again next time my girlfriends come over for dinner and wine night!
I was skeptical an Instant Pot could make beef tips as good as my slow cooker version that takes 8 hours, but man I was wrong. Tender, flavorful, the gravy coats every bite perfectly. I tossed in a diced onion with the mushrooms because I love extra veggies, and it turned out amazing. Don’t sleep on this recipe, folks.
Made a big batch of this on Sunday for my work lunches all week and it reheats like a DREAM. No weird rubbery beef, no separated gravy, just tastes as good as it did night one. 10/10 for meal prep, I’ve already passed the recipe along to three of my coworkers who asked what I was eating because it smelled so good in the break room.
Super easy to make this gluten free! I swapped the regular flour for a 1:1 GF flour blend to thicken the gravy and you literally couldn’t tell the difference. My whole family ate it up, even my super picky teen who turns his nose up at anything ‘healthy’ or GF. Total win.
Uh, I’m a 22 year old guy who just moved into his first apartment and this is the first real meal I’ve ever made that didn’t come out of a microwave or a frozen box. It was actually good?? My roommate came home and thought I ordered takeout lmao. Super easy instructions, even I couldn’t mess it up. Thanks!
Pro tip: serve this over buttery egg noodles with a side of roasted broccoli and garlic bread. It’s the coziest cold weather meal ever, I made it when it was 30 degrees out last week and it warmed me right to my bones. Gravy is so rich and savory, the beef melts in your mouth. 10/10.
I scaled this down to make just two servings for me and my partner and it worked perfectly! We don’t have a huge family so I was worried the portions would be way too big, but cutting all the ingredients in half didn’t mess up the cook time at all. Date night win for sure.
As someone who spent 30 years working in restaurant kitchens, I’m pretty picky about my beef dishes. This recipe is rock solid. The seasoning is spot on, the cook time for the beef is perfect to get that tender but not mushy texture, and the mushroom gravy is properly balanced, not too salty, not too bland. Great work on this one.
Added a pinch of cayenne and a splash of hot sauce to the gravy for a little kick and it was *chef’s kiss*. If you like a tiny bit of heat with your savory beef, I highly recommend that tweak. Can’t wait to make this again for my dad’s birthday dinner next week, he’s gonna go crazy for it.