
beef udon
intro
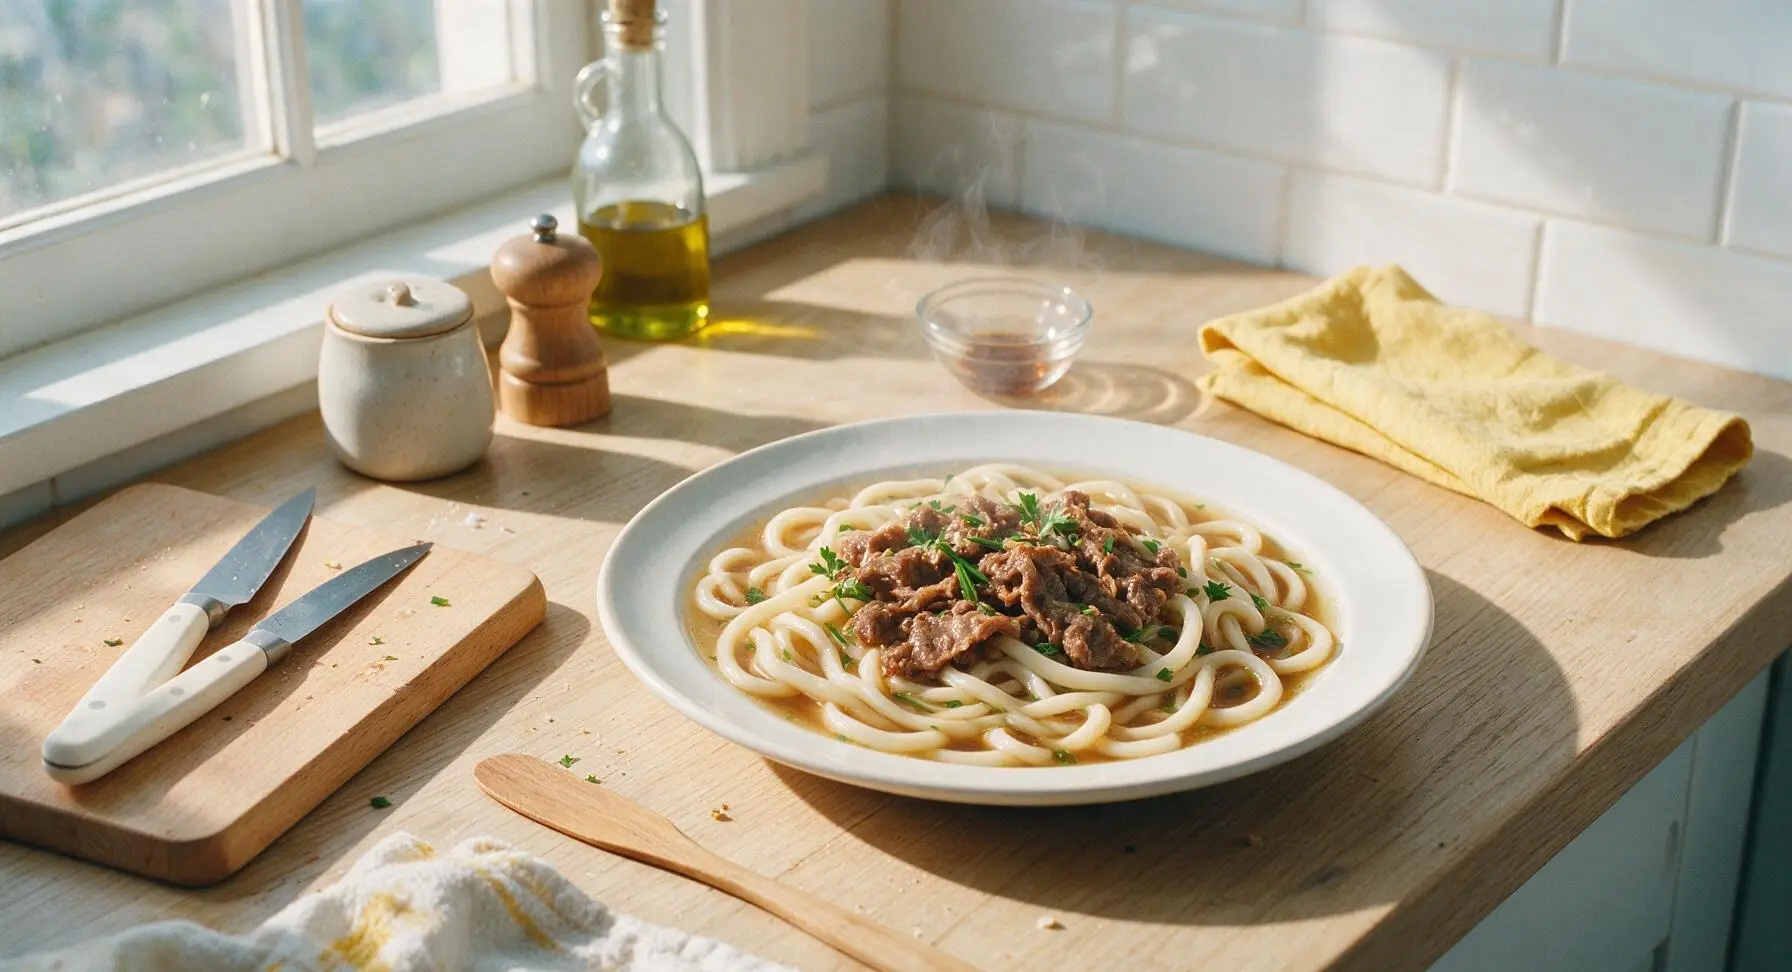
Slurpable chewy udon, tender savory-sweet beef, and clear umami dashi broth come together in this cozy, fast Japanese comfort food classic.
Ingredients
Steps
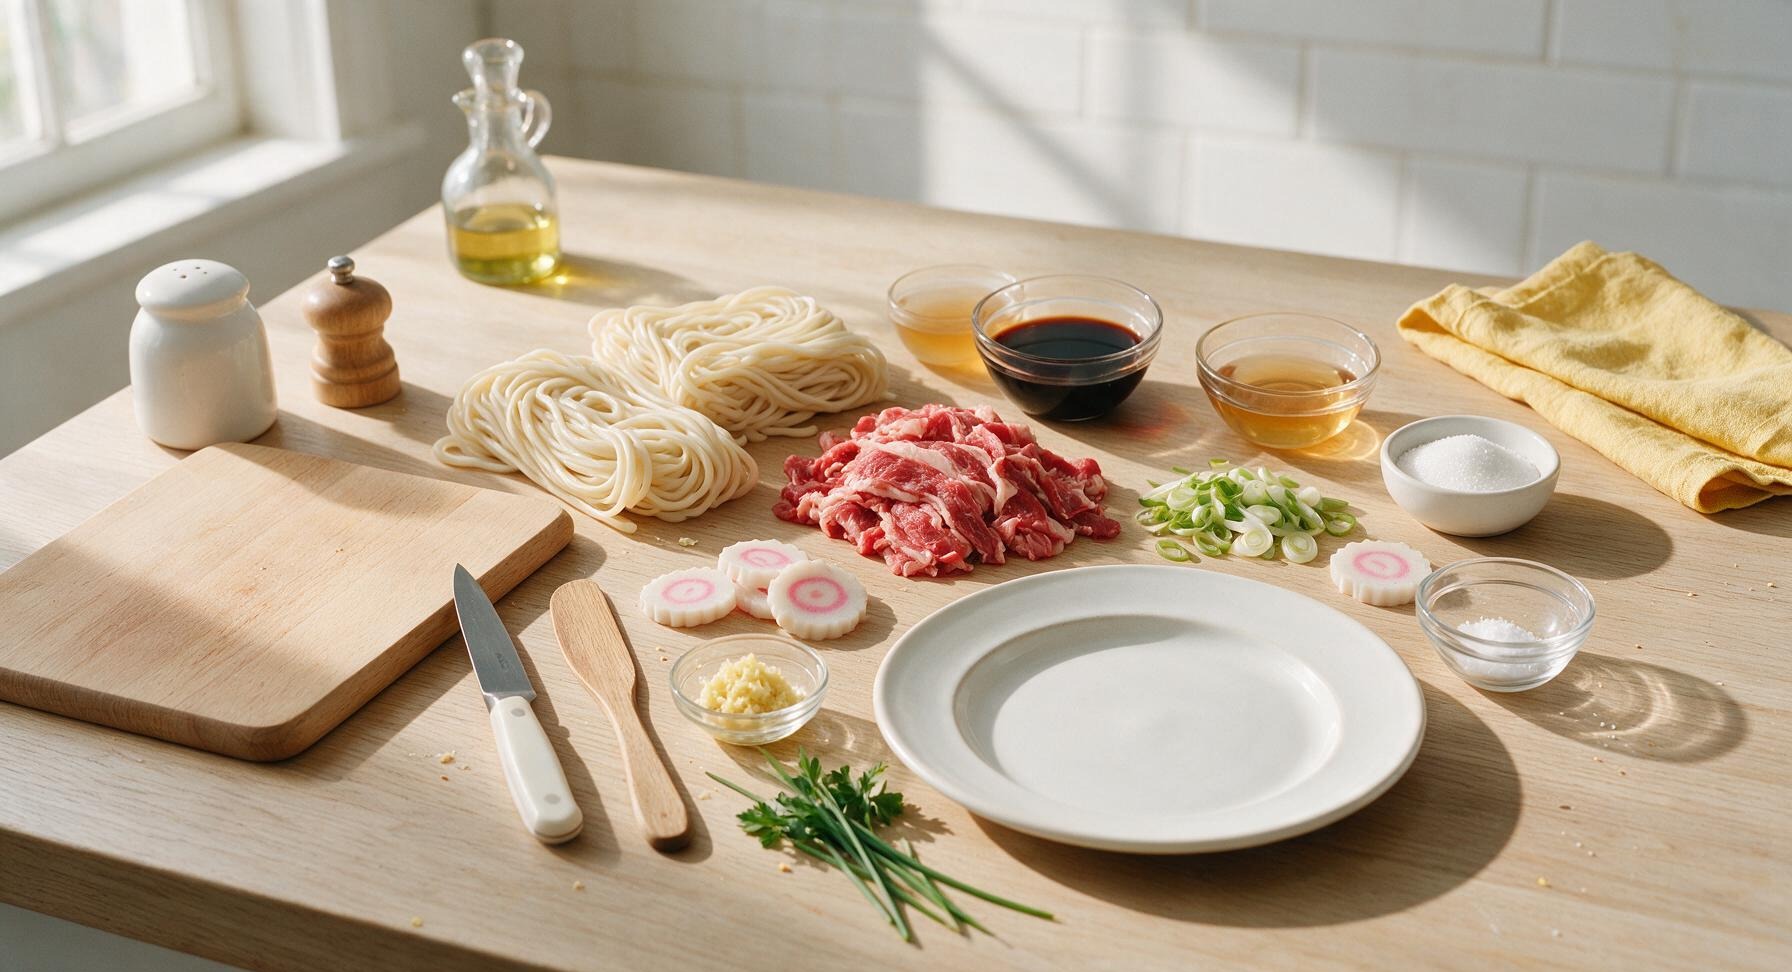
Prep all ingredients
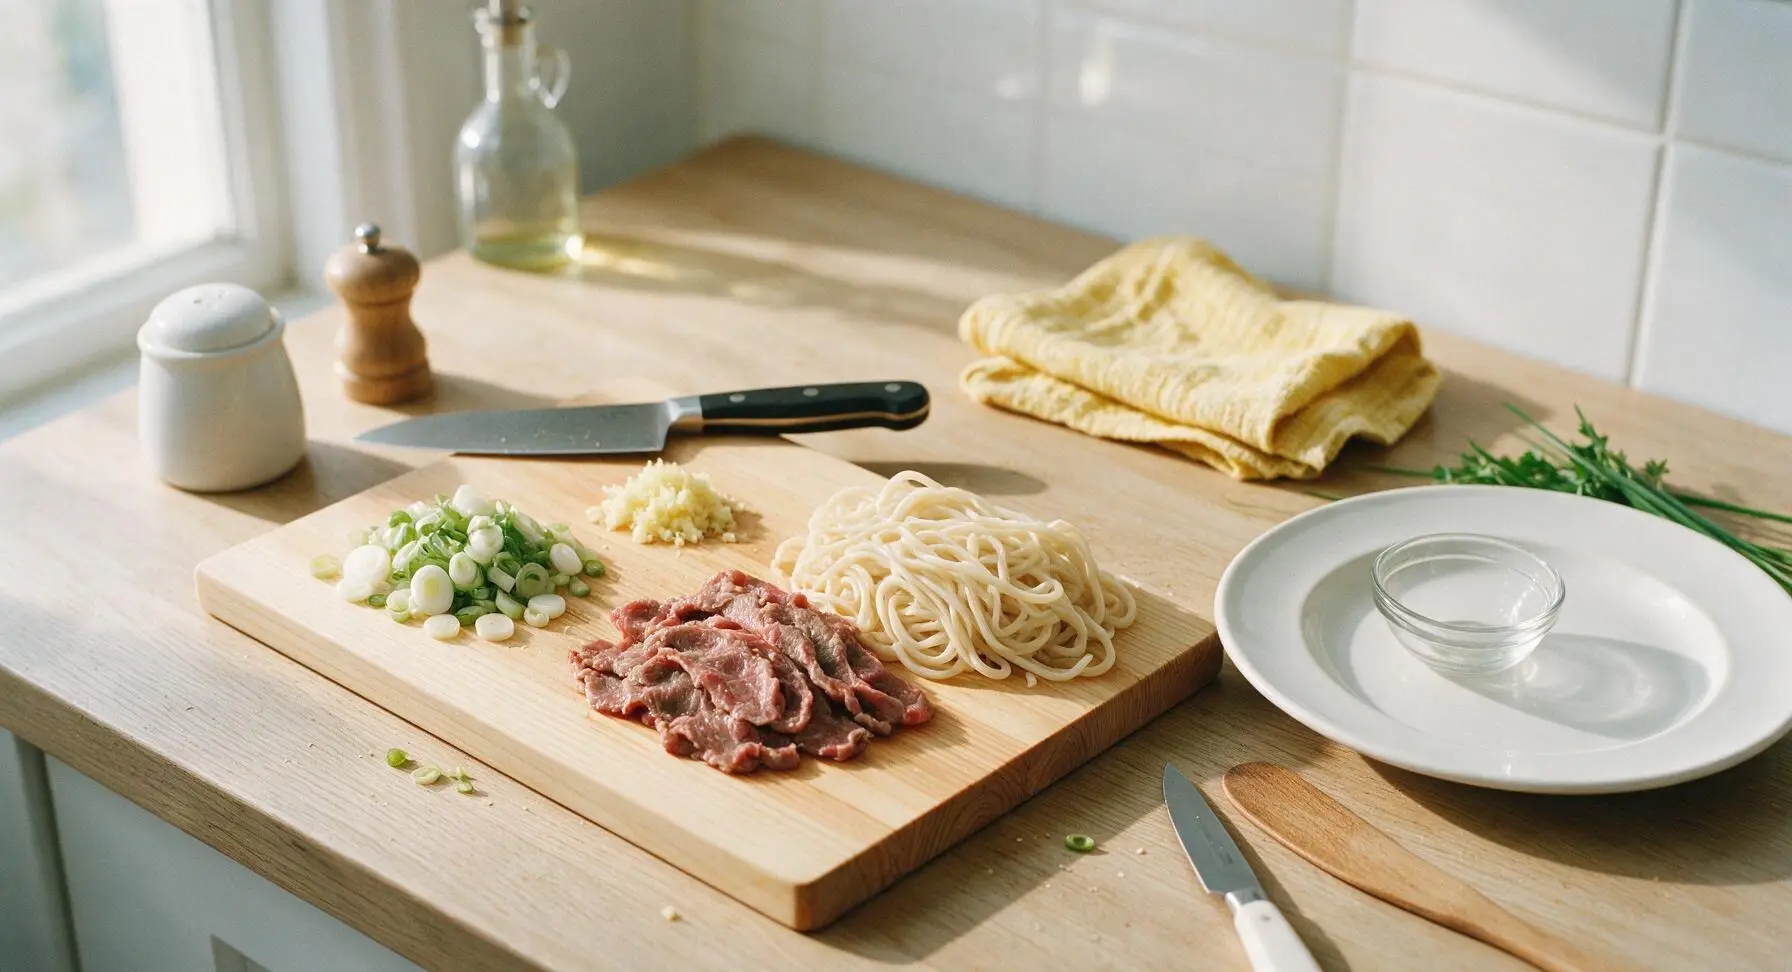
Gather and prep all components before heating the pot to avoid rushed cooking: slice scallions into 5mm thin rounds, separating firm white parts from tender green parts; grate the fresh ginger on a fine grater until you have 1 tsp of grated ginger; separate the thinly sliced beef into individual slices to prevent clumping while cooking; unwrap the fresh udon packs and gently pull noodle strands apart to loosen tight blocks. Arrange all prepped ingredients within arm’s reach of the stovetop.
Simmer seasoned dashi
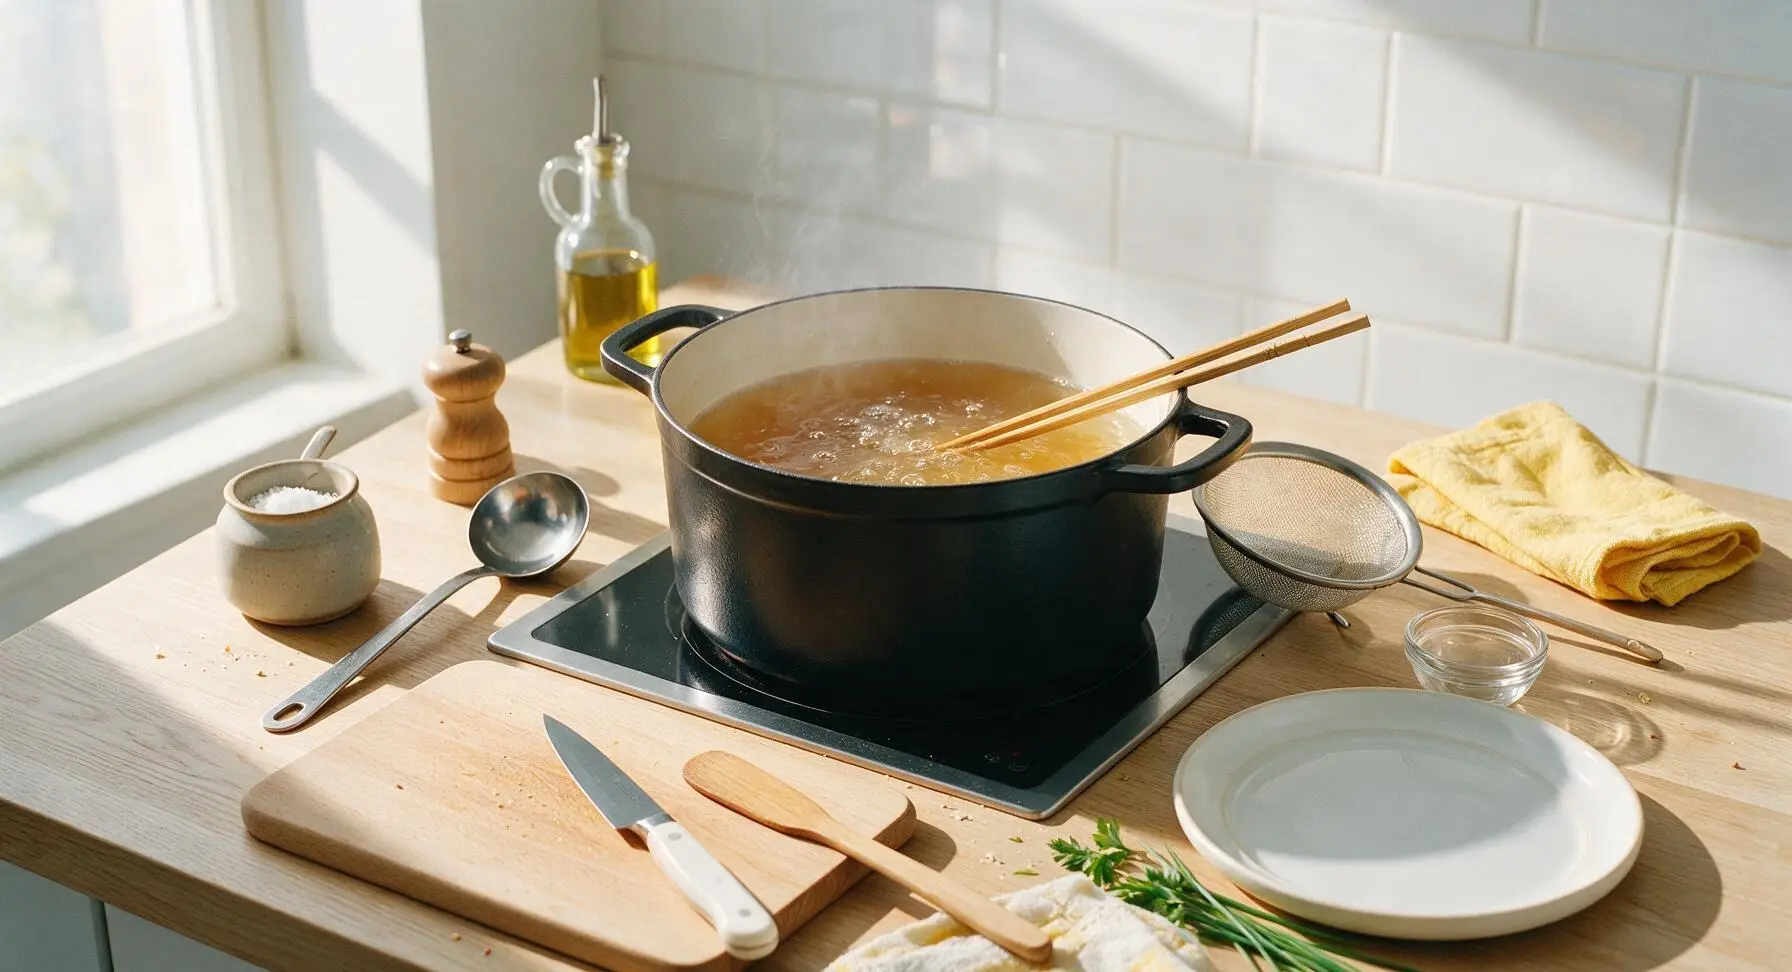
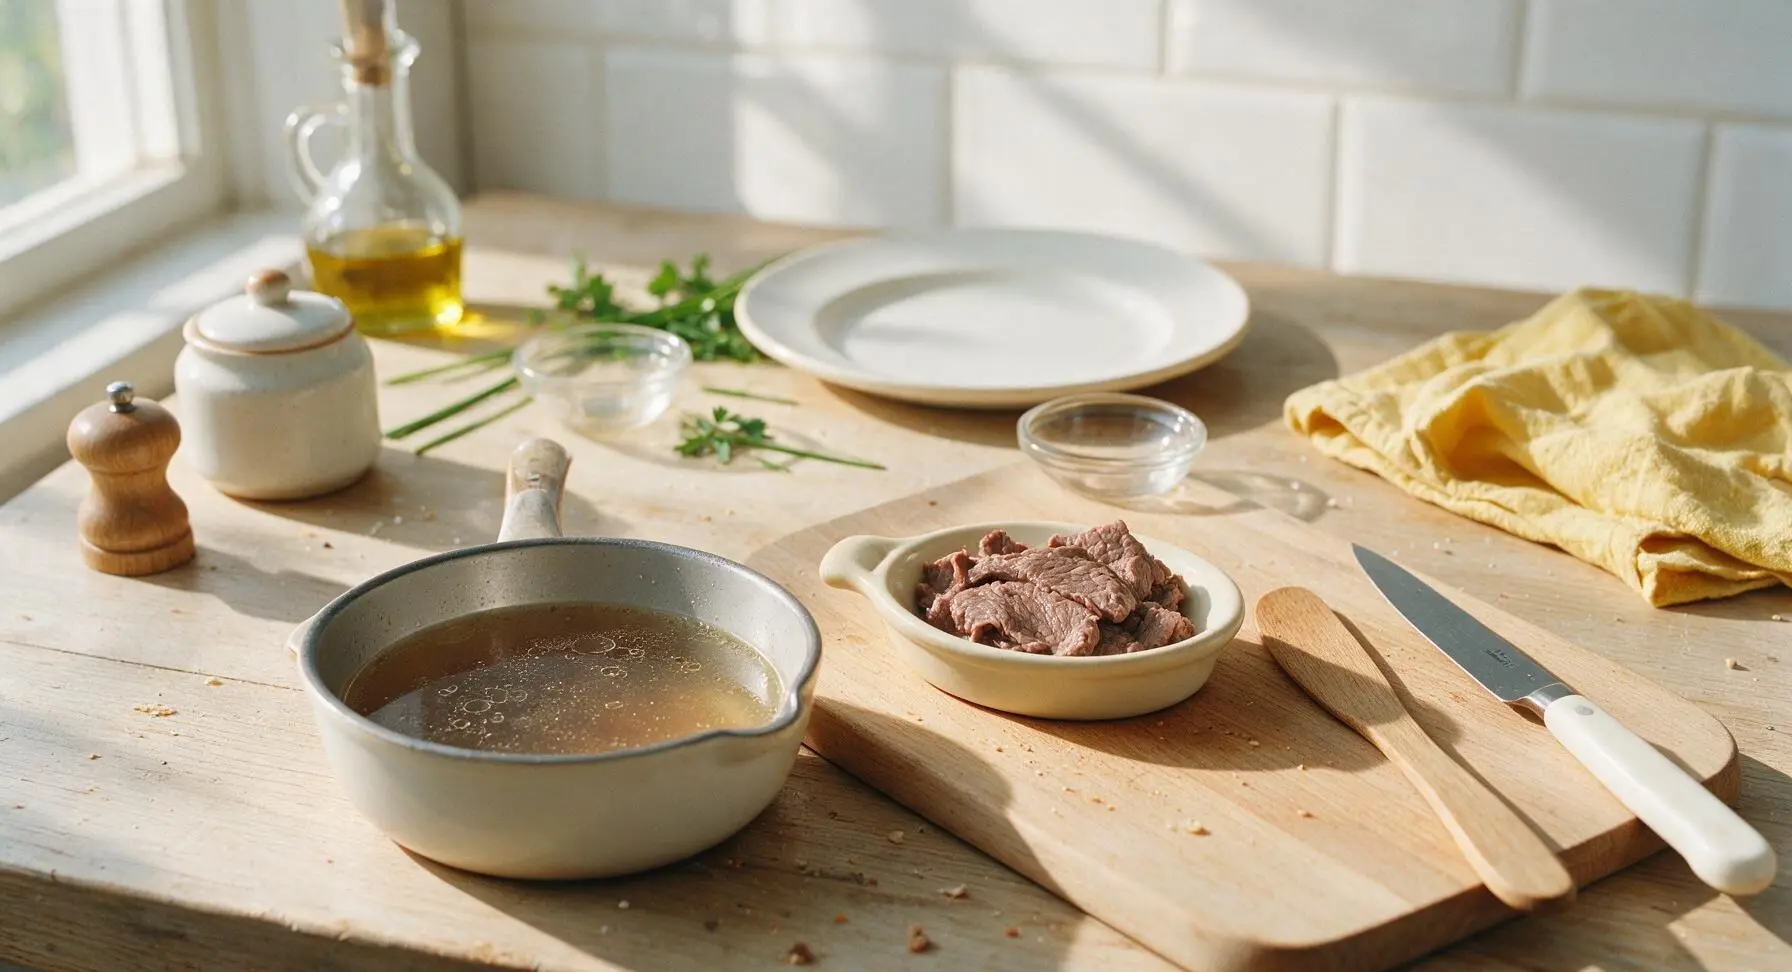
Place the 4L matte black enamel stock pot on the center induction burner over medium heat. Pour in 1L of dashi stock and bring to a gentle, shivering simmer (85C/185F, small bubbles just breaking the surface – do not boil rapidly, as this clouds the broth). Add soy sauce, mirin, granulated sugar, and sliced scallion whites, stirring gently with the bamboo chopsticks until the sugar fully dissolves, about 2 minutes. Use the fine-mesh skimmer to remove any small pale foam bubbles that rise to the surface for a clear broth.
Cook and reserve beef
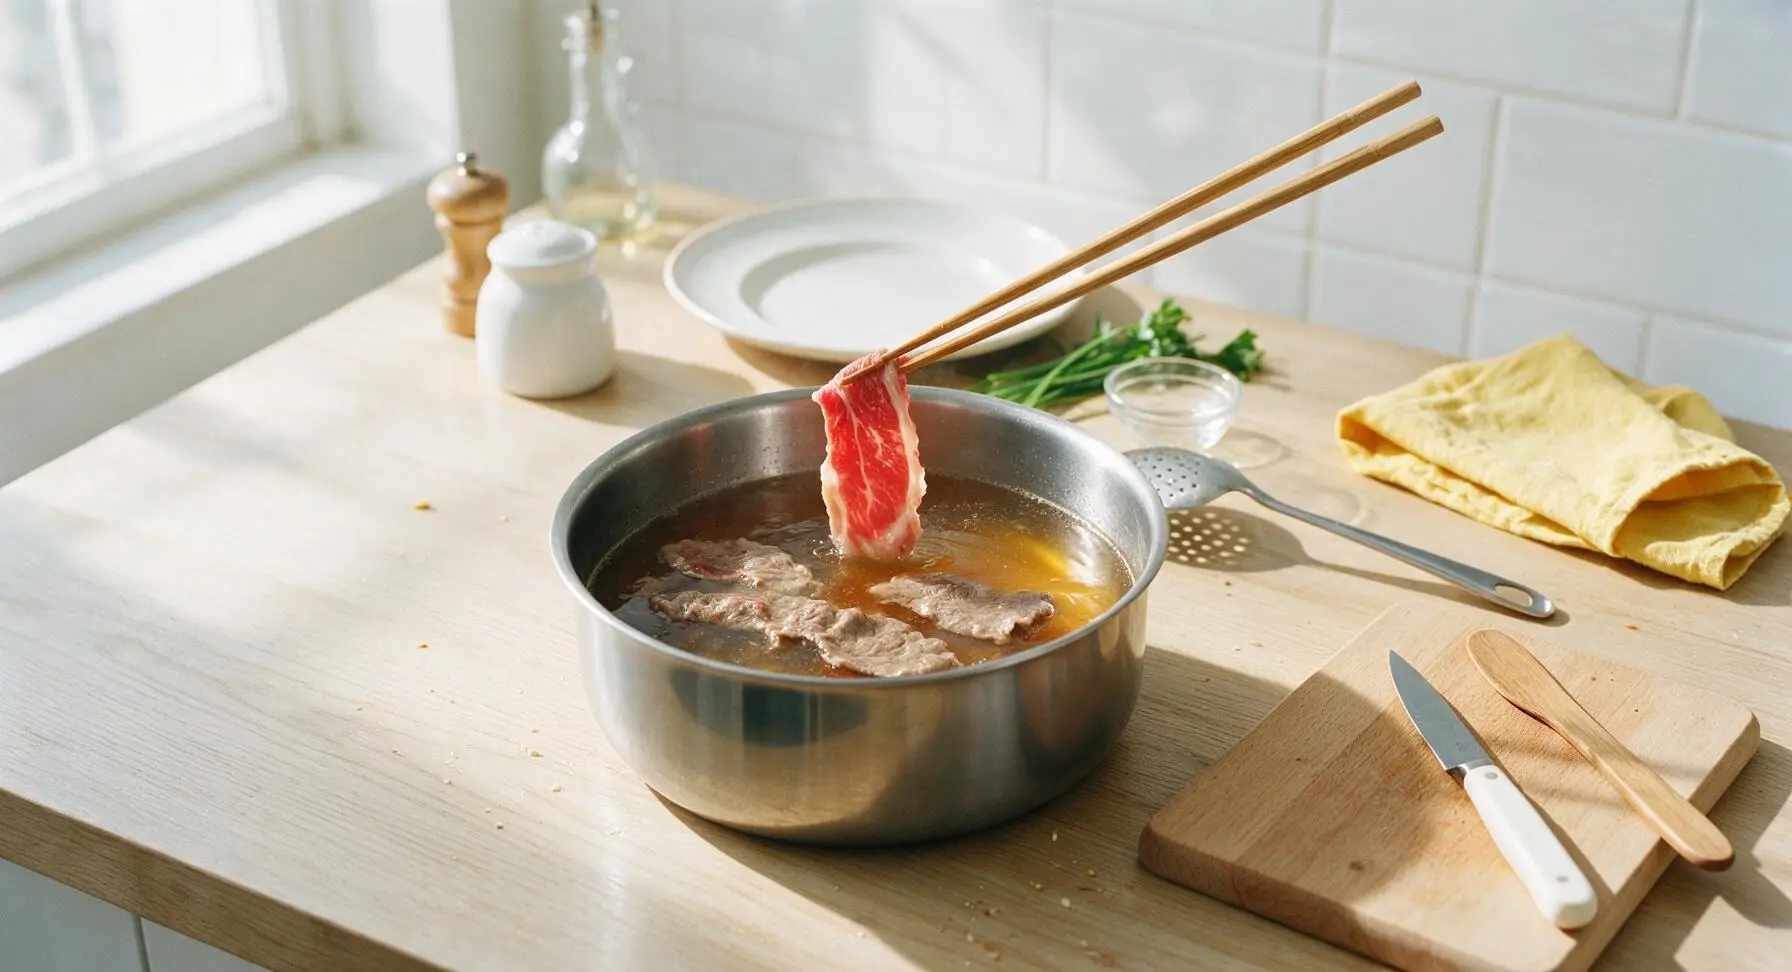
Once the broth reaches a steady gentle simmer, add the thinly sliced beef one slice at a time, using the bamboo chopsticks to separate slices as they cook to avoid clumping. Simmer the beef for exactly 3 minutes, until all slices are no longer pink, tender, and just cooked through. Skim any grey protein foam that rises from the beef, then use the skimmer to lift all cooked beef slices out of the broth and transfer them to the small cream condiment dish to rest. Taste the broth and add a pinch of kosher salt if needed to balance flavors.
Cook udon noodles
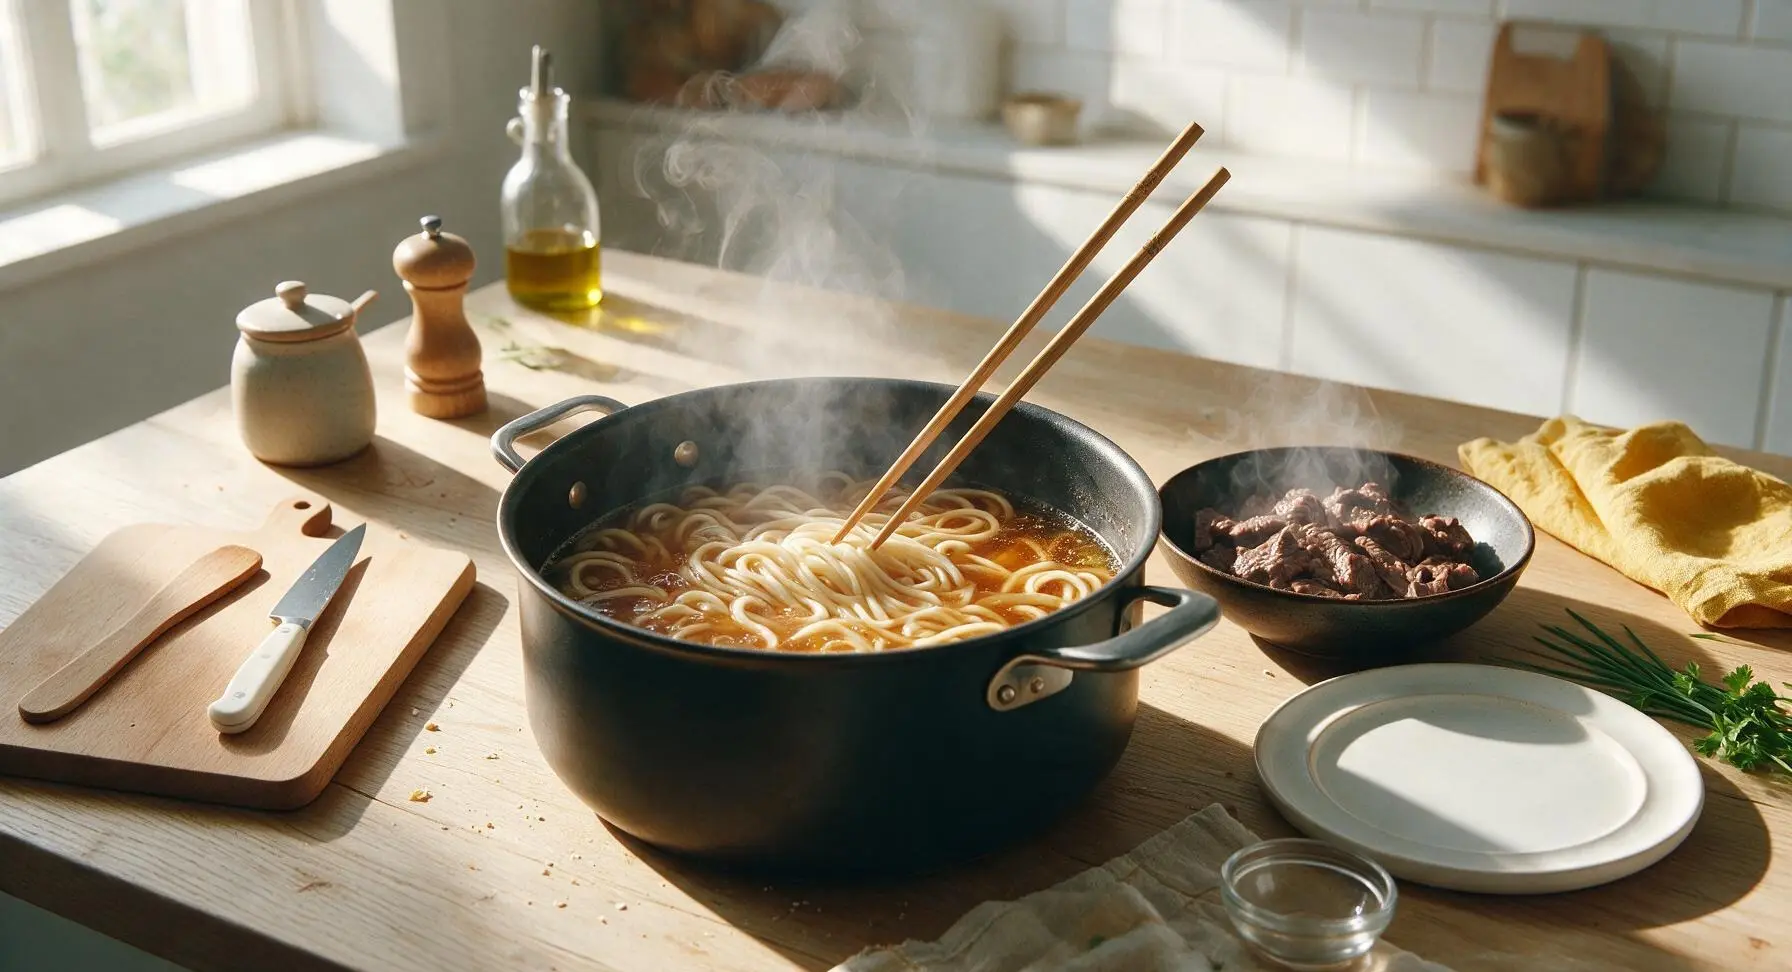
Bring the seasoned dashi broth back to a gentle simmer, then add the loosened fresh udon noodles to the pot. Use the long bamboo chopsticks to gently stir and separate noodle strands as they cook, preventing stuck clumps. Cook fresh udon for 2-3 minutes (cook frozen udon for 4 minutes, if substituting) until noodles are chewy and tender, with no hard starchy white core when you bite into a test strand. Do not overcook, as udon will turn mushy if left in simmering broth too long.
Portion noodles and broth
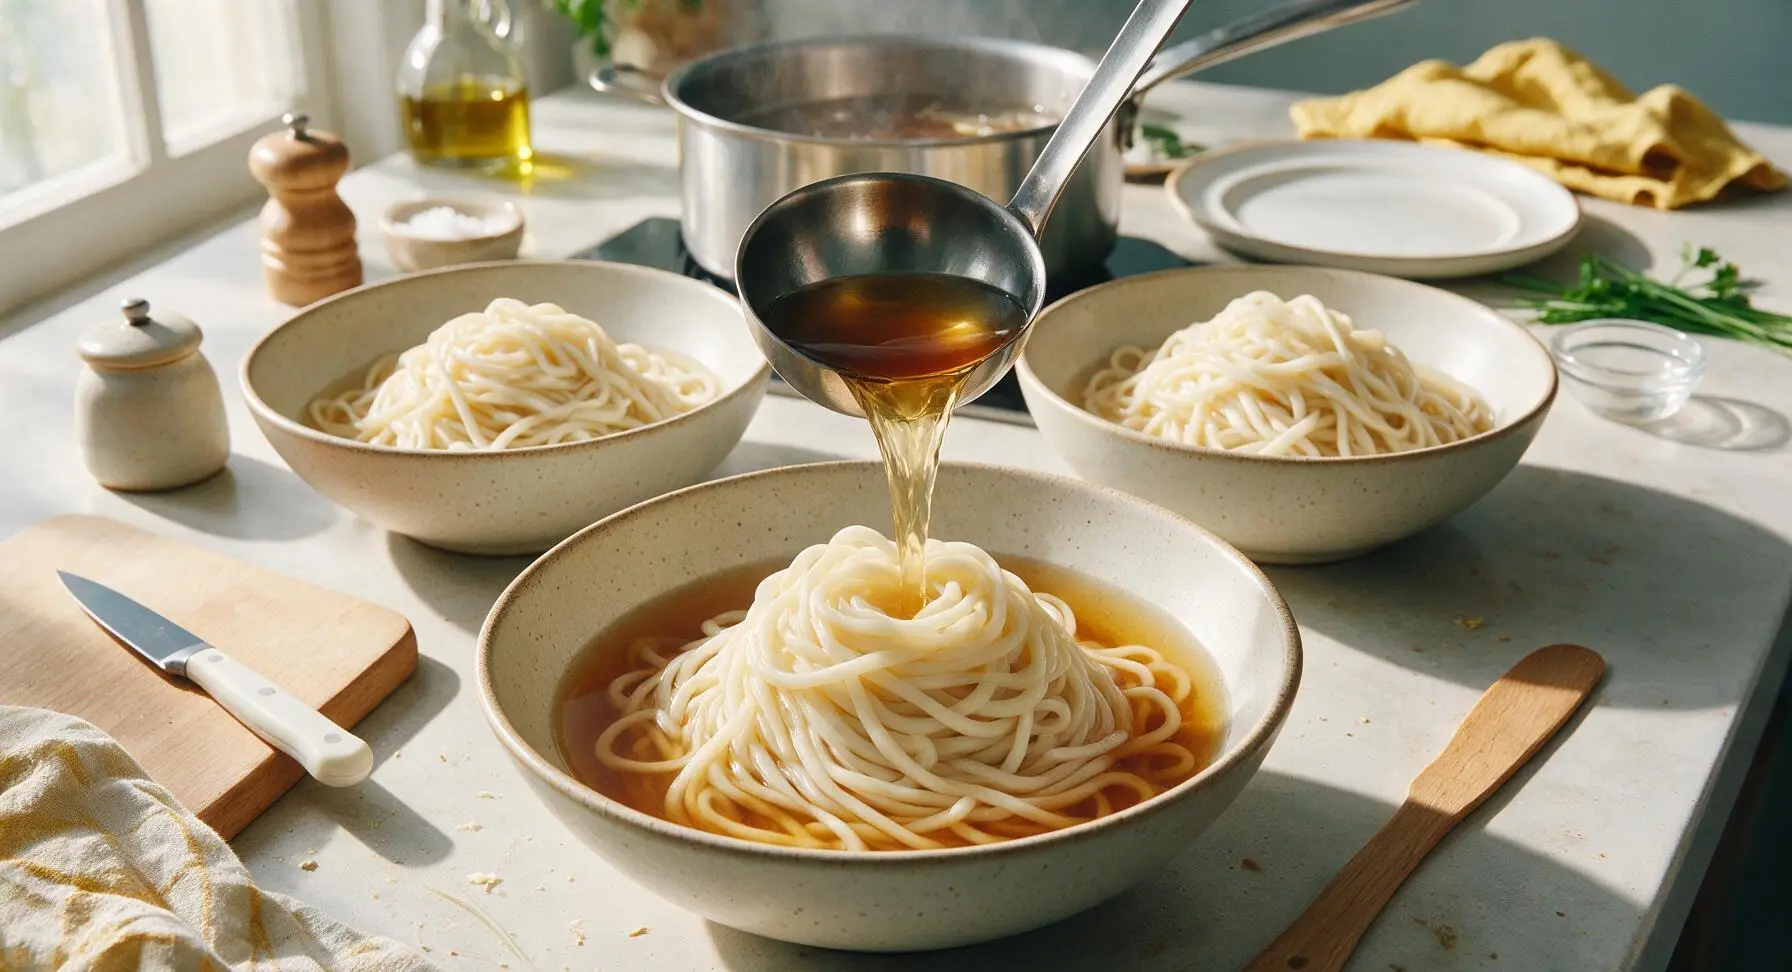
Once noodles are fully cooked, use the stainless steel ladle and bamboo chopsticks to divide noodles evenly between 4 deep cream ceramic noodle bowls, curling noodles into a loose tall mound in the center of each bowl. Ladle 180ml (3/4 cup) of hot dashi broth over the noodles in each bowl, so broth comes 3/4 of the way up the noodle mound, leaving the top of the noodles exposed for toppings.
Arrange beef toppings
Divide the reserved cooked beef slices evenly between the bowls, fanning thin slices gently over the left half of each noodle mound so slices overlap slightly. Position the beef so half of each slice sits above the broth line, showcasing its tender glistening texture rather than fully submerging it.
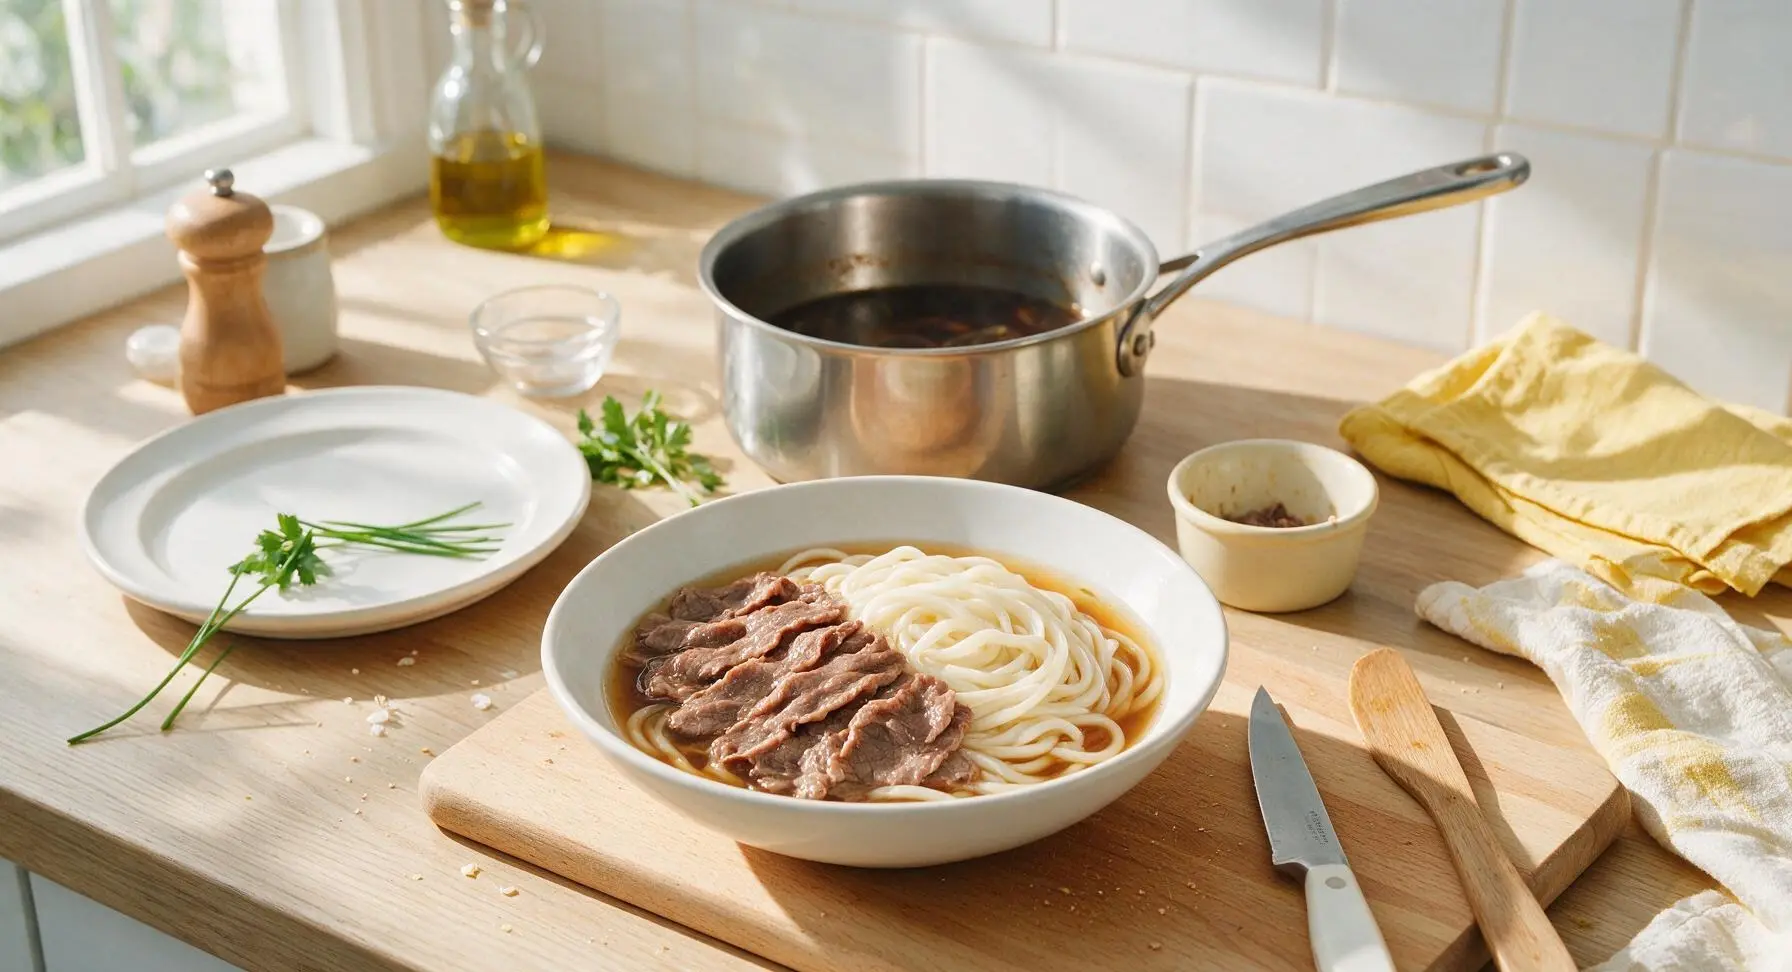
Add fresh garnishes
Top each bowl with a small 1-tbsp mound of sliced scallion greens, a 1/4 tsp pinch of grated fresh ginger, and one slice of narutomaki (if using), positioned so the narutomaki’s pink spiral pattern faces upward. Do not stir garnishes into the broth, so they stay bright and fresh on the surface.
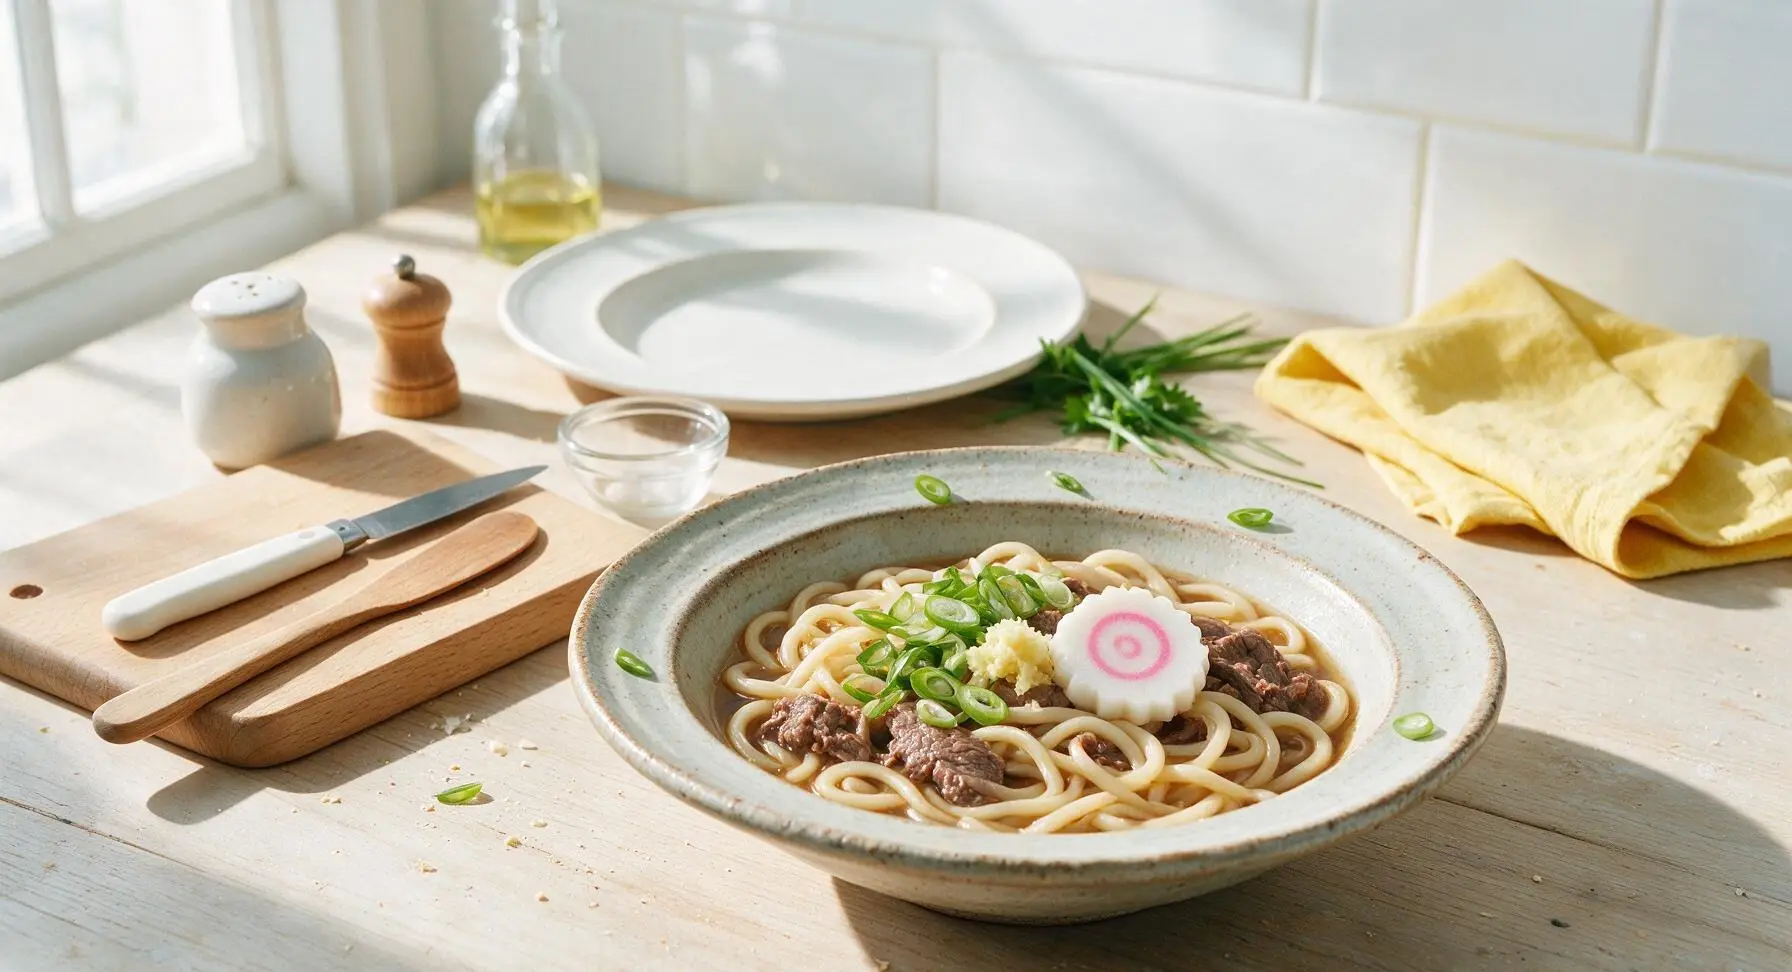
Serve hot immediately
Let the bowls rest for 30 seconds so the hot broth gently warms the beef and garnishes, then serve immediately while noodles are chewy and broth is piping hot. Offer extra soy sauce and shichimi togarashi on the side for guests to adjust seasoning to their taste.
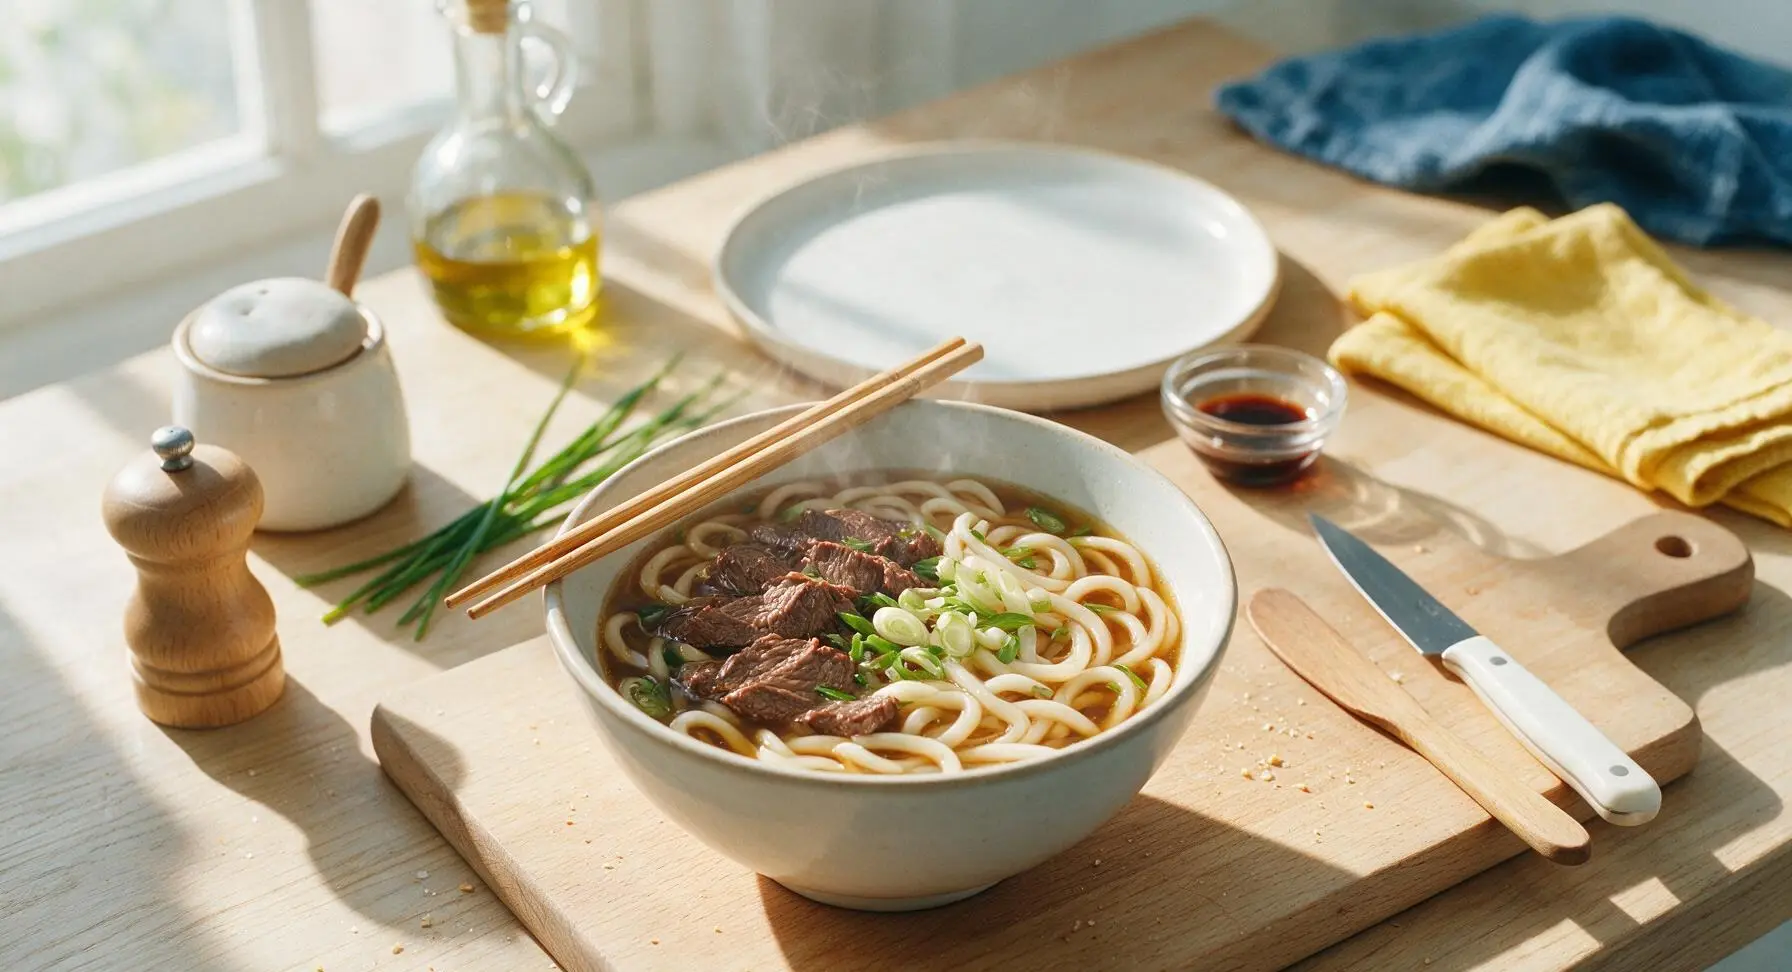
Tips
2.Never let dashi broth come to a rolling boil: high heat breaks down the umami compounds in kelp and bonito, creating a bitter, cloudy broth instead of the clean, savory, clear broth that defines good udon.
3.Loosen packaged udon noodles before adding them to the pot: fresh and frozen udon are pressed into tight blocks during packaging, so gently pulling strands apart first prevents dense, starchy uncooked clumps in the finished bowl.






OMG this was perfect for our busy weeknight dinner! 20 minutes flat, even with my 7 year old hanging on my leg asking for snacks. The beef was so tender and the broth had that perfect umami kick, my kids devoured it and asked for seconds. Already added the ingredients to my weekly grocery rotation!
Game changer for my dorm cooking! I don’t have a fancy stove, just a little hot plate, and this came together so easily. Way cheaper than ordering takeout udon from the place down the street, and tastes just as good if not better. Only thing I swapped was green onion for chives because that’s all the corner store had.
Wait, is there a way to make this gluten free? I have celiac and have been craving niku udon so bad but regular udon noodles and soy sauce are a no-go for me. Would tamari work as a 1:1 swap here?
Made this for my teen’s soccer team potluck last weekend and it was a HIT. I tripled the recipe, kept it warm in a big slow cooker, and every last bite was gone. Parents were asking me for the recipe left and right. So easy to scale up for a crowd!
SO good! I added a little extra ginger because I’m obsessed with that zing, and topped mine with a soft boiled egg like I get at my local udon shop. Tastes exactly like restaurant quality for a fraction of the price.
How well does this hold up for meal prep? I usually make my lunches for the week on Sundays and was wondering if the noodles get mushy if I store them in the broth for 3-4 days?
My granddaughter has been begging me to make udon like we had on our trip to Japan last year, and this recipe did not disappoint! It was simple enough for me to follow even though I don’t make a lot of Asian dishes at home, and she said it tasted just like the little shop we went to in Tokyo. Brought a tear to my eye, honestly.
Wait, I don’t have mirin at home — is there a substitute I can use? I really don’t want to run to the store just for one ingredient, I already have the beef and noodles and everything else.
Y’all, I added a tablespoon of chili crisp to my bowl and this is next level. 10/10, will be making this every single cold night from now on. The savory sweet beef pairs so perfectly with that little heat kick.
Okay this is the first recipe I’ve ever made that didn’t turn out a total disaster! I’m 22 and just moved out of my parents’ house, I can barely boil pasta without messing it up, and this was so straightforward. Even my roommate said it was amazing. I feel like a real adult now lmao
Would this work for car camping? I’m trying to plan easy, filling meals for our trip next weekend, and this seems like it would be so satisfying after a long day on the trail.
I made this last night for date night and my partner thought I ordered takeout! They kept saying how impressed they were, little do they know it took me less than 20 minutes and I didn’t even prep anything ahead. Total win for low-effort date nights.
How much does this roughly cost per serving? I’m on a super tight grocery budget right now and this looks amazing, but I’m trying to stick to $3 or less per serving for my meals.
Wait, can I use leftover steak for this instead of the thinly sliced raw beef? I have a ton of leftover ribeye from last night’s dinner and I don’t want it to go to waste.
Broth is so rich and flavorful, I couldn’t stop slurping it. I was worried the beef would be bland because it cooks so fast, but the simmer in that sweet soy sauce mix gives it so much depth. 10/10, way better than the instant udon I’ve been surviving on since college.
I added a handful of baby spinach and some sliced mushrooms to the broth while it simmered, and it was so good! It added a little extra veggie boost without taking away from that classic niku udon flavor. Definitely recommend tossing in whatever veggies you have lying around in the fridge.
Made this when it was 20 degrees outside last week and it warmed me right down to my bones. It’s so cozy, I swear it’s better than chicken noodle soup when you’re feeling under the weather. I’ve already made it twice this month.
Brought this to my office potluck today and people were going back for thirds! I set out little toppings on the side: extra green onion, chili oil, sesame seeds, soft boiled egg slices, so people could customize their bowls. It was such a fun, interactive dish and everyone was raving. Will absolutely be making this for the next work event.