
belgian yeast waffles
intro
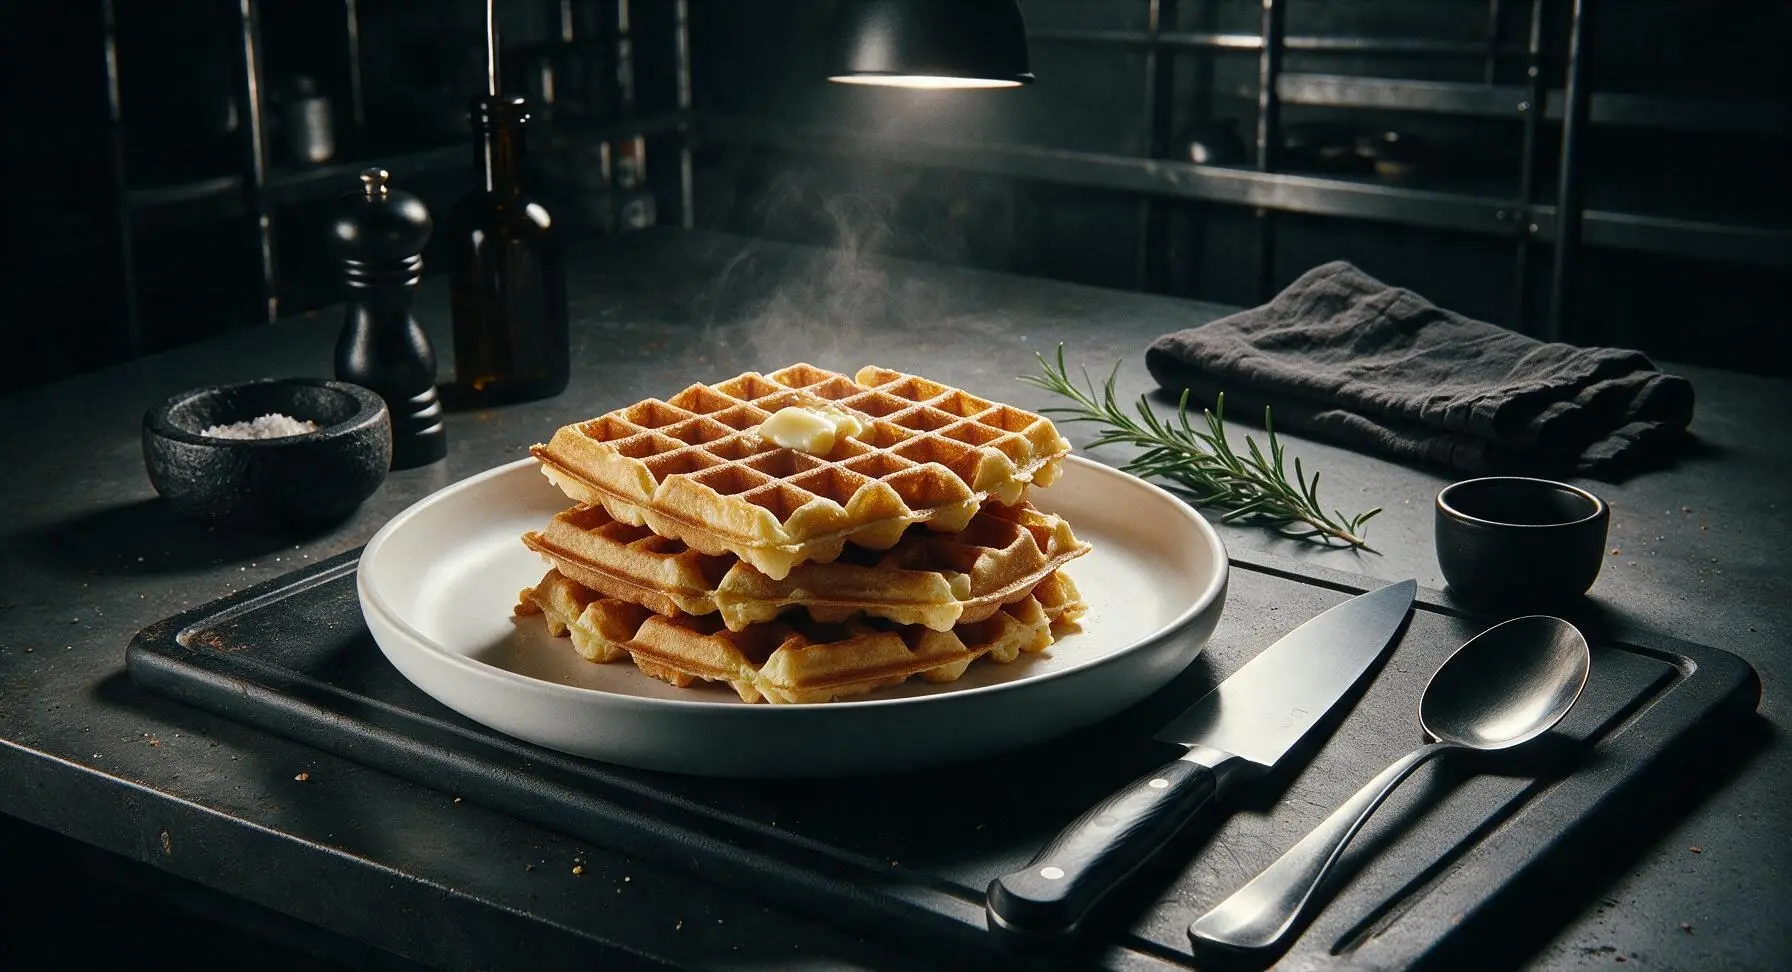
Crisp, golden deep-pocketed yeast-raised waffles, light and fluffy inside, perfect for topping with butter, maple syrup, and fresh fruit for slow, cozy weekend mornings.
Ingredients
Steps
Activate Dry Yeast
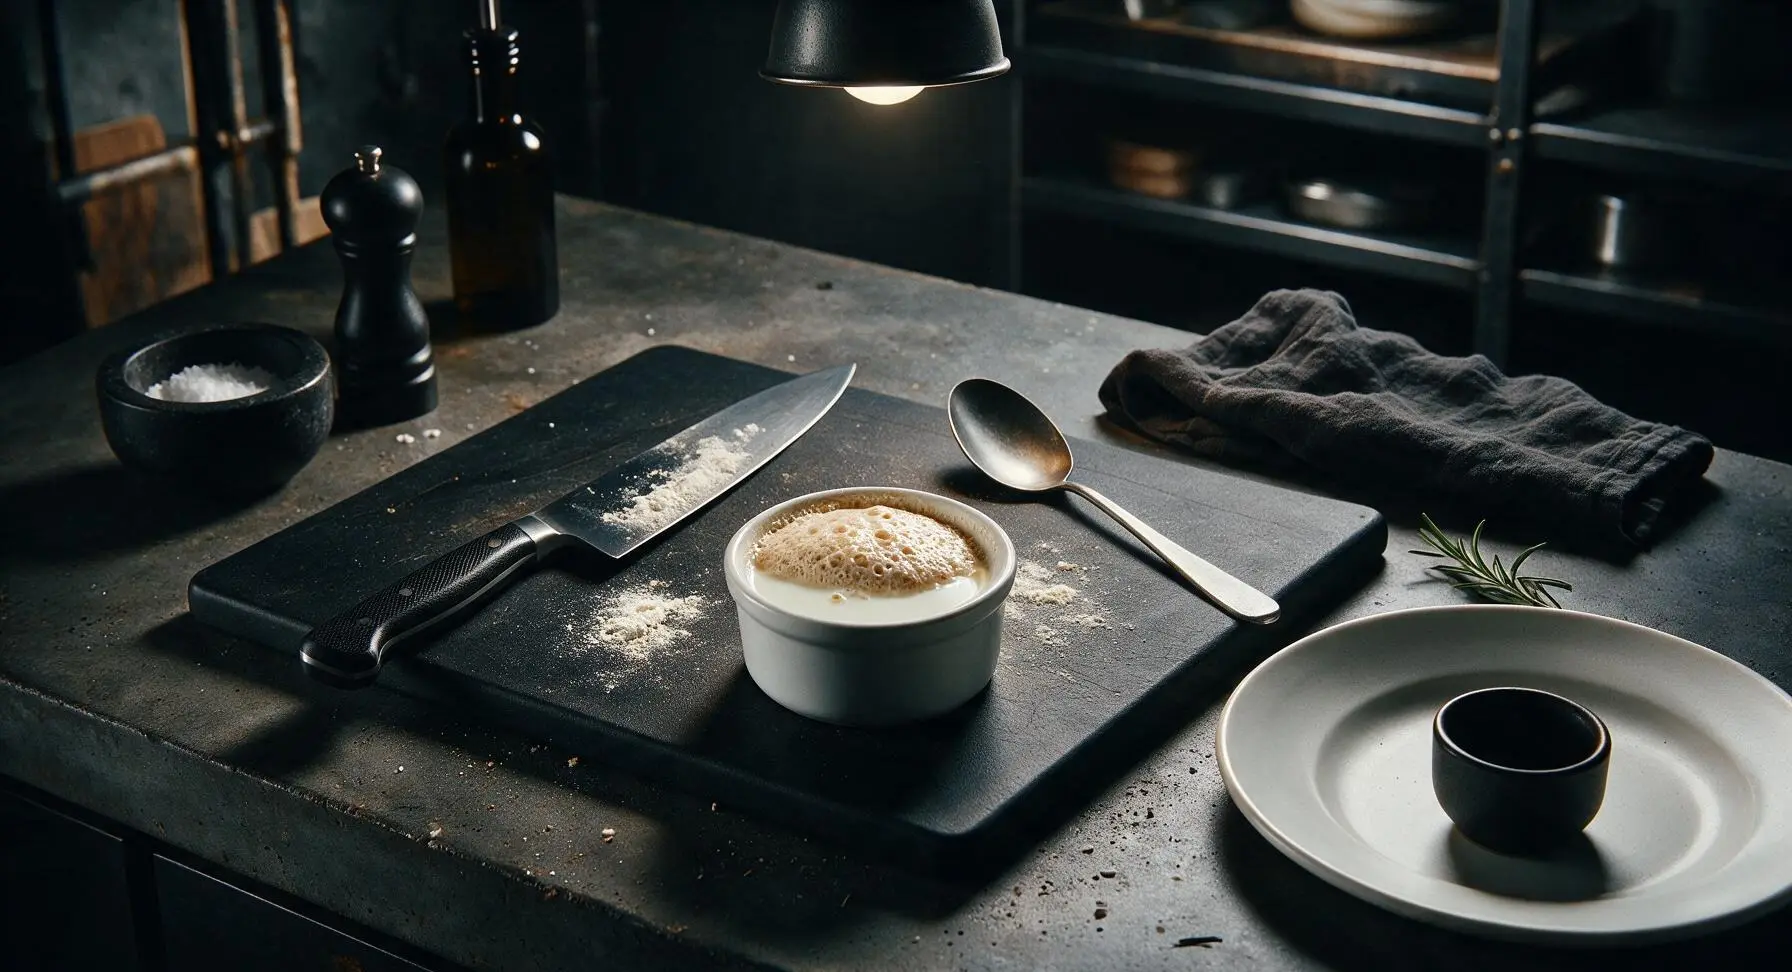
Pour the warmed whole milk (40C/105F, no hotter, to avoid killing yeast) into the small matte white ceramic ramekin. Stir in 1 tablespoon of the granulated sugar and the full packet of active dry yeast. Let sit for 5-7 minutes, until the mixture is foamy and smells distinctly of bready yeast, confirming the yeast is active. If no foam forms after 10 minutes, the yeast is dead and should be replaced.
Combine Batter Ingredients
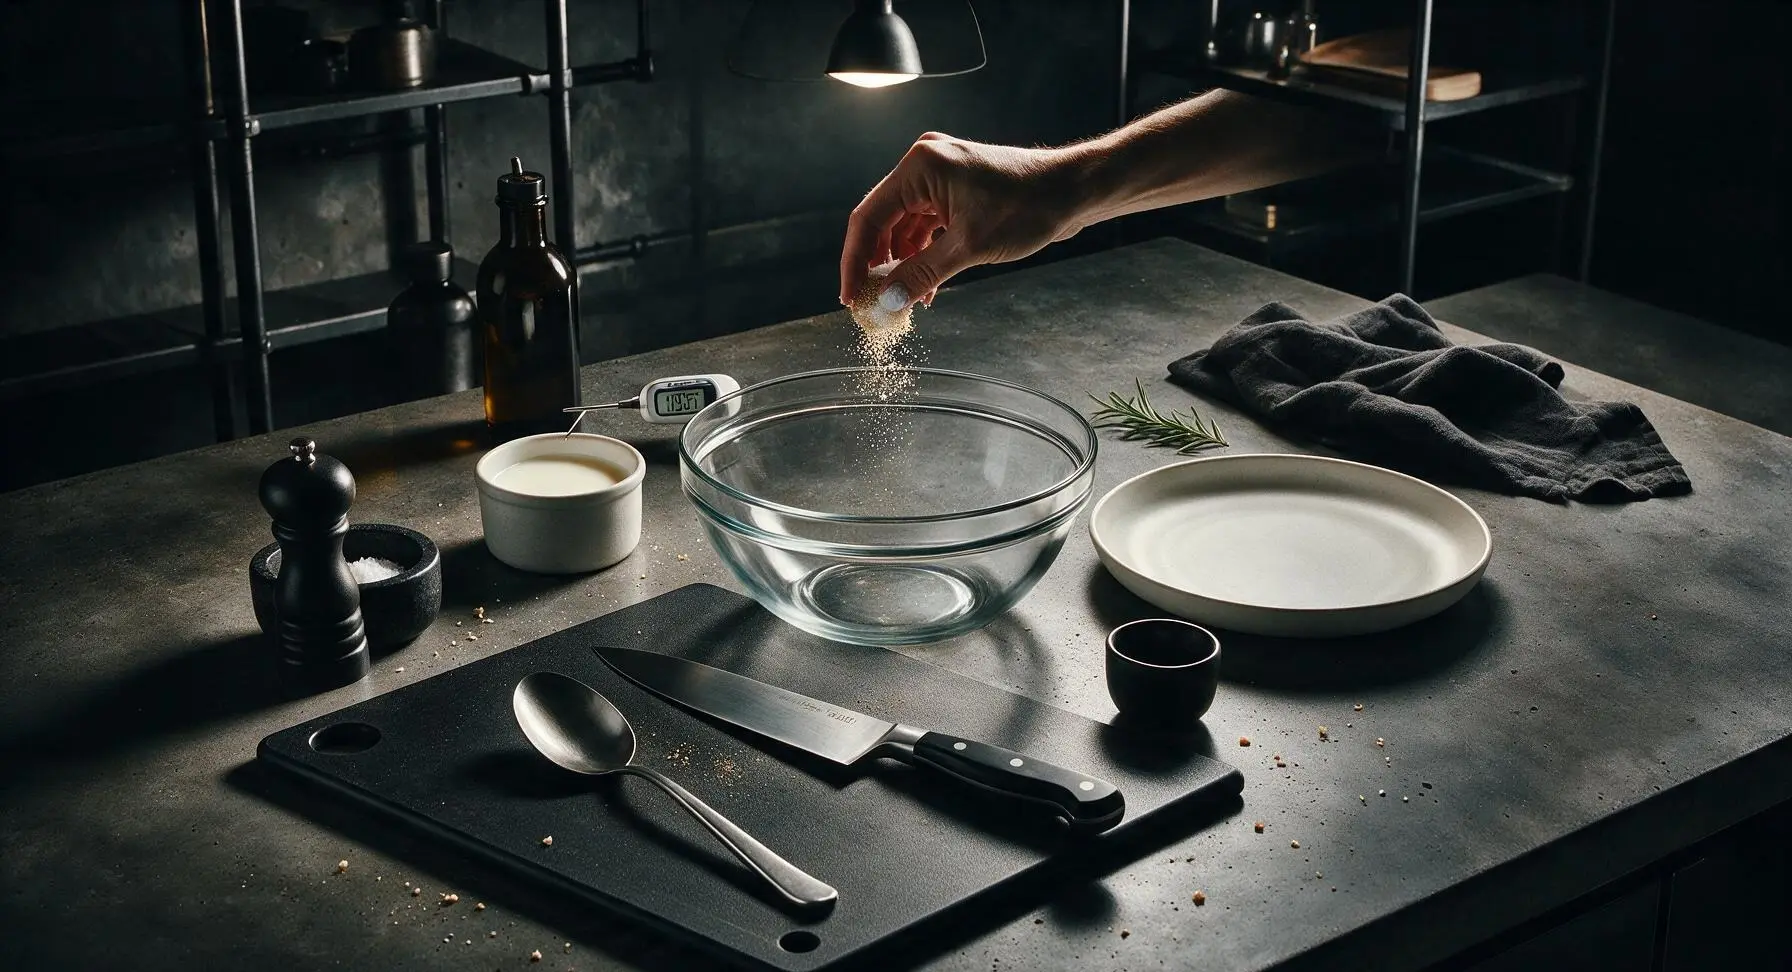
Add the spooned and leveled all-purpose flour, remaining 1 tablespoon granulated sugar, and fine sea salt to the large clear glass mixing bowl, whisking briefly with the silicone whisk to combine. Pour in the activated yeast mixture, cooled melted unsalted butter, lightly beaten room temperature eggs, and vanilla extract. Whisk gently just until no dry flour streaks remain; do not overmix, as a few small lumps in the batter are acceptable and will prevent tough waffles.
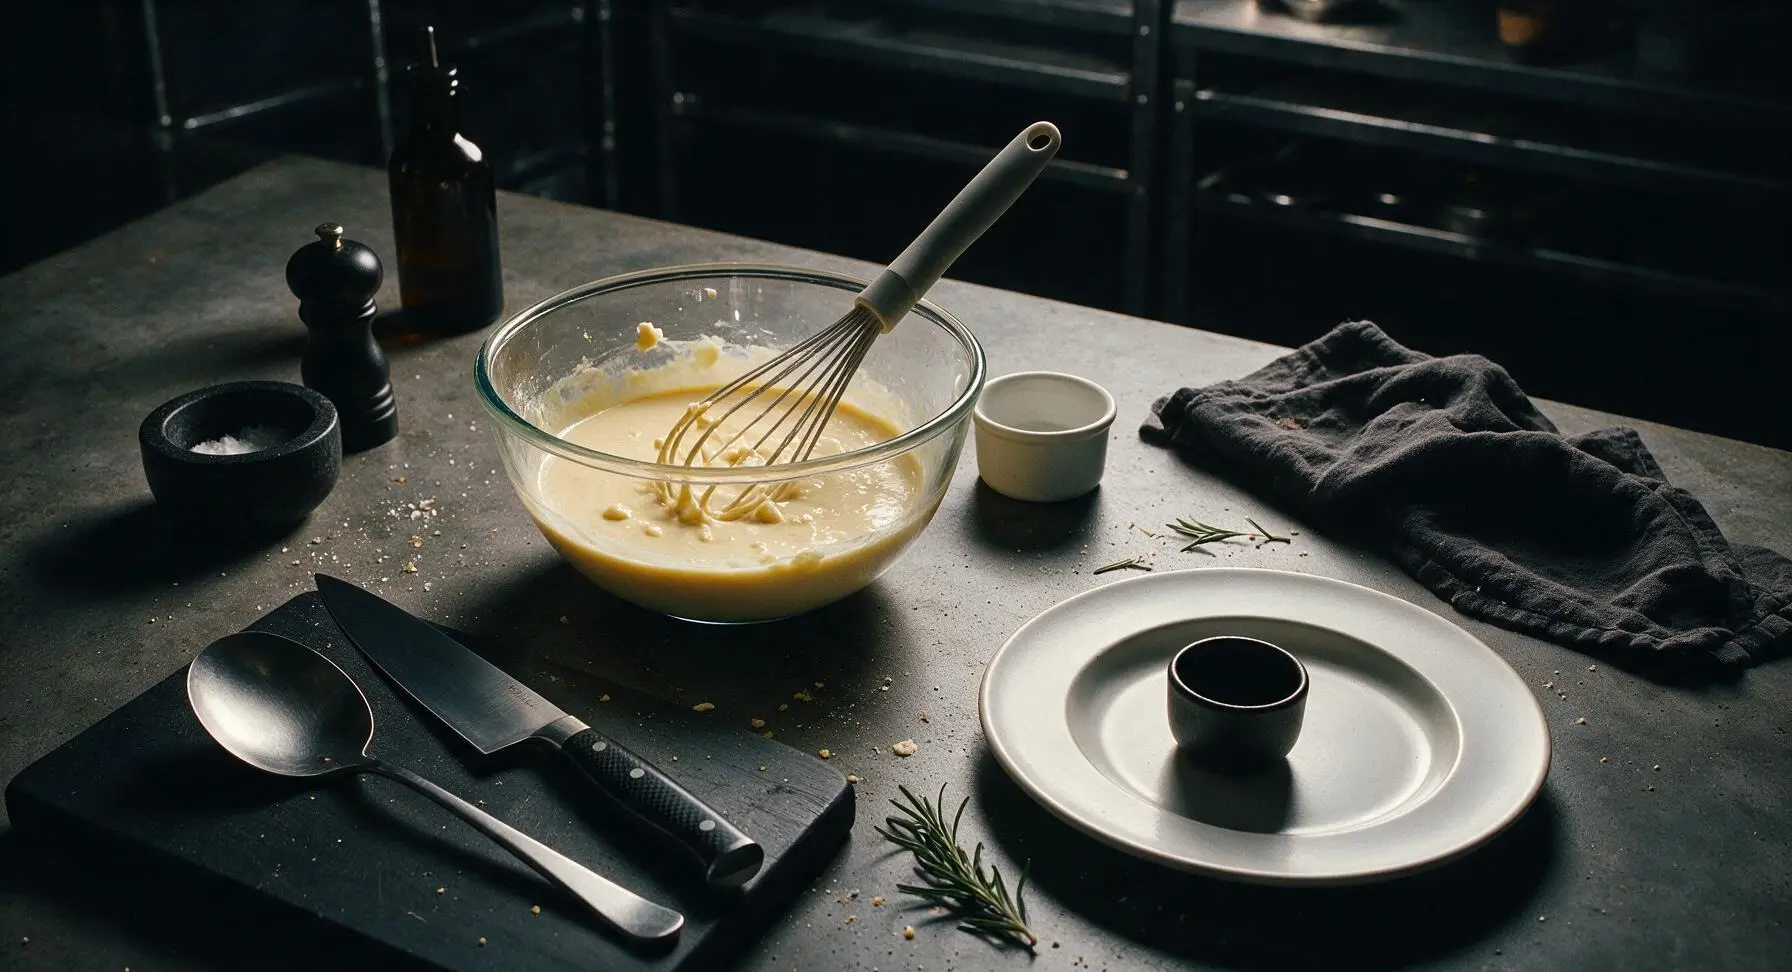
Let Batter Rise
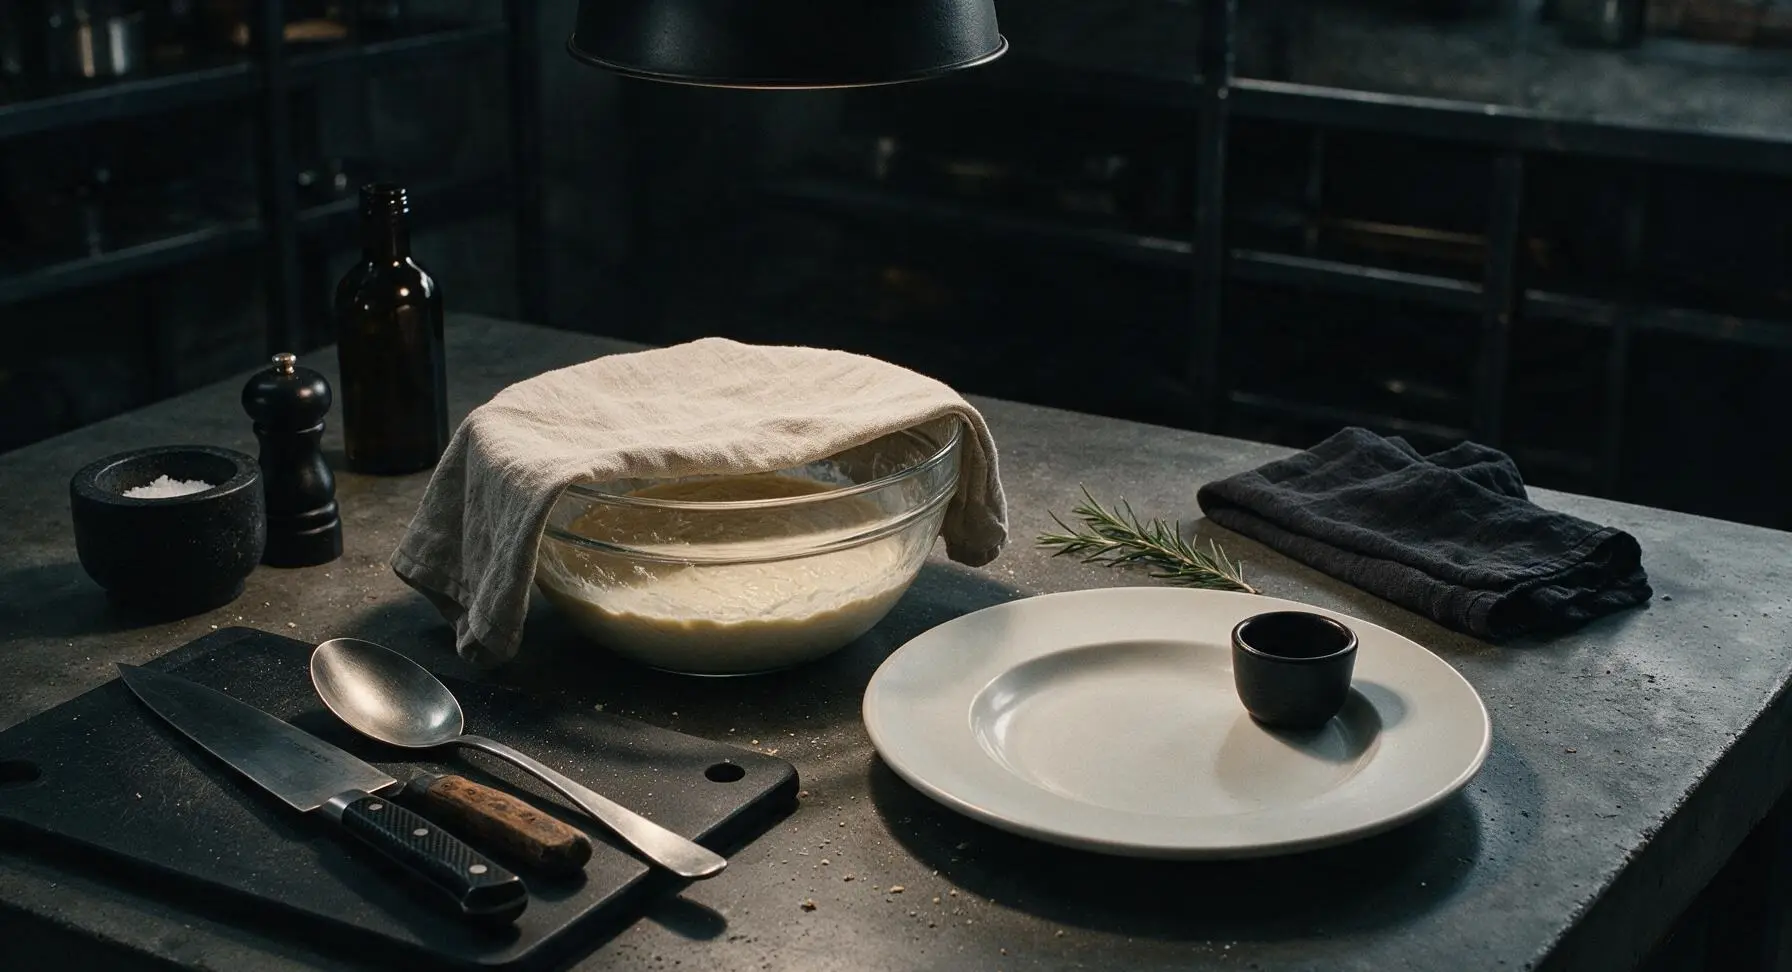
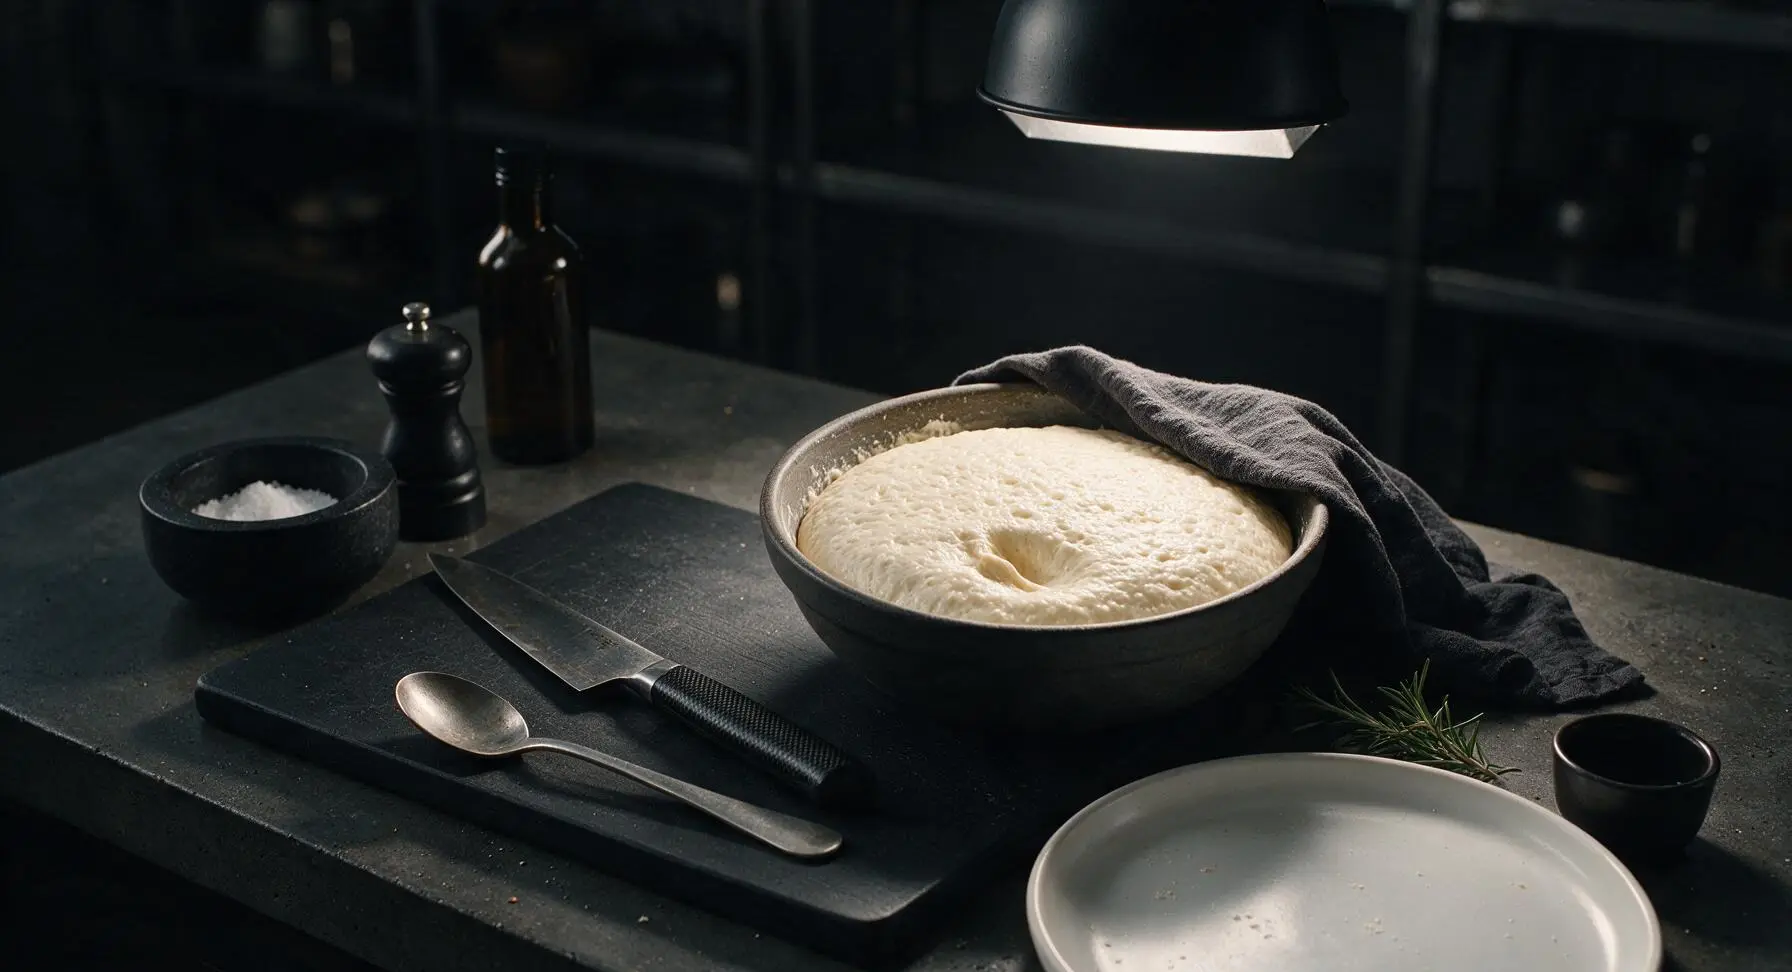
Cover the large mixing bowl tightly with the clean light beige linen towel (temporarily moved from its fixed bottom-right position) and set it in a warm, draft-free spot on the counter. Let the batter rise for 1 hour, until it has doubled in volume, looks bubbly across the surface, and leaves a slight indent when poked gently with a finger. For deeper, more complex flavor, you can refrigerate the covered batter for 8-12 hours overnight instead.
Preheat Waffle Iron
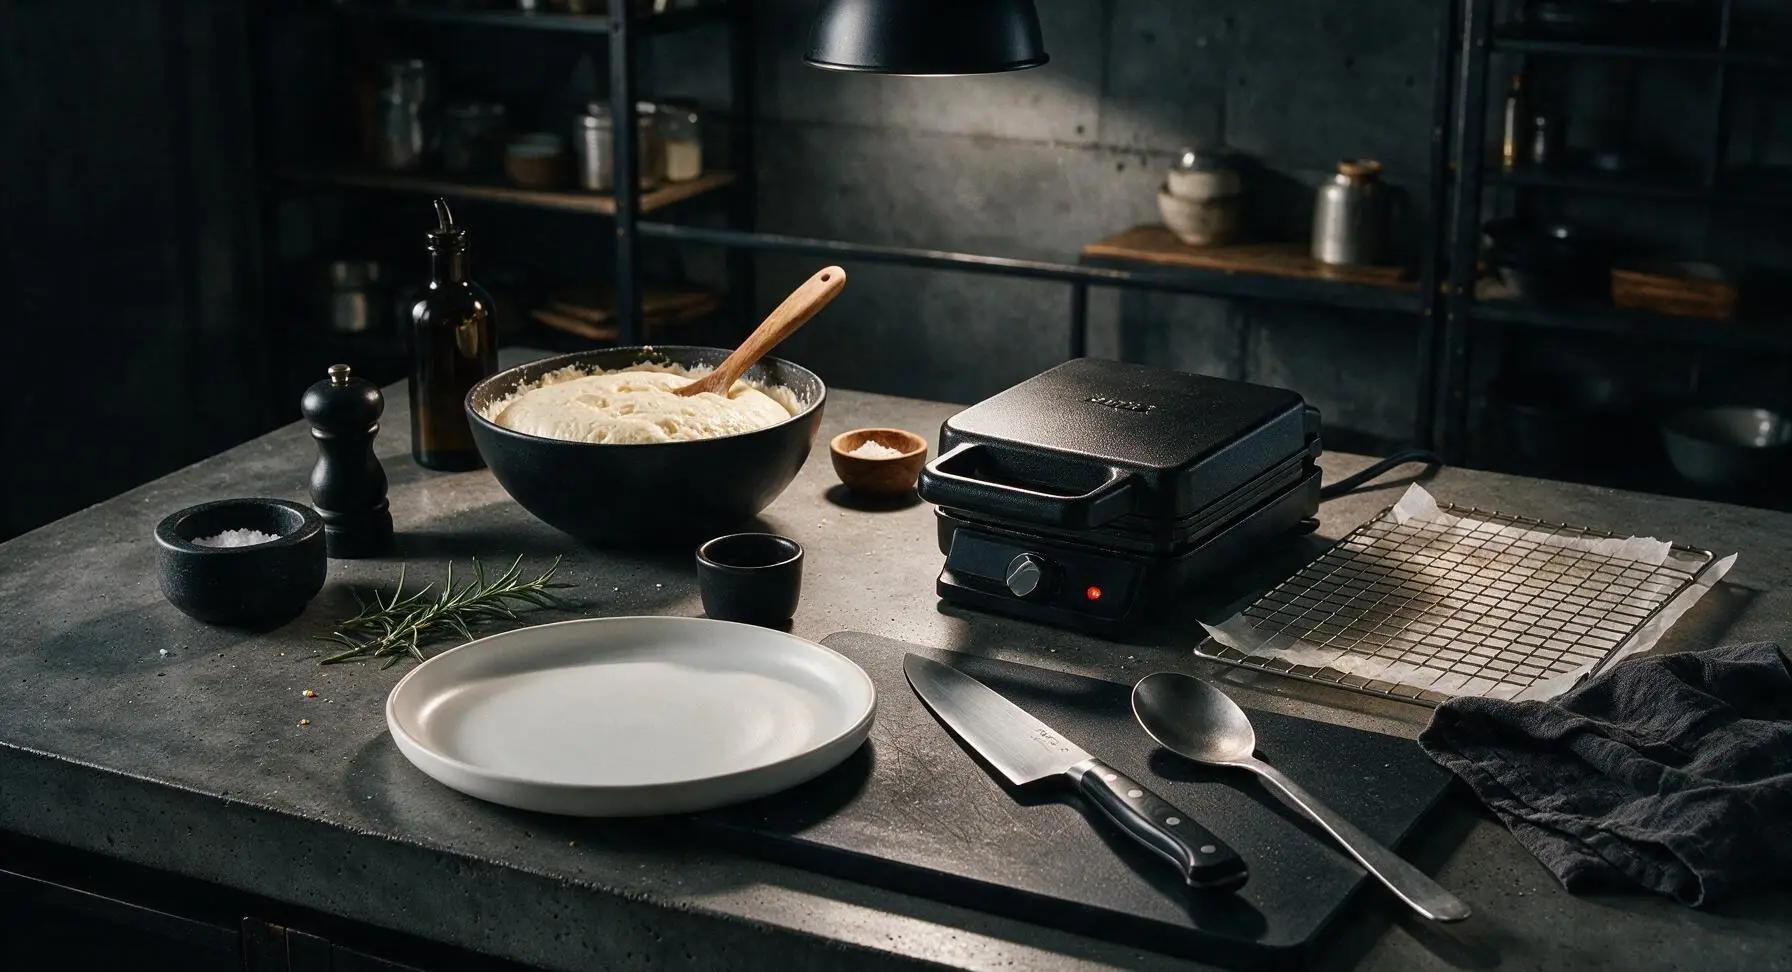
Place the matte black cast aluminum Belgian waffle maker on the center-right of the counter, plug it in, and preheat it to 190C/375F (the medium-high setting on most models). Let it heat fully for 5 minutes, until a drop of water flicked onto the grid sizzles immediately and evaporates within 2 seconds. Lightly brush the grids with a tiny amount of melted butter if your waffle maker is not reliably non-stick; avoid using cooking spray, which leaves a sticky residue over time.
Cook Crisp Waffles
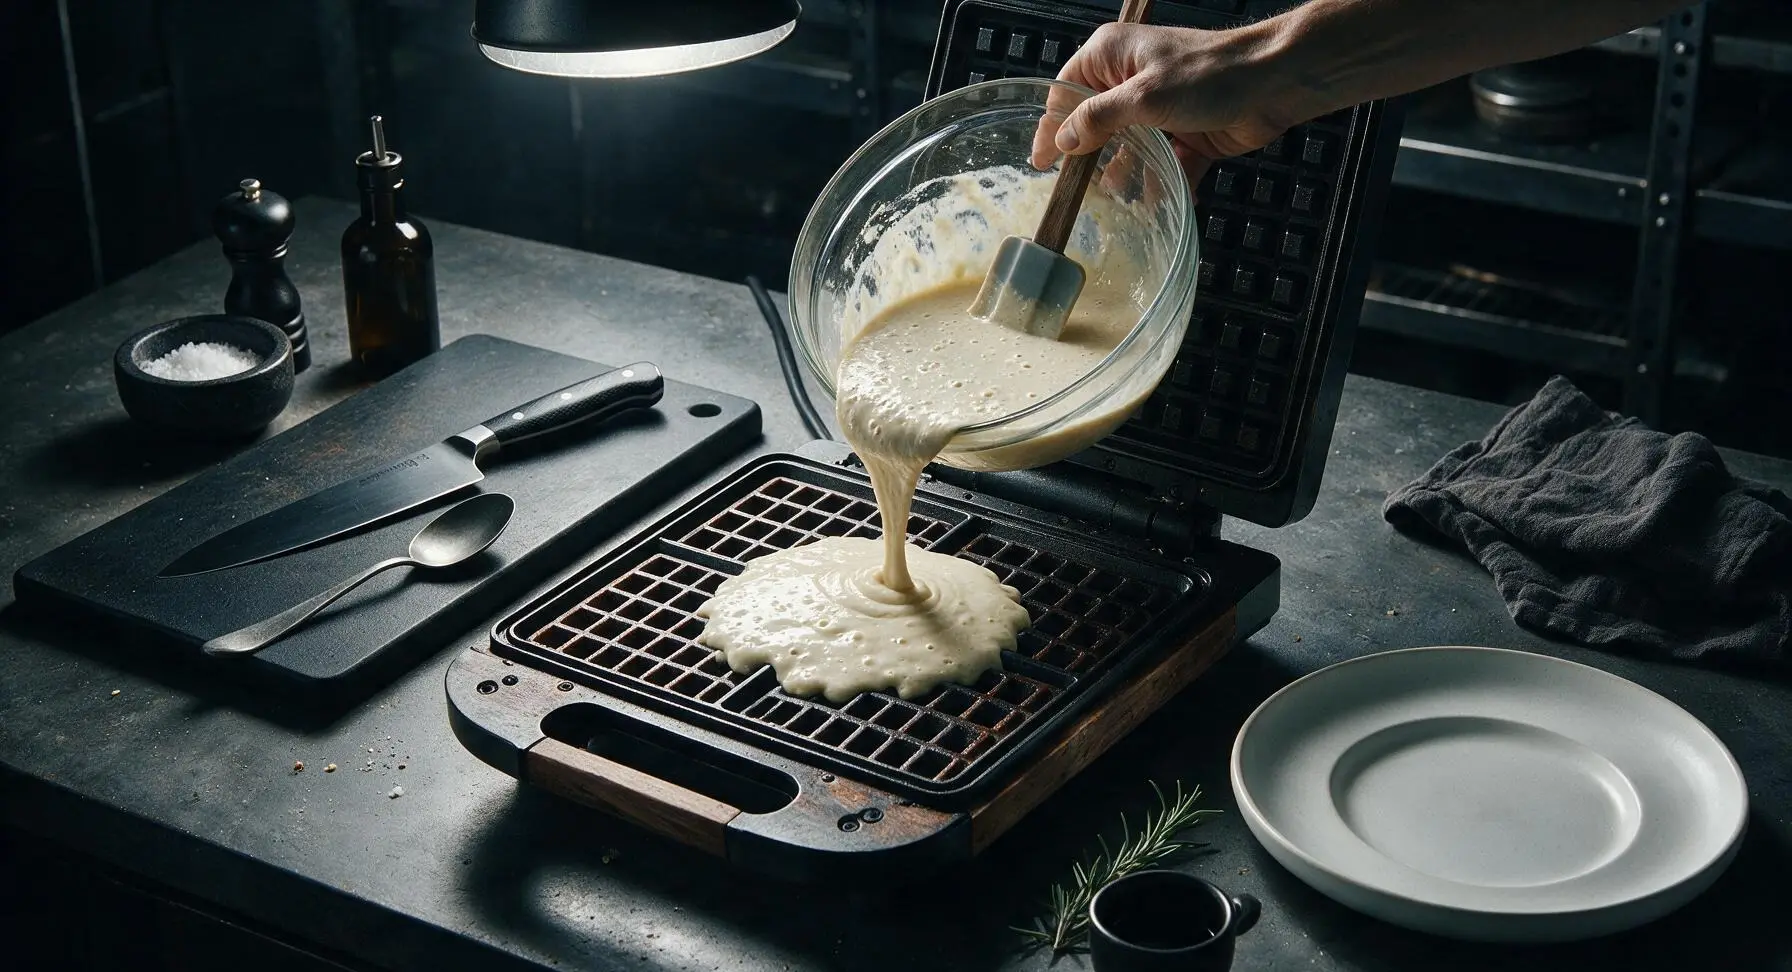
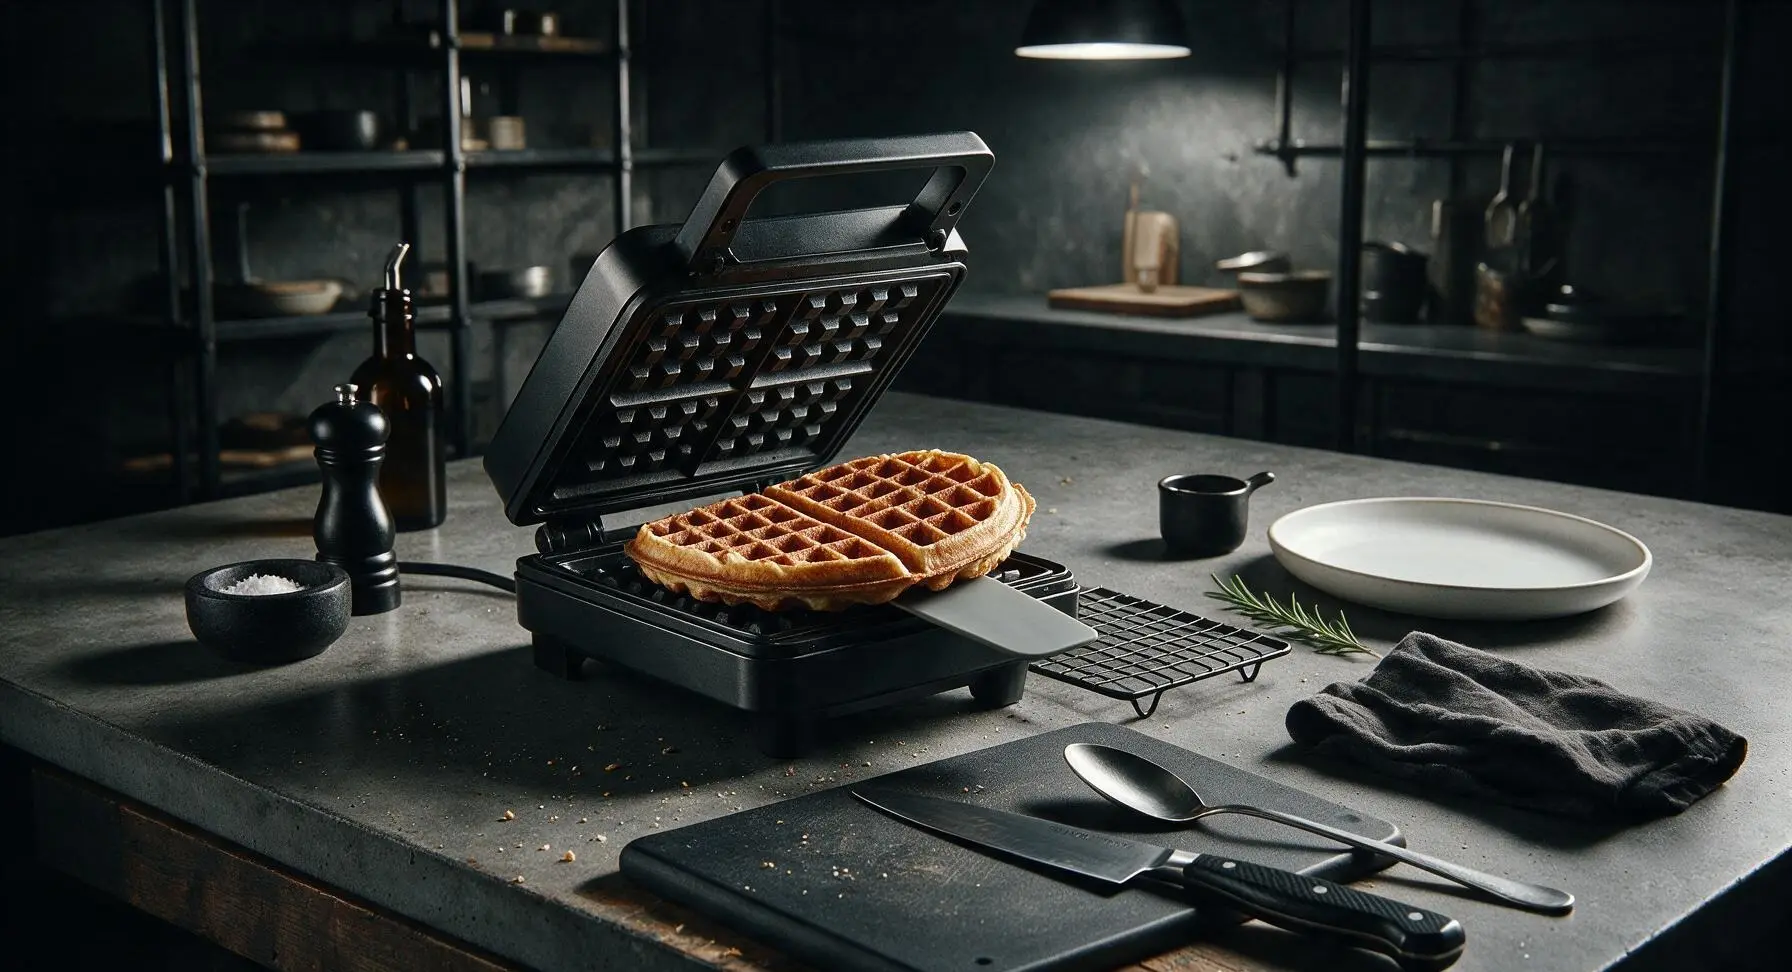
Give the risen batter a gentle stir with the silicone spatula to deflate it slightly, returning it to roughly its original pre-rise volume. Pour 120ml (1/2 cup) of batter onto the center of the preheated waffle iron grid, close the lid, and cook for 3.5 to 4 minutes, until the waffle is deep golden brown, crisp on the outside, and no steam escapes from the edges of the waffle iron. Do not open the lid for the first 3 minutes of cooking, as this will cause the waffle to split and stick.
Rest Waffles on Rack
Transfer each cooked waffle directly to the parchment-lined wire cooling rack, arranging them in a single layer rather than stacking, to keep them crisp for 5 minutes while you cook the remaining batter. Do not place waffles directly on a plate immediately after cooking, as trapped steam will make the crisp exterior turn soggy. Repeat the cooking process with the remaining batter, making 8 total waffles (2 per serving).
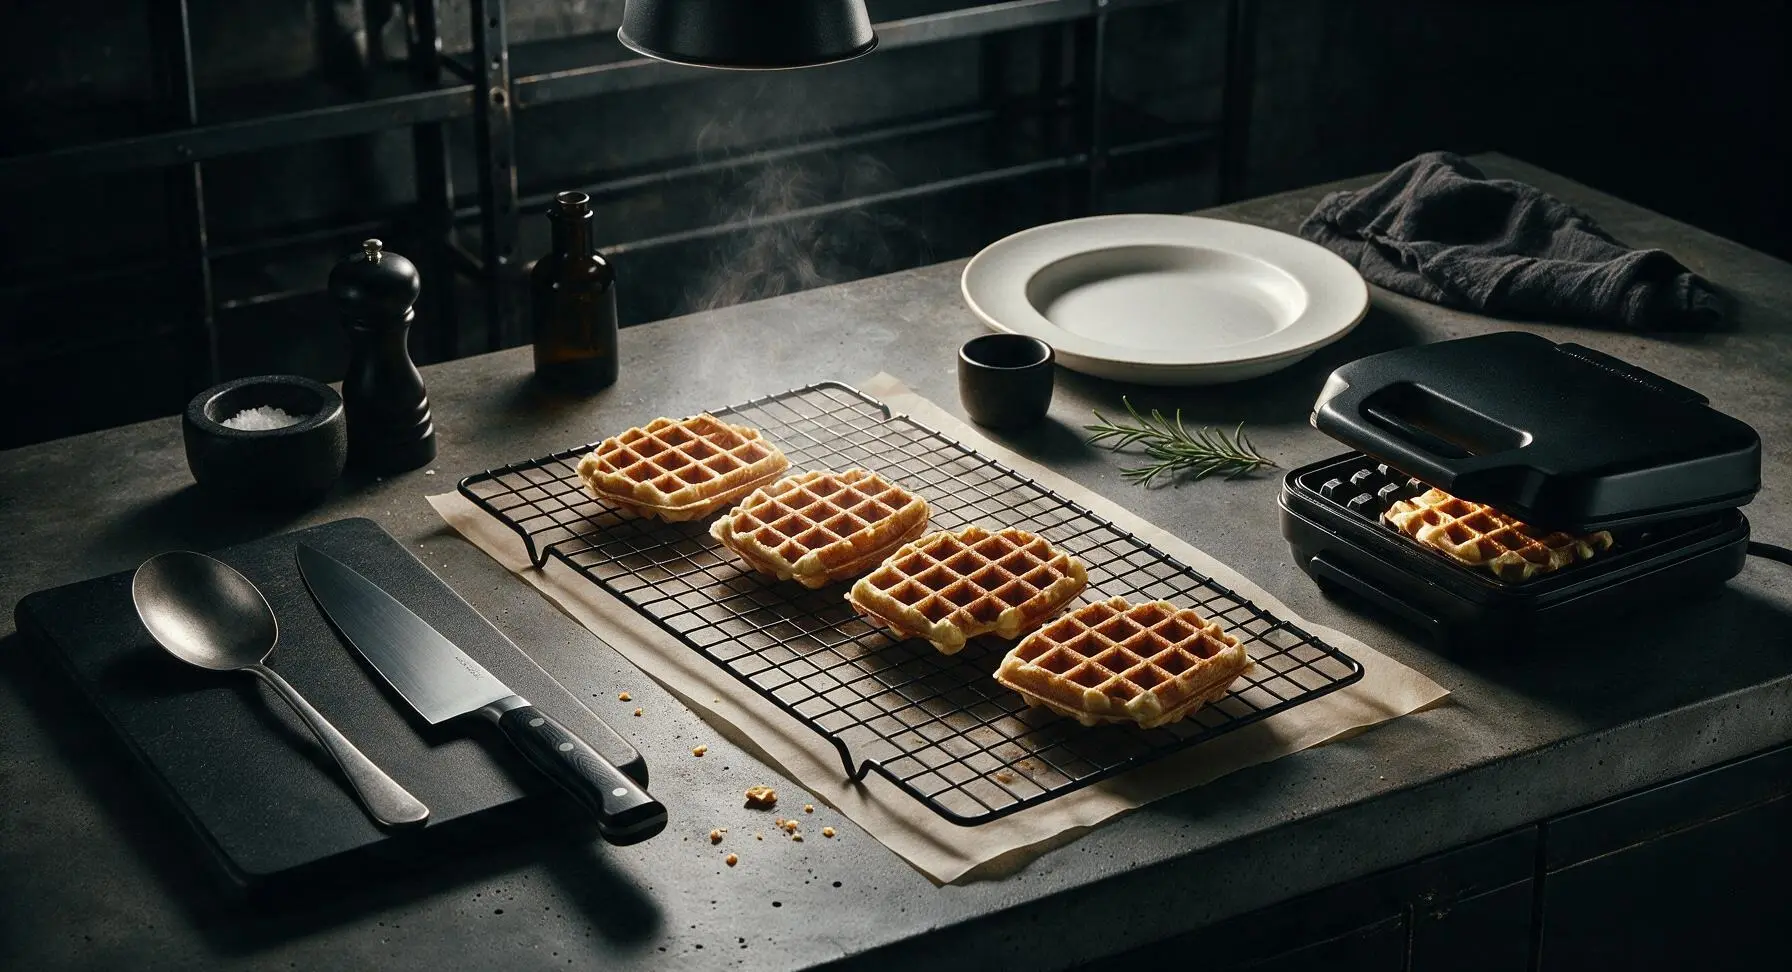
Plate and Serve Hot
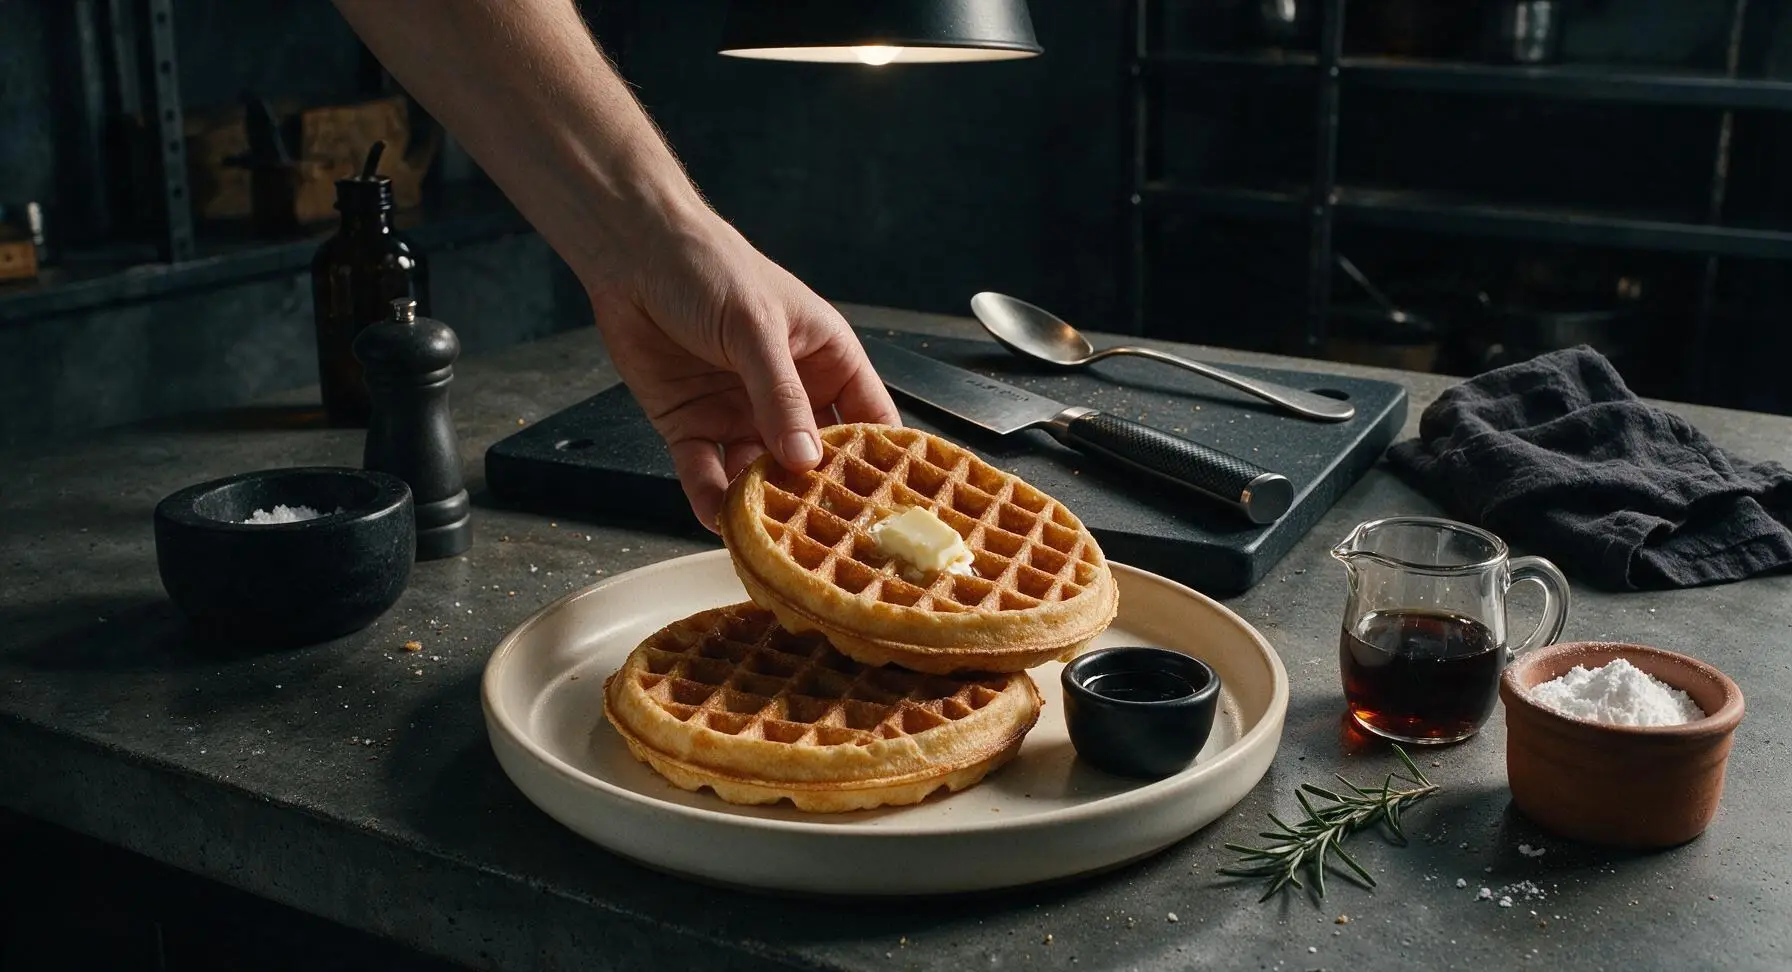
Place two warm waffles slightly offset on the matte cream ceramic dinner plate. Top with a small pat of salted butter, letting it melt into the pockets, drizzle with pure maple syrup, and dust lightly with powdered sugar if desired. Arrange fresh mixed berries at the side of the plate, and serve immediately while the waffles are hot and crisp.
Tips
2.Never stack hot waffles directly on a plate after cooking: trapped steam will condense against the warm waffle surfaces, turning the crisp exterior soft and soggy in under 60 seconds. Resting waffles on a wire rack lets air circulate around all sides to preserve crunch.
3.Resist opening the waffle iron lid before the 3-minute cook mark: the waffle’s gluten and starch structure is not fully set in the first few minutes, and opening early will cause the waffle to tear, stick to the grids, and deflate its light, fluffy interior.






OMG these Belgian yeast waffles are a GAME CHANGER for my Sunday brunch rotation! I added a little extra vanilla extract and topped them with fresh strawberries and whipped cream, all my roommates devoured the whole batch in 10 minutes flat. SO crispy on the outside, fluffy on the inside, way better than the boxed mix I used to buy.
Wait, the rise time took way longer than the recipe said for me? My kitchen is pretty cold this time of year, I let it sit for almost 2 and a half hours before it doubled in size. Ended up tasting great once I finally cooked them, but threw off my whole breakfast schedule for the kid’s soccer game snack.
Can I make the batter the night before and let it rise in the fridge? Waffles on a weekday morning would be chef’s kiss if I don’t have to wait for rise time before work.
Took these to my neighborhood potluck last weekend and people were begging for the recipe before I even left. Topped with a bourbon pecan drizzle and they were chef’s kiss. 10/10, will make again.
First time ever working with yeast and I was so nervous I’d mess this up! Followed the steps exactly and they came out perfect? Wild. My partner said they taste like the waffles we got on our Belgium trip a couple years ago.
Tried making these this morning and my waffles stuck so bad to the iron! I sprayed it with nonstick spray before preheating, did I do something wrong? Half the batter got stuck and I had to scrape it out, total bummer.
Not gonna lie I thought yeast waffles would be too much work for a Saturday morning but the 90 minute total time is totally doable while I drink my coffee and watch SportsCenter. Crispier than the baking powder ones I usually make, 10/10.
I added a handful of mini chocolate chips to half the batch for my niece who’s a picky eater and she ate three waffles in one sitting! The plain ones were amazing with fried chicken for that chicken and waffles vibe we love for brunch.
Has anyone tried making these with a 1:1 gluten free flour blend? I have celiac and have been searching for a good crispy gluten free Belgian waffle recipe forever, would love to not have to adapt a ton.
These are so rich and yeasty, I ate two plain right off the iron without even adding syrup no cap. Who needs toppings when the waffle itself tastes that good?
My kids loved it! I usually struggle to get them to sit still for breakfast on school breaks but they all ran to the table when they smelled these cooking. Even my pickiest kid who only eats plain cereal asked for seconds. Total win.
Pro tip: make a double batch and freeze the leftover waffles! Pop them in the toaster straight from the freezer for a quick breakfast during the week, they taste just as good as fresh. Game changer for busy mornings.
Wait, is the yeast supposed to be active dry or instant? I grabbed active dry and didn’t proof it first, my batter didn’t rise at all and the waffles came out super dense. Total waste of ingredients, bummer.
I added a teaspoon of cinnamon and a pinch of nutmeg to the batter and it gave it that warm cozy fall flavor that was perfect for our apple picking weekend brunch. Served with sauteed cinnamon apples and it was chef’s kiss.
Made these in my tiny dorm waffle maker for my roommates for our late night study session during midterms. We didn’t even have fancy toppings, just used syrup we stole from the dining hall, and everyone said they were the best thing they’d eaten all week. 10/10, easy enough even for a dorm kitchen.
Wait how crispy do these get? I hate soggy waffles that get mushy as soon as you put syrup on them, I need that crunch that holds up to toppings.
Is there a good non-dairy swap for the milk here? My kid is lactose intolerant and I want to make these for his birthday breakfast next weekend, don’t want to mess up the texture.
I added a scoop of vanilla protein powder to the batter to bump up the protein for my post-workout breakfast and it worked surprisingly well! Topped with Greek yogurt and berries and it kept me full all morning through my meetings. Great base recipe to tweak.
I’ve been making yeast waffles for 40 years and this recipe is hands down one of the best I’ve tried. The ratio of sugar to yeast is perfect, not too sweet so you can go wild with toppings, and the texture is exactly what a Belgian waffle should be. Well done!