
Bell Pepper Mac and Cheese

title 1
Bell Pepper Mac and Cheese
⏱️ cook time 30 minutes
🍽️ servings 4
⚡ Difficulty easy

intro

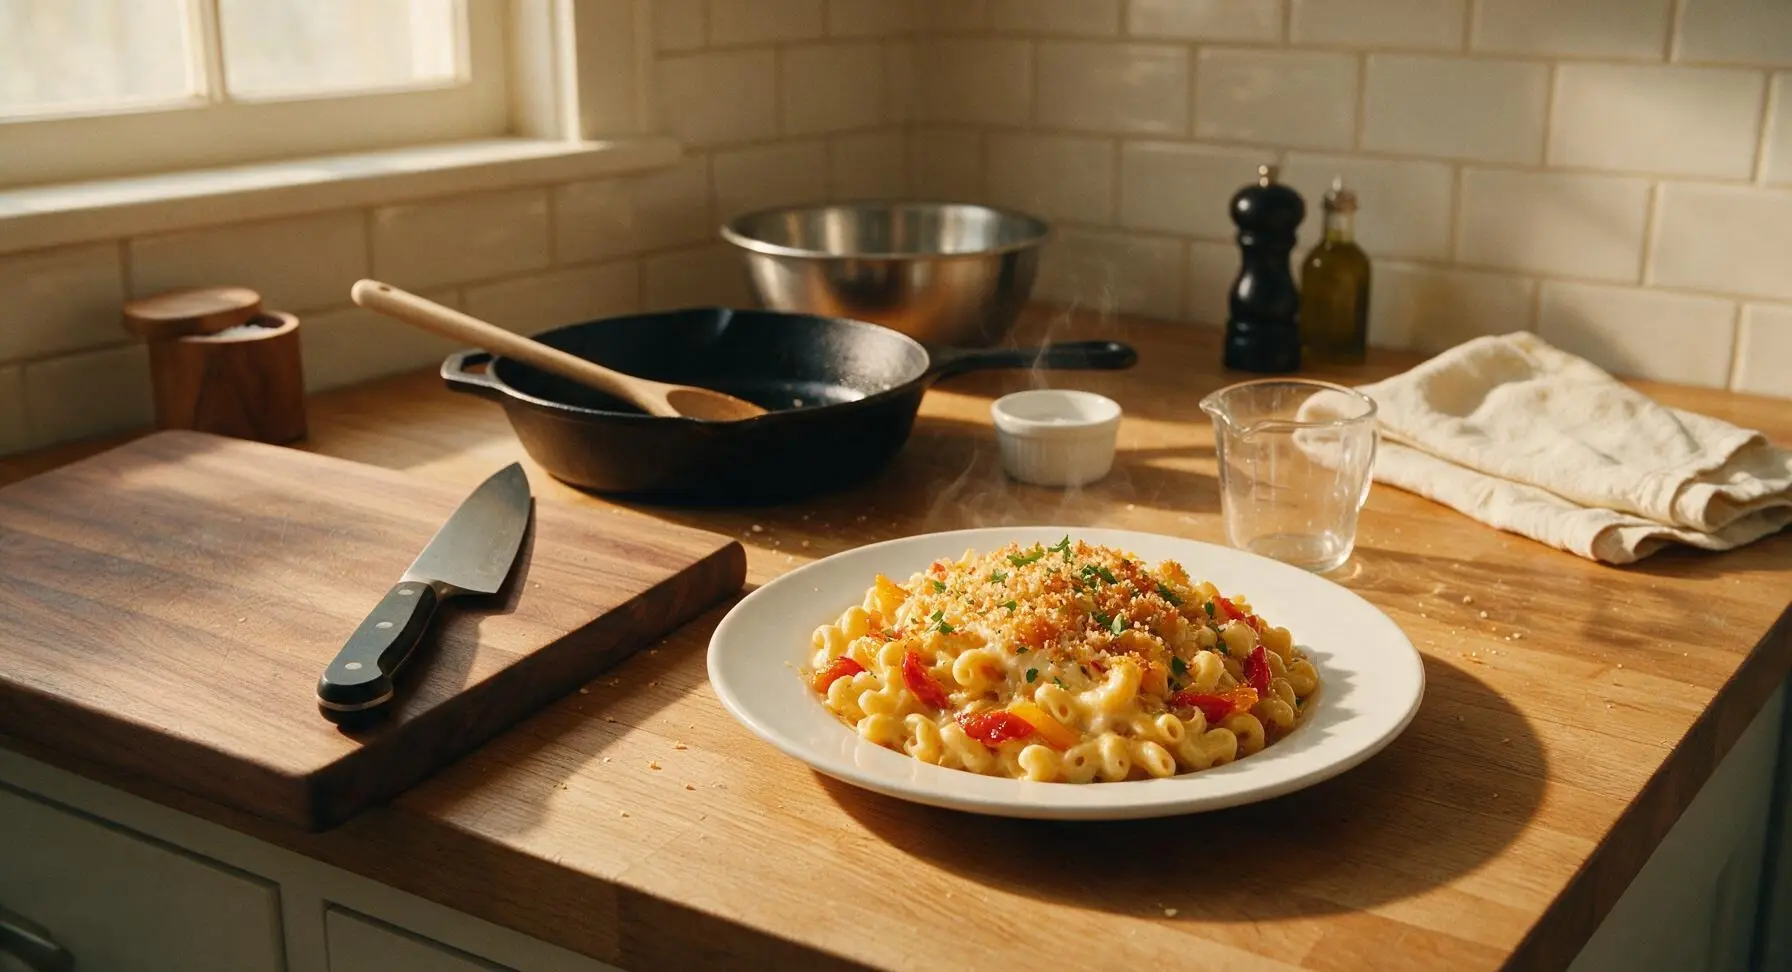
Creamy, velvety stovetop mac and cheese loaded with sweet caramelized bell peppers, crispy panko topping, and a perfect blend of sharp, melty cheeses for cozy, satisfying comfort.

Ingredients
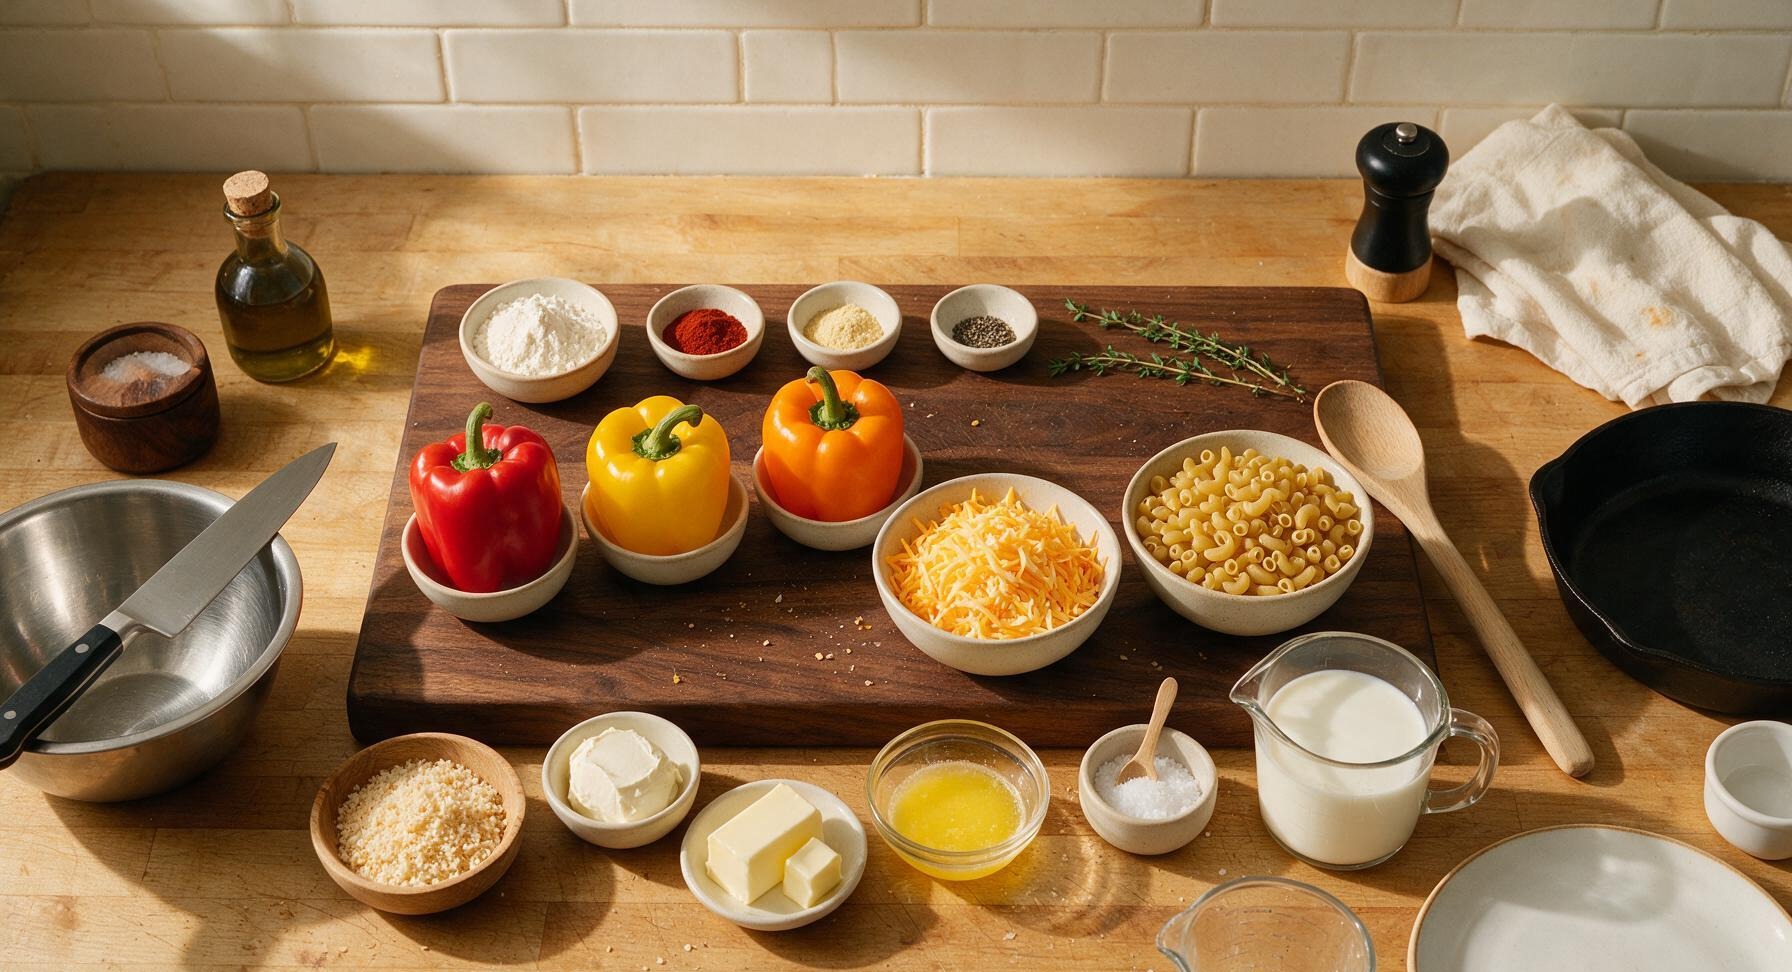
Elbow macaroni 225g (8oz)
Red bell pepper 1 medium (150g)
Yellow bell pepper 1 medium (150g)
Orange bell pepper 1 medium (150g)
Sharp cheddar cheese 170g (1.5 cups, freshly grated)
Whole milk 360ml (1.5 cups)
Unsalted butter 4 tbsp (56g), divided
All-purpose flour 2 tbsp (16g)
Cream cheese 56g (2oz, room temperature)
Panko breadcrumbs 30g (1/4 cup)
Garlic powder 1 tsp
Smoked paprika 1/2 tsp
Kosher salt 1 tsp, plus extra for pasta water
Freshly ground black pepper 1/4 tsp
Fresh thyme 2 sprigs, leaves picked

Steps

1

Prep Veggies and Cheese

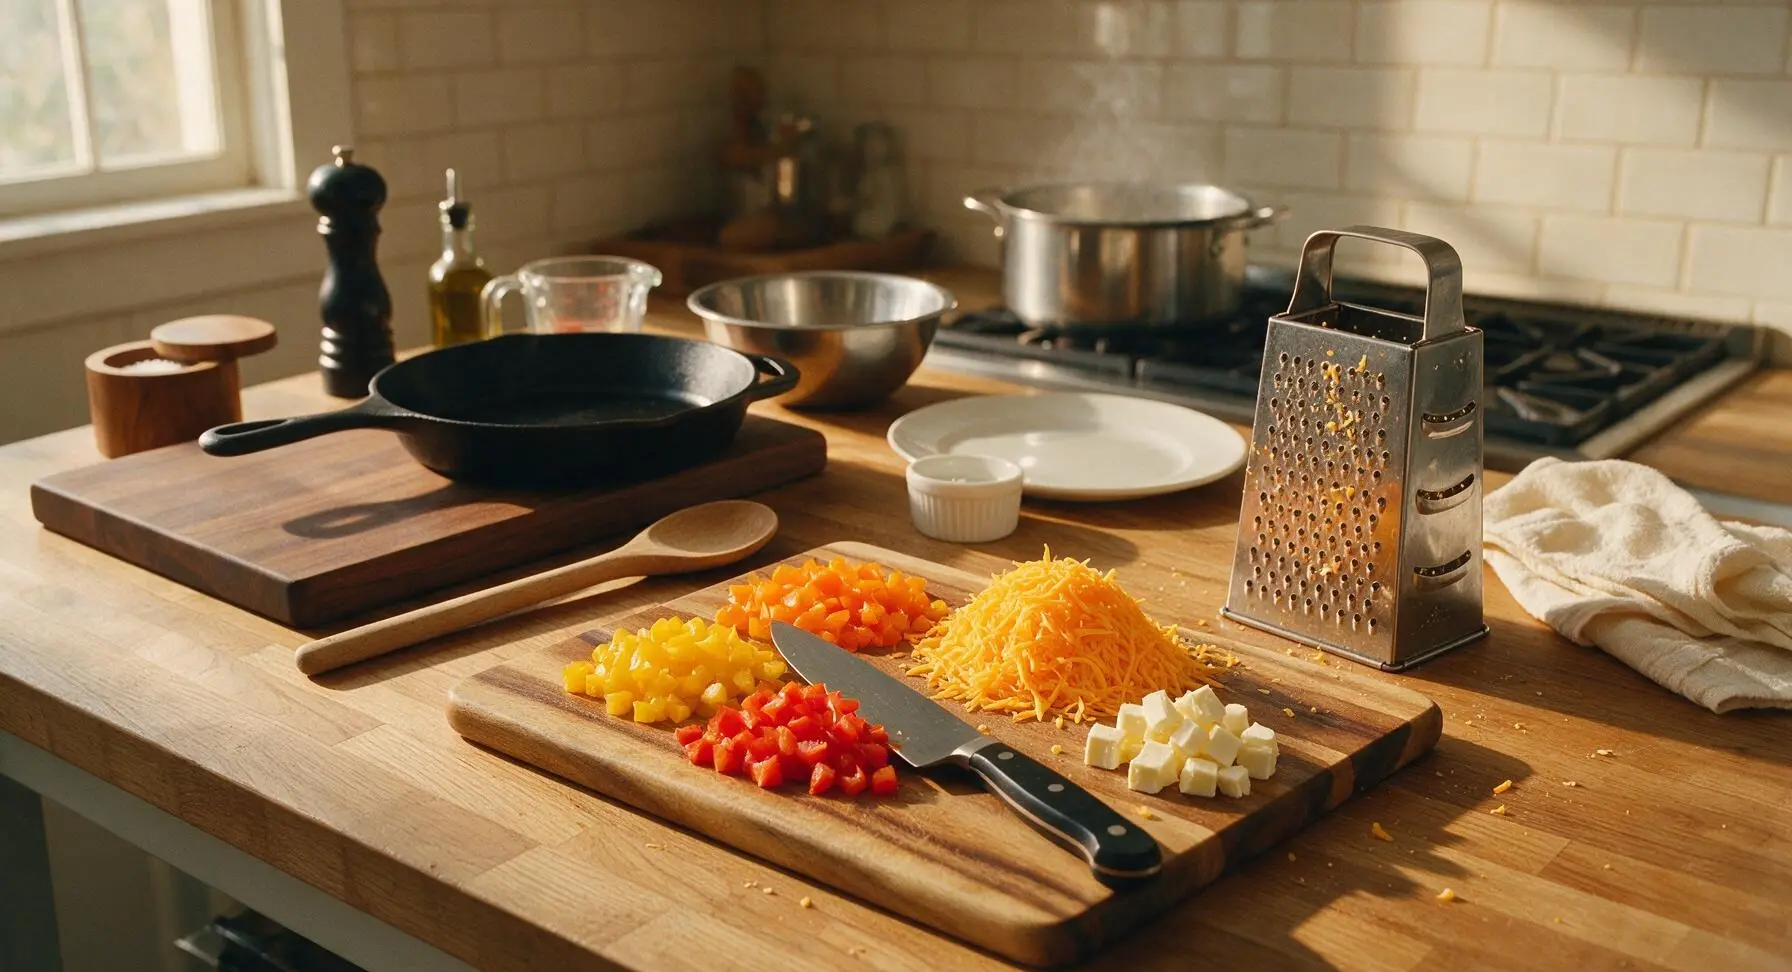
While 2 liters of heavily salted water comes to a rolling boil in the 4-quart stainless steel stock pot over high heat, set the acacia wood cutting board on the central counter. Use the 8-inch chef knife to core, seed, and dice the red, yellow, and orange bell peppers into uniform 1/2-inch (1cm) pieces. Use the four-sided stainless steel box grater to shred the sharp cheddar cheese into a loose pile, and cut the cream cheese into 2cm cubes to speed melting. Set prepped ingredients aside.
Step 1
step1:Prep Veggies and Cheese
2

Cook Pasta Al Dente

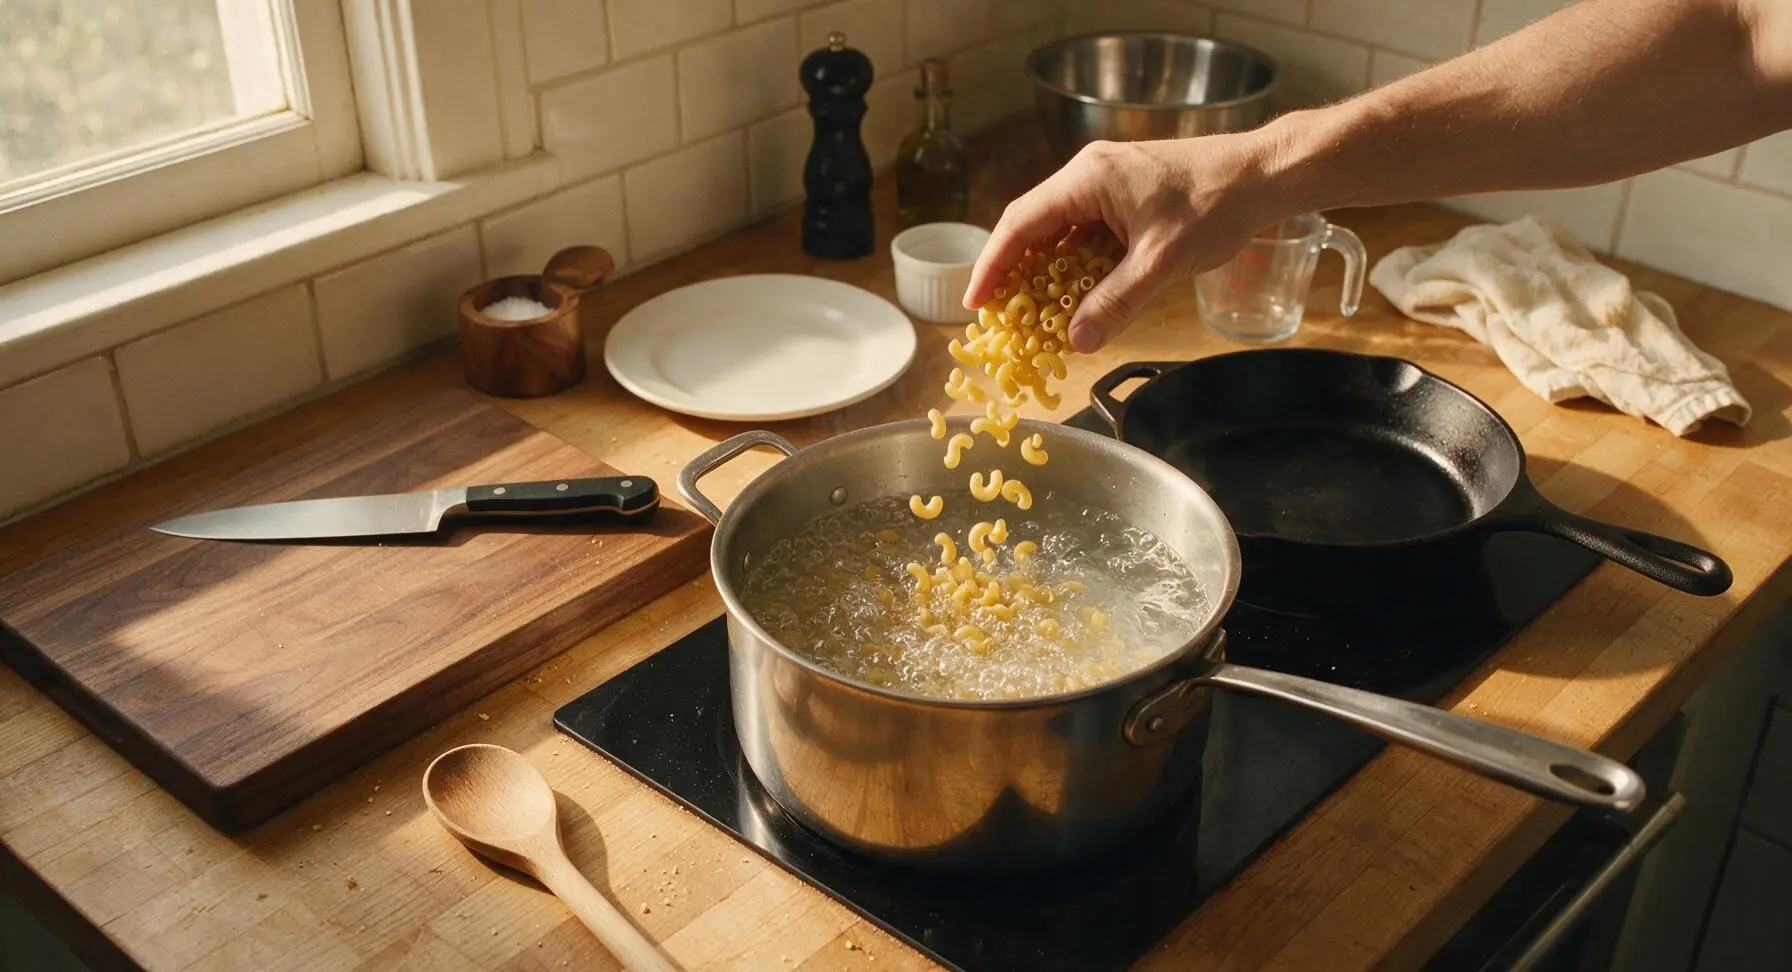
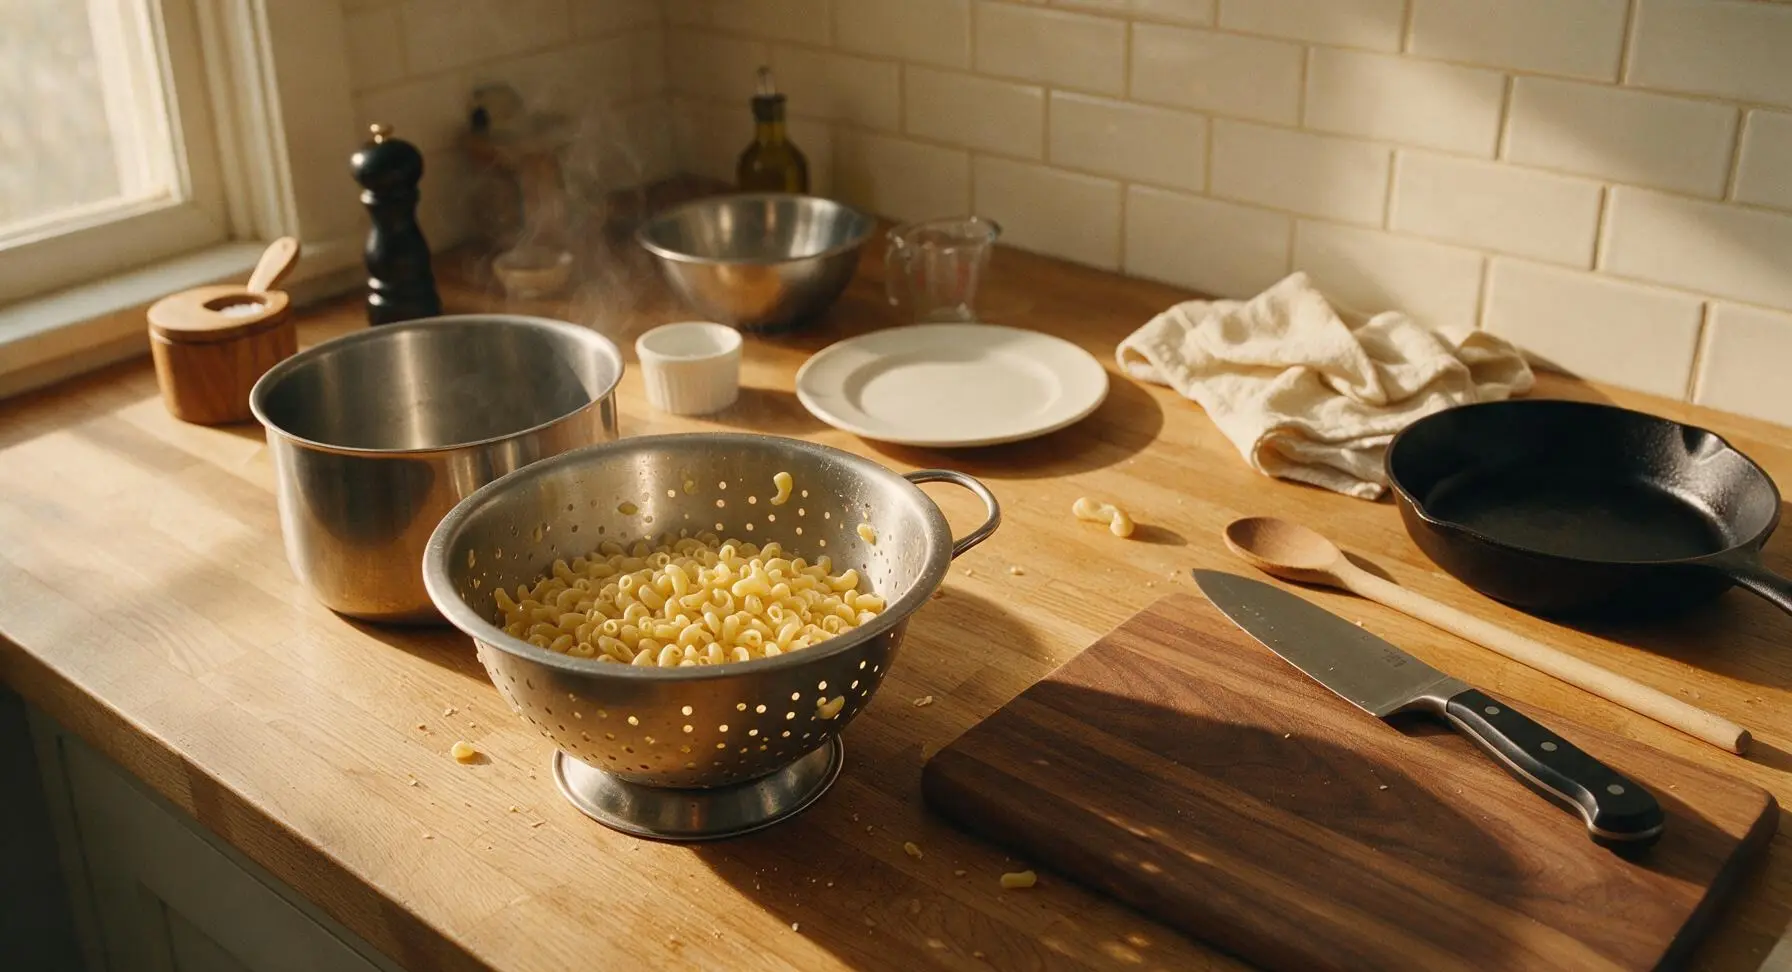
Once the salted water reaches a full rolling boil, add the dry elbow macaroni. Cook for 7 minutes, stirring occasionally with the terracotta silicone spatula to prevent sticking, until pasta is just al dente: firm to the bite, with a tiny white starchy core at the center of each noodle (it will finish cooking in the cheese sauce, so do not overcook). Pour pasta and water into the stainless steel colander to drain fully; do not rinse the pasta, as residual starch helps sauce cling.
Step 2
step2:Cook Pasta Al Dente
Step 2
step2:Cook Pasta Al Dente
3

Sauté Bell Peppers

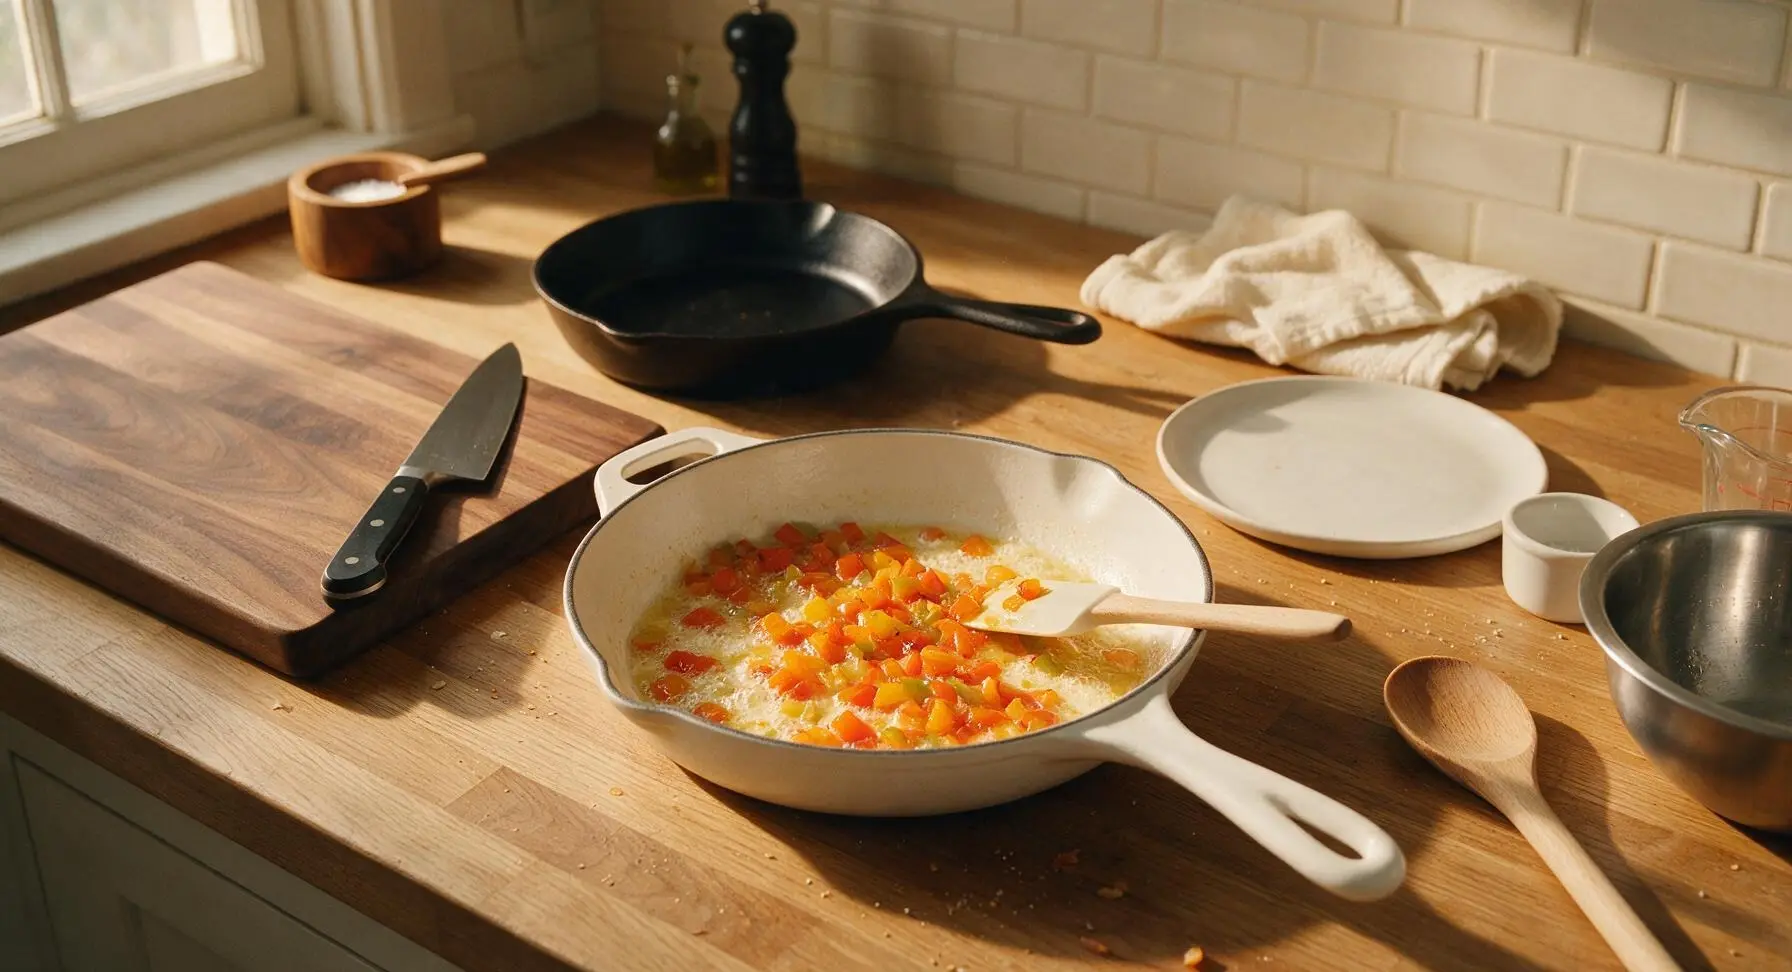
Place the 10-inch matte white enameled cast iron skillet over medium heat. Add 1 tablespoon of unsalted butter, and once melted and foaming, add all diced bell peppers. Sauté for 5 minutes, stirring occasionally with the silicone spatula, until peppers are soft with light golden caramelized edges and a bright, sweet aroma. Season with a pinch of salt and pepper, then transfer peppers to a small plate, leaving any residual butter and pepper juices in the skillet.
Step 3
step3:Sauté Bell Peppers
4

Build Cheese Sauce Base

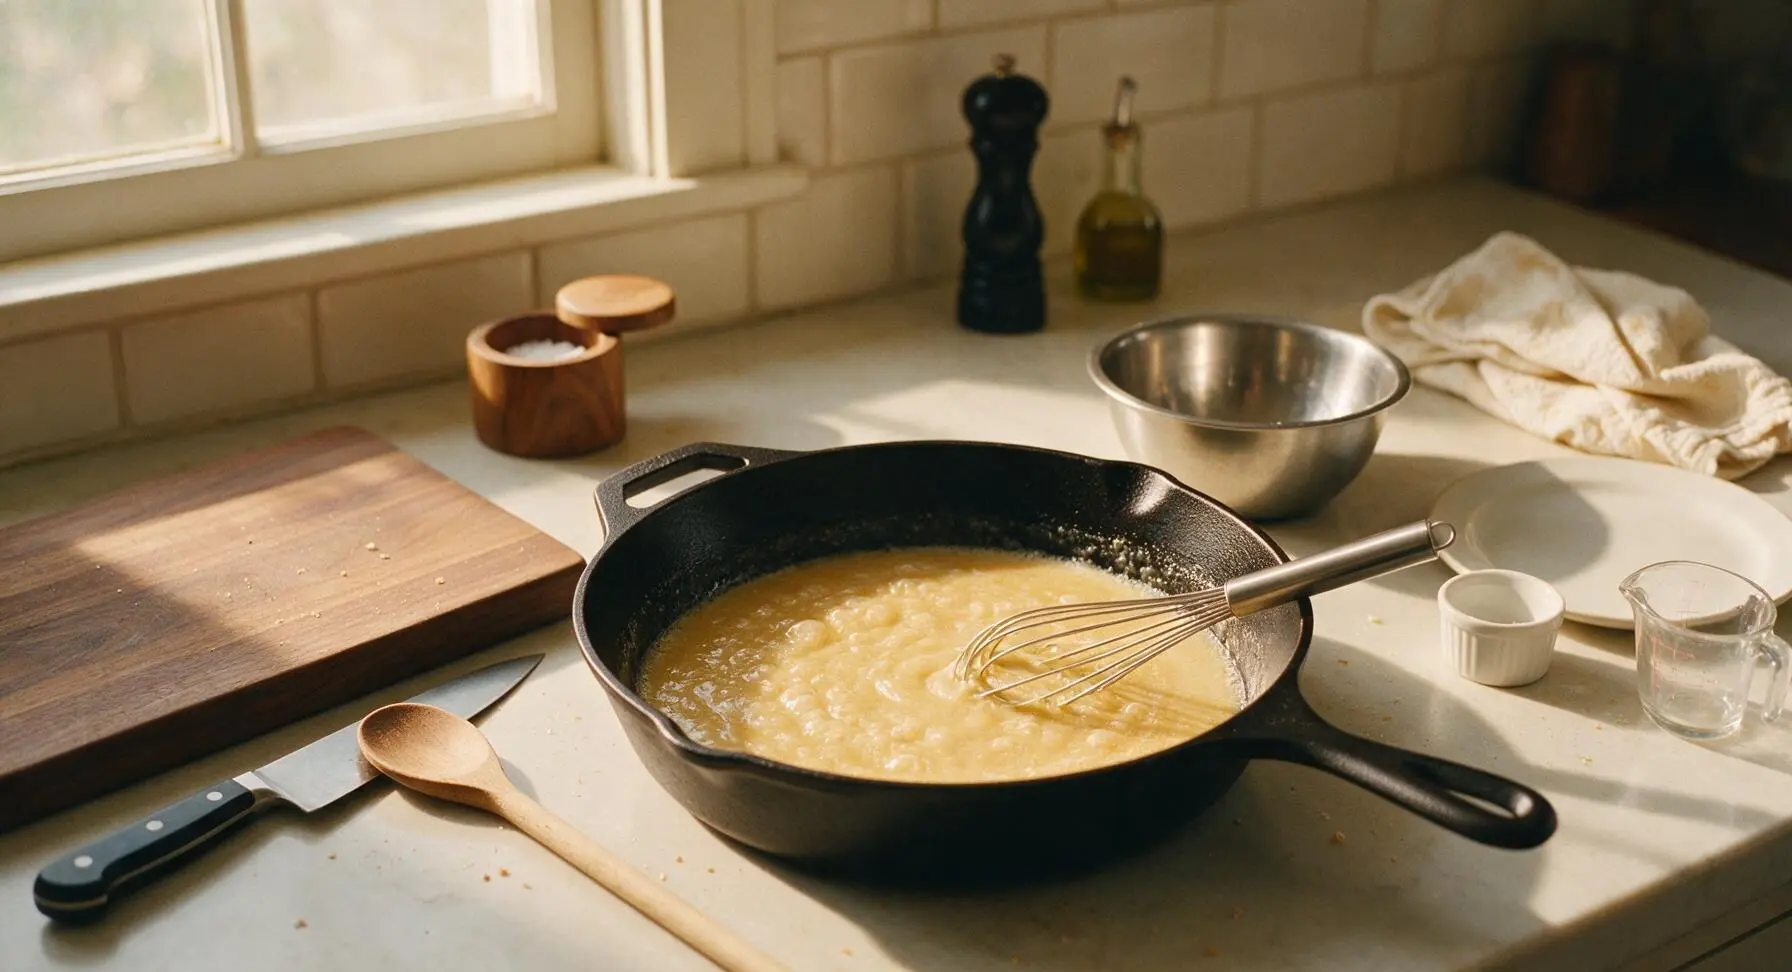
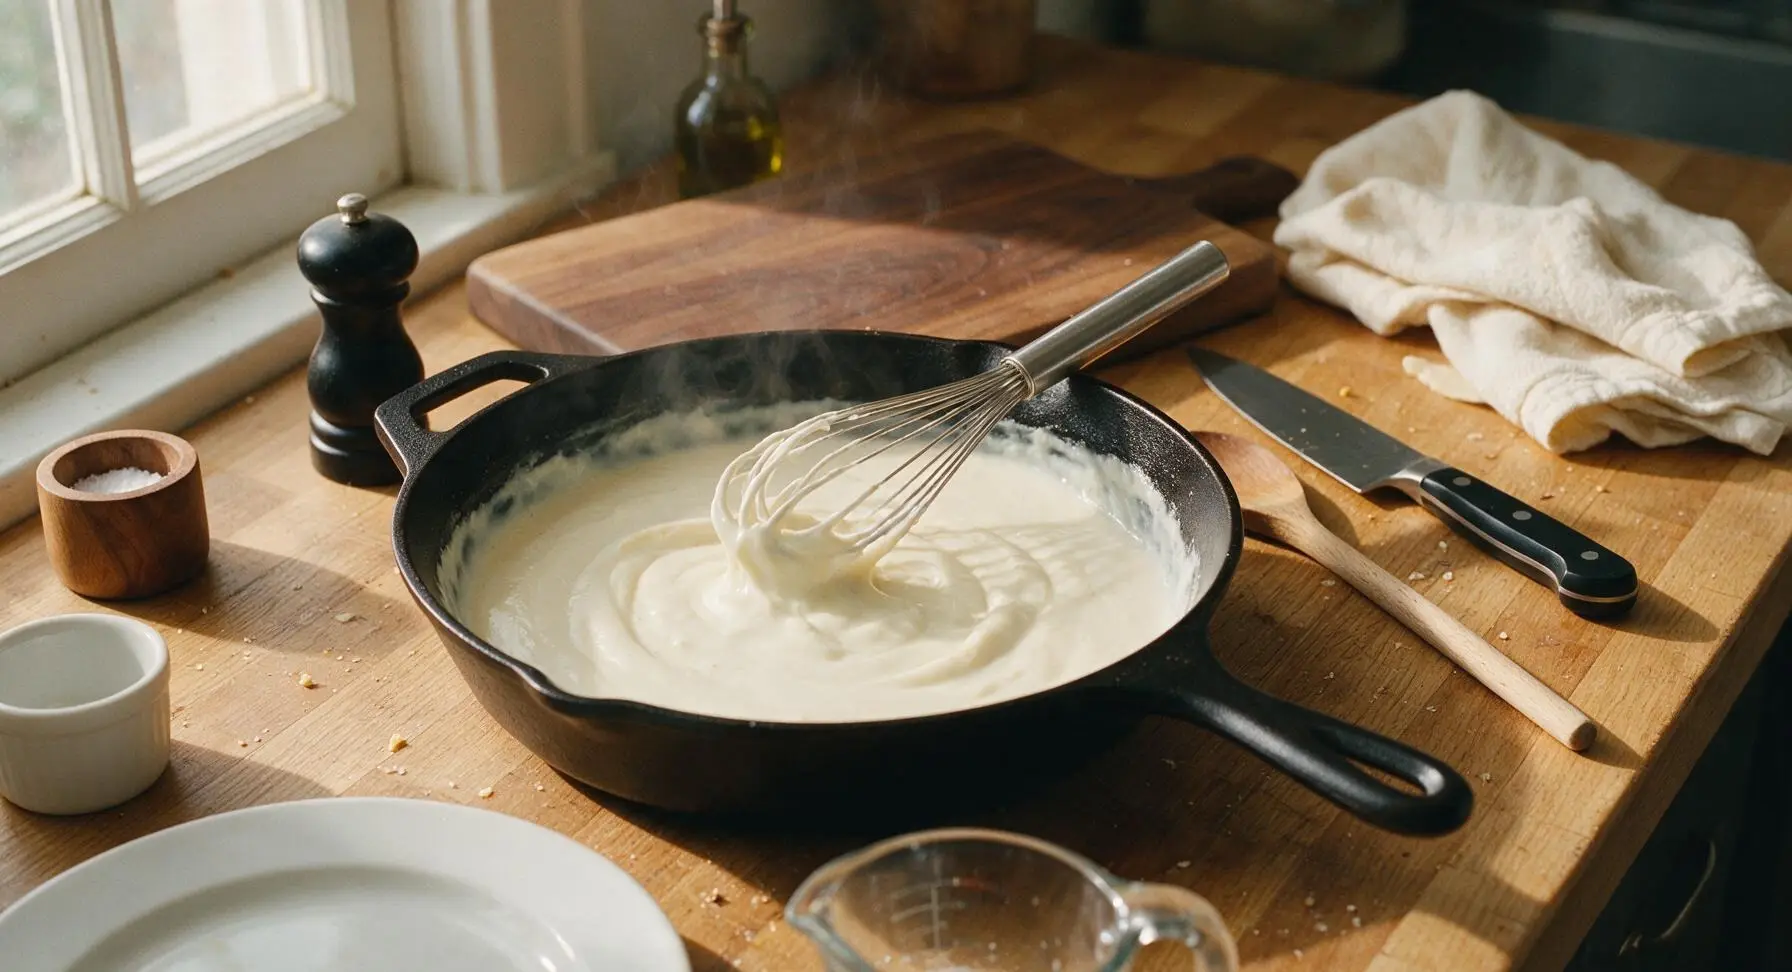
Reduce heat under the skillet to medium-low. Add the remaining 2 tablespoons of unsalted butter, and once melted, use the small stainless steel whisk to stir in the all-purpose flour to form a smooth roux. Cook the roux for 2 minutes, whisking constantly, until it smells nutty and turns pale golden. Slowly pour in whole milk 1/4 cup at a time, whisking continuously to eliminate lumps, until the sauce is smooth and thick enough to coat the back of a spoon (about 4 minutes). Stir in garlic powder, smoked paprika, remaining kosher salt, and black pepper.
Step 4
step4:Build Cheese Sauce Base
Step 4
step4:Build Cheese Sauce Base
5

Melt Cheeses Into Sauce

Reduce heat to low. Add the cubed cream cheese to the thickened sauce, stirring with the silicone spatula until fully melted and smooth. Gradually add the freshly grated sharp cheddar one handful at a time, stirring constantly, until all cheese is melted and the sauce is glossy, rich golden orange, and completely smooth. Do not let the sauce boil, as high heat will cause cheese to separate and turn grainy.
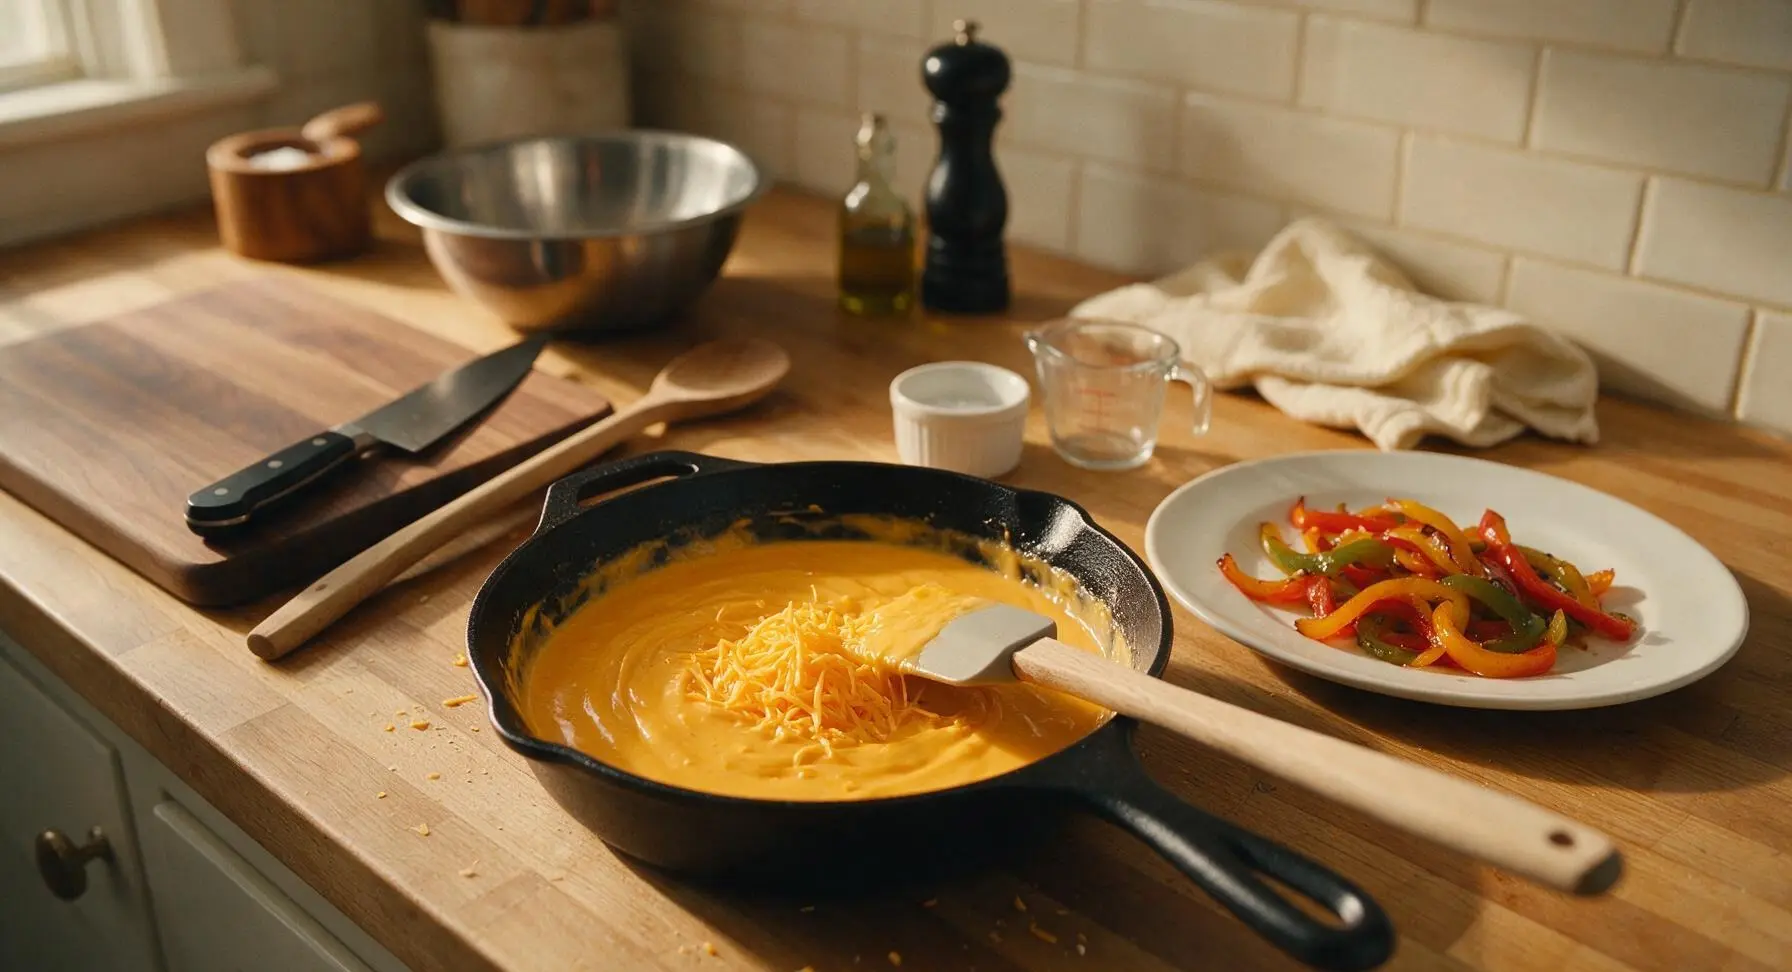
Step 5
step5:Melt Cheeses Into Sauce
6

Combine Pasta and Peppers

Add the fully drained elbow macaroni and reserved sautéed bell peppers to the cheese sauce in the skillet. Stir gently with the silicone spatula until every noodle is evenly coated in cheese sauce, and bell pepper pieces are evenly distributed throughout the pasta. Turn off the stovetop heat.
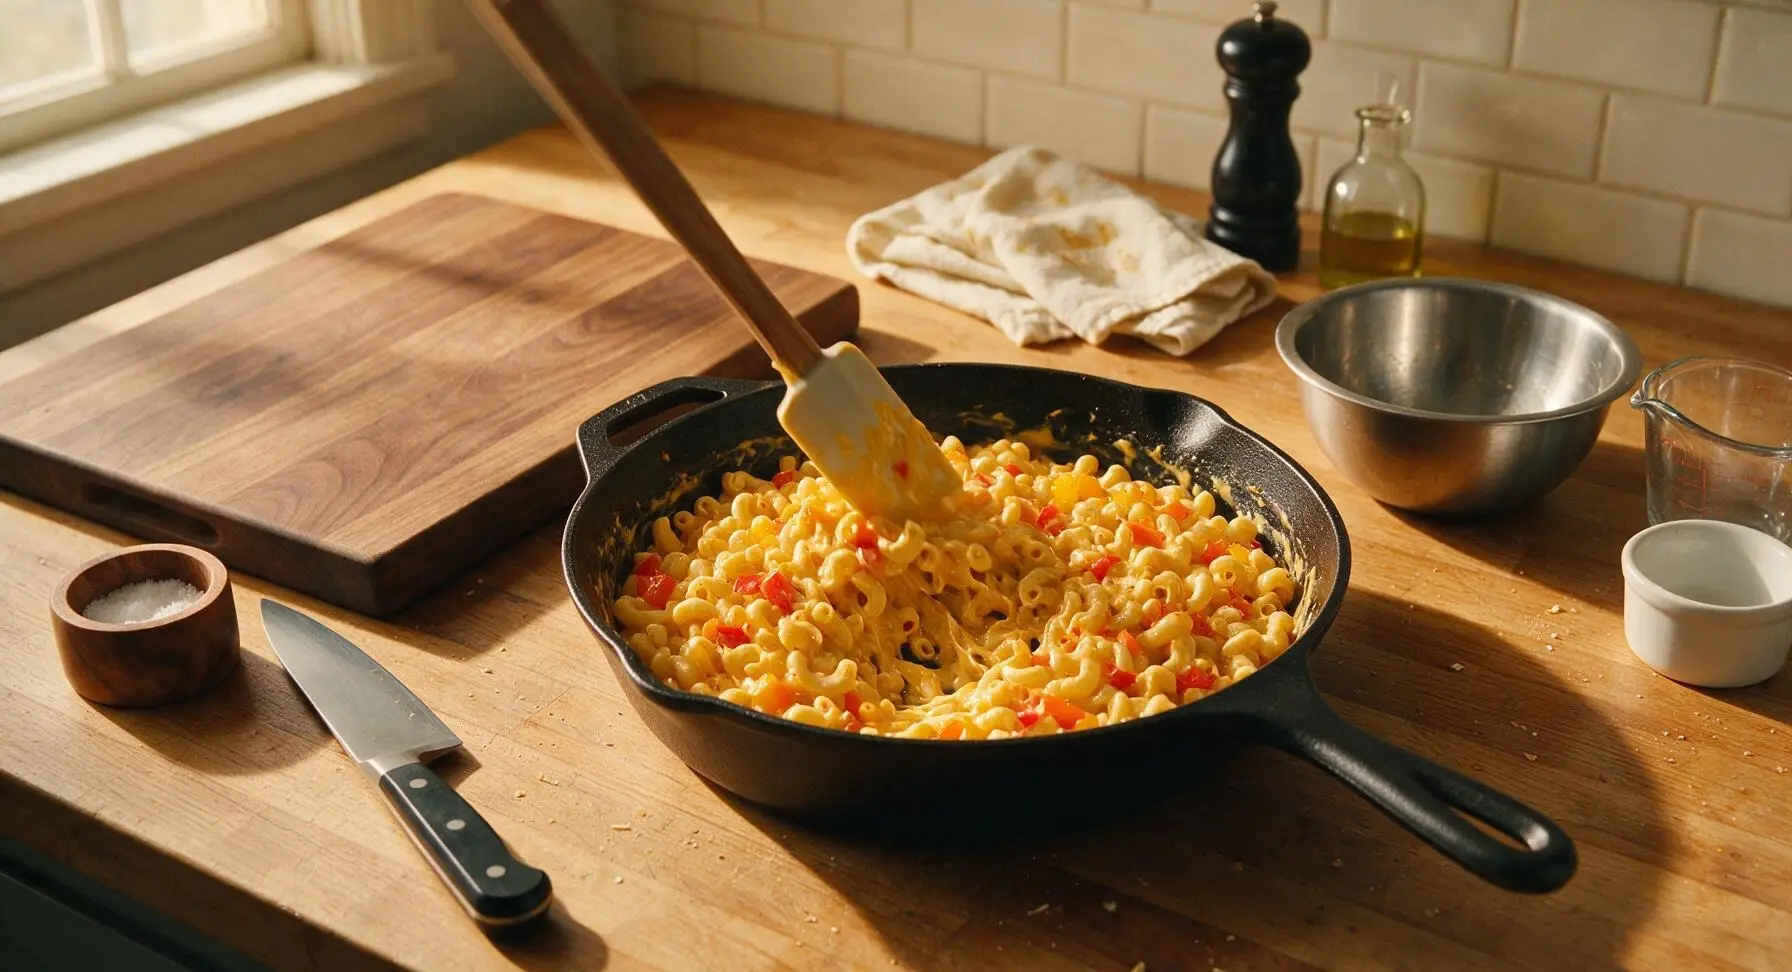
Step 6
step6:Combine Pasta and Peppers
7

Toast Panko Topping

In the small clear glass mixing bowl, melt 1 tablespoon of unsalted butter. Add panko breadcrumbs and picked fresh thyme leaves, stirring to coat crumbs evenly in butter. Sprinkle the buttered panko mixture in an even layer over the top of the mac and cheese. Place the skillet under a hot broiler for 1-2 minutes, watching extremely closely, until breadcrumbs are golden and crispy.
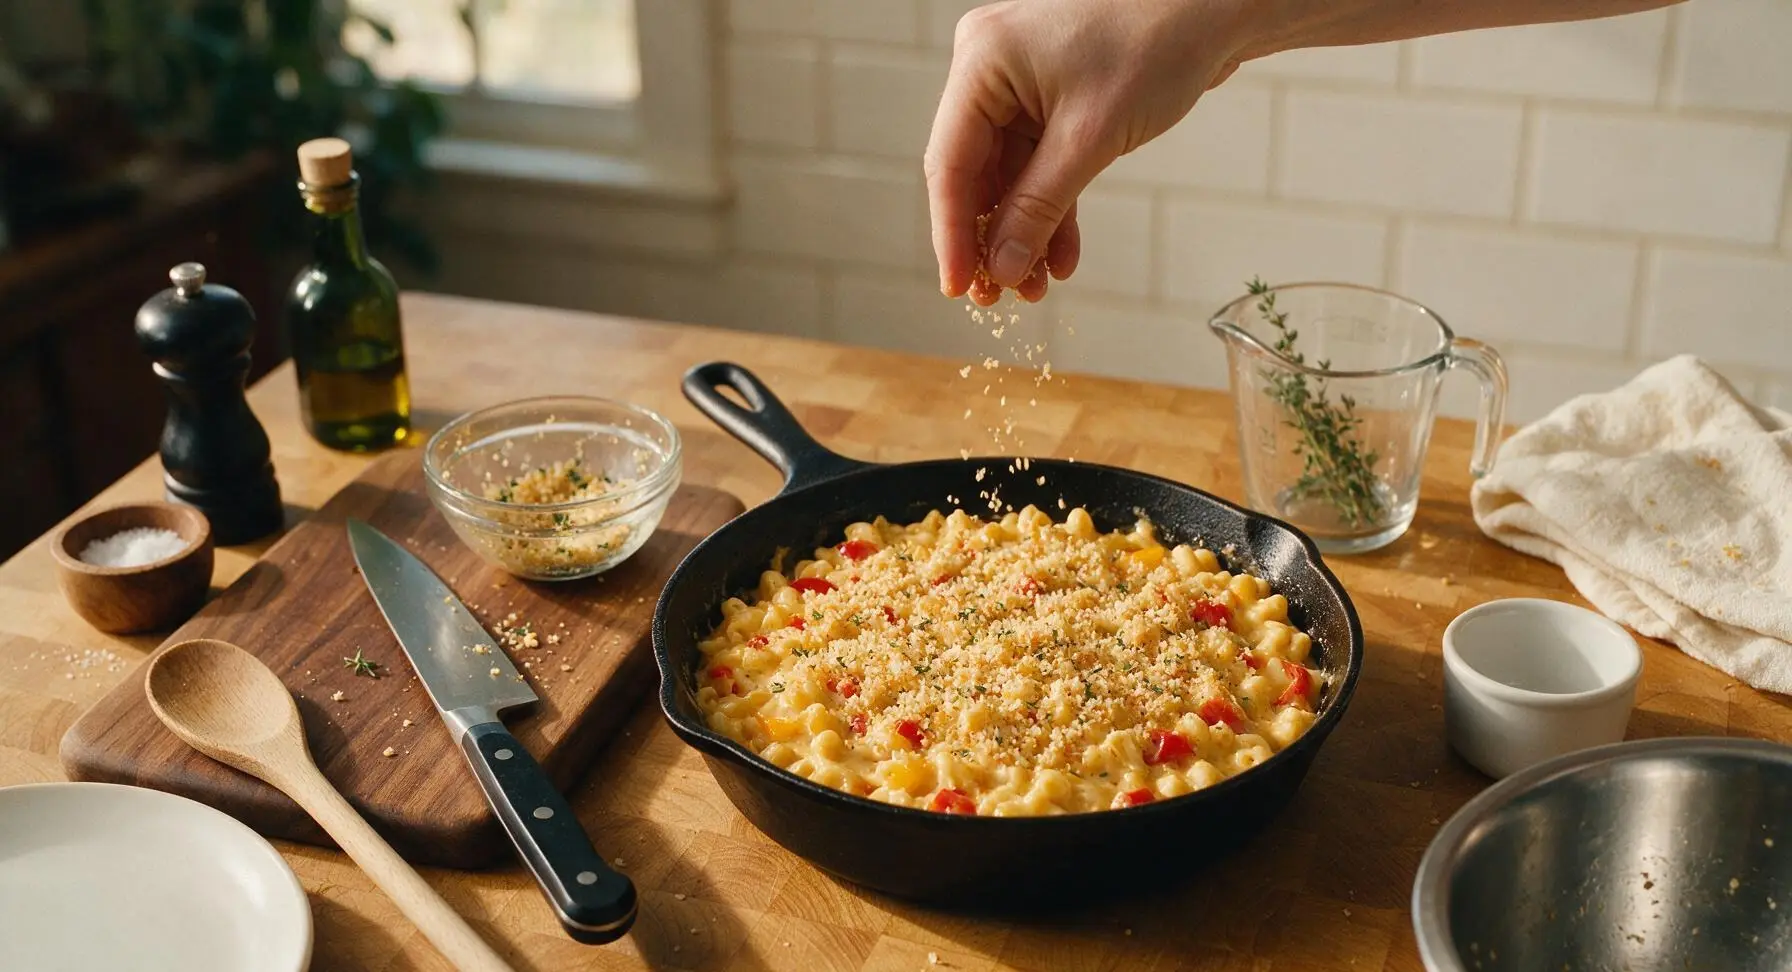
Step 7
step7:Toast Panko Topping
8

Rest and Serve

Remove the skillet from the broiler and let the mac and cheese rest for 3 minutes to allow the sauce to set slightly. Scoop generous servings into the matte oatmeal stoneware pasta bowls, ensuring each portion gets a share of the crispy breadcrumb top and evenly distributed bell pepper pieces.
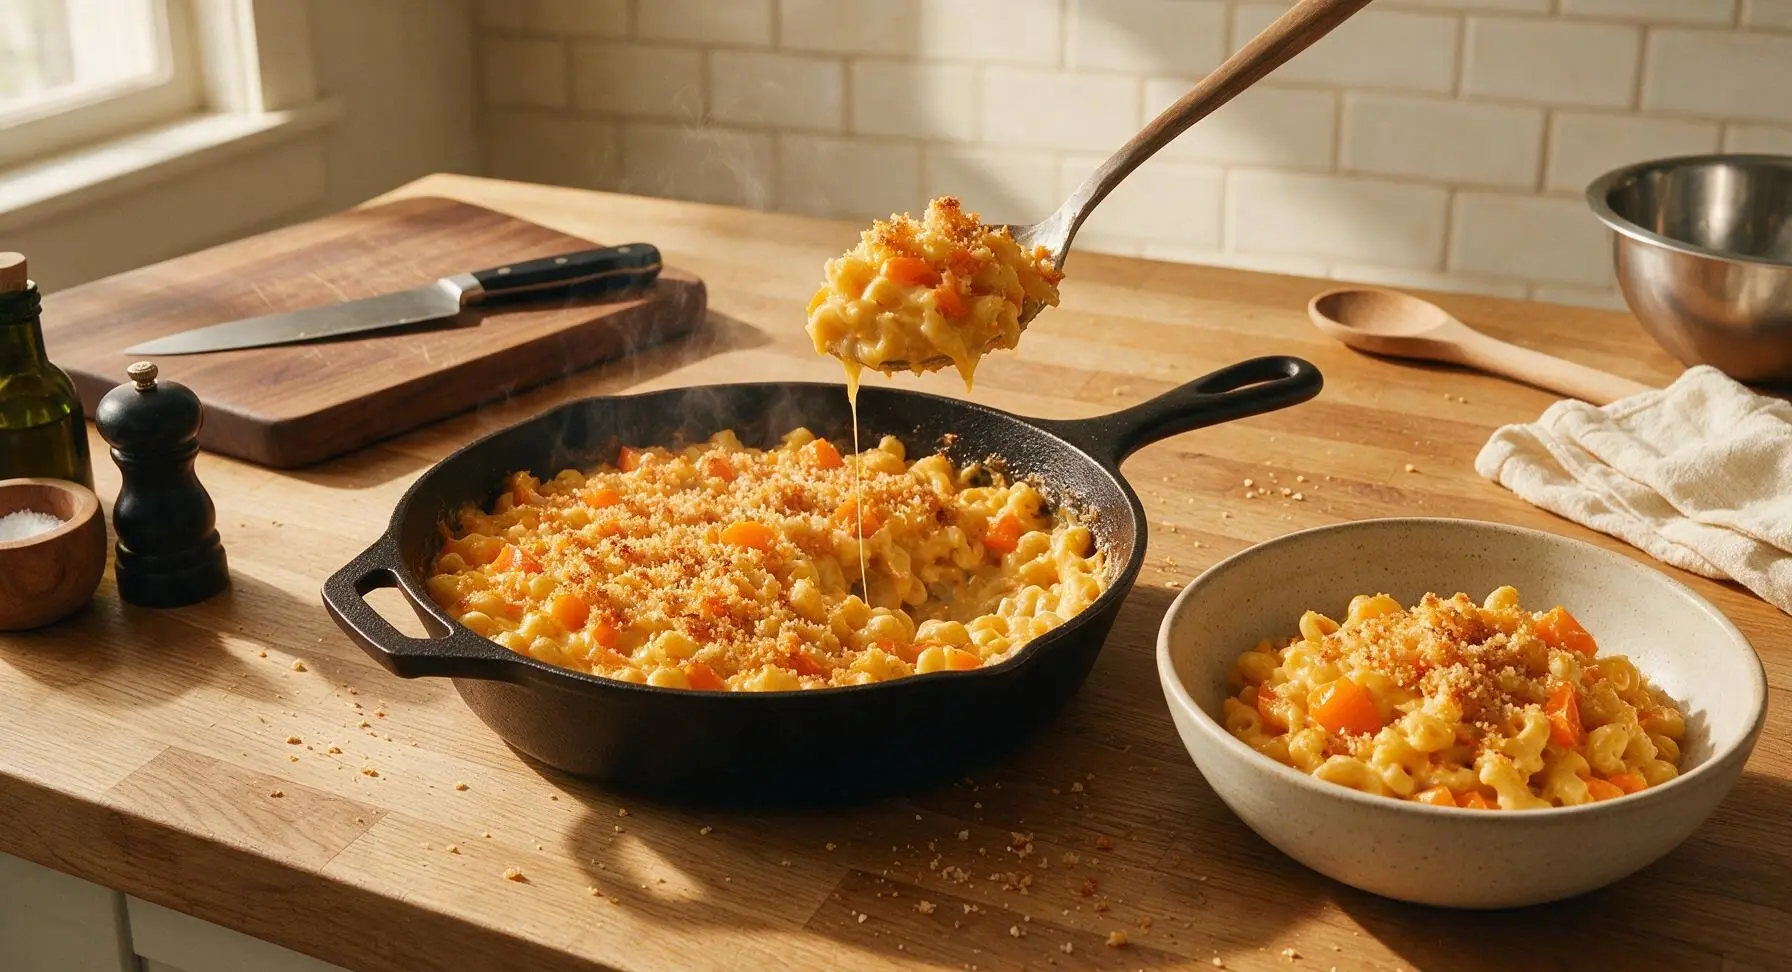
Step 8
step8:Rest and Serve

Tips

1.Grate your own cheese from a block instead of using pre-shredded store-bought cheese: pre-shredded cheese is coated in potato starch or natamycin to prevent clumping, which stops it from melting into a perfectly smooth, velvety sauce and can lead to a grainy texture.
2.Never rinse your pasta after draining: the thin, starchy coating on cooked elbow macaroni acts as an emulsifier that helps the cheese sauce cling evenly to every noodle, rather than sliding off and pooling at the bottom of the dish.
3.Stay directly at the oven when broiling the panko topping: panko breadcrumbs turn from perfectly golden to burnt in as little as 30 seconds under high broiler heat, so pull the skillet out as soon as the crumbs are a light, even golden brown.


✨ You May Also Like

Main Course
🍜 United Kingdom

A showstopping classic of tender seared beef, savory mushroom duxelles, and crisp prosciutto wrapped in flaky golden puff pastry, baked to juicy perfection.

⏱️ 2 hours 1Main Course ★ 4.7
Main Course
🍜 India

Tender charred marinated chicken simmered in a rich, spiced creamy tomato sauce, this iconic Anglo-Indian curry pairs perfectly with basmati rice or warm naan.

⏱️ 50 minuteMain Course ★ 4.6
Main Course
🍜 Thailand

Classic tangy, sweet, and savory Thai stir-fried rice noodles with shrimp, tofu, and crunchy garnishes, balancing all five core Thai flavor profiles.

⏱️ 30 minuteMain Course ★ 4.5
Main Course
🍜 United Kingdom

Crispy golden beer-battered cod and fluffy double-fried chips, served with tangy tartar sauce and malt vinegar: the timeless, beloved British pub comfort classic.

⏱️ 45 minuteMain Course ★ 4.7
Main Course
🍜 Mexico

Smoky, chile-marinated pork tacos with caramelized pineapple, fresh cilantro, and lime: a beloved classic Mexican street food perfect for casual summer gatherings.

⏱️ 1 hour 45Main Course ★ 4.8
Main Course
🍜 United States

Crunchy Fritos corn chips layered with savory beef chili and melted cheddar, topped with cool, zesty fixings for a beloved, cozy Tex-Mex comfort food.

⏱️ 35 minuteMain Course ★ 4.8

Bell Pepper Mac and Cheese:Frequently Asked Questions

1.Do I have to use red, yellow, and orange bell peppers, or can I stick to just one color? ▾
You can absolutely use a single bell pepper color if that’s what you have on hand! Red bell peppers are the best pick for solo use, since they have the deepest natural sweetness that caramelizes beautifully. The tri-color mix just adds brighter visual appeal and subtle layered flavor, so feel free to work with whatever you have in the fridge.
2.How do I caramelize bell peppers properly without burning them? ▾
Caramelize bell peppers low and slow over medium-low heat, stirring every 3 to 4 minutes, for 12 to 15 minutes total. Resist the urge to crank the heat to speed things up—high heat will char the outer edges before the natural sugars break down into that soft, sweet, golden perfection. A tiny pinch of salt added early helps draw out moisture to speed the process gently.
3.Why does this recipe call for sharp cheddar instead of mild cheddar? ▾
Sharp cheddar has a longer aging process that gives it a bolder, tangier flavor that cuts through the rich, creamy sauce so the dish doesn’t taste flat or overly heavy. Mild cheddar melts smoothly but has a very soft, mild flavor that gets lost next to sweet caramelized peppers, leaving your mac and cheese tasting one-note.
4.How do I get a crispy panko topping if this is a stovetop mac and cheese? ▾
You don’t need to bake the whole dish to get that signature crispy panko topping! Toast the panko in a small skillet over medium heat with a little melted butter for 2 to 3 minutes, stirring often, until it’s golden brown and nutty smelling. Sprinkle it right over the finished mac right before serving to keep it crunchy, not soggy.
5.My homemade cheese sauce always turns out grainy—how do I keep it smooth here? ▾
To avoid grainy cheese sauce, take your pan off the heat completely before stirring in your shredded sharp cheddar. If the sauce is boiling hot when you add cheese, the milk proteins will seize up and create that gritty texture. Also, shred your own cheese instead of using pre-shredded, which has anti-caking additives that can make sauce grainy too.
6.Can I make this bell pepper mac and cheese ahead of time for meal prep? ▾
You can prep individual components ahead to cut down on day-of work, but I don’t recommend assembling the full dish more than a day in advance. Cook and caramelize your peppers, shred your cheese, and toast your panko up to 3 days ahead, stored separately in the fridge. Cook pasta and make the cheese sauce right before serving for the creamiest texture.
7.Can I use a different pasta shape instead of elbow macaroni? ▾
You can absolutely swap elbow macaroni for other small, sturdy pasta shapes that hold creamy cheese sauce well. Great picks include cavatappi, small shells, rotini, or campanelle—all have nooks and crannies that trap cheese sauce and bits of caramelized pepper. Skip long, thin shapes like spaghetti, which don’t hold thick sauce well at all.
8.What simple swaps make this recipe gluten-free? ▾
This recipe is super easy to make gluten-free with two quick swaps. First, swap regular elbow macaroni for your favorite gluten-free short pasta shape, cooked just to al dente so it doesn’t turn mushy. Second, use gluten-free panko for the crispy topping, and double check your cheddar has no gluten-containing anti-caking additives.
9.How should I store leftovers, and how long will they stay good? ▾
Store leftover bell pepper mac and cheese in an airtight container in the refrigerator for up to 4 days. Wait for the dish to cool to room temperature (within 2 hours of cooking, for food safety) before sealing the lid to prevent excess condensation from making the pasta soggy. Store leftover toasted panko separately if possible.
10.What’s the best way to reheat leftovers so the sauce stays creamy? ▾
Reheat leftovers gently on the stovetop over low heat, stirring in a splash of whole milk or half-and-half a teaspoon at a time until the sauce loosens back up to that velvety, creamy consistency. Avoid high-heat microwaving, which makes cheese separate and turn greasy, and leaves pasta rubbery. Top with fresh panko if your old topping got soggy.
11.Can I add protein to this dish to make it a more filling weeknight meal? ▾
Absolutely! This creamy, pepper-studded mac pairs beautifully with lots of simple protein add-ins. Stir in crispy cooked bacon bits, diced grilled chicken, or roasted chickpeas for a plant-based option when you mix the pasta and cheese sauce together. Just make sure add-ins are warm so they don’t cool the sauce down too fast.

Comments (9)

2 days ago

OMG this was a total game changer for our family dinner last night! I have two super picky kids who pick every single vegetable out of their food, but they devoured this bell pepper mac and cheese without a single complaint? They even asked for SECONDS! I used a mix of red and orange bell peppers for a little extra natural sweetness, and sprinkled panko breadcrumbs on top for crunch before baking for 10 minutes. SO good, this is going straight into our weekly weeknight rotation.

yesterday

Quick question! Did you sauté the bell peppers first before mixing them in, or toss them in raw? I’m making this for my son’s elementary school potluck on Friday and don’t want the peppers to be too crunchy for the kids.

yesterday

Great question! I recommend dicing the bell peppers small and sautéing them for 3-4 minutes over medium heat before adding them to the cheese sauce if you prefer a softer, less crunchy texture – that works perfectly for potlucks! So happy your kids loved the recipe :)

3 days ago

As a guy who’s literally only ever made boxed mac and cheese because I thought homemade was too complicated? This recipe was a breeze! Total cook time was actually 30 minutes like it said, no fancy equipment or weird ingredients I had to run to the specialty store for. The bell pepper adds such a bright, nice pop of flavor I never knew my mac was missing. I just used regular sharp cheddar I already had in my fridge, no fancy artisanal cheese, and it still came out incredible. 10/10.

2 days ago

Love that you made this work with what you already had on hand! Sharp cheddar is actually my go-to cheese for this recipe too – you don’t need fancy, expensive ingredients to make a really great mac and cheese. So glad you gave homemade a shot!

1 week ago

Really solid base recipe! I swapped the whole milk for oat milk and used a dairy-free cheddar plus a couple tablespoons of nutritional yeast to make it vegan, and added a pinch of smoked paprika for depth. I also roasted my bell peppers for 15 minutes first to bring out their caramelized sweetness, which was chef’s kiss. Only docking a star because I wish there were notes for vegan/dairy-free swaps directly in the recipe, but otherwise it was delicious – even my meat-and-potatoes boyfriend ate two full bowls and asked when I’d make it again.

yesterday

Meal prepped this on Sunday for my work lunches all week, and it held up way better than I expected! The bell peppers didn’t get mushy at all when I reheated it in the office microwave, and the cheese sauce stayed creamy instead of getting grainy like most leftover mac and cheese. I added a little crumbled turkey bacon on top for extra protein to keep me full through meetings, and it was such a nice upgrade from sad desk salad. 10/10, will be meal prepping this monthly.

2 hours ago

Wait how do you store it to keep the sauce from getting grainy? I’ve tried meal prepping mac and cheese before and it always turns into a clumpy, gross mess when I reheat it. Would love any tips!

5 minutes ago

Just made this in my tiny dorm kitchen! It was so easy, I didn’t even need a real baking dish – just used the pot I boiled the pasta in to mix everything together. I used frozen pre-diced bell peppers because that’s all the campus corner store had, and it still slapped. My roommate and I ate almost the whole pan standing up over the counter lmao. Only oopsie was I poured too much milk in at first so the sauce was a little runny, but it thickened up after I let it sit for 5 minutes.

just now

Wait the frozen pepper hack is genius! I never think to use frozen veggies for stuff like that, did it taste weird at all compared to fresh? I’m making this for my floor’s potluck this weekend!

just now

Frozen pre-diced bell peppers work perfectly for this recipe – total time saver, no chopping required! If your sauce ever ends up too runny, you can also stir in an extra handful of shredded cheese a little at a time to help it thicken up faster. So glad you and your roommate enjoyed it!

2 weeks ago

Brought this to our neighborhood block party a couple weeks ago and people were hounding me for the recipe before I even set the pan down on the table! The bell peppers add such a fresh, crisp contrast to the rich, creamy cheese that makes this stand out so much from every other basic mac and cheese people bring to potlucks. I used a mix of red, yellow, and green bell peppers to make it look extra colorful and festive, and even the picky kids at the party were lined up for seconds. Will absolutely be making this for every get-together from now on!

30 minutes ago

This was really tasty! I added a diced jalapeño in with the bell peppers to give it a little subtle kick, and that combo with the creamy cheese sauce was unreal. My only tiny note is that I wish the recipe had a little more seasoning built in – I ended up adding extra garlic powder, onion powder, and black pepper to make it pop a little more, but that’s just my personal preference since I like bold flavors. Will definitely make it again, just with my extra seasoning added in!

5 minutes ago

So glad you enjoyed the recipe and made it your own with that jalapeño add-in – that sounds absolutely delicious! I love loading mine up with extra garlic powder too, I’ll add a note in the recipe card reminding folks to taste and adjust seasoning to their preference. Thanks so much for the feedback!

2 hours ago

As someone who’s gluten free, I’m always nervous to try new pasta recipes because gluten free noodles can turn into mushy garbage so easily. But this worked PERFECTLY with brown rice elbow pasta! The bell pepper adds such a nice bright bite that cuts through the richness of the cheese, so I didn’t feel overly stuffed and gross after eating a big bowl like I usually do with regular mac and cheese. Even my non-gluten-free husband said it was better than the regular mac I make. Win win!

30 minutes ago

Did you rinse your gluten free pasta after boiling? I find that helps keep it from getting mushy when it’s mixed with cheese sauce, just curious if you did anything special to make it hold up so well!

5 days ago

Made this for taco night last week as a side instead of our usual rice and beans, and it was such a hit! The bell peppers matched the vibe of our taco toppings perfectly, and I even tossed in a little taco seasoning into the cheese sauce for fun. My whole crew raved about it, my cousin even asked if I’d make it for his birthday cookout next month. Who knew bell peppers in mac and cheese would go this hard?



