
Best Bitter
intro
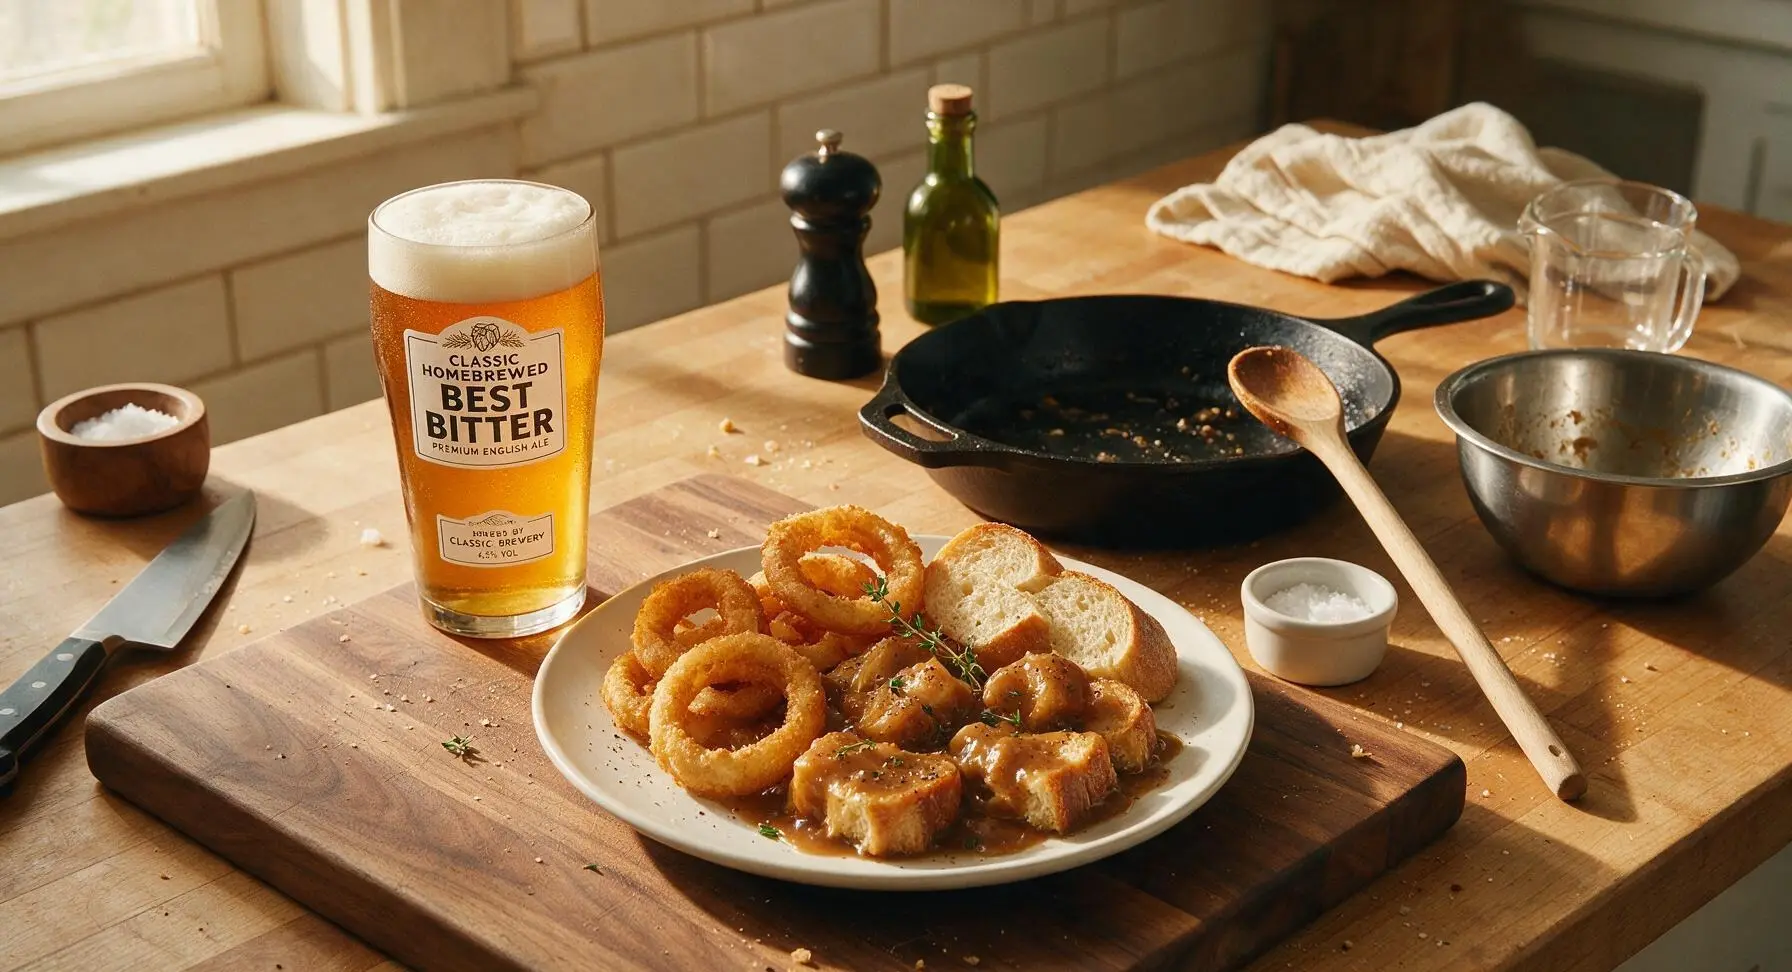
Classic English session ale with balanced bready malt sweetness, smooth earthy hop bitterness, and a crisp dry finish—perfect for sipping with pub fare at casual gatherings.
Ingredients
Steps
Sanitize Brewing Gear
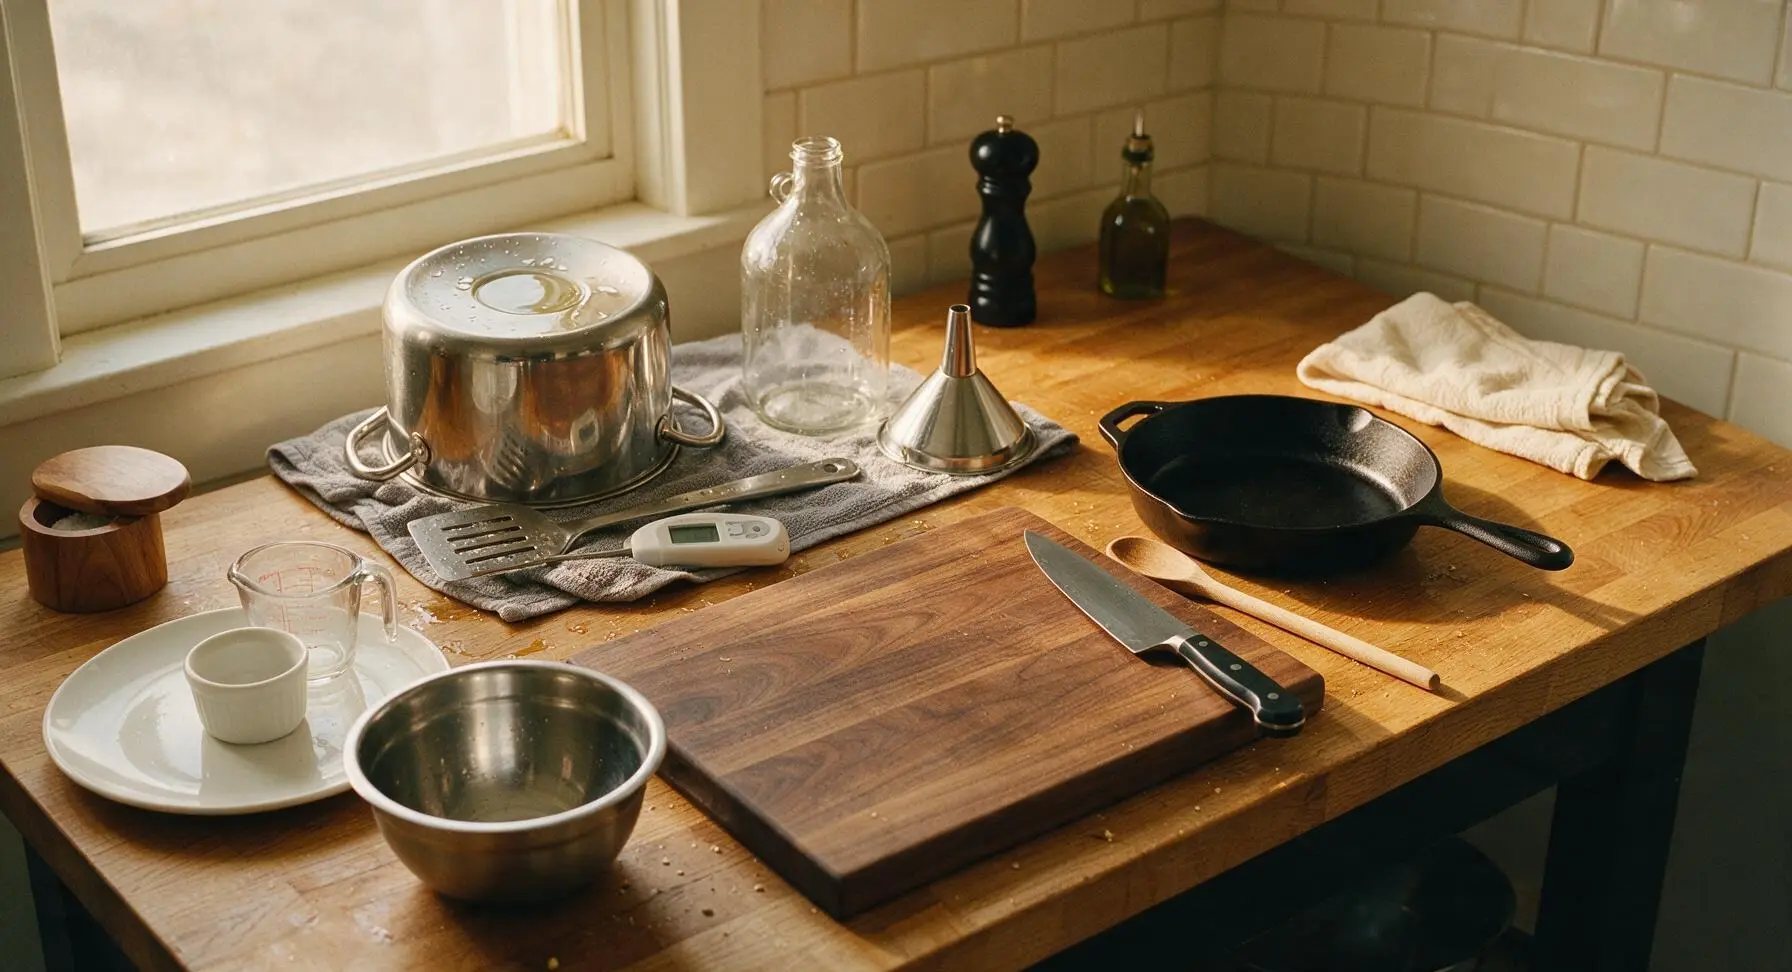
First, wash all brewing tools (brew pot, mash paddle, thermometer, straining bag, carboy, funnel, airlock, siphon tubing, capper, bottles) with warm soapy water, then rinse and soak in food-grade no-rinse brewer's sanitizer for 2 minutes. Set tools on the clean heather grey tea towel to air dry—any leftover bacteria or soap residue can ruin the beer, so ensure every surface that will touch cooled wort is fully sanitized. This prep step takes approximately 15 minutes.
Heat Mash Water
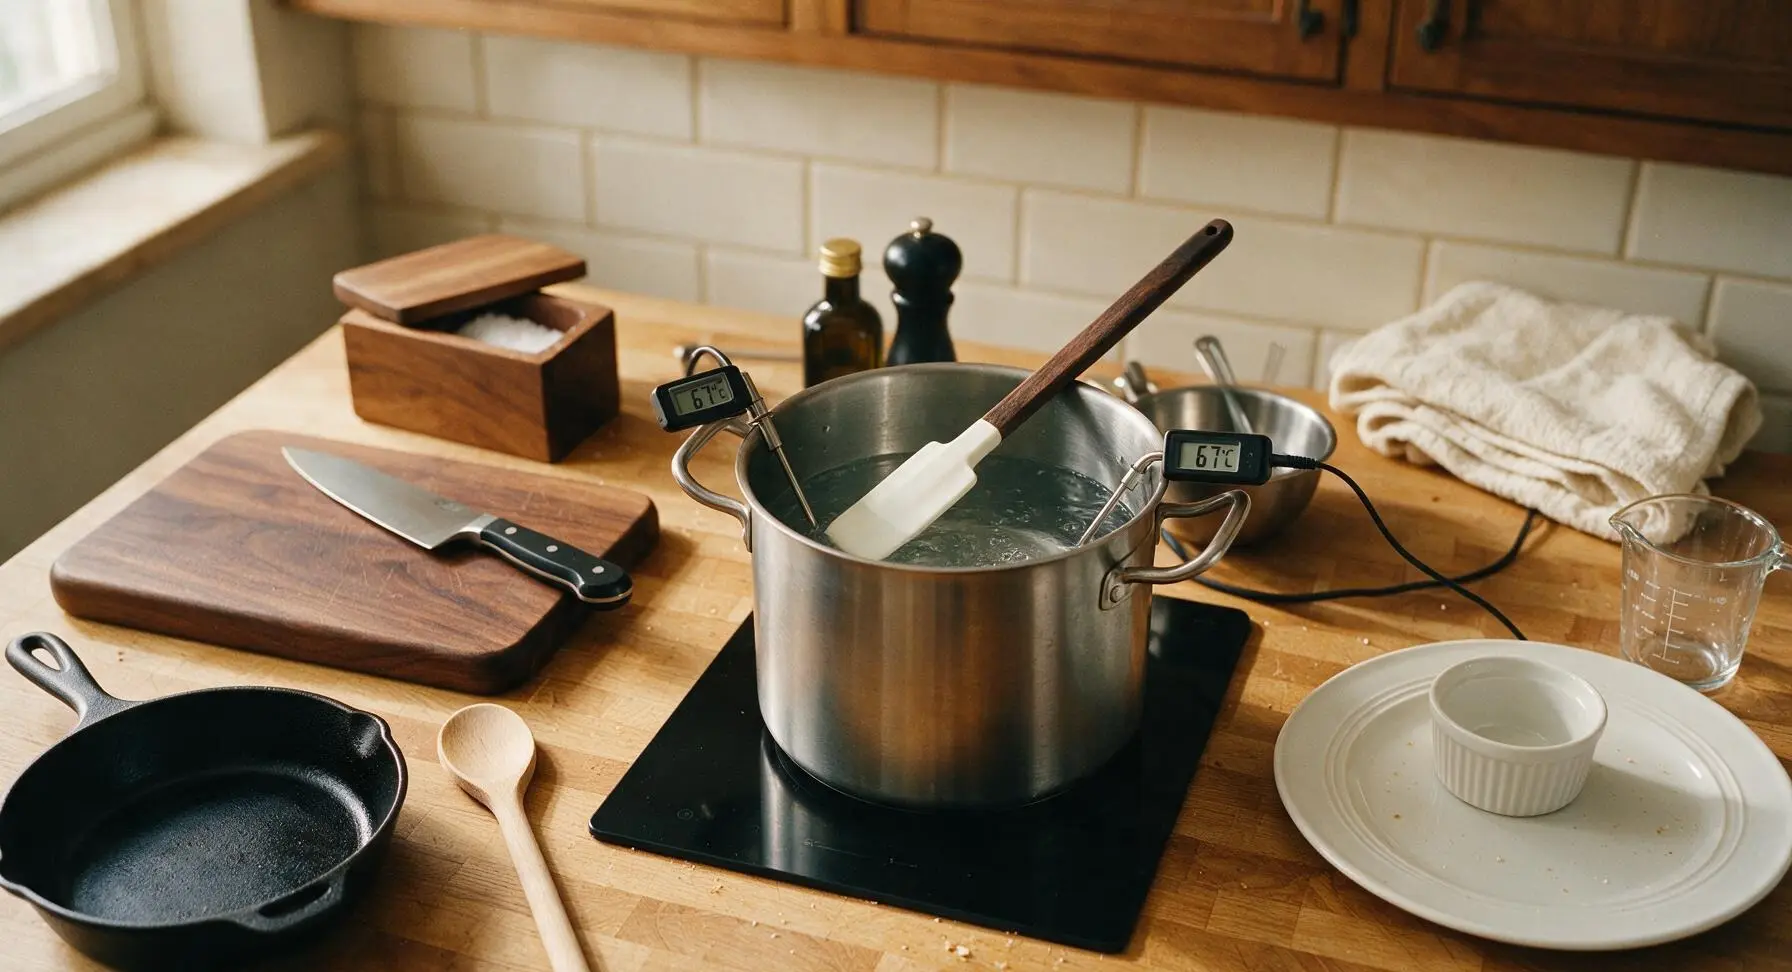
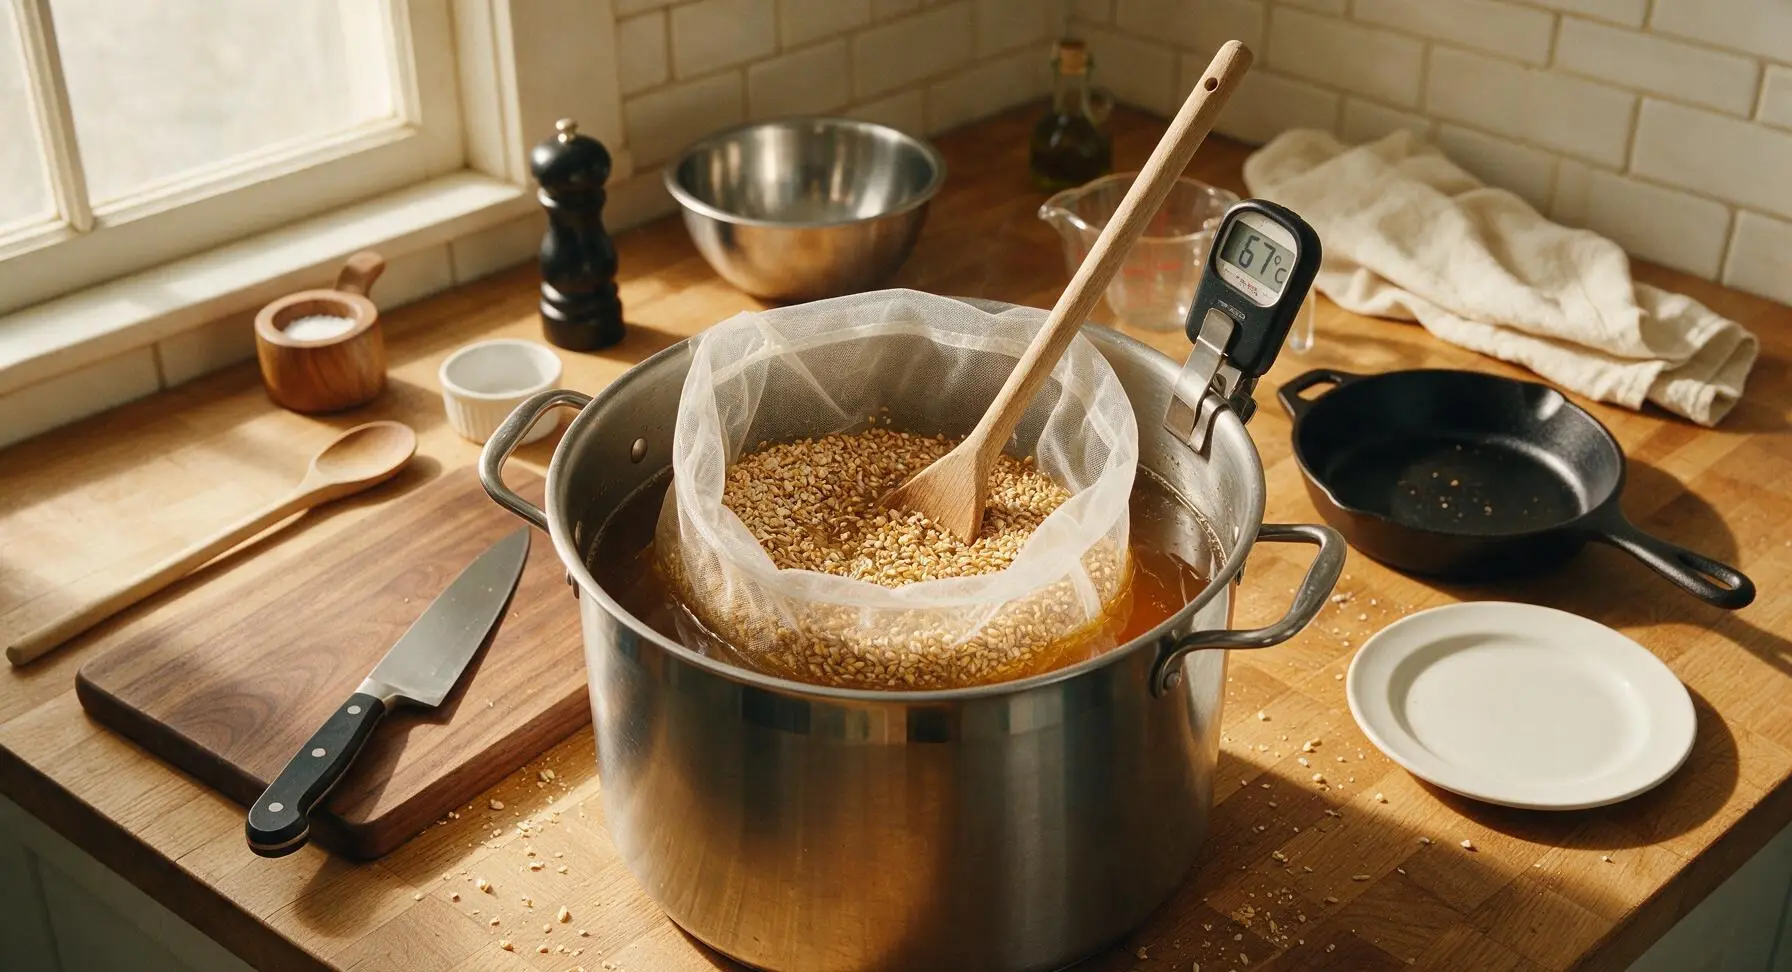
Place the matte black induction cooktop at center counter, set the stainless steel brew pot on the burner, and pour 3L of filtered water into the pot. Add the 5g of gypsum and stir with the mash paddle to fully dissolve. Heat the water to exactly 67°C (153°F), clipping the digital thermometer to the pot rim to monitor temperature; hold at this temperature, do not let it exceed 68°C, as this will destroy the enzymes needed to convert grain starch to sugar.
Mash the Malted Grains
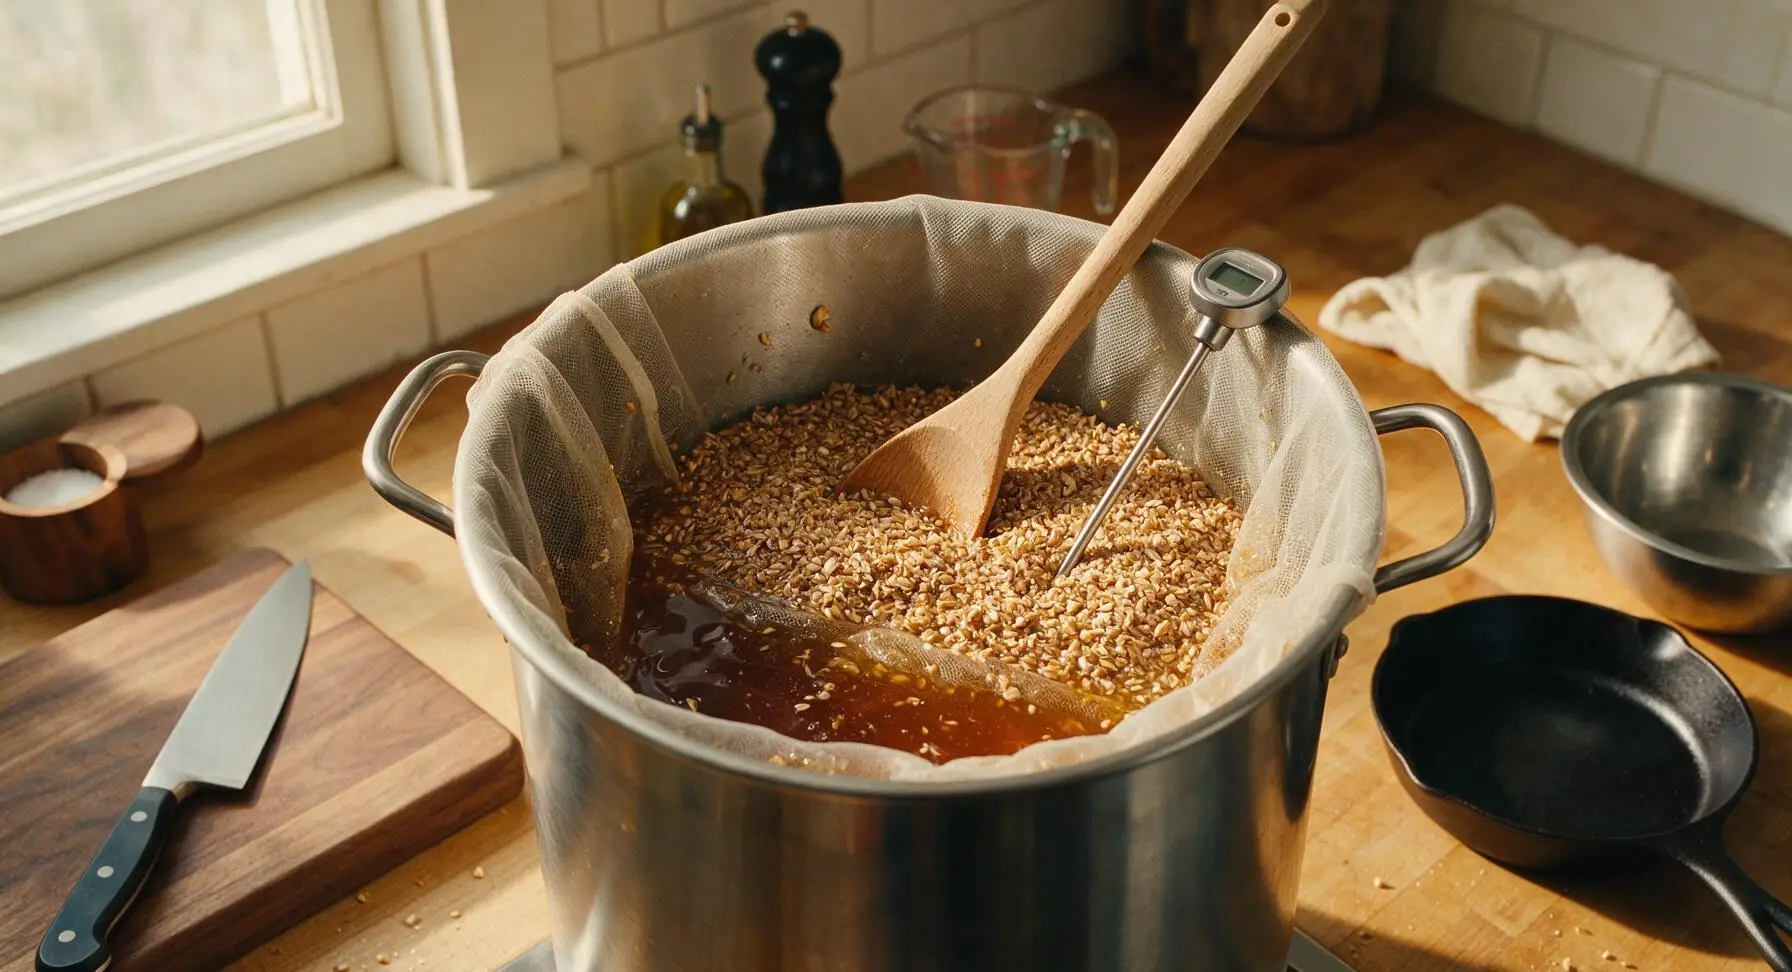
Line the brew pot with the nylon mesh straining bag, then slowly pour the crushed Maris Otter and Crystal malt into the bag, stirring gently with the mash paddle to break up any dry clumps of grain. Loosely seal the bag's drawstring, cover the pot, and hold the temperature steady at 67°C for 60 minutes. During this rest, grain enzymes will convert starches to fermentable sugar, creating sweet, amber wort. Check temperature every 10 minutes, adjusting burner power as needed to stay within the 65-68°C range.
Sparge to Extract Sugar
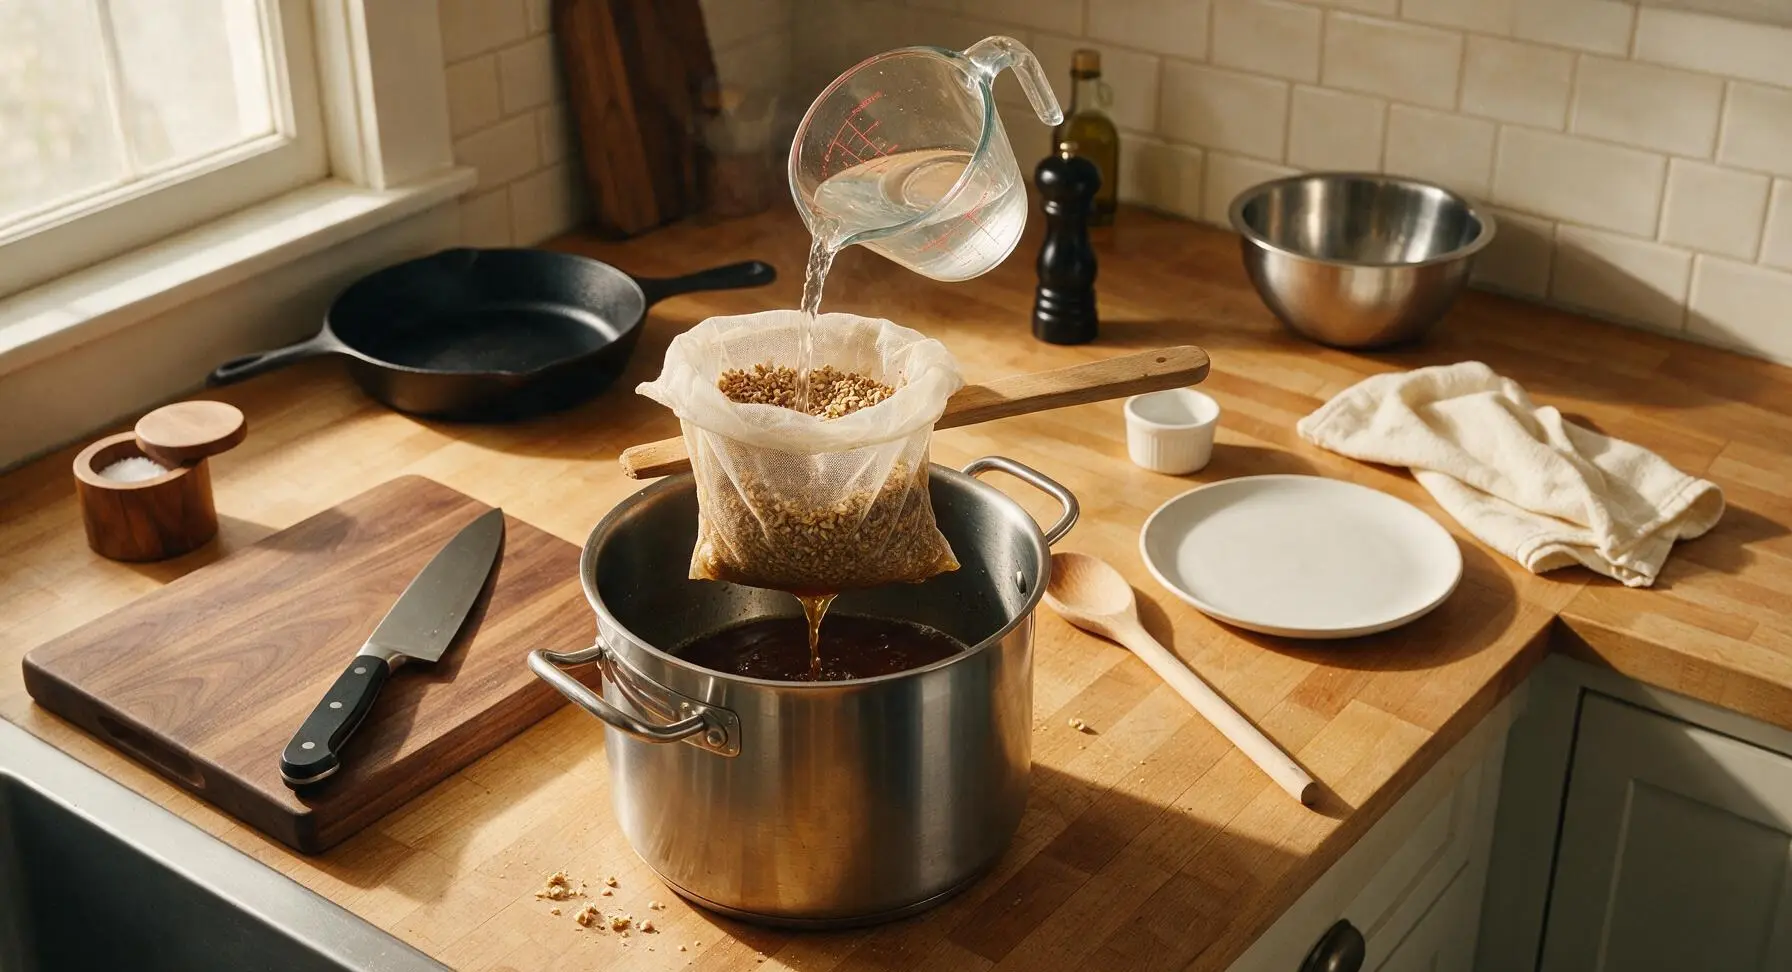
After the 60-minute mash rest, slowly lift the straining bag of spent grains out of the wort, resting it across the pot edge to drain for 5 minutes—do not squeeze the bag, as this extracts harsh, astringent tannins. Heat the remaining 2L of filtered water to 77°C (170°F) in the glass measuring cup, then slowly pour the warm water over the top of the grain bag to rinse residual sugar from the grains. Discard the fully drained spent grains once rinsing is complete.
Boil and Add Hops
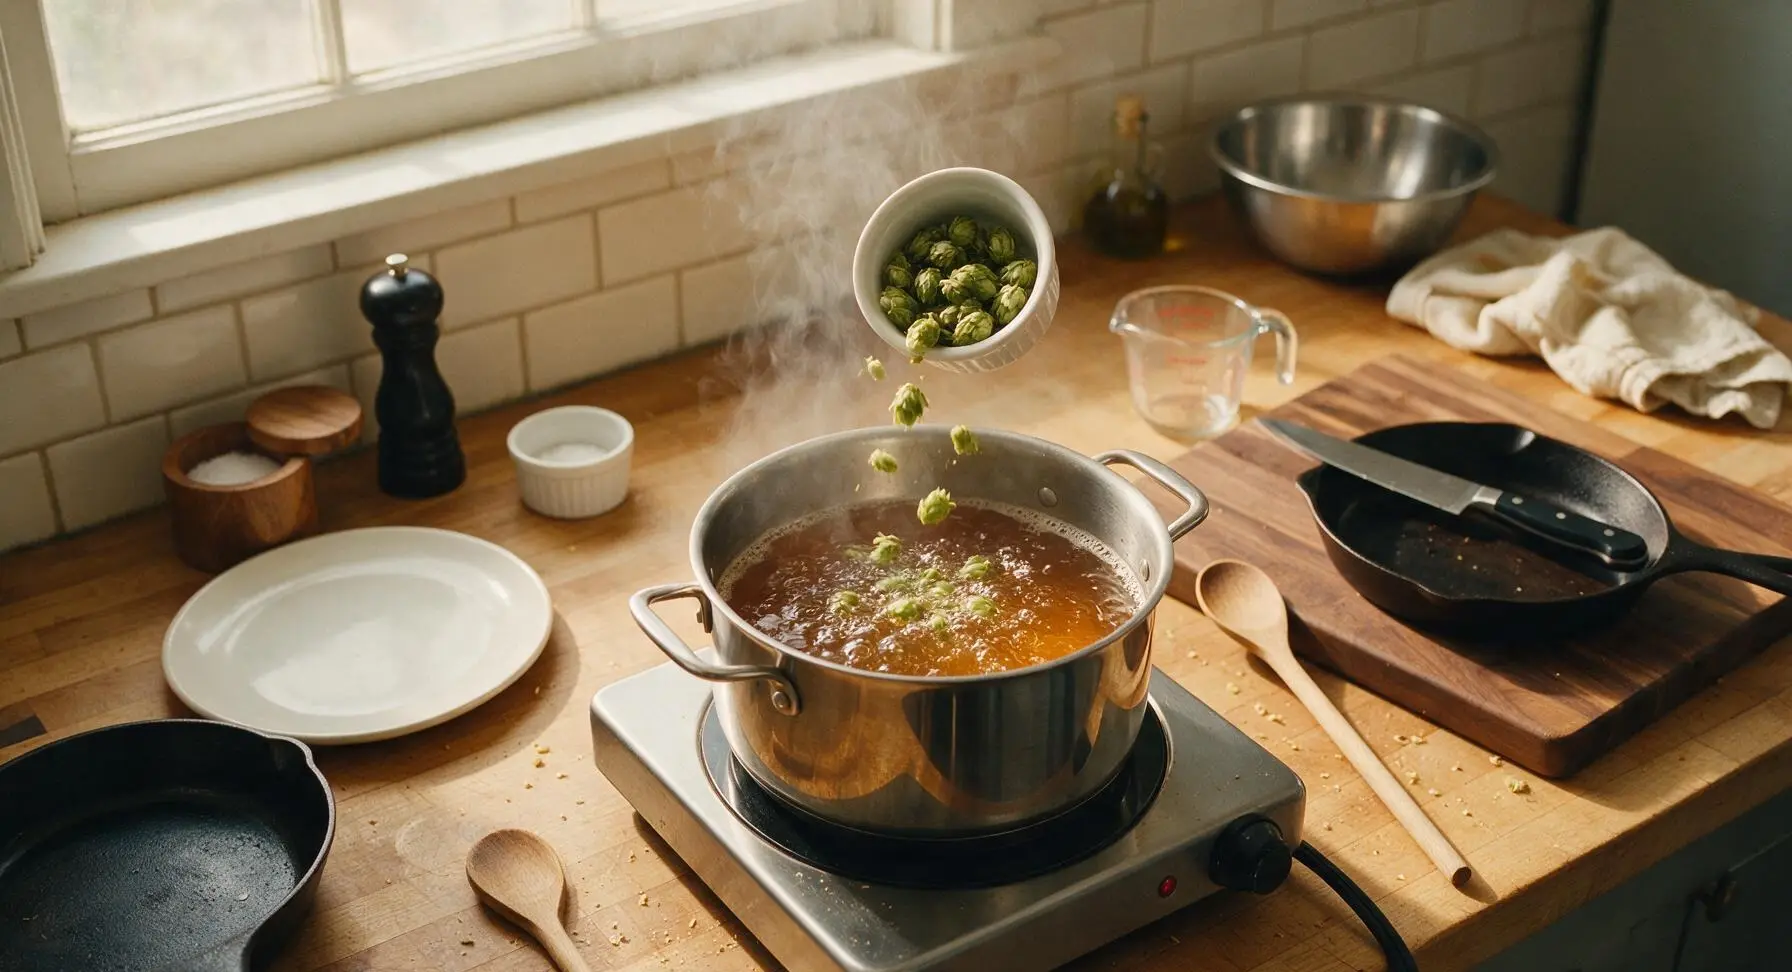
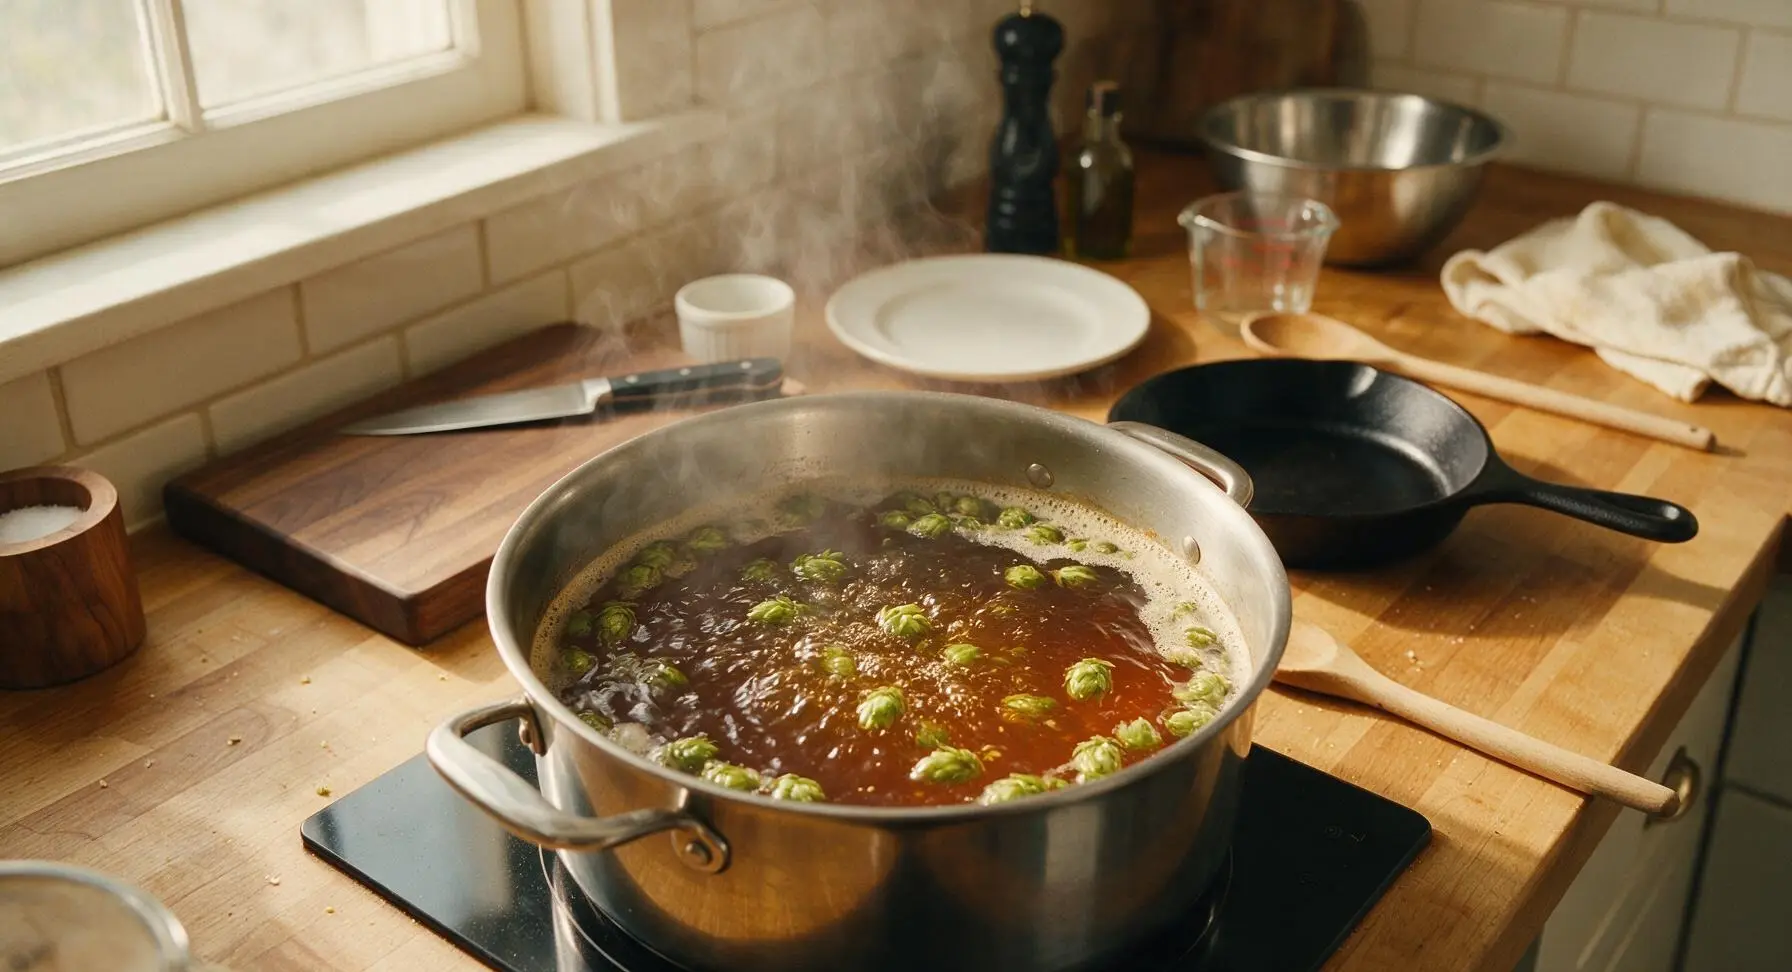
Turn the induction burner to high, bringing the collected wort to a gentle rolling boil, adjusting heat as needed to prevent messy boilovers. Once a steady boil is reached, set a timer for 60 minutes. Add 14g of East Kent Goldings hops at the start of the boil for clean, smooth bitterness, add 7g of hops with 15 minutes remaining in the boil for earthy flavor, and add the final 7g of hops with 1 minute left in the boil for bright, floral aroma. Keep the pot partially covered during the boil to retain volume.
Cool and Transfer Wort
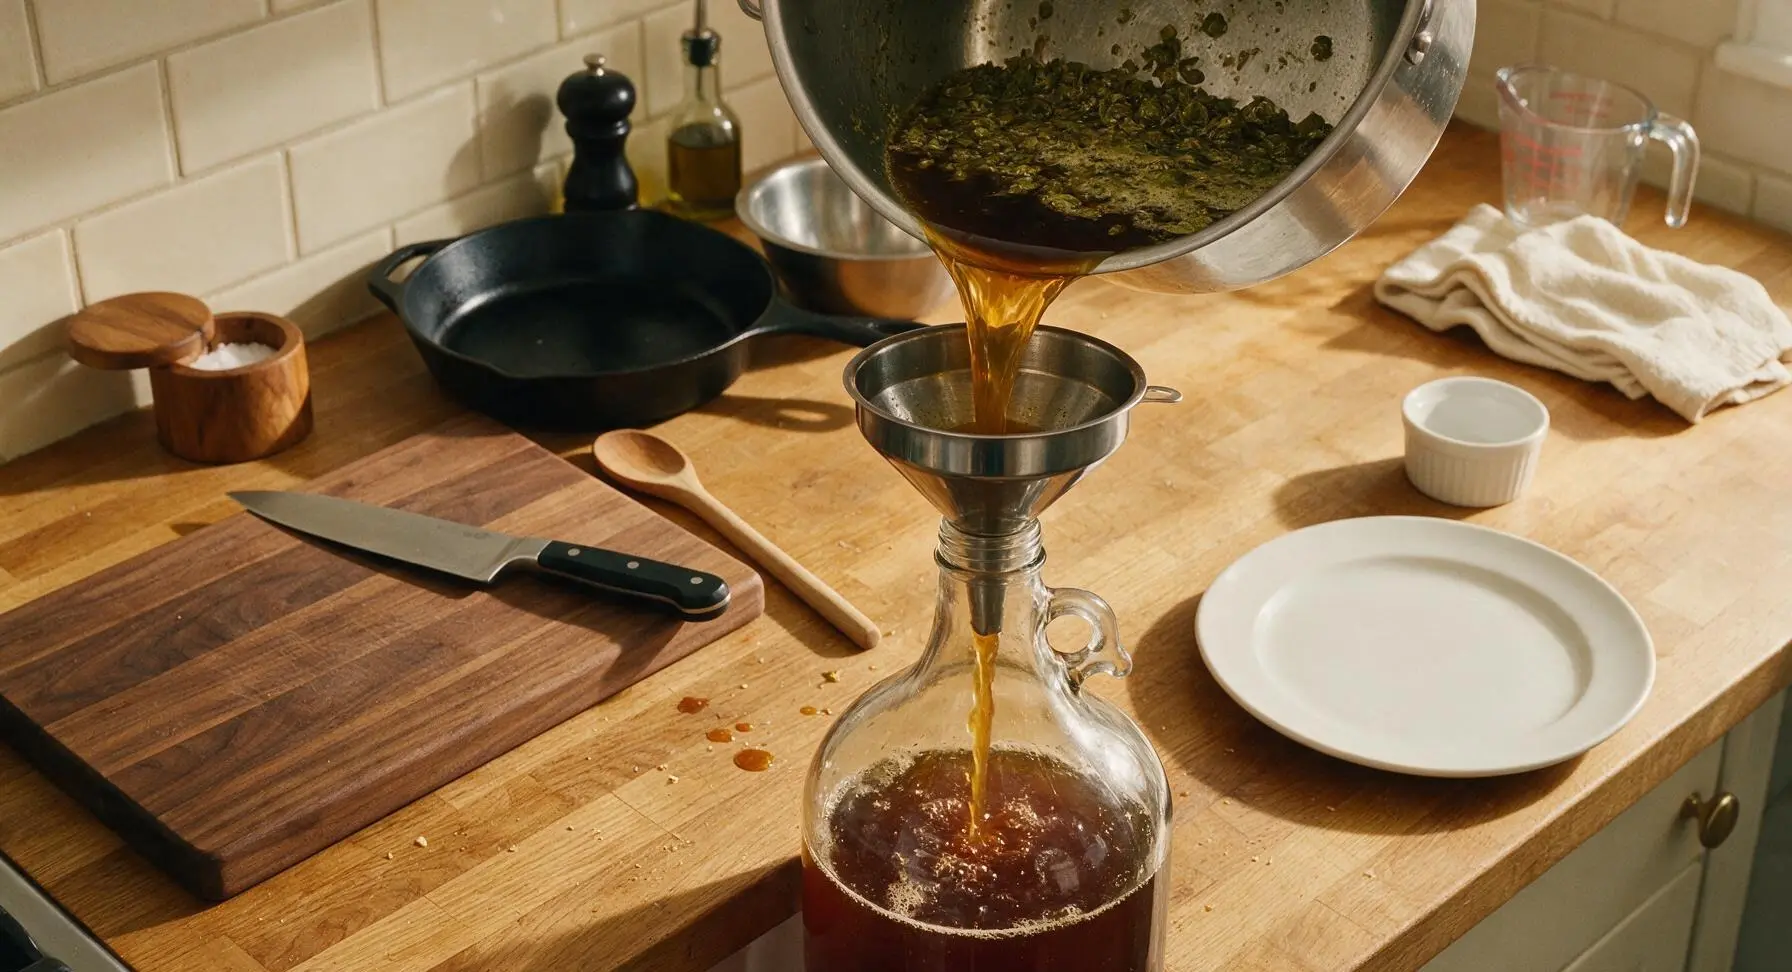
Once the 60-minute boil finishes, turn off the burner. Cool the wort as quickly as possible to 21°C (70°F) (approximately 20 minutes) by setting frozen ice packs around the base of the pot. Once cooled, place the stainless steel funnel in the mouth of the glass carboy, and pour all wort through the funnel into the carboy, leaving heavy hop trub (sediment) behind in the bottom of the brew pot.
Pitch Yeast and Ferment
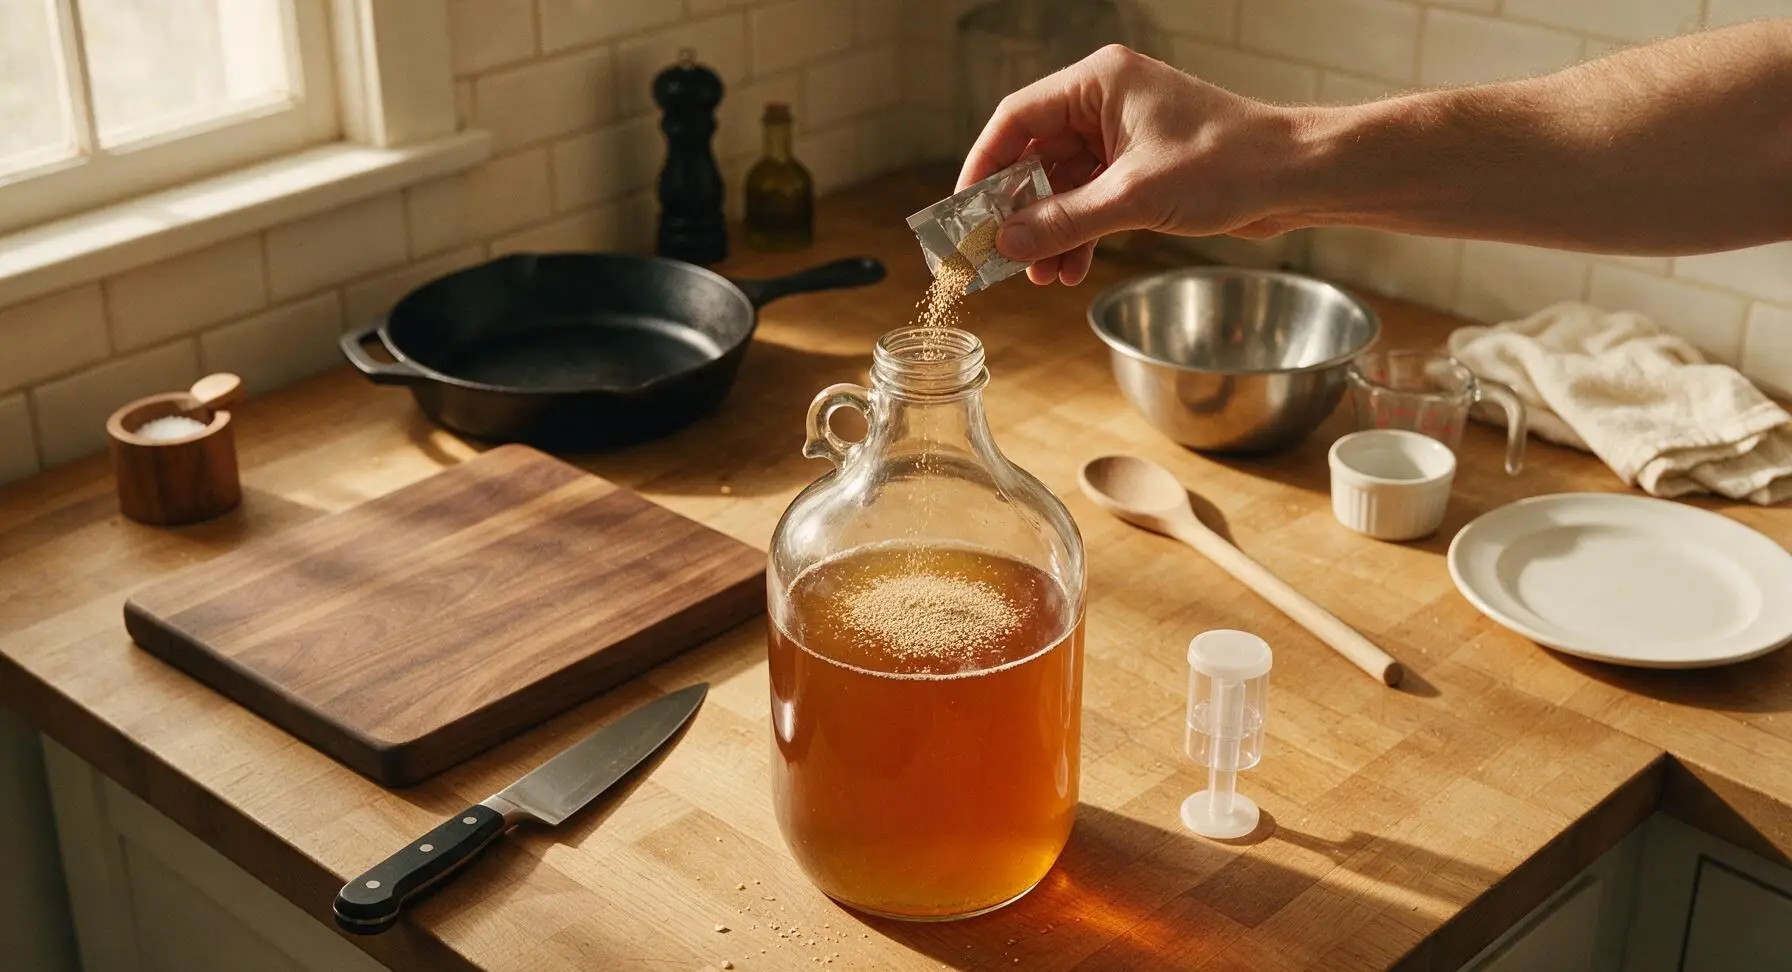
Sprinkle the entire 11g packet of English ale yeast evenly over the surface of the cooled wort in the carboy. Seal the carboy neck with the red rubber stopper, insert the 3-piece airlock filled halfway with sanitizer solution, and move the carboy to a dark, temperature-stable spot held at 18-20°C (65-68°F) for 2 weeks. Active fermentation will begin within 24-48 hours, visible as steady bubbles rising through the airlock.
Bottle and Condition
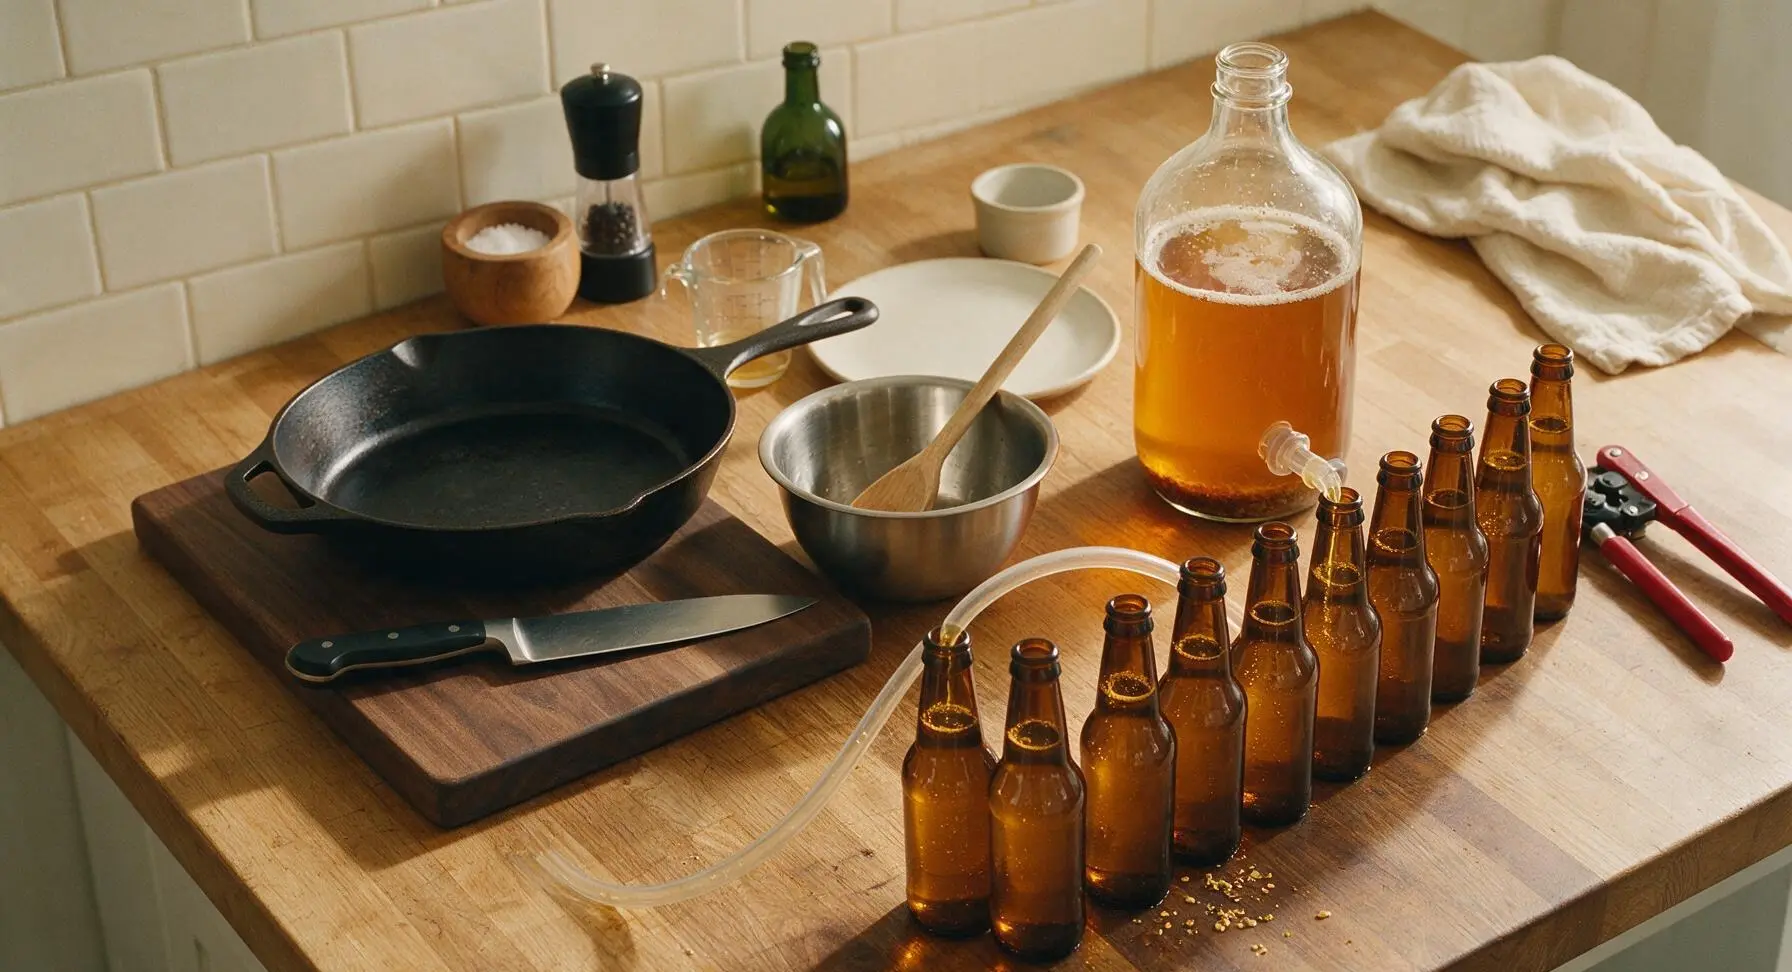
After 2 weeks of fermentation, when bubbles stop appearing in the airlock, dissolve the 30g of corn priming sugar in 50ml of boiling water, cool fully, and stir gently into the carboy with the sanitized mash paddle to distribute evenly. Siphon the beer through the clear vinyl tubing into clean, sanitized amber glass bottles, leaving 2cm of headspace at the top of each bottle. Crimp crown caps onto each bottle using the red bottle capper, then store bottles at room temperature for 2 weeks to allow natural carbonation to develop before chilling to 10°C (50°F) and serving.
Tips
2.Hold fermentation temperature steady at 18-20°C (65-68°F): English ale yeast produces subtle, pleasant notes of fresh bread and ripe pear at this range; temperatures above 22°C create harsh solvent-like off-flavors, while temperatures below 16°C will stall fermentation entirely.
3.Wait the full 2 weeks for bottle conditioning: the priming sugar will create soft, natural carbonation and allow young, 'green' beer flavors to mellow into a well-rounded, pub-worthy pint—opening bottles early results in flat, unbalanced beer.






OMG, this best bitter recipe is such a game changer! I’ve been messing around with homebrewing for 2 years and could never nail that smooth, balanced pub-style bitter without it coming off too aggressively hoppy or weirdly malty. I followed the steps exactly on my last brew day, brought a growler to our neighborhood potluck last weekend and everyone was hounding me for the recipe. Total active time was right at an hour and a half like the recipe said, and the medium difficulty rating felt totally fair even for someone who’s still getting the hang of all-grain batches. 10/10, this is going into my regular rotation for sure!
SO good. Brewed this last weekend to have on tap for our college football watch party, and even my buddies who usually only chug cheap light lager were going back for second pints. The only heads up I’ll give is to make sure you lock in your mash temp — I let mine creep up 5 degrees on my first go and it came out a little thinner than I wanted, but it was still totally drinkable and a hit. The medium difficulty felt spot on, and the active time didn’t drag on longer than the listed 90 minutes either. I’ll absolutely brew this again now that I’ve got the temp kinks worked out.
Tried this recipe as my first ever all-grain brew after doing a handful of extract kits, and I was so nervous I’d mess it up! I spent the full 90 minutes on brew day following every step super closely, bottled it after two weeks in the fermenter, and cracked the first cold one last night. It’s legit better than a lot of the best bitters I’ve ordered at local pubs around town! My husband loved it so much he already asked when I’m making the next batch. Total game changer for new all-grain brewers, can’t recommend it enough.