
best bread for breakfast toast

intro
This soft, honey-kissed oat sandwich loaf toasts to golden crisp perfection—sturdy enough for jam, avocado, or eggs, with a fluffy, tender crumb inside.
Ingredients
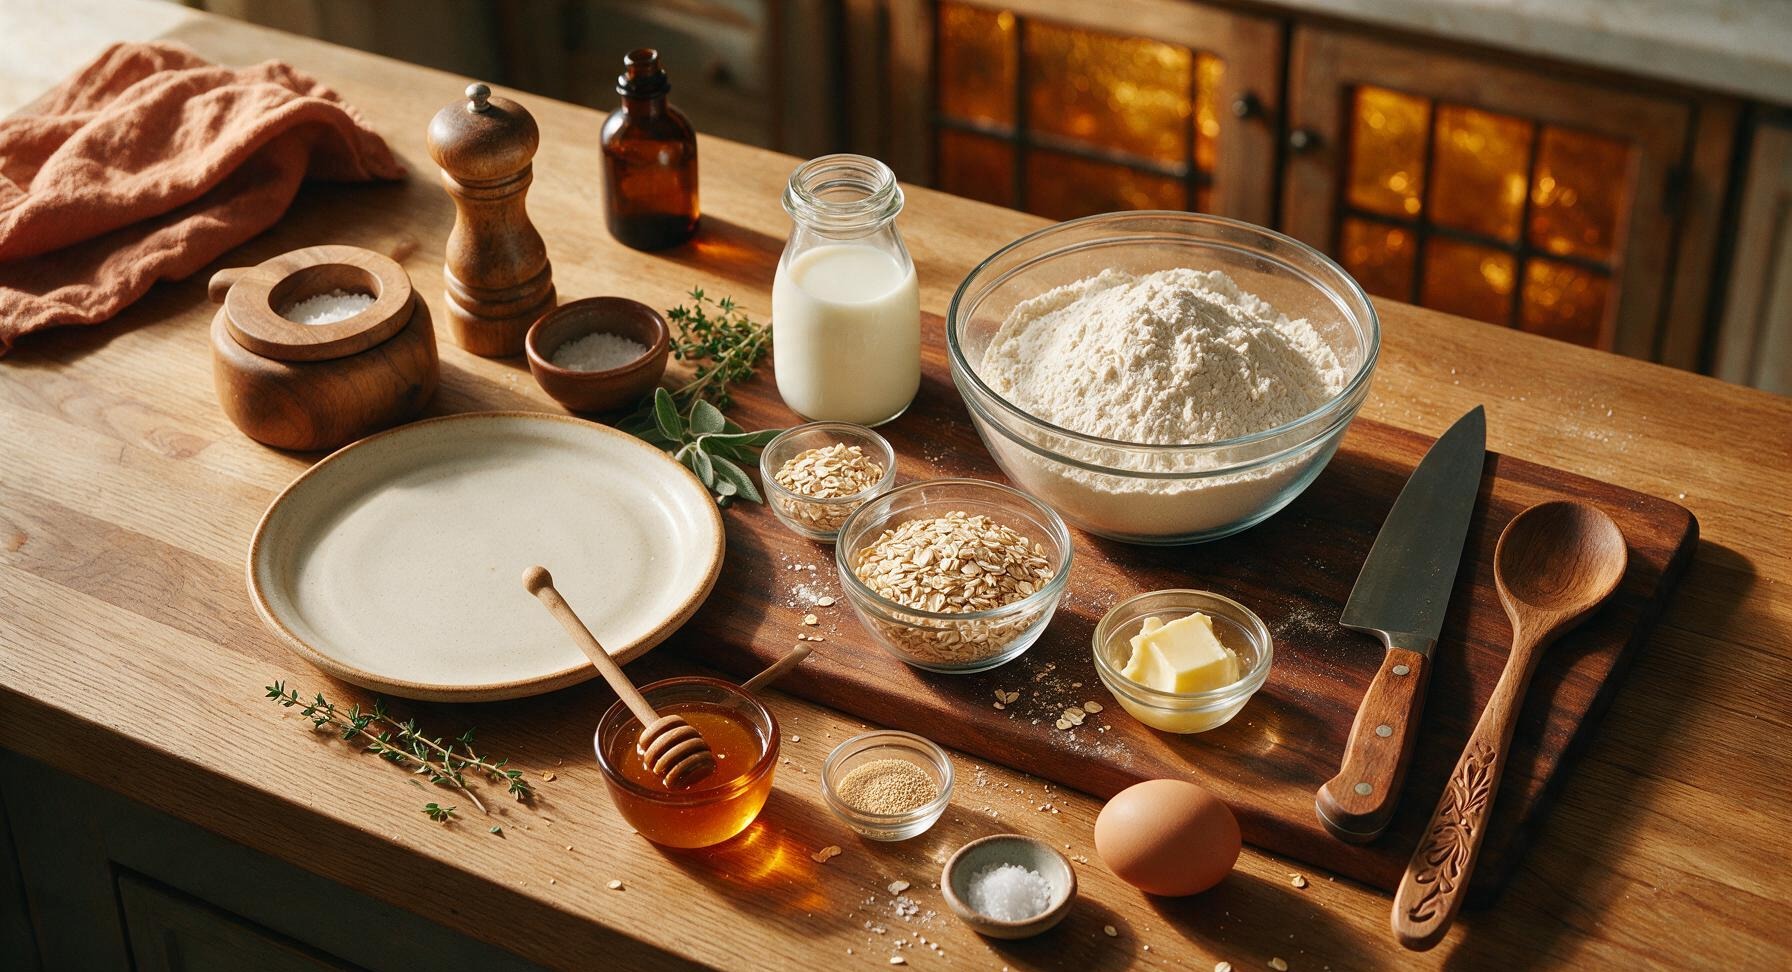
Steps
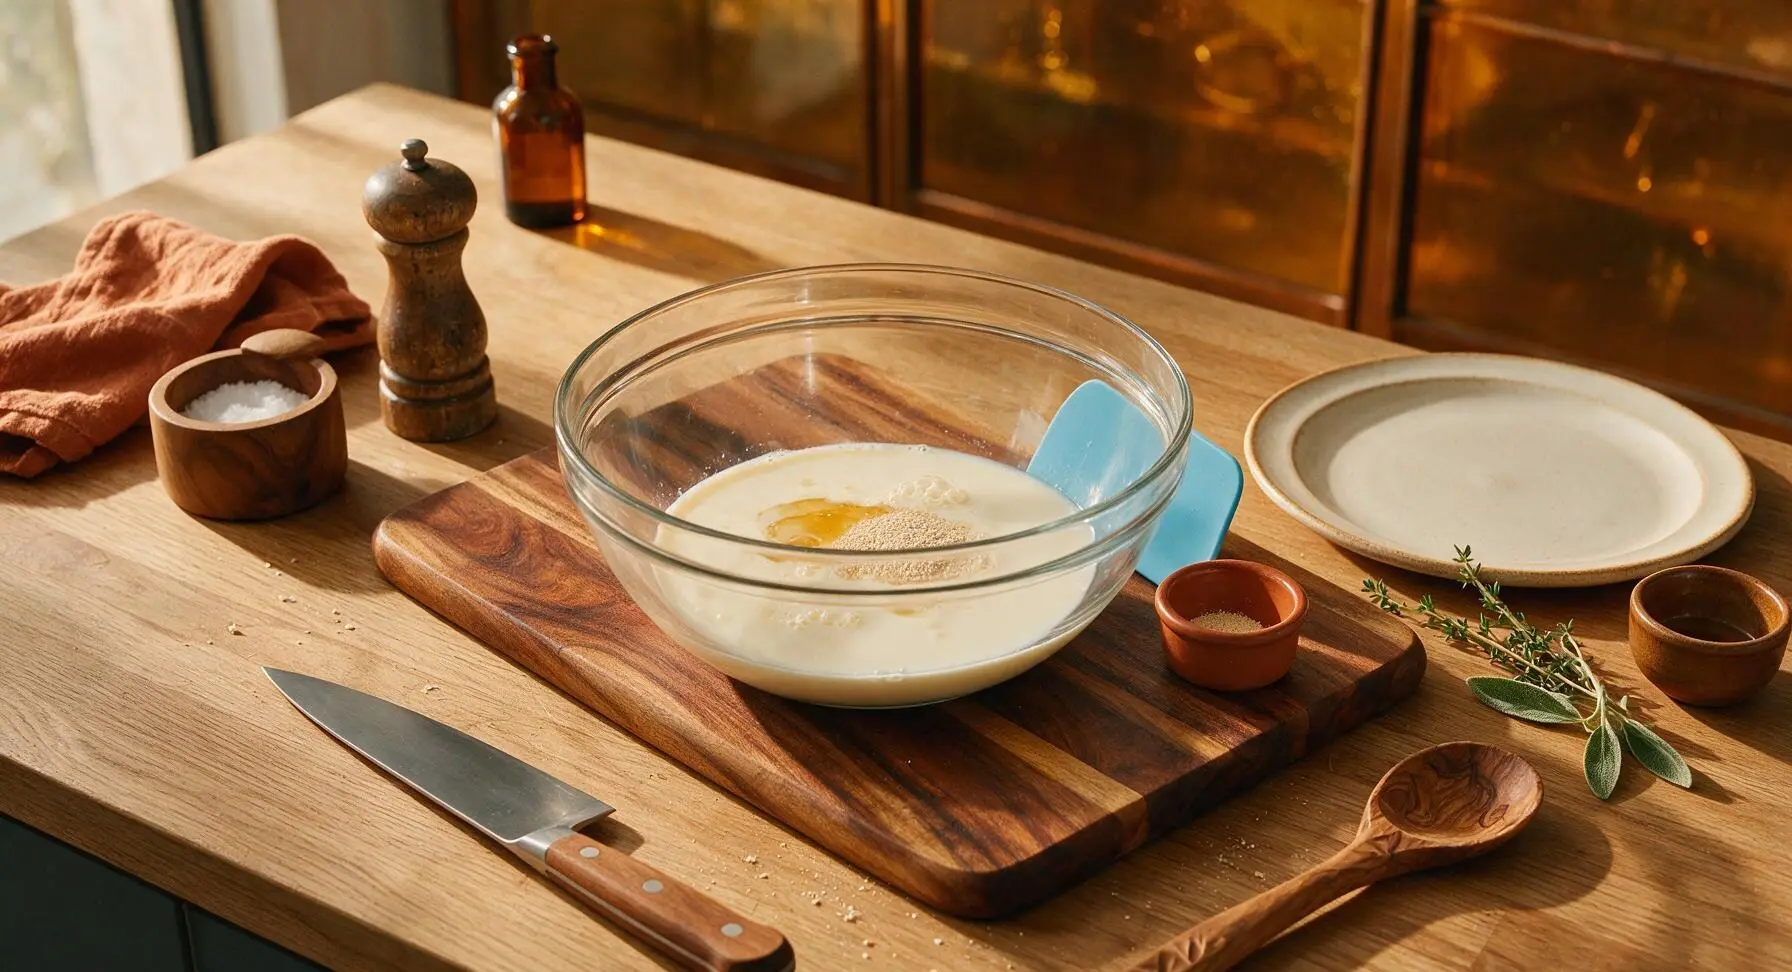
Activate the Yeast
In the large tempered glass mixing bowl, combine the warm whole milk (110°F/43°C, feels like warm bath water, not hot to touch), 1 teaspoon of the measured honey, and the instant yeast. Stir gently with the tip of the sky blue silicone dough scraper to combine, then let rest for 5 minutes. The mixture will become foamy and frothy on top, confirming the yeast is active; if no foam forms, replace the yeast before proceeding.
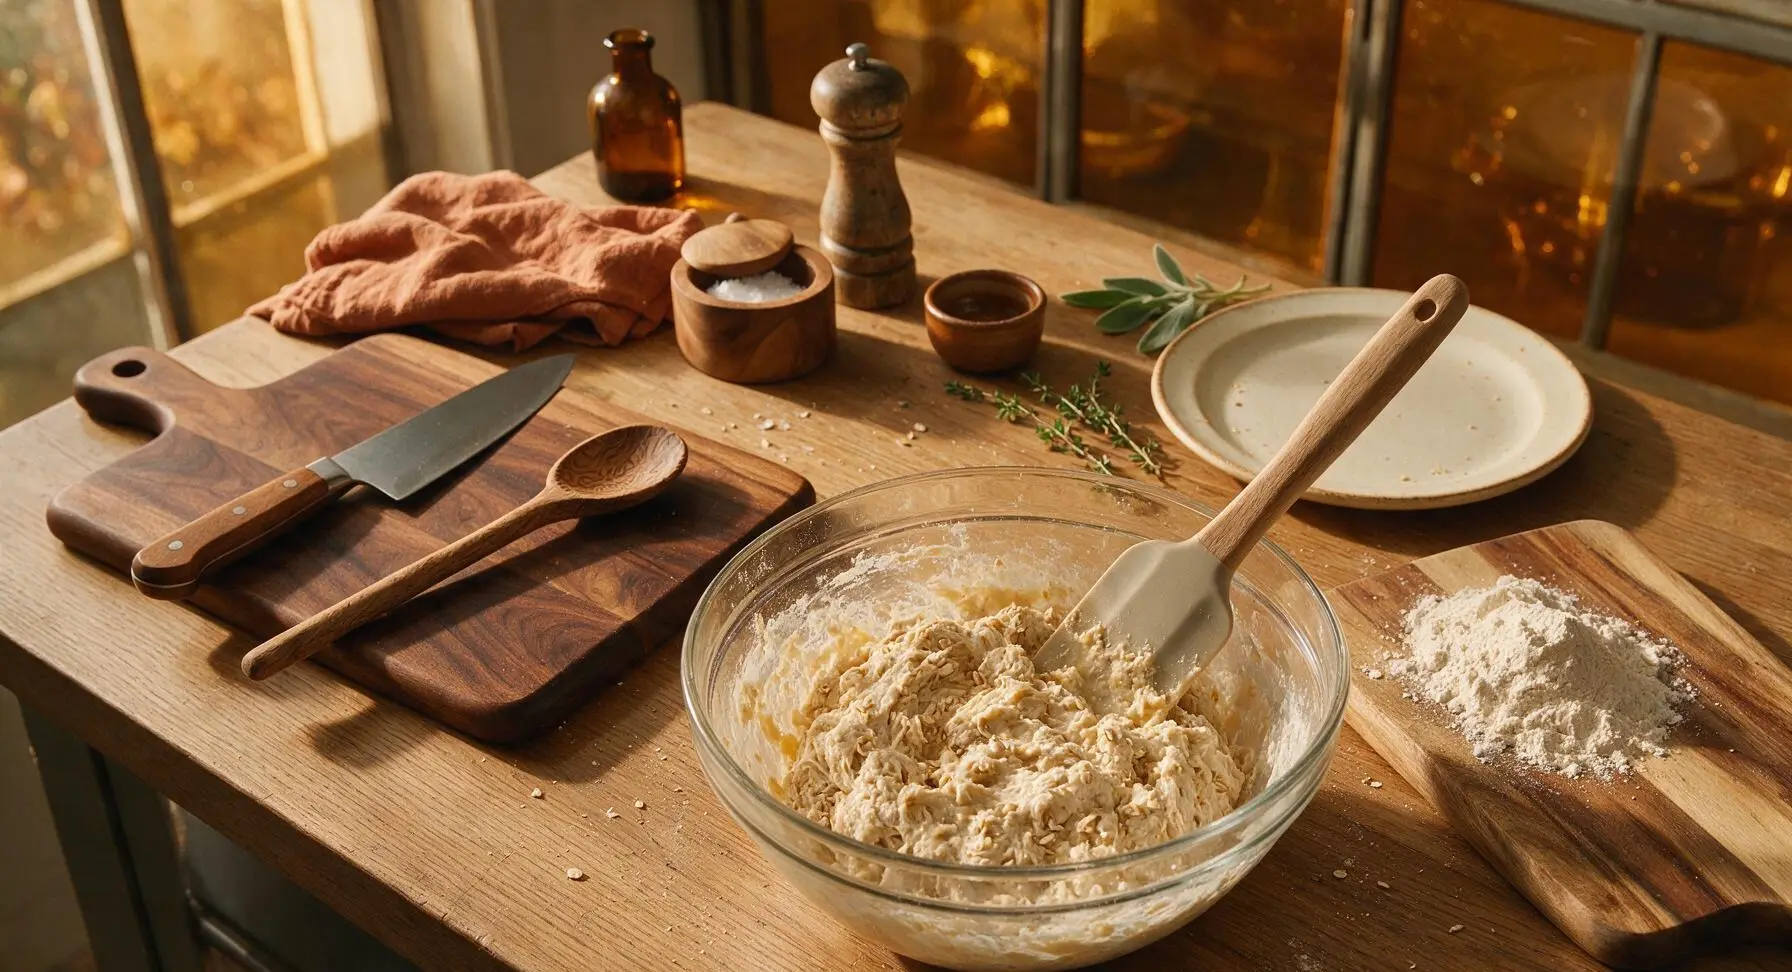
Mix the Dough
Add the remaining honey, melted cooled butter, room temperature egg, fine sea salt, and 80g (3/4 cup) of the rolled oats to the foamy yeast mixture. Stir with the dough scraper to combine, then gradually add the bread flour 1/2 cup at a time, stirring between additions, until a shaggy, sticky dough forms that pulls away from the sides of the bowl. The dough will look rough, with no dry flour pockets remaining.
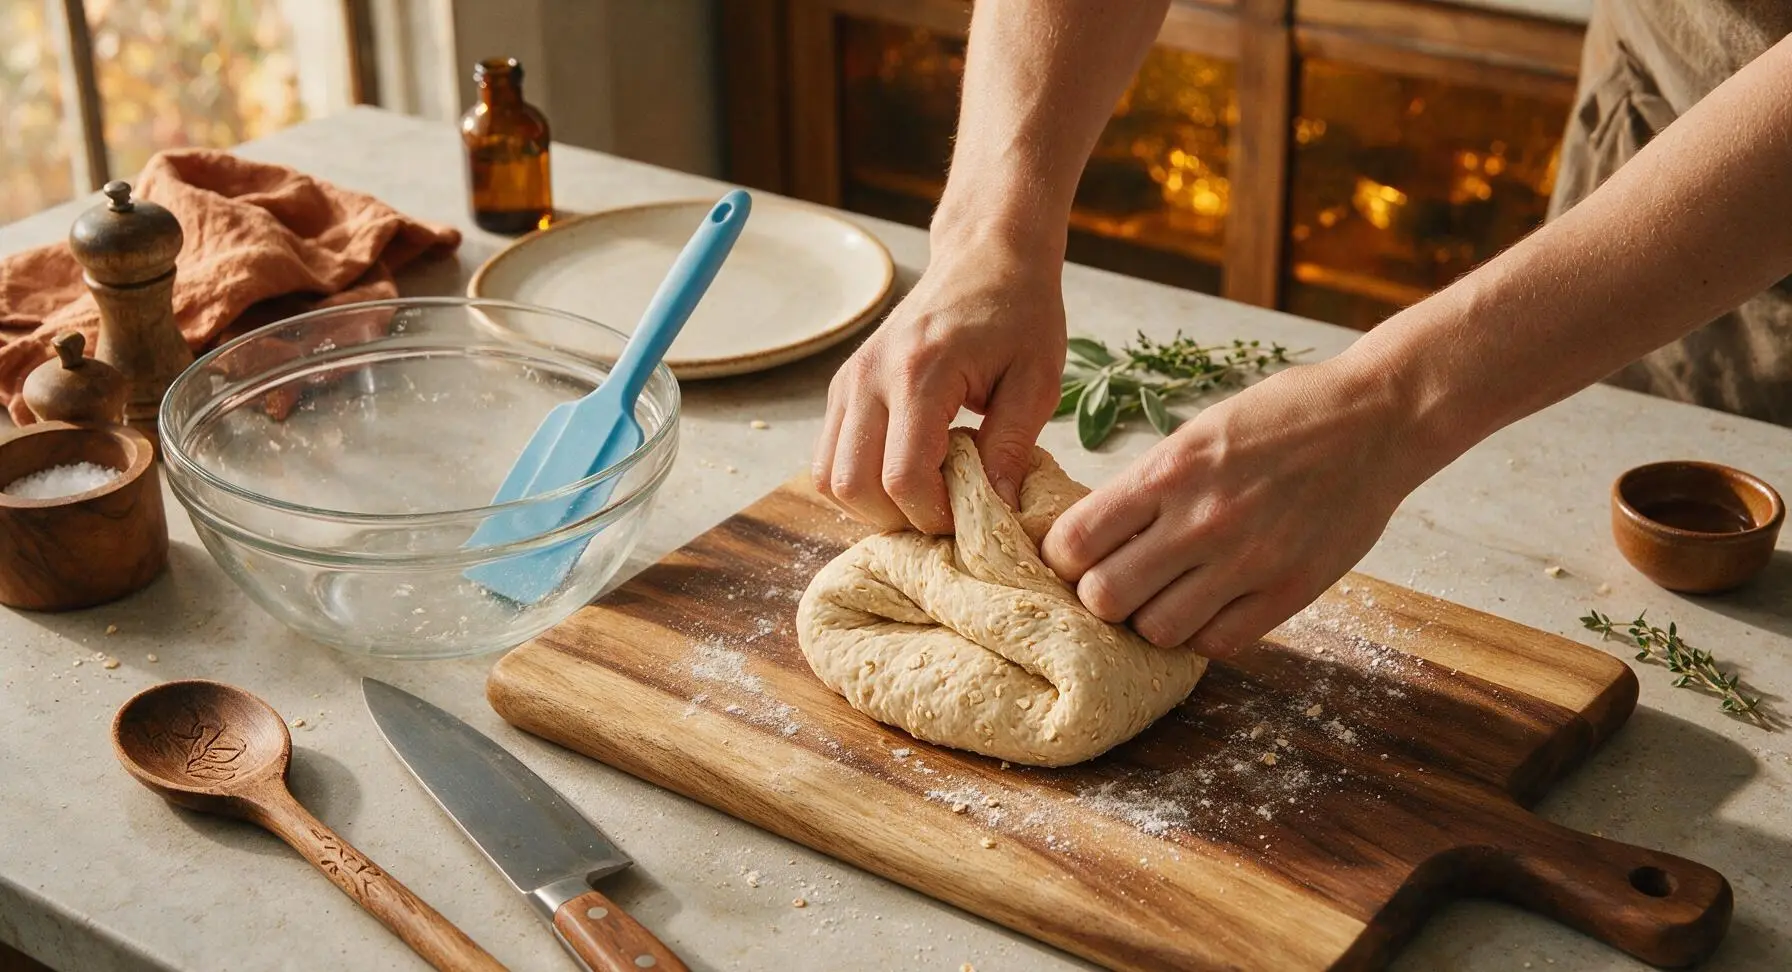
Knead the Dough
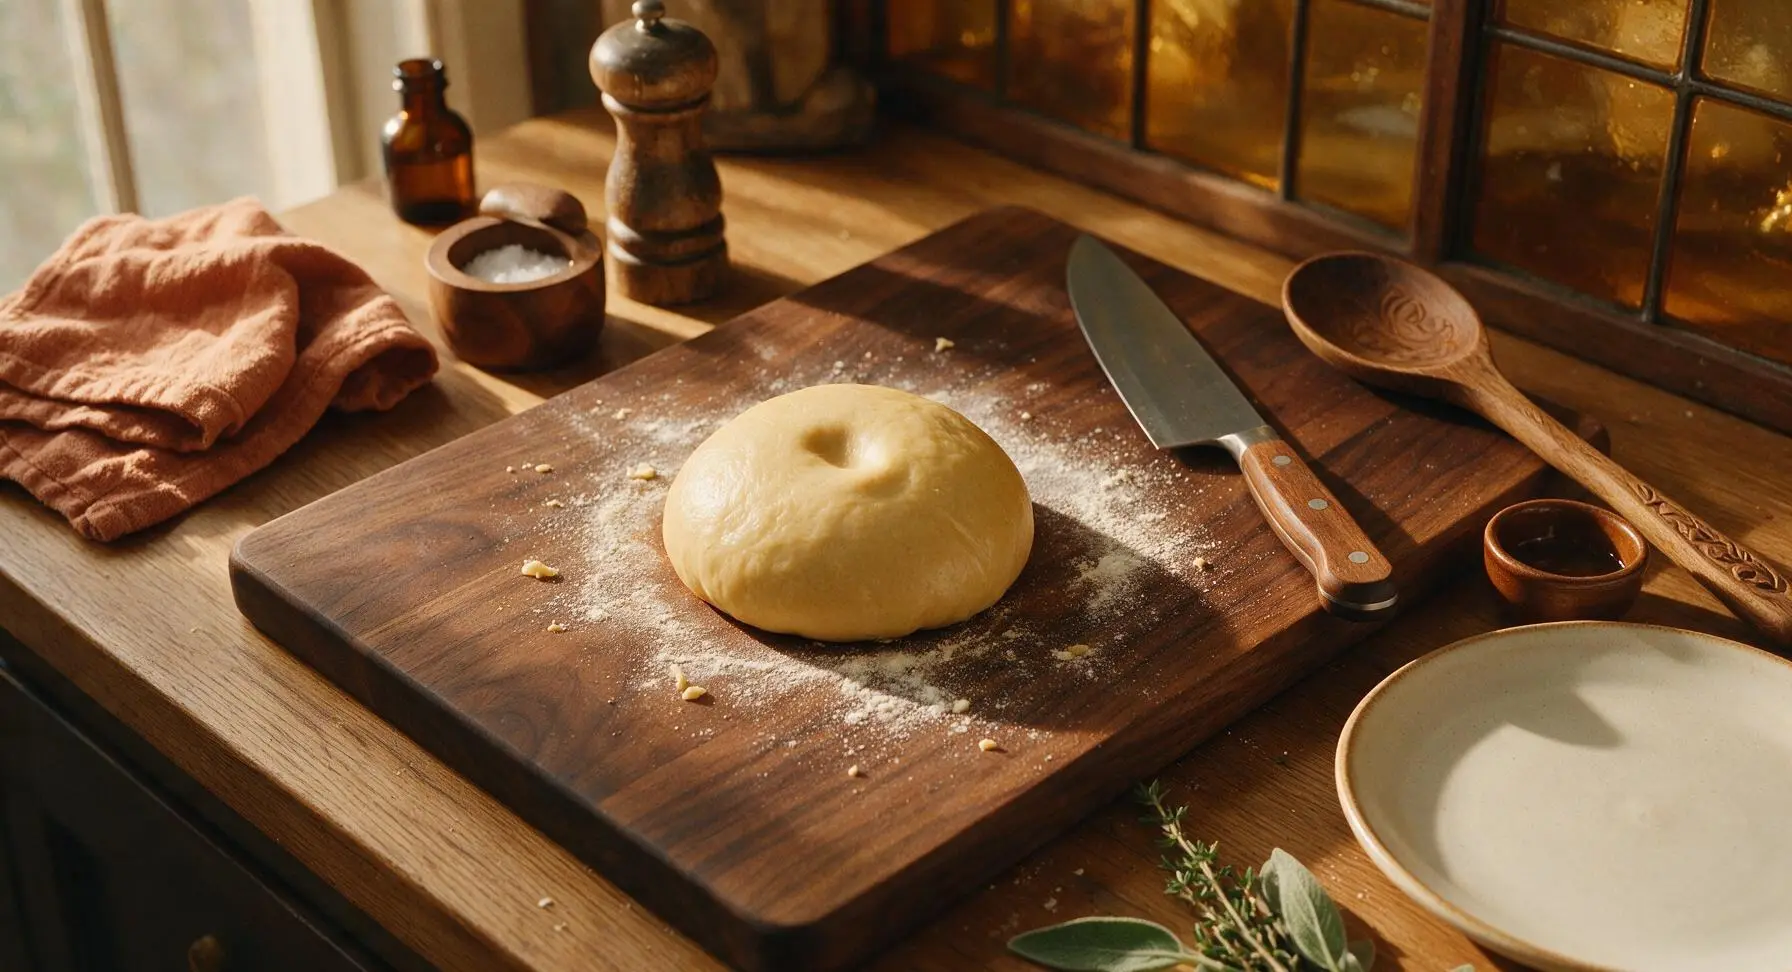
Turn the shaggy dough out onto the clean acacia wood cutting board (no extra flour needed initially, add 1 tsp flour only if dough sticks aggressively). Knead by hand for 8-10 minutes, folding the dough over itself and pushing forward with the heel of your hand, turning a quarter turn each fold. The dough is ready when it is smooth, elastic, and springs back slowly when poked with a finger, with no sticky residue left on your hands.
First Dough Rise
Lightly grease the inside of the glass mixing bowl with a tiny bit of melted butter, place the smooth dough ball back into the bowl, and turn once to coat the surface in butter. Pull the burnt sienna linen towel slightly from its fixed top-left position to cover the bowl tightly, and let rest in a warm, draft-free spot for 1 hour, or until the dough has doubled in size. Test readiness by poking a floured finger 1 inch into the dough: the indent should remain without bouncing back.

Shape the Loaf
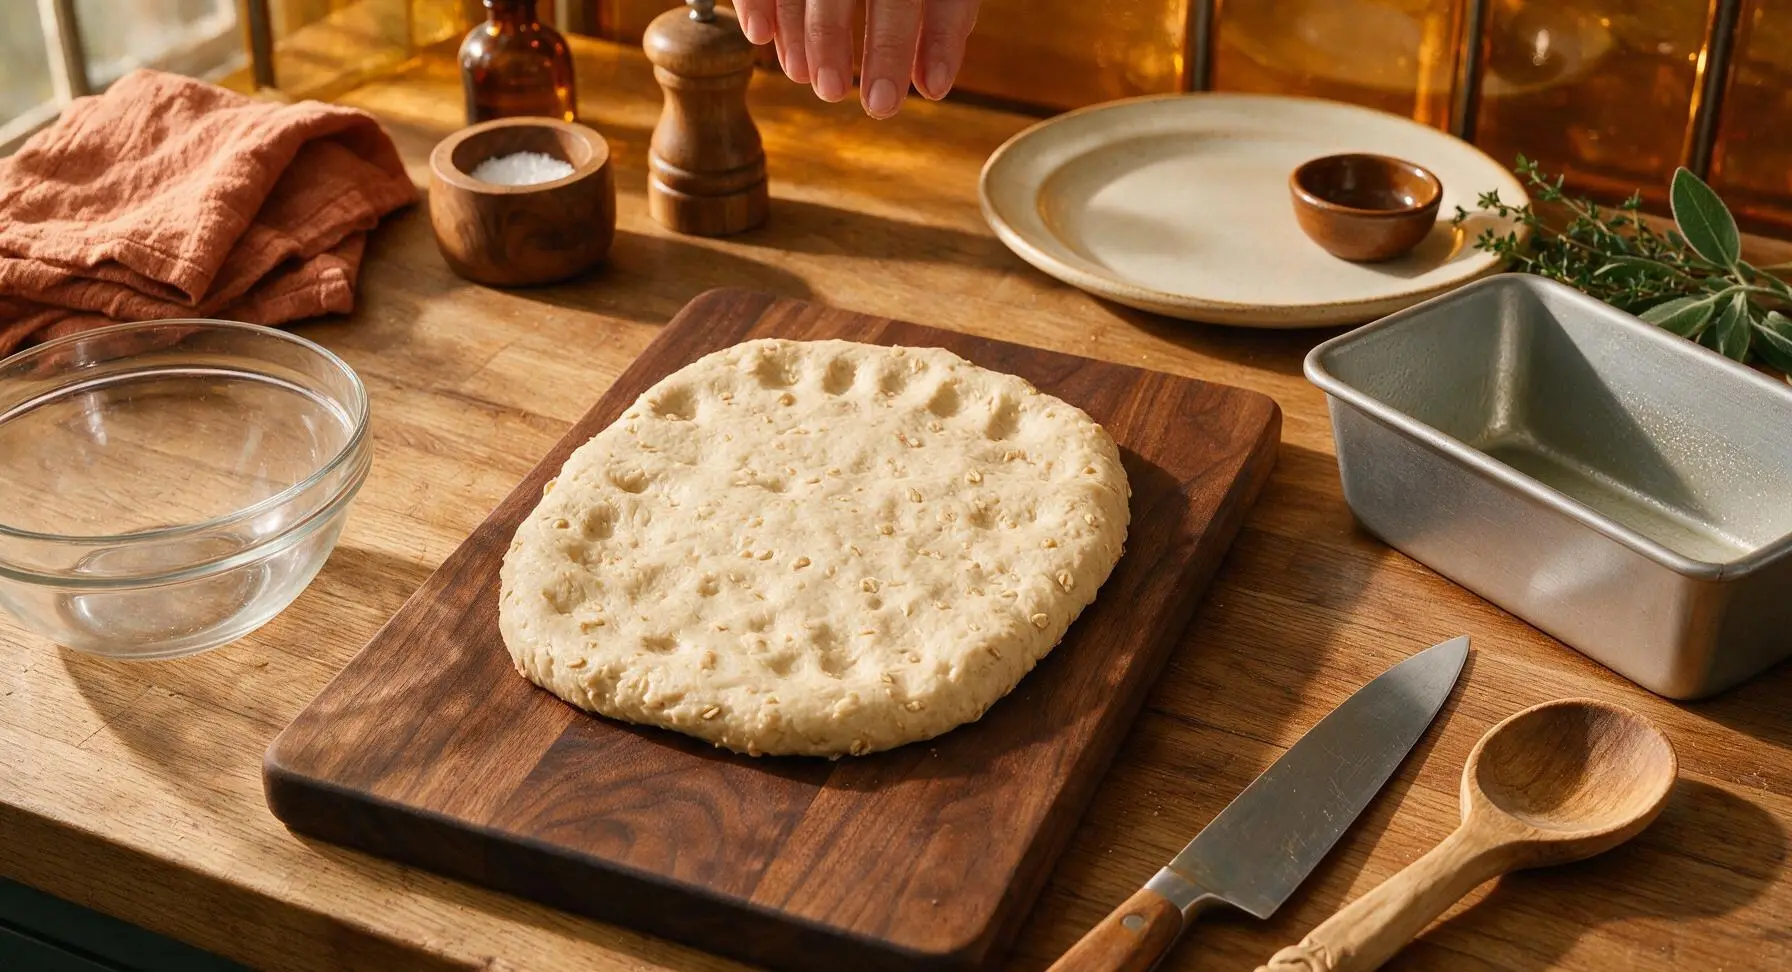
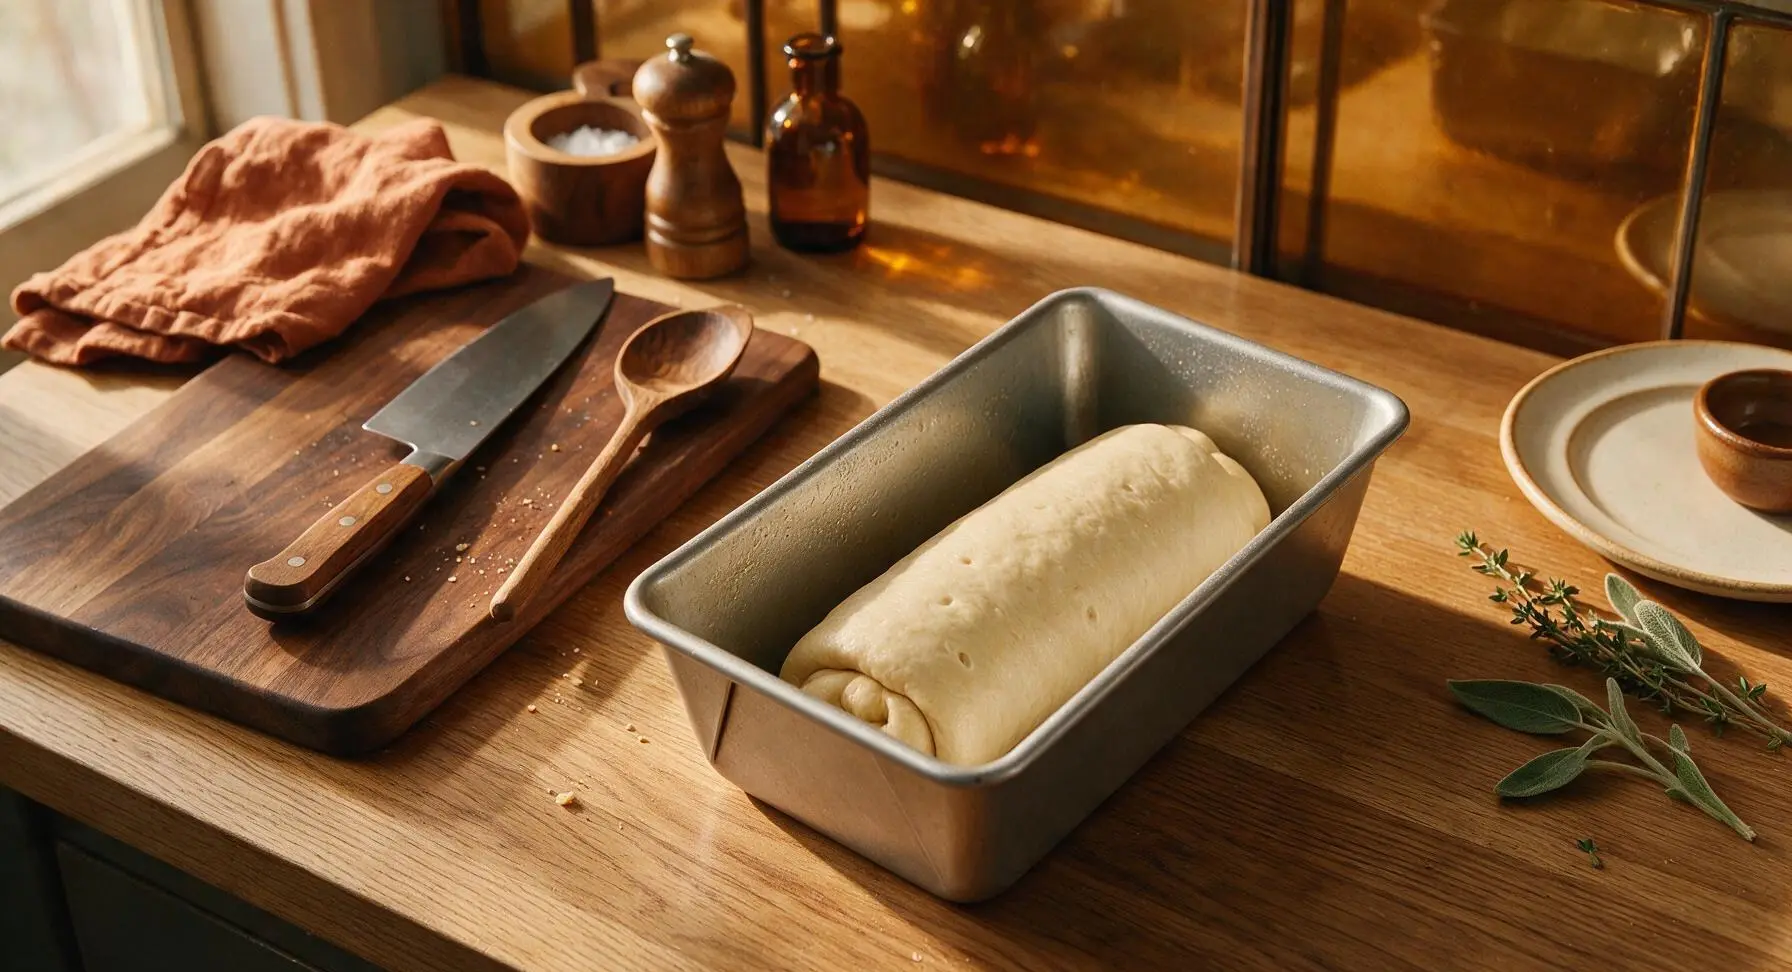
Once doubled, turn the risen dough out onto the acacia cutting board, gently pressing it with your fingertips to deflate all large air bubbles, forming a rough 8x10 inch rectangle. Starting from the short end closest to you, roll the dough tightly into a log, pinching the seam and the ends closed to seal. Tuck the ends under slightly to form a neat loaf shape that fits exactly into the lightly greased 9x5 inch aluminized steel loaf pan.
Second Loaf Rise
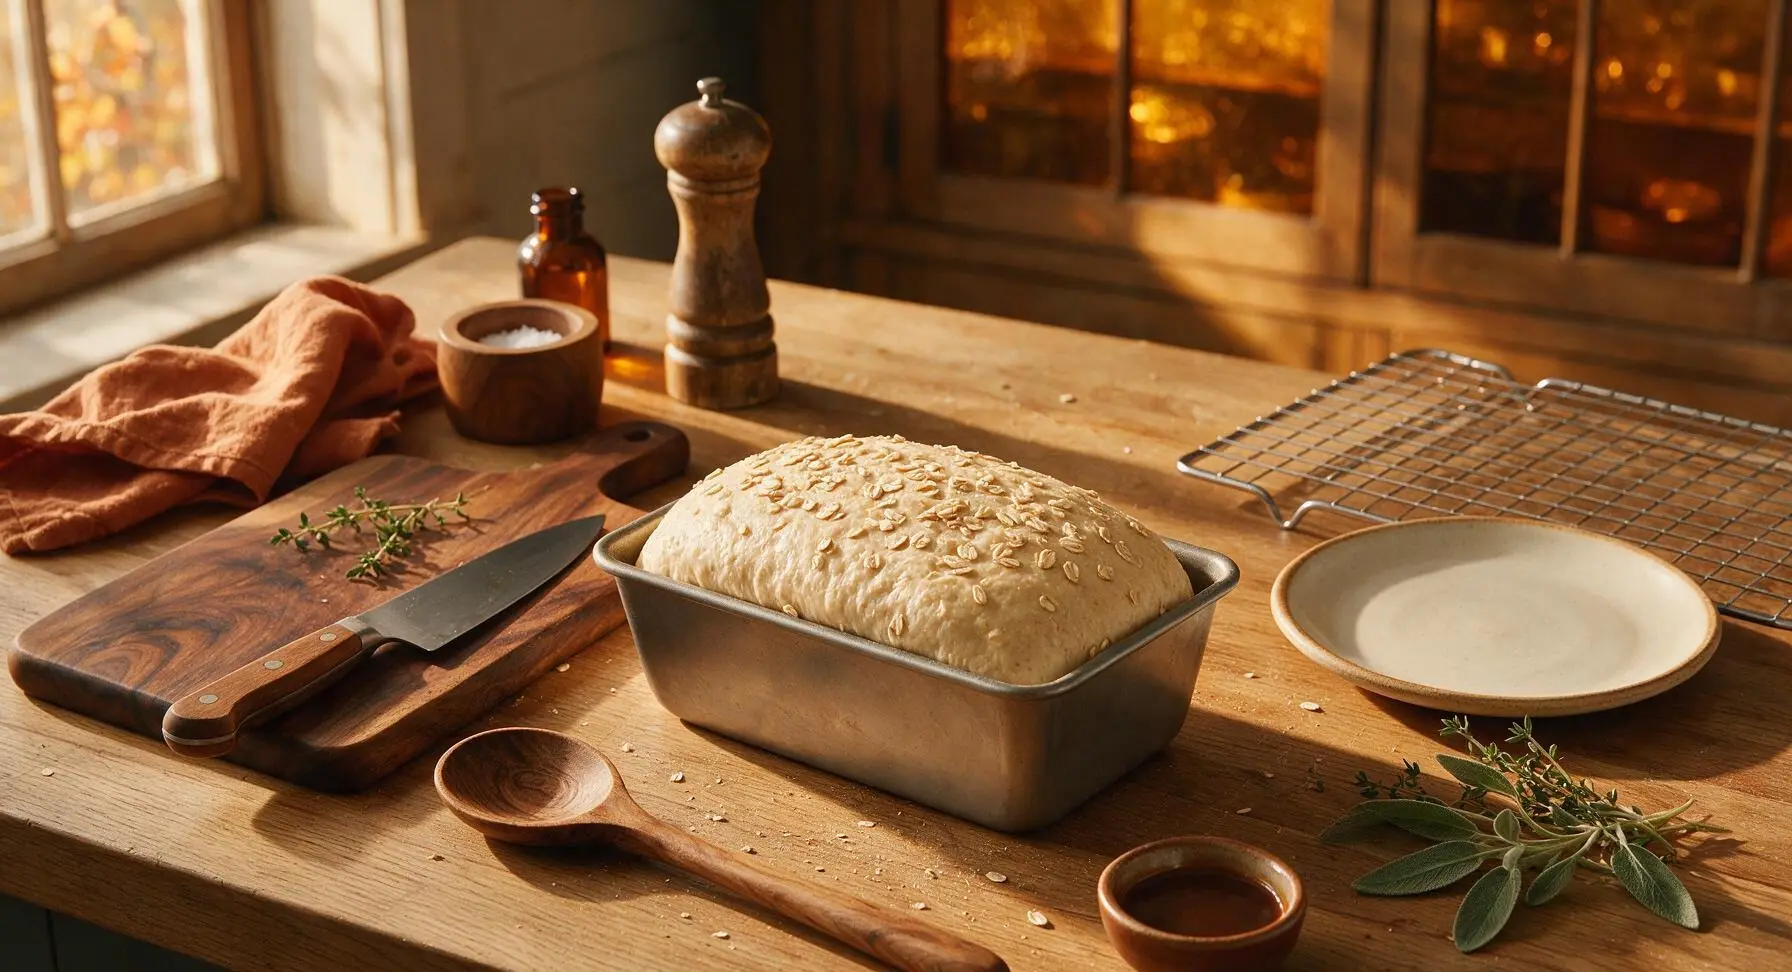
Loosely cover the loaf pan with the linen towel, and let rise in a warm draft-free spot for 40 minutes, until the dough has risen 1 inch above the rim of the loaf pan. 10 minutes before the rise is complete, preheat the oven to 375°F (190°C). When ready, gently dab the top of the risen loaf with 1 tsp of milk, and sprinkle the remaining 15g (2 tbsp) of rolled oats evenly across the top. Fold the linen towel neatly back to its fixed top-left position after covering.
Bake the Loaf
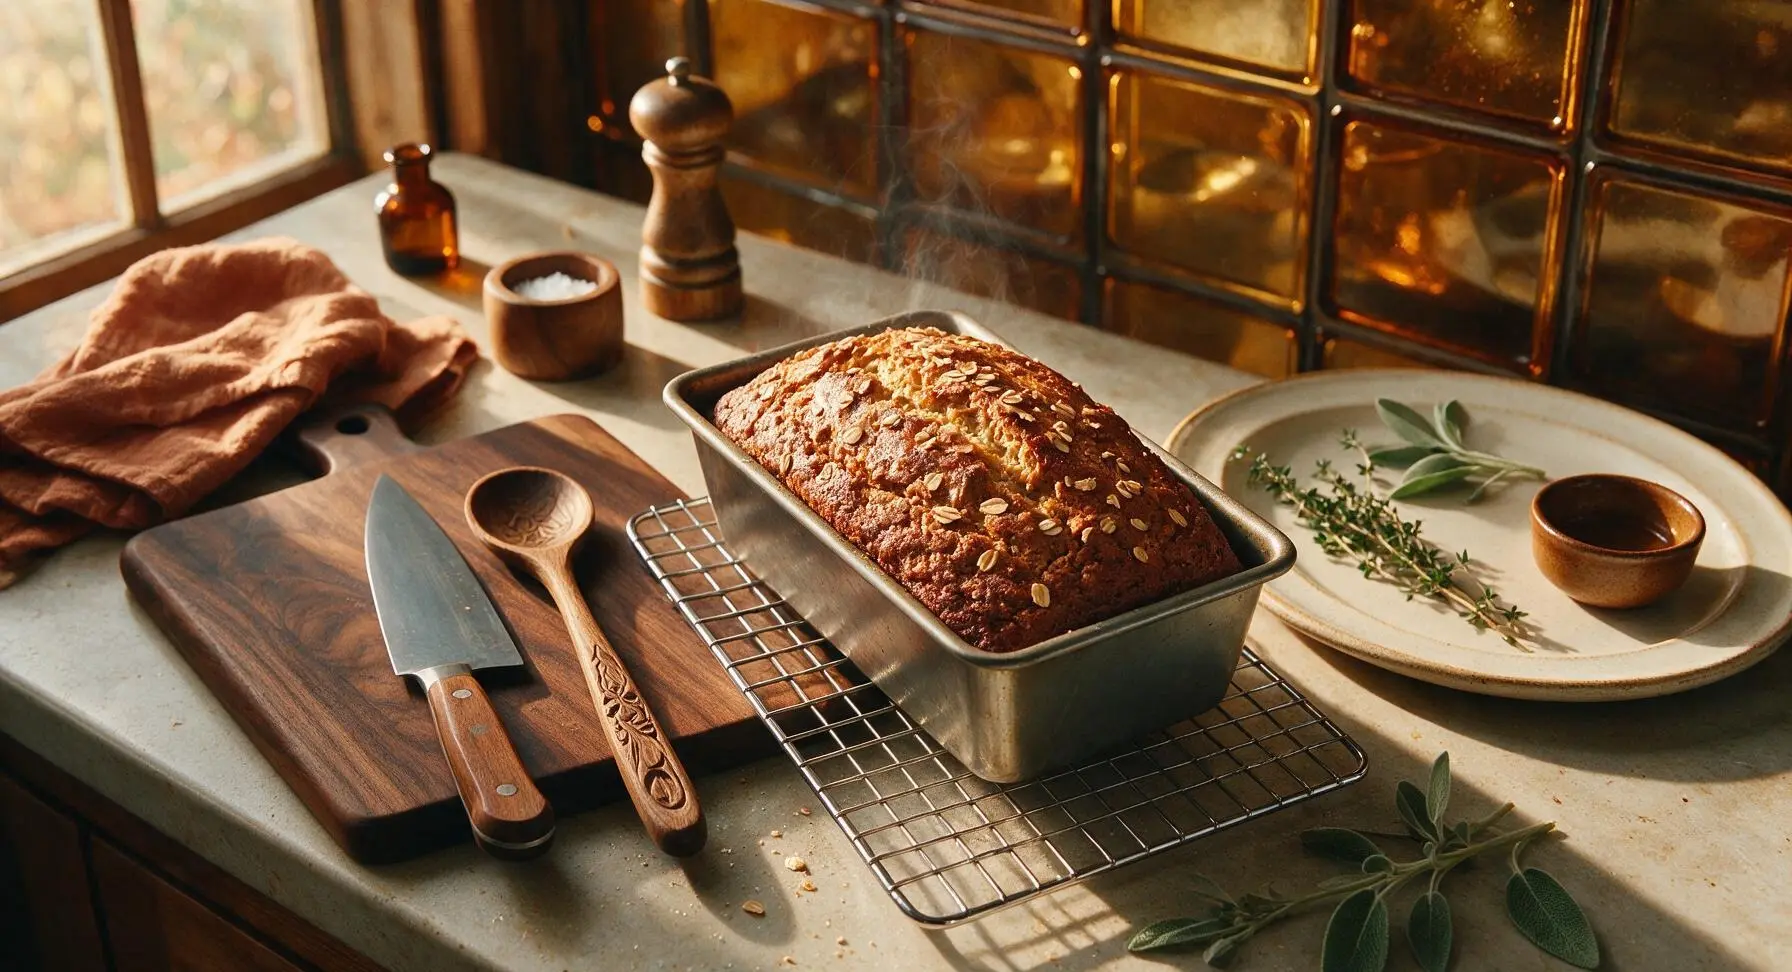
Place the loaf pan on the middle rack of the preheated 375°F (190°C) oven. Bake for 30-35 minutes, rotating the pan halfway through for even browning. The loaf is fully baked when the top is a rich deep golden brown, and tapping the bottom of the loaf (pulled slightly from the pan) produces a hollow, drum-like sound. If the top browns too quickly before the loaf is done, tent loosely with a small piece of aluminum foil after 20 minutes.
Cool Before Slicing
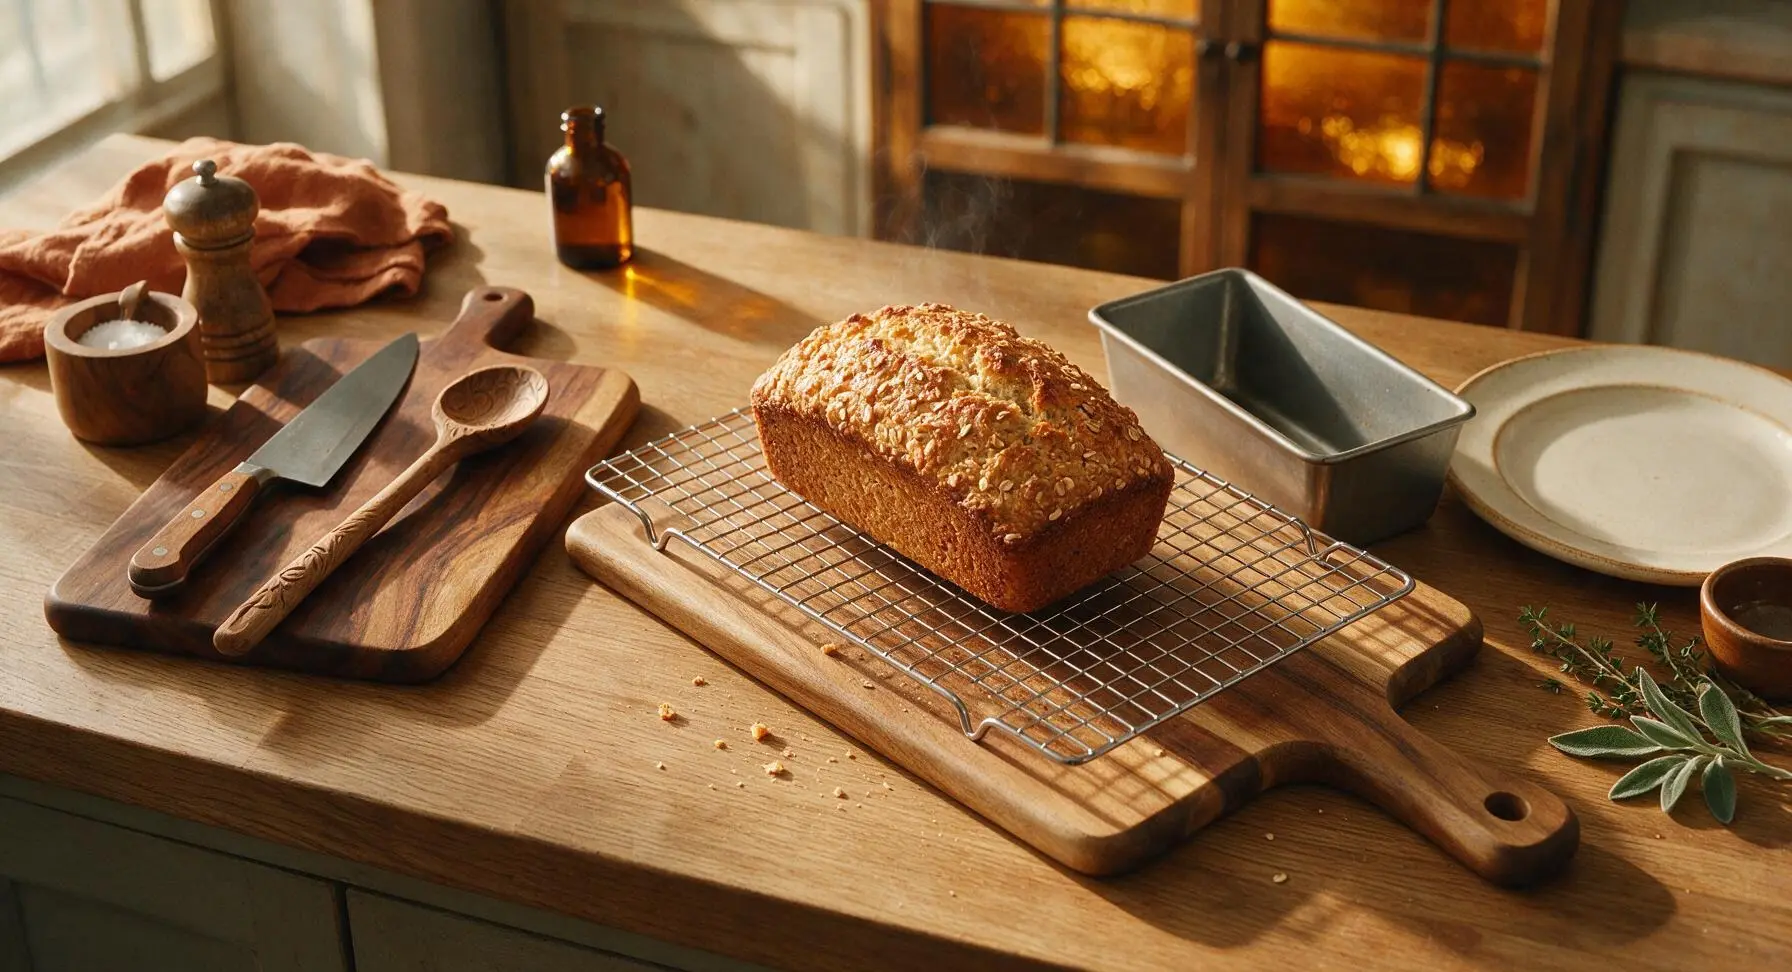
Let the baked loaf rest in the pan for 10 minutes, then turn it out onto the chrome wire cooling rack to cool completely to room temperature, about 1 hour, before slicing. Do not slice the loaf while warm, as this will cause the crumb to become gummy and compress, ruining the light texture that makes perfect toast. Once cool, use the 8-inch chef knife to slice the loaf into even 1/2-inch thick slices for toasting.
Tips
2.Freeze extra slices for quick weekday breakfasts: Once fully cooled, slice the loaf and store slices in a sealed freezer bag for up to 3 months. You can toast frozen slices directly without thawing, cutting down morning prep time to 2 minutes flat.
3.Avoid adding extra flour while kneading unless absolutely necessary: Too much extra flour creates a dense, tough crumb that won’t develop the crisp, caramelized edge that makes perfect toast. Only add 1 teaspoon of flour at a time if the dough sticks aggressively to your hands or the board.






OMG this honey oat bread is a total game changer for our weekday breakfasts! I baked a loaf Sunday for meal prep, and it toasted up perfectly all week for my kids’ before-school toast. They kept begging for extra honey butter on top, zero complaints even from my super picky 7 year old. SO good, will be making this biweekly from now on!
Took this loaf on a recent weekend camping trip and it held up way better than store-bought bread! Toasted it over the campfire with a little peanut butter, and the honey and oat flavor came through so nicely. Only note: I added a sprinkle of cinnamon to the dough per my personal preference, and it was chef’s kiss.
Okay, I will say this is medium difficulty for sure — I messed up the first rise because my kitchen was too cold, so my first loaf came out a little dense. The second time I let it rise closer to the oven while it preheated, and it turned out great! Tastes just like the honey oat bread from the fancy bakery downtown but way cheaper.
Brought this to our neighborhood block party potluck last weekend and people were asking for the recipe before I even set the platter down! I sliced it thin, served it with a side of whipped honey ricotta, and it was gone in 15 minutes flat. Will absolutely be making this for future gatherings.
This is exactly what I was looking for to go with my morning lattes! Not too sweet, perfect chewy texture from the oats, toasts up with that perfect crispy edge. I love that it doesn’t get soggy when I slather it with jam, unlike so many other homemade bread recipes I’ve tried.
Wait, has anyone tried making this with a 1:1 gluten free flour blend? I’m dying to try it but don’t want to waste the honey and oats if it won’t hold together right!
Made this for my post-workout toast meal prep, macros are actually pretty decent if you skip the extra butter on top! I added a scoop of vanilla protein powder to the dry mix and it didn’t mess with the texture at all, just gave it a little extra protein kick.
This recipe tastes just like the honey oat bread my mom used to make when I was a kid! The only thing I did different was brush the top with a little melted butter and sprinkle extra rolled oats right before baking, which gave it that perfect crunchy top crust.
Wait, do you think this would work in a 9x5 loaf pan? That’s the only size I have in my tiny apartment kitchen, I don’t have the 8x4 the recipe mentions. Don’t want it to overflow while it rises!
I didn’t have regular honey on hand so I used hot honey for half the sweetener, and it gave the bread the most amazing subtle spicy kick! Paired it with cream cheese on toast this morning and I’m obsessed.
I let my 10 year old help me measure and mix the dough for this, and it was such a fun weekend activity! It’s easy enough for kids to help with as long as an adult handles the oven parts, obviously. Loaf came out fluffy and delicious, too.
Help! I followed the recipe exactly but my loaf came out really gummy in the middle? Did I take it out too early? I baked it for 35 minutes like the directions said, let it cool for an hour before slicing too.
This bread is made for avocado toast, I swear! The subtle honey sweetness pairs so perfectly with savory avocado, red pepper flakes, and a little flaky salt. I’ve been having it for breakfast every day this week and I’m not even bored yet.
Does this freeze well? I like to bake two loaves at a time and keep one in the freezer for busy weeks, but some breads get weirdly crumbly after thawing.
Made this dairy free by swapping the melted butter for coconut oil, and it turned out amazing! I was worried the coconut flavor would be too strong, but it paired so nicely with the honey and oats, you can barely even tell it’s not butter.
Wait a heads up for anyone planning to make this on a weeknight — the 35 minute cook time doesn’t include the two rise periods for the dough! I started making this after work thinking it would be done in an hour, and ended up eating toast at 9pm lol. Tasted incredible, just block out enough time!