
best bread for steak sandwich
intro
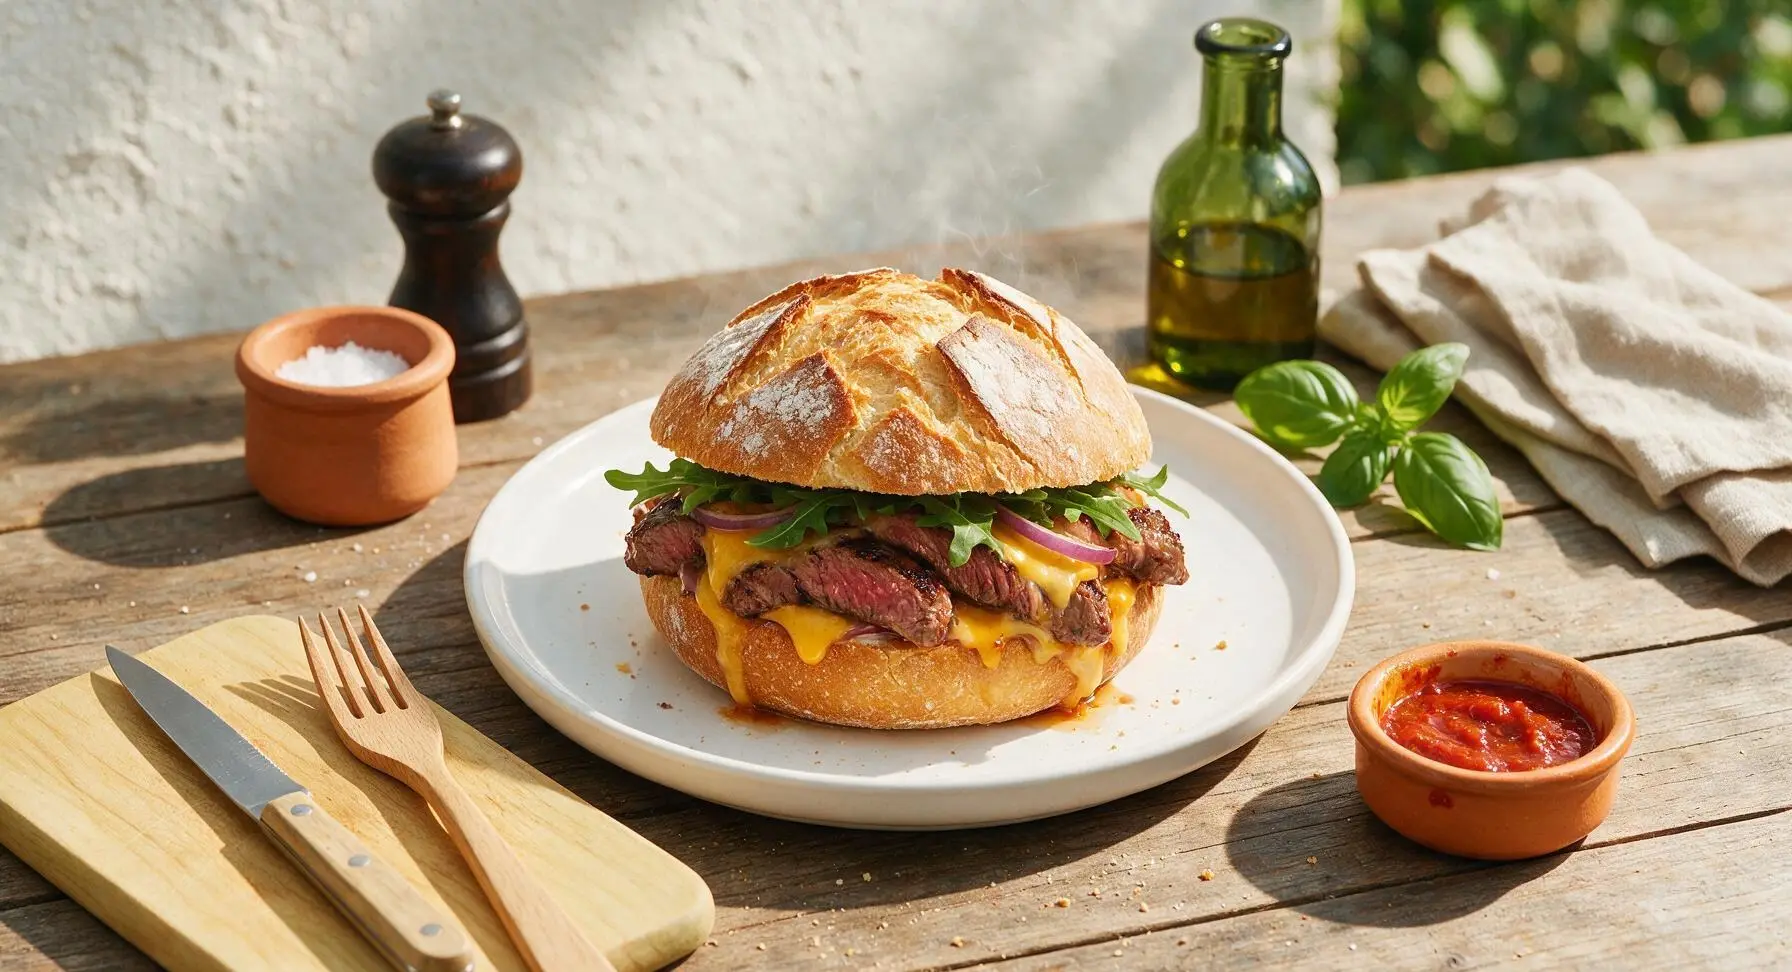
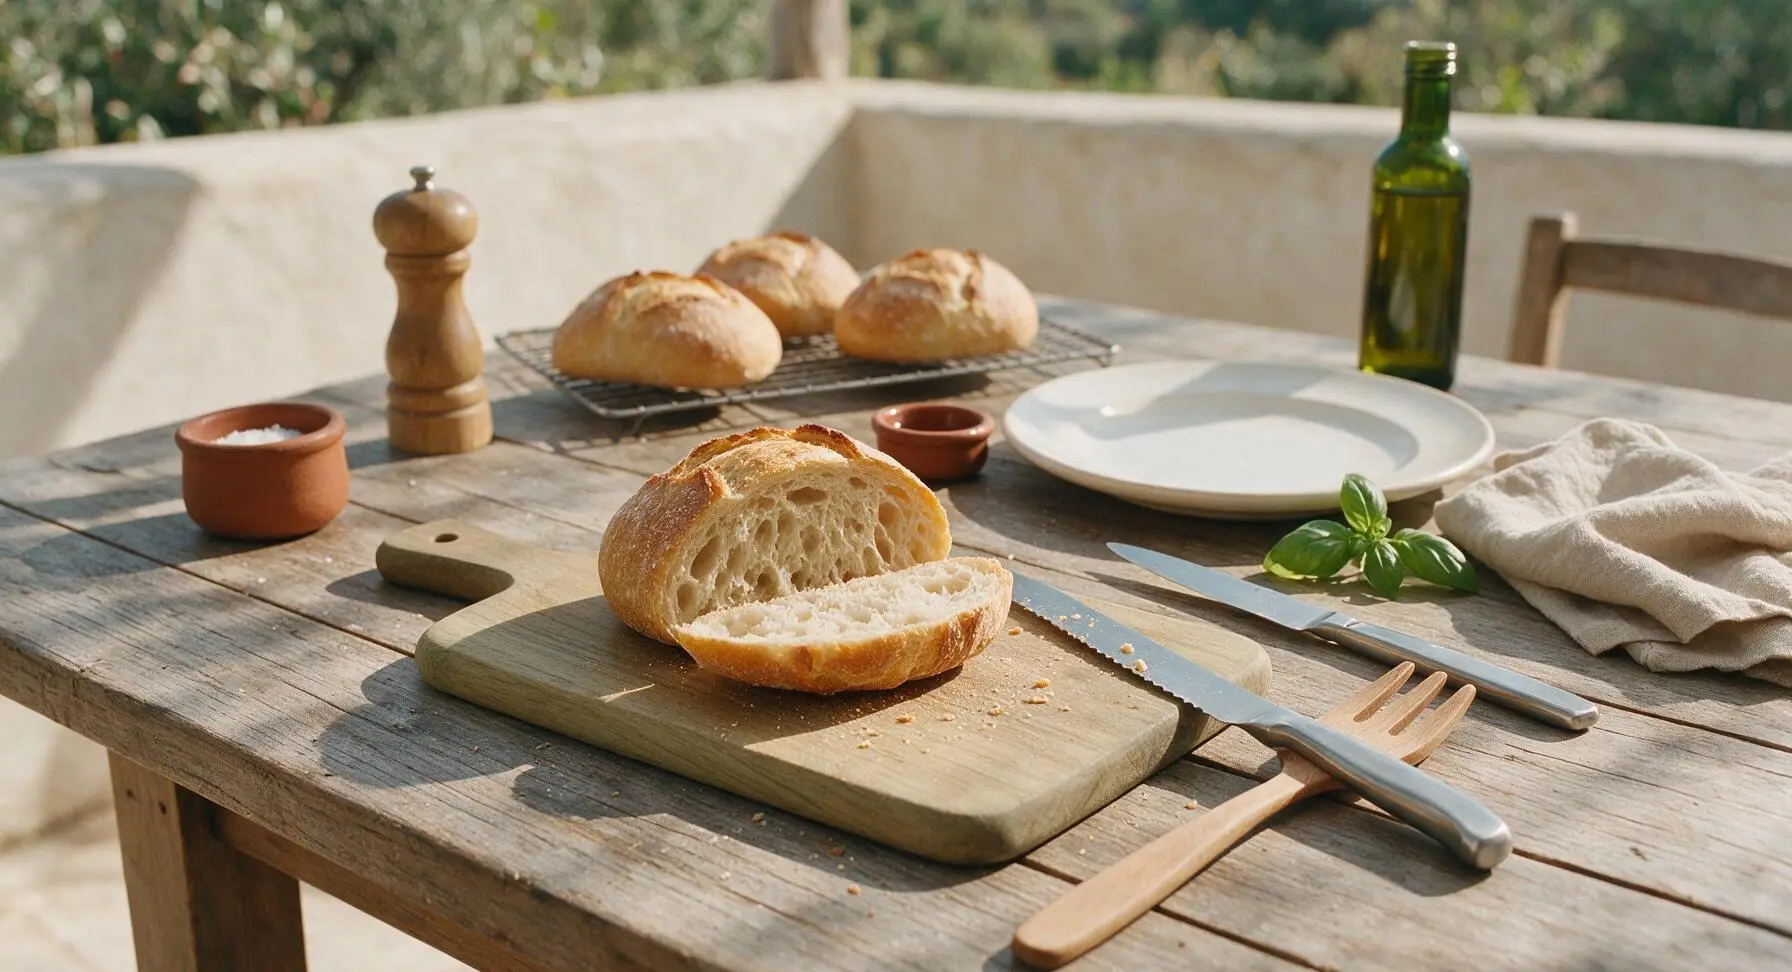
Shatteringly crisp, chewy-crumbed artisan rolls built to hold juicy grilled steak, melted cheese, and drippy toppings without turning soggy—the ideal base for perfect steak sandwiches.
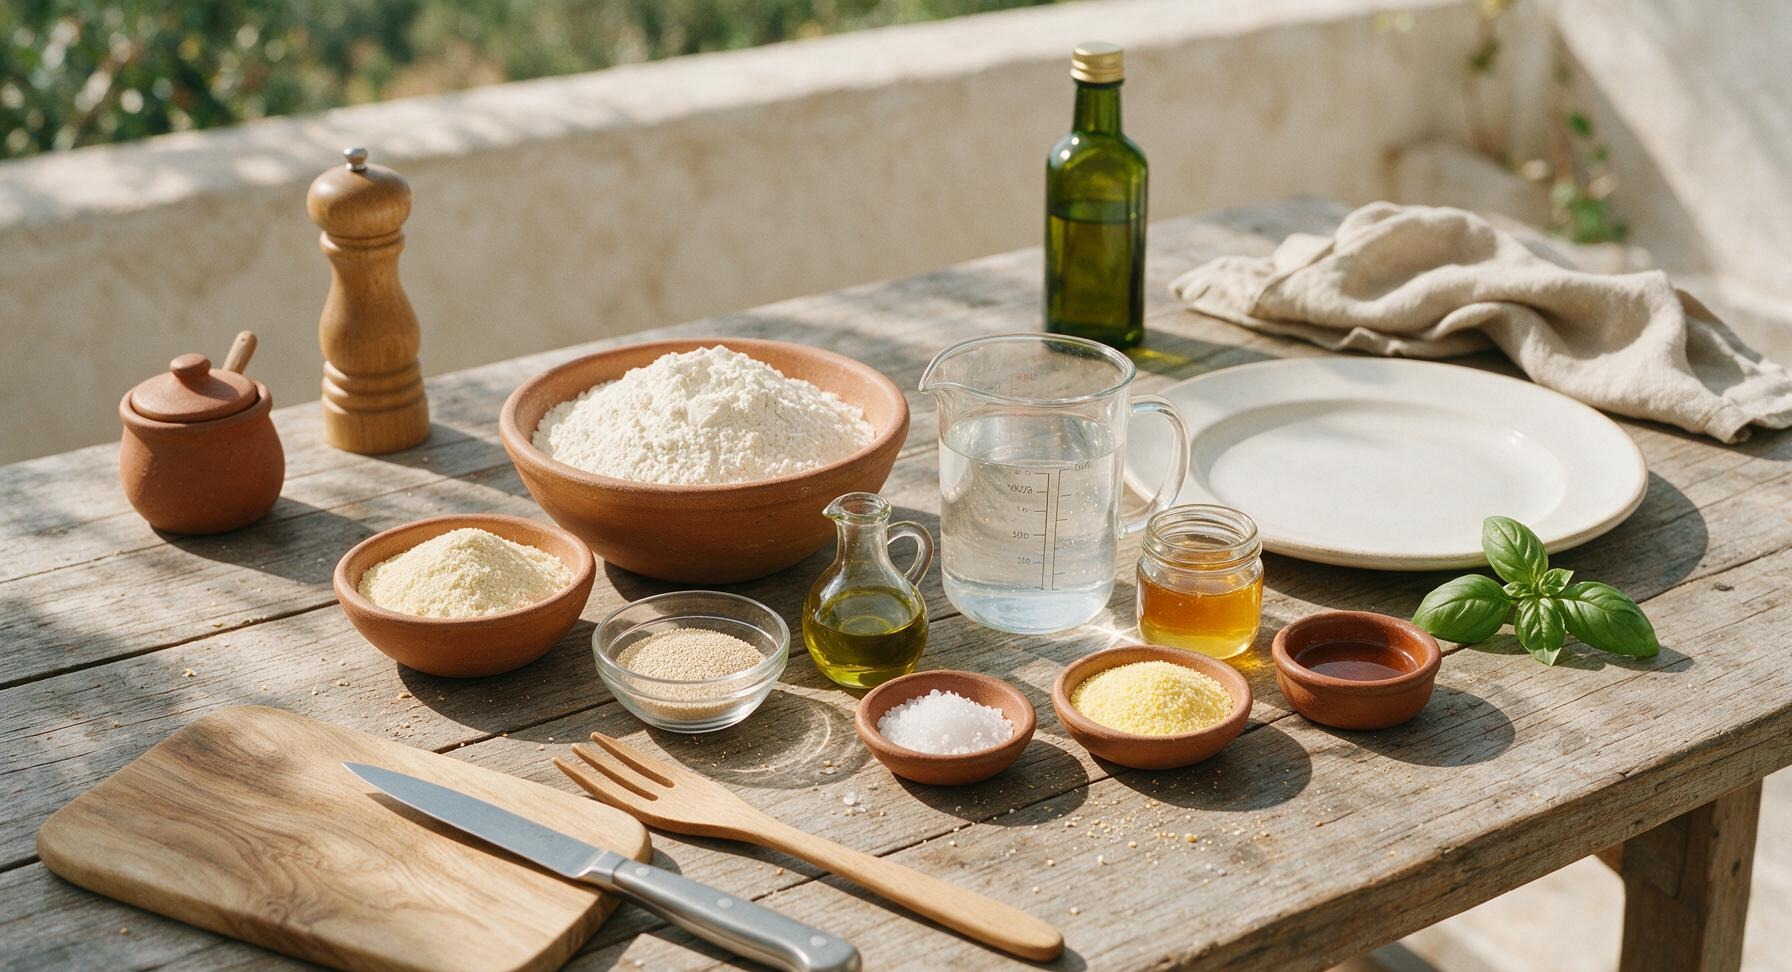
Ingredients
Steps
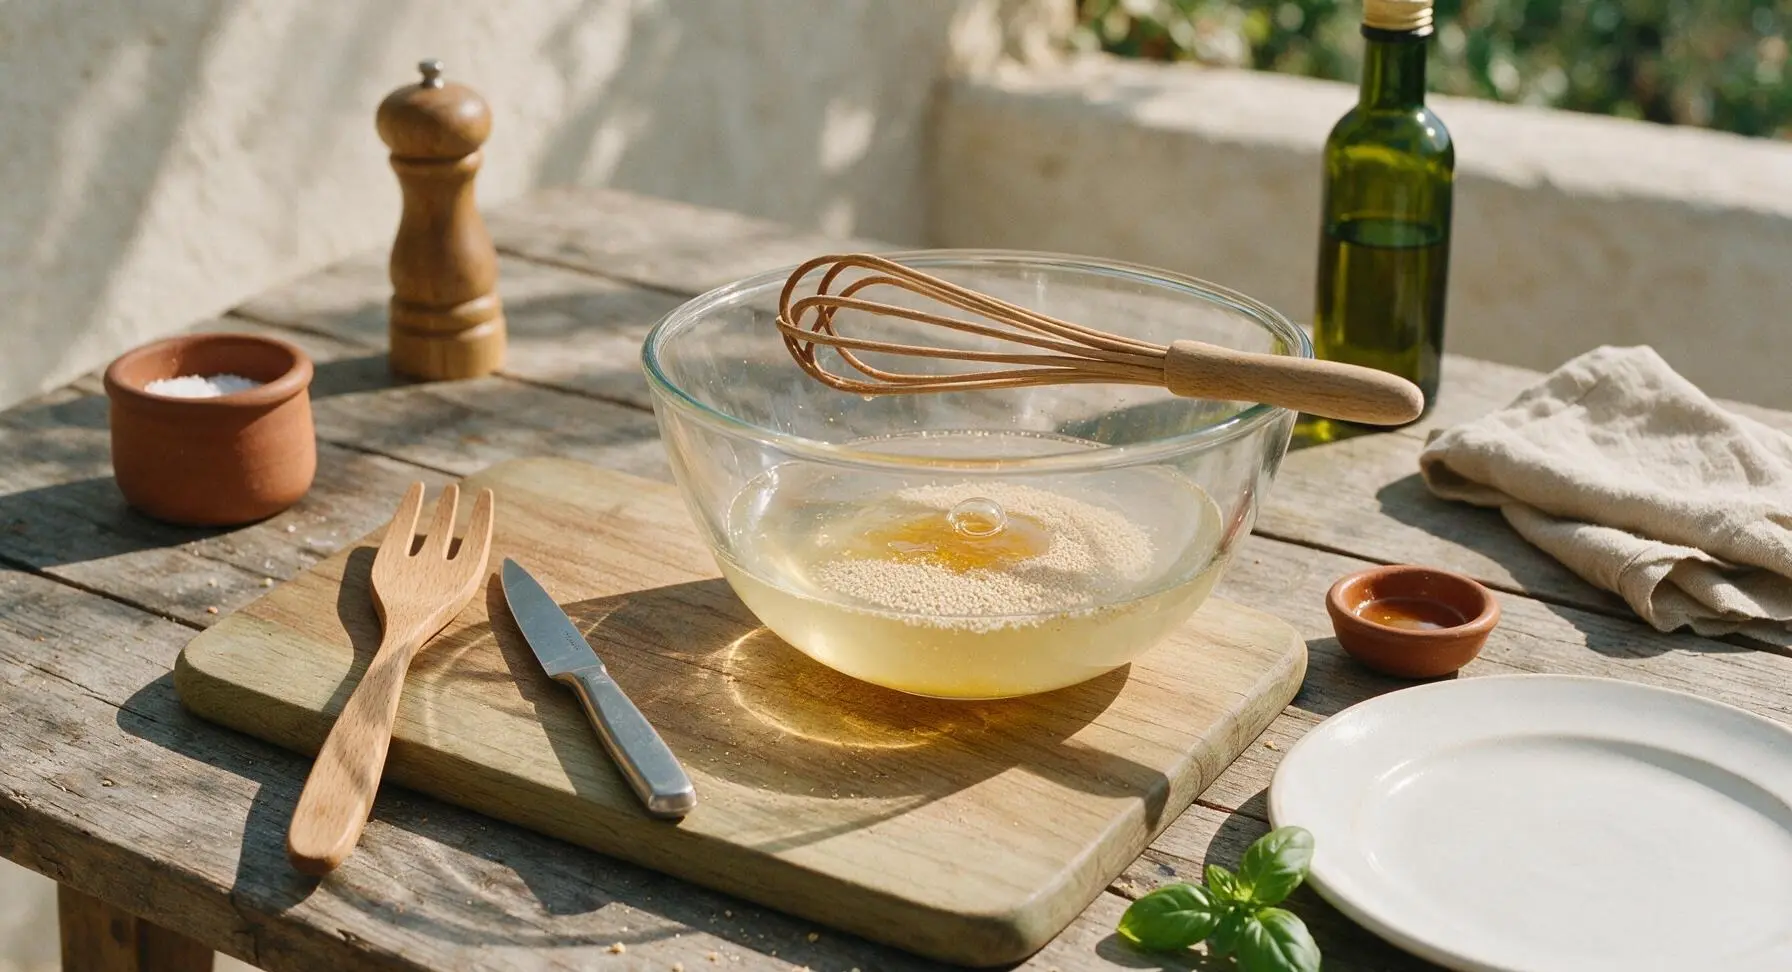
Activate Dry Yeast
In the large clear glass mixing bowl, combine warm 38°C/100°F water, raw honey, and active dry yeast. Stir gently once with the dough whisk, then let rest for 5-7 minutes until the surface becomes foamy and bubbly. If no foam forms, your yeast is inactive and should be replaced to avoid dense bread.
Mix and Knead Dough
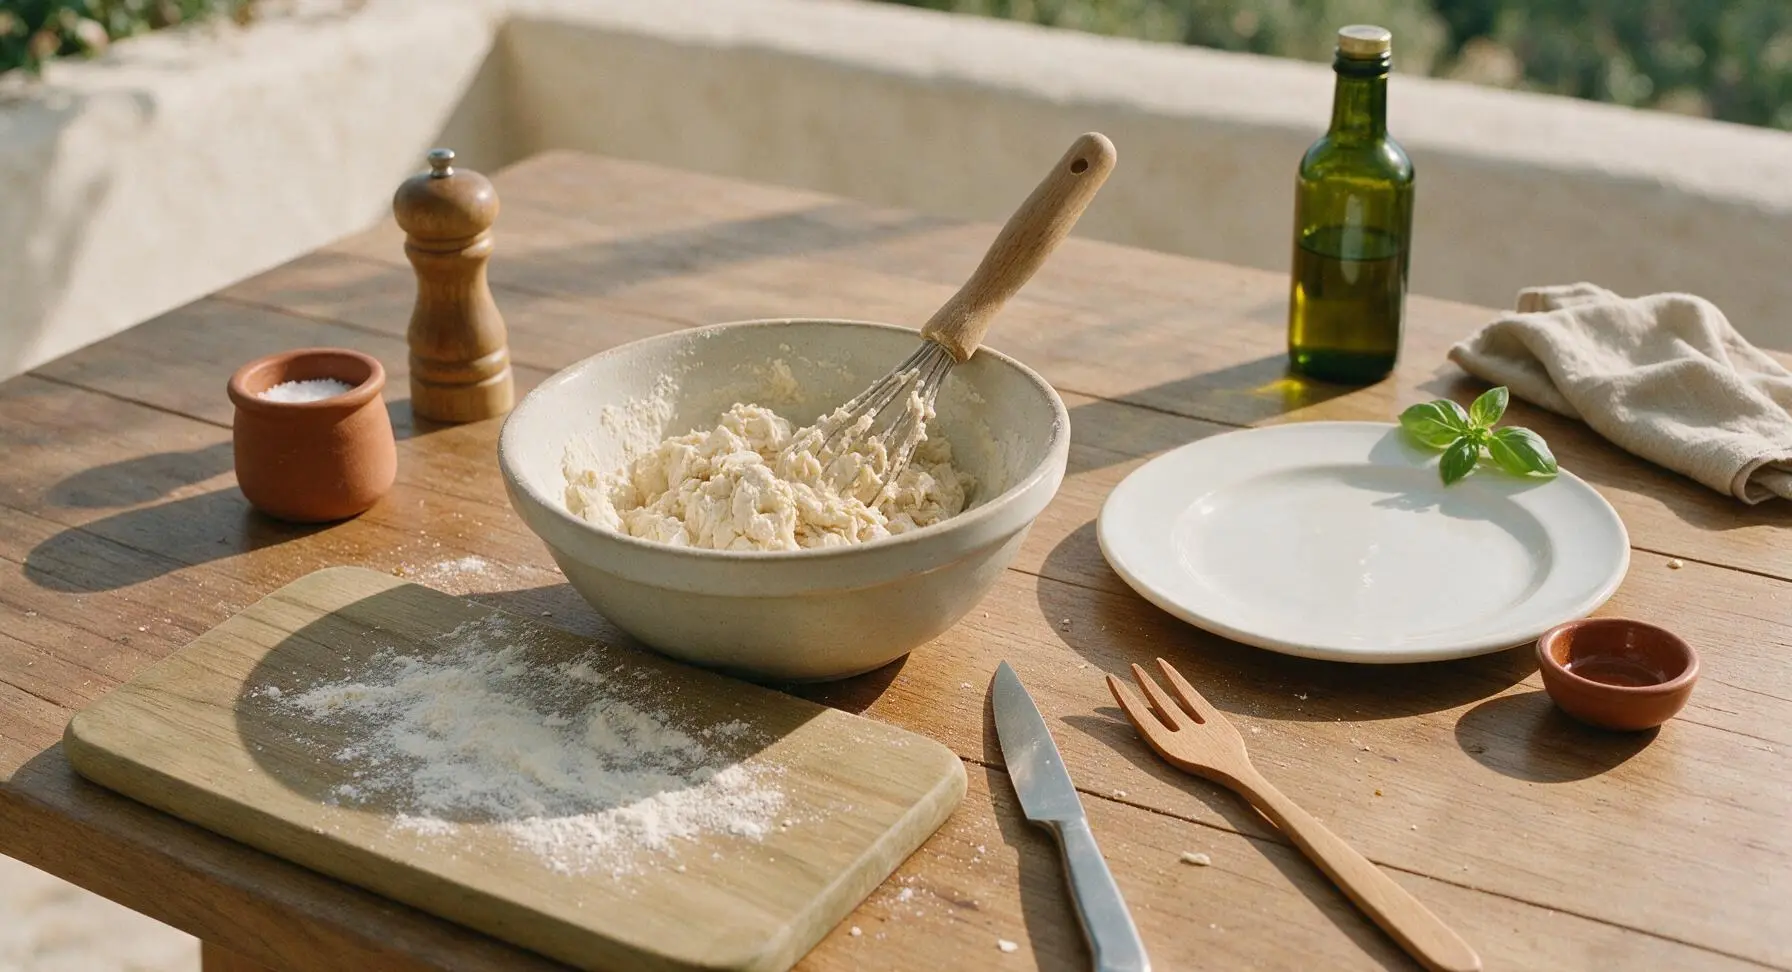
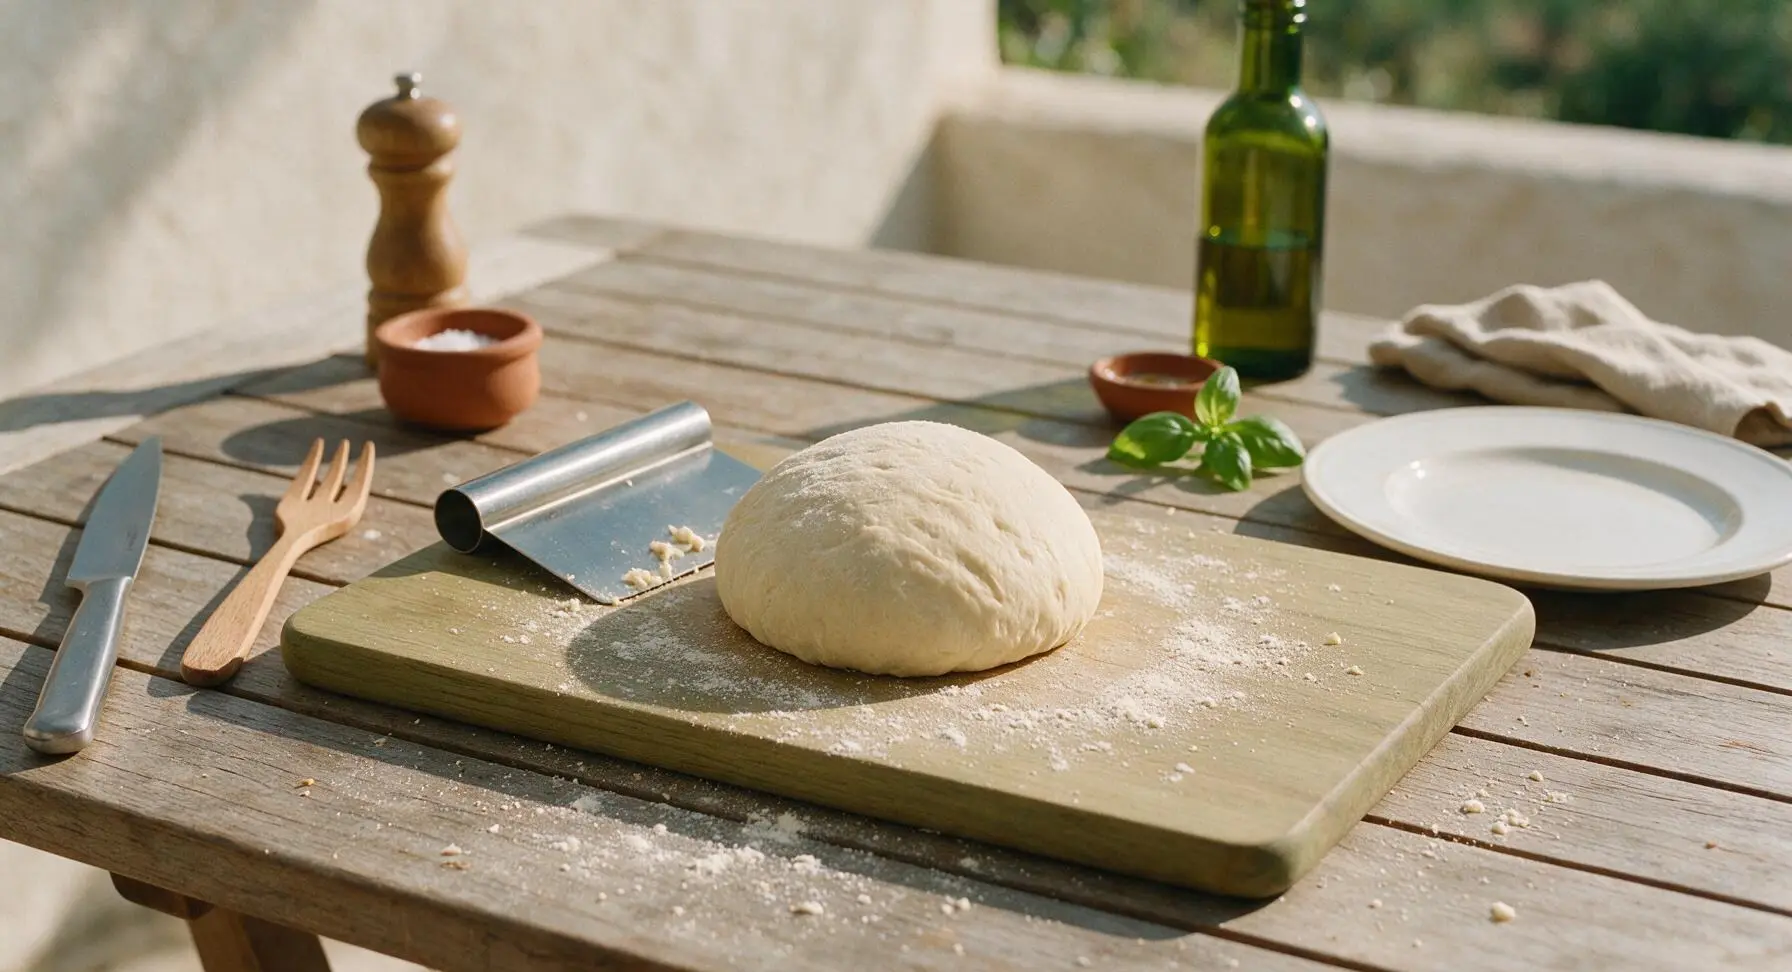
Add bread flour, semolina flour, olive oil, and kosher salt to the foamy yeast mixture. Stir with the dough whisk until a shaggy, sticky dough forms, then turn out onto the lightly floured maple cutting board. Knead for 8-10 minutes, folding the dough over itself and pushing forward with the heel of your hand, until the dough becomes smooth, elastic, and pulls away from the counter without sticking excessively. The dough will feel soft but not tacky when ready.
Let Dough Rise
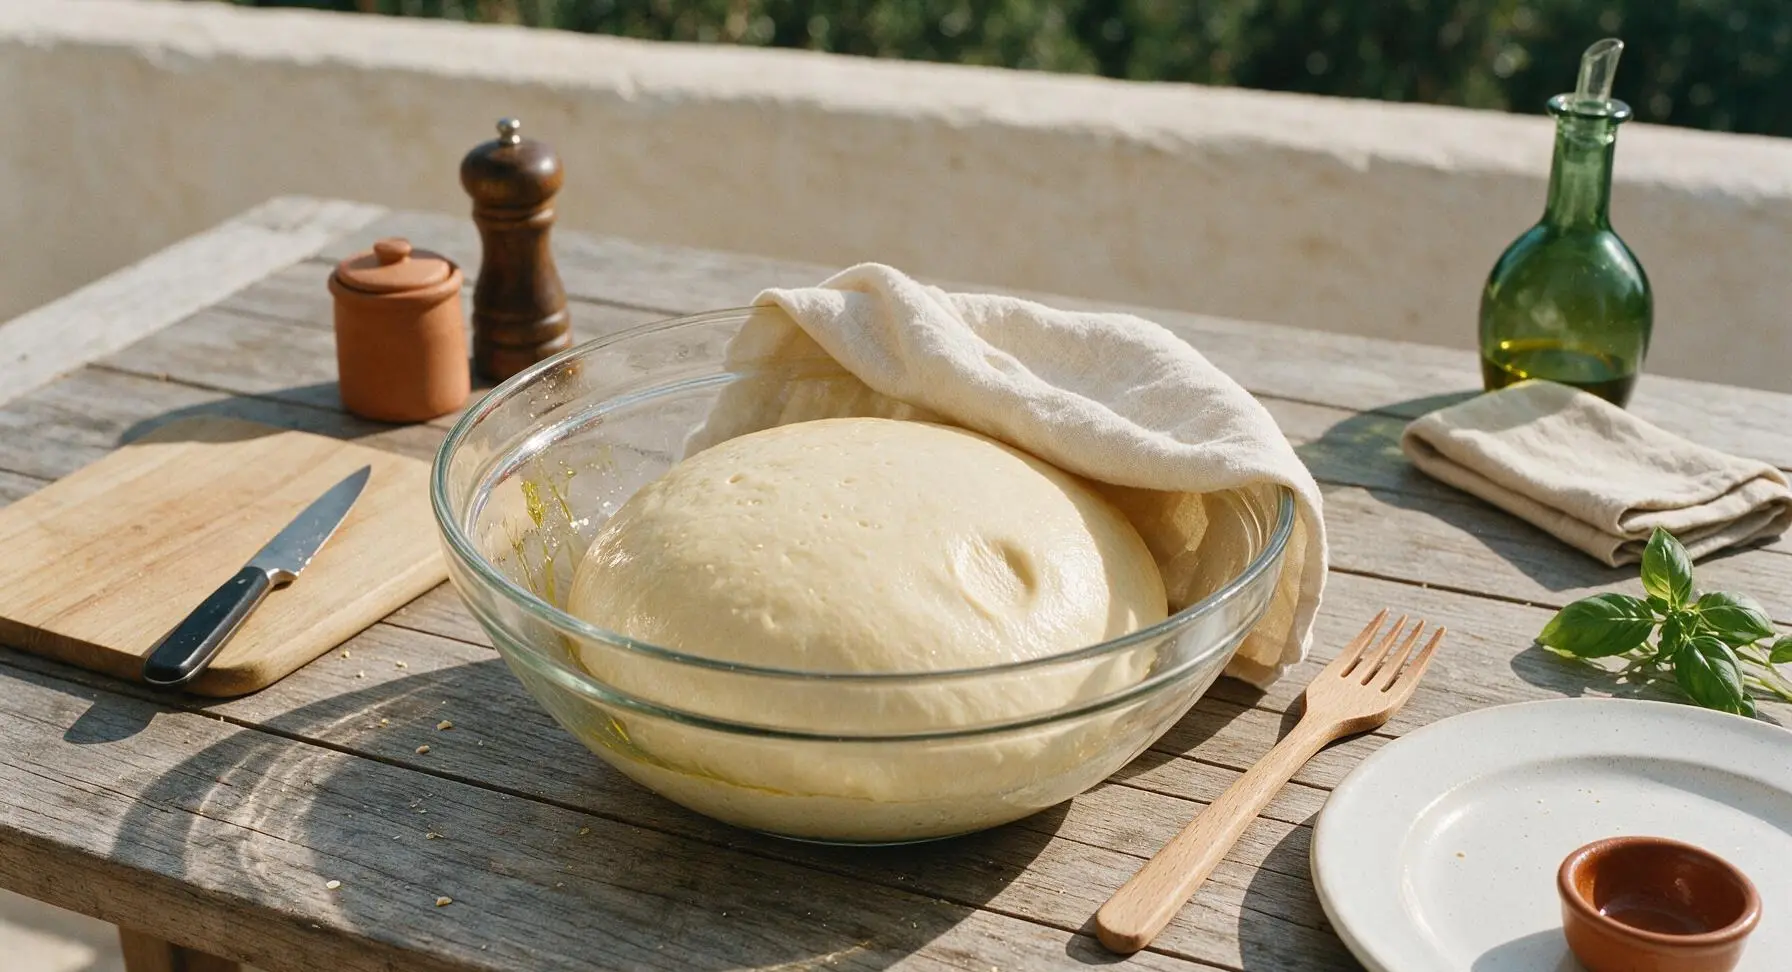
Wipe the large glass mixing bowl lightly with olive oil, place the smooth dough ball back into the bowl, and turn once to coat the surface in oil. Cover the bowl tightly with a damp section of the cream kitchen towel (pulled slightly from its fixed corner, returned after use) and let rest in a warm, draft-free spot for 1 to 1.5 hours, until the dough doubles in size and leaves an indentation when poked with a floured finger.
Shape Sandwich Rolls
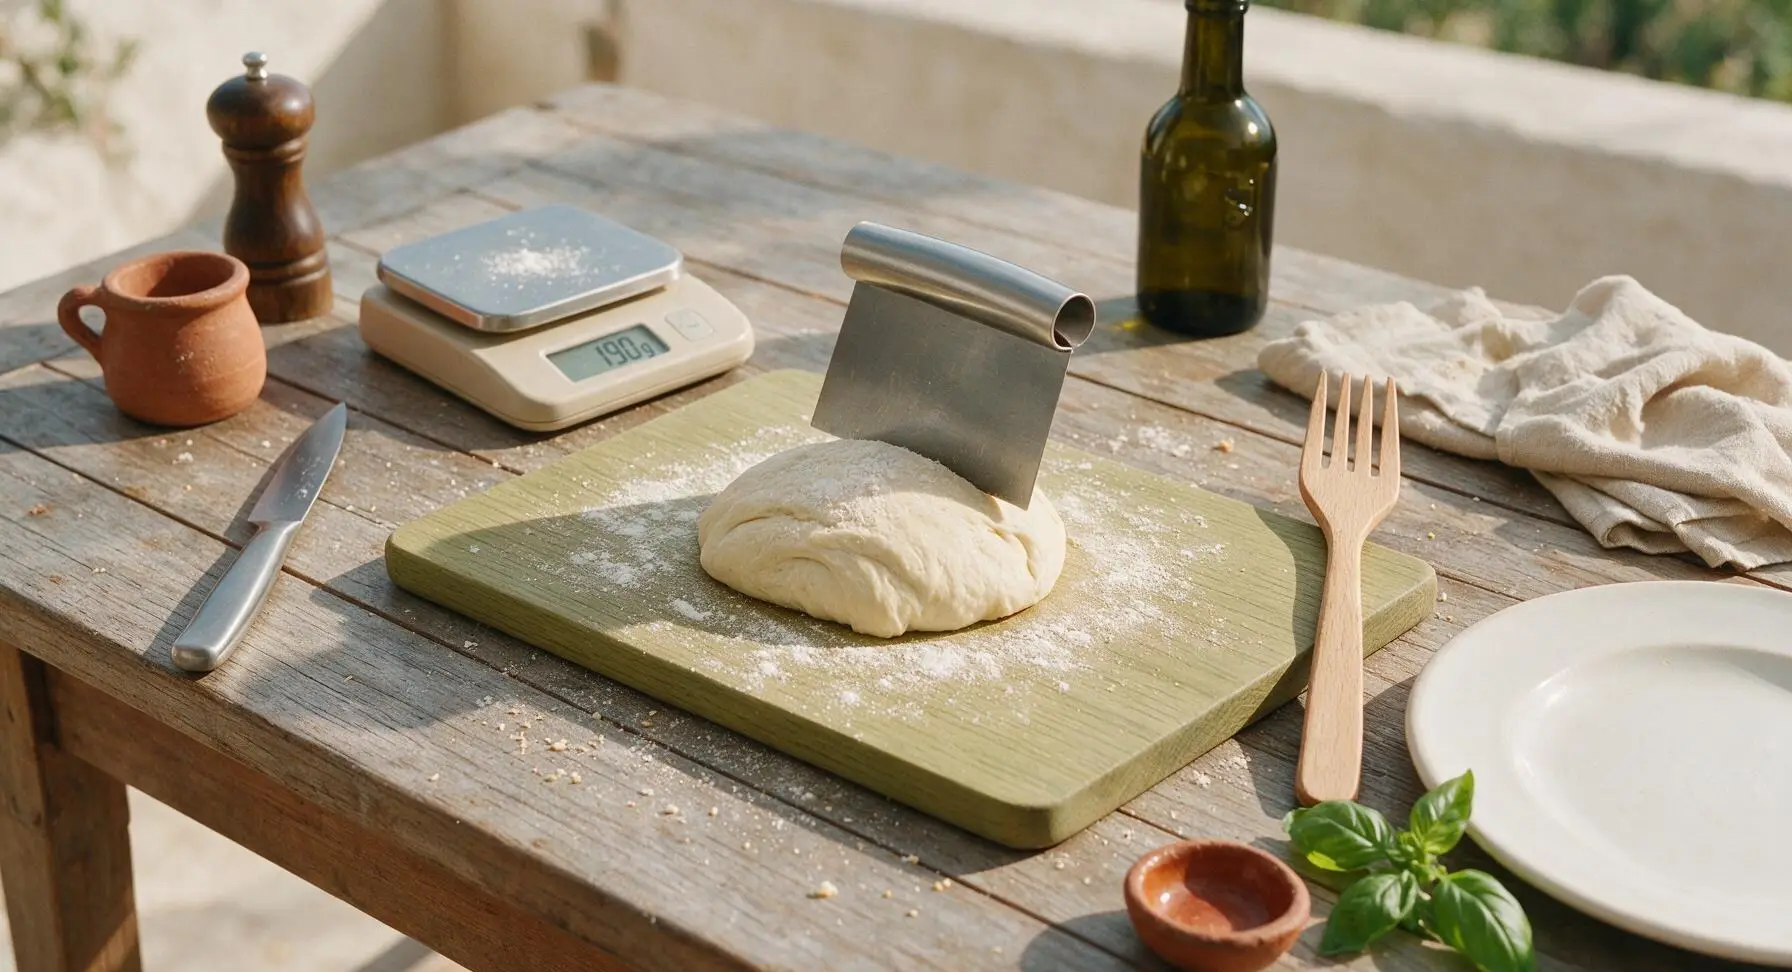
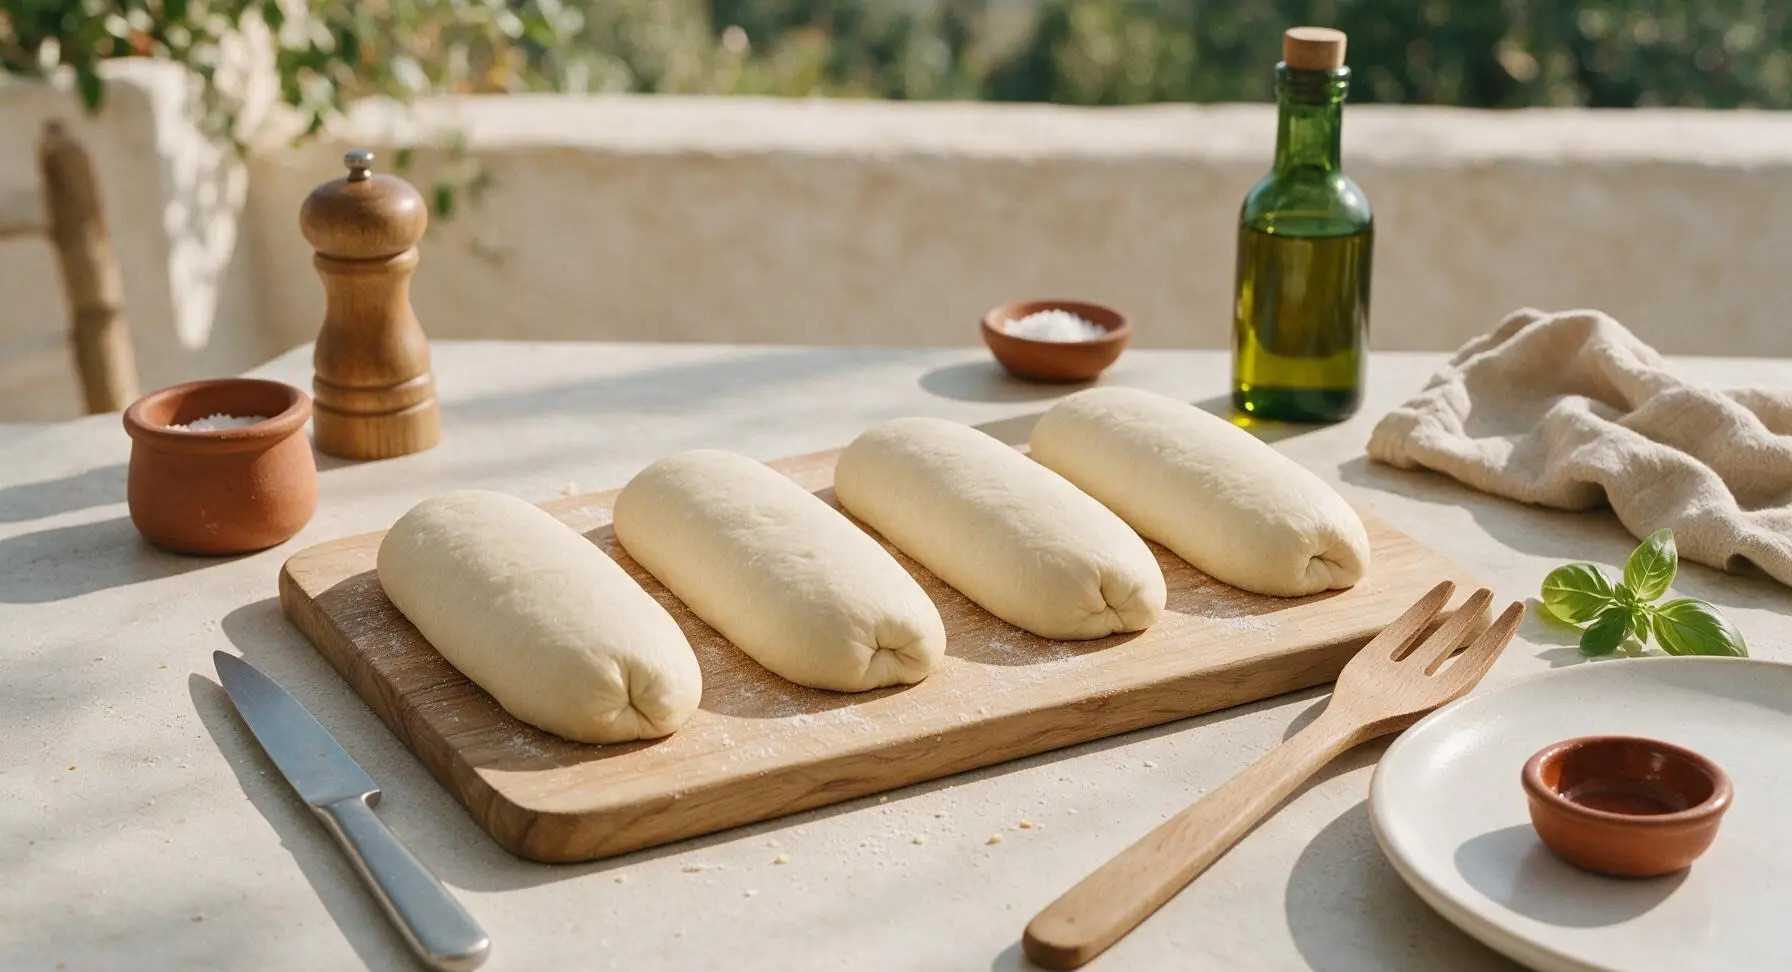
Turn the risen dough out onto the lightly floured maple cutting board, using the dough scraper to gently deflate it and release trapped air. Divide the dough evenly into 4 equal 190g portions, using the digital kitchen scale to confirm uniform size for even baking. Shape each portion into an 8-inch long oblong roll, pinching the seam along the bottom tightly to seal, tapering the ends slightly for classic hoagie shape. Tension the outer surface of each roll by pulling the dough taut to encourage a tall, even rise.
Proof Shaped Rolls
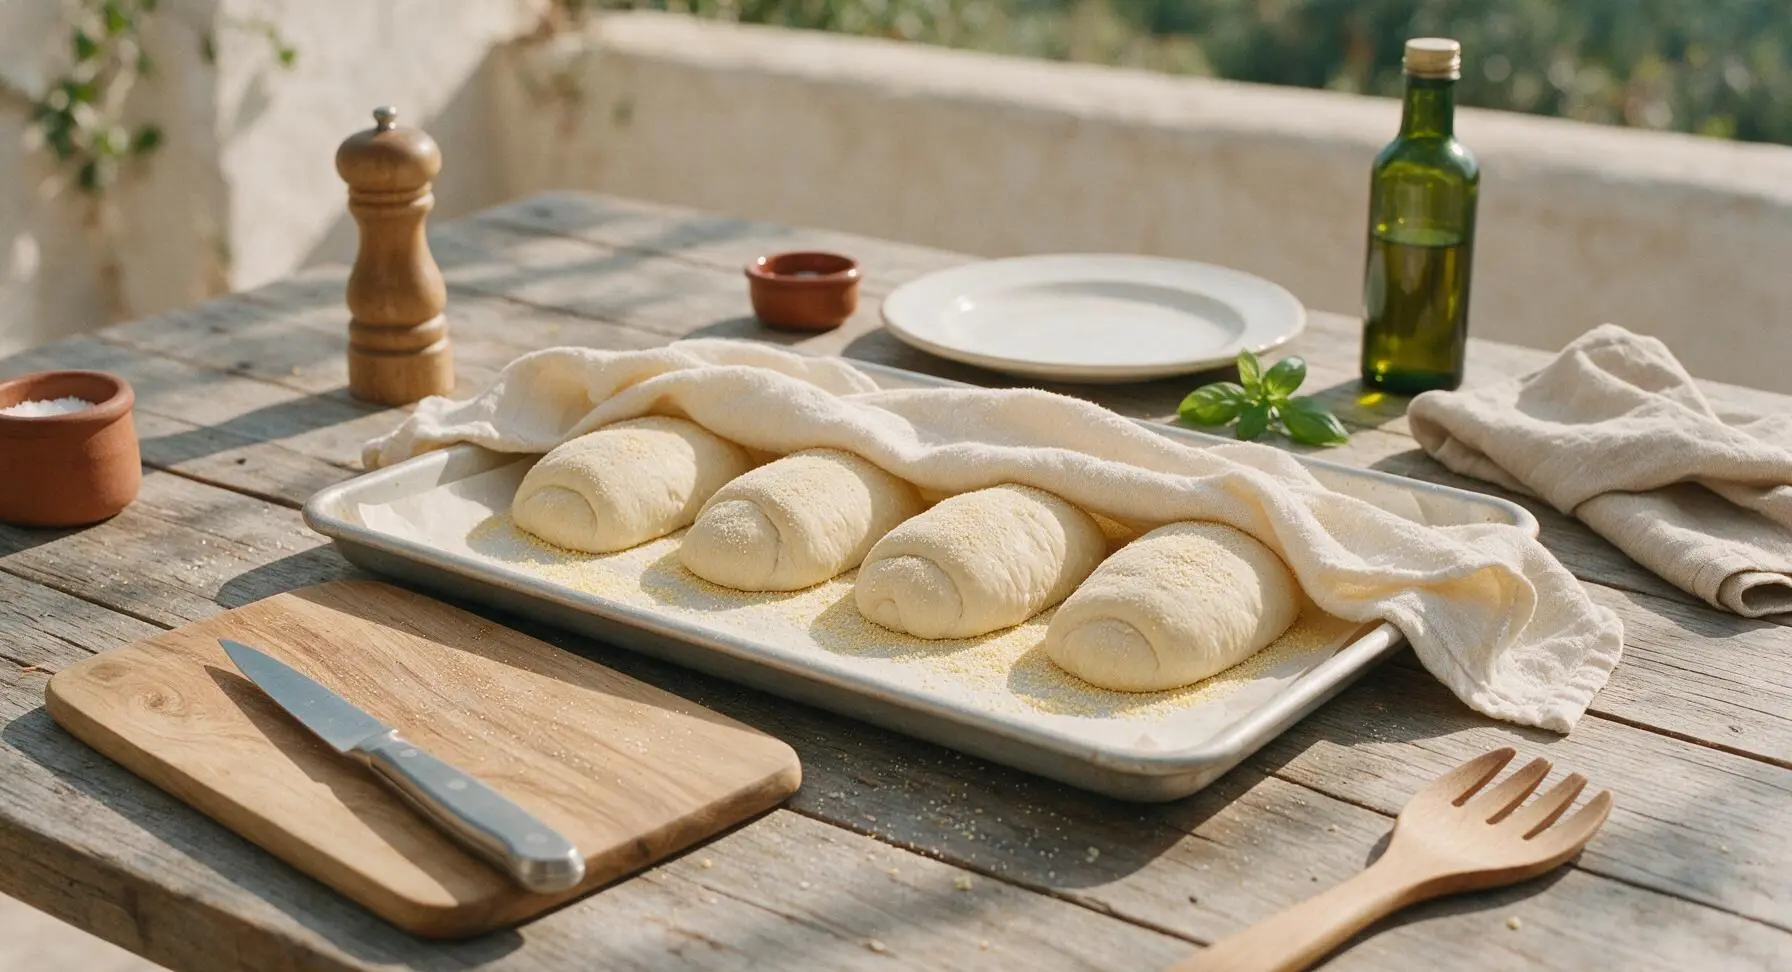
Sprinkle the parchment-lined aluminum baking sheet evenly with fine yellow cornmeal. Arrange the shaped rolls 3 inches apart on the baking sheet, seam-side down. Dust the tops lightly with a pinch of semolina flour from the stainless steel shaker, cover loosely with the damp kitchen towel, and let rest for 30-40 minutes until the rolls puff up by 50% and spring back slowly when poked. While proofing, preheat oven to 220°C/425°F, placing an empty metal baking pan on the lower rack to create steam.
Bake the Rolls
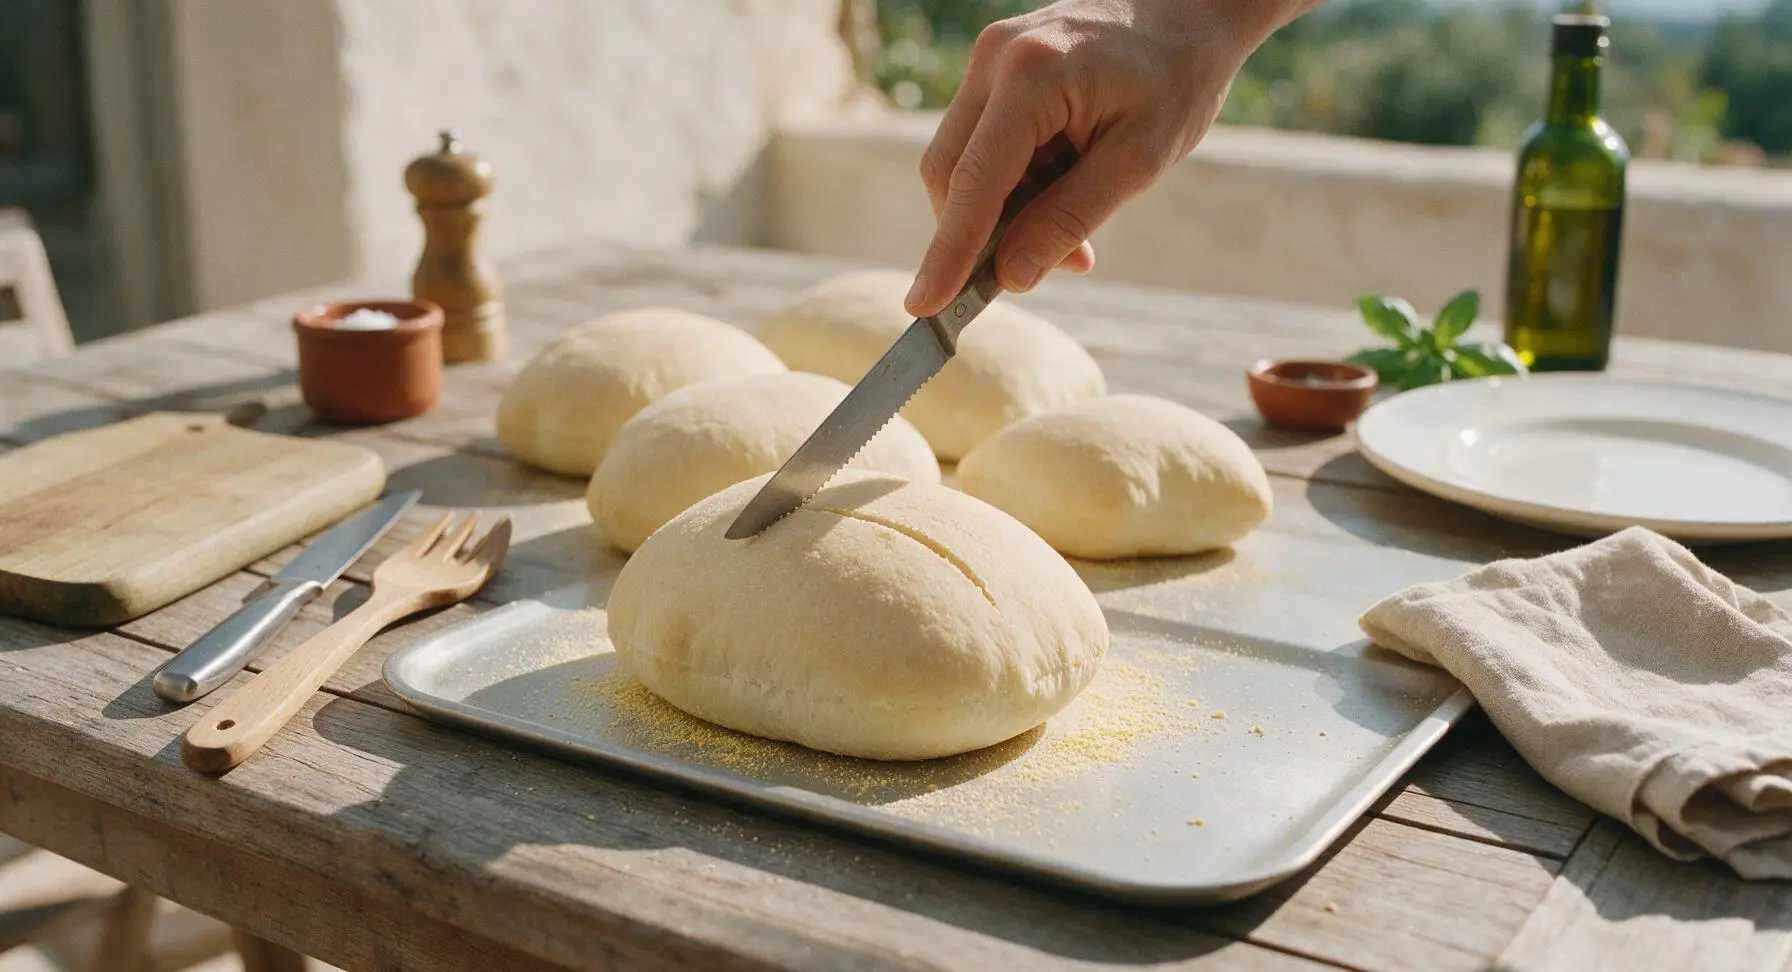
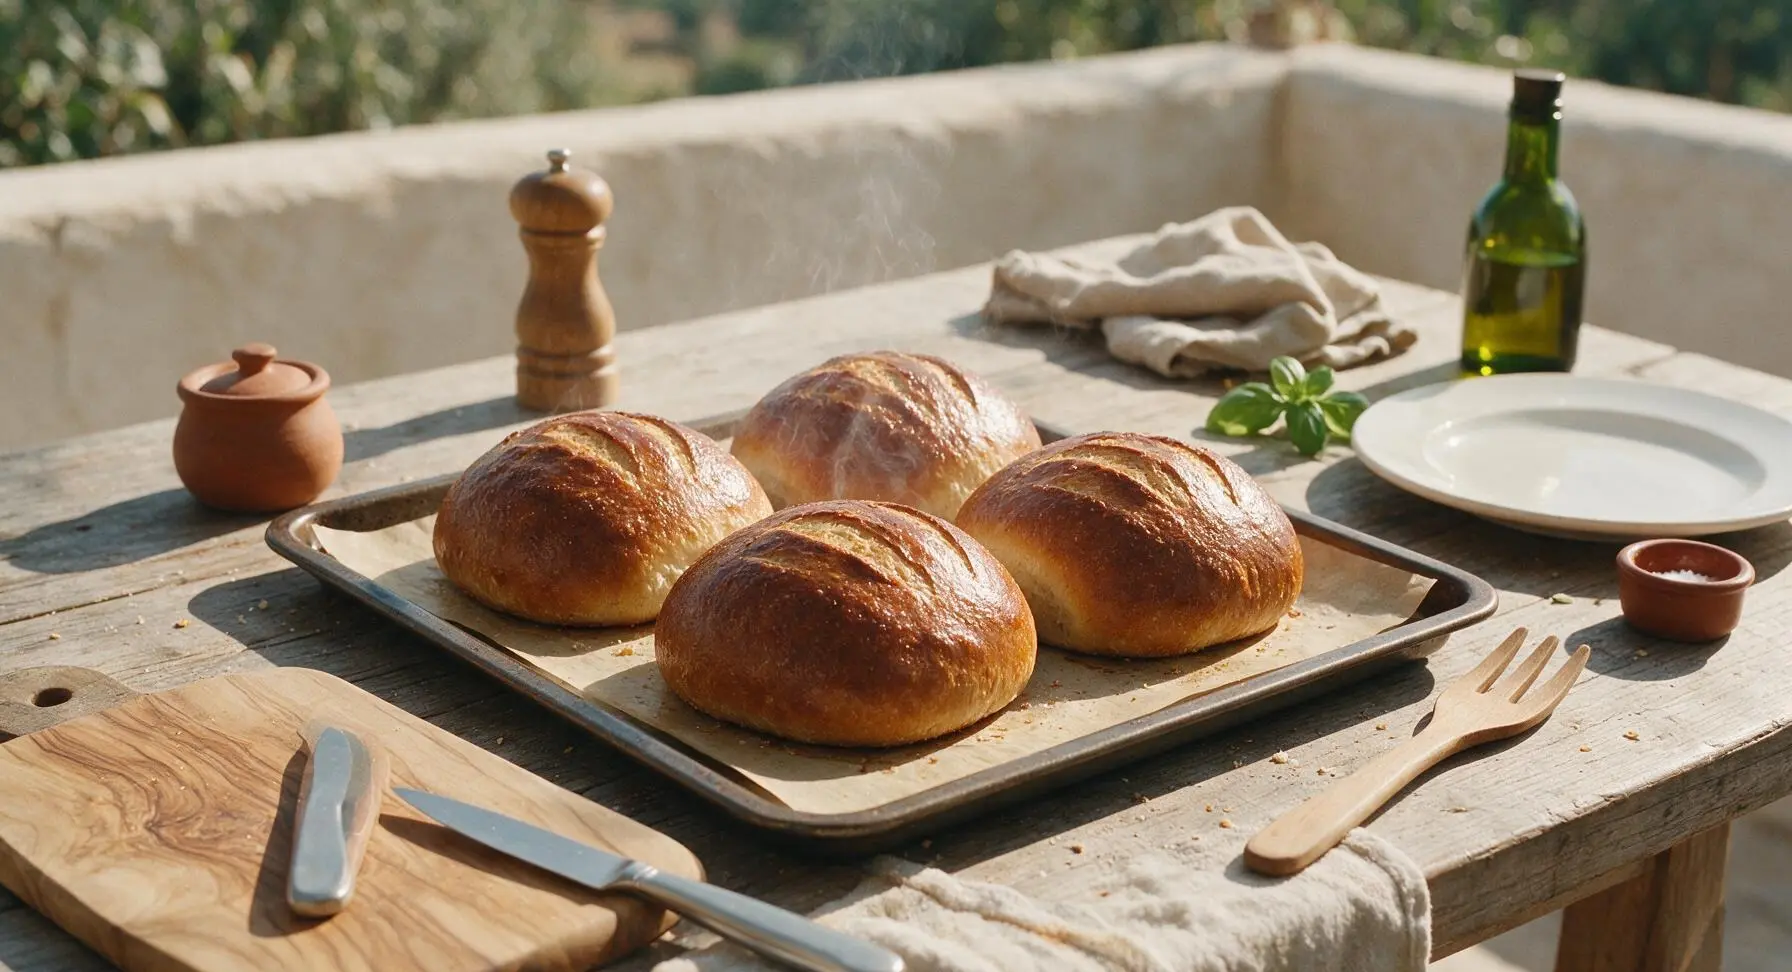
Once proofed, use a sharp serrated knife to score a 1/4-inch deep diagonal slit along the top of each roll. Slide the baking sheet onto the middle oven rack, then carefully pour 1/2 cup hot water into the preheated lower pan to create a burst of steam (this creates the signature shatteringly crisp crust). Bake for 20-25 minutes, until the rolls are deep golden brown all over, sound hollow when tapped on the bottom, and reach an internal temperature of 93°C/200°F.
Cool Baked Rolls
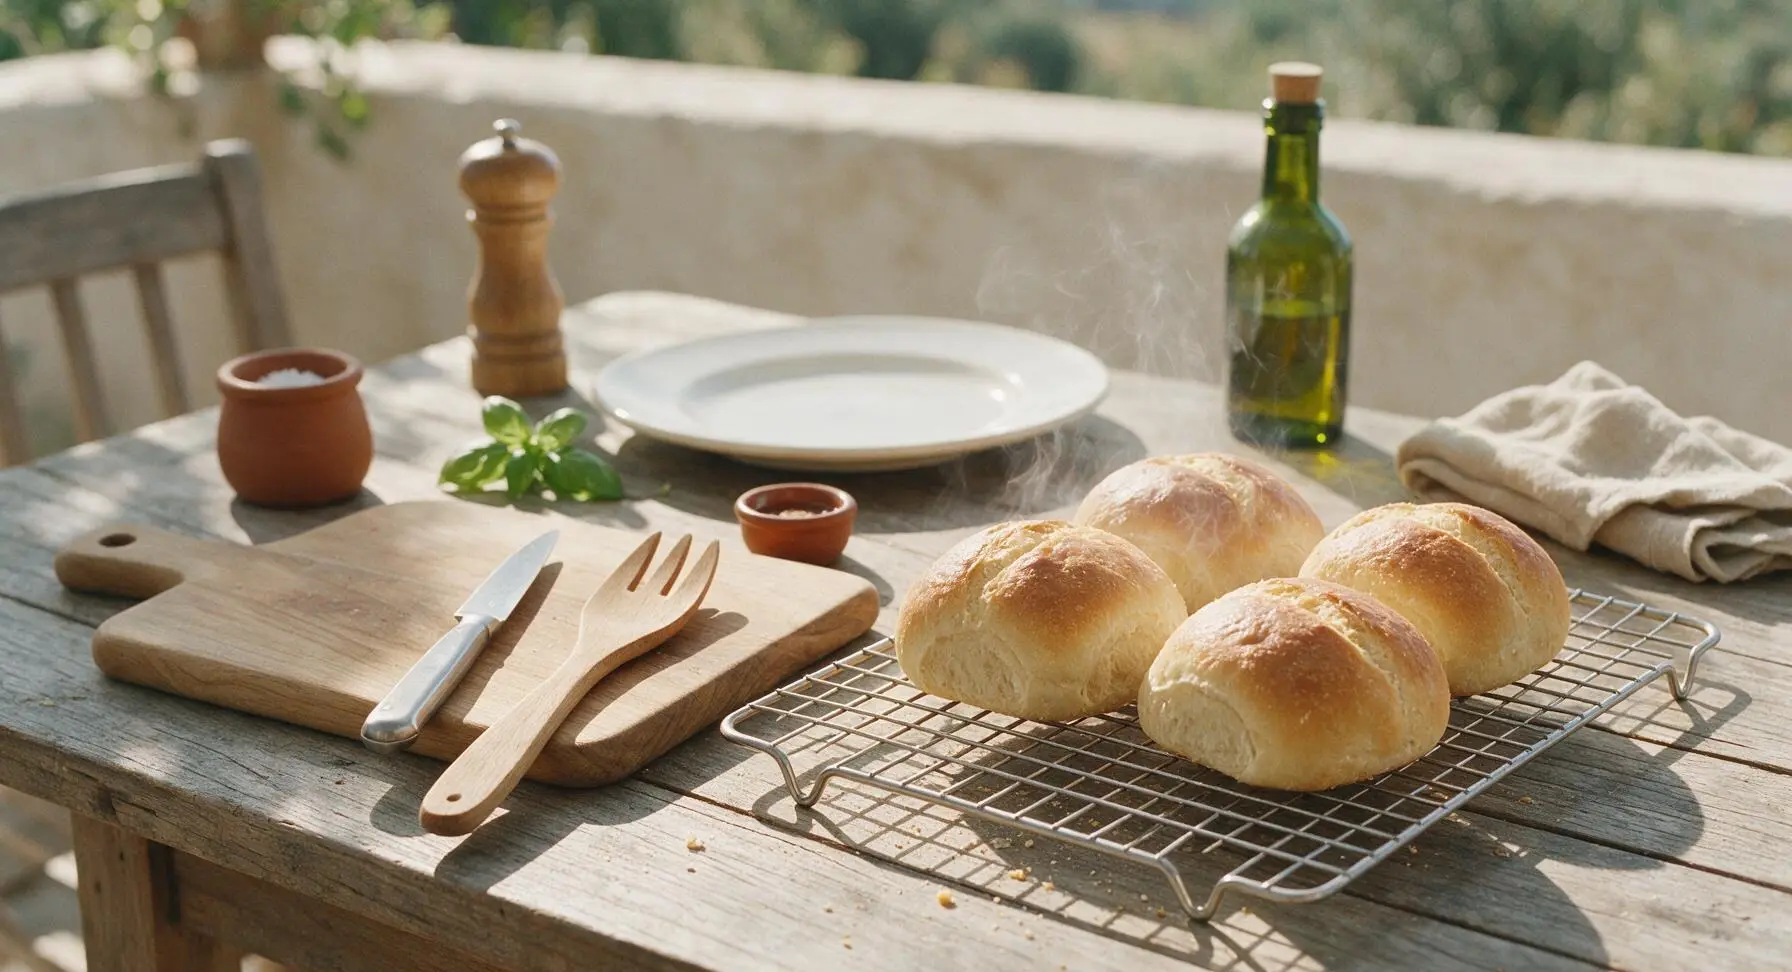
Use the dough scraper to carefully transfer the hot baked rolls from the baking sheet to the matte chrome wire cooling rack, positioned to the right of the cutting board. Let rolls cool completely for at least 30 minutes before slicing—cutting warm bread will cause the crumb to compress and become gummy, ruining the sturdy texture needed for steak sandwiches.
Prep for Assembly
Once fully cooled, split each roll lengthwise with a serrated knife, cutting 3/4 of the way through so the two sides remain attached (this prevents steak and fillings from falling out while eating). For extra structure and flavor, toast the cut sides lightly on a grill or cast iron pan for 1-2 minutes before loading with cooked steak, caramelized onions, melted cheese, and your favorite steak sandwich toppings.
Tips
2.Don’t skip the steam burst during baking: Pouring hot water into the preheated lower pan creates a moist oven environment that gelatinizes starch on the dough surface, producing a shatteringly crisp, crackly crust that repels moisture instead of turning mushy when loaded with condiments and drippy steak juices.
3.Let rolls cool completely for 30 minutes before slicing: Cutting warm bread compresses the delicate open crumb, creating a dense, gummy texture that can’t support fillings, and traps excess moisture that will quickly make your sandwich soggy.
4.Toast the cut sides of rolls for 1-2 minutes on a hot grill or cast iron pan before assembly: The lightly toasted surface creates a moisture barrier that repels steak juices and melted cheese, keeping your sandwich crisp and structurally sound from the first bite to the last.






OMG this bread is an absolute game changer for steak sandwich night! I was worried the medium difficulty would be too much for a casual weeknight, but the 2 hour inactive proofing time meant I could prep the steak and toppings while it rose. Crust was perfectly shattery, held up to the juicy ribeye and caramelized onions without getting soggy at all. My husband said it’s better than the steak sandwiches we get at our local pub in Chicago! 10/10 will make every Sunday dinner from now on.
Took this to a neighborhood cookout last weekend and everyone was asking for the recipe! I will say, I almost messed up the proofing step because I left my kitchen a little too cold (thanks AC cranked to 68 in this Texas heat) so it took an extra 30 mins to double in size. Once it baked up though? *Chef’s kiss* Perfect chew, that crust crunched so loud across the patio when people bit into their sandwiches. Even my picky teen asked for seconds.
SO good! I baked two loaves on Sunday to use for steak sandwiches for my work lunches all week, and the bread stayed crusty on the outside and soft inside for 4 whole days when stored in a paper bag. Way better than the sad hoagie rolls from the grocery store that get mushy 10 minutes after you put steak on them. Only note: make sure you let it cool fully before slicing, I cut into my first loaf a little too early and the inside was a touch gummy.
Wait this bread is insane. I made it for date night last night, sliced it thick, toasted it on the griddle with a little garlic butter, piled on sliced strip steak, provolone, and roasted peppers, and my boyfriend thought I ordered takeout from that fancy sandwich shop in Brooklyn! The crust is exactly what I’ve been looking for — not too hard that it cuts the roof of your mouth, but sturdy enough that you don’t end up with sandwich filling all over your plate.
Okay I’m a pretty novice bread baker so I was intimidated by the medium difficulty rating, but the instructions were so straightforward! My loaf didn’t get quite as deep a crust as the photos show, but it still tasted amazing with the garlic butter steak and fried onions I made for family dinner. My kids loved it so much they asked if we can have “crunchy bread steak nights” every Friday.
I tried making this with a 1:1 gluten free bread flour blend for my wife who has celiac, and it still came out with a great crust! It was a little denser than the regular version I made for myself, but it held up to the steak and au jus for our French dip/steak sandwich night perfectly. Will definitely be tweaking the proofing time a little for the GF version next time, but super happy with how it turned out for a first attempt.
I added a quarter cup of my active sourdough starter to the dough for a little extra tang, and let me tell you — *chef’s kiss*. It paired so well with the marinated flank steak I used, that little tang cut through the richness of the meat and the melty cheese perfectly. The crust was shattery, the crumb was light and airy, no sogginess even when I loaded on the horseradish sauce. This is going to be my go-to sandwich bread recipe from now on, not just for steak nights!
Made this last night for my husband’s birthday dinner, paired with ribeyes, blue cheese butter, and caramelized onions, and it was a home run! I will say, make sure you score the top of the loaf deep enough before baking — my scores were too shallow, so the loaf split weird on the side while baking, but it still tasted incredible. The crust was so crunchy, the inside soft and chewy, it didn’t get soggy even when we loaded on the extra au jus for dipping.
Made a double batch of this bread for our college football tailgate last weekend, sliced ‘em up, and served cheesesteak sliders for the whole crew. People were coming back for thirds! The crust held up even when we left the sandwiches in the cooler for a couple hours before kickoff, no soggy mess like we get with the cheap store-bought rolls. Only thing I’ll do different next time is add a little garlic powder to the dough for extra flavor, but it was still a total hit as written.