
best cheese for toasties

title 1
best cheese for toasties
⏱️ cook time 8 minutes
🍽️ servings 2
⚡ Difficulty easy

intro

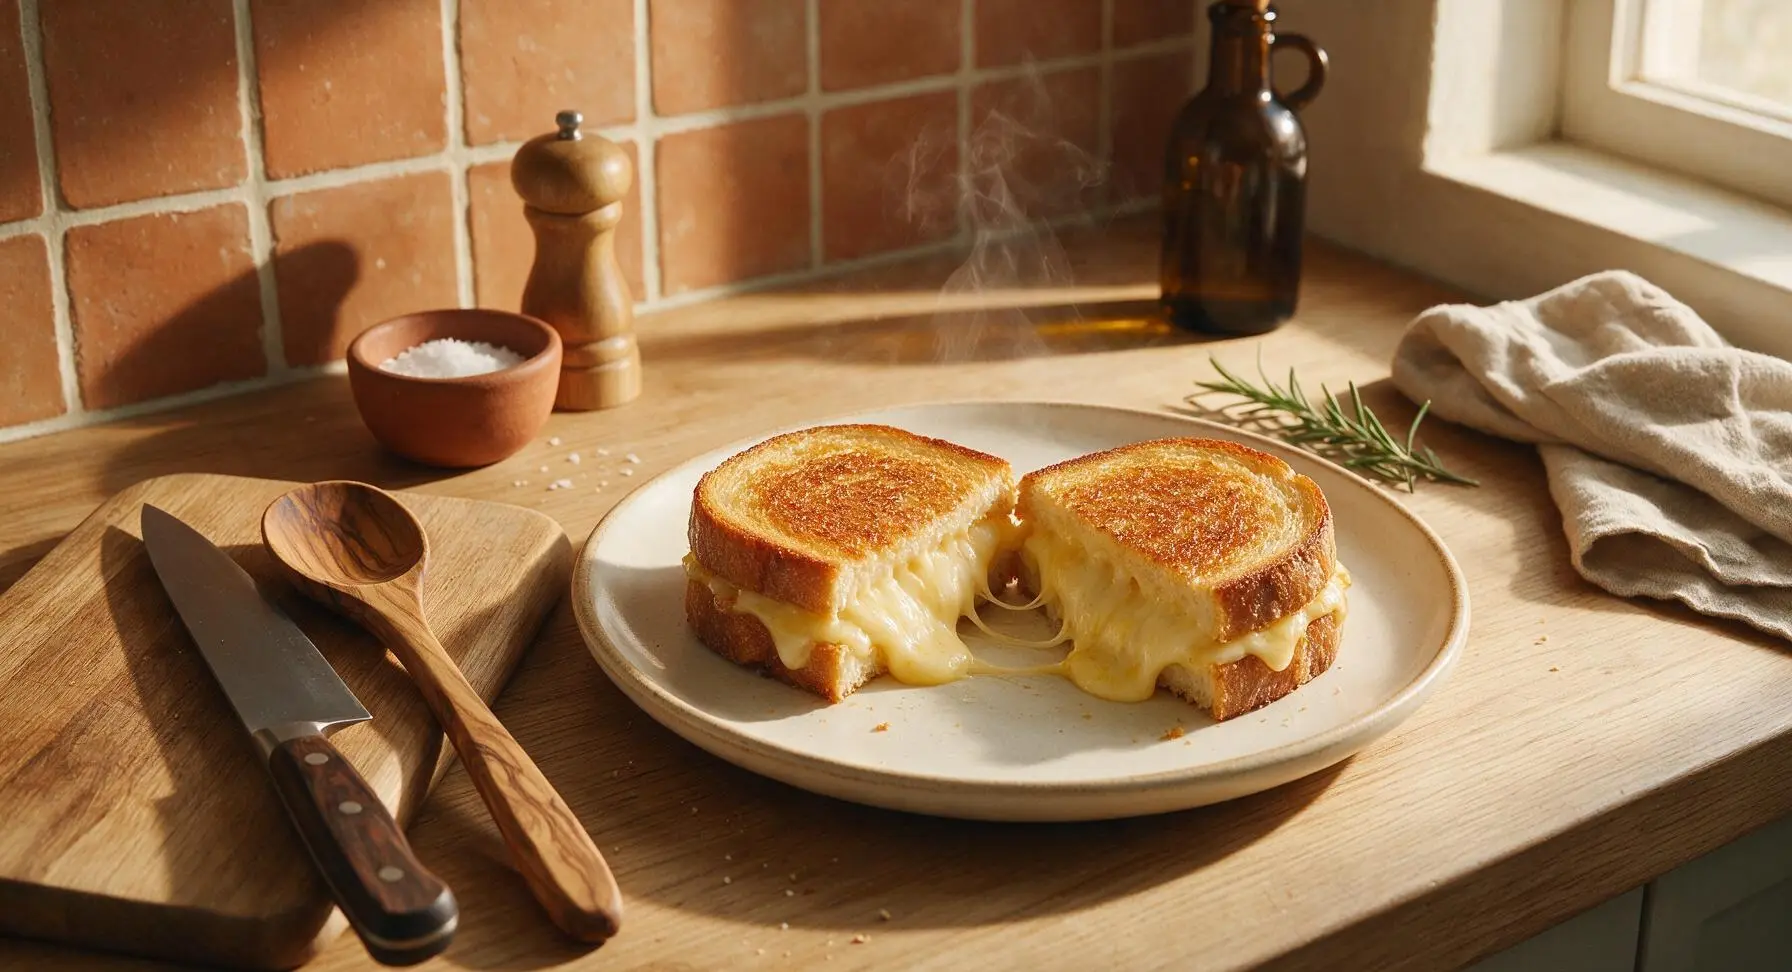
The ultimate melty cheese toastie, made with a perfectly balanced 3-cheese blend, crispy golden buttery bread, and gooey, stretchy cheese that pulls with every bite.

Ingredients
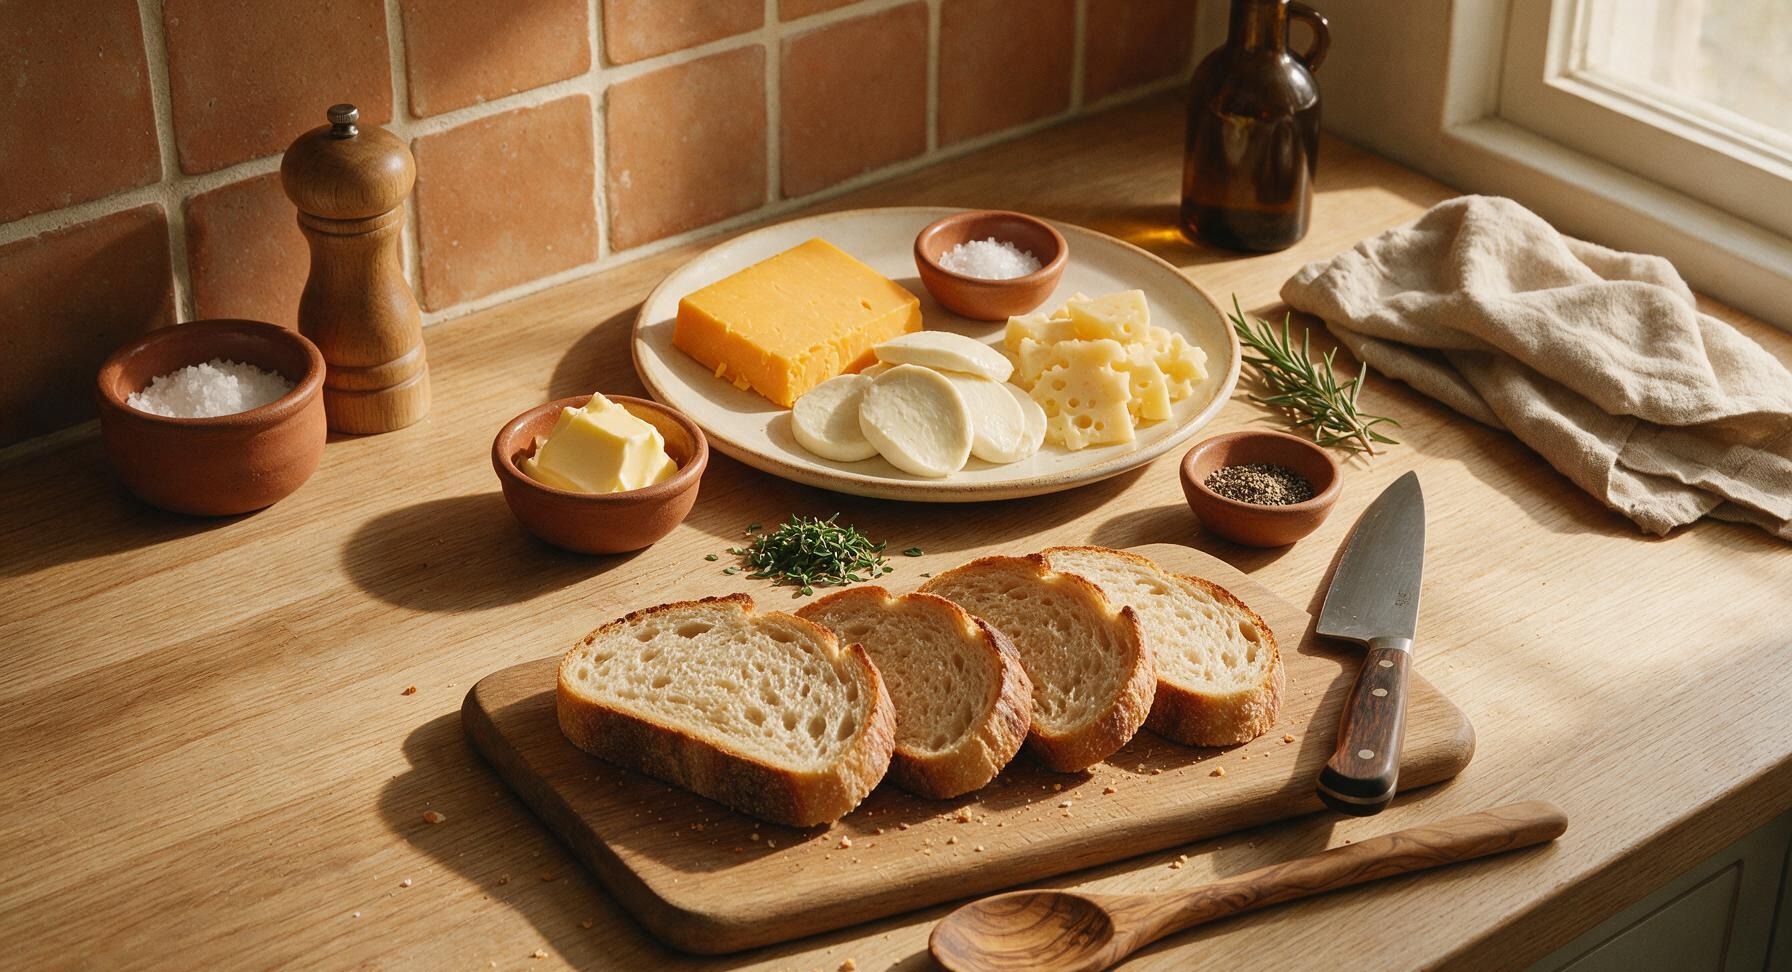
Thick-cut sourdough bread 4 slices (2cm thick)
Aged sharp cheddar cheese 60g
Low-moisture mozzarella cheese 40g
Gruyère cheese 30g
Unsalted butter 20g, room temperature
Flaky sea salt 1/4 tsp
Freshly ground black pepper 1/8 tsp
Fresh thyme 1 tsp leaves, picked

Steps

1

Grate Cheese Blend

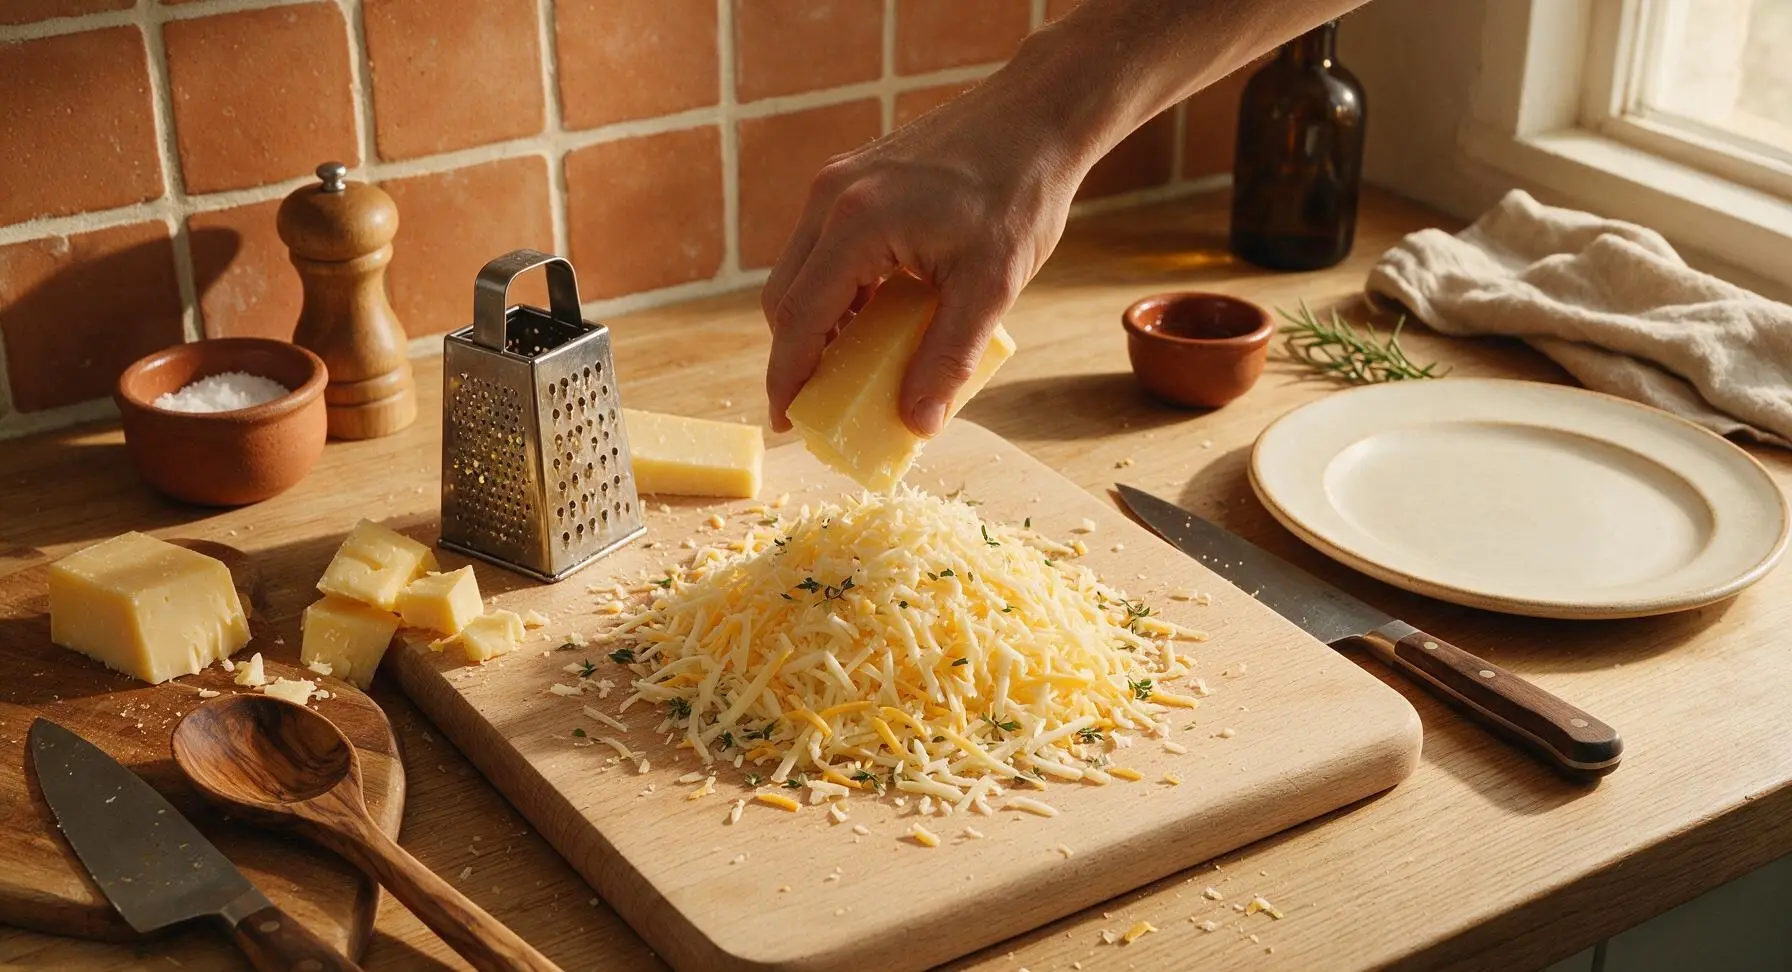
Set the light beech wood cutting board at the center of the counter, and place the stainless steel box grater to its left. Coarsely grate the sharp cheddar, low-moisture mozzarella, and Gruyère into a loose pile on the center of the cutting board. Toss gently with clean fingers to evenly combine the three cheeses; do not pack shreds tightly, as this prevents even, smooth melting. Pick 1 teaspoon of fresh thyme leaves from the fixed bunch at the back of the counter and toss lightly into the cheese blend.
Step 1
step1:Grate Cheese Blend
2

Prep Bread Slices

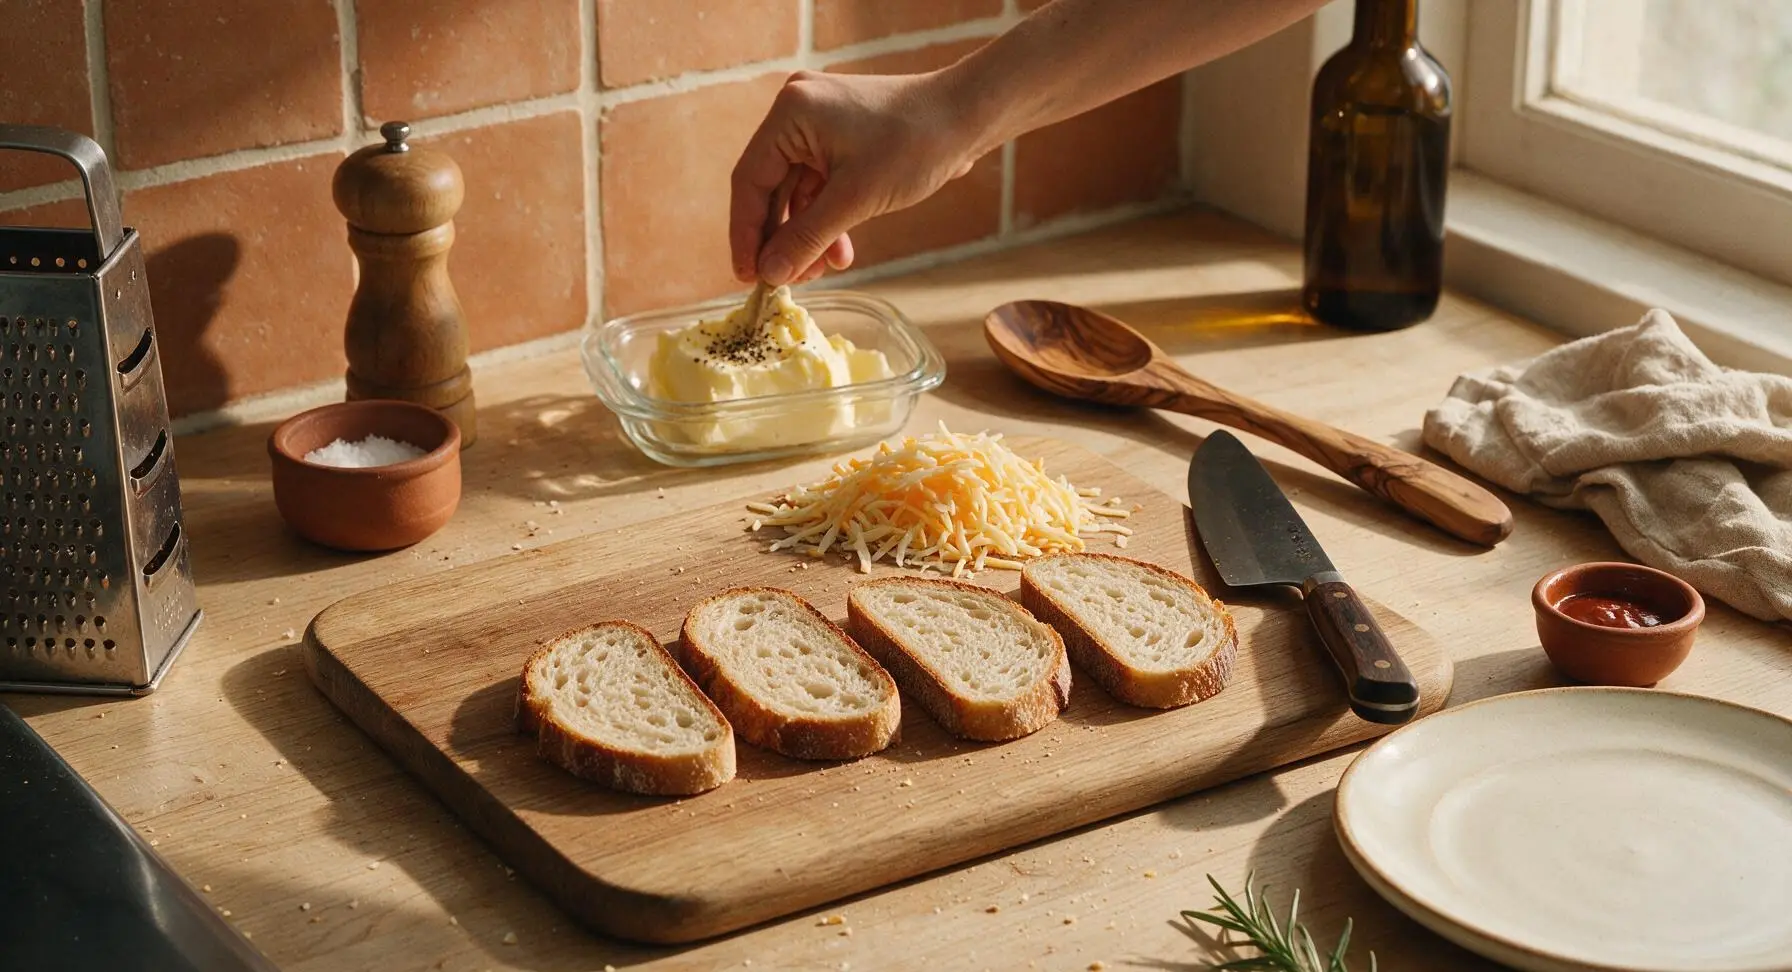
Move the box grater to the far left edge of the counter, and set the 8-inch carbon steel chef knife to the right of the cutting board. Lay the four sourdough slices flat on the cutting board, checking that each is an even 2cm thickness; trim any uneven crust edges if needed for uniform sandwiches. Stir the 1/8 tsp of freshly ground black pepper into the room-temperature butter in the fixed glass butter dish until evenly mixed.
Step 2
step2:Prep Bread Slices
3

Butter Bread Exteriors

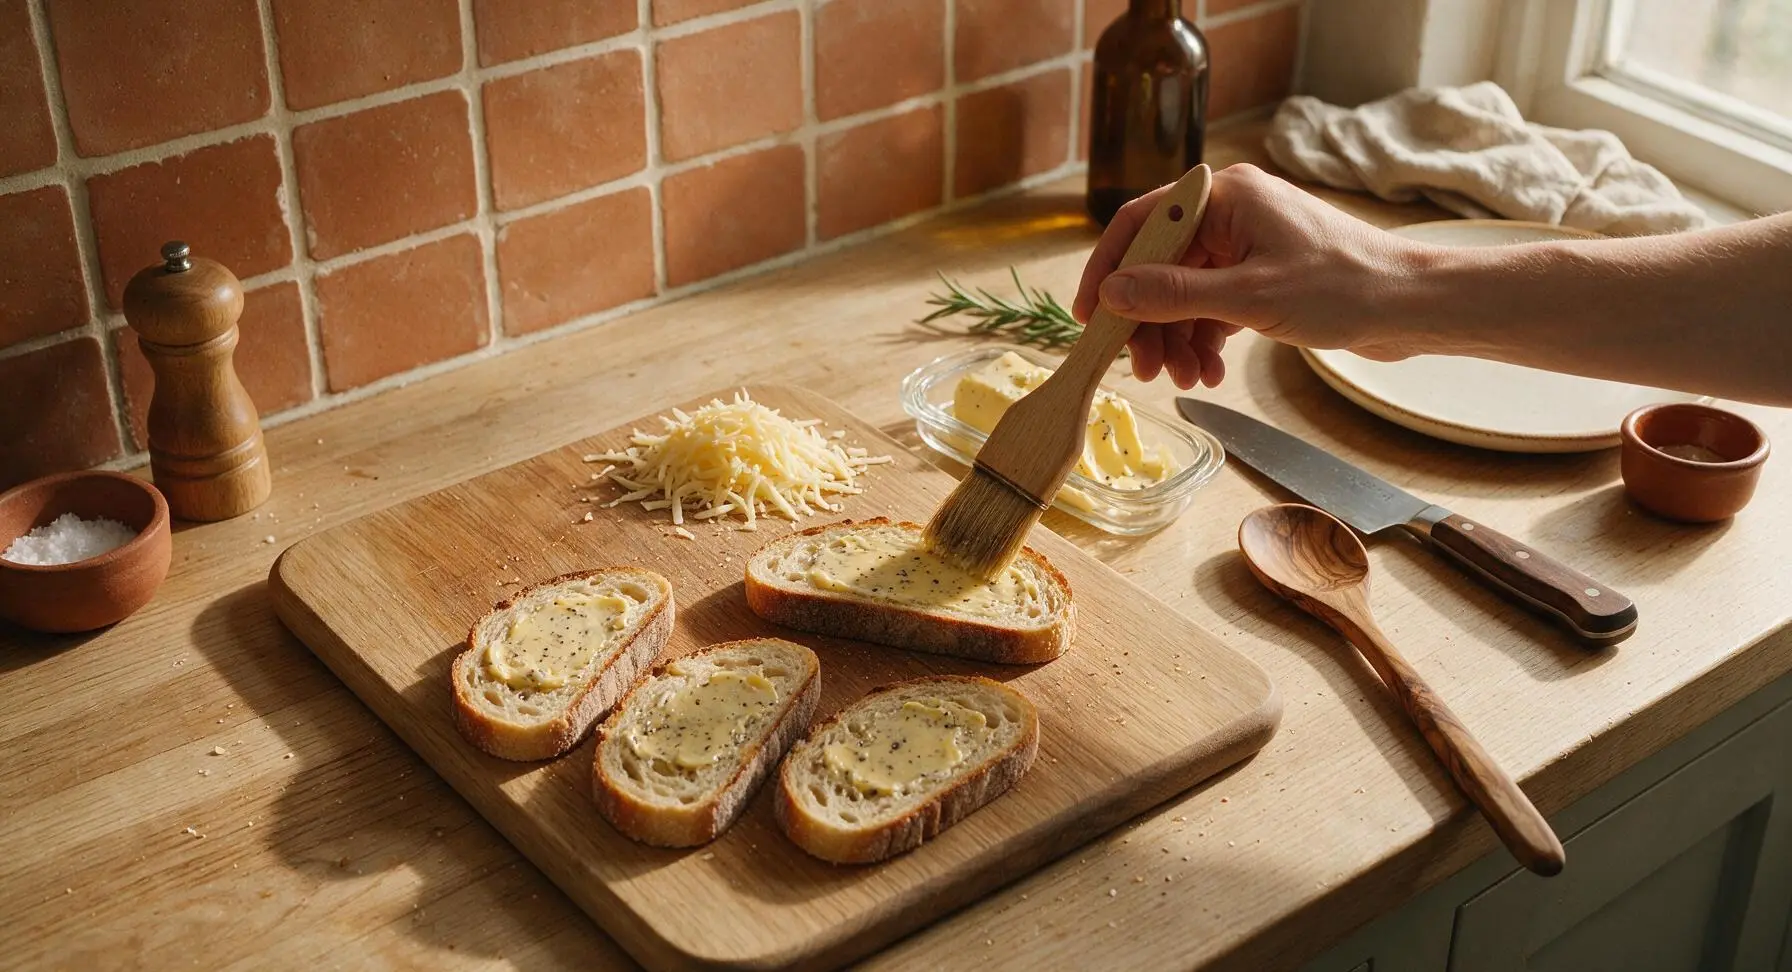
Place the natural boar bristle pastry brush next to the butter dish. Brush a thin, even layer of the peppered butter across one entire side of each sourdough slice, covering all the way to the crust edges to prevent dry, pale spots on the finished toastie. Lay all slices butter-side down on the cutting board once coated, as the buttered sides will form the crispy outer surface of the sandwich.
Step 3
step3:Butter Bread Exteriors
4

Fill Sandwich Layers

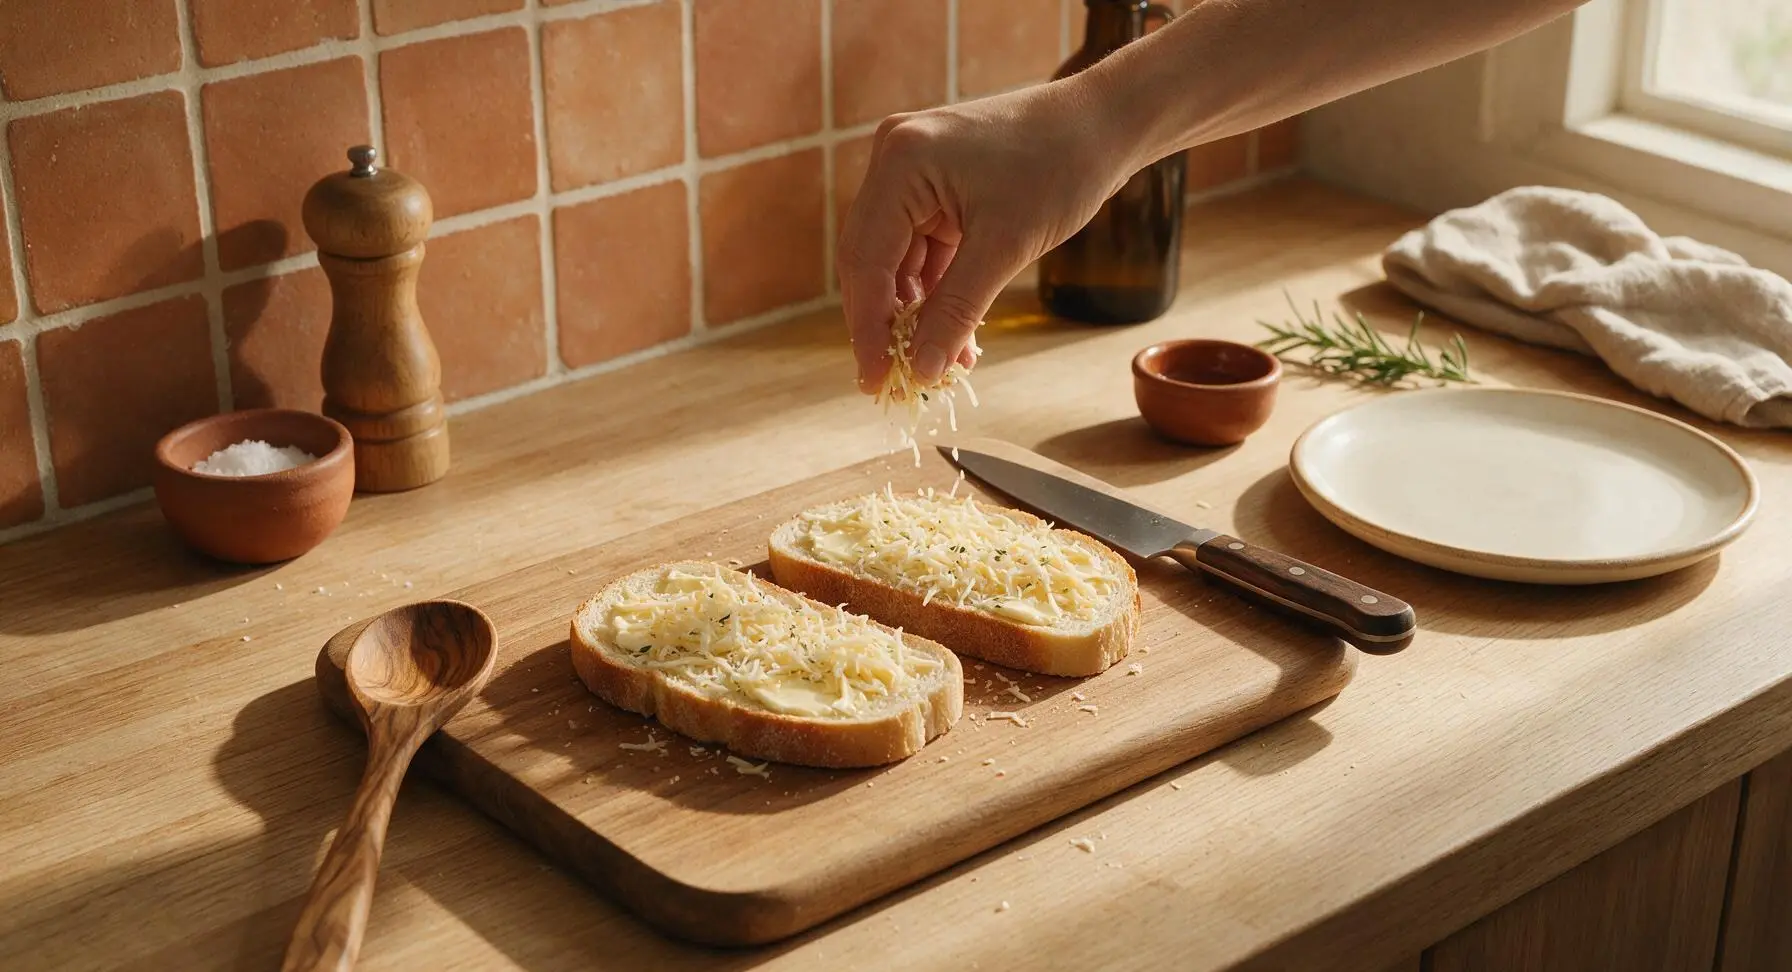
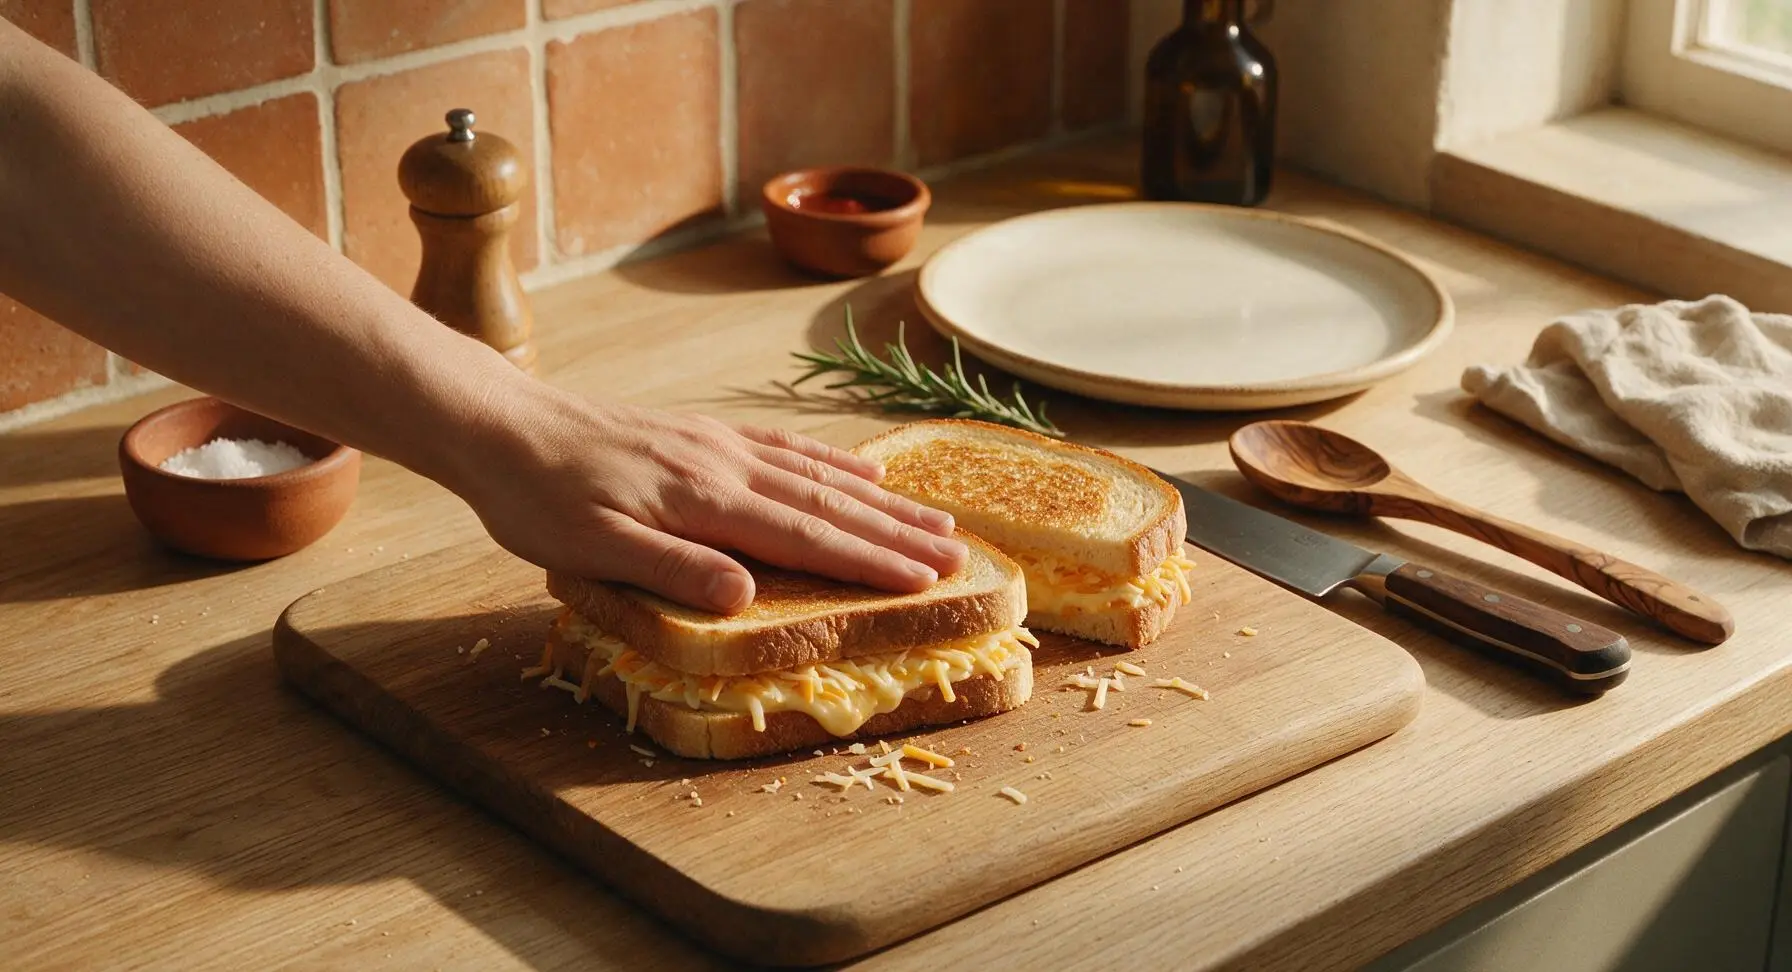
Divide the mixed cheese and thyme blend evenly between two of the bread slices, piling it on the upward-facing unbuttered side. Spread cheese in an even layer all the way to 5mm from the crust edge to reduce excessive oozing during cooking, and ensure every bite has filling. Sprinkle a tiny pinch of flaky sea salt over the cheese, then top with the remaining two bread slices, buttered side facing outward, to form two closed sandwiches. Press gently on the top of each sandwich with a clean palm to help the bread adhere.
Step 4
step4:Fill Sandwich Layers
Step 4
step4:Fill Sandwich Layers
5

Preheat Cooking Pan

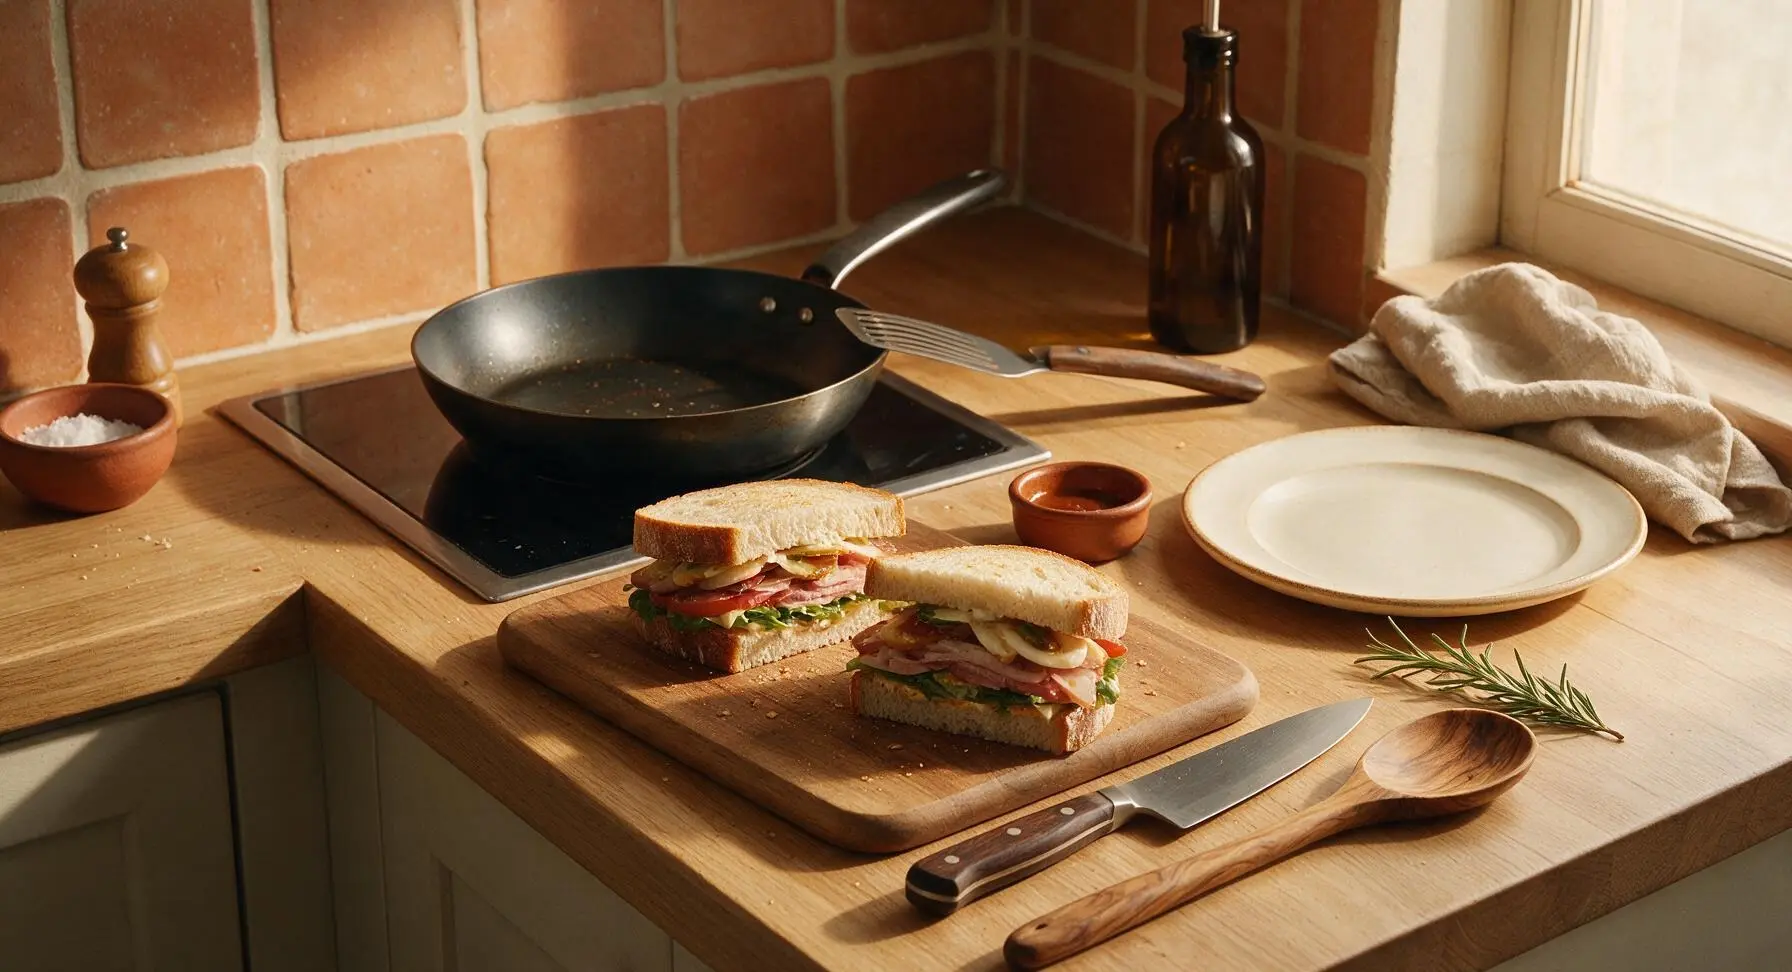
Place the 24cm carbon steel non-stick frying pan on the back-left inset stovetop, and set heat to medium-low (150C/300F for electric burners). Let the pan preheat for 2 full minutes; do not use high heat, as this will burn the bread before the cheese fully melts in the center. Rest the thin flexible fish spatula on the right edge of the pan so it is ready for flipping.
Step 5
step5:Preheat Cooking Pan
6

Cook First Toastie Side

Carefully place both sandwiches into the preheated pan using the fish spatula. Cook for 3 to 3.5 minutes without moving the sandwiches, until the bottom bread is a deep even golden brown, and cheese closest to the pan has started to visibly melt. Do not press down on the sandwiches with the spatula while cooking, as this squeezes out melted cheese and creates dry, dense spots.
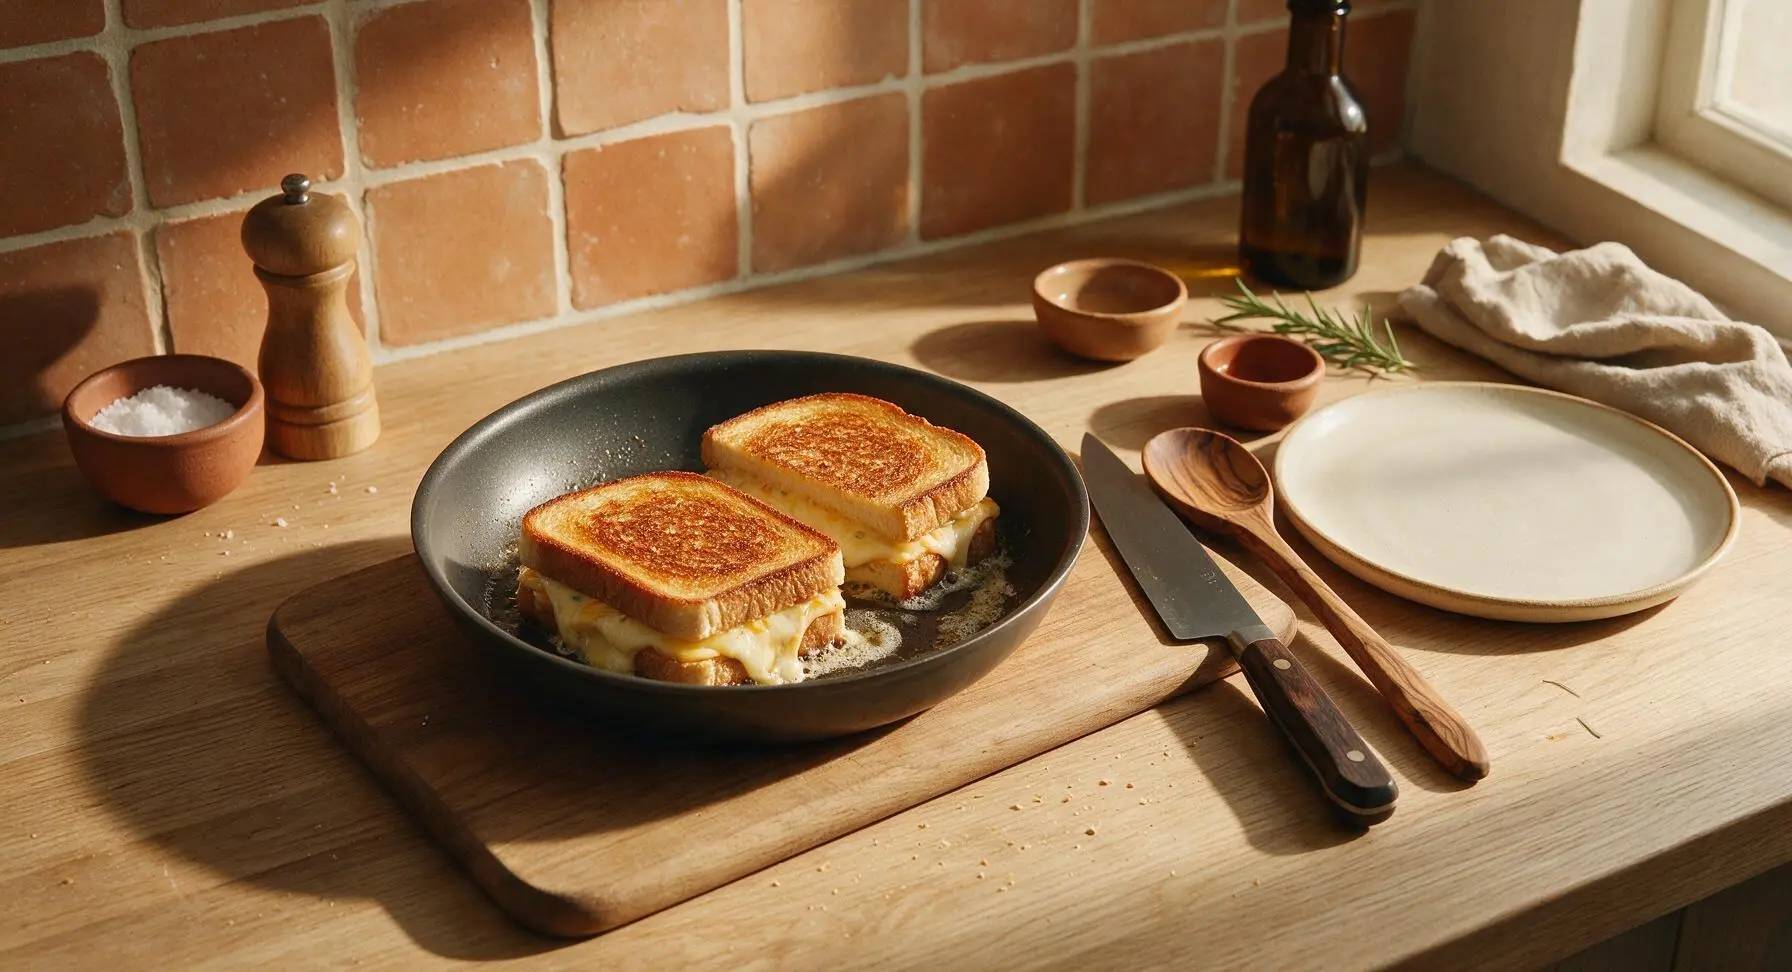
Step 6
step6:Cook First Toastie Side
7

Flip and Finish Cooking

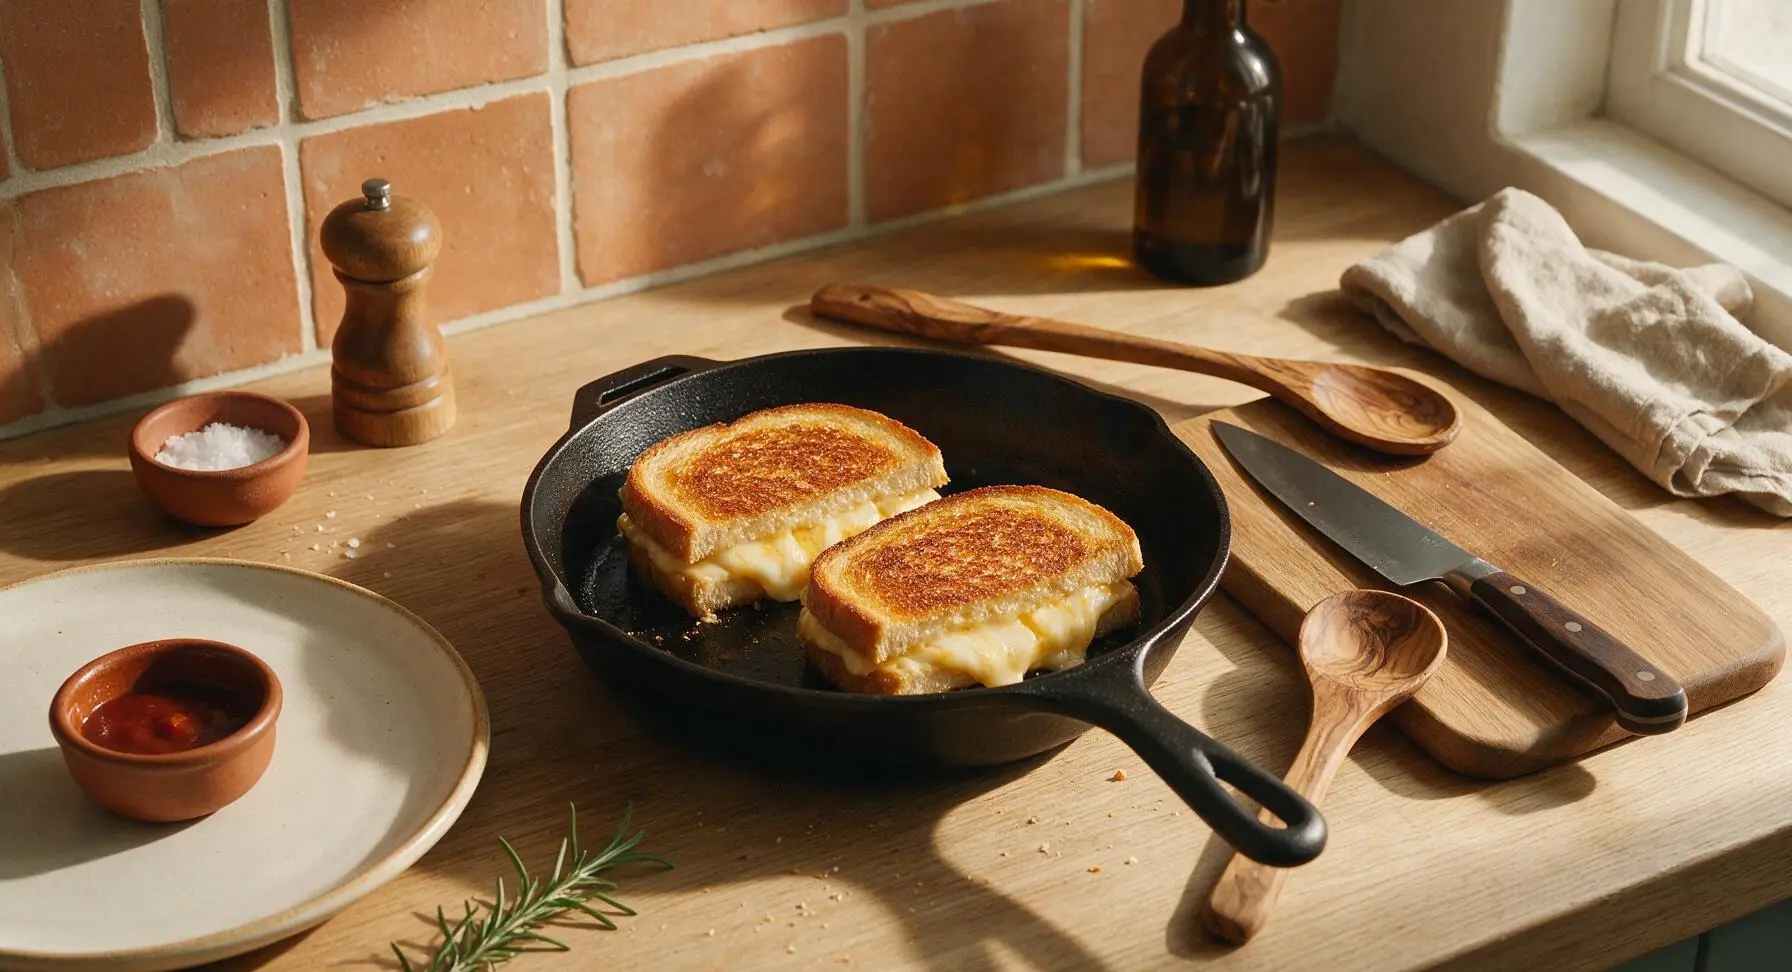
Slide the fish spatula under each sandwich and flip gently in one smooth motion. Cook the second side for another 2.5 to 3 minutes, until that side is also deep golden brown, and cheese in the center is fully melted (cheese will ooze slightly from all edges when it is ready). If bread browns too quickly, turn heat down slightly to avoid burning before the cheese melts.
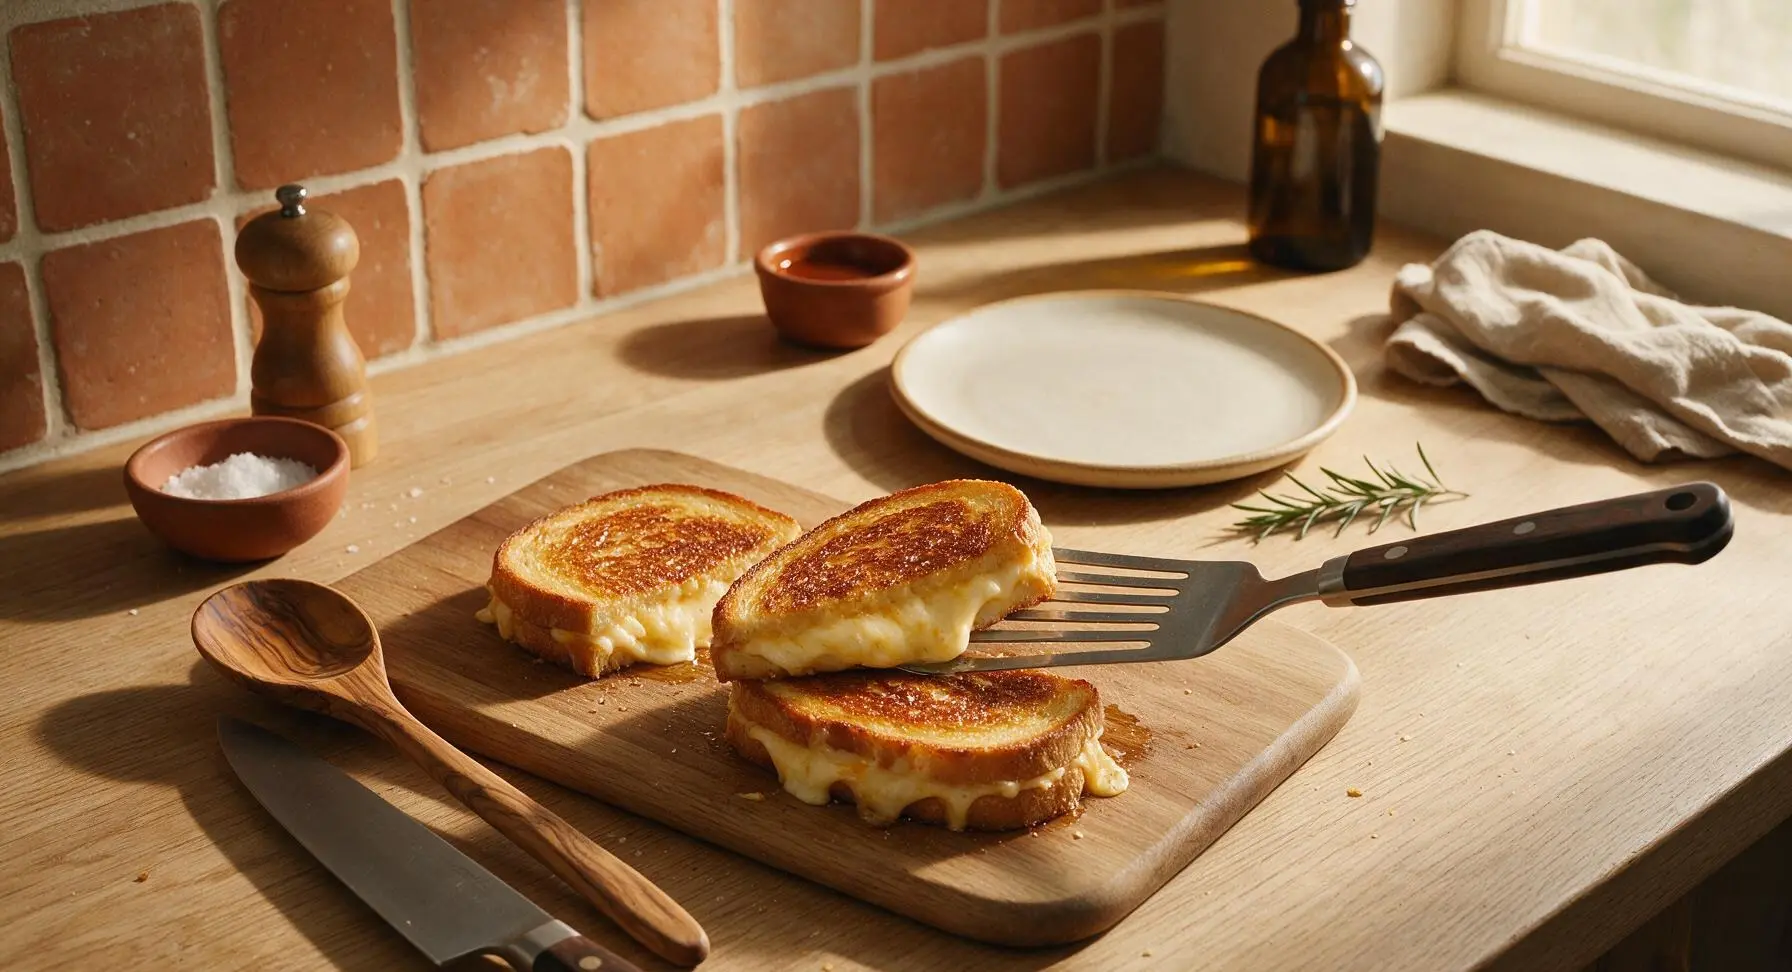
Step 7
step7:Flip and Finish Cooking
Step 7
step7:Flip and Finish Cooking
8

Rest and Plate Toasties

Use the fish spatula to lift cooked toasties out of the pan and onto the fixed matte cream ceramic dinner plate at back right. Let them rest for 1 full minute to allow melted cheese to set slightly, so it does not run out immediately when cut. Cut each toastie diagonally with the chef knife, arrange on the plate, and serve immediately.
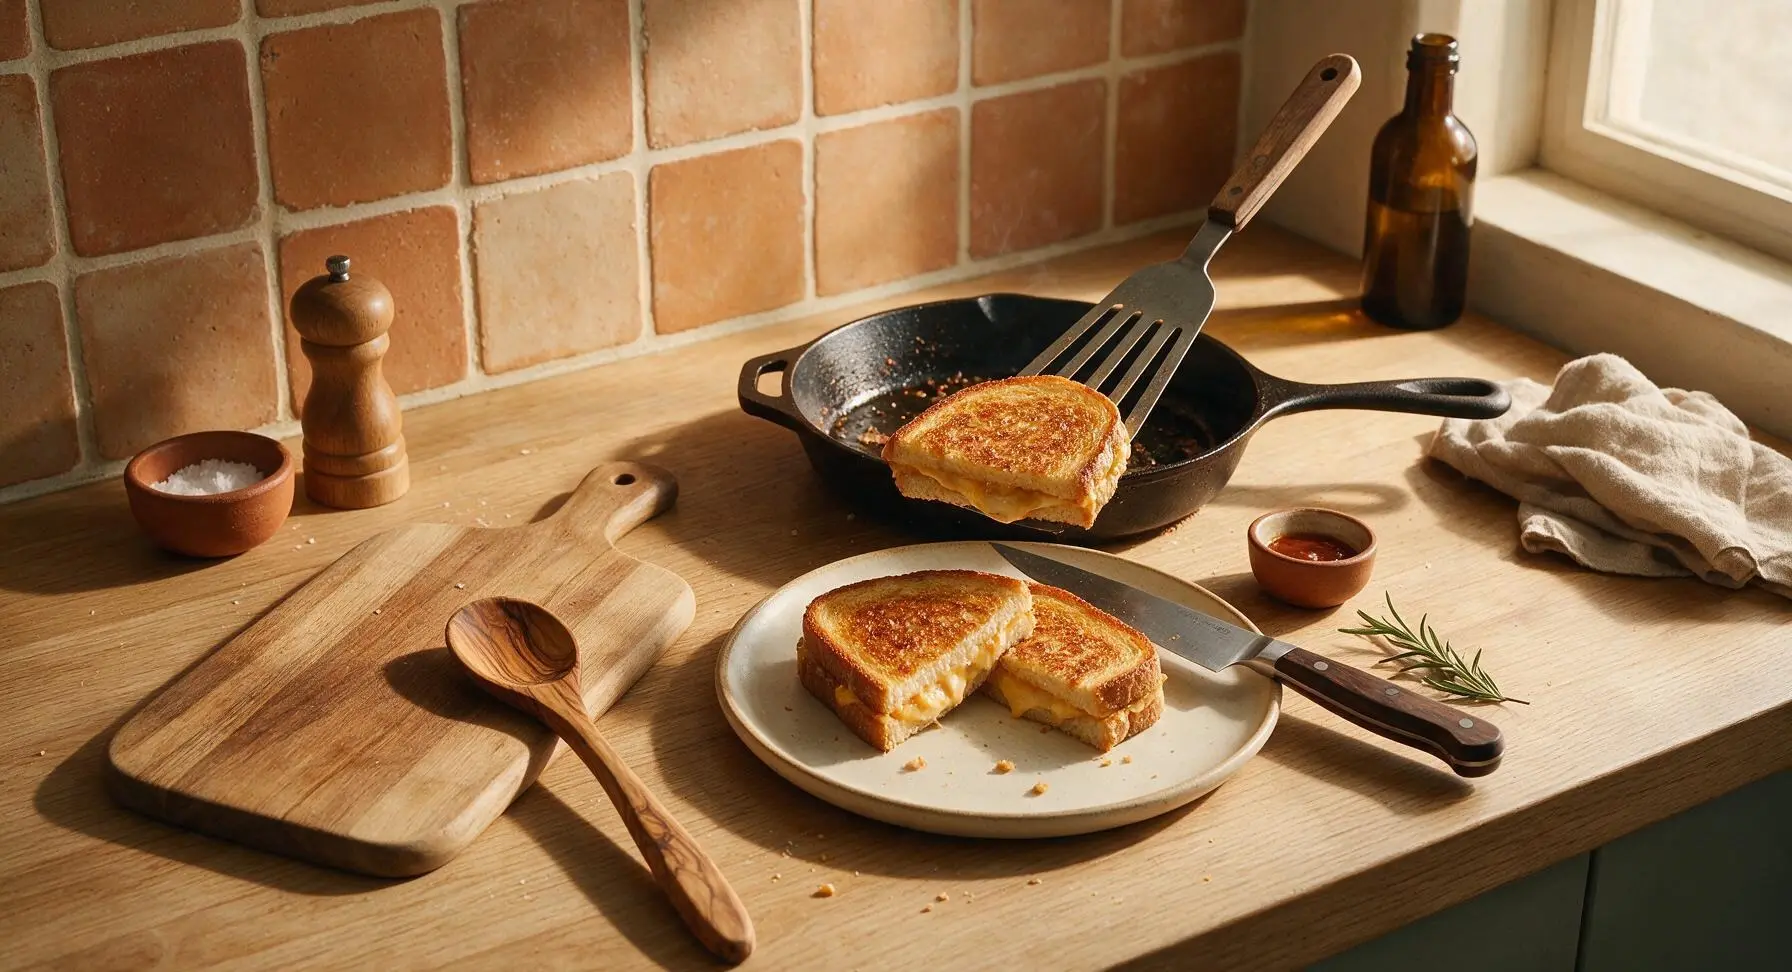
Step 8
step8:Rest and Plate Toasties

Tips

1.Grate cheese fresh from blocks instead of using pre-shredded store-bought cheese: pre-shredded cheese is coated in potato starch or natamycin anti-caking agents that prevent smooth, gooey melting and can leave your filling grainy.
2.Stick to medium-low heat for cooking: high heat will crisp and burn the bread exterior in 1-2 minutes, leaving the center cheese solid and un-melted, while low-and-slow heat lets cheese fully melt before bread reaches perfect golden crispness.
3.Let cooked toasties rest for 1 full minute before cutting: this short rest lets the melted cheese thicken slightly, so you get that iconic long, satisfying cheese pull instead of all the filling running out onto your plate when you slice through.


✨ You May Also Like

Snacks & Appetizers
🍜 Mexico

Crispy thick-cut tortilla chips piled high with seasoned beef, melted cheese, and bright fresh toppings for a shareable, crowd-favorite bite.

⏱️ 25 minuteSnacks & Appetizers ★ 4.8
Snacks & Appetizers
🍜 United States

Crisp, sweet-tangy spiced pickled watermelon rind is a zero-waste summer staple, perfect with grilled meats, charcuterie, or eaten straight from the jar as a bright snack.

⏱️ 30 minuteSnacks & Appetizers ★ 4.6
Snacks & Appetizers
🍜 Germany

A tangy, jellied pork cold cut slow-simmered with aromatic spices, set into a firm sliceable loaf, served cold with mustard and crusty bread.

⏱️ 3 hours 4Snacks & Appetizers ★ 4.8
Snacks & Appetizers
🍜 United States

Creamy, tangy, perfectly seasoned hard-boiled egg halves filled with a rich, smooth yolk mixture, a timeless, crowd-pleasing bite for holiday and casual gatherings alike.

⏱️ 40 minuteSnacks & Appetizers ★ 4.8
Snacks & Appetizers
🍜 Russia

Silky, dill-forward no-smoke cured salmon, a Scandinavian classic with bright salty-sweet flavor, ideal for holiday starter platters and open-faced rye sandwiches.

⏱️ 48 hours Snacks & Appetizers ★ 4.7
Snacks & Appetizers
🍜 Japan

Crisp golden bottoms, juicy savory pork and vegetable filling, and tangy dipping sauce make these pan-fried gyoza a beloved shareable bite.

⏱️ 45 minuteSnacks & Appetizers ★ 4.8

best cheese for toasties:Frequently Asked Questions

1.Why this specific 3-cheese blend instead of just one cheese? ▾
That blend is intentionally balanced for ideal flavor and texture! Aged sharp cheddar brings bold, tangy bite, low-moisture mozzarella delivers that iconic stretchy pull without excess sogginess, and Gruyère adds rich, nutty umami depth that keeps every bite interesting. No single cheese checks all three boxes on its own.
2.Can I use pre-shredded cheese instead of shredding my own? ▾
I really recommend shredding your own cheese for the silkiest melt! Pre-shredded cheeses are coated in potato starch or natamycin to prevent clumping, which keeps them from melting into that smooth, gooey consistency we want. It only takes 2 extra minutes, and the difference in texture is totally noticeable.
3.How thick should I cut the sourdough bread for these toasties? ▾
Aim for slices that are ¾ to 1 inch thick! Any thinner, and your bread will get overly crisp before the cheese fully melts through, plus you’ll lose that satisfying balance of crunchy crust and soft, chewy interior. Any thicker, and the cheese won’t heat evenly all the way to the center.
4.Why use unsalted butter instead of salted for the bread exterior? ▾
Unsalted butter lets you control the total sodium level of your toastie, since all three cheeses already bring noticeable salt to the party. It also browns more evenly without extra salt throwing off its smoke point, so you get that perfect golden, buttery crust without burnt, bitter spots.
5.My cheese never fully melts before the bread burns—what am I doing wrong? ▾
That almost always means your heat is too high! Cook these toasties over medium-low heat, covered for the first 2 minutes per side, to let heat penetrate slowly all the way to the cheese center. This gives the bread time to crisp up evenly without burning before the cheese turns fully gooey.
6.Can I substitute Gruyère if I don’t have it on hand? ▾
Absolutely! The closest swap is either Emmental or fontina for that same mild, nutty, ultra-meltable profile. If you don’t have either, young, mild Swiss works in a pinch—just skip very strong, crumbly cheeses like aged Asiago here, since they won’t melt smoothly and will throw off the flavor balance.
7.What’s the best ratio for the 3-cheese blend to get the perfect balance? ▾
I use a simple equal-part ratio for foolproof results: ⅓ shredded aged sharp cheddar, ⅓ low-moisture mozzarella, and ⅓ Gruyère. If you love extra tang, bump the cheddar up a little, or add extra mozzarella if you’re chasing over-the-top cheese pull, but equal parts work perfectly every single time.
8.Can I make these toasties in a panini press instead of a stovetop skillet? ▾
You totally can! Preheat your panini press to medium, butter the outer sides of your bread as directed, and cook for 3 to 4 minutes until the bread is deep golden and the cheese is fully melted. Just don’t press down too hard as it cooks, or you’ll squeeze all that delicious melted cheese out the sides.
9.Why low-moisture mozzarella instead of fresh mozzarella? ▾
Fresh mozzarella has a very high water content that leaks out as it melts, making your bread soggy and diluting the other cheese flavors. Low-moisture mozzarella is firmer, melts into that perfect stretchy texture without excess water, and pairs seamlessly with the sharper, nuttier notes of the other two cheeses.
10.Can I add extra fillings like ham or tomato to these toasties? ▾
Of course! Just stick to low-moisture add-ins to avoid soggy bread: thinly sliced cured ham, caramelized onions, crispy cooked bacon, or a thin spread of Dijon all work beautifully. If you use tomato, pat slices very dry with paper towels first to soak up excess juice before tucking them in.
11.How do I get that super crispy, buttery crust every time? ▾
Butter the outer side of each bread slice all the way to the edges, rather than melting butter in the pan first. This creates an even, full coating that crisps uniformly instead of leaving patchy dry spots. Cook over medium-low heat so the butter slowly toasts the bread instead of burning on contact.
12.How long will these toasties stay fresh, and how do I reheat them? ▾
These are best eaten right after cooking when the cheese is stretchy and the crust is crisp, but leftovers keep in an airtight container in the fridge for up to 2 days. Reheat in a dry skillet over low heat for 2 to 3 minutes per side—skip the microwave, which makes bread rubbery and cheese grainy.
13.Can I use a different bread instead of sourdough? ▾
You can swap sourdough for another thick, sturdy bread if you prefer! Thick-cut country white, whole grain sourdough, or even rye work great, just avoid soft, thin sandwich bread—it will get soggy and squish under the cheese weight, and won’t develop that satisfying crisp crust we want.
14.How much cheese should I put per toastie to avoid oozing mess? ▾
Stick to roughly ½ cup of total shredded cheese per standard-sized toastie for the perfect amount. Piling on more cheese than that causes it to bubble out the sides as it melts, burn on your pan, and leave you with a thinner, less cheesy bite between bread instead of that perfect gooey layer.
15.Do I need to cover the pan while cooking the toasties? ▾
Covering the pan for the first 2 minutes of cook time per side is a total pro trick! It traps gentle steam that helps the cheese melt evenly all the way through before the bread gets too dark. You don’t need a fancy lid—even a flat baking sheet set over the skillet works as a perfect makeshift cover.
16.Is there a way to make these dairy-free or vegan? ▾
You can make a vegan version with a few easy swaps! Use thick-cut sourdough made without dairy, swap the butter for vegan stick butter (skip spreadable tub butter, which has too much water), and use a blend of vegan sharp cheddar, low-moisture mozzarella, and Gruyère-style shreds for that same balanced flavor.
17.Why aged sharp cheddar instead of mild cheddar? ▾
Aged sharp cheddar (aged 12+ months) has concentrated, tangy, bold flavor that cuts through the rich, creamy notes of mozzarella and Gruyère so the toastie doesn’t taste bland or one-note. Mild cheddar is too soft and mellow, and it will get lost next to the other cheeses without adding that signature bright bite.
18.My cheese pulls aren’t as long as I see in photos—what’s the trick? ▾
That long, photogenic cheese pull comes down to two key things: including low-moisture mozzarella in the blend, and letting the toastie rest for exactly 1 minute after you take it off the heat before slicing. Cut it too early and the cheese is runny; wait too long and it firms up too much to stretch.
19.Can I prep these toasties ahead for quick meals during the week? ▾
You can prep the cheese blend up to 3 days ahead, stored in an airtight container in the fridge, and butter your bread slices right before cooking. I don’t recommend assembling fully built toasties ahead of time, though—butter and cheese moisture will seep into the bread and leave you with soggy, disappointing results.

Comments (4)

2 days ago

OMG this 3-cheese blend is an absolute game changer! I threw these toasties together last night for a quick weeknight dinner between my kids’ soccer practices, and even my super picky 7-year-old asked for seconds. The 8 minute cook time is no joke—I didn’t even finish loading the dishwasher from lunch before they were ready to eat. 10/10 will be making these for our next neighborhood potluck for sure!

yesterday

Same! My kids devoured these, I couldn’t believe how fast they came together. I swapped a little of the mozz for pepper jack last time for a tiny kick and it slapped.

2 hours ago

We love that spicy swap, GrilledCheeseStan! So glad the quick cook time works for your busy school and sports nights, MamaBear2020—you can absolutely mix in a little pepper jack if you want that extra zing, it pairs perfectly with the creamy base 3-cheese blend.

3 days ago

SO good, and so easy! I’ve been adding these to my Sunday meal prep rotation for quick work-from-home lunches. The cheese blend gets perfectly melty every single time, no weird clumps or stringy goop like other toastie/grilled cheese recipes I’ve tried. Only note: I used sourdough bread instead of plain white and it was chef’s kiss.

2 days ago

Sourdough is such a fantastic swap! The subtle tang cuts through the rich, melty cheese so nicely. Great call prepping these for quick lunches—if you’re storing components ahead, just keep the bread separated from the pre-mixed cheese blend with a small piece of parchment to avoid sogginess!

5 days ago

Bro this saved my late night midterm study grind. I’m in a dorm with just a dinky little sandwich press and this took literally 8 minutes like the recipe says, no fancy equipment needed at all. The 3-cheese blend is so much better than just slapping a single slice of American on bread— I felt like I was eating a fancy cafe toastie for like $1.50 total, can’t beat that. Only knocking off one star because I didn’t have all three cheeses on hand my first go, but that’s on me, not the recipe!

3 days ago

Pro tip: add a thin slice of tomato inside if you have it! Just pat it really dry first so it doesn’t make the bread soggy. Total game changer for late night snack runs to the dorm kitchen.

1 week ago

I brought these to my office potluck last week and people were practically lining up to beg me for the recipe! The 3-cheese combo is perfectly balanced—not too sharp, not too bland—and everyone raved about how crispy and buttery the bread got. I made a double batch and they were gone in 10 minutes flat, should’ve made triple! Next time I’ll know to stock up on extra cheese.



