
Gravlax (Scandinavian)

intro
Silky, dill-forward no-smoke cured salmon, a Scandinavian classic with bright salty-sweet flavor, ideal for holiday starter platters and open-faced rye sandwiches.
Ingredients
Steps
Dry and Debone the Salmon
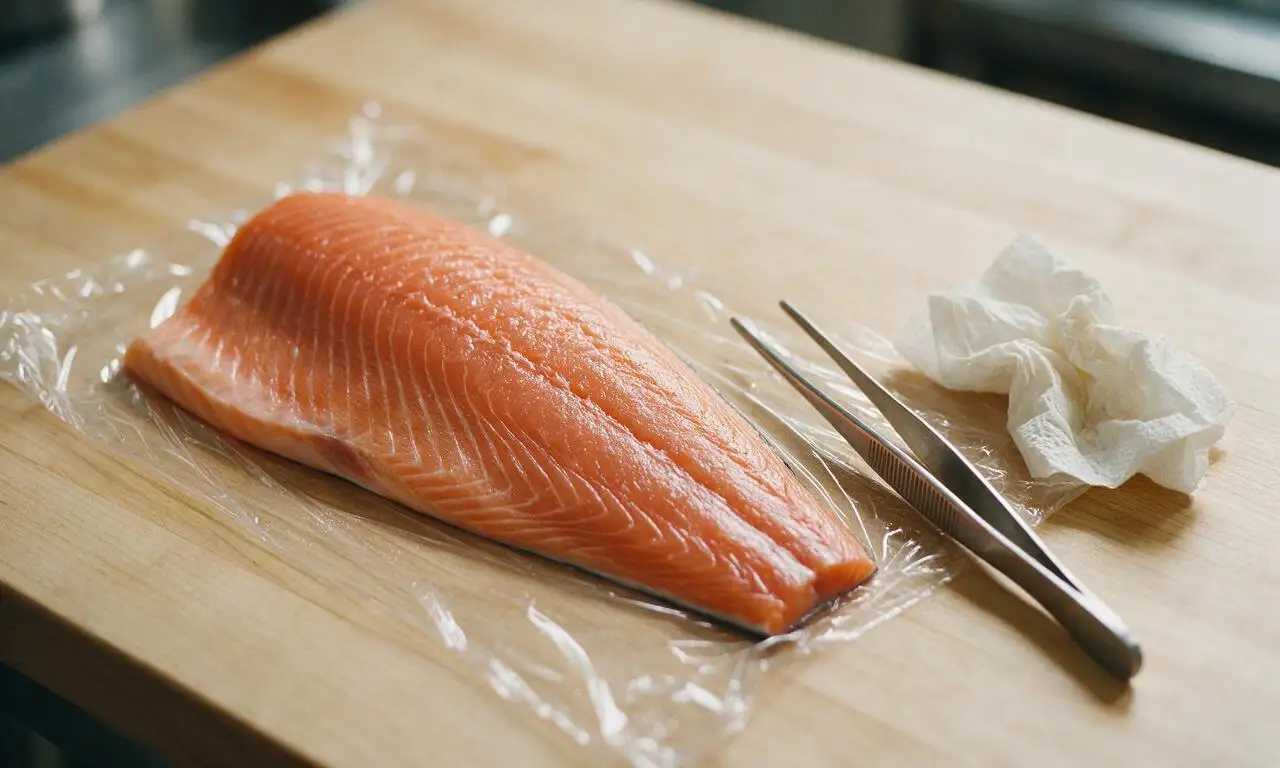
Pat the 500g skin-on salmon fillet completely dry with paper towels, then run your fingertips along the flesh side to locate any remaining pin bones; use clean kitchen tweezers to pull out any bones you find, then set the fillet on a 30cm long sheet of plastic wrap large enough to fully enclose it.
Mix the Curing Ingredients
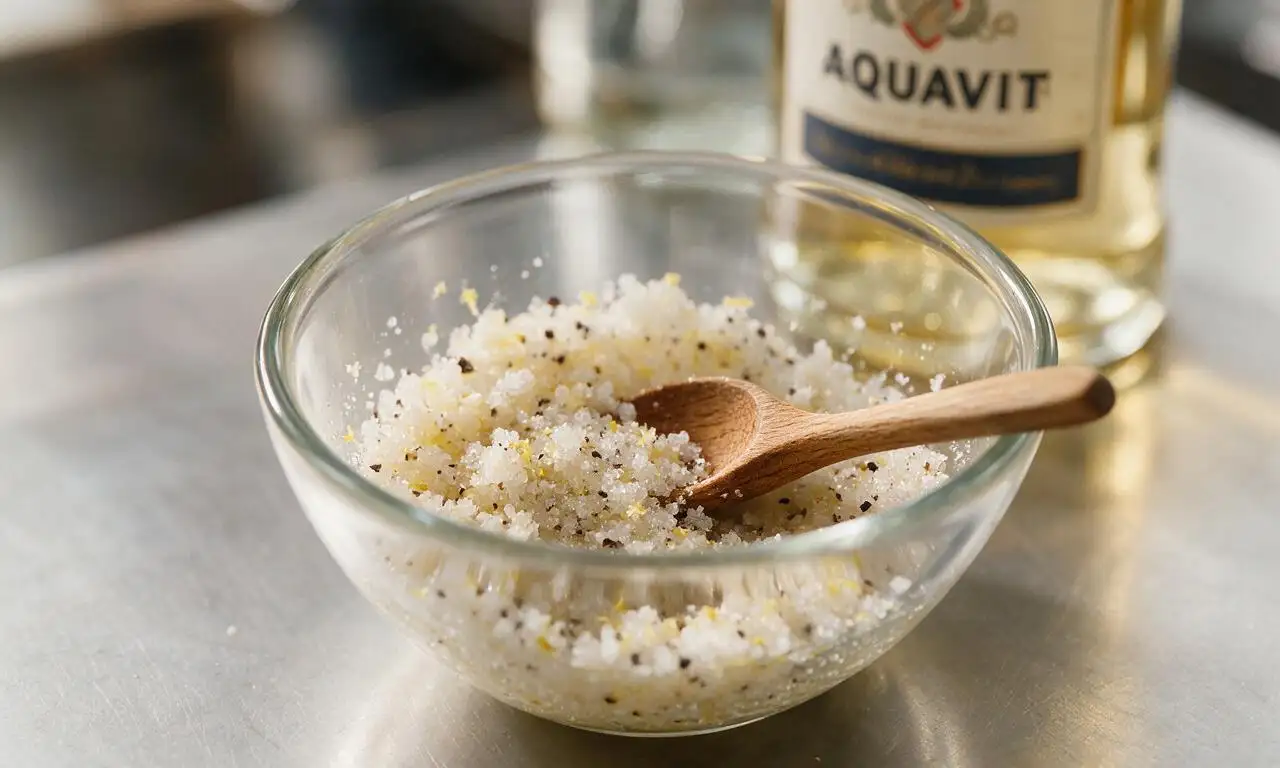
In a small glass mixing bowl, combine 60g coarse kosher salt, 40g granulated white sugar, 1 tablespoon coarsely crushed black peppercorns, and 1 teaspoon fresh lemon zest; stir until evenly mixed, then pour in 30ml aquavit and stir to create a damp, sand-textured curing mixture.
Apply the Cure and Dill
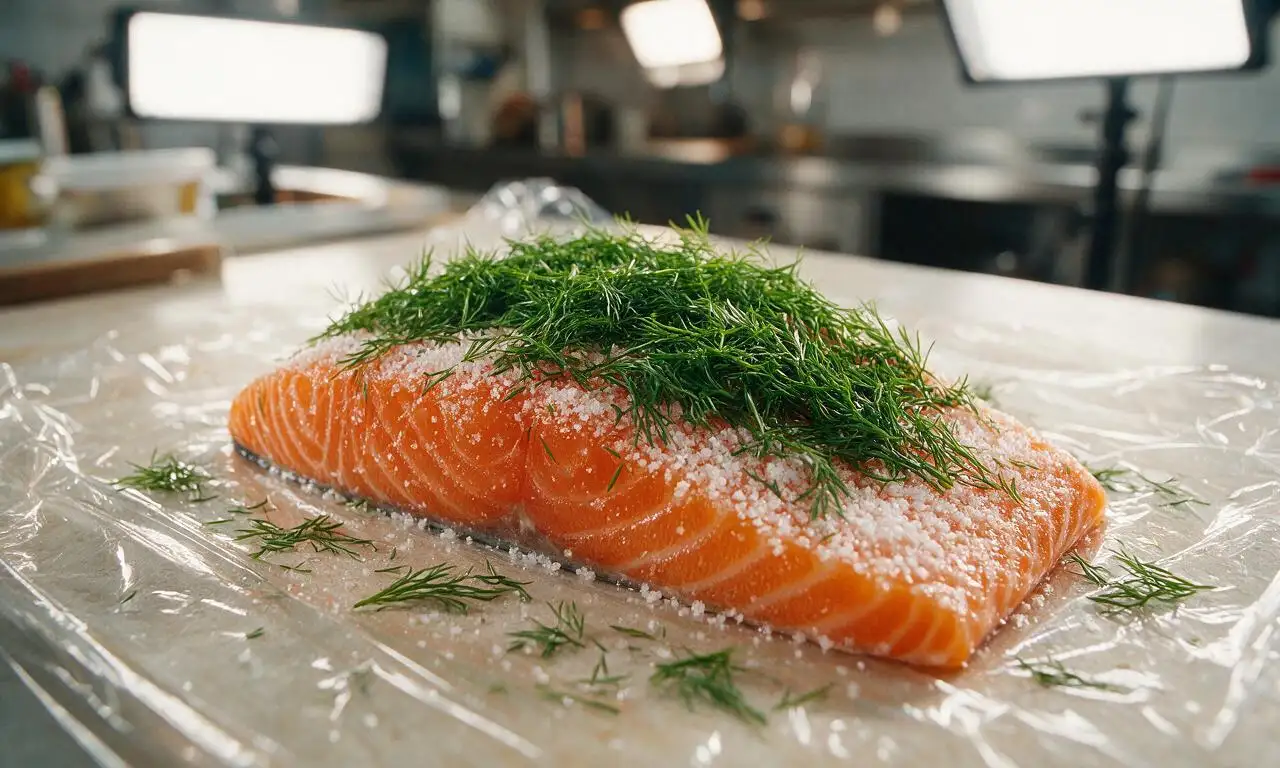
Spread exactly half of the curing mixture in an even layer across the entire flesh side of the salmon fillet, then press all 100g of fresh dill into a thick, uniform layer over the cure. Sprinkle the remaining half of the curing mixture over the top of the dill, patting gently to help it stick to the fronds.
Wrap and Weight the Salmon
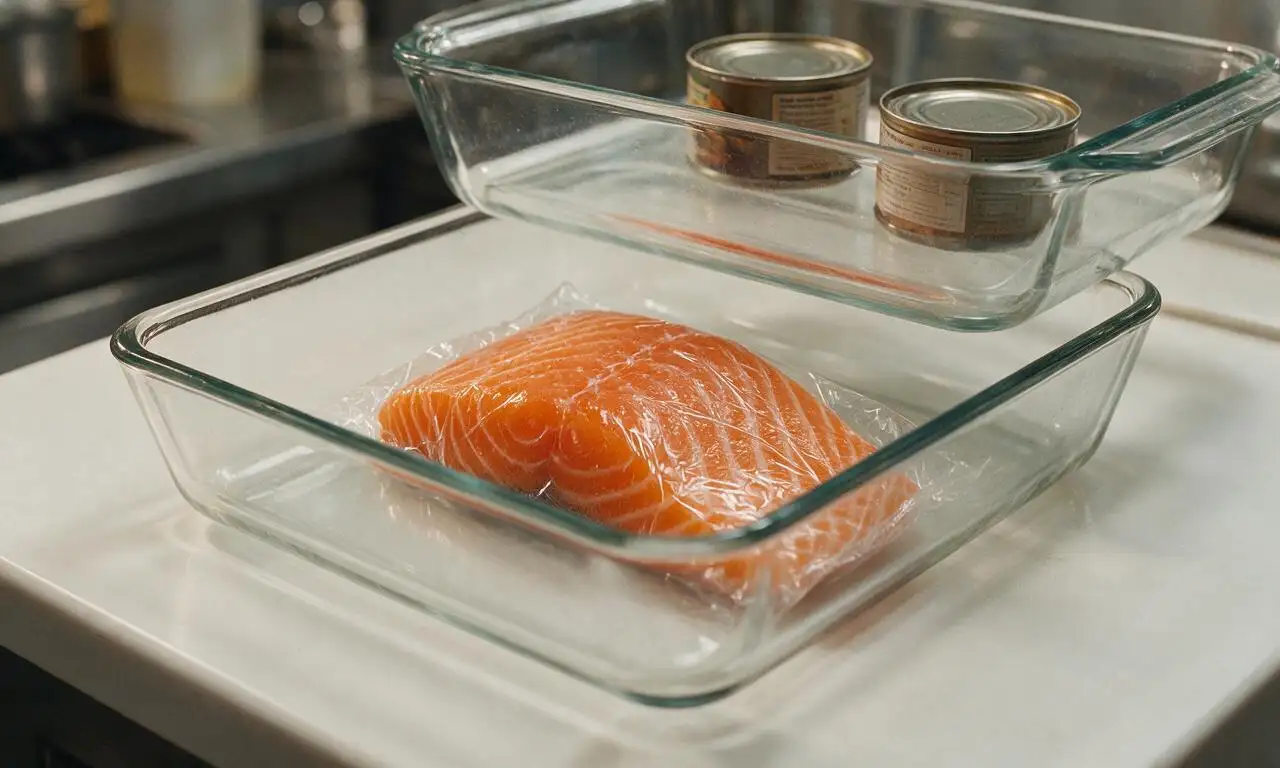
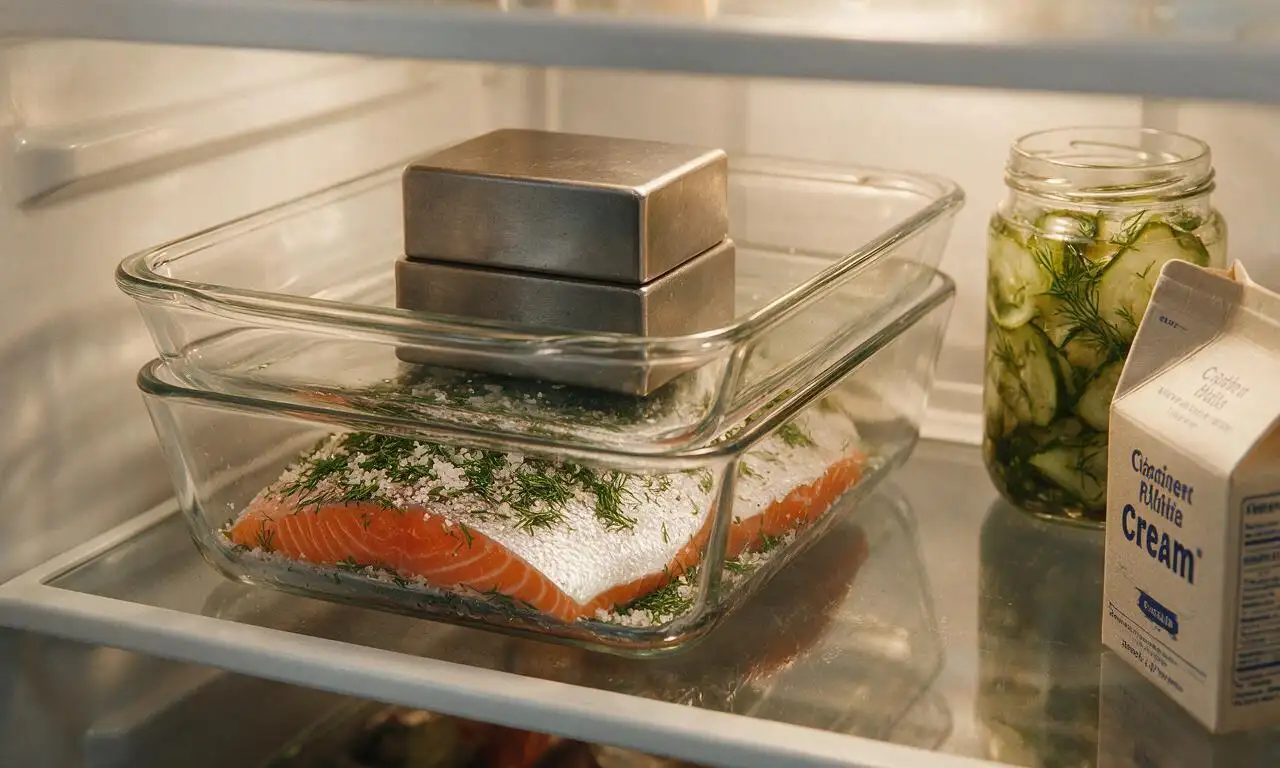
Fold the edges of the plastic wrap tightly over the seasoned salmon to create a fully sealed, airtight wrap, then set the wrapped fillet in a shallow 20cm x 20cm glass baking dish. Place a second identical glass baking dish directly on top of the salmon, then set two 400g canned goods (total 800g weight) on the upper dish to apply even pressure across the fillet.
Chill and Cure the Salmon
Transfer the stacked dishes to a refrigerator set to a constant 4°C (40°F), and allow the salmon to cure for 48 hours total. Every 12 hours during the curing period, carefully flip the wrapped salmon over to ensure the brining liquid that forms coats the fillet evenly.
Clean and Slice the Salmon
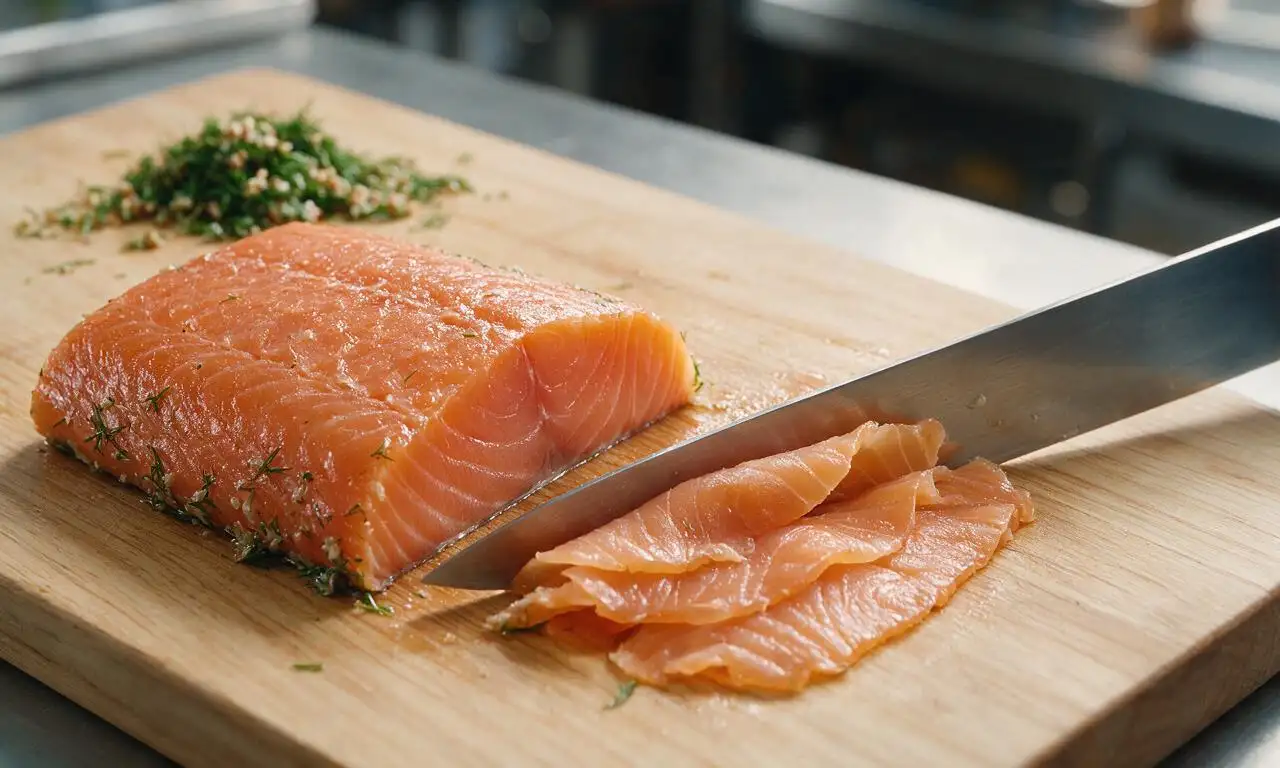
After 48 hours of curing, remove the salmon from the fridge, unwrap the plastic, and scrape off all residual dill and curing mixture from the fillet surface; pat dry with paper towels. Use a sharp, thin-bladed slicing knife to cut the gravlax into paper-thin slices against the grain of the flesh, removing the skin as you slice, for immediate serving or storage.
Tips
2.Avoid iodized table salt for curing, as it will impart a harsh, bitter metallic flavor to the salmon; coarse kosher salt or flaky sea salt works best.
3.Leftover sliced gravlax can be stored tightly wrapped in the refrigerator for up to 5 days, but do not freeze it, as freezing will ruin its delicate, silky texture.






OMG this gravlax was a total game changer for our weekend brunch! I was so intimidated to cure salmon at home but the steps were so straightforward, even my teen helped with the prep. Served it on rye crisps with dill cream cheese and everyone at the table went back for seconds. SO good, way better than the overpriced stuff from the grocery store deli!
Took this to our neighborhood potluck last week and people were hounding me for the recipe all night! I was worried the 48 hour cure time would be a hassle but the active work was literally nothing, I just popped it in the fridge and forgot about it until it was time to slice. 10/10, will be making this for every holiday gathering from now on.
Great recipe! I added a tiny splash of aquavit to the cure mix like my Swedish grandma used to do and it tasted exactly like the gravlax I grew up eating at family Christmas dinners. The salt-sugar ratio was spot on, no overly salty fish here which I’ve had issues with on other gravlax recipes. My kids loved it, which is saying something because they turn their noses up at most fish!
Wait, hold up — you don’t cook the salmon at all? I’m a little weird about raw fish but this looks so good, is it actually safe to eat after curing? Don’t want to make my whole family sick for Sunday dinner, yikes.
Perfect for meal prep! I made a big batch on Sunday and have been eating it for breakfast all week on bagels with capers and red onion. Tastes just like the lox I pay $15 a quarter pound for at my local bagel shop, but I made the whole filet for less than that. Total win for my grocery budget.
Took a star off because I thought the cure was a little too heavy on the dill for my taste, but that’s totally a personal preference! Next time I’ll cut the dill by a third and add a little extra black pepper. Overall super easy method and the salmon came out silky and perfectly cured, even with my little adjustment. Served it with cucumber salad for a light dinner and my wife loved it.
First time making gravlax and I messed up the first try because I used the skinless salmon fillet I had in the freezer — oops! Second time I used skin-on like the recipe says and it came out perfect. The texture was so buttery, I couldn’t believe I made it at home. Pro tip for other newbies: don’t skip weighting the fish down while it cures, that’s how you get that even, firm texture!
Made this for my in-laws who are visiting from Norway and they said it tasted just like the gravlax they make back home! I was so nervous I’d mess it up and embarrass myself, but the simple ingredient list let the salmon shine. We had it with boiled potatoes and a quick mustard-dill sauce, just like they recommended. 10/10, earned me major daughter-in-law points.
Super easy recipe, but I will say make sure you set a timer to flip the salmon every 12 hours like the recipe says! I forgot to flip mine for the first 24 hours and the bottom half was a little less cured than the top. It still tasted great, just a little uneven, totally my bad. Will definitely be more careful next time because the flavor was chef’s kiss.
I was shocked how easy this was! I’ve been avoiding cured salmon recipes because I thought they required fancy equipment or special skills, but all I needed was a baking dish, some plastic wrap, and a couple cans from my pantry to weight it down. Made it for a girls’ night charcuterie board and everyone was asking where I bought it, they couldn’t believe I made it myself!
Great base recipe! I added a little lemon zest and a pinch of coriander to the cure because I love a little extra bright flavor, and it turned out amazing. The texture was perfect, not mushy at all, and the salt level was just right even with my add-ins. Will be keeping this in my regular rotation for quick weekend meals.
Followed the recipe exactly and it was so easy, but I will say don’t skimp on the quality of the salmon! I used a cheaper frozen fillet first and the texture was a little mushy, then I splurged on fresh sashimi-grade salmon from my local fish market and it was night and day. Worth the extra couple bucks for that silky, melt-in-your-mouth texture.