
best chicken breading
intro
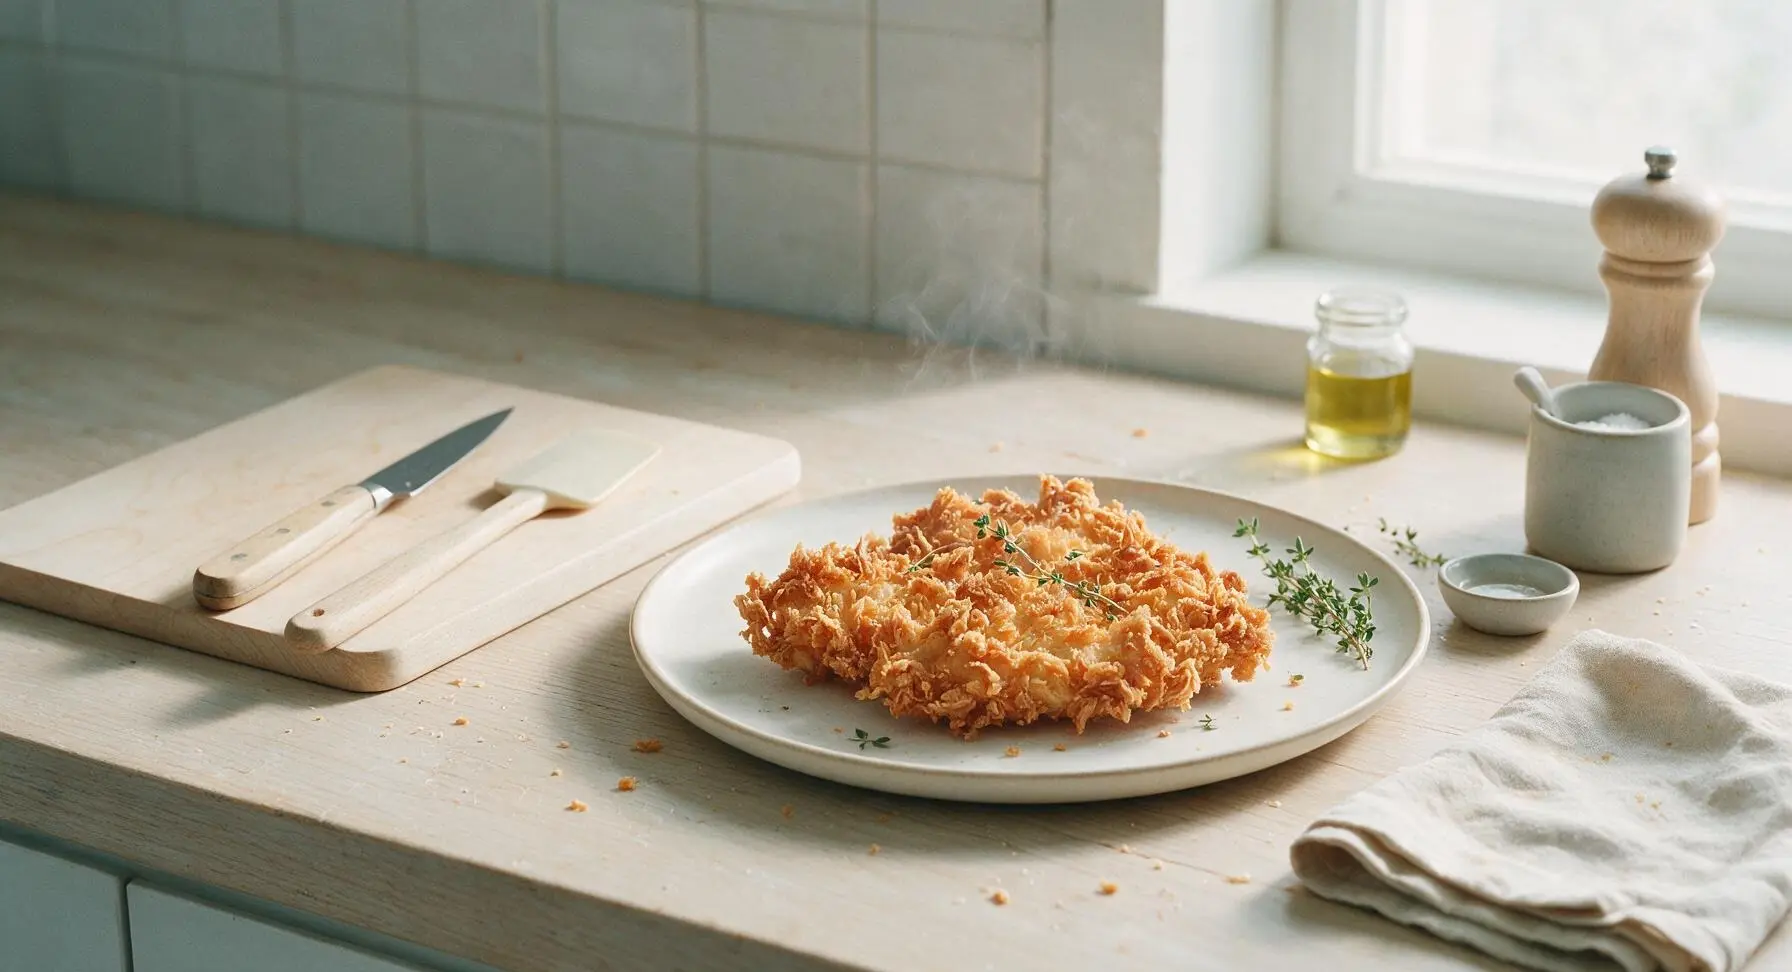
This ultra-crispy, shaggy, perfectly seasoned chicken breading sticks flawlessly, delivers satisfying crunch in every bite, and never slides off during frying.
Ingredients
Steps
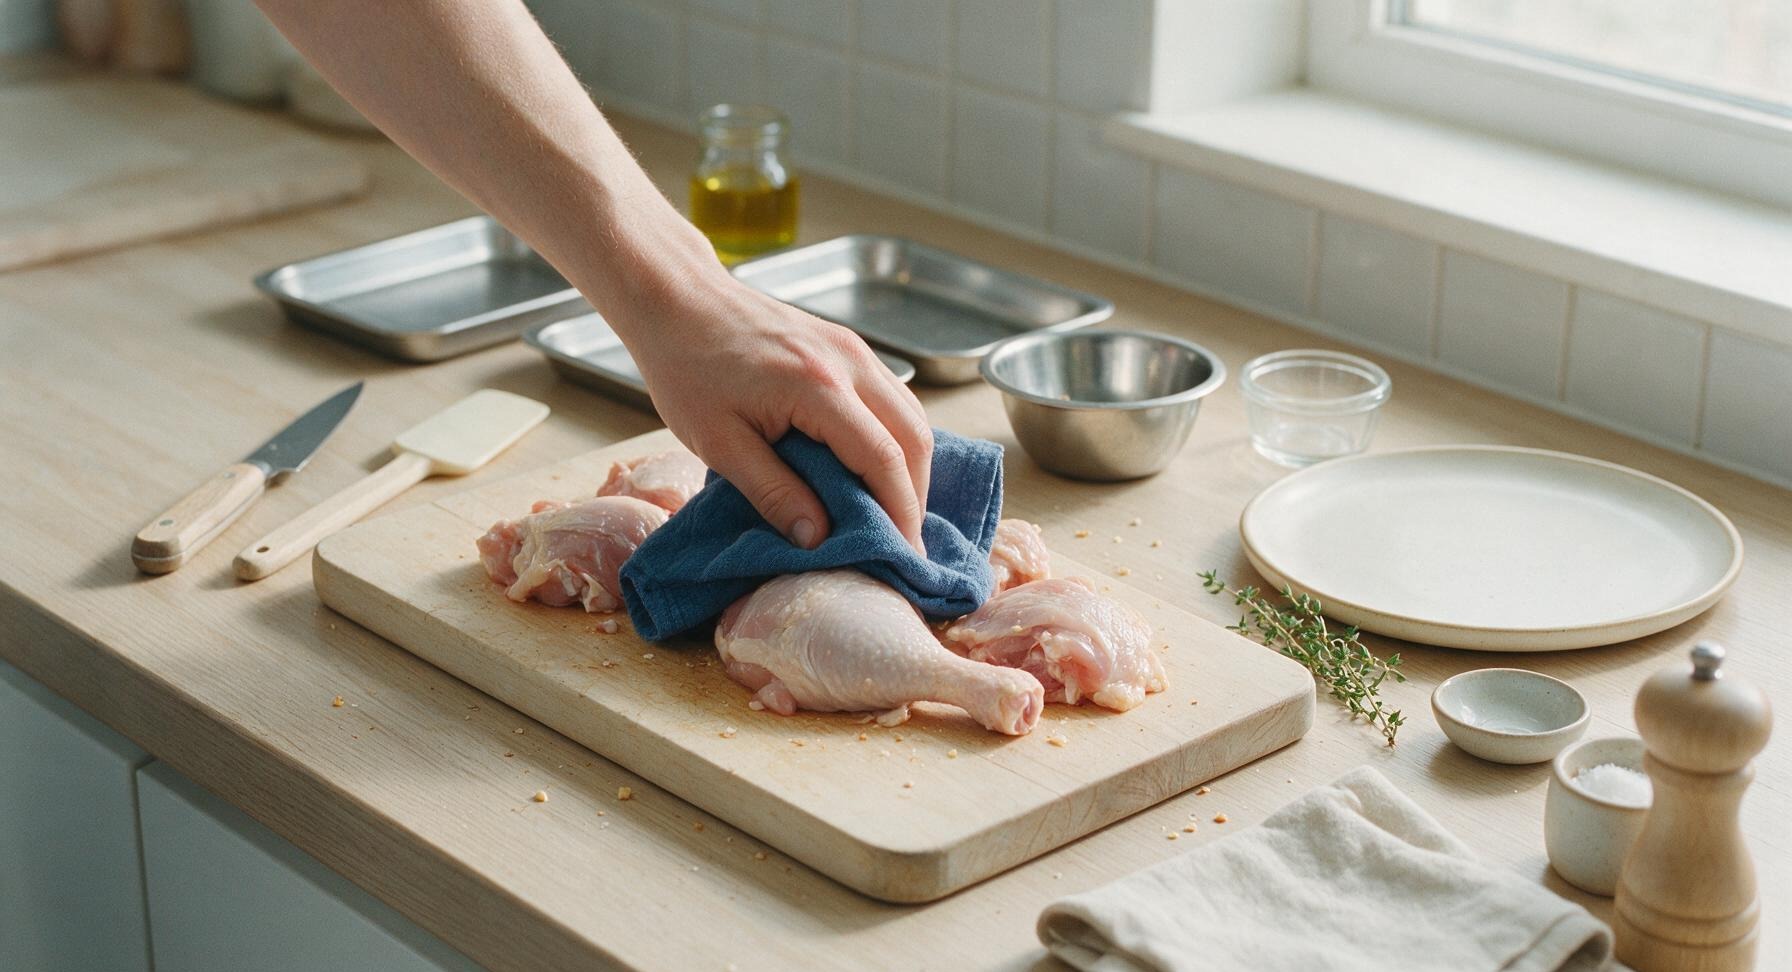
Pat Chicken Completely Dry
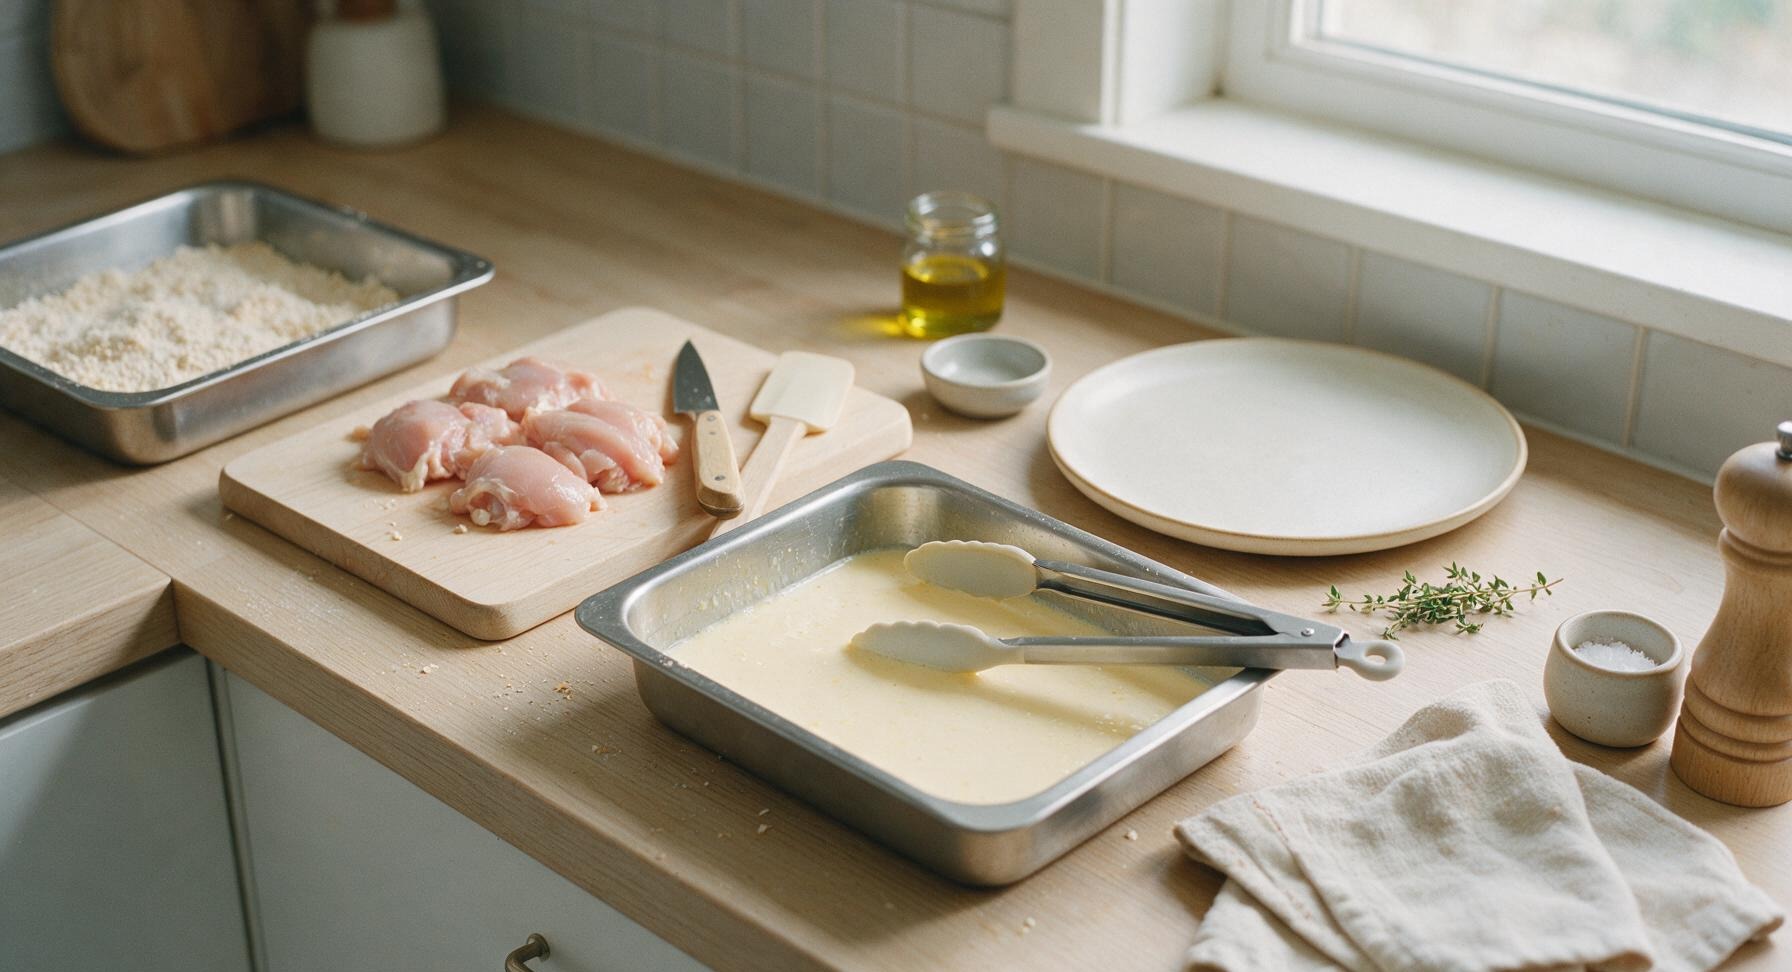
Remove chicken pieces from packaging, arrange on the bamboo cutting board. Use the indigo cotton kitchen towel to pat every surface of the chicken (including skin and crevices) completely dry of excess moisture. Discard any damp towel bits left on the chicken; dry chicken ensures breading adheres instead of sliding off during frying.
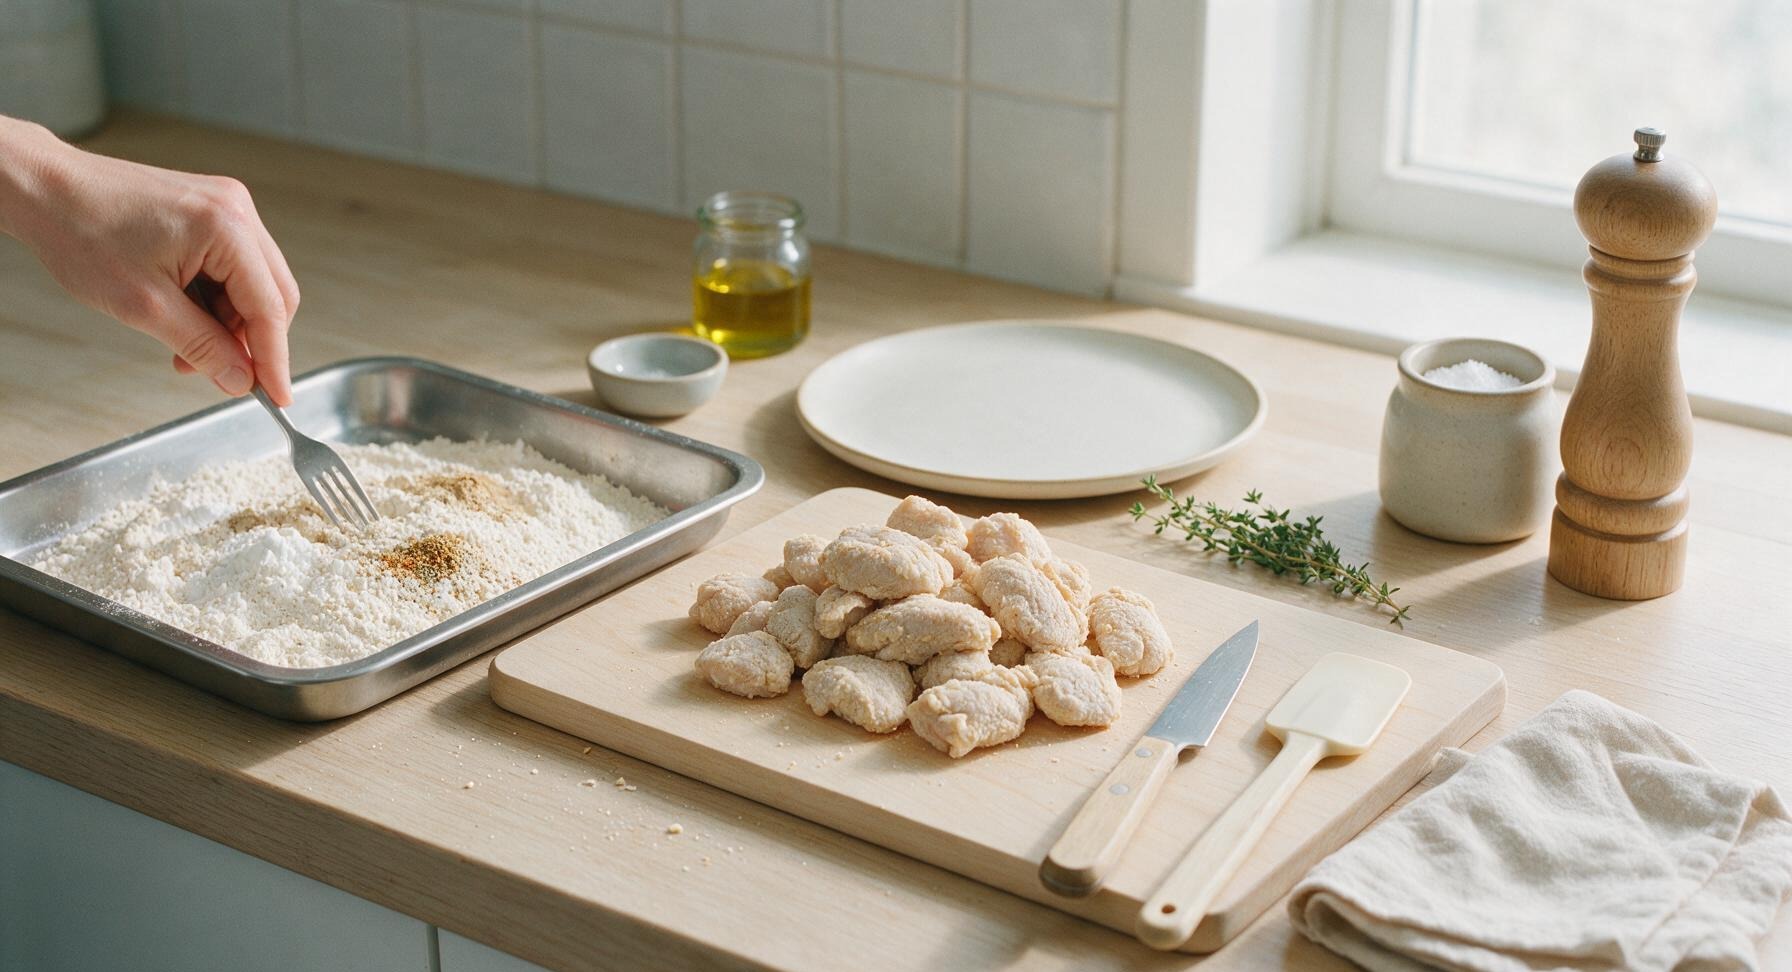
Blend Dry Breading Mix
In the leftmost stainless steel tray, combine 1.5 cups all-purpose flour, 1/2 cup cornstarch, 1 tsp baking powder, and half the measured spices (1.5 tsp kosher salt, 1/2 tsp black pepper, 1/2 tsp garlic powder, 1/2 tsp onion powder, 1/4 tsp smoked paprika, 1/8 tsp cayenne). Whisk with a fork for 30 seconds until fully uniform, no clumps of cornstarch visible.
Whisk Egg Buttermilk Wash
In the middle stainless steel tray, crack 2 large eggs, add 1 cup cold buttermilk and the remaining 1.5 tsp kosher salt, 1/2 tsp black pepper, 1/2 tsp garlic powder, 1/2 tsp onion powder, 1/4 tsp smoked paprika, 1/8 tsp cayenne. Whisk vigorously for 20 seconds until eggs are fully incorporated, no streaks of egg white visible, mixture is pale creamy yellow.
Make Final Crumb Coat
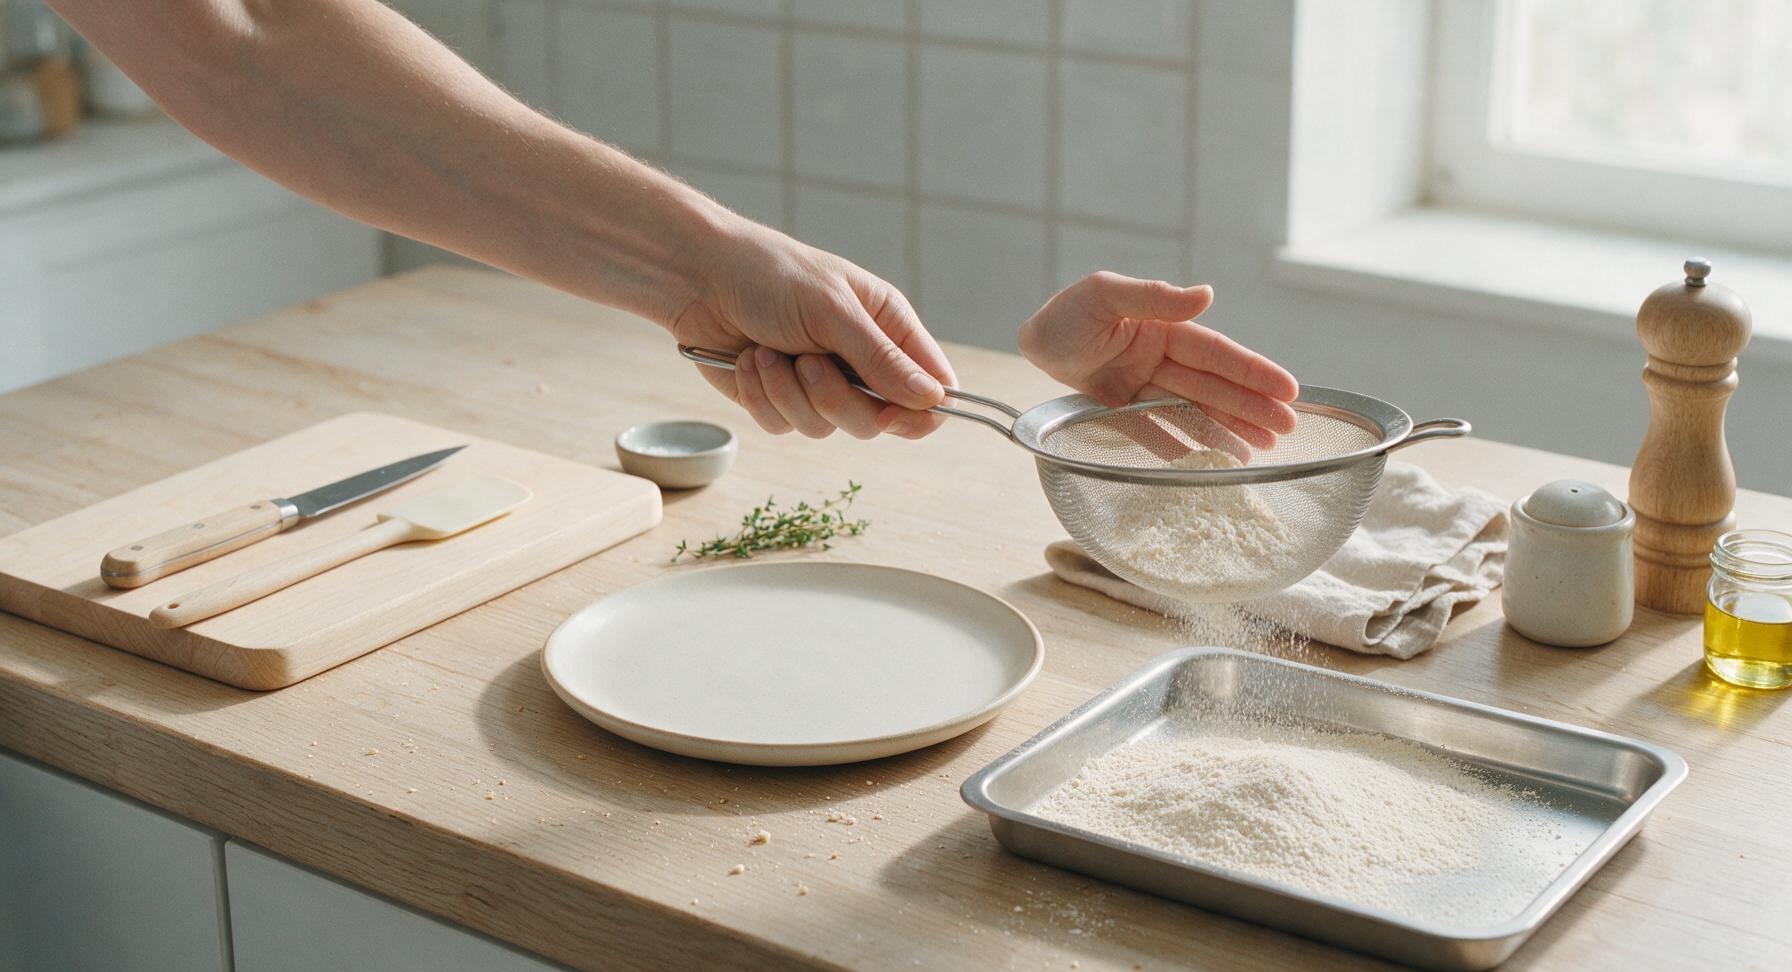
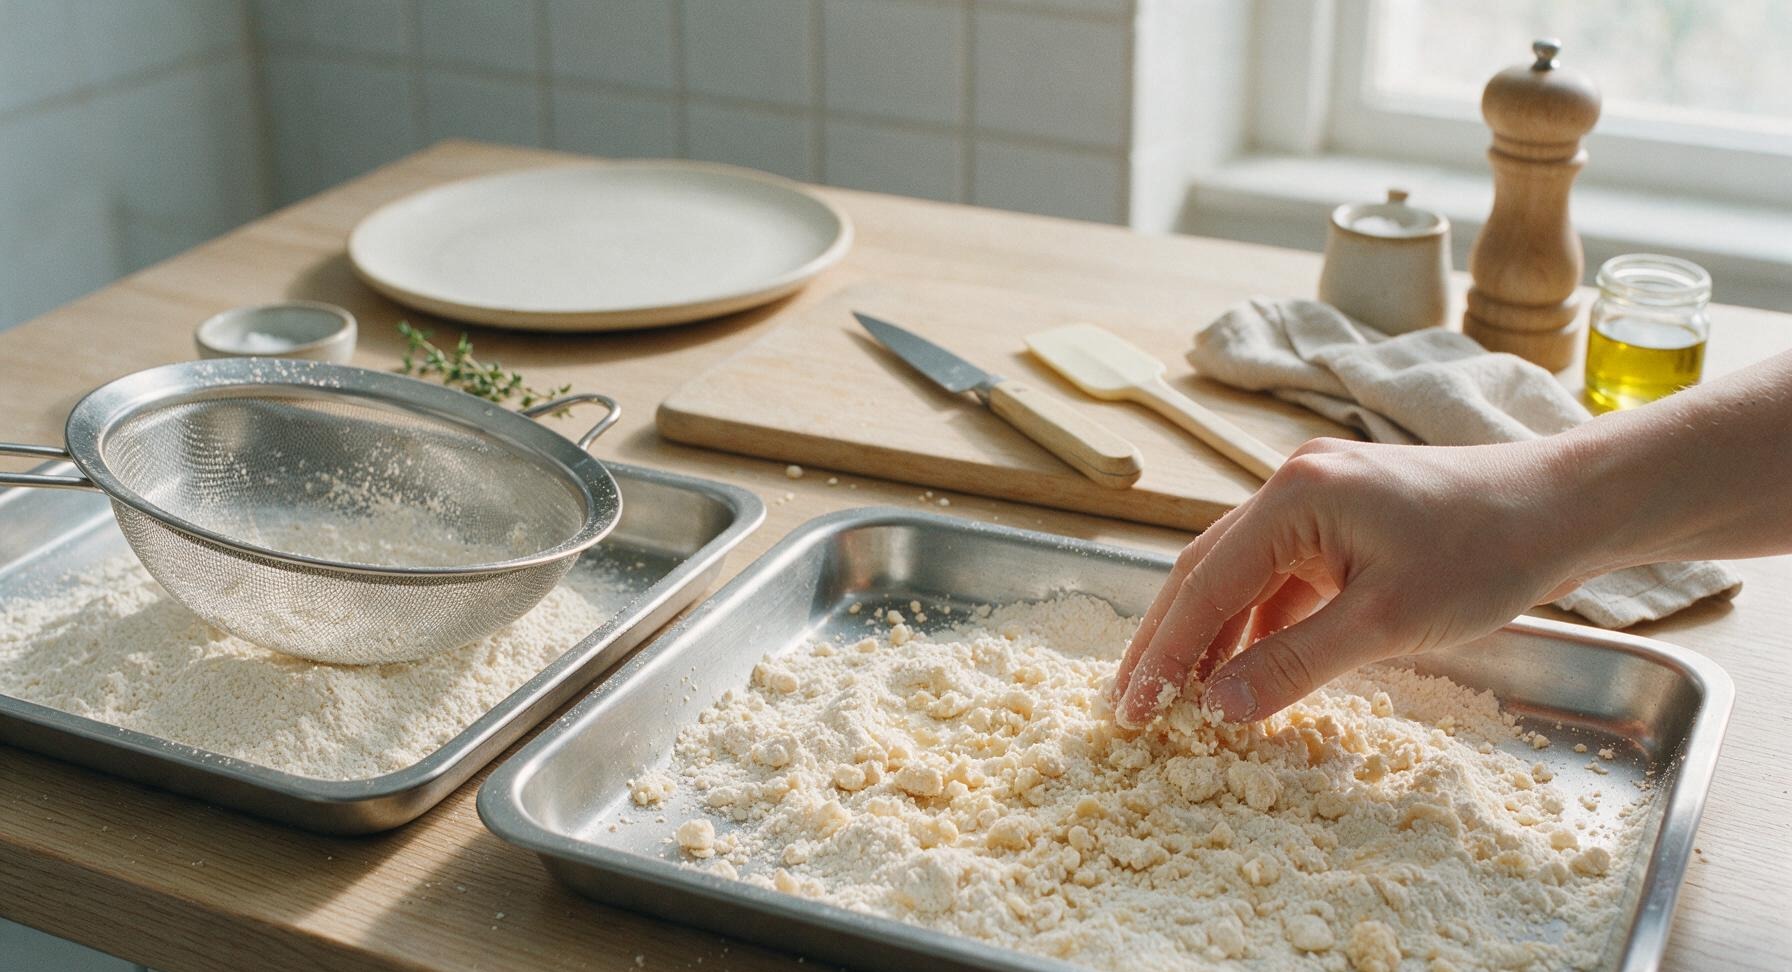
In the rightmost stainless steel tray, measure 1 cup of the dry mix from the left tray, press through the fine-mesh sieve to create a fine, even powder with no lumps. Drizzle 2 tbsp of the buttermilk wash into the sifted flour, then rub the mixture between your clean fingertips to create small, irregular, pea-sized shaggy crumbs; these crumbs create the signature crispy, craggy crust texture instead of a flat, smooth breading.
Bread Chicken In Stages
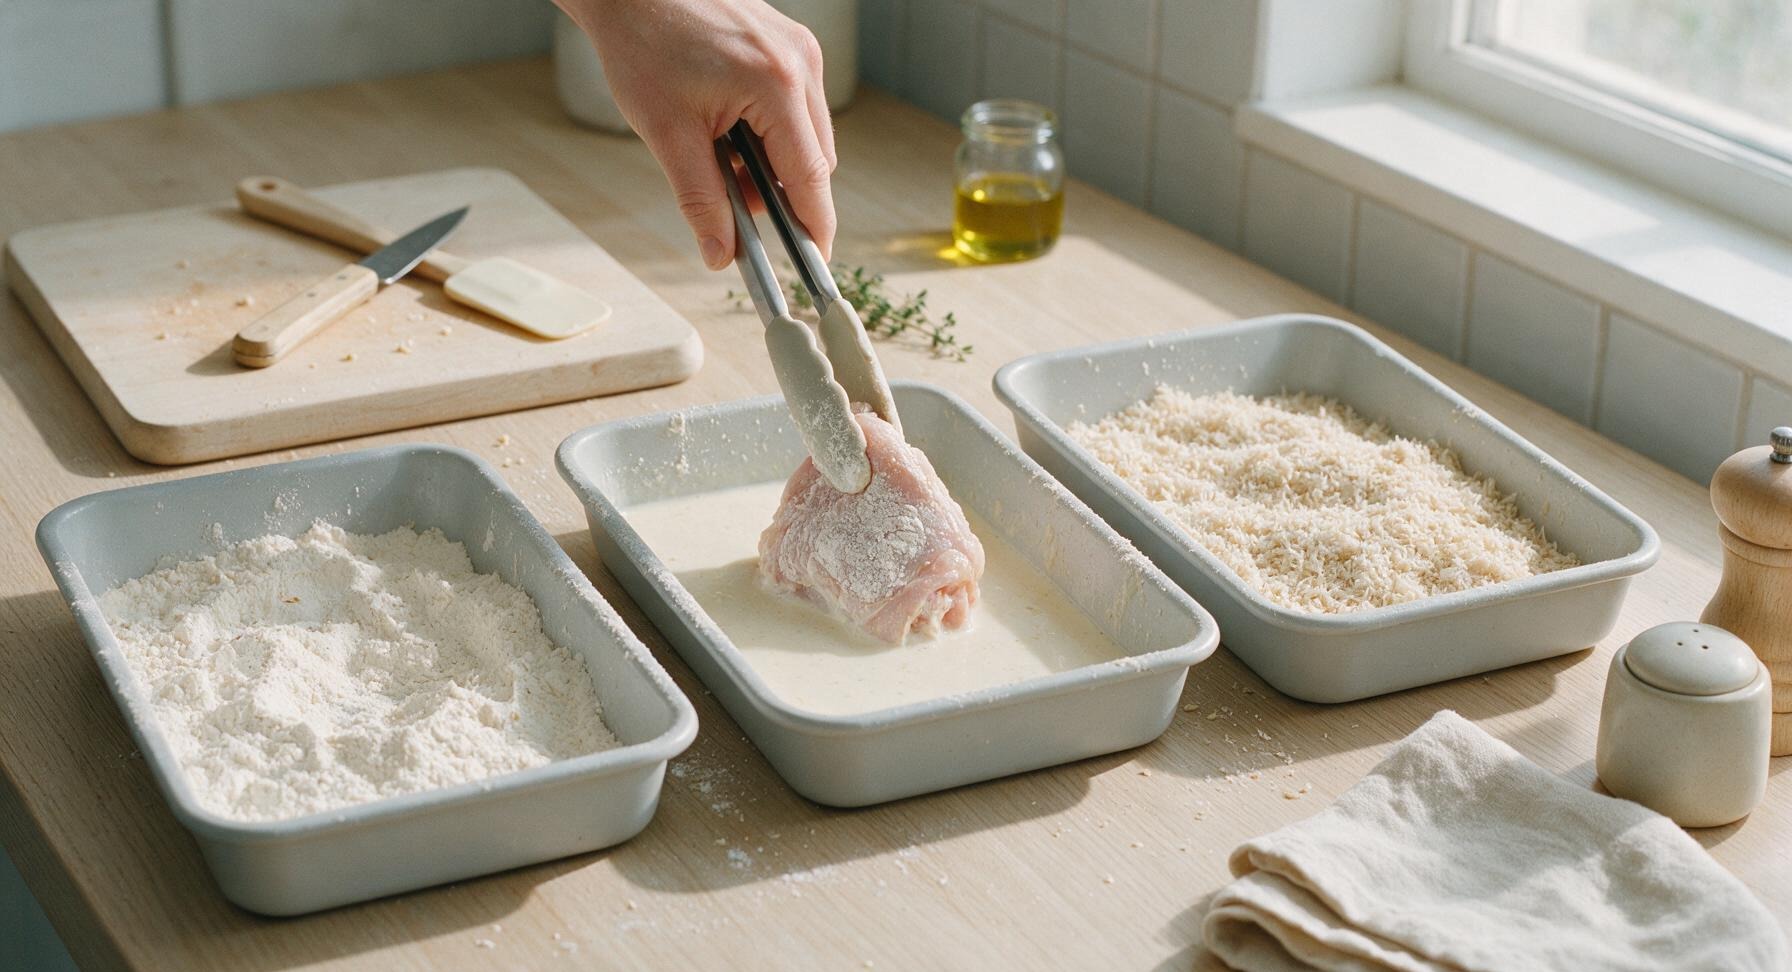
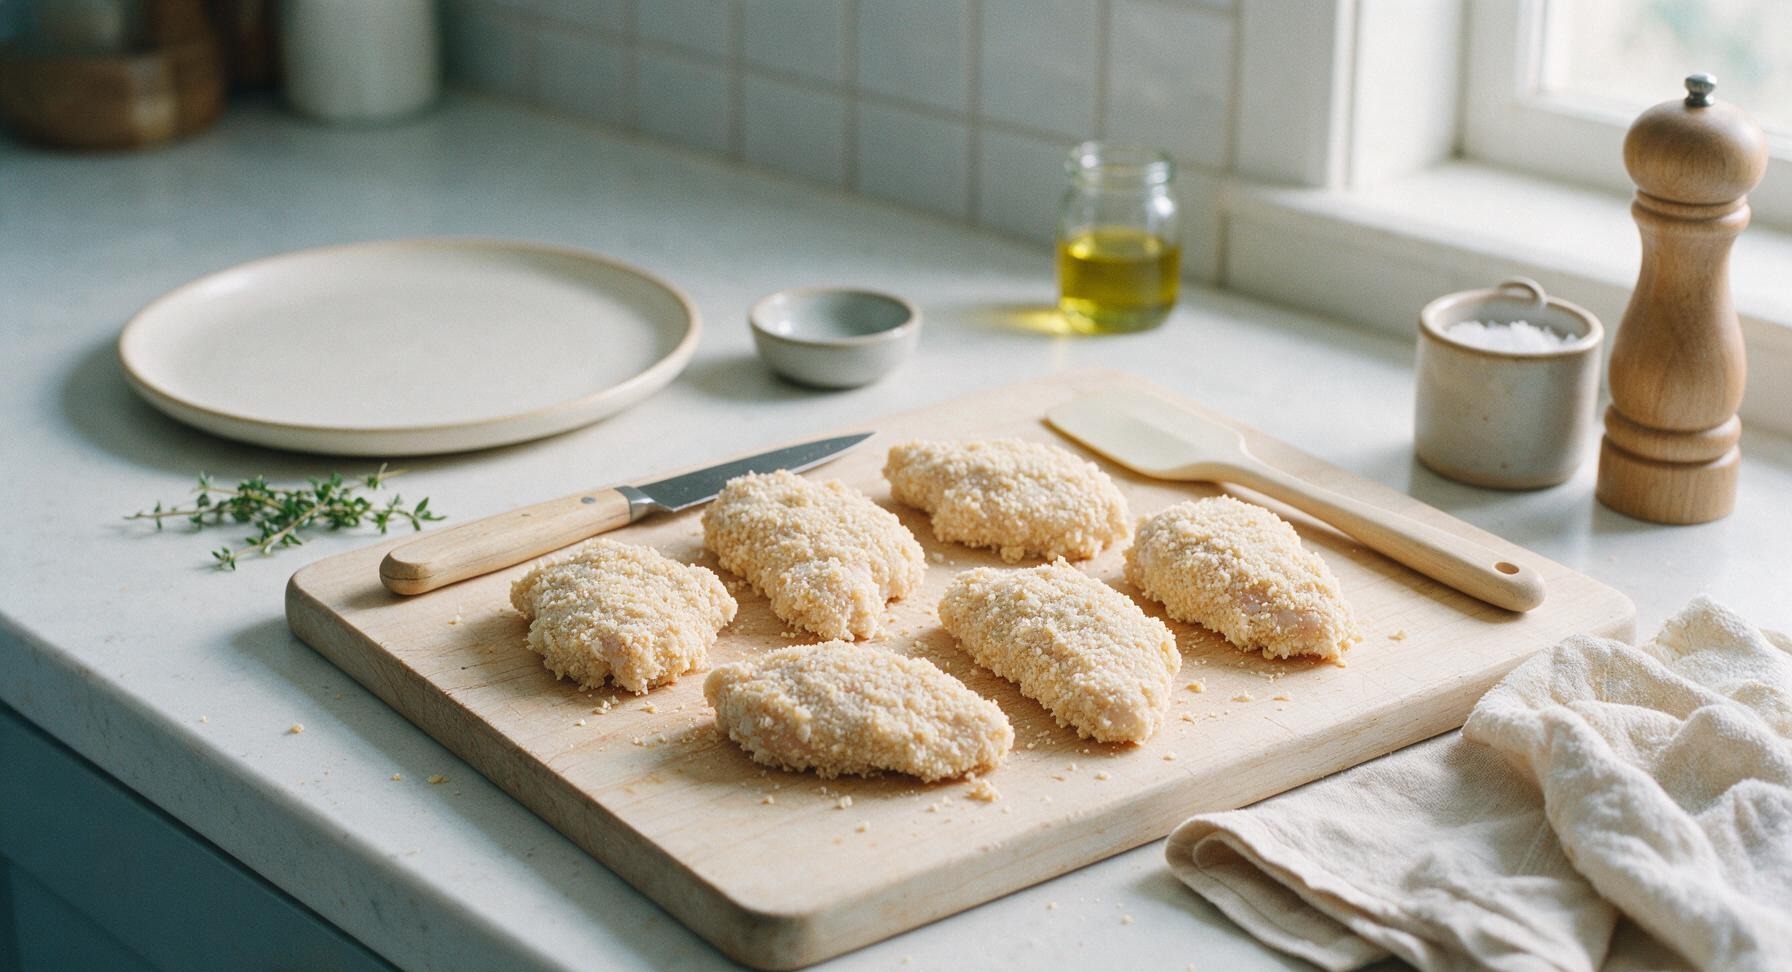
Working one piece at a time, use the silicone-tipped tongs to dip a chicken piece first into the left tray dry base, turning to coat every surface fully, shaking off excess flour. Next, dip it into the middle tray buttermilk wash, letting excess wash drip off for 2 seconds. Finally, press the chicken firmly into the right tray shaggy crumb coat, turning to cover every side, pressing crumbs into the surface so they adhere. Place breaded pieces on the empty edge of the cutting board to rest for 5 minutes before frying, so the breading sets.
Heat Oil To Temperature
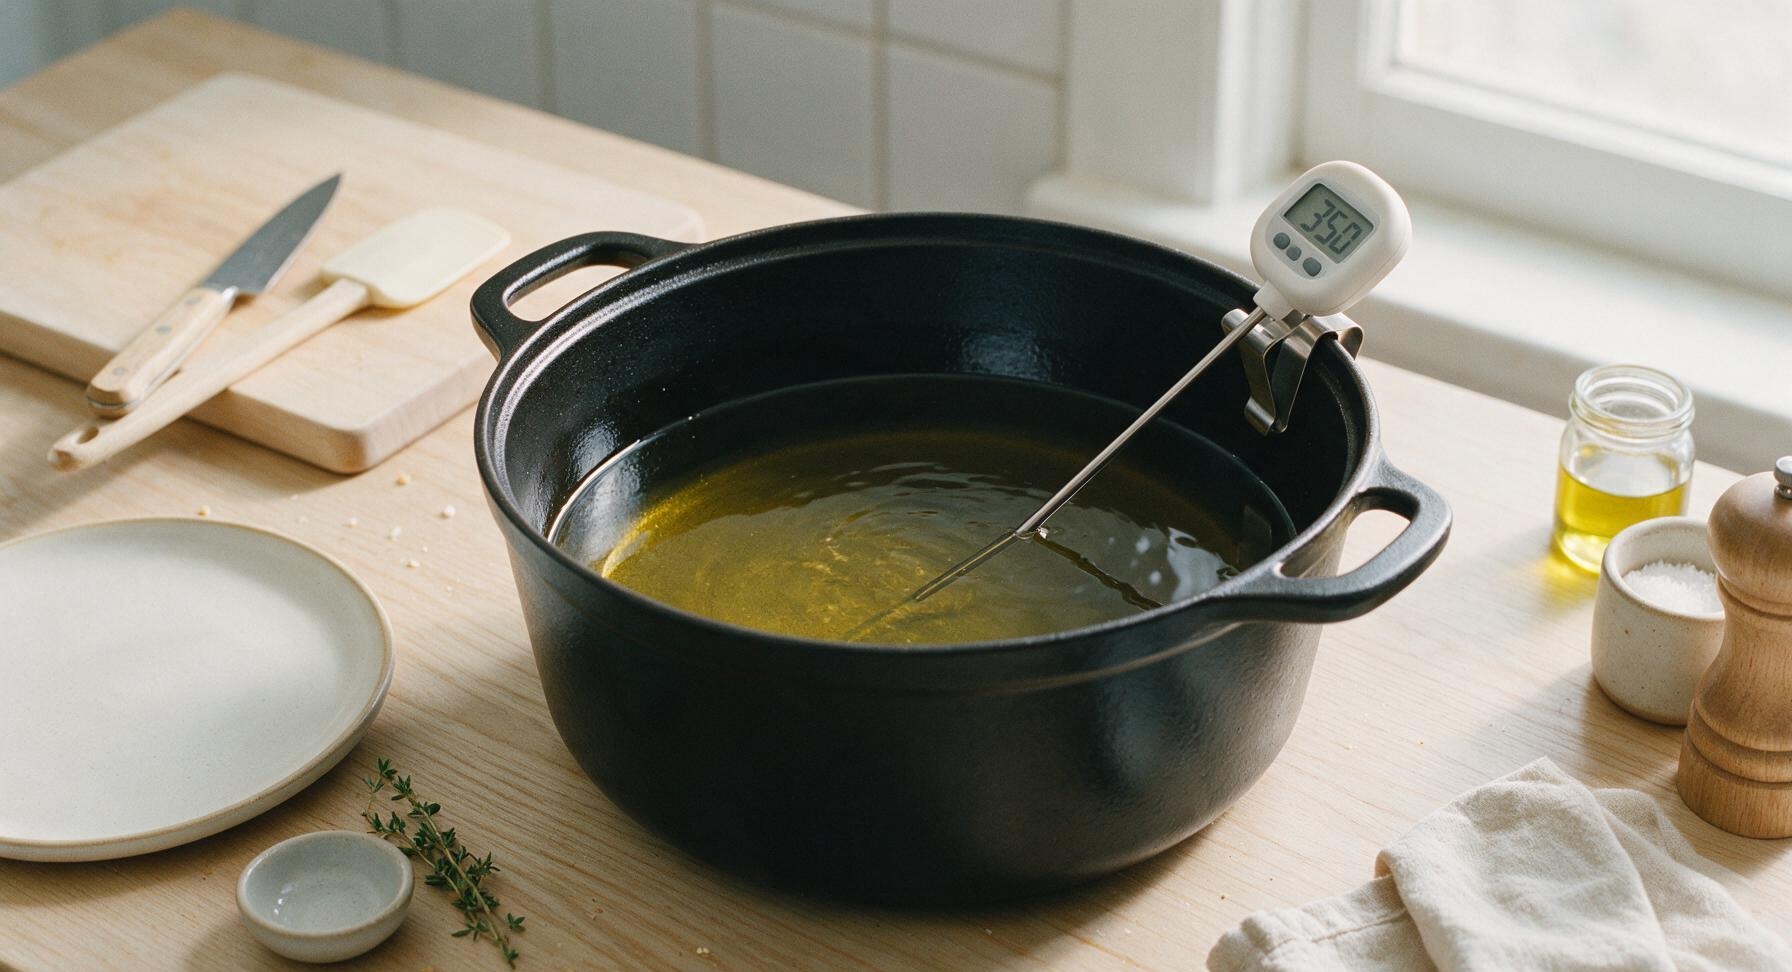
Pour 4 cups neutral canola oil into the matte black enameled Dutch oven, set heat to medium, and warm oil until it reaches a steady 350°F (175°C), measured with the instant-read thermometer. Do not heat oil above 365°F, as this will burn the breading before the chicken cooks through.
Fry Chicken Until Golden
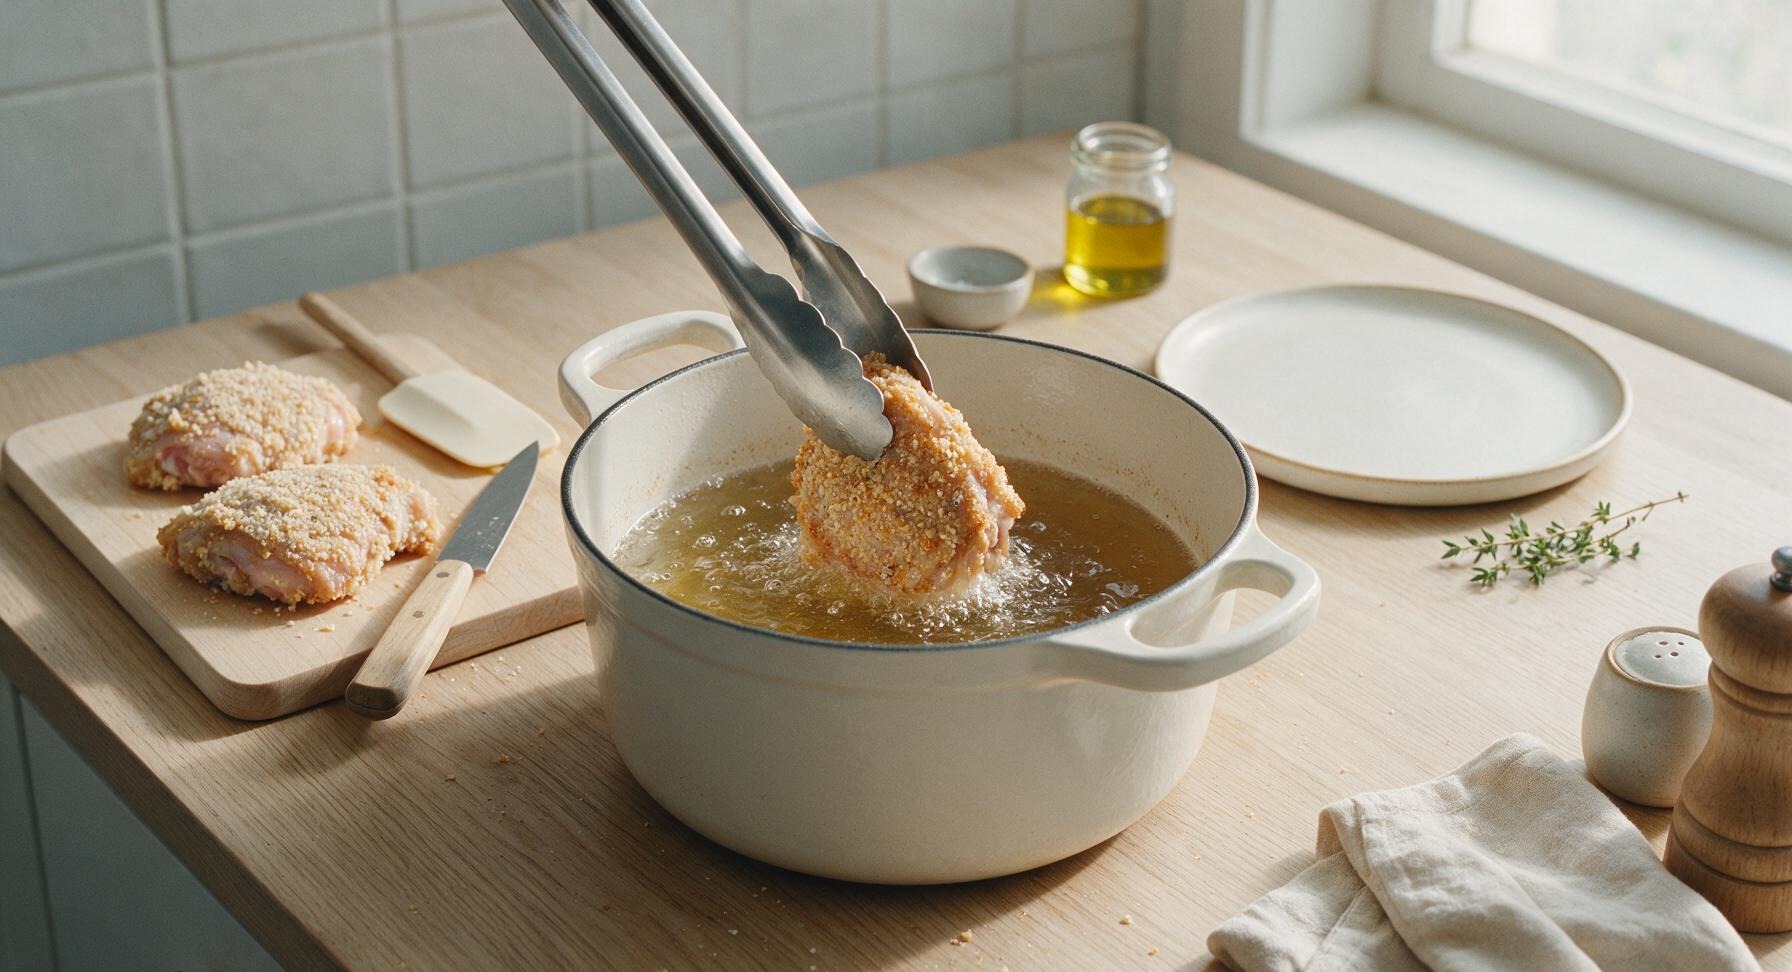
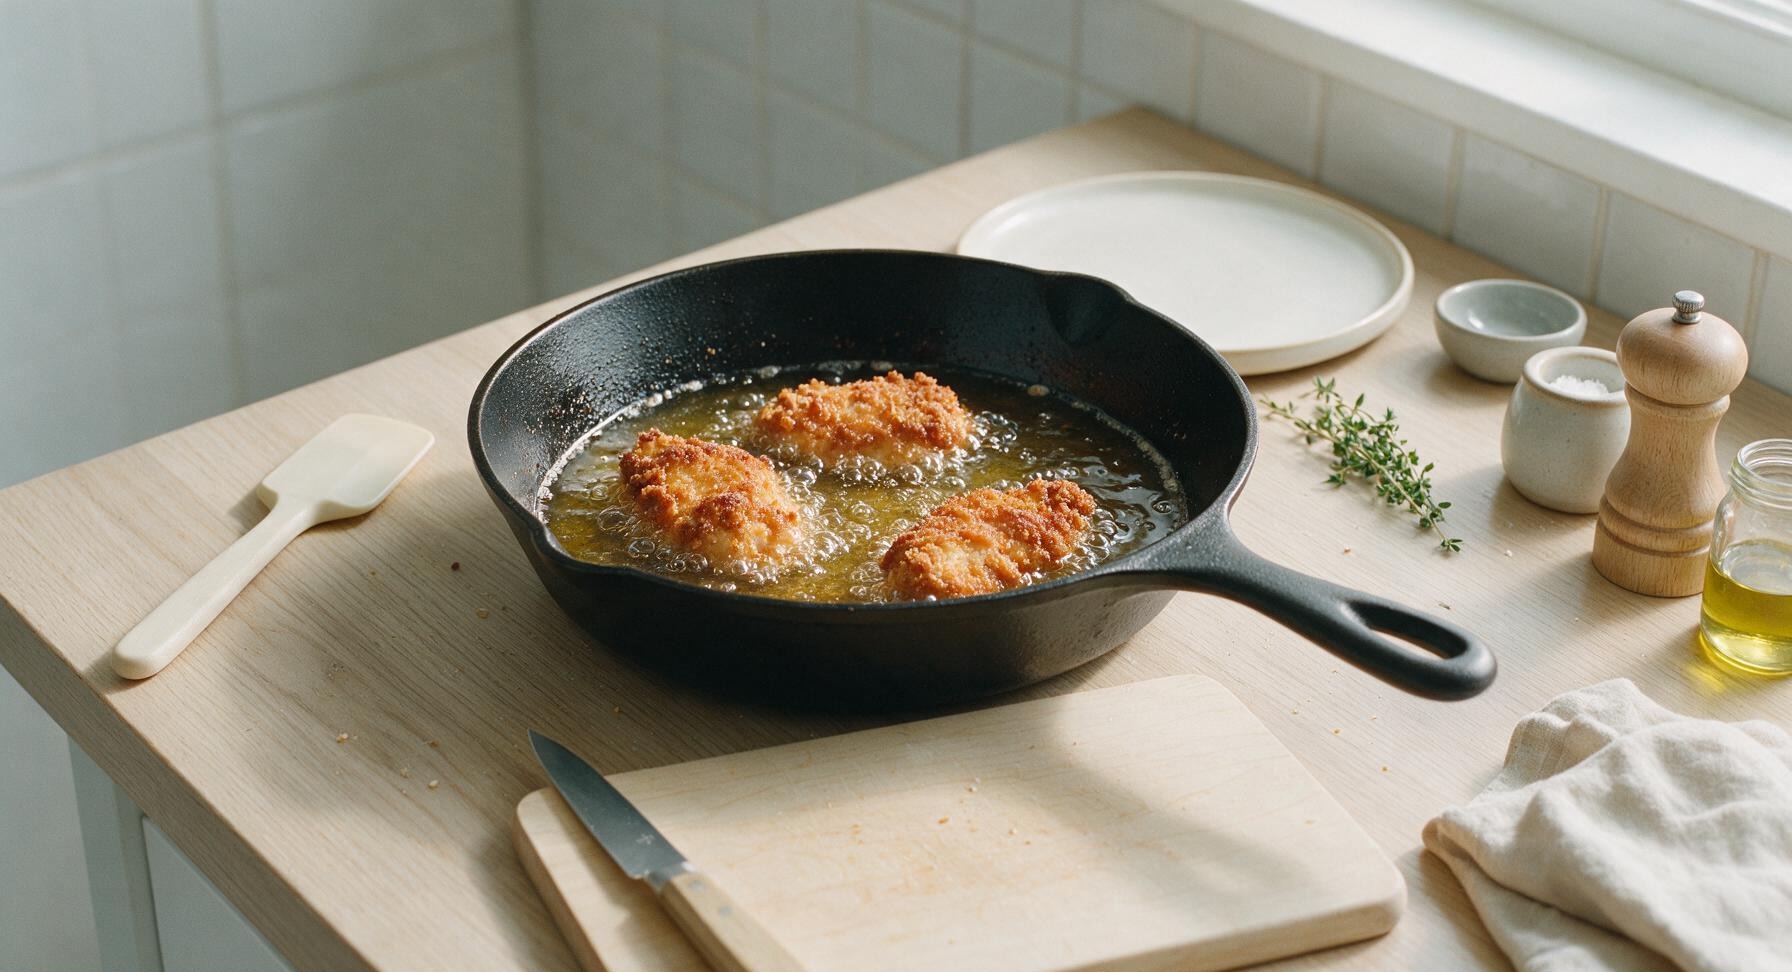
Use tongs to gently lower 2-3 breaded chicken pieces into the hot oil, do not overcrowd the pot. Fry for 6 minutes per side, maintaining a steady 335-350°F oil temperature, until breading is deep golden brown and craggy, and chicken internal temperature reaches 165°F (74°C) at the thickest point, about 12 minutes total per batch.
Drain And Rest Chicken
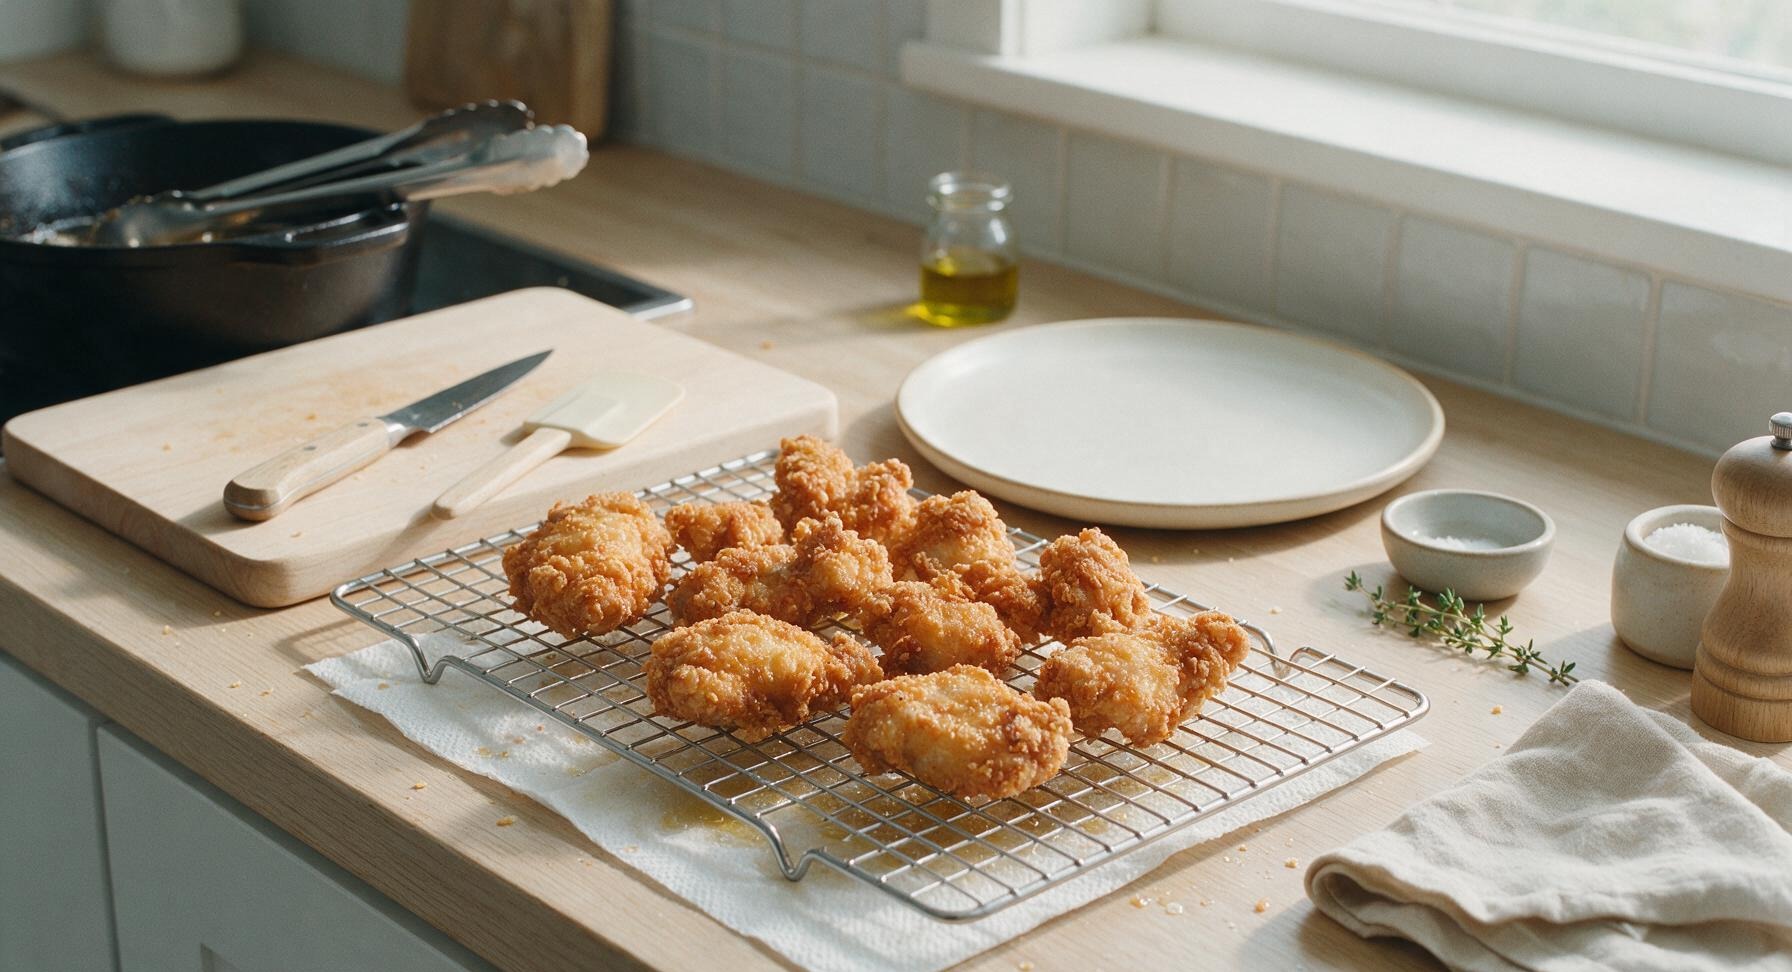
Use tongs to lift cooked chicken from the oil, hold over the pot for 3 seconds to let excess oil drip off, then transfer to the wire cooling rack to rest for 5 minutes. Do not rest chicken directly on paper towels, as this will trap steam and make the bottom crust soggy.
Tips
2.Add cornstarch and baking powder to the dry mix: cornstarch reduces gluten formation for a lighter, crunchier crust that does not turn tough, while baking powder creates tiny air bubbles that make the breading shaggy and crisp instead of dense and hard.
3.Maintain a steady oil temperature between 335-350°F: oil that is too hot burns the breading exterior before chicken cooks through, while oil that is too cool makes the breading absorb excess oil and turn soggy and greasy.






OMG this breading is a total game changer! I made it for our Sunday family dinner last night and even my super picky 7 year old asked for seconds. The shaggy texture gets so crispy, even after I tossed the tenders in hot honey? Total chef’s kiss, will be making this for our next neighborhood potluck for sure.
Tried this for our college football tailgate last weekend and everyone was begging for the recipe! SO good, the crunch is insane even when the chicken sat out for a couple hours while we watched the game. Only change I made was adding a little extra smoked paprika to the breading mix for a tiny kick. Will absolutely be making this all tailgate season long.
Wait hold on, can I swap the all purpose flour for a 1:1 gluten free flour blend? My youngest has celiac so I’m always hunting for crispy chicken recipes that work for our whole family, this looks so perfect I can’t wait to test it.
Made this last night for a quick weeknight meal and holy cow, it’s so easy for how good it is! That 24 minute total cook time is no joke, I didn’t even have to plan ahead or do a bunch of messy prep. The crust is so crunchy and perfectly shaggy just like the recipe says, way better than the fast food chicken tenders I usually grab on busy work nights. My husband ate three pieces before he even sat down at the table, SO good. 10/10, adding this to my regular meal rotation.