
best crispy fried chicken

title 1
best crispy fried chicken
⏱️ cook time 30 minutes
🍽️ servings 4
⚡ Difficulty medium

intro

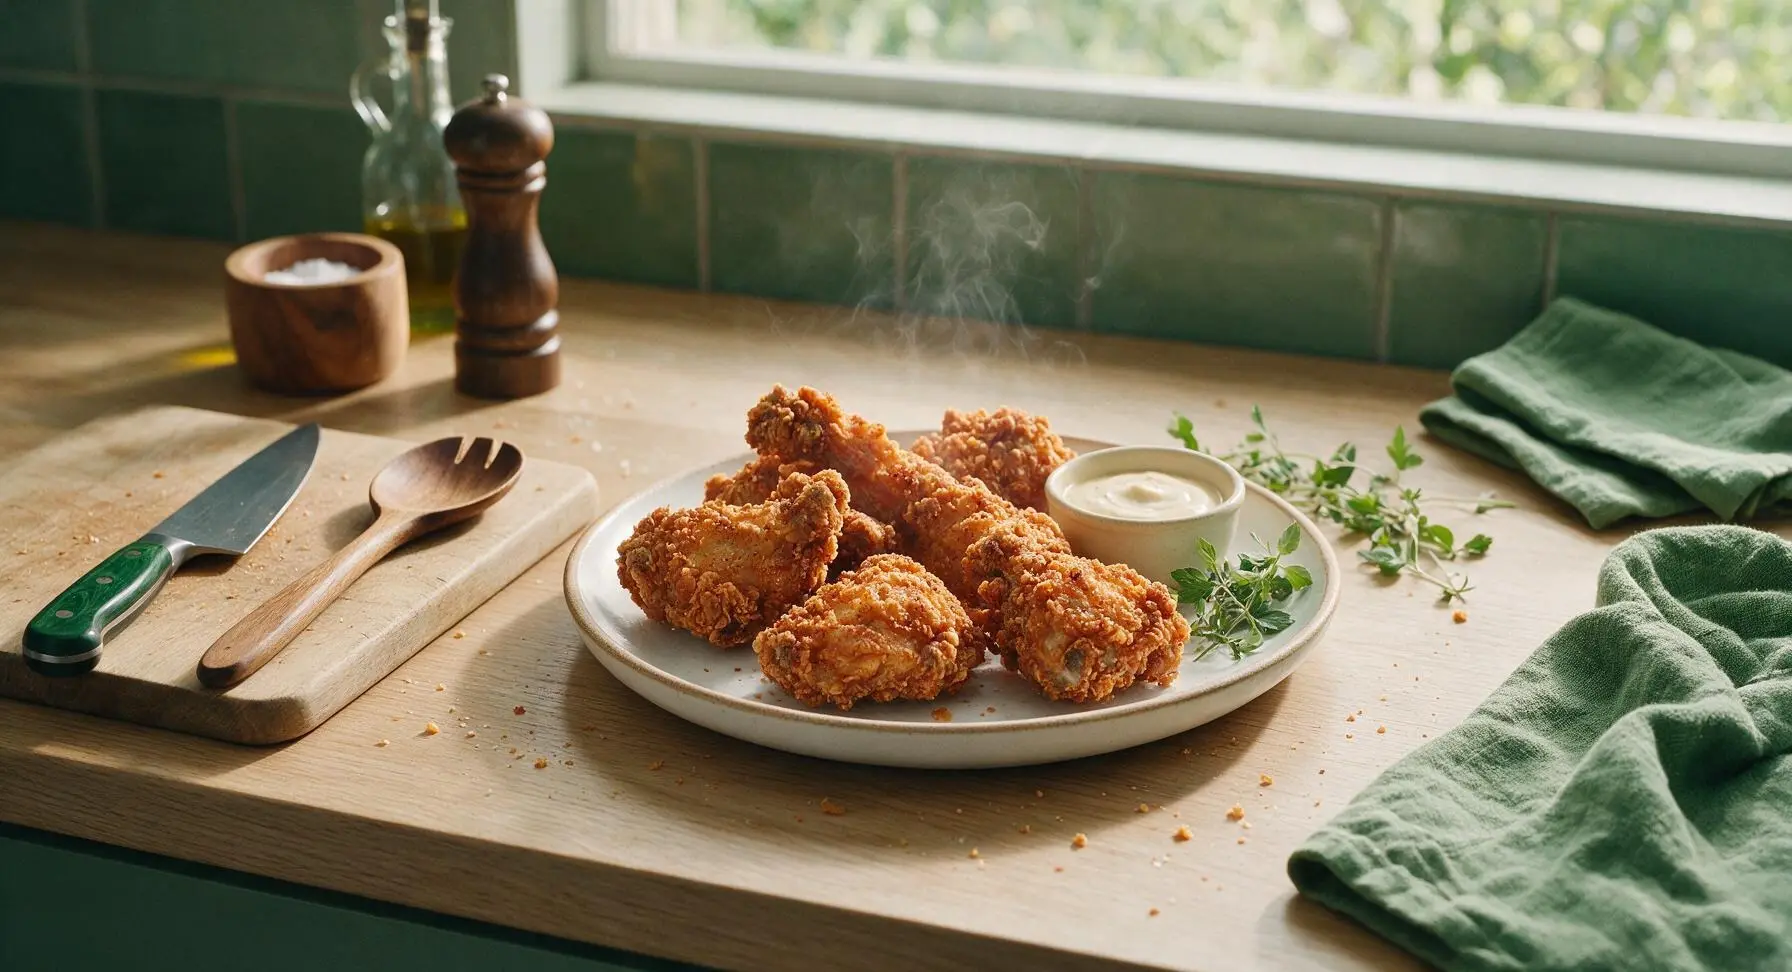
Shatteringly crisp, well-seasoned crust gives way to juicy, tender bone-in chicken in this classic Southern recipe, perfect for gathering around the table with loved ones.

Ingredients
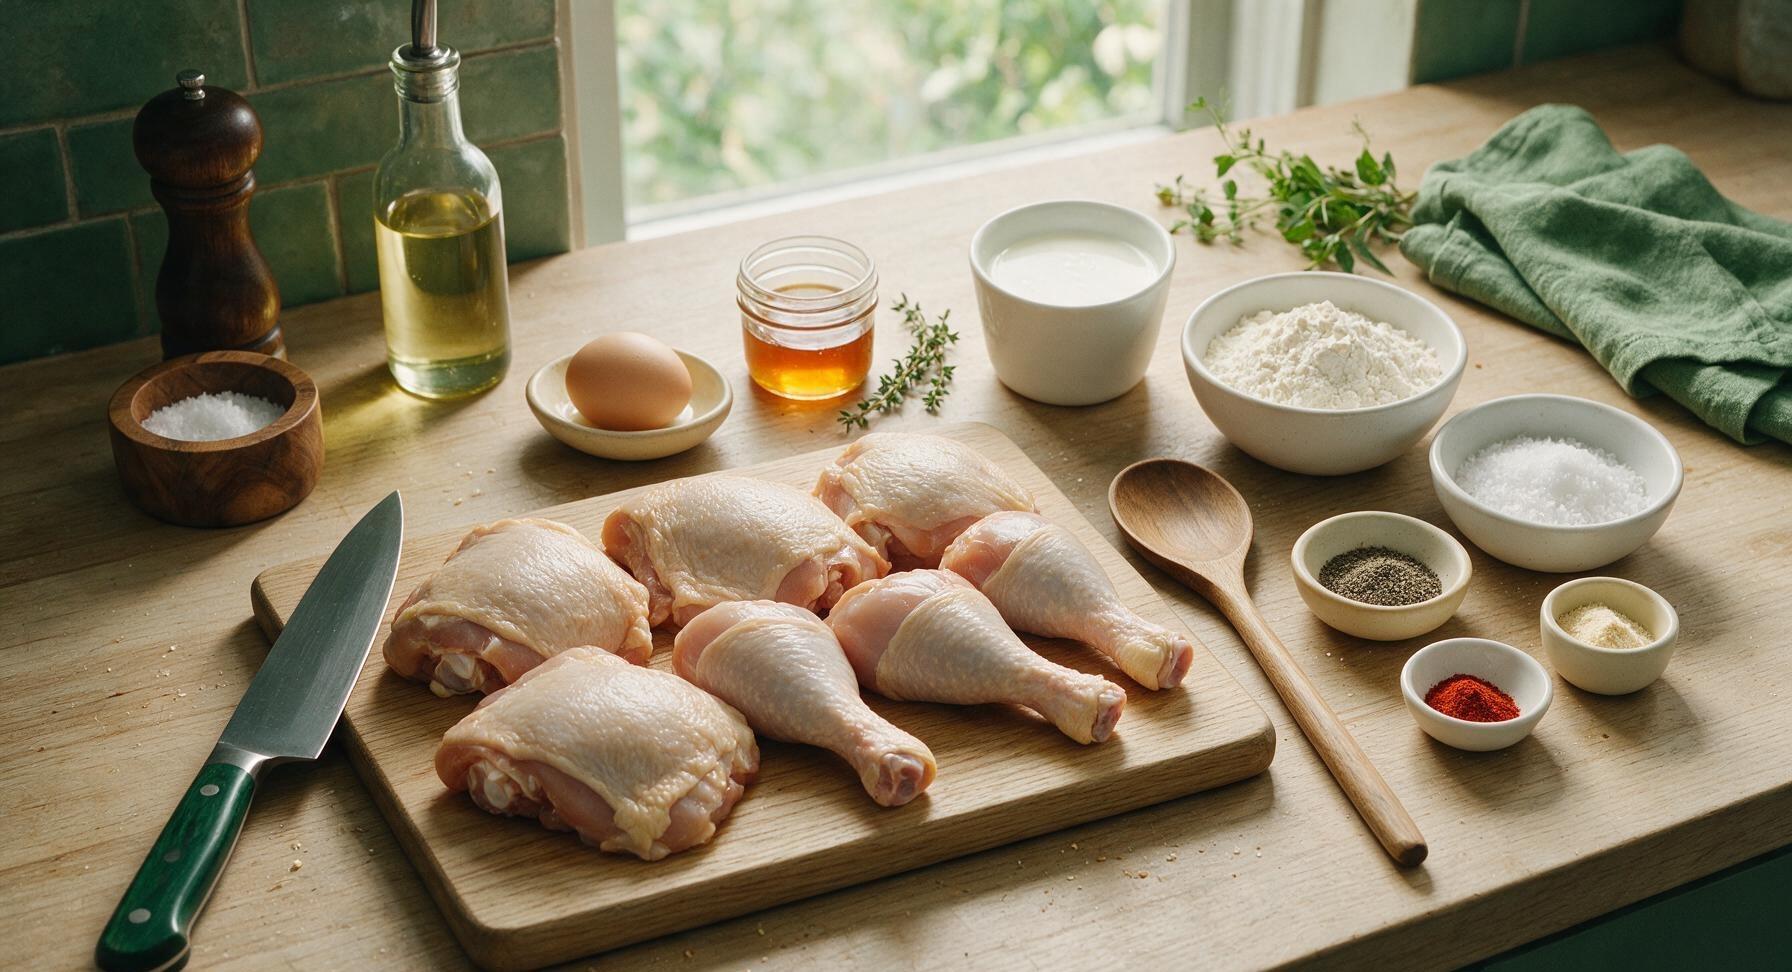
Bone-in, skin-on chicken pieces (4 thighs, 4 drumsticks) 1.4kg (3 lbs)
Full-fat buttermilk 2 cups (480ml)
Large egg 1 whole
All-purpose flour 1.5 cups (180g)
Kosher salt 1 tbsp + 1 tsp
Freshly ground black pepper 1 tsp
Smoked paprika 1 tbsp
Garlic powder 1 tsp
Cayenne pepper 1/4 tsp
Neutral frying oil (peanut or canola) 1.5L
Hot honey (for serving) 1/4 cup (60ml)
Fresh thyme sprigs (for garnish) 2 sprigs

Steps

1

Prep Chicken Pieces

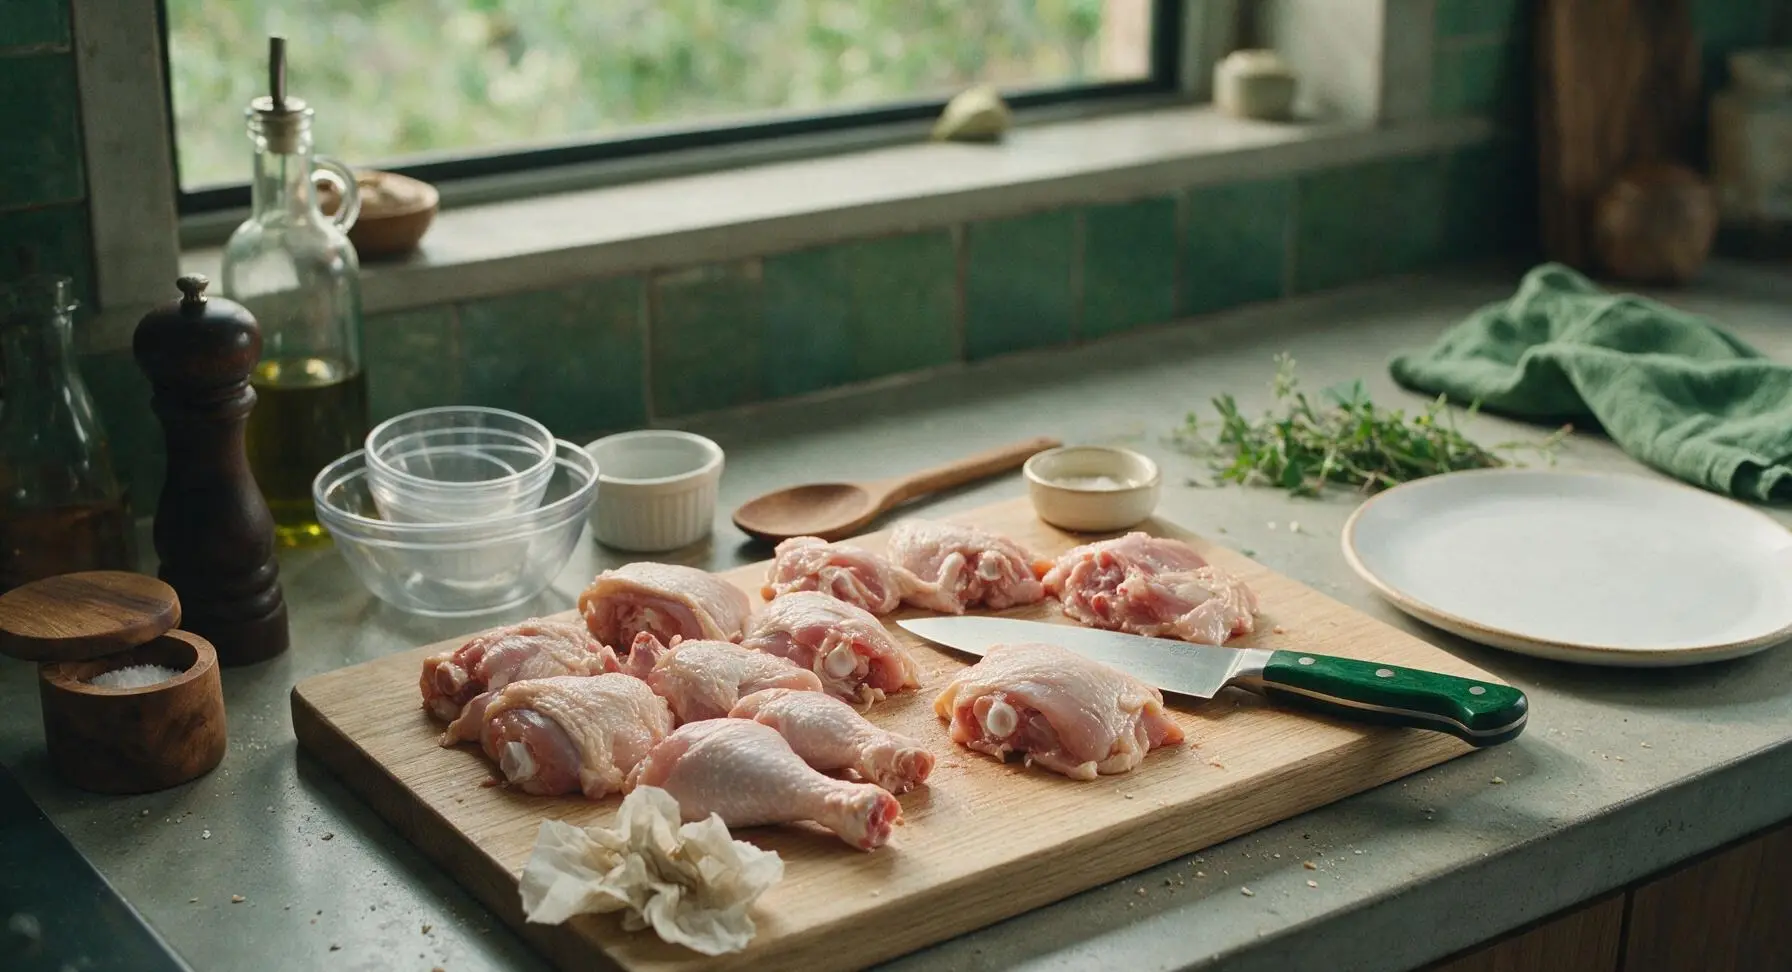
Place the bone-in, skin-on chicken pieces on the maple cutting board. Use the chef knife to trim any excess loose skin or hanging fat from the edges of each piece, leaving a tight, even layer of skin covering the meat. Pat all surfaces of the chicken completely dry with paper towels from the counter roll; fully dry skin is a critical first step for maximum crispness.
Step 1
step1:Prep Chicken Pieces
2

Mix Buttermilk Marinade

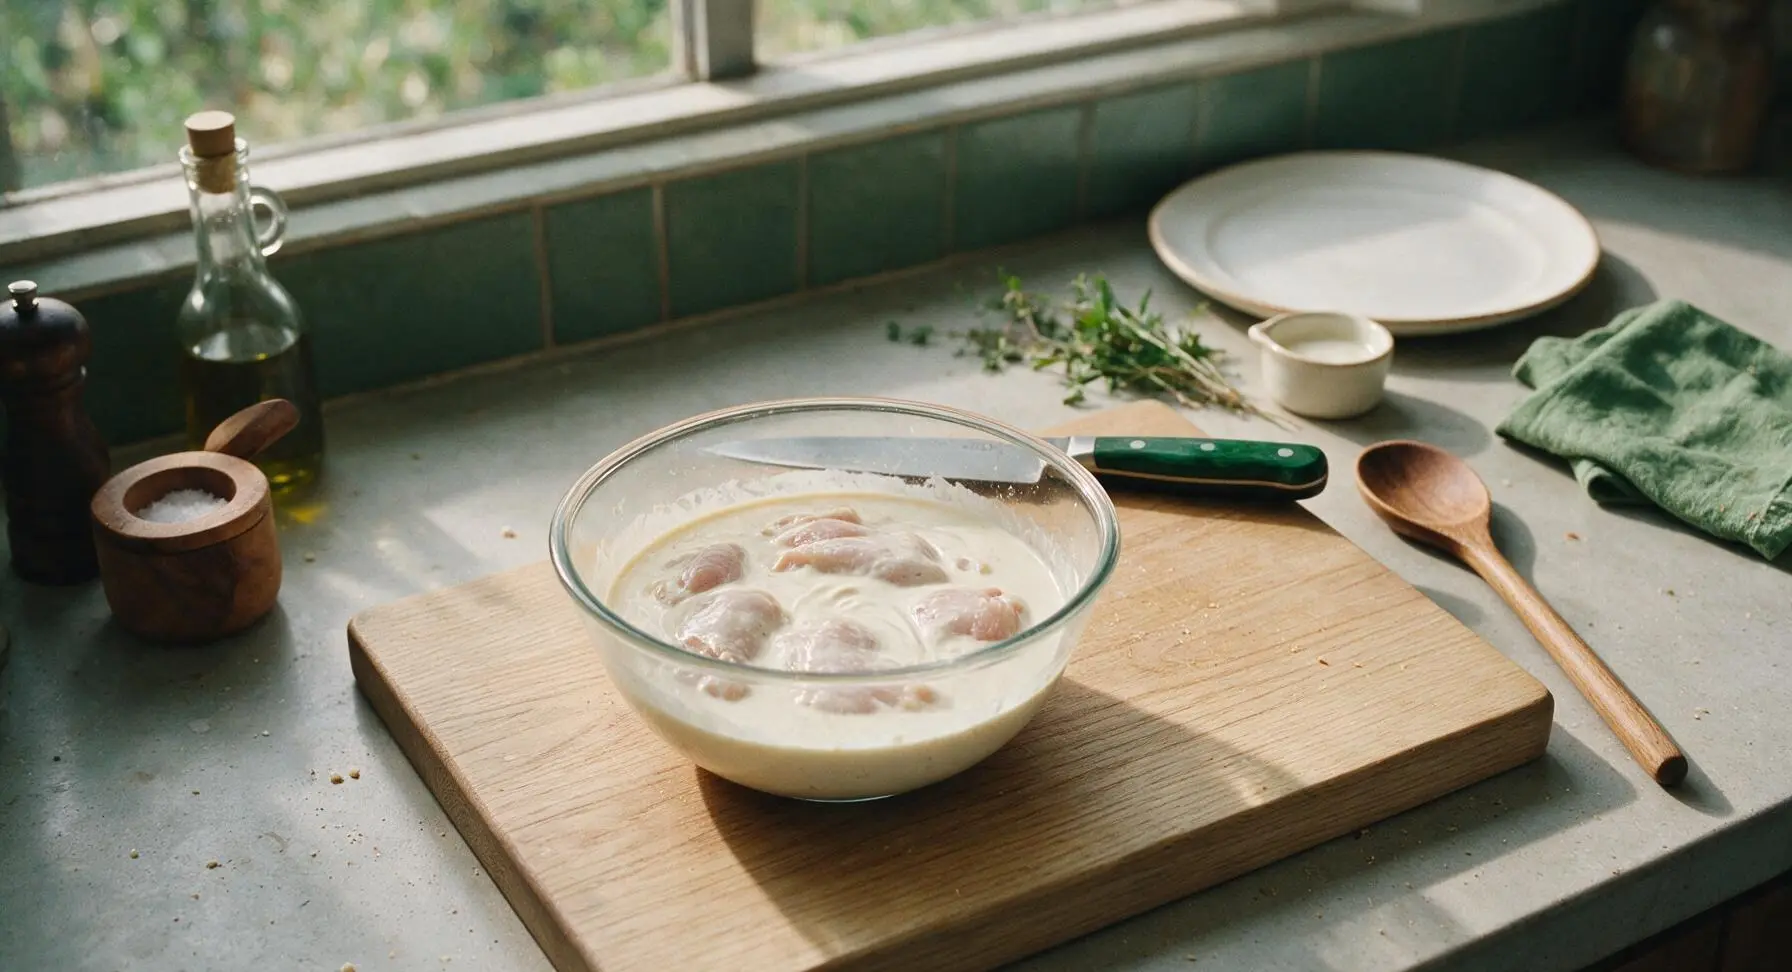
Crack the whole egg into one of the clear glass prep bowls, whisk lightly with a fork, then pour in the full-fat buttermilk, 1 teaspoon kosher salt, and 1/4 teaspoon black pepper. Stir until fully combined, then add all trimmed, dried chicken pieces to the bowl, turning to coat every surface completely. Let rest 15 minutes at room temperature (or 4 hours refrigerated for extra juicy meat).
Step 2
step2:Mix Buttermilk Marinade
3

Season Flour Coating

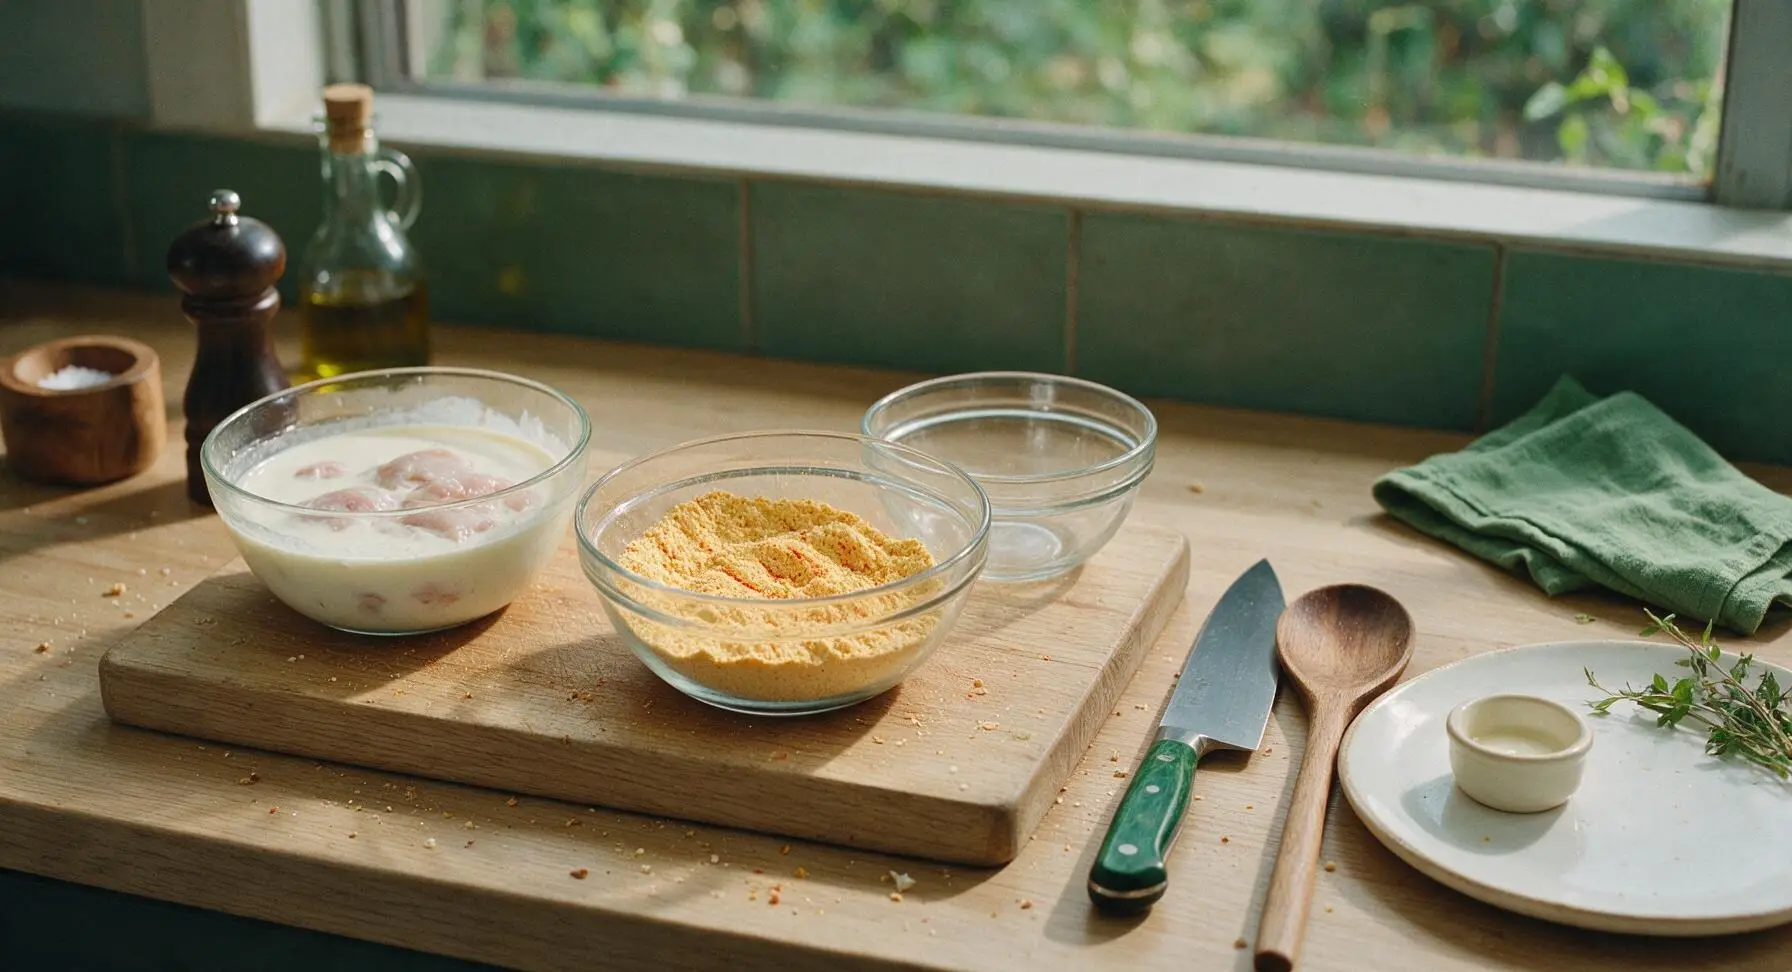
In the second clear glass prep bowl, combine the all-purpose flour, remaining 1 tablespoon kosher salt, remaining 3/4 teaspoon black pepper, smoked paprika, garlic powder, and cayenne pepper. Whisk thoroughly for 30 seconds to evenly distribute all spices, so no clumps of paprika or garlic powder remain in the flour, creating a uniformly pale golden spiced mixture.
Step 3
step3:Season Flour Coating
4

Coat Chicken Thoroughly

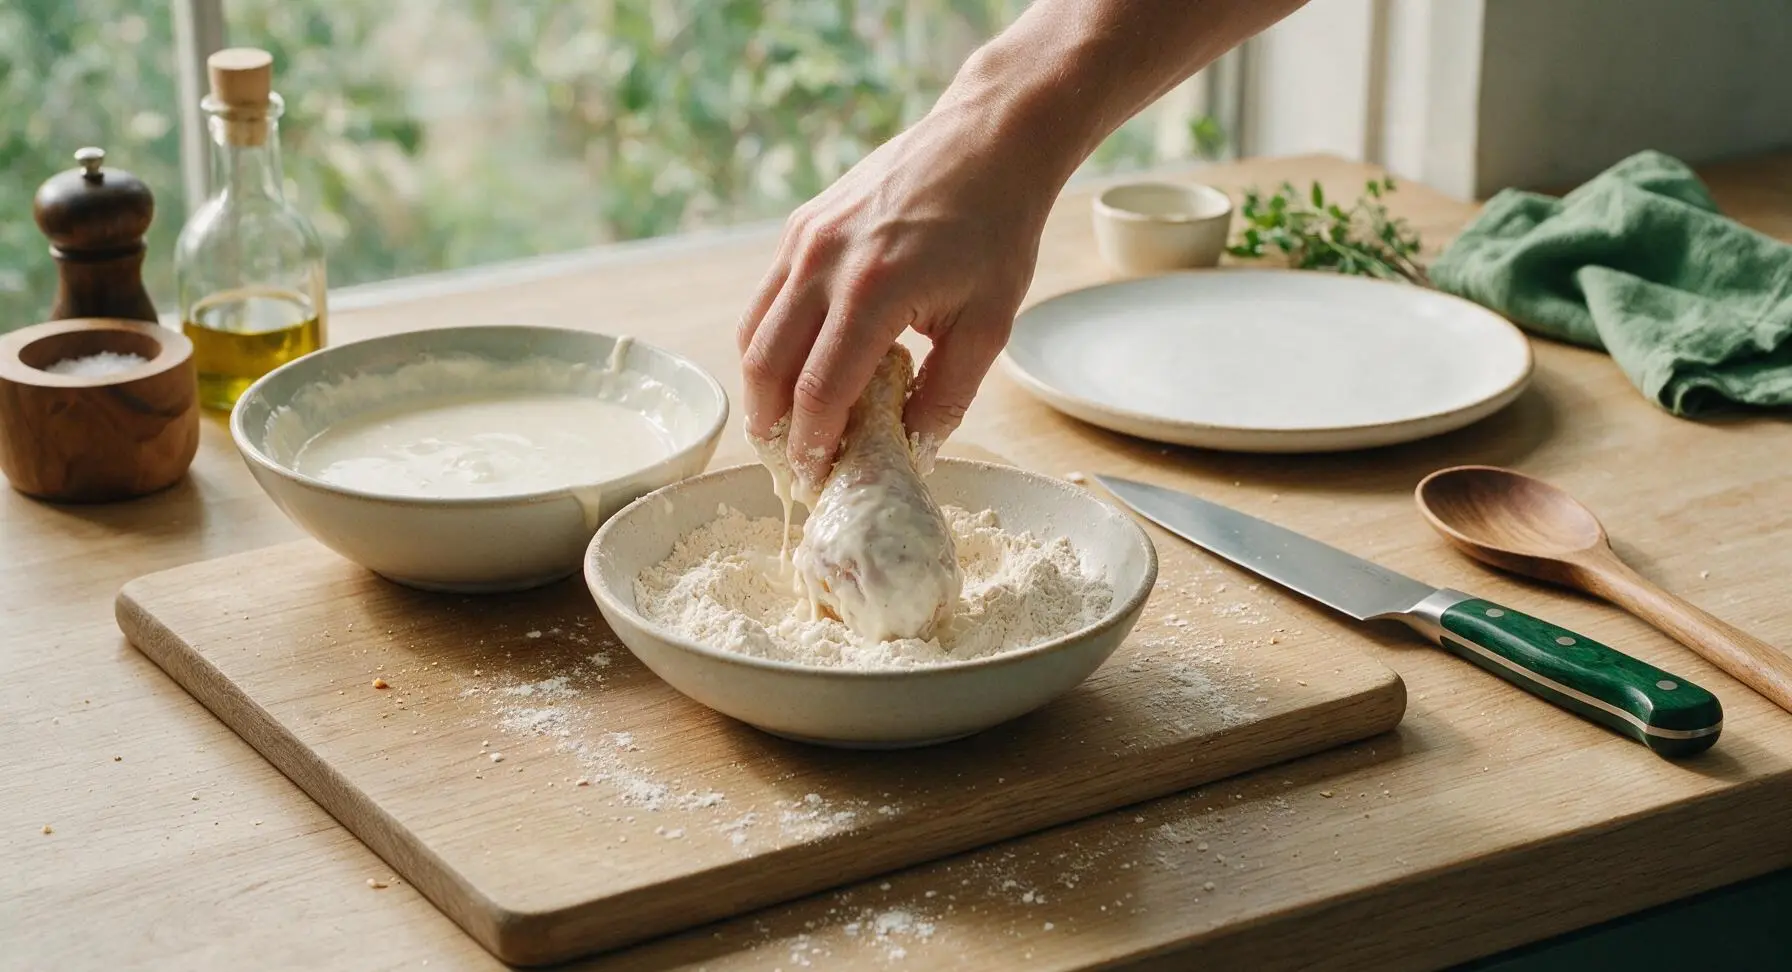
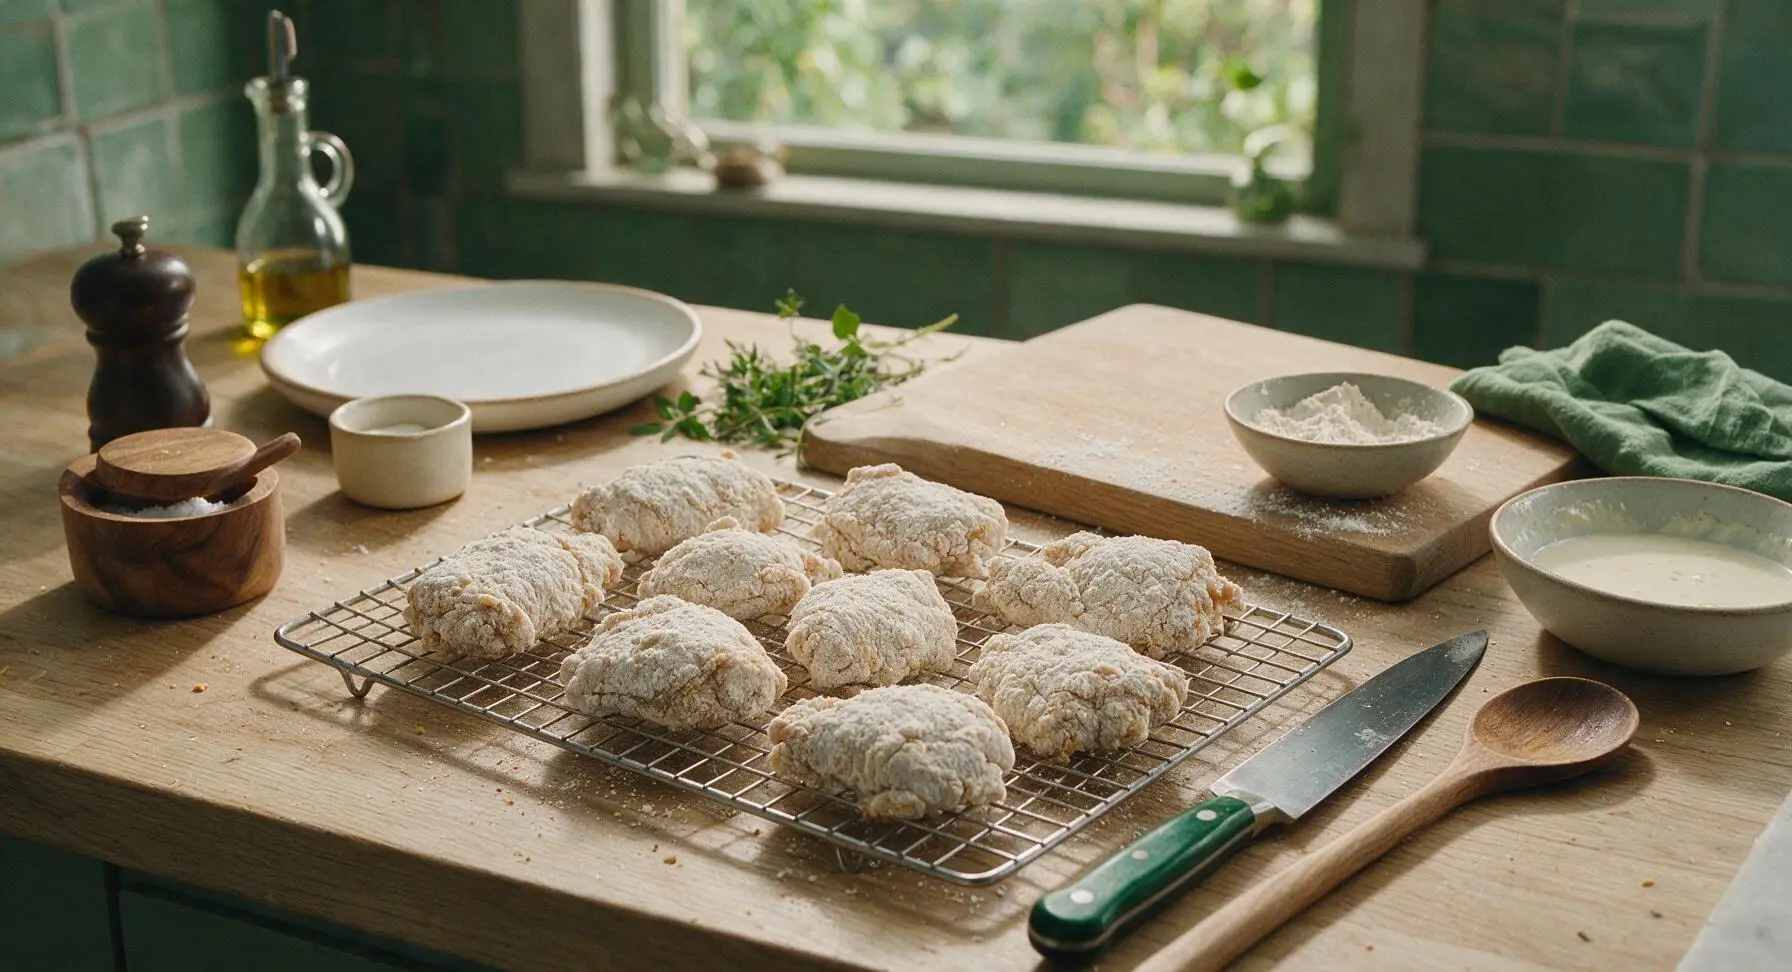
Working one piece at a time, lift chicken from the buttermilk marinade, letting excess liquid drip off for 2 seconds. Dredge the piece fully in the spiced flour, pressing firmly with your fingertips to pack the flour onto every crevice of skin and meat, creating a thick, textured coating. Set coated pieces on the wire cooling rack for 10 minutes to let the coating set before frying; this prevents the crust from falling off during cooking.
Step 4
step4:Coat Chicken Thoroughly
Step 4
step4:Coat Chicken Thoroughly
5

Heat Frying Oil

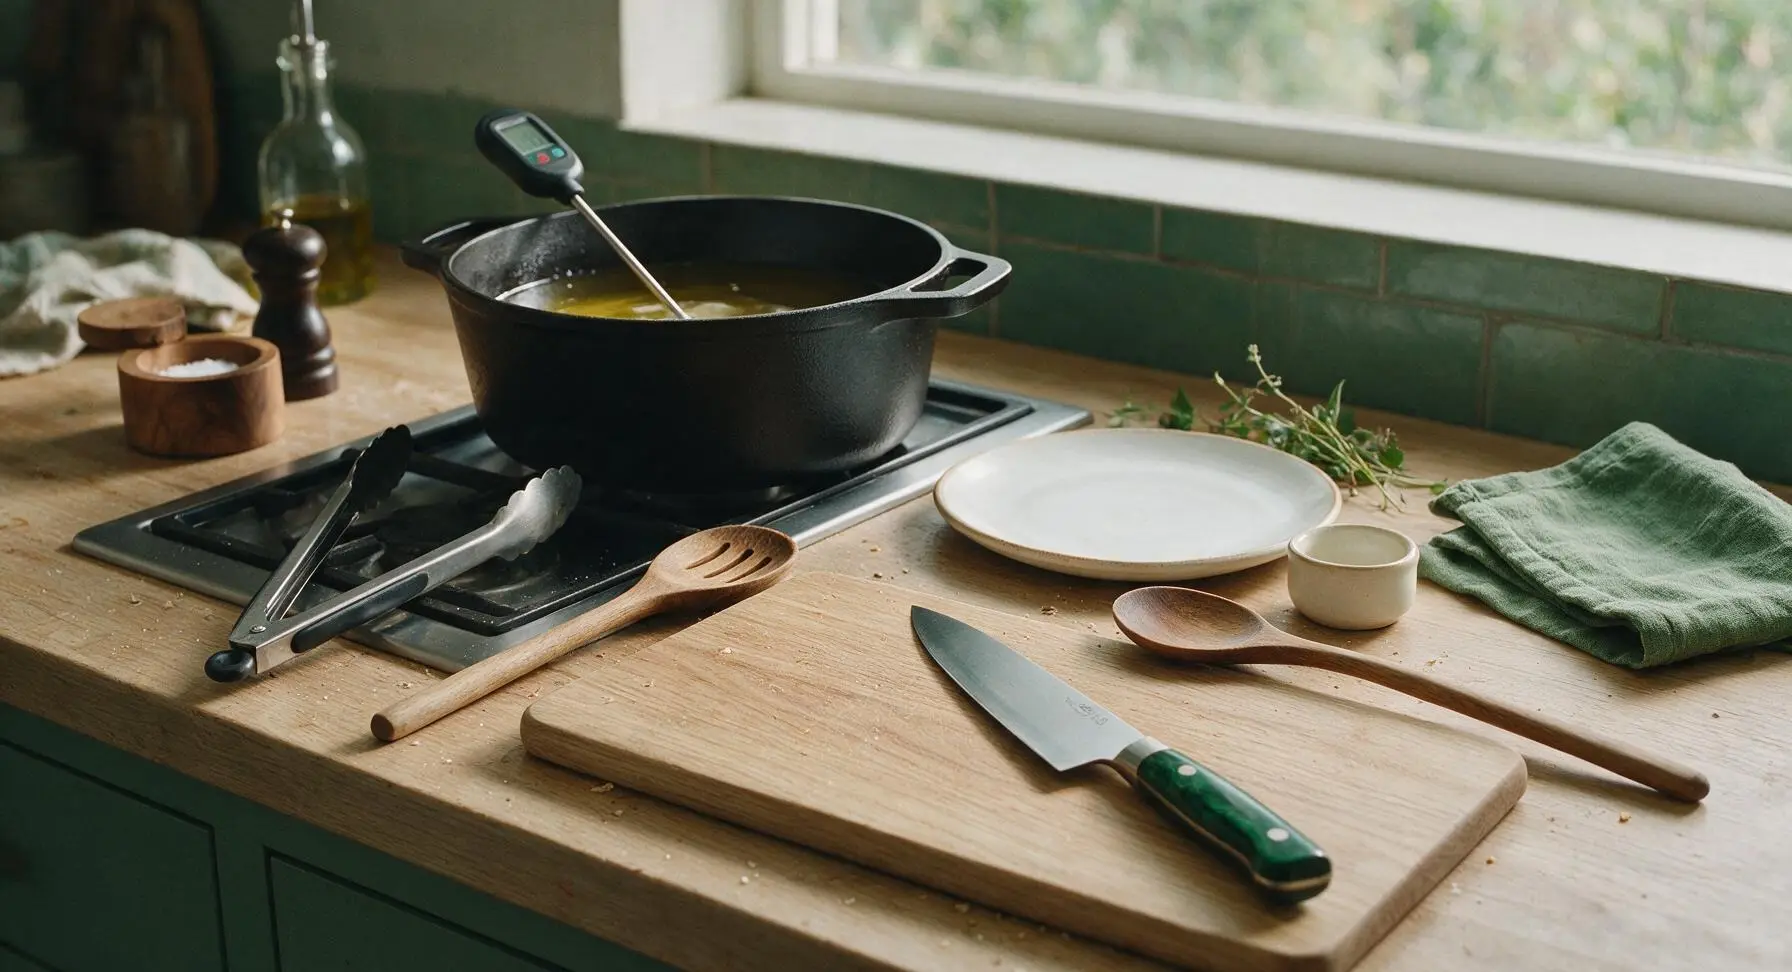
Pour the neutral frying oil into the 5.5L cast iron Dutch oven, set over medium heat until the oil reaches a steady 350°F (175°C), checked with the digital instant-read thermometer. Do not heat oil above 375°F, as this will burn the crust before the chicken cooks through.
Step 5
step5:Heat Frying Oil
6

Fry Chicken Evenly

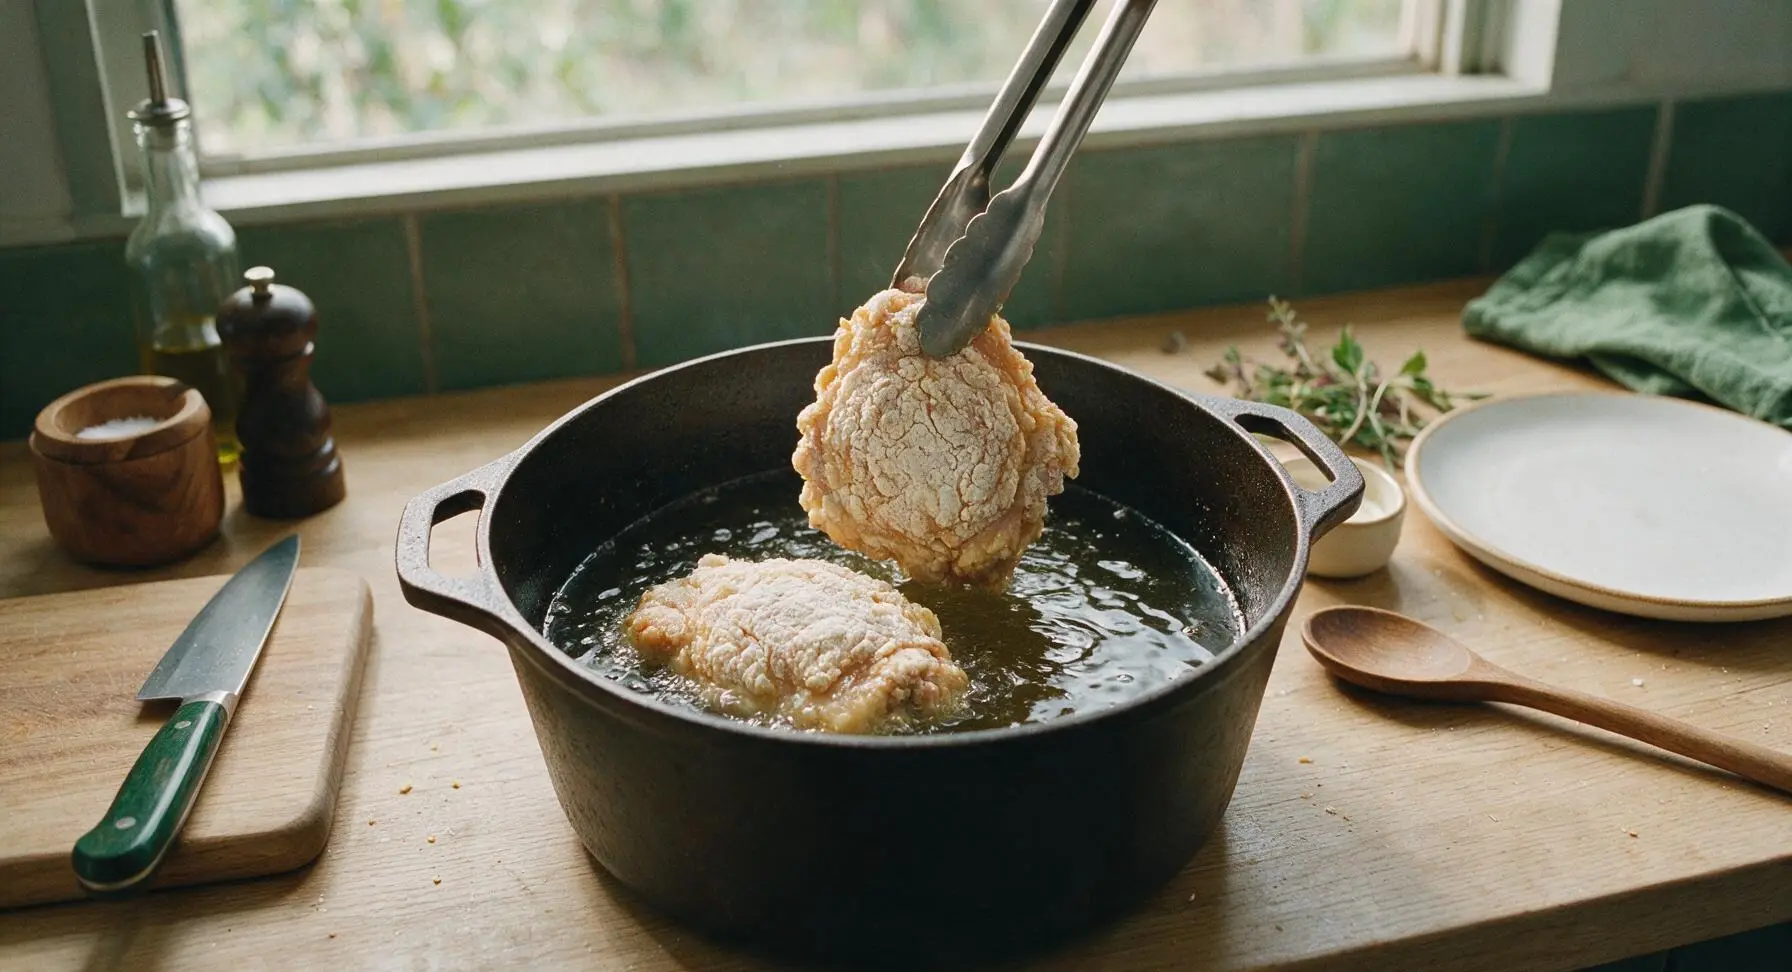
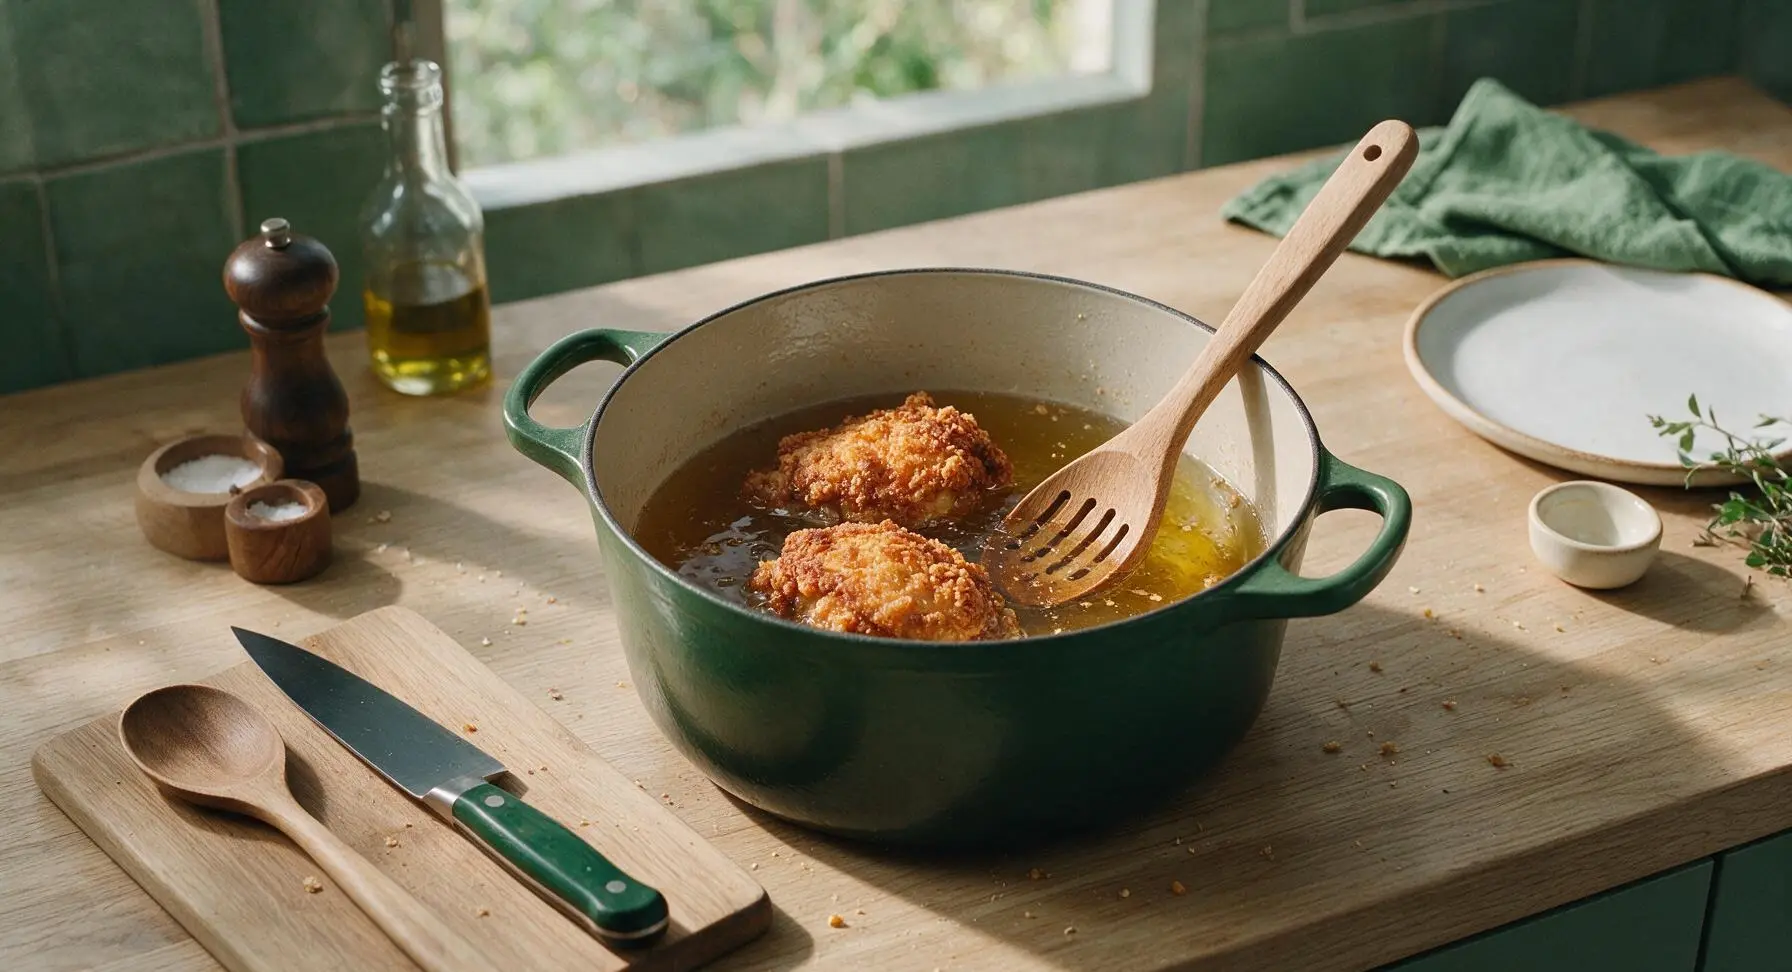
Using the stainless steel tongs, carefully lower 2 pieces of chicken into the hot oil, taking care not to splash. Do not overcrowd the pot (cooking in small batches prevents oil temperature drops that lead to greasy crust). Fry for 12-14 minutes total, turning each piece halfway through with the slotted wooden spoon, until the crust is deep golden brown and the internal temperature of the chicken reaches 165°F (74°C) at the thickest part, not touching bone.
Step 6
step6:Fry Chicken Evenly
Step 6
step6:Fry Chicken Evenly
7

Drain and Rest Chicken

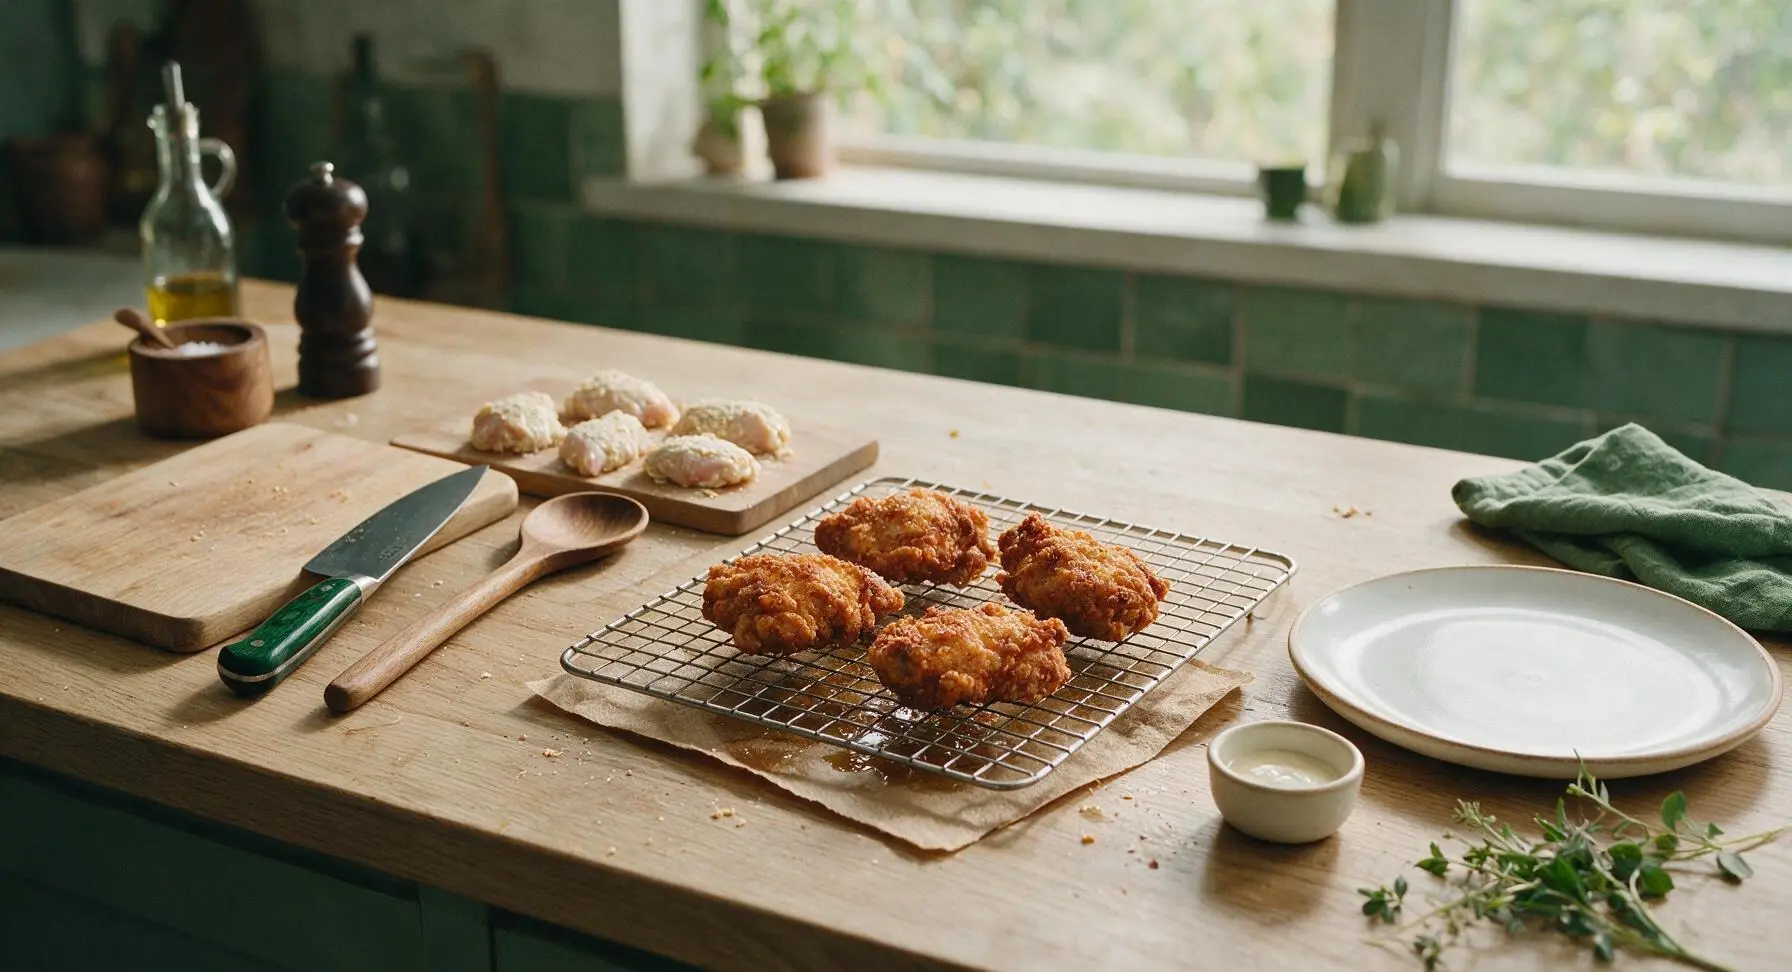
Once cooked, use the slotted spoon to lift each chicken piece from the oil, letting excess oil drip back into the pot for 5 seconds. Transfer fried pieces to the wire cooling rack set over a layer of paper towels to drain for 5 minutes; do not place chicken directly on paper towels, as trapped steam will make the bottom crust soggy.
Step 7
step7:Drain and Rest Chicken
8

Plate and Serve

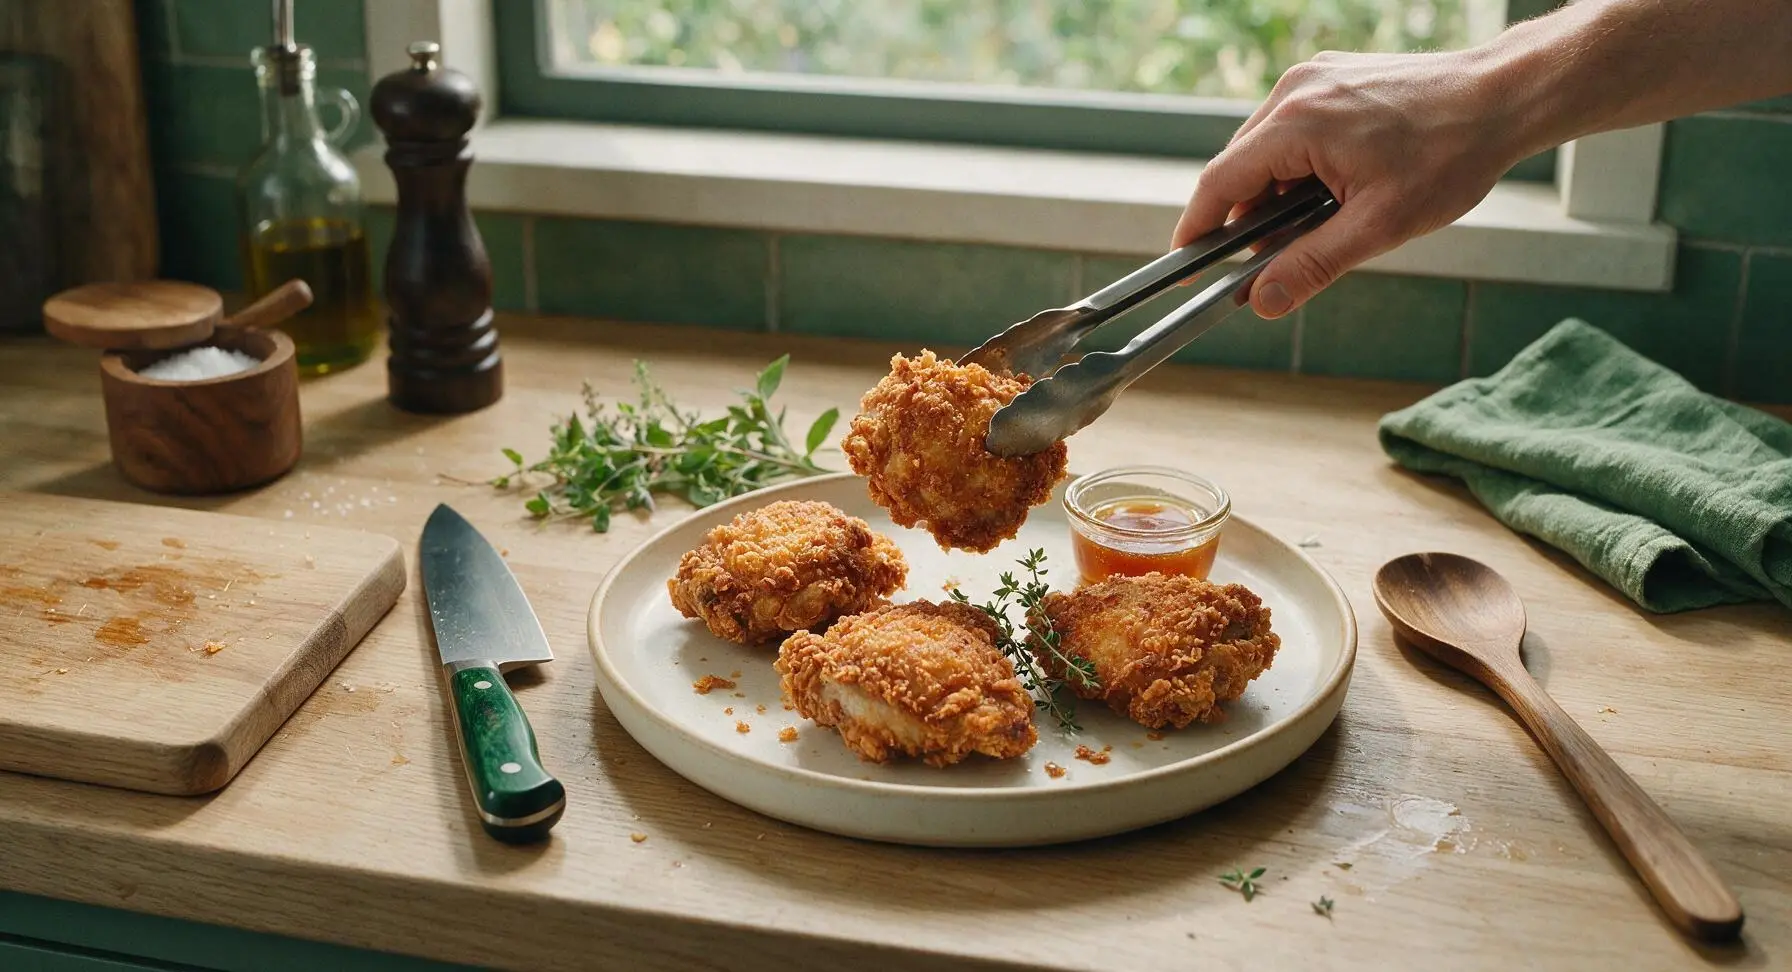
Arrange the drained, rested fried chicken on the matte cream ceramic dinner plate, tuck fresh thyme sprigs between pieces for garnish, and serve with a small ramekin of hot honey on the side for dipping.
Step 8
step8:Plate and Serve

Tips

1.Let flour-coated chicken rest on the wire rack for 10 minutes before frying: this resting period lets the flour hydrate and form a sticky bond with the chicken skin, creating a shaggy, shatterproof crust that will not slide off during cooking.
2.Hold oil temperature steady at 350°F (175°C) throughout frying: oil that is too hot burns the crust before the meat cooks through, while oil that is too cold leads to greasy, soggy chicken. Check temperature with your instant-read thermometer between every batch to adjust heat as needed.
3.Drain fried chicken on a raised wire rack rather than directly on paper towels: stacking chicken on flat paper traps steam against the crust, turning it soggy in minutes. Elevated draining lets air circulate around every piece, keeping crust crisp for 30+ minutes after cooking.


✨ You May Also Like

Main Course
🍜 United Kingdom

A showstopping classic of tender seared beef, savory mushroom duxelles, and crisp prosciutto wrapped in flaky golden puff pastry, baked to juicy perfection.

⏱️ 2 hours 1Main Course ★ 4.7
Main Course
🍜 India

Tender charred marinated chicken simmered in a rich, spiced creamy tomato sauce, this iconic Anglo-Indian curry pairs perfectly with basmati rice or warm naan.

⏱️ 50 minuteMain Course ★ 4.6
Main Course
🍜 Thailand

Classic tangy, sweet, and savory Thai stir-fried rice noodles with shrimp, tofu, and crunchy garnishes, balancing all five core Thai flavor profiles.

⏱️ 30 minuteMain Course ★ 4.5
Main Course
🍜 United Kingdom

Crispy golden beer-battered cod and fluffy double-fried chips, served with tangy tartar sauce and malt vinegar: the timeless, beloved British pub comfort classic.

⏱️ 45 minuteMain Course ★ 4.7
Main Course
🍜 Mexico

Smoky, chile-marinated pork tacos with caramelized pineapple, fresh cilantro, and lime: a beloved classic Mexican street food perfect for casual summer gatherings.

⏱️ 1 hour 45Main Course ★ 4.8
Main Course
🍜 United States

Crunchy Fritos corn chips layered with savory beef chili and melted cheddar, topped with cool, zesty fixings for a beloved, cozy Tex-Mex comfort food.

⏱️ 35 minuteMain Course ★ 4.8

best crispy fried chicken:Frequently Asked Questions

1.Why does this recipe call for bone-in, skin-on chicken instead of boneless cuts? ▾
Great question! Bone-in, skin-on cuts stay far juicier during high-heat frying, since the bone conducts heat slowly and evenly to prevent overcooking, while the attached skin renders to lock in moisture and create a natural base for the crispy crust to stick to. Boneless cuts dry out fast and often leave you with a crust that slips off easily.
2.Can I use low-fat or non-fat buttermilk if that’s what I have on hand? ▾
I really don’t recommend it for this recipe. Full-fat buttermilk has a rich, thick texture that tenderizes chicken beautifully and helps the seasoned flour coating adhere tightly for that shatteringly crisp crust. Low-fat versions are watery, leading to a thin, soggy coating that slides off as it fries. In a pinch, stir 1 tablespoon white vinegar into 1 cup whole milk, rest 5 minutes, and use that instead.
3.How long should I let the chicken soak in the buttermilk and egg mixture? ▾
For the juiciest, most well-seasoned results, let your chicken soak for a minimum of 4 hours, and up to 24 hours covered in the fridge. That extended soak breaks down tough muscle fibers for melt-in-your-mouth tender meat, and lets the kosher salt penetrate deep past the skin so you don’t end up with bland, unseasoned chicken under the crust.
4.Do I need to add extra seasonings to the all-purpose flour for the crust? ▾
This recipe uses a generous amount of kosher salt as a simple, classic base, but you can absolutely add 1 teaspoon each of black pepper, garlic powder, sweet paprika, and a pinch of cayenne if you want that bold, signature Southern flavor. Just don’t overdo it on finely ground spices, as they burn quickly in hot oil and leave a bitter aftertaste.
5.What oil is best for frying this chicken to get that perfect crisp? ▾
Reach for a neutral, high-smoke-point oil like peanut oil, regular canola oil, or vegetable shortening for the best results. These oils hold a steady 350°F temperature without smoking or burning, and they don’t add strong, off flavors that compete with the chicken’s savory crust. Skip olive oil, which has too low a smoke point for this high-heat cooking method.
6.How do I keep the crust from falling off my fried chicken while it cooks? ▾
The biggest trick to a crust that stays put is to let your coated chicken rest on a wire rack for 15 to 20 minutes before lowering it into the hot oil. That rest time lets the flour and buttermilk form a tight, glue-like seal that won’t slip off when it hits the oil. Don’t overcrowd the pot, either—too much chicken drops oil temps fast and makes coating loose and soggy.
7.What temperature should the oil be to get crispy, not greasy, chicken? ▾
Keep your oil held steady at 350°F for the entire cook, using a clip-on candy thermometer to monitor it closely. If oil is too cool, chicken absorbs excess oil and comes out greasy with a soft, flabby crust. If it’s too hot, the crust burns dark brown before the meat cooks through. Adjust your burner as needed to hold that consistent temperature.
8.How do I know when the fried chicken is fully cooked without cutting into it? ▾
The most reliable method is to use an instant-read meat thermometer stuck into the thickest part of each piece, away from the bone: you’re looking for an internal temperature of 165°F. As a general guide, drumsticks and thighs take 12 to 15 minutes total to cook through, and the crust will be a deep, even golden brown when it’s ready to pull out.
9.Can I bake this fried chicken instead of deep frying it to cut down on oil? ▾
You can make a baked version, but you won’t get that signature shatteringly crisp Southern crust without frying. If you do opt to bake, place coated chicken on a wire rack set over a baking sheet, spritz generously with oil, and bake at 425°F for 35 to 40 minutes until it hits 165°F internally. Just know the texture will be a bit less crisp than the classic fried version.
10.Should I put the fried chicken on paper towels to drain after it comes out of the oil? ▾
Skip the paper towels! Resting hot fried chicken directly on paper towels traps steam against the crust, which will make it turn soggy in just a minute or two. Instead, set cooked chicken on a wire rack set over a baking sheet to drain for 5 to 10 minutes before serving. Sprinkle a little extra kosher salt on top right out of the oil for an extra flavor boost.
11.Can I make this chicken ahead of time for a picnic or potluck? ▾
Absolutely! This fried chicken holds up amazingly well for picnics and potlucks, which is part of why it’s such a classic Southern gathering staple. Let it cool completely after cooking, then store it in an airtight container in the fridge for up to 3 days. It’s delicious served cold or at room temperature, and the crust stays crisp for hours once cooled properly.
12.Why is my fried chicken crust dark brown but the meat near the bone is still raw? ▾
That almost always means your oil is too hot! When oil climbs above 375°F, the flour coating browns and burns very quickly, long before heat has time to penetrate through to the bone and cook the meat through. Turn your burner down, let oil drop back to a steady 350°F, and cook in small batches so the temperature doesn’t swing wildly when you add cold chicken.
13.Can I use chicken breasts in this recipe instead of thighs and drumsticks? ▾
You can, but know that white meat breast cuts are far leaner and will dry out much faster than thighs and drumsticks if you’re not careful. If you use bone-in, skin-on breasts, cut them into 2-inch thick pieces so they cook at the same rate as the dark meat, and pull them as soon as they hit 165°F internally to avoid tough, dry meat. I still recommend dark meat for the juiciest classic results.

Comments (14)

3 days ago

OMG y’all, this fried chicken is a GAME CHANGER. My 7 and 9 year old usually turn up their noses at anything that isn’t chicken nuggets, but they asked for SECONDS tonight at dinner. The crust stayed crispy even after I let it rest 10 minutes like the recipe said, no soggy mess at all! Already added this to our weekly Sunday dinner rotation.

2 days ago

Wait did you brine it first? I’m making this for a neighborhood potluck this weekend and want to make sure I nail it!

yesterday

So happy your boys loved it! For potlucks, a quick 2 hour brine in buttermilk and hot sauce will lock in extra juiciness, and the crust stays crispy even at room temp for a couple hours.

1 week ago

I grew up eating my grandma’s fried chicken every Sunday after church, and I swear this recipe comes SO close to hers. The seasoning blend is perfectly balanced, not too salty, just the right amount of paprika and garlic powder. Only note is I used lard instead of vegetable oil like my grandma did and it was chef’s kiss.

5 days ago

Love that swap! Lard adds such a rich, authentic southern flavor, it’s one of our favorite pro tips for extra depth of flavor too. So glad it lived up to your grandma’s standard!

3 days ago

Pretty solid fried chicken! Cook time was spot on at 30 minutes total, which was perfect for a quick weeknight meal between my kids’ soccer practices. The only reason it’s not 5 stars is I messed up the first batch by having the oil too hot, burned the crust a little before the inside was done. Second batch I turned the heat down a touch and it came out great.

3 days ago

Brought this to my office potluck yesterday and people were literally asking for the recipe before they even finished their first piece! The crust shatters when you bite into it, exactly the crispy texture I’ve been trying to nail for years. I did add a little extra cayenne for a tiny kick and it was perfect.

2 days ago

How does this hold up for meal prep? I’m wondering if I can make it on Sunday and reheat it in the air fryer for weekday lunches?

yesterday

So stoked it was a potluck hit! For meal prep, store pieces in an airtight container in the fridge for up to 3 days, then reheat on a wire rack in the oven or air fryer at 375F for 8-10 minutes and the crisp comes right back!

yesterday

First time ever making fried chicken and I didn’t burn the house down! It was actually SO good, my roommates devoured half the batch before I could even get a plate. I used a cast iron skillet like the recipe recommended and it heated so evenly, no hot spots burning the crust. 10/10 will be making this for every game day from now on.

2 hours ago

Cast iron is non-negotiable for this! I tried it with a regular nonstick pan once and the crust slid right off, cast iron makes all the difference.

2 weeks ago

I’ve been making fried chicken for over 50 years, and I have to say this recipe is a keeper. I taught my teen granddaughter to make it last weekend using these instructions, and even her first batch came out crispy and juicy all the way through. She was so proud of herself!

1 week ago

That makes my day to hear! Passing down cooking skills to the next generation is what it’s all about, so glad you two had fun making it together.

5 days ago

Super tasty, but as a medium difficulty recipe I will say it took me a couple tries to get the oil temp right. I’d recommend a candy thermometer for anyone who doesn’t fry food often, takes the guesswork out! Once I got the temp to 350 it came out perfect, juicy inside, crispy outside.

3 days ago

Great tip! A thermometer is the most reliable way to avoid burnt crust or undercooked chicken, especially if you’re new to frying. So glad you got it dialed in!

just now

I was skeptical because I usually prefer Mexican food, but my partner begged me to make this for date night and wow. We paired it with coleslaw and mac and cheese like the recipe suggested, and it felt like we were eating at a fancy southern restaurant for a fraction of the price. Will definitely be making this again.

1 week ago

FINALLY a fried chicken recipe that doesn’t have a soggy crust after 5 minutes! I’ve tried so many online recipes that end up with the breading sliding off or getting mushy, but the double dip in the flour mixture here makes all the difference. My husband said it’s better than the fast food fried chicken he’s loved since he was a kid.

5 days ago

Wait what do you mean double dip? Do you dip in buttermilk then flour then buttermilk then flour again? I’m so confused reading that part of the recipe!

3 days ago

That’s exactly it! Dip in buttermilk, press into flour, dip back in buttermilk, then press into flour again and let the pieces rest 10 minutes before frying— that’s how you get that shaggy, extra crispy crust that doesn’t fall off. So glad you loved it!

1 week ago

As someone born and raised in Georgia, I can confirm this is the real deal. No weird fancy ingredients, just simple seasonings, buttermilk, and hot oil. I served this at my 4th of July cookout and even my picky uncle who swears no one makes fried chicken as good as his mom’s went back for thirds.

5 days ago

Your uncle’s third plate seal of approval is the highest rating possible! I’m making this for my cookout next month and now I’m even more excited.

2 hours ago

Made a big batch of this for my weekly meal prep, reheated it in the air fryer for lunch today and the crust was still crispy! No sad soggy chicken for me this week. I seasoned the flour with a little extra garlic powder and black pepper and it was chef’s kiss. Perfect for high protein lunches all week.

5 days ago

Loved the flavor, but I had a small issue with the flour mixture getting clumpy when I was breading the chicken. I think I let my chicken sit out a little too long after taking it out of the buttermilk so it was dripping extra? Flavor was 10/10 though, the whole family loved it, will definitely make again just will be faster with the breading next time.

3 days ago

I had that same issue the first time! I started shaking off the excess buttermilk really well before dipping in the flour and that fixed the clumps for me.

2 days ago

Great catch! Shaking off excess buttermilk is key to avoiding clumpy flour, and if your flour starts to get clumpy while you’re breading, you can sift out the big lumps halfway through. Glad you loved the flavor!

2 hours ago

Guys I did it!!! I was so intimidated by frying chicken because I thought it was super hard, but this recipe was so easy to follow. I used the double dip method someone mentioned in the comments, got my oil temp right with a thermometer, and it came out perfect! My roommate thought I ordered takeout lmao. So proud of myself.

30 minutes ago

That’s awesome to hear! Fried chicken can feel intimidating at first, but it’s so rewarding when it comes out perfect. Great job nailing it on your first try!

5 minutes ago

Made this for my neighborhood potluck over the weekend and it was a total hit! Did the 2 hour buttermilk brine like the admin suggested, added a little extra hot sauce to the brine for a kick, and people were raving the whole time. Even got asked to bring it to the next block party in October. 10/10, no notes.



