
best crispy waffle

title 1
best crispy waffle
⏱️ cook time 20 minutes
🍽️ servings 4
⚡ Difficulty easy

intro

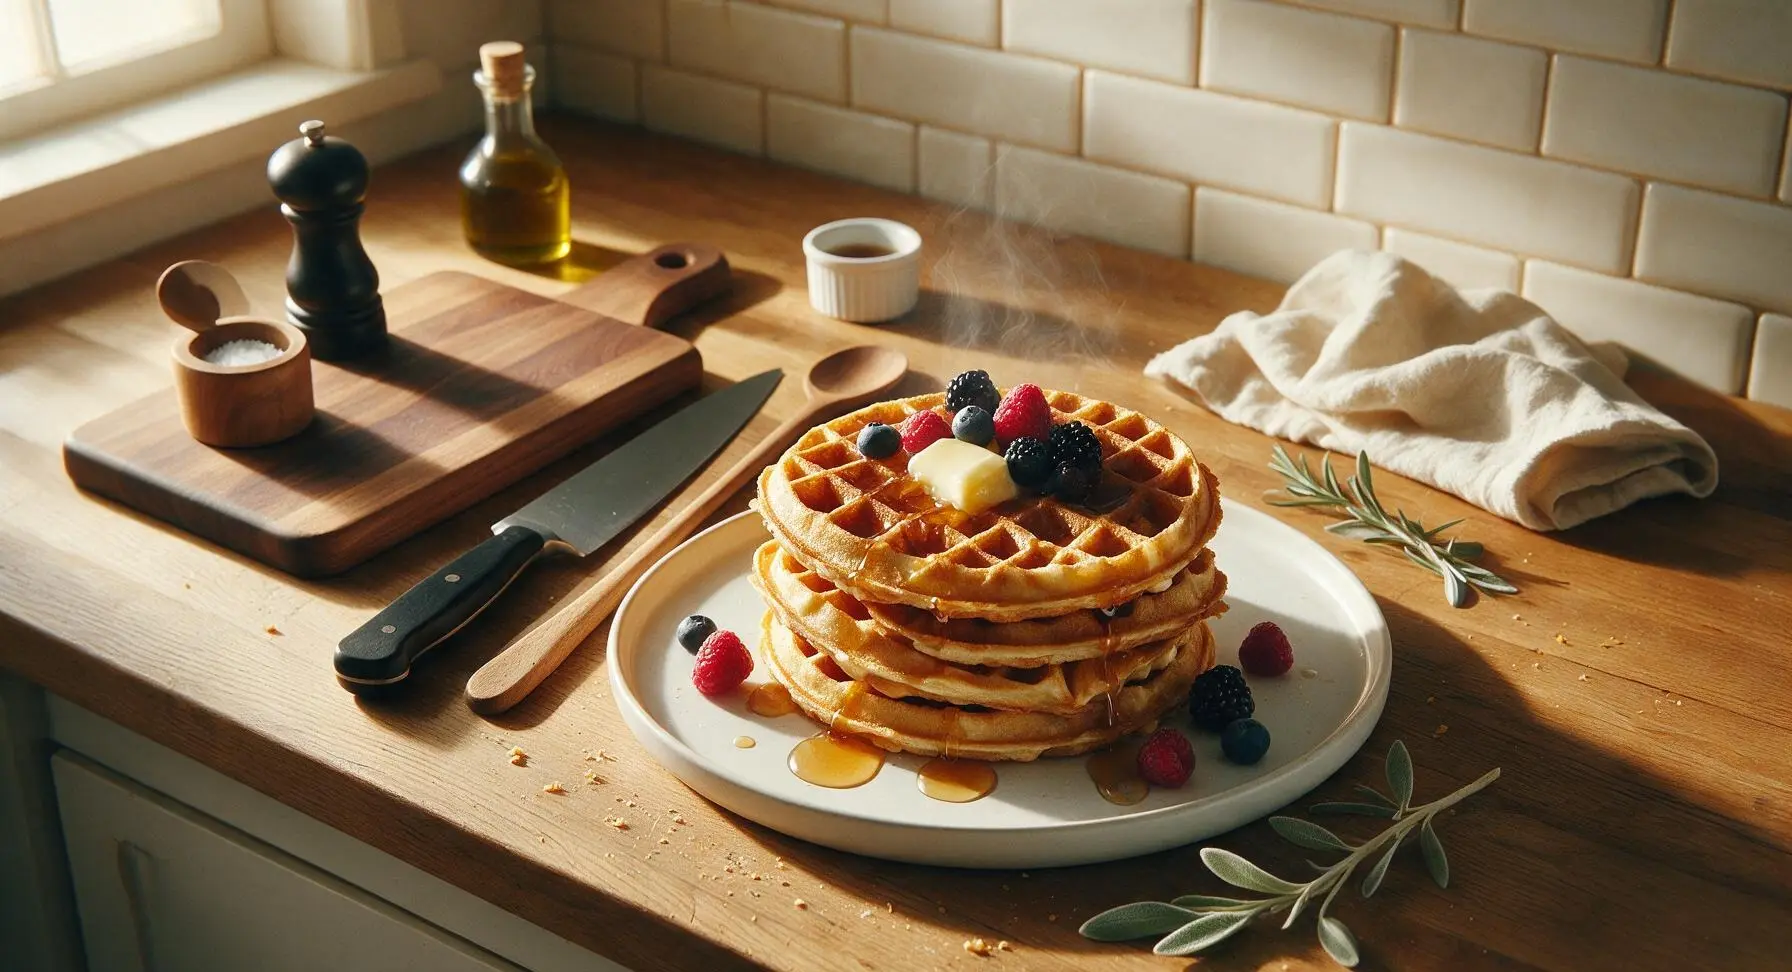
Shatteringly crisp on the outside, light and fluffy inside, these golden waffles hold up perfectly to syrup, butter, and fresh fruit without turning soggy.

Ingredients
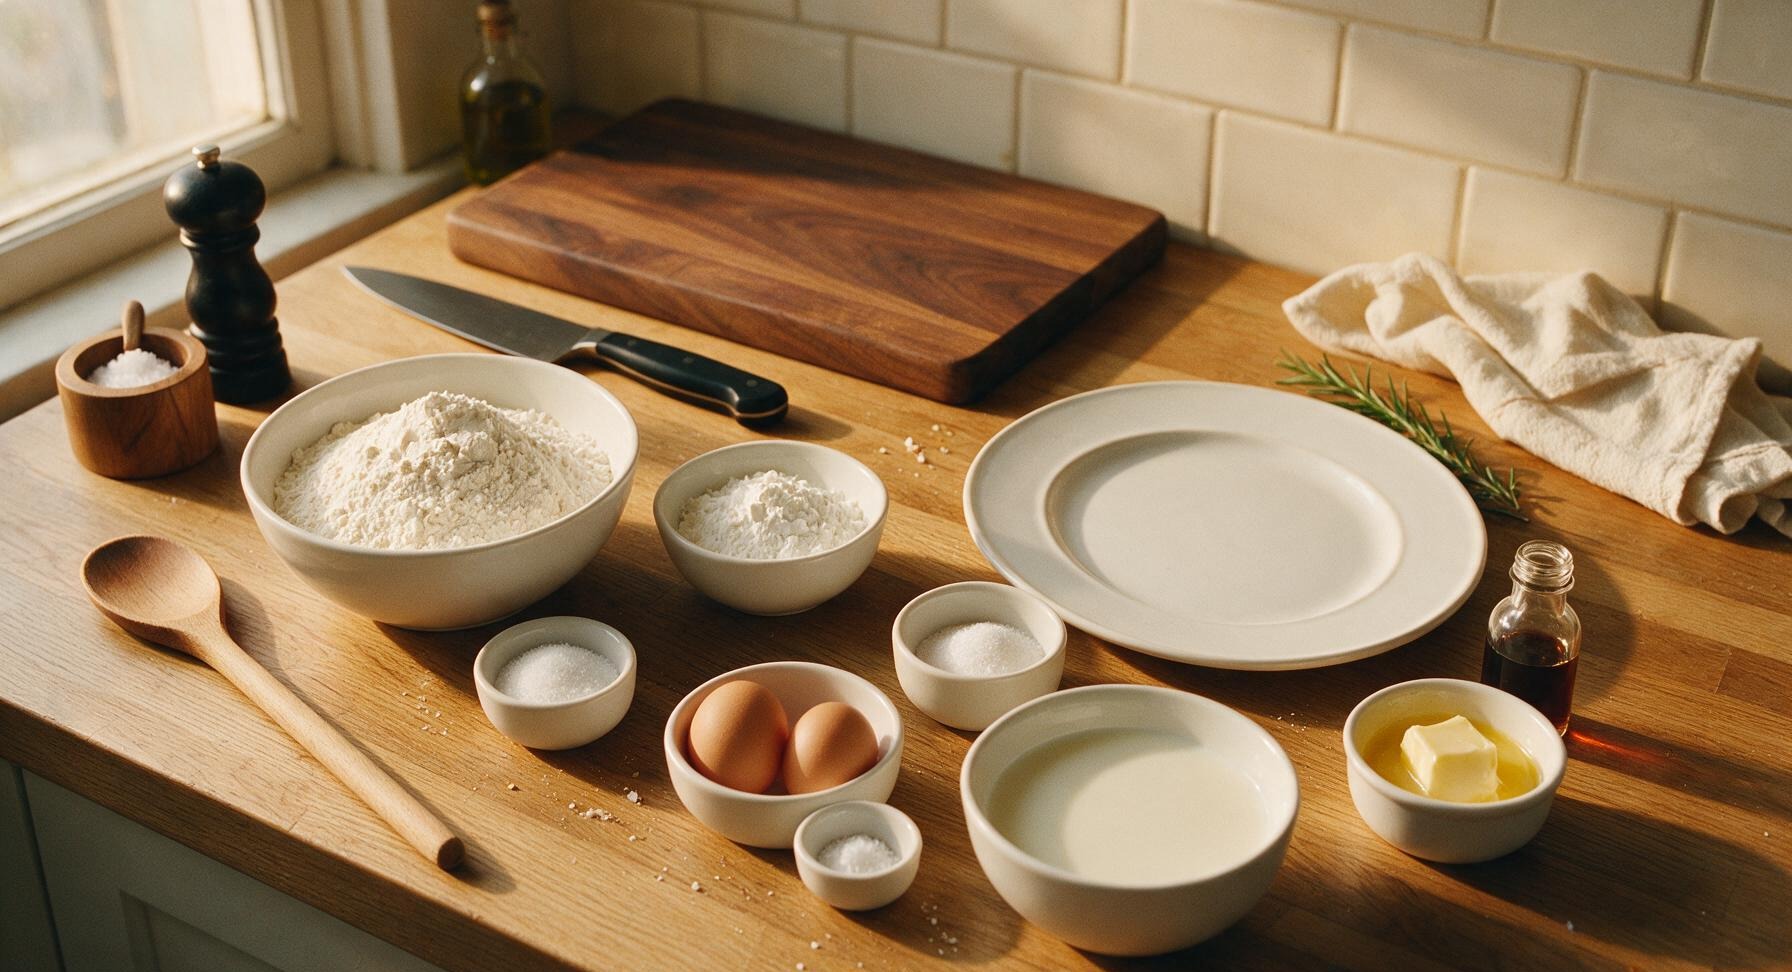
All-purpose flour 2 cups (240g)
Cornstarch 1/4 cup (30g)
Granulated sugar 2 tablespoons (25g)
Baking powder 1 tablespoon (14g)
Fine sea salt 1/2 teaspoon
Large eggs 2 (100g total, shelled)
Whole milk 1 3/4 cups (420ml)
Unsalted butter, melted and cooled 1/3 cup (75g)
Pure vanilla extract 1 teaspoon (5ml)

Steps

1

Preheat Waffle Iron

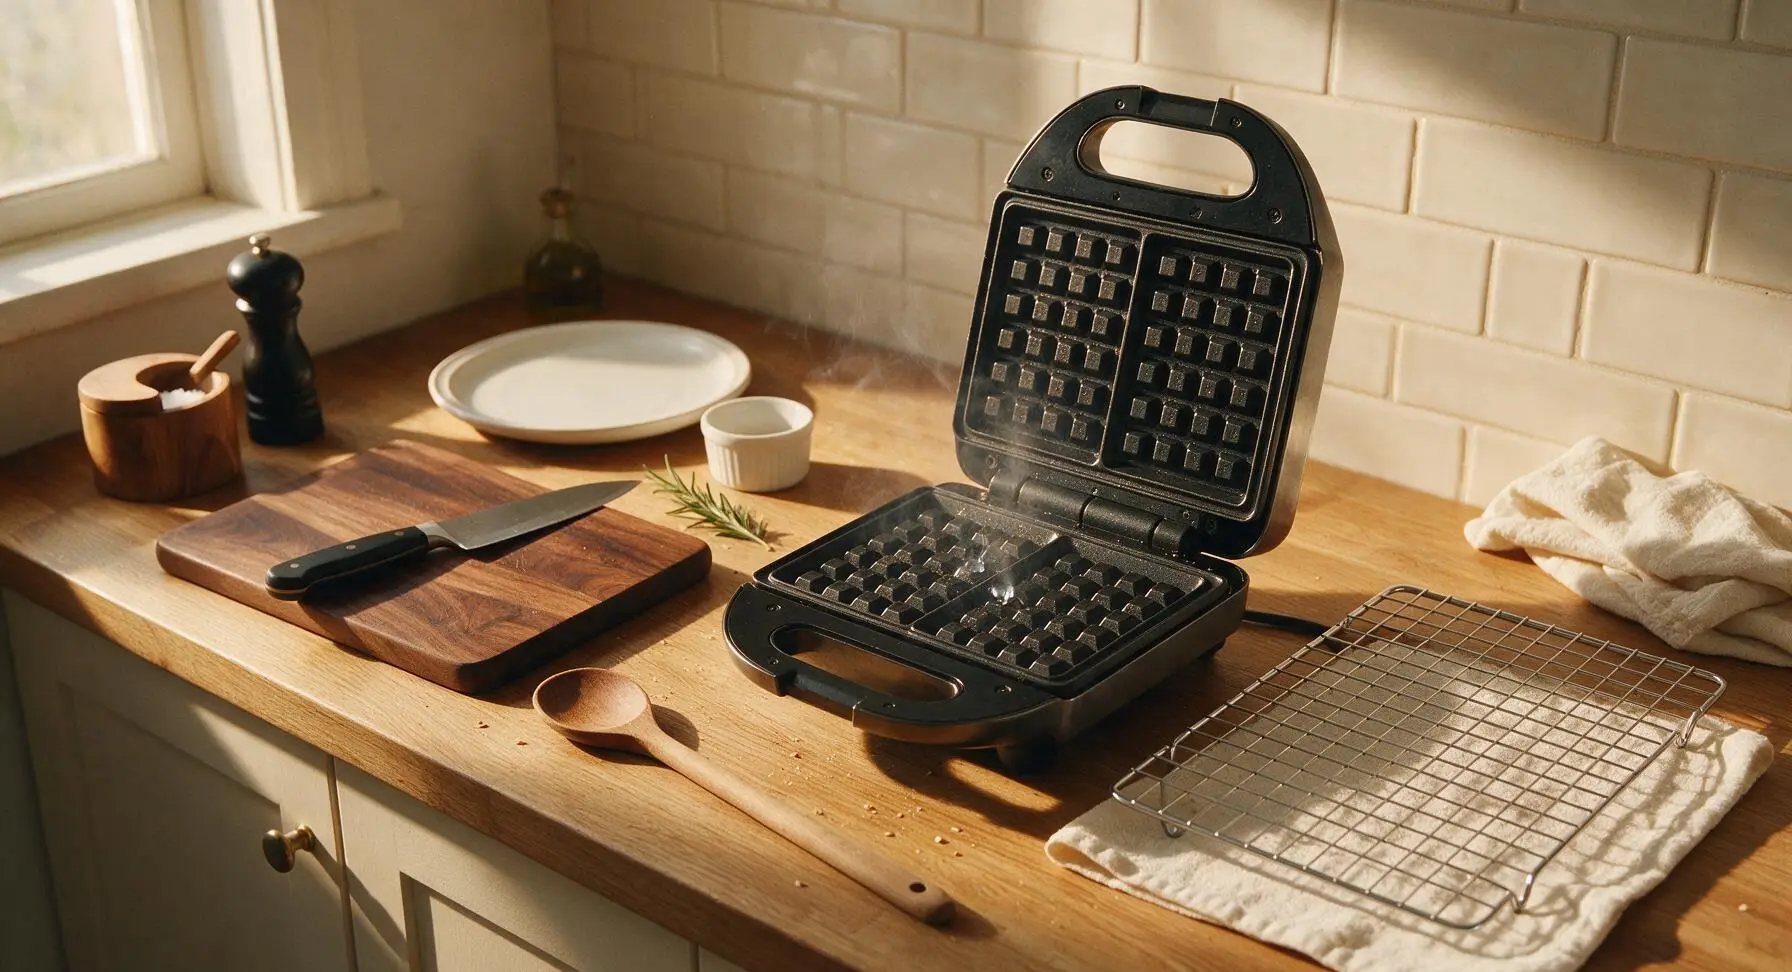
Plug in the matte black stainless steel waffle iron and set it to medium-high heat (375°F/190°C). Position the chrome wire cooling rack directly to the right of the iron, resting it on the folded oatmeal linen towel to catch crumbs. Allow the iron to preheat fully for 5 minutes, until a single drop of water sizzles and evaporates instantly on contact with the cooking plates.
Step 1
step1:Preheat Waffle Iron
2

Combine Dry Ingredients

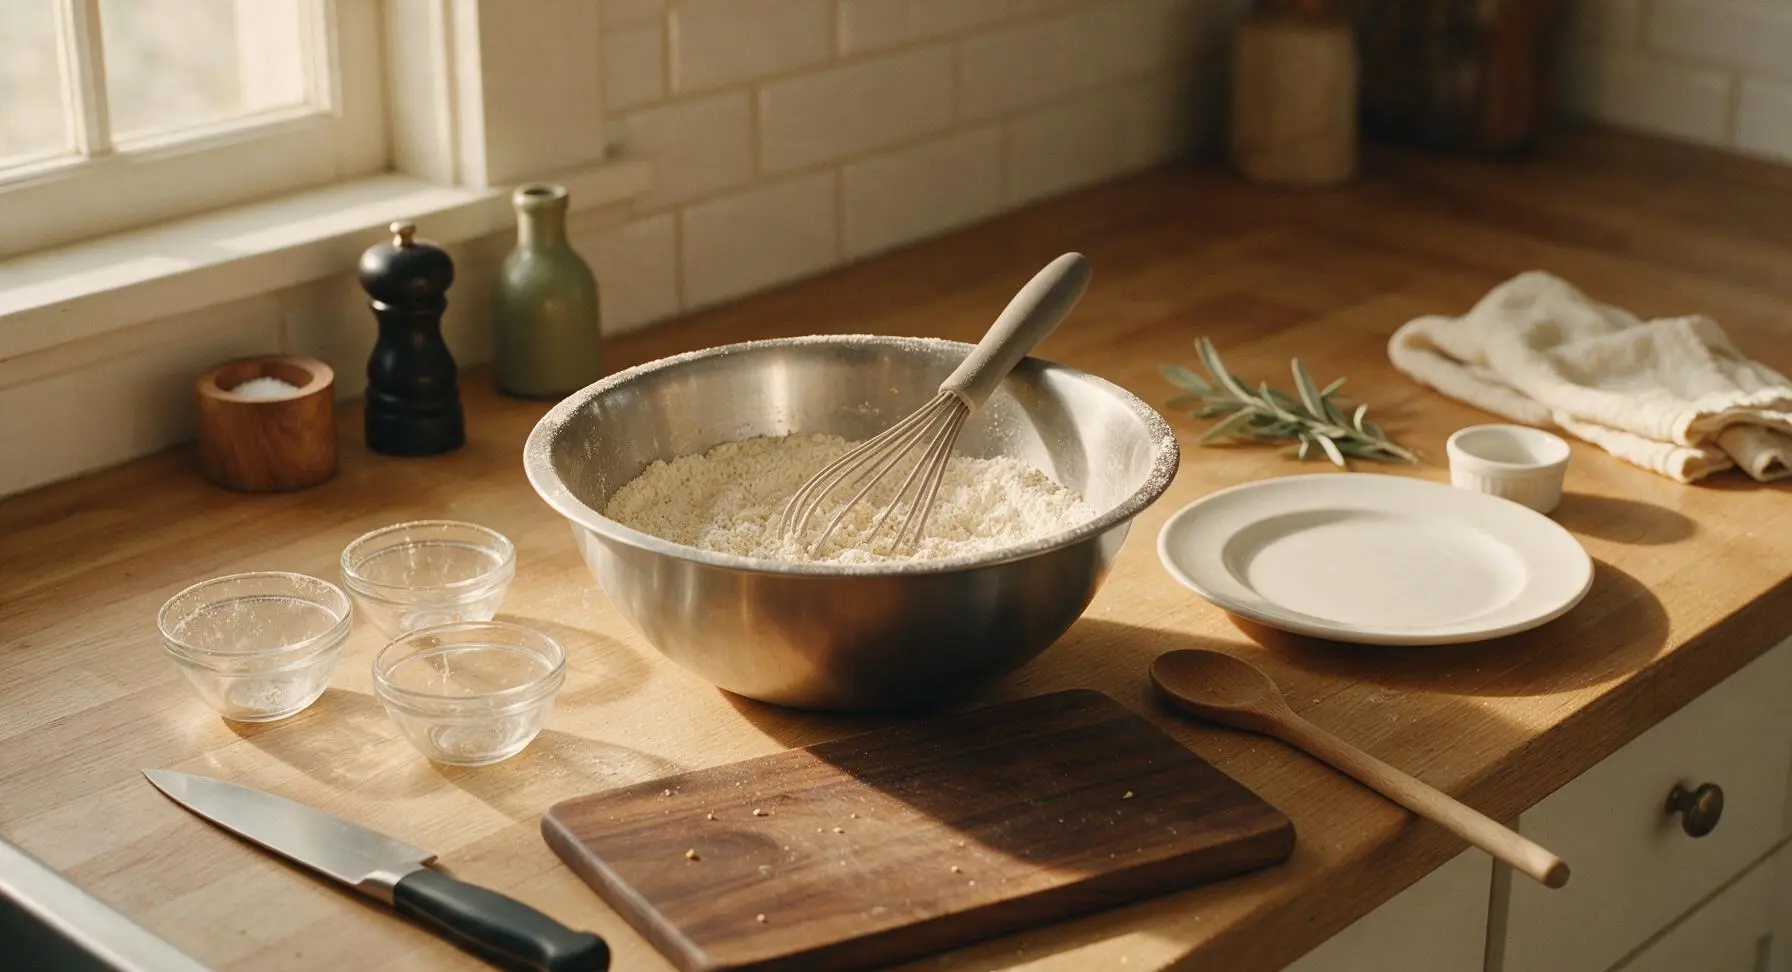
In the large brushed stainless steel mixing bowl, add the measured all-purpose flour, cornstarch, granulated sugar, baking powder, and fine sea salt. Use the silicone whisk to stir the dry ingredients together for 30 seconds, until fully evenly blended, with no visible clumps of baking powder or concentrated pockets of salt.
Step 2
step2:Combine Dry Ingredients
3

Whisk Wet Ingredients

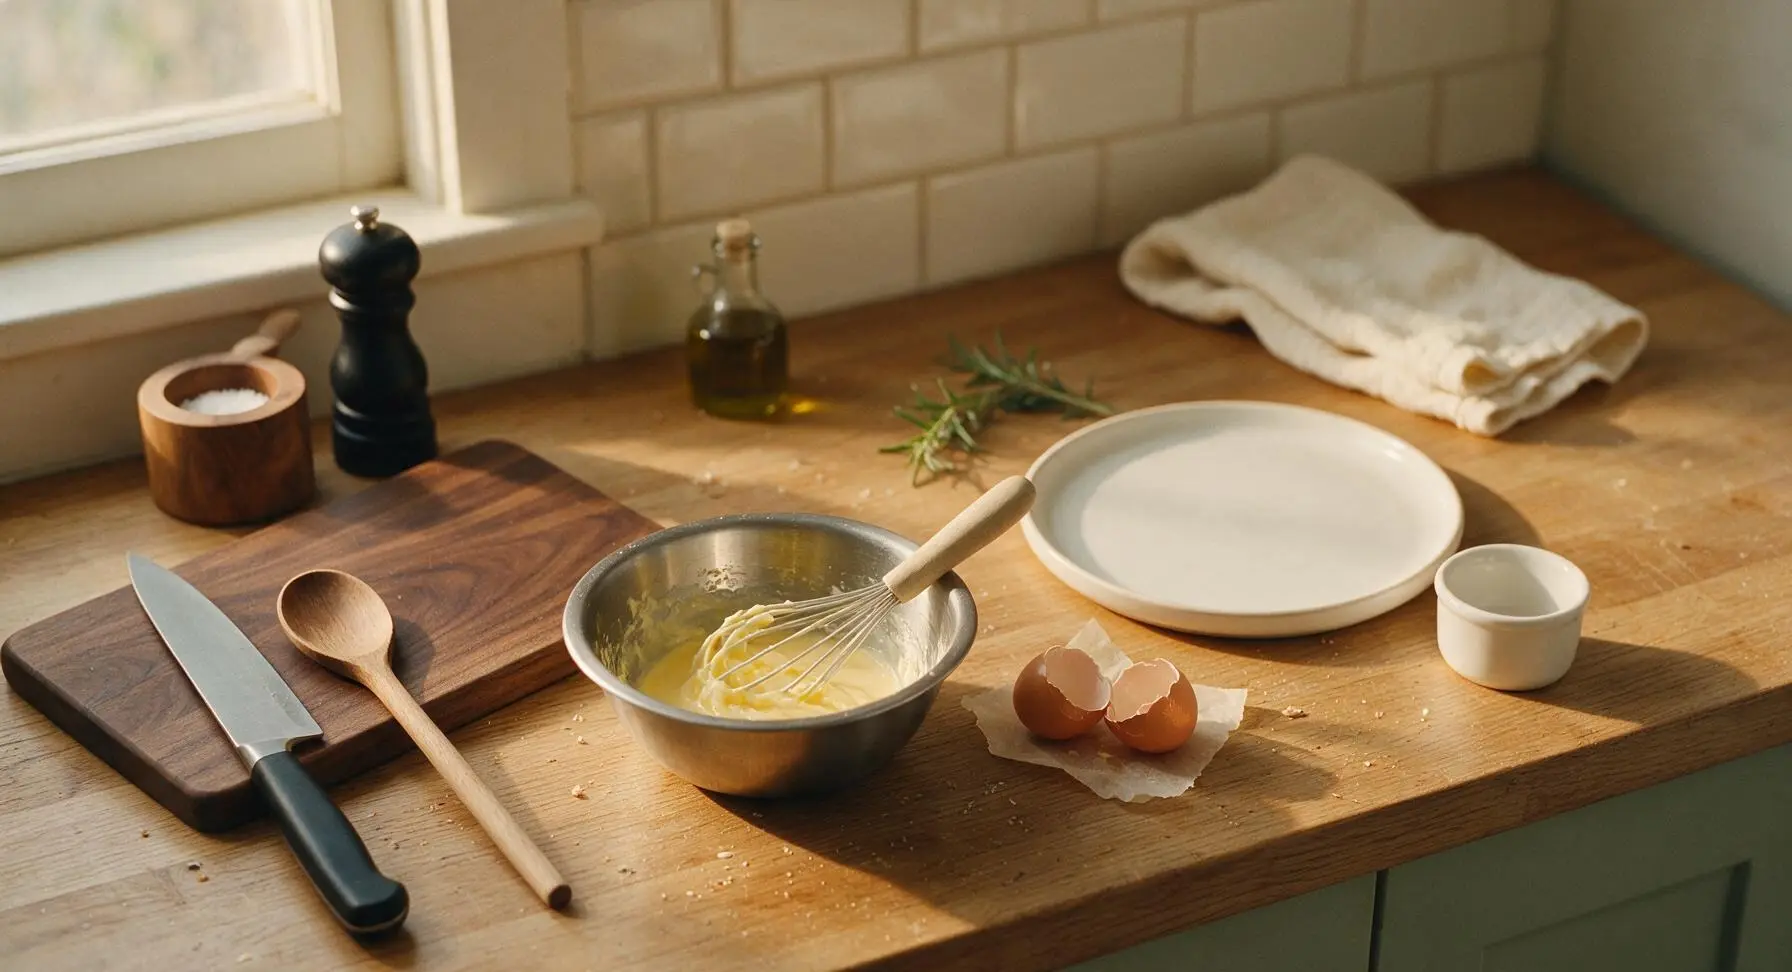
In the small brushed stainless steel mixing bowl, crack the two large eggs, then add the whole milk, slightly cooled melted butter, and pure vanilla extract. Whisk vigorously for 45 seconds, until the eggs are fully beaten, the mixture is smooth and pale yellow, and no streaks of separated egg yolk float on the surface.
Step 3
step3:Whisk Wet Ingredients
4

Fold Batter Gently

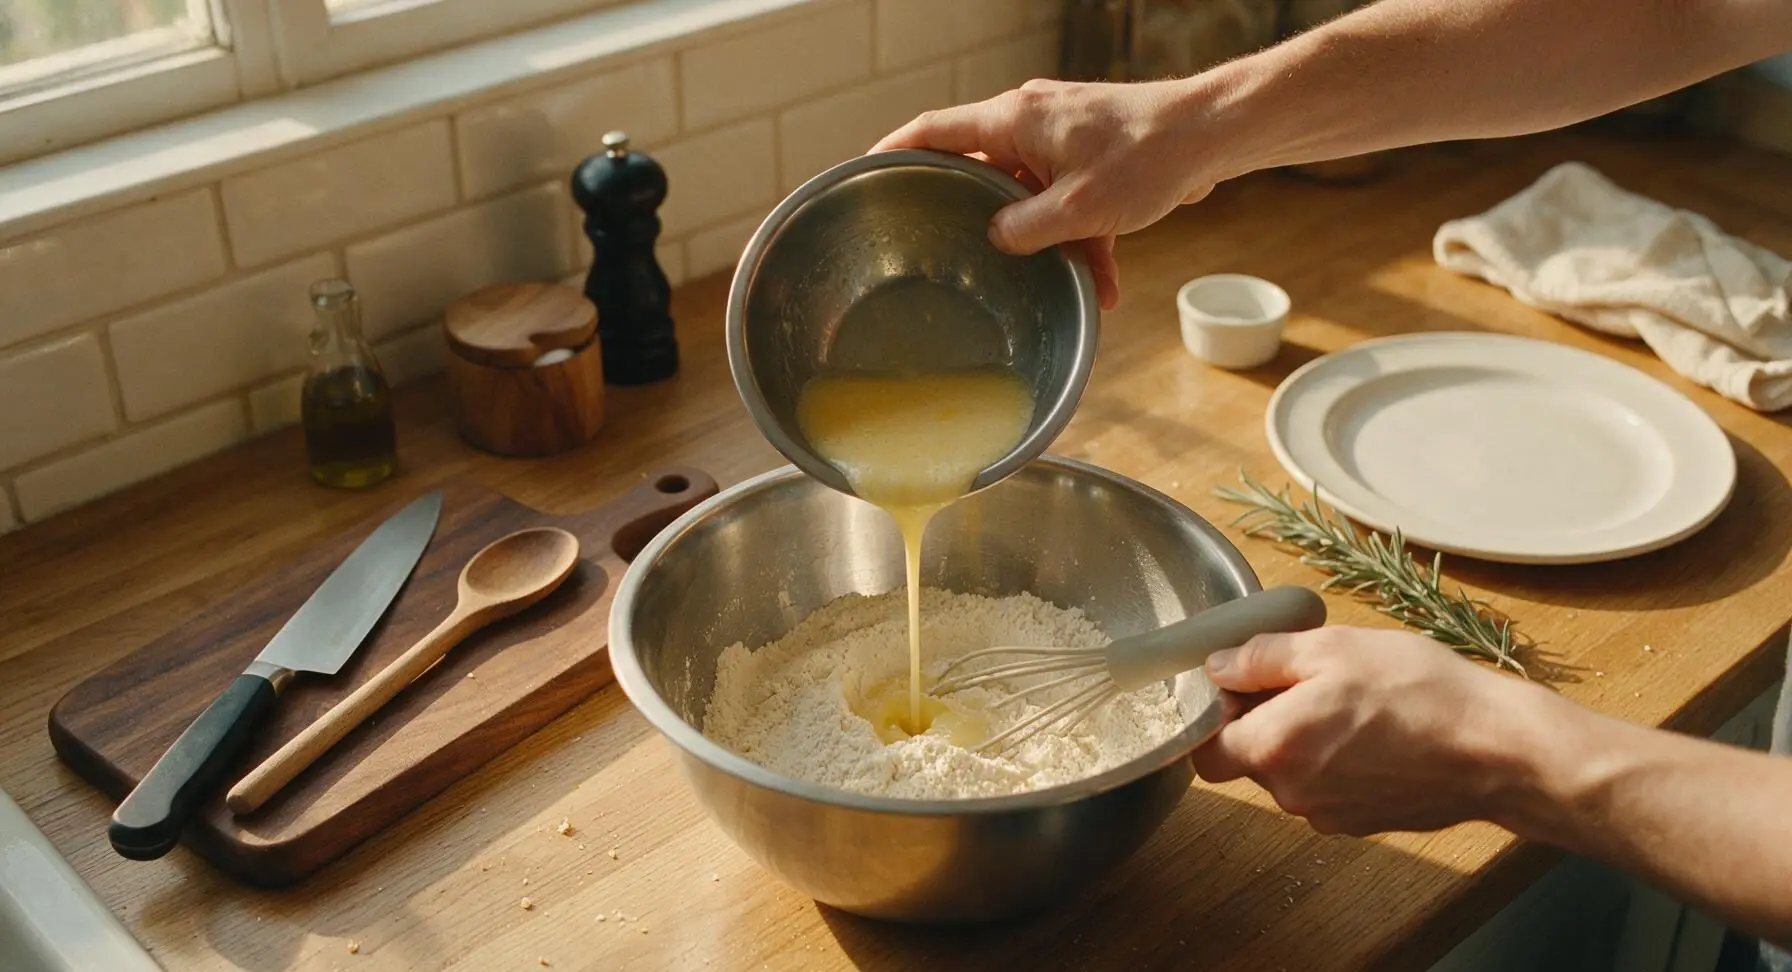
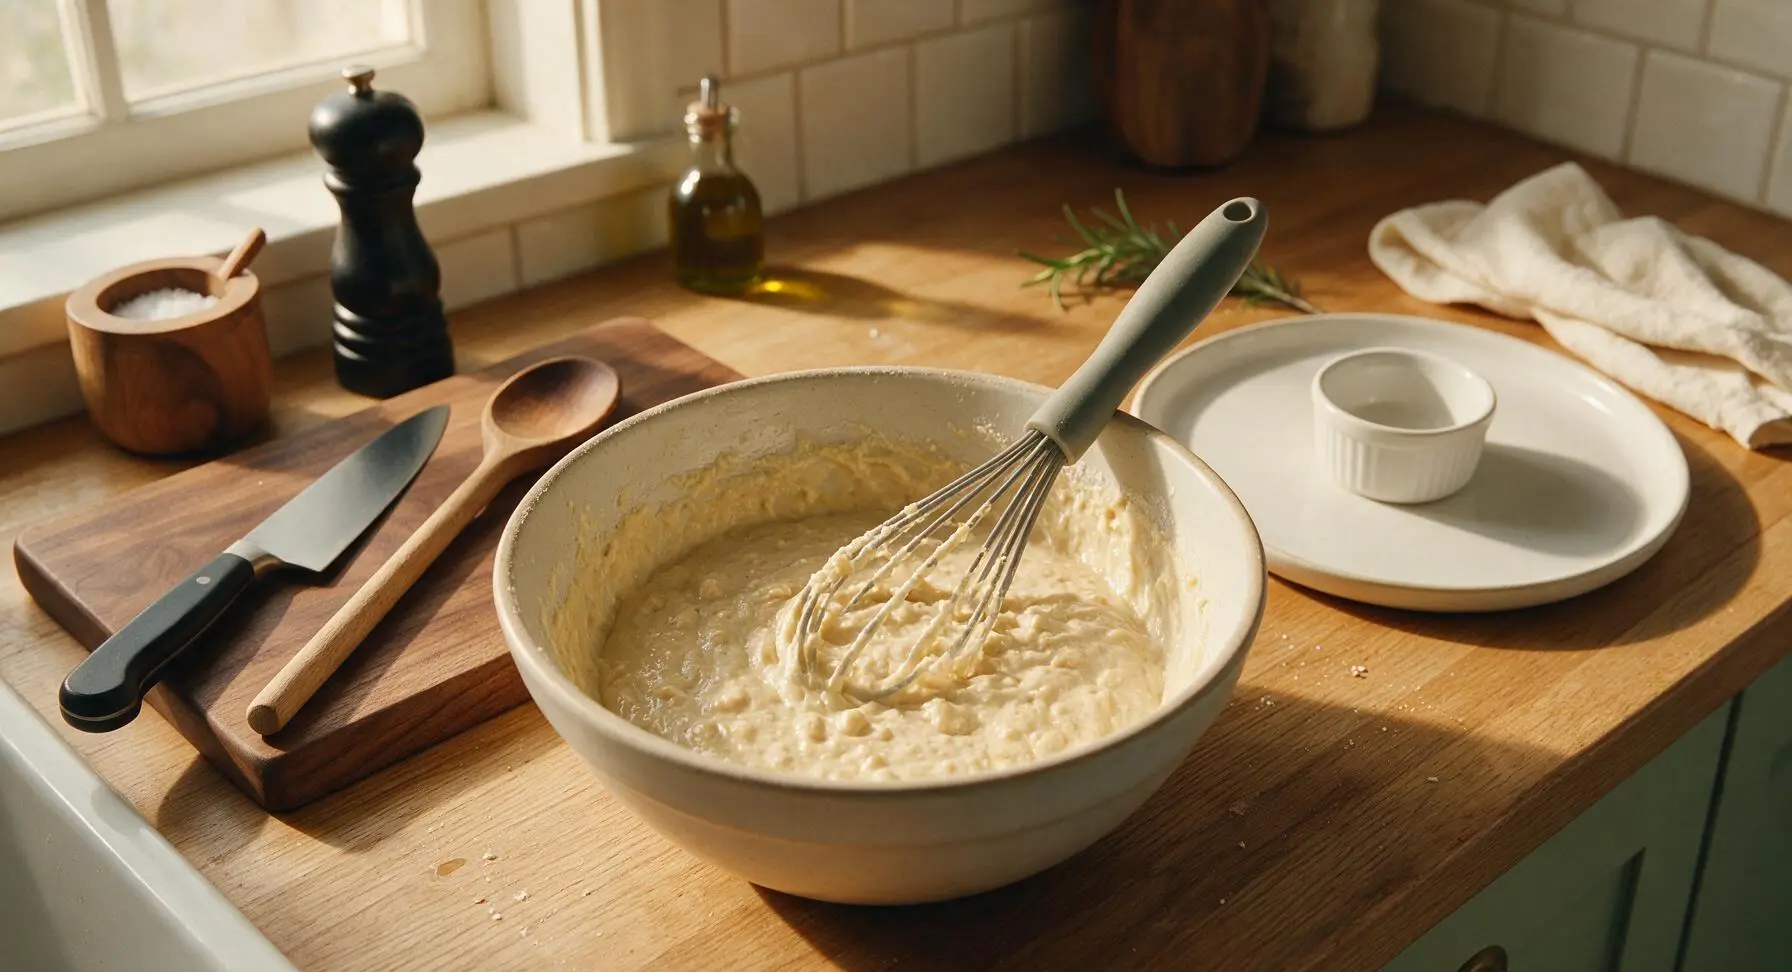
Pour the entire wet ingredient mixture into the large bowl of dry ingredients. Use the silicone whisk to gently fold the mixtures together, stirring only just until no large pockets of dry flour remain. Stop stirring immediately once the batter comes together—small, lumpy clumps are ideal, as overmixing will develop gluten and lead to tough, chewy, less crisp waffles. The finished batter will be thick but easily pourable.
Step 4
step4:Fold Batter Gently
Step 4
step4:Fold Batter Gently
5

Rest The Batter

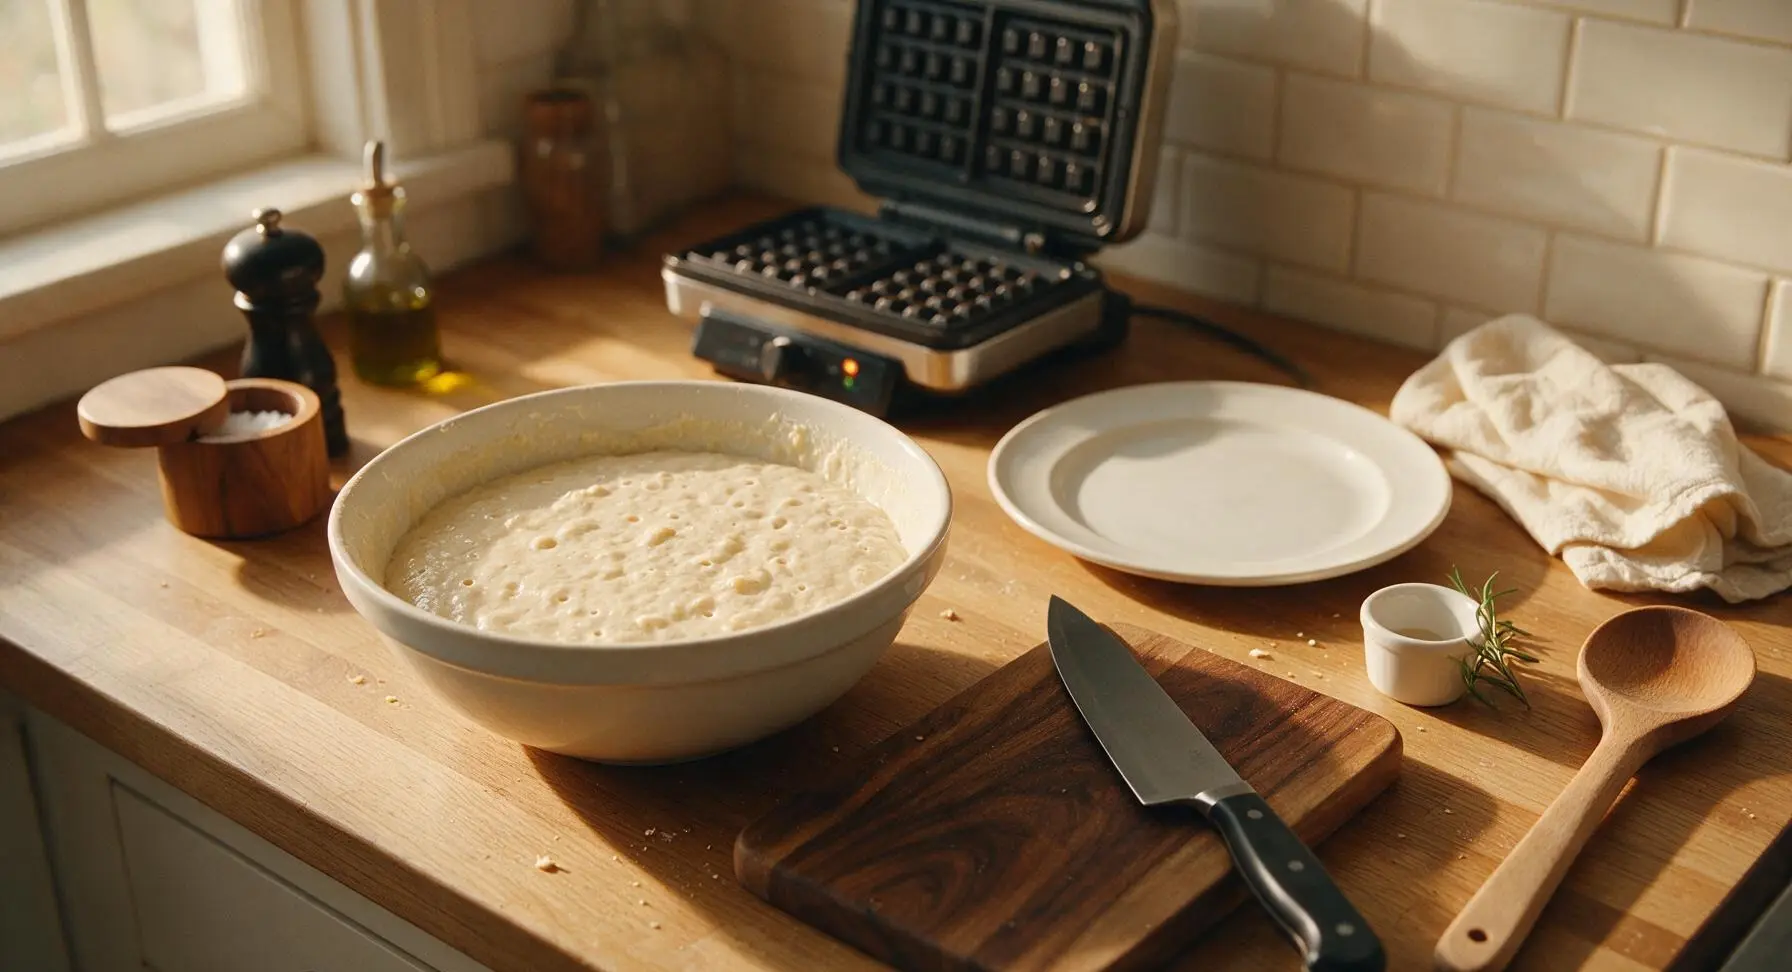
Let the batter sit undisturbed at room temperature for 5 full minutes. This rest period allows the baking powder to activate, the flour to fully hydrate, and any developed gluten to relax, resulting in lighter, crispier waffles with better rise. You will see small air bubbles start to pop to the batter surface as it rests.
Step 5
step5:Rest The Batter
6

Cook Waffles Until Golden

Give the rested batter one single gentle stir. Use the polished stainless steel 1-cup measuring cup to scoop batter, pouring it evenly into the center of the preheated waffle iron grid. Close the lid, and cook for 3 to 4 minutes per waffle, until no more steam escapes from the edges of the iron, and the waffle is a deep, even golden brown. Do not open the lid early, as this will cause the waffle to split, stick, and cook unevenly.
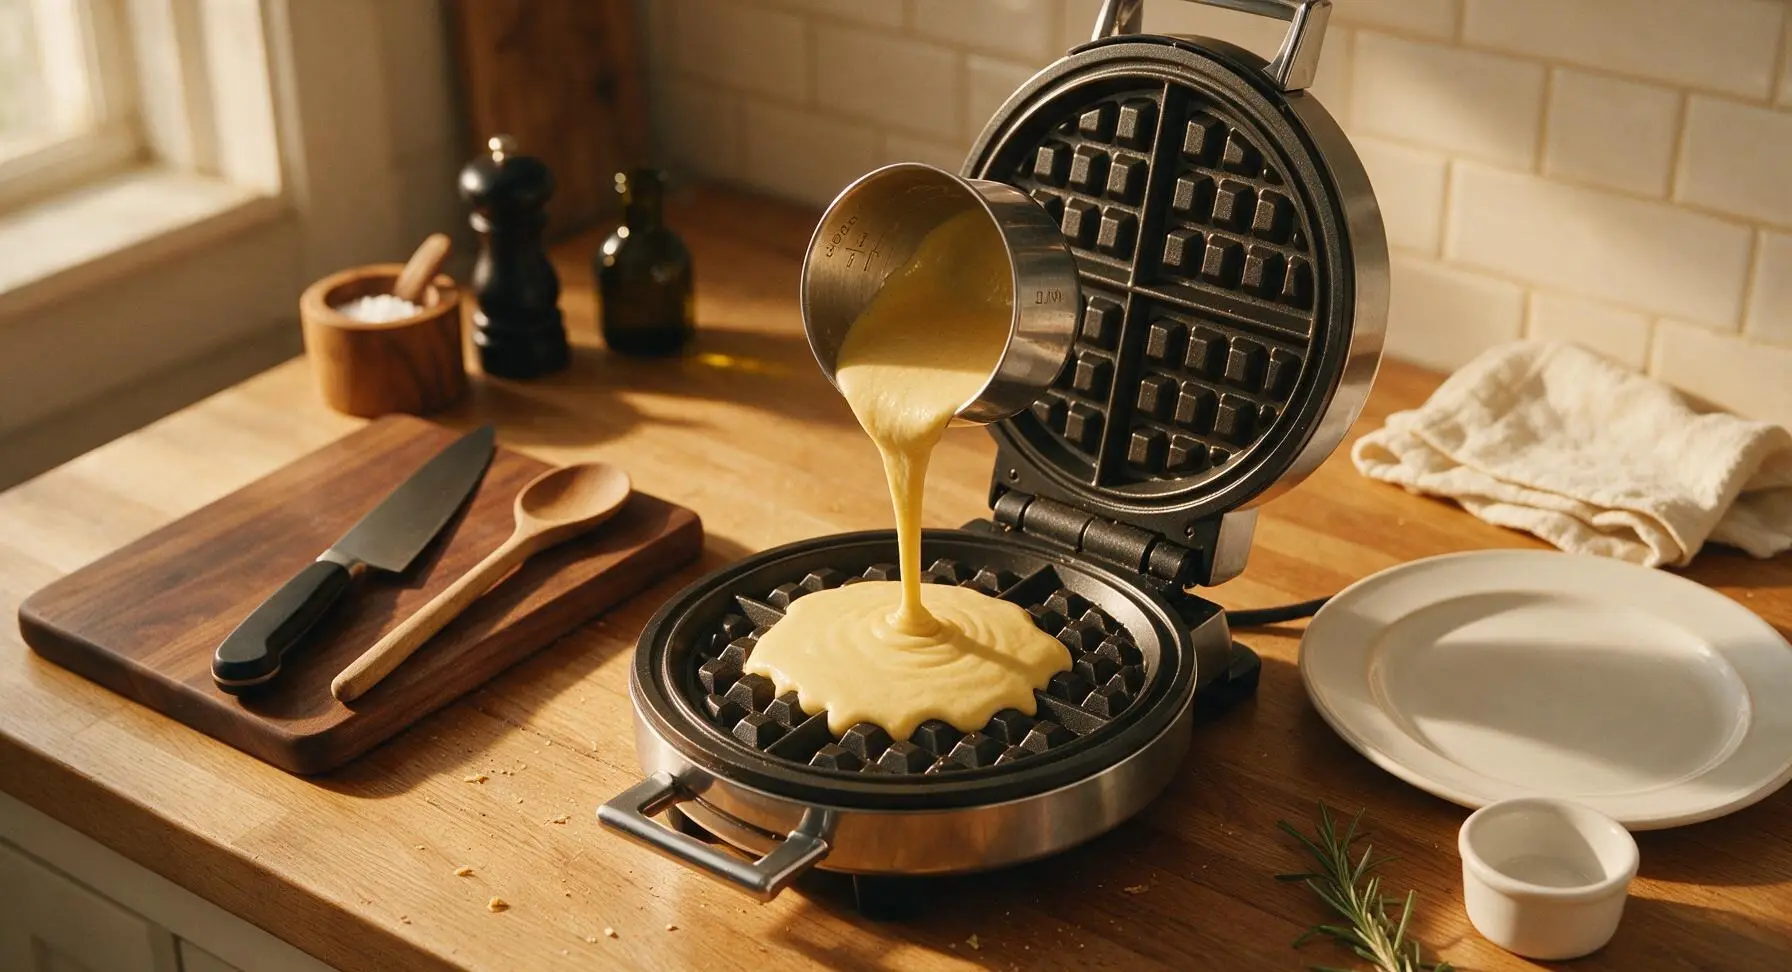
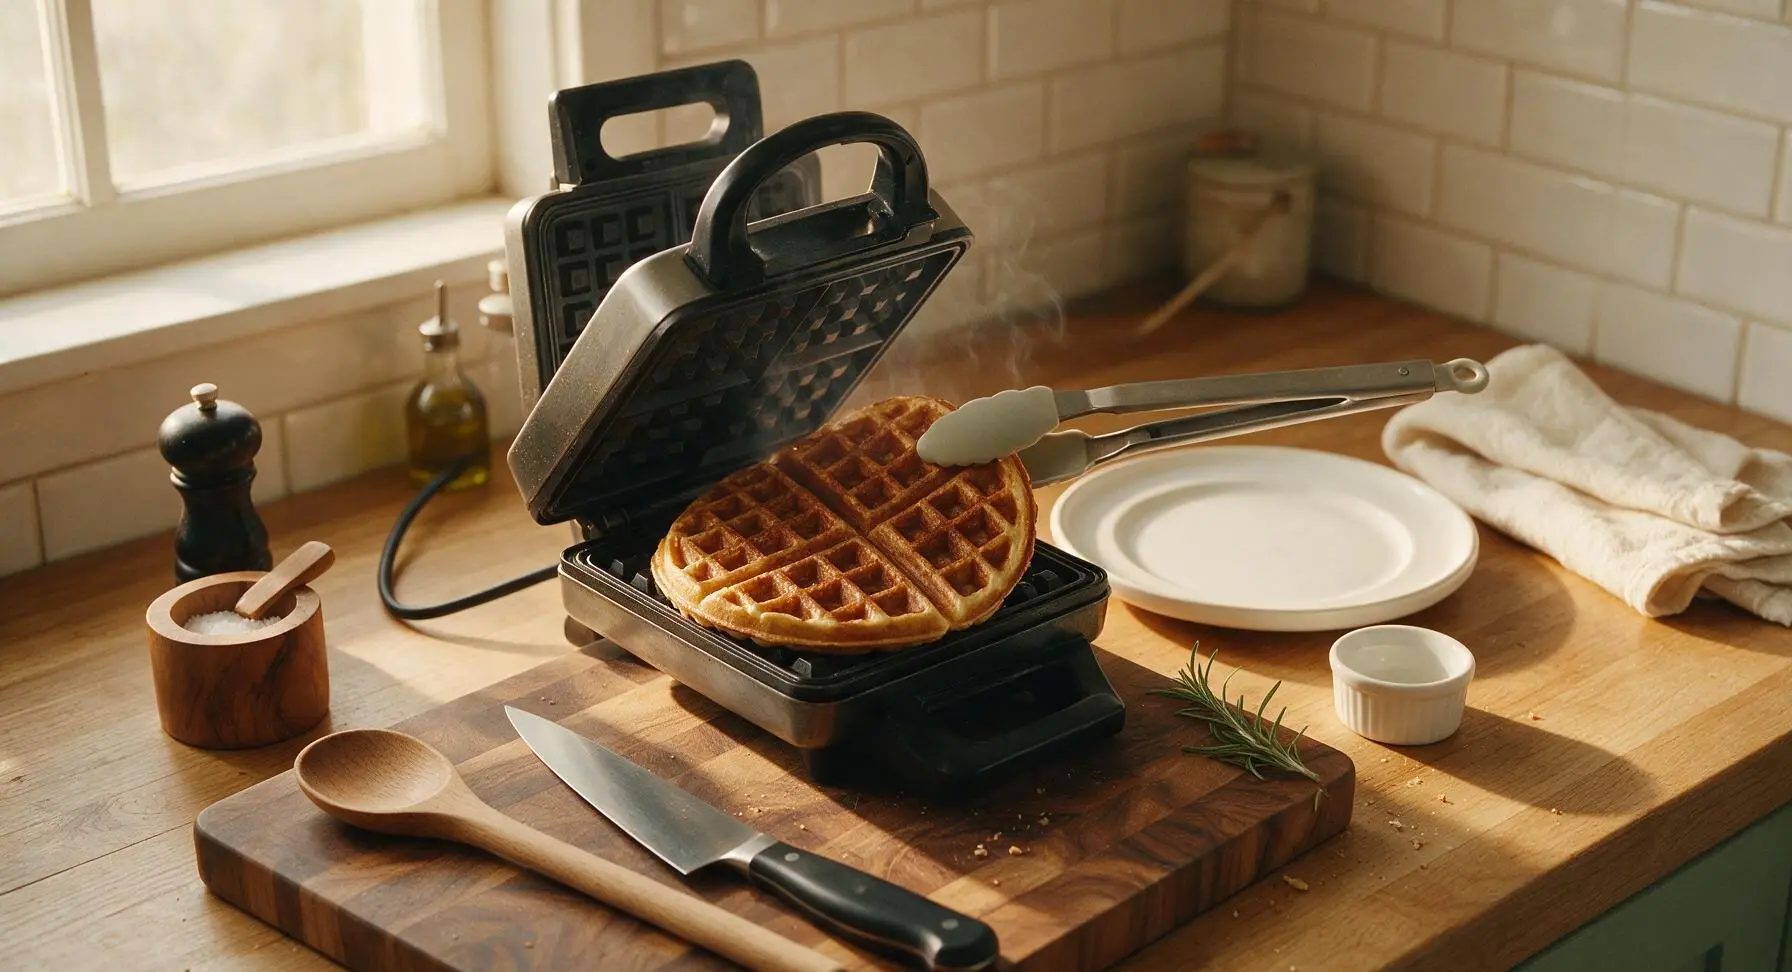
Step 6
step6:Cook Waffles Until Golden
Step 6
step6:Cook Waffles Until Golden
7

Cool Waffles On Rack

Transfer each cooked waffle directly to the chrome wire cooling rack in a single layer; do not stack waffles immediately, as trapped steam will soften the crisp exterior in seconds. Let each waffle rest on the rack for 1 minute before serving, which allows excess surface moisture to evaporate and the crust to crisp further. Repeat the cooking process with remaining batter to make 4 total waffles.
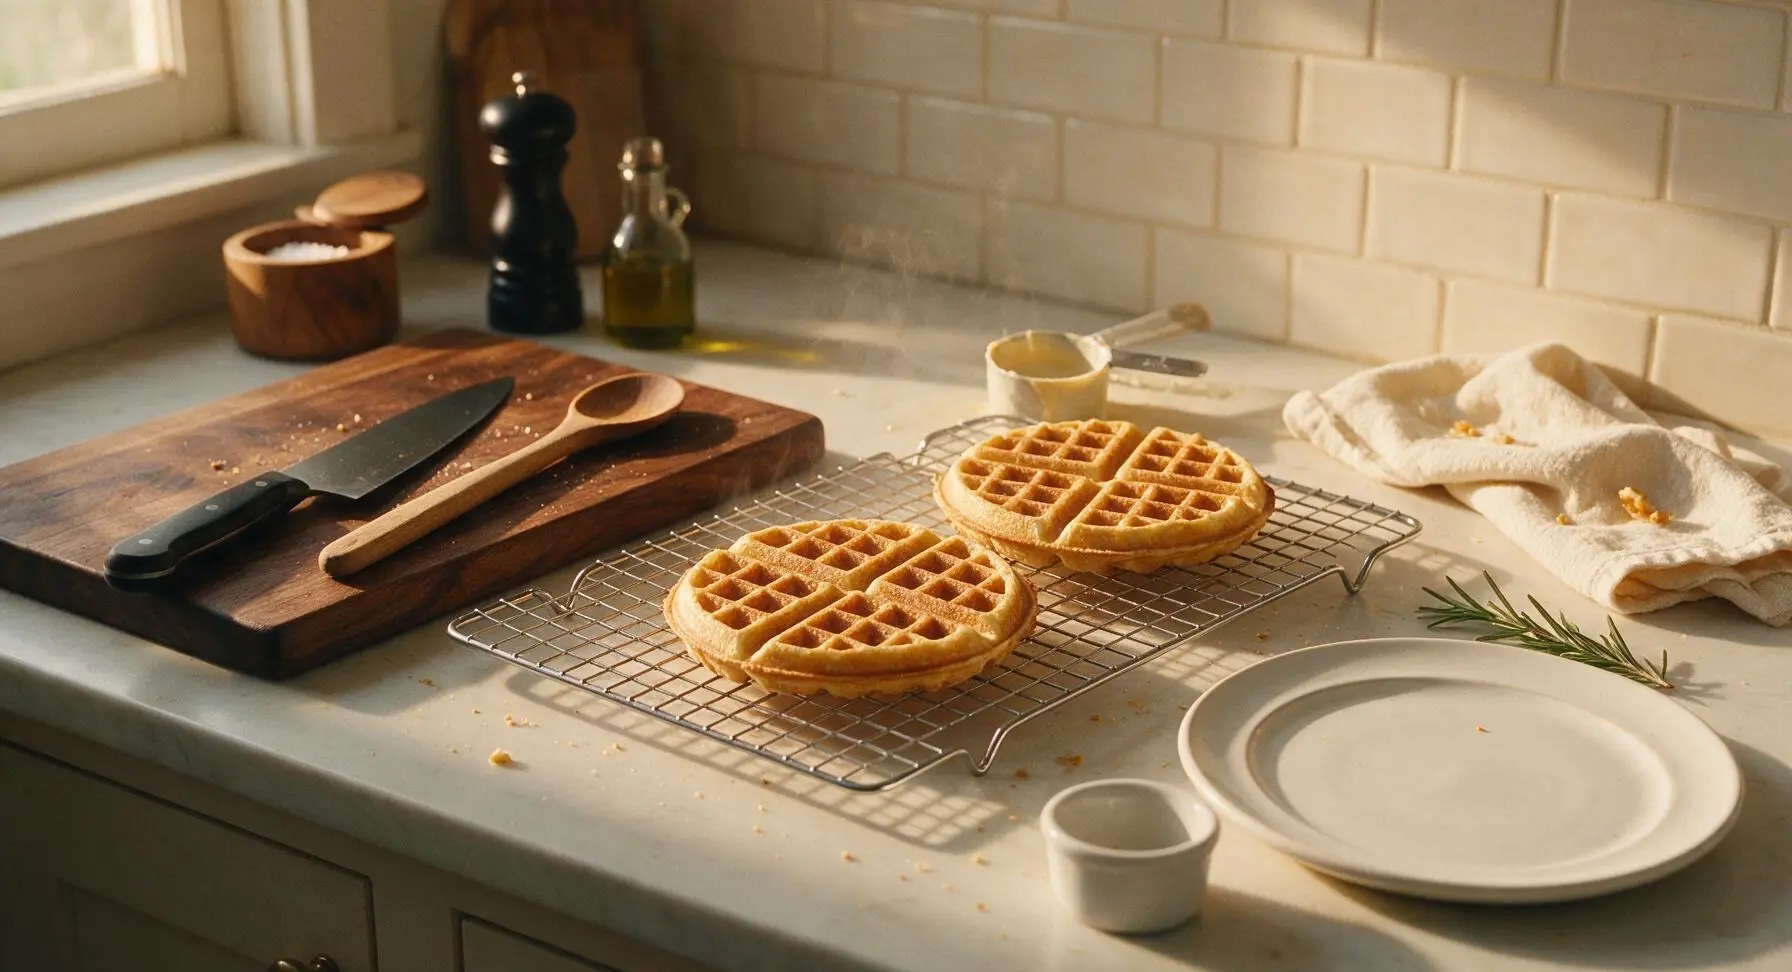
Step 7
step7:Cool Waffles On Rack
8

Plate And Serve Hot

Stack three waffles on the matte cream stoneware dinner plate, top with a small pat of softened butter, a light drizzle of maple syrup from the amber pitcher, and a scattering of fresh blueberries from the wicker basket. Serve immediately while the waffles are hot and crisp.
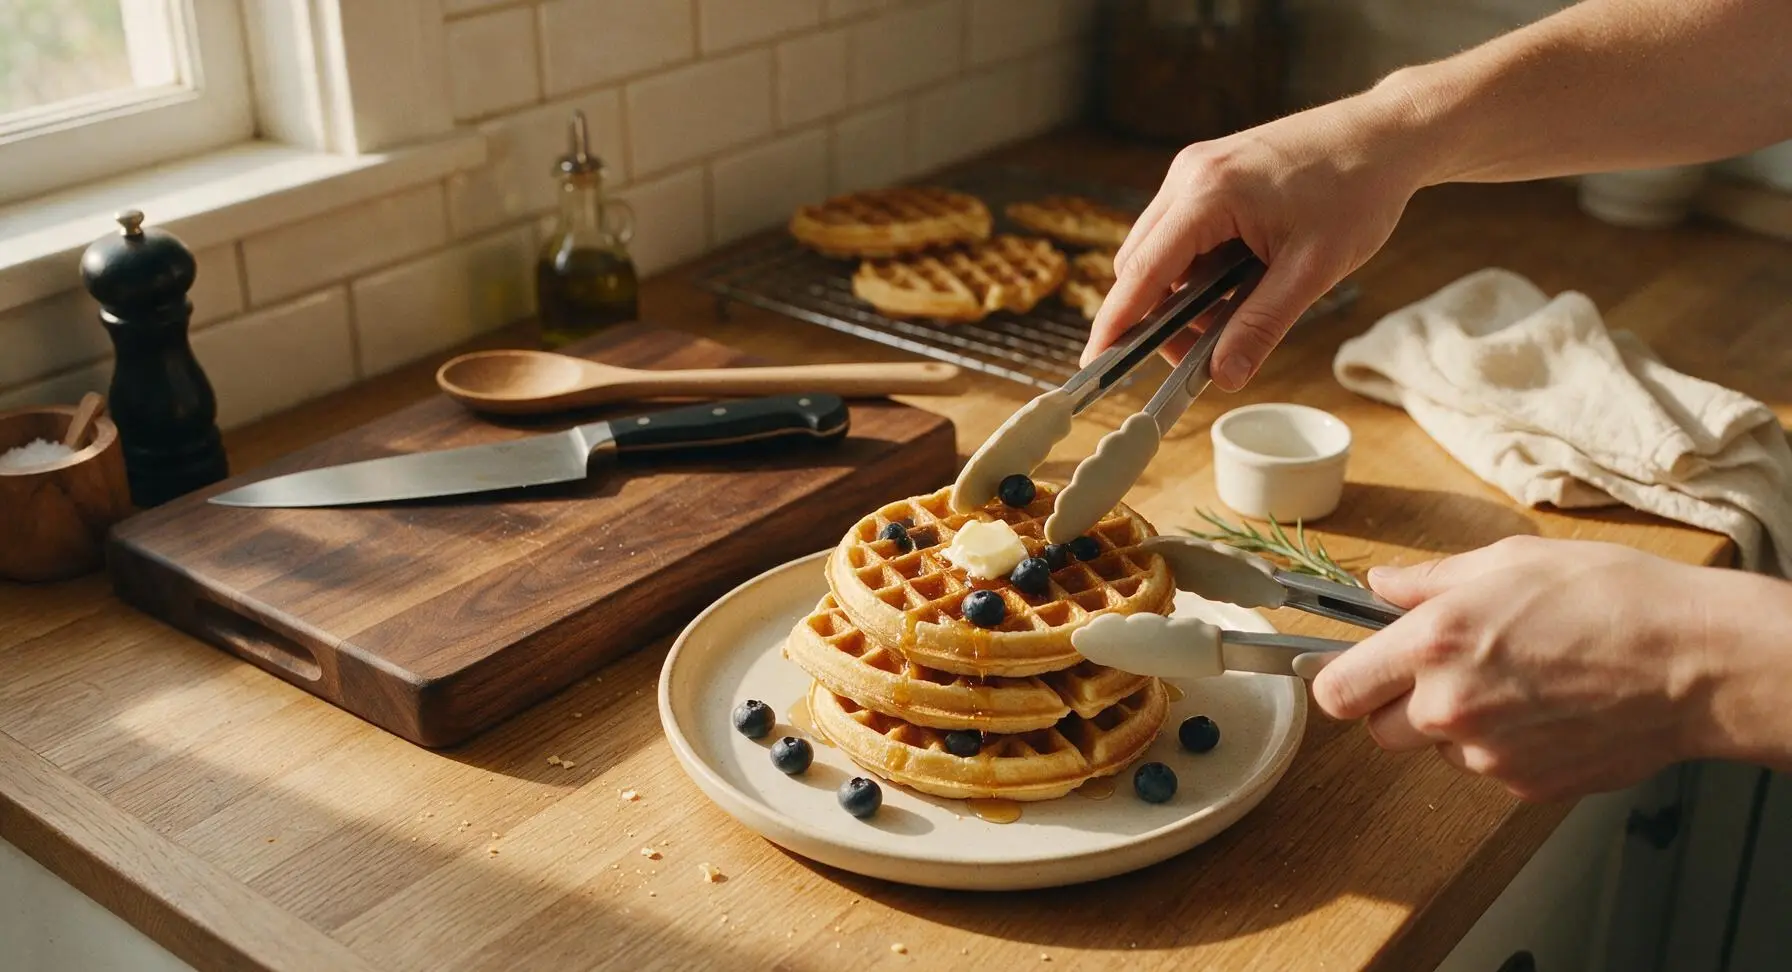
Step 8
step8:Plate And Serve Hot

Tips

1.Never stack hot waffles directly on a plate right out of the iron: Trapped steam will soften the crisp exterior in 30 seconds or less. Resting waffles on a wire rack lets air circulate around every surface, locking in that signature shatteringly crisp texture.
2.Do not skip the cornstarch or replace it with extra flour: Cornstarch inhibits gluten development in the batter and gelatinizes during high-heat cooking to create a durable, crisp crust that stays crunchy even when topped with syrup, fruit, or whipped cream.
3.Wait until steam stops escaping from the waffle iron edges before opening the lid: Peeking early tears the delicate waffle structure, causes sticking, and releases built-up heat that leads to uneven, soft, undercooked spots on the waffle surface.


✨ You May Also Like

Breakfast
🍜 United States

Crisp-edged, fluffy lard griddle cakes are a nostalgic homestyle staple, with rich savoriness from rendered lard, perfect topped with maple syrup or savory gravy.

⏱️ 25 minuteBreakfast ★ 4.8
Breakfast
🍜 United States

Flaky, buttery homemade buttermilk biscuits smothered in creamy, peppery pork sausage gravy: a beloved, hearty Southern American comfort food classic.

⏱️ 35 minuteBreakfast ★ 4.8
Breakfast
🍜 United States

Golden, custardy brioche stuffed with sweet cream cheese and fresh berries, pan-fried to crisp perfection. An indulgent, cozy breakfast perfect for slow weekend mornings.

⏱️ 30 minuteBreakfast ★ 4.7
Breakfast
🍜 United States

Flaky, buttery Southern-style biscuits stuffed with savory salty country ham, a portable, satisfying classic perfect for casual on-the-go meals.

⏱️ 25 minuteBreakfast ★ 4.8
Breakfast
🍜 United States

Iconic puffy baked pancake popularized in Seattle, with crisp golden edges and soft custardy center, served warm with classic sweet toppings.

⏱️ 35 minuteBreakfast ★ 4.6
Breakfast
🍜 United States

Fluffy, golden pancakes studded with juicy peak-summer mixed berries, drizzled with maple syrup for a bright, comforting, crowd-pleasing family breakfast.

⏱️ 25 minuteBreakfast ★ 4.7

best crispy waffle:Frequently Asked Questions

1.Why is cornstarch included in this recipe instead of using only all-purpose flour? ▾
Cornstarch is the secret to that signature diner shatter-crisp exterior! It cuts down on gluten development from all-purpose flour to avoid tough, chewy waffles, and creates a golden crust that stays crisp even under syrup and butter, rather than turning soggy minutes after cooking. It also keeps the interior light and tender, not dense.
2.Why don’t my homemade waffles get as crispy as the ones I order at diners? ▾
Most home waffles turn soft because they have too much gluten from overmixing, not enough starch, or are cooked at too low a temperature. This recipe uses cornstarch to boost crispness, calls for minimal mixing, and relies on a fully preheated waffle iron to instantly set the crust for that classic, long-lasting diner crunch.
3.Can I make this waffle batter ahead of time for quick weekend breakfasts? ▾
You can pre-mix the dry ingredients (all-purpose flour, cornstarch, sugar, baking powder, fine sea salt) in an airtight container up to 3 months ahead for a DIY waffle mix. If you combine wet and dry ingredients, cook the batter within 30 minutes—waiting longer makes baking powder lose leavening power, leading to flat, dense waffles.
4.How do I keep waffles crispy while I cook a whole batch for my family? ▾
Don’t stack cooked waffles on a plate, because trapped steam will turn them soggy instantly. Instead, set cooked waffles directly on a wire rack set over a baking sheet in a 200°F oven while you cook the rest. This lets air circulate around every waffle, keeping exteriors crisp and interiors fluffy until serving.
5.What kind of waffle iron works best for these diner-style waffles? ▾
A classic rotating or standard waffle iron with adjustable temperature settings works best, as long as it can reach 375–400°F. Rotating irons help spread batter evenly for a consistent crisp crust across every pocket, but even a basic non-rotating model will work as long as you preheat it fully before adding batter.
6.Can I substitute a different flour for the all-purpose flour in this recipe? ▾
For the closest texture to classic diner waffles, stick to all-purpose flour. If you need a gluten-free swap, use a 1:1 gluten-free all-purpose baking blend with xanthan gum, and keep the full amount of cornstarch in the recipe to maintain that crisp, non-soggy crust and light, fluffy interior.
7.Why is there only a small amount of granulated sugar in this recipe? ▾
Diner waffles aren’t overly sweet—they’re designed to pair perfectly with syrup, fresh fruit, whipped cream, or even savory toppings like fried chicken. The small amount of granulated sugar here is just enough to encourage golden browning, add subtle sweetness, and help the crisp crust set, without making waffles taste like dessert.
8.How do I know when waffles are done cooking so they’re crisp, not undercooked or burnt? ▾
Skip the automatic “done” light on most waffle irons, since those are often inaccurate. Wait until you see almost no steam escaping from the edges of the iron—this usually takes 3–4 minutes total. At that point, the waffle will be deep golden, shatteringly crisp outside, and fully set with a light, fluffy interior.
9.My waffles always turn soggy as soon as I add syrup—what am I doing wrong? ▾
Soggy, syrup-soaked waffles usually happen for two reasons: either the waffle wasn’t cooked long enough to form a tight, crisp crust, or you skipped the cornstarch in the dry mix. The cornstarch in this recipe creates a barrier that keeps syrup from soaking straight into the crumb, so every bite stays crisp instead of mushy.
10.Can I freeze leftover cooked waffles for quick weekday breakfasts? ▾
Absolutely! Let cooked waffles cool fully on a wire rack first, then freeze them in a single layer on a baking sheet before transferring to a zip-top freezer bag for up to 3 months. Reheat them directly in a toaster or toaster oven (skip the microwave) to bring back that shatter-crisp exterior in minutes.
11.Do I really need fine sea salt, or can I use regular table salt instead? ▾
Fine sea salt distributes evenly through the dry flour and cornstarch mix to balance the subtle sugar and boost the toasty, golden flavor of the waffles, without leaving random salty bites. If you only have table salt, cut the amount by 25%—table salt is denser and more concentrated, so a full measure will make waffles overly salty.
12.How lumpy should the batter be? I’m worried about overmixing it. ▾
Your batter should have small, visible lumps—stop mixing as soon as you no longer see streaks of dry flour or cornstarch. Overmixing develops gluten in the all-purpose flour, which leads to tough, chewy waffles instead of the light, tender crumb and crisp exterior you want. A few tiny dry flecks are totally fine.
13.Can I add mix-ins like chocolate chips or blueberries without ruining the crisp texture? ▾
You can add mix-ins, but toss them in a light dusting of all-purpose flour first to keep them from sinking to the bottom of the waffle iron and creating soggy spots. Stick to ½ cup total of mix-ins per batch—too many add excess moisture that can break down that crisp crust and make waffles dense.
14.Why does this recipe use baking powder instead of baking soda as the leavener? ▾
Double-acting baking powder gives these waffles two rounds of lift: first when it mixes with wet ingredients, and again when it hits the hot waffle iron, creating that tall, light, fluffy interior. Baking soda requires an acidic ingredient to activate, which this simple diner-style recipe doesn’t include, so it wouldn’t deliver consistent lift.
15.Should I grease my waffle iron, even if it has a non-stick coating? ▾
Yes, give your preheated waffle iron a light, even coating of neutral oil (like canola or avocado oil) with a pastry brush before adding the first batch of batter. Even non-stick irons can stick in the deep waffle pockets, and the thin layer of oil helps boost that golden, shatter-crisp crust instead of leaving pale, soft spots.

Comments (5)

2 days ago

OMG these are SO good! I’ve been chasing that perfect crispy diner waffle texture for YEARS and this recipe nailed it. My kids devoured a whole batch in 10 minutes flat this Saturday morning, even asked for seconds before they finished their first plate. I didn’t change a single thing, followed the directions exactly and they came out golden crispy on the outside, fluffy inside just like the ones we get at our local 24/7 diner. Total game changer for weekend brunch! 10/10

yesterday

Wait did you use regular all purpose flour or the self rising kind? I tried a similar recipe last week and mine came out soggy in the middle 😩

2 hours ago

So glad your family loved them, Mia! Quick tip for Jake too: this recipe works best with regular all-purpose flour, and make sure your waffle iron is fully preheated before pouring batter in — that’s the #1 trick to avoid soggy centers!

1 week ago

Super easy to throw together, even on a busy weekday! I meal prepped a batch on Sunday, popped them in the toaster all week for quick breakfasts before work, and they crisp right back up perfectly. Way better than the frozen waffles I used to buy, and way cheaper too. Only note: I added a tiny dash of cinnamon to the batter and it was chef’s kiss. Will be making these every week from now on.

5 days ago

Love the cinnamon addition! That’s such a great cozy twist, I’ll have to try that next time I make a batch. So happy they hold up for meal prep too — that’s one of my favorite parts of this recipe!

5 minutes ago

Okay I was so nervous to make these because every waffle recipe I’ve tried in my dorm has been a total flop, but these were actually foolproof! Cook time was exactly what the recipe said, no weird fancy ingredients needed, and my roommates all thought I ordered takeout from the diner down the street. Only tiny hiccup was my first waffle stuck a little to the iron, but a quick extra spritz of nonstick spray fixed that right up. Easy enough even for someone who burns toast half the time.

2 weeks ago

Brought these to my neighborhood potluck last weekend and they were the first dish gone! Everyone was asking for the recipe, I must have passed it along to 8 different neighbors. I set out a little topping bar with whipped cream, berries, syrup, and even some fried chicken tenders for people who wanted chicken and waffles, and it was a total hit. So easy to scale up for a crowd too!

1 week ago

Wait this is Peggy from Maple Street??? I was the one who hounded you for the recipe at the potluck! I made them for my grandkids last night and they went crazy for them, thanks so much for sharing the link!

30 minutes ago

Wait has anyone tried making these with a 1:1 gluten free flour blend? I have celiac and have been dying for a good crispy waffle recipe that doesn’t turn out gummy or dense. These look exactly like the waffles I used to get at diners as a kid before I had to go GF!

5 minutes ago

I made them with Bob’s Red Mill 1:1 GF blend last week and they worked perfectly! Just let the batter rest for 5 minutes before pouring, and make sure your iron is nice and hot. Crisped up just like the regular version, my non-GF husband didn’t even notice a difference!

just now

Great question, Gabi! As Liz mentioned, 1:1 gluten free flour works wonderfully here — I’ve tested it multiple times to make sure. Just don’t overmix the batter, and you’ll get that same perfect crispy diner-style exterior everyone loves!



