
best fried chicken batter

title 1
best fried chicken batter
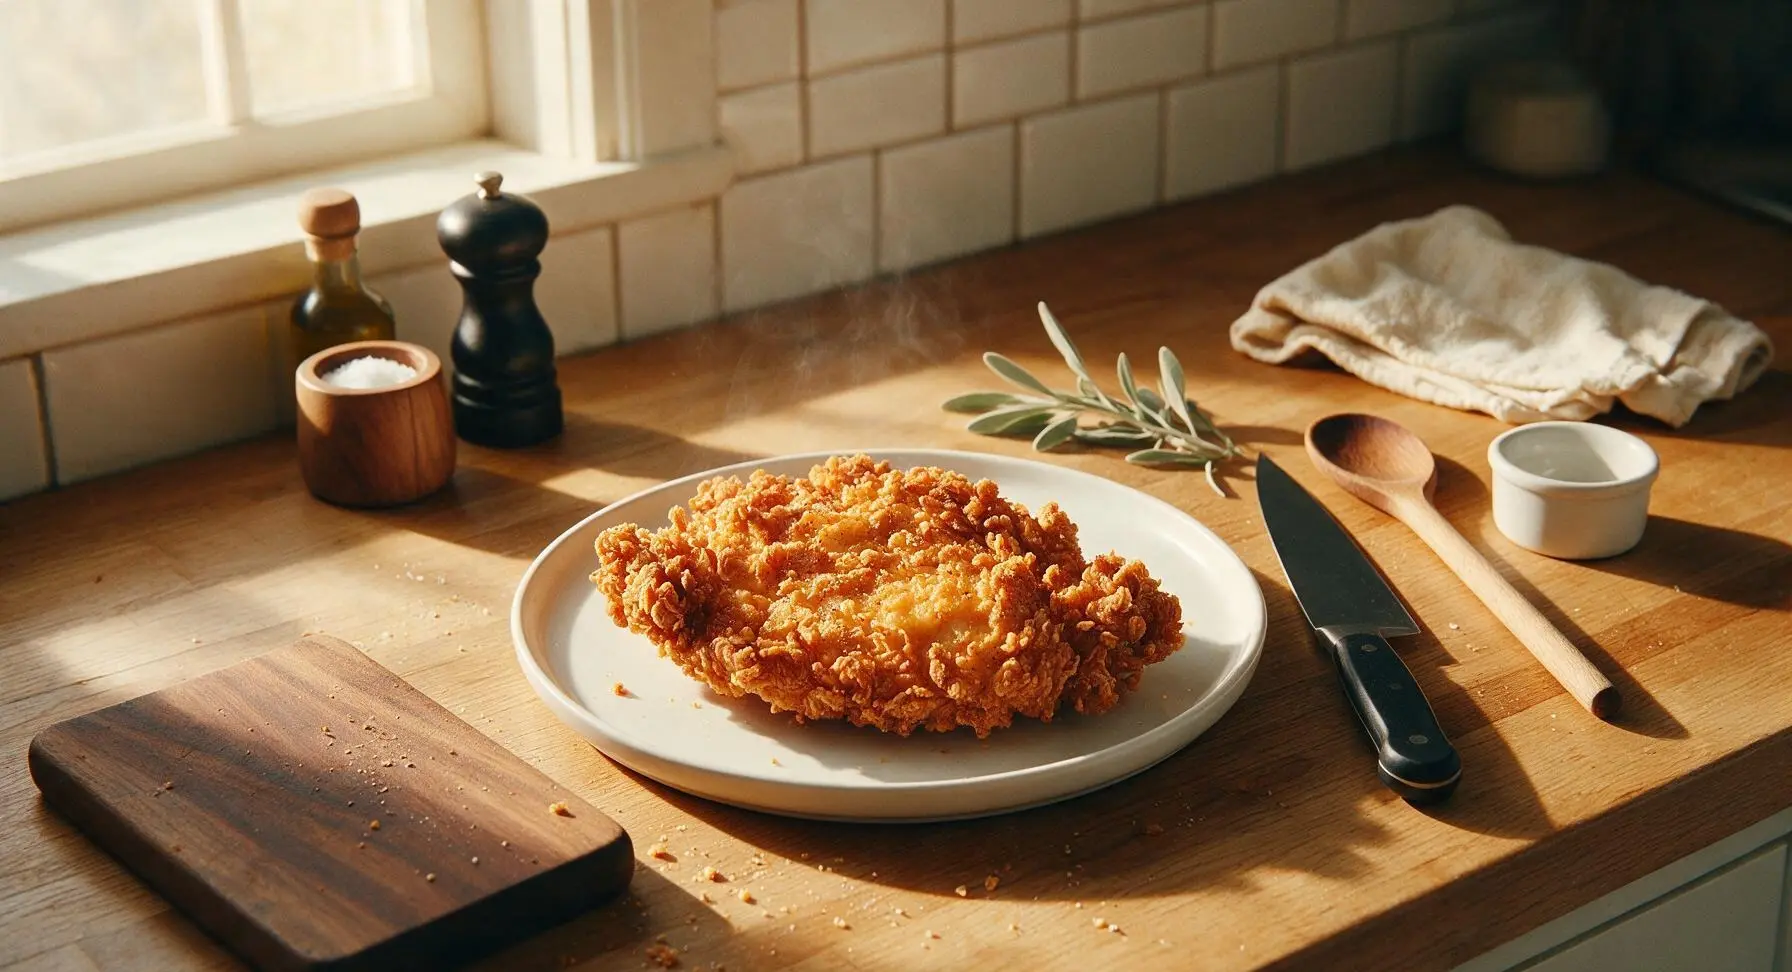
⏱️ cook time 25 minutes
🍽️ servings 4
⚡ Difficulty medium

intro

Shatteringly crisp, well-seasoned fried chicken batter that stays crunchy for 30+ minutes, creating a craggy golden coating that locks in juicy, tender chicken with zero soggy spots.

Ingredients
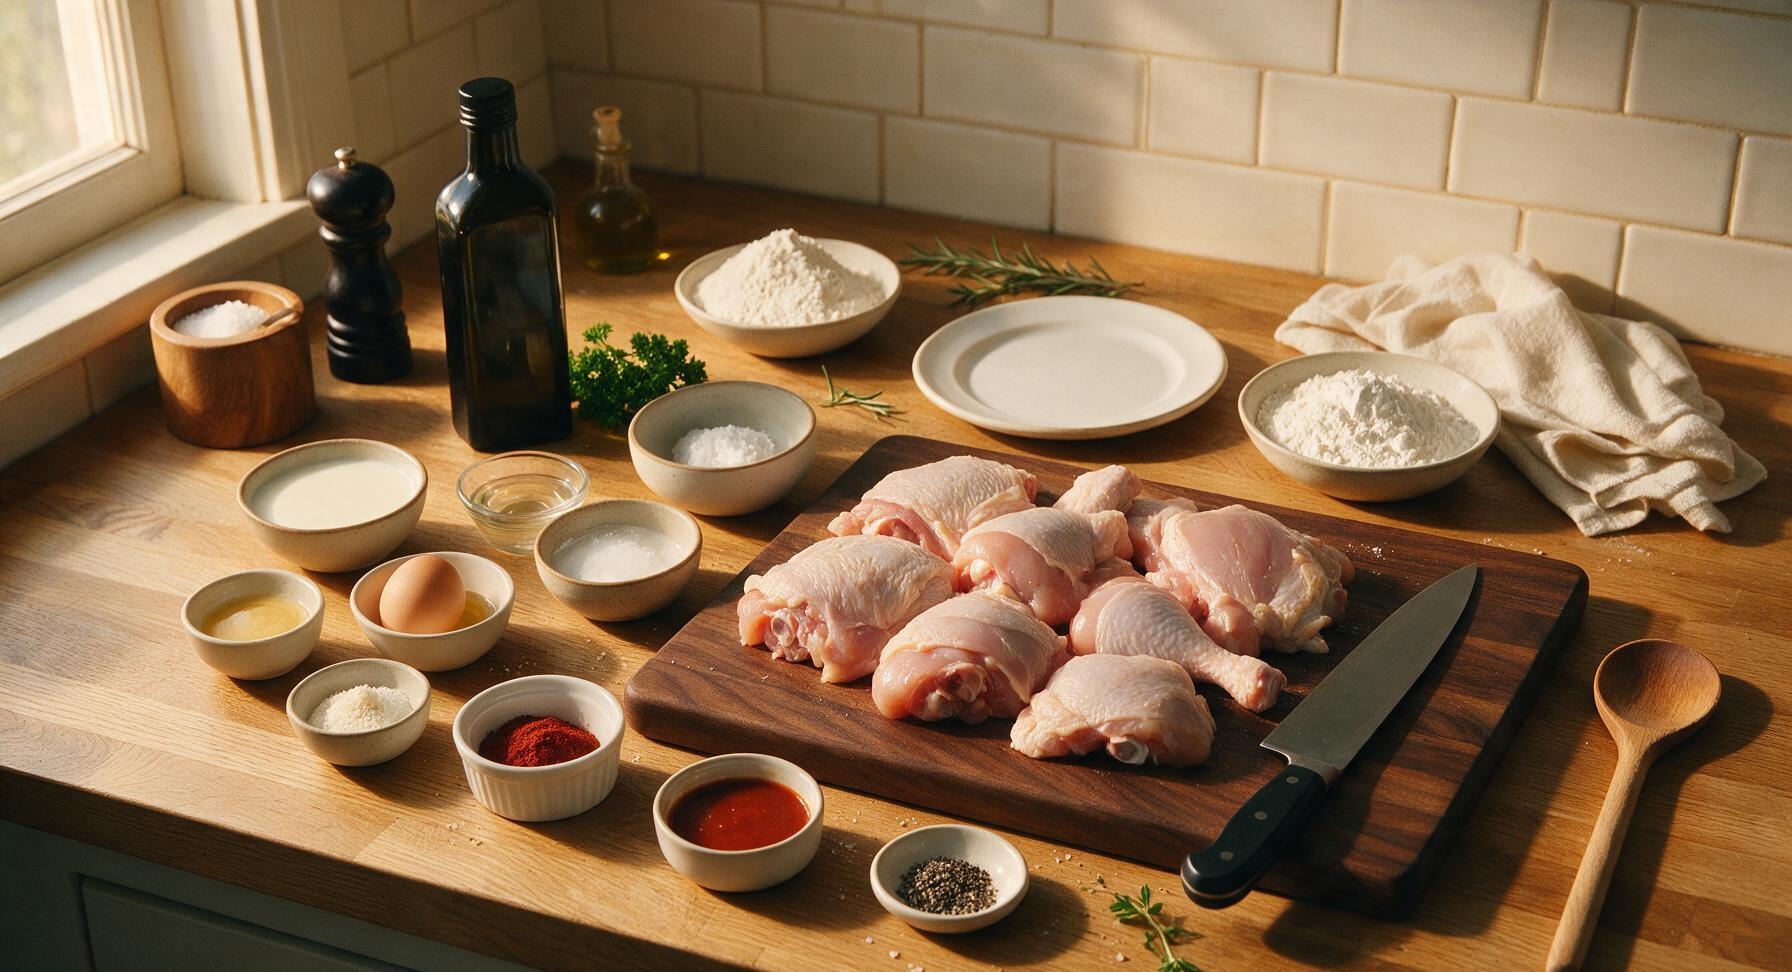
Bone-in, skin-on chicken pieces (thighs, drumsticks, breast portions) 1.2kg (2.6 lbs)
Buttermilk 2 cups (480ml)
Large egg 1 whole
Hot sauce 2 tbsp
Vodka (optional, for extra crisp) 2 tbsp
All-purpose flour 2 cups (240g)
Cornstarch 1/2 cup (60g)
Baking powder 1 tsp
Smoked paprika 1 tbsp
Garlic powder 1 tsp
Onion powder 1 tsp
Kosher salt 2 tsp
Freshly cracked black pepper 1 tsp
Neutral frying oil (peanut or canola) 1.5L (6 cups)
Flaky sea salt (for finishing) 1 tsp
Fresh curly parsley (for garnish) 1 small bunch

Steps

1

Mix Wet Batter Base

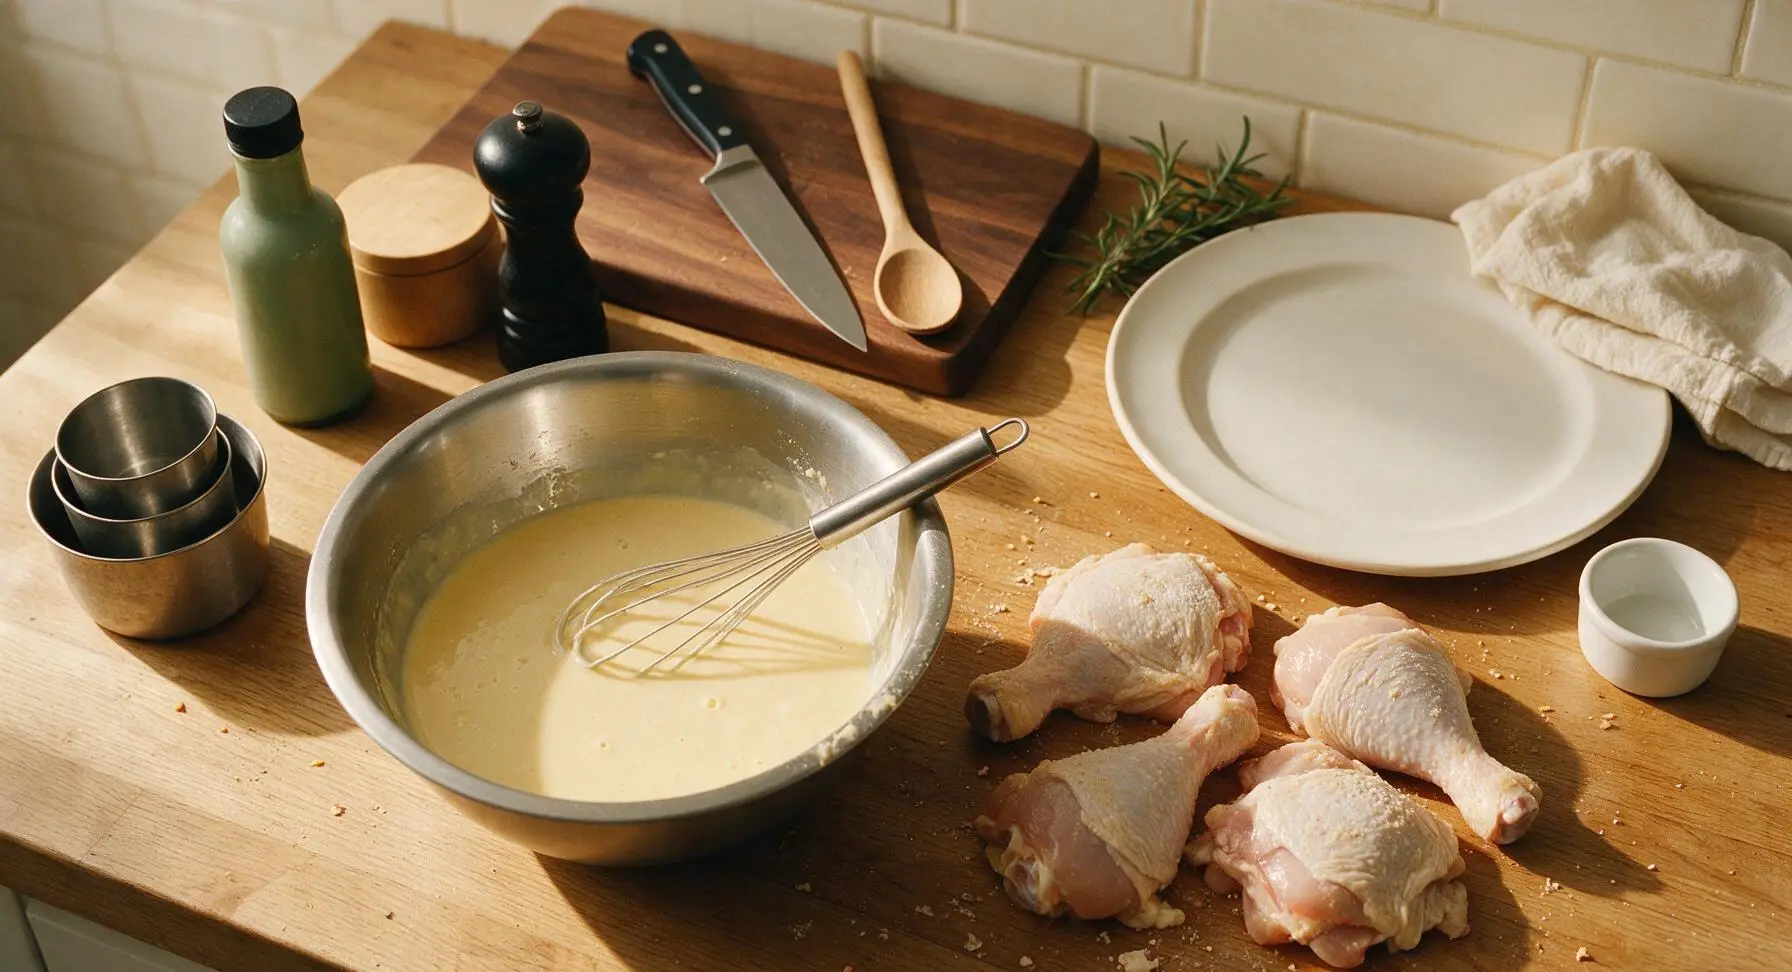
In the fixed 24cm center-left stainless steel mixing bowl, whisk together 2 cups cold buttermilk, 1 large whole egg, 2 tablespoons hot sauce, and 2 tablespoons vodka (if using) until completely smooth, with no visible streaks of egg. Submerge all 1.2kg of bone-in, skin-on chicken pieces in the wet batter, and let rest for 15 minutes at room temperature (or up to 12 hours refrigerated for deeper flavor) while you prepare the dry dredge and heat oil.
Step 1
step1:Mix Wet Batter Base
2

Blend Dry Dredge Mix

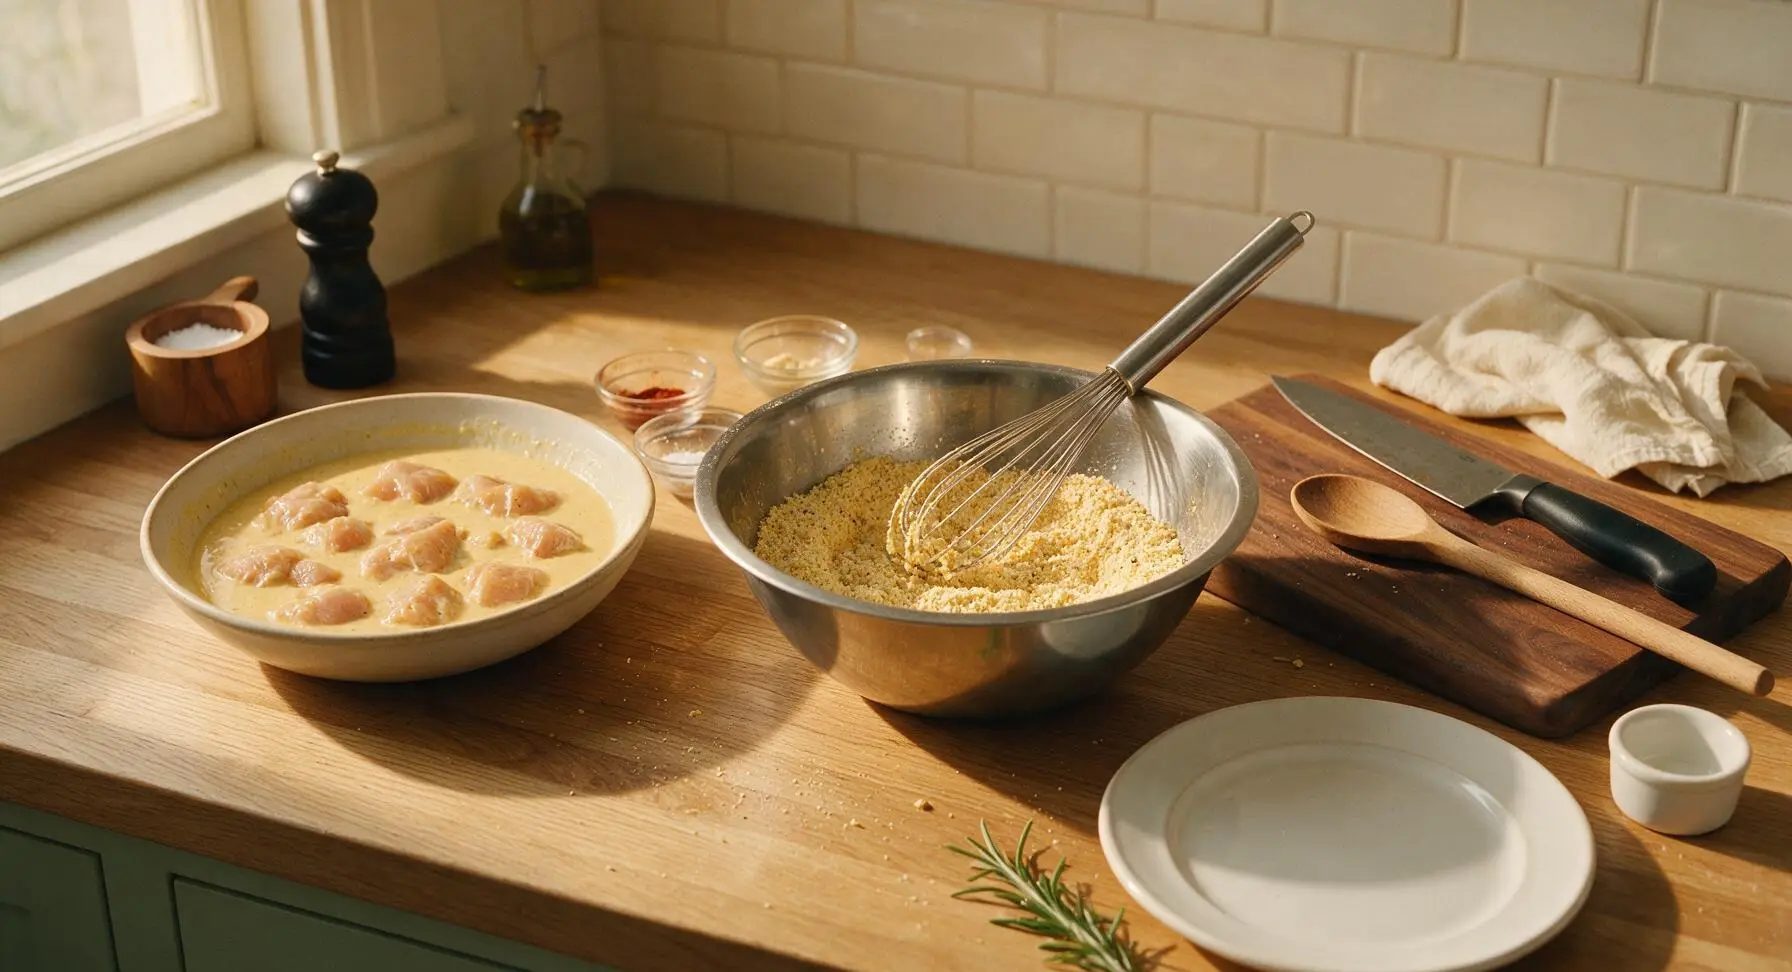
In the fixed 26cm center-right stainless steel mixing bowl, whisk together 2 cups all-purpose flour, 1/2 cup cornstarch, 1 teaspoon baking powder, 1 tablespoon smoked paprika, 1 teaspoon garlic powder, 1 teaspoon onion powder, 2 teaspoons kosher salt, and 1 teaspoon freshly cracked black pepper. Whisk for 30 seconds until the mixture is completely homogeneous, with no clumps of spice or starch visible.
Step 2
step2:Blend Dry Dredge Mix
3

Heat Frying Oil

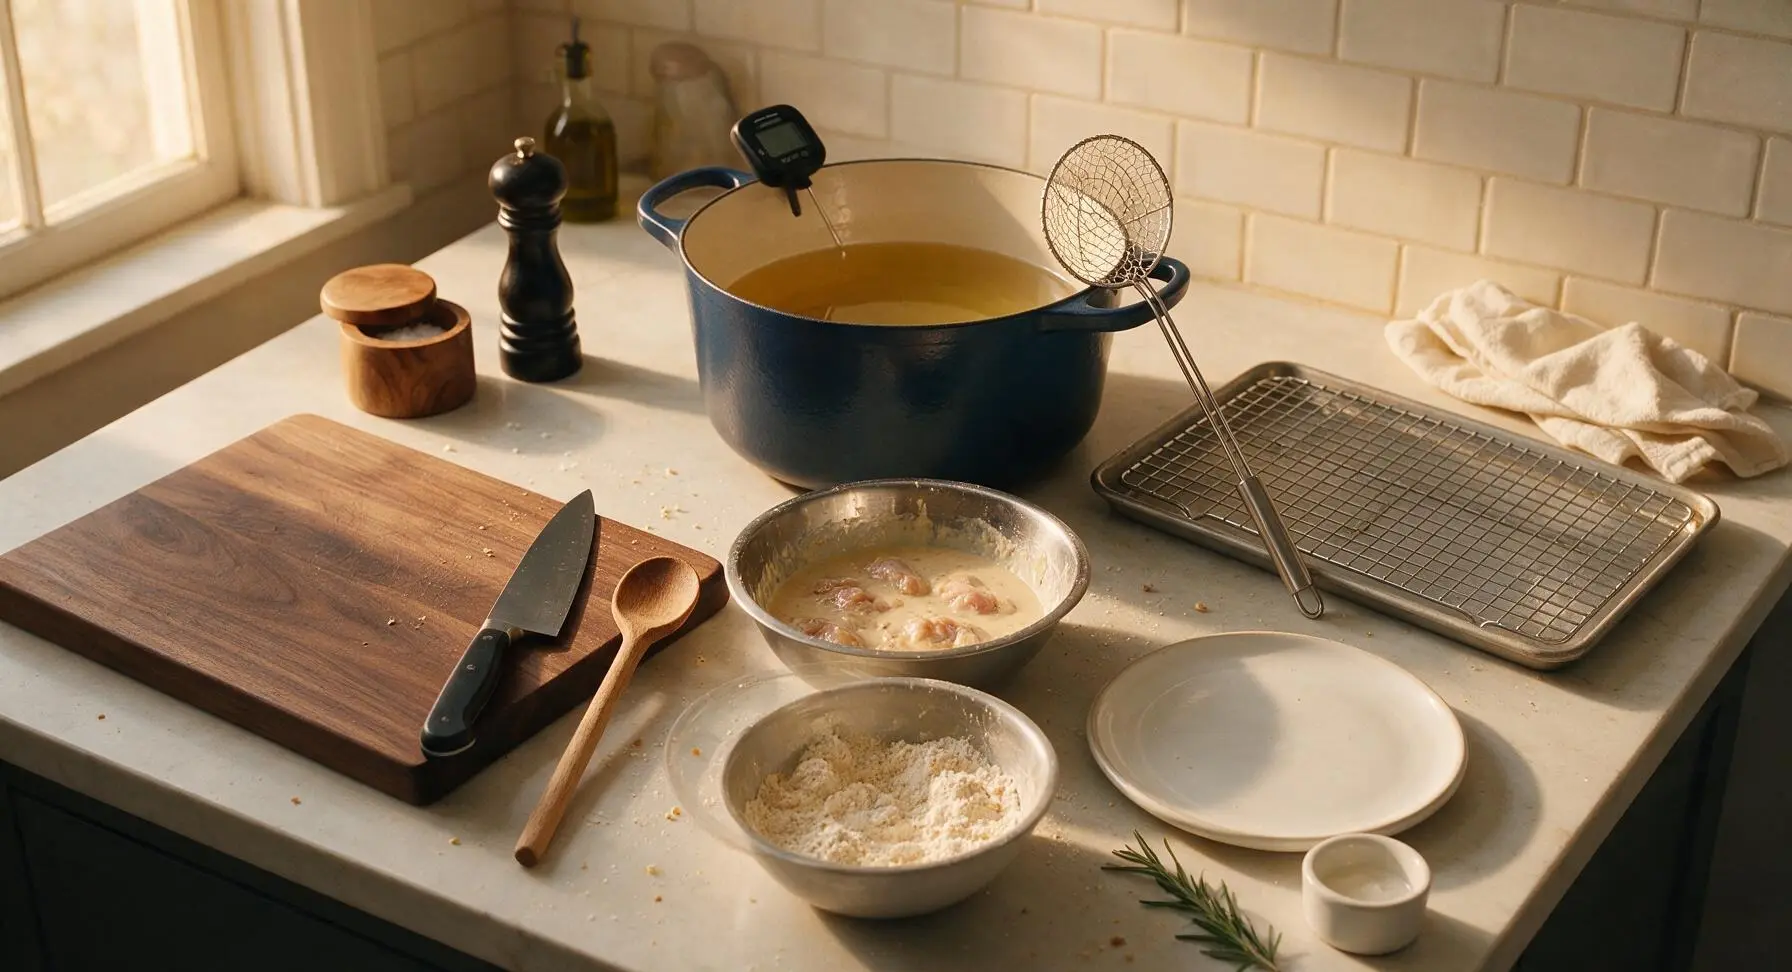
Retrieve the 5.5-quart matte navy enameled cast iron Dutch oven and place it in its fixed back-center counter position. Pour in 1.5L of neutral frying oil (peanut or canola works best), then clip the matte black digital probe thermometer to the pot rim. Heat oil over medium heat until it reaches a steady 350°F (175°C), adjusting burner heat as needed to maintain this temperature throughout the frying process.
Step 3
step3:Heat Frying Oil
4

Dredge Marinated Chicken

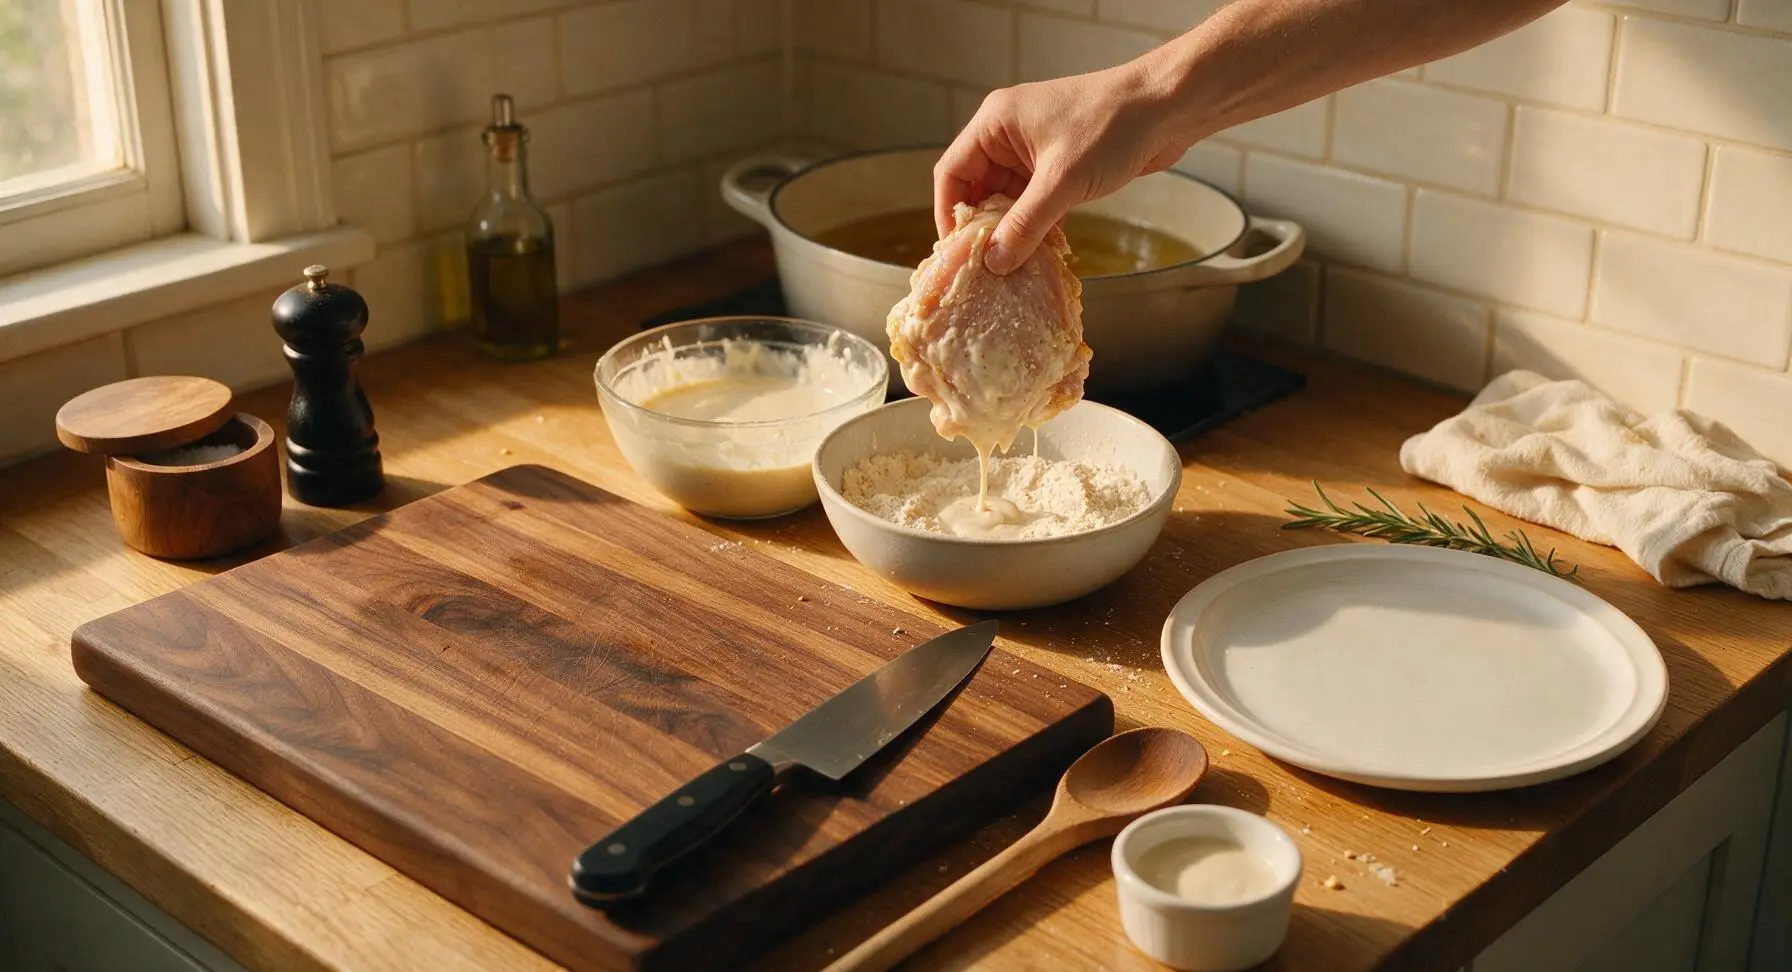
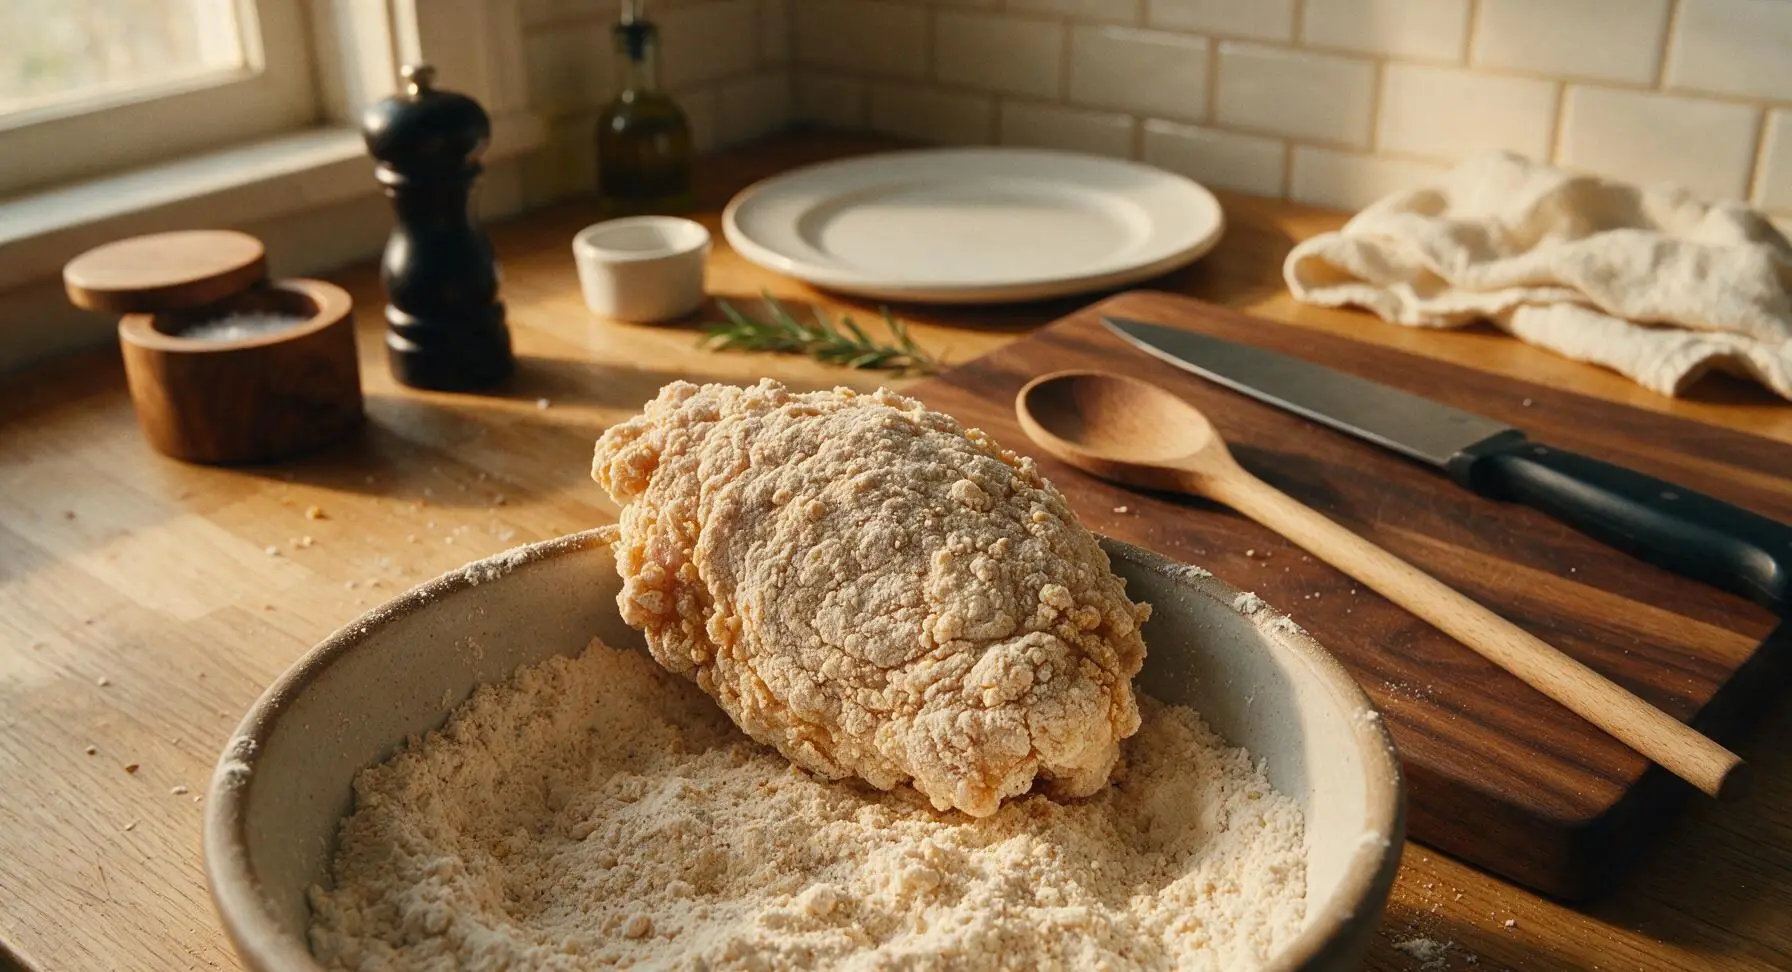
Working one piece at a time, lift chicken from the wet batter, letting excess batter drip off for 3 seconds back into the bowl, then drop the piece into the dry dredge mix. Press the flour mixture firmly onto every surface of the chicken, then lift and toss gently to create a thick, uneven, craggy coating. Place fully dredged pieces on the edge of the dry mix bowl to rest for 5 minutes before frying—this critical step helps the coating adhere and prevents it from falling off in the hot oil.
Step 4
step4:Dredge Marinated Chicken
Step 4
step4:Dredge Marinated Chicken
5

Fry Chicken in Batches

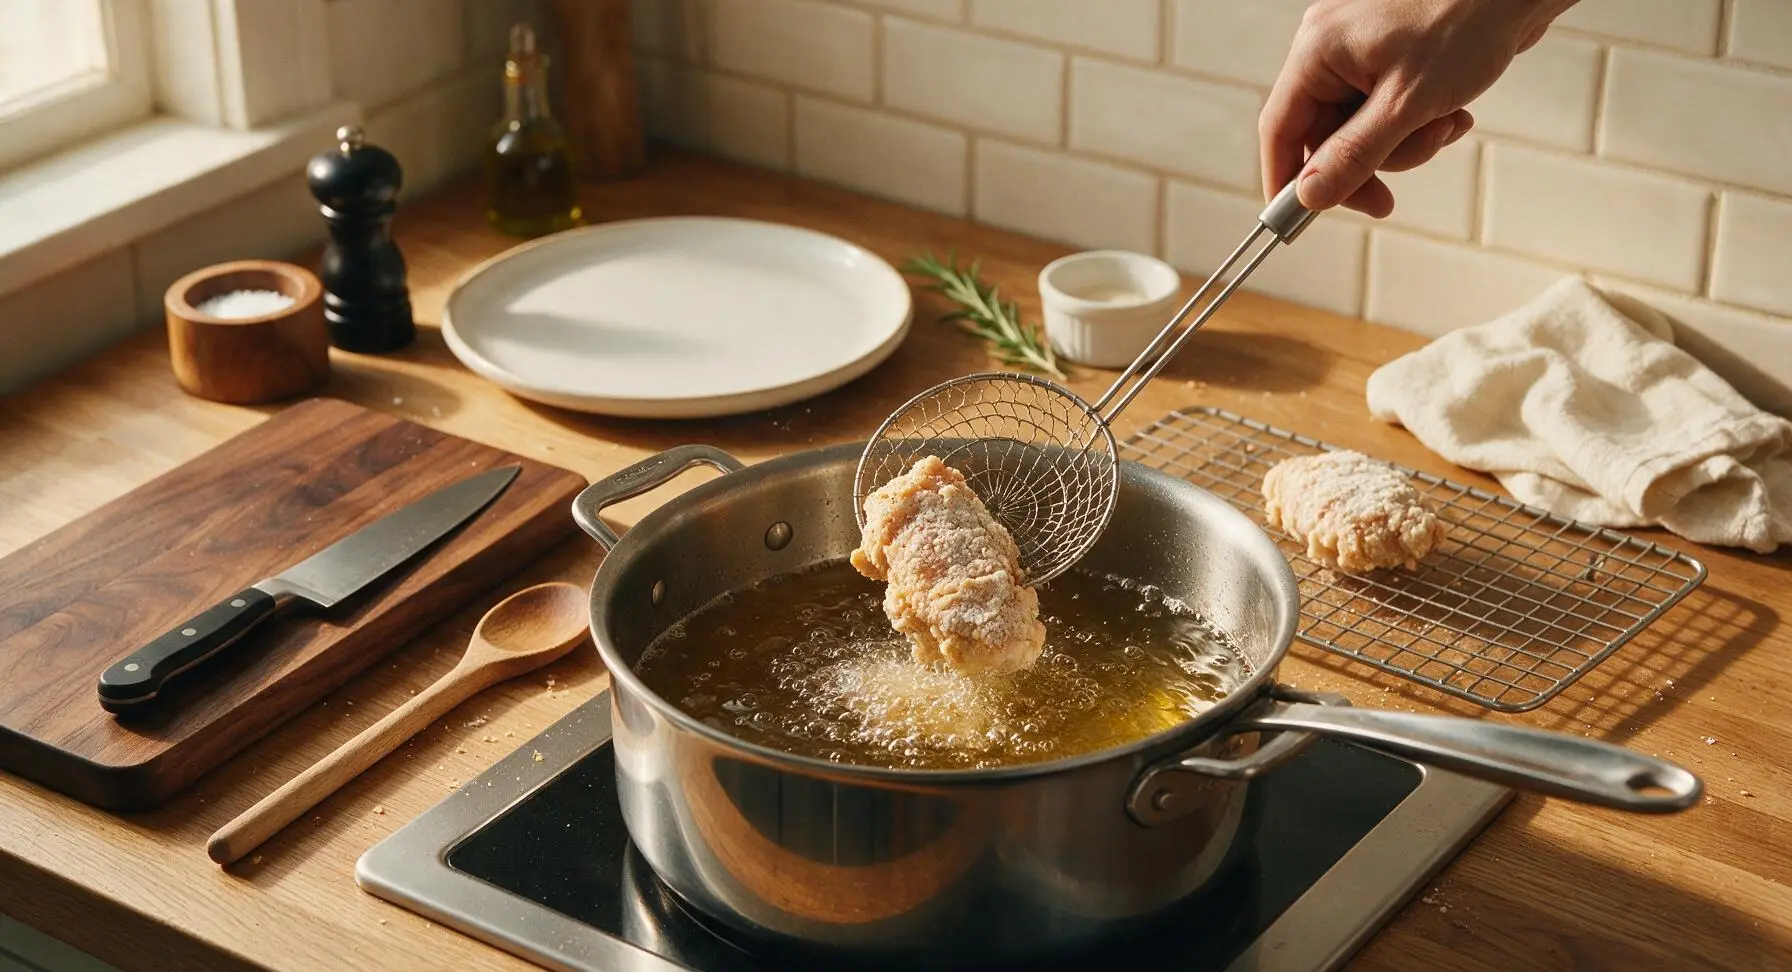
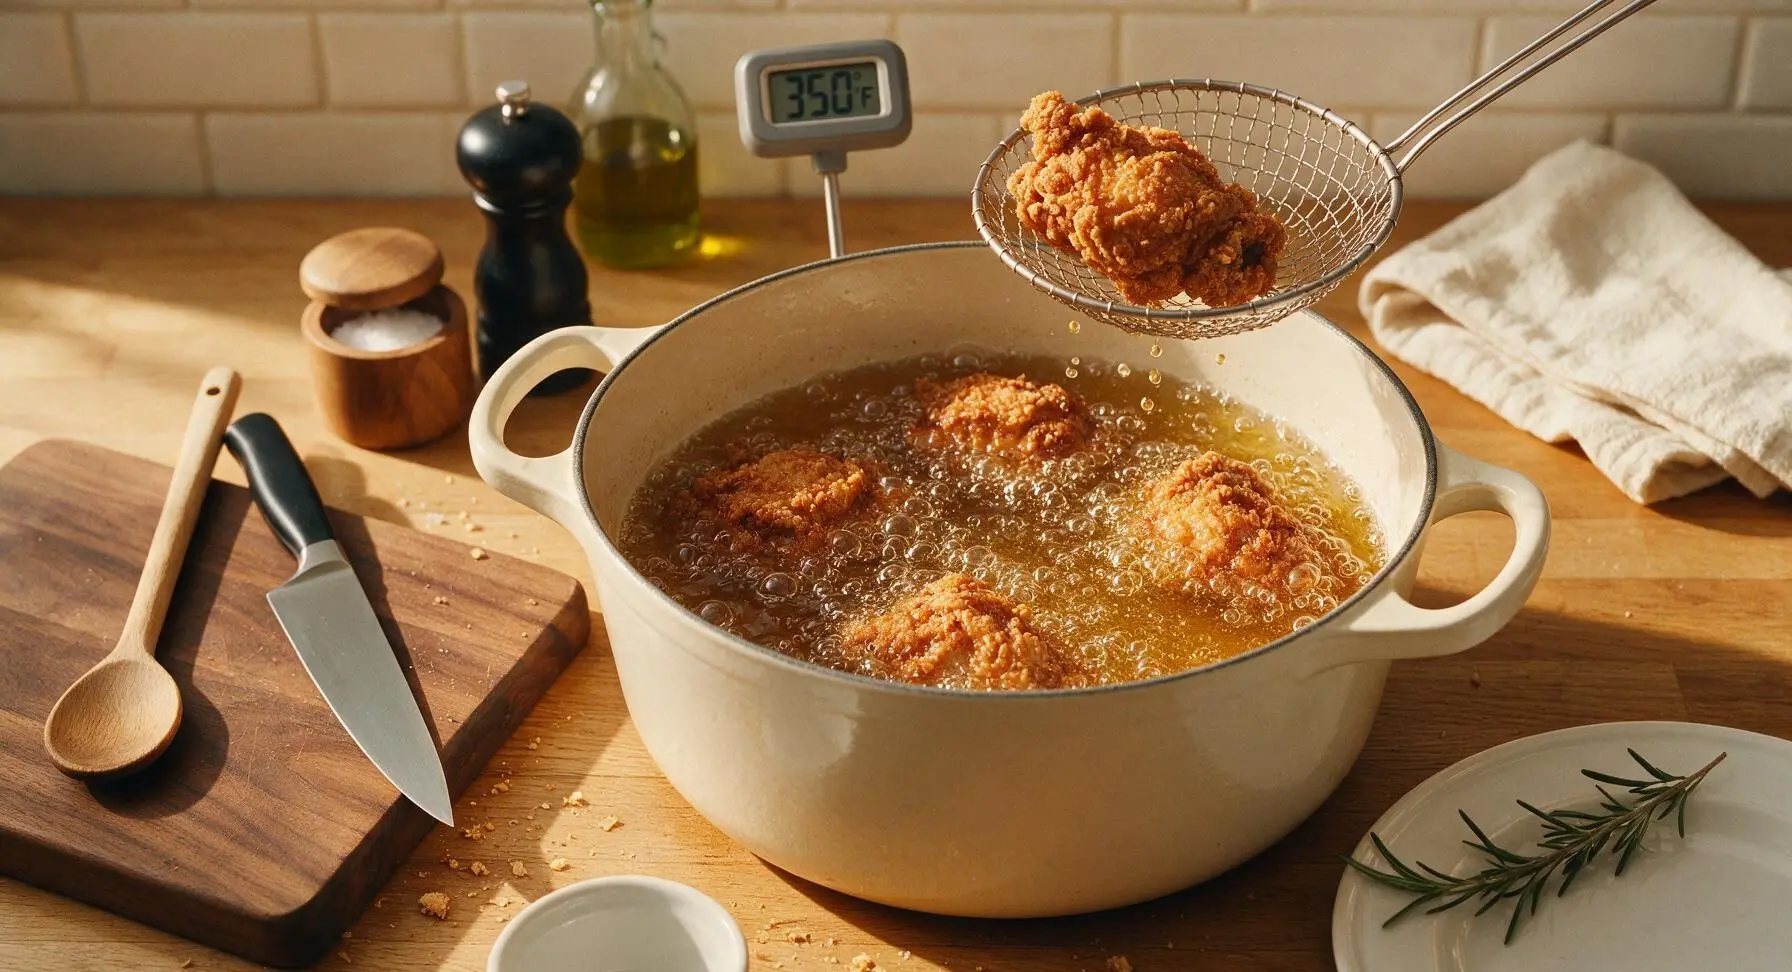
Use the spider skimmer to carefully lower 2-3 chicken pieces into the 350°F oil, taking care not to splash hot oil. Do not overcrowd the pot, as this drops oil temperature too quickly and causes soggy crust. Fry for 7-9 minutes per batch, flipping pieces once halfway through cooking, until the crust is a deep, even golden brown and the internal chicken temperature reaches 165°F (74°C) at the thickest point.
Step 5
step5:Fry Chicken in Batches
Step 5
step5:Fry Chicken in Batches
6

Drain and Season Hot

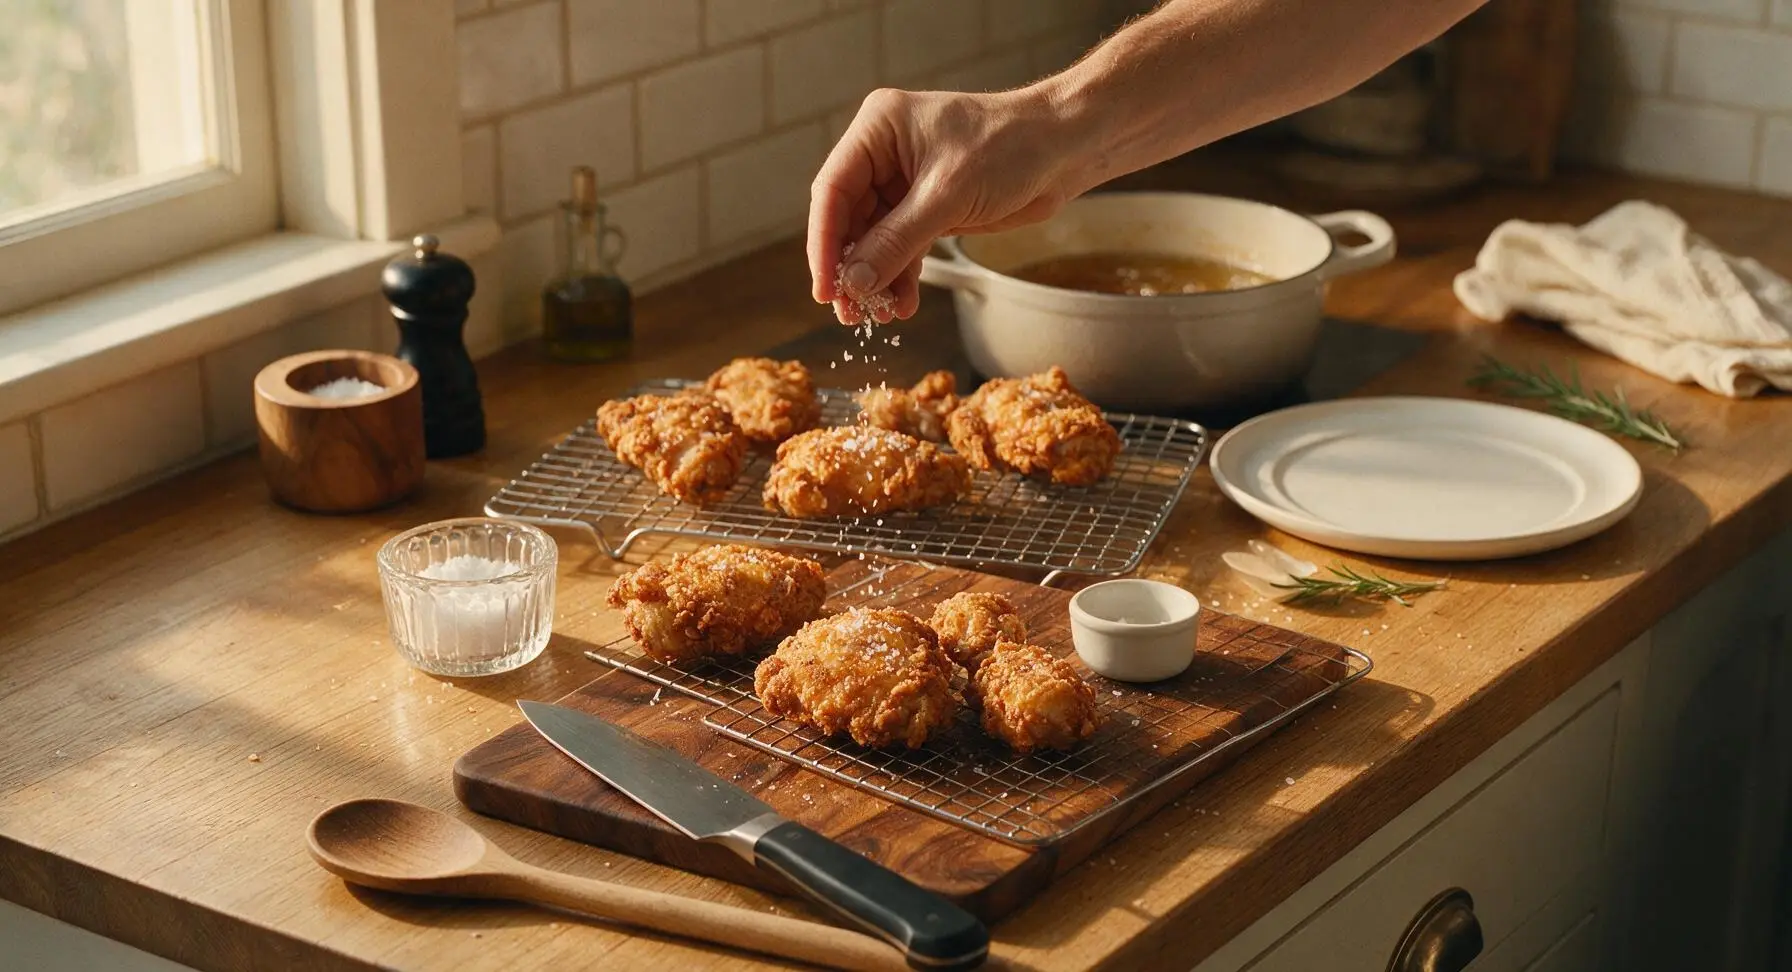
Use the spider skimmer to lift fully cooked chicken from the oil, letting excess oil drain for 10 seconds over the pot, then transfer pieces to the wire cooling rack set over the baking sheet. Immediately sprinkle the hot, glistening crust with a pinch of flaky sea salt while the surface is still oily, so the salt adheres evenly. Let chicken rest for 5 minutes before serving to let the crust set and juices redistribute.
Step 6
step6:Drain and Season Hot
7

Plate and Serve

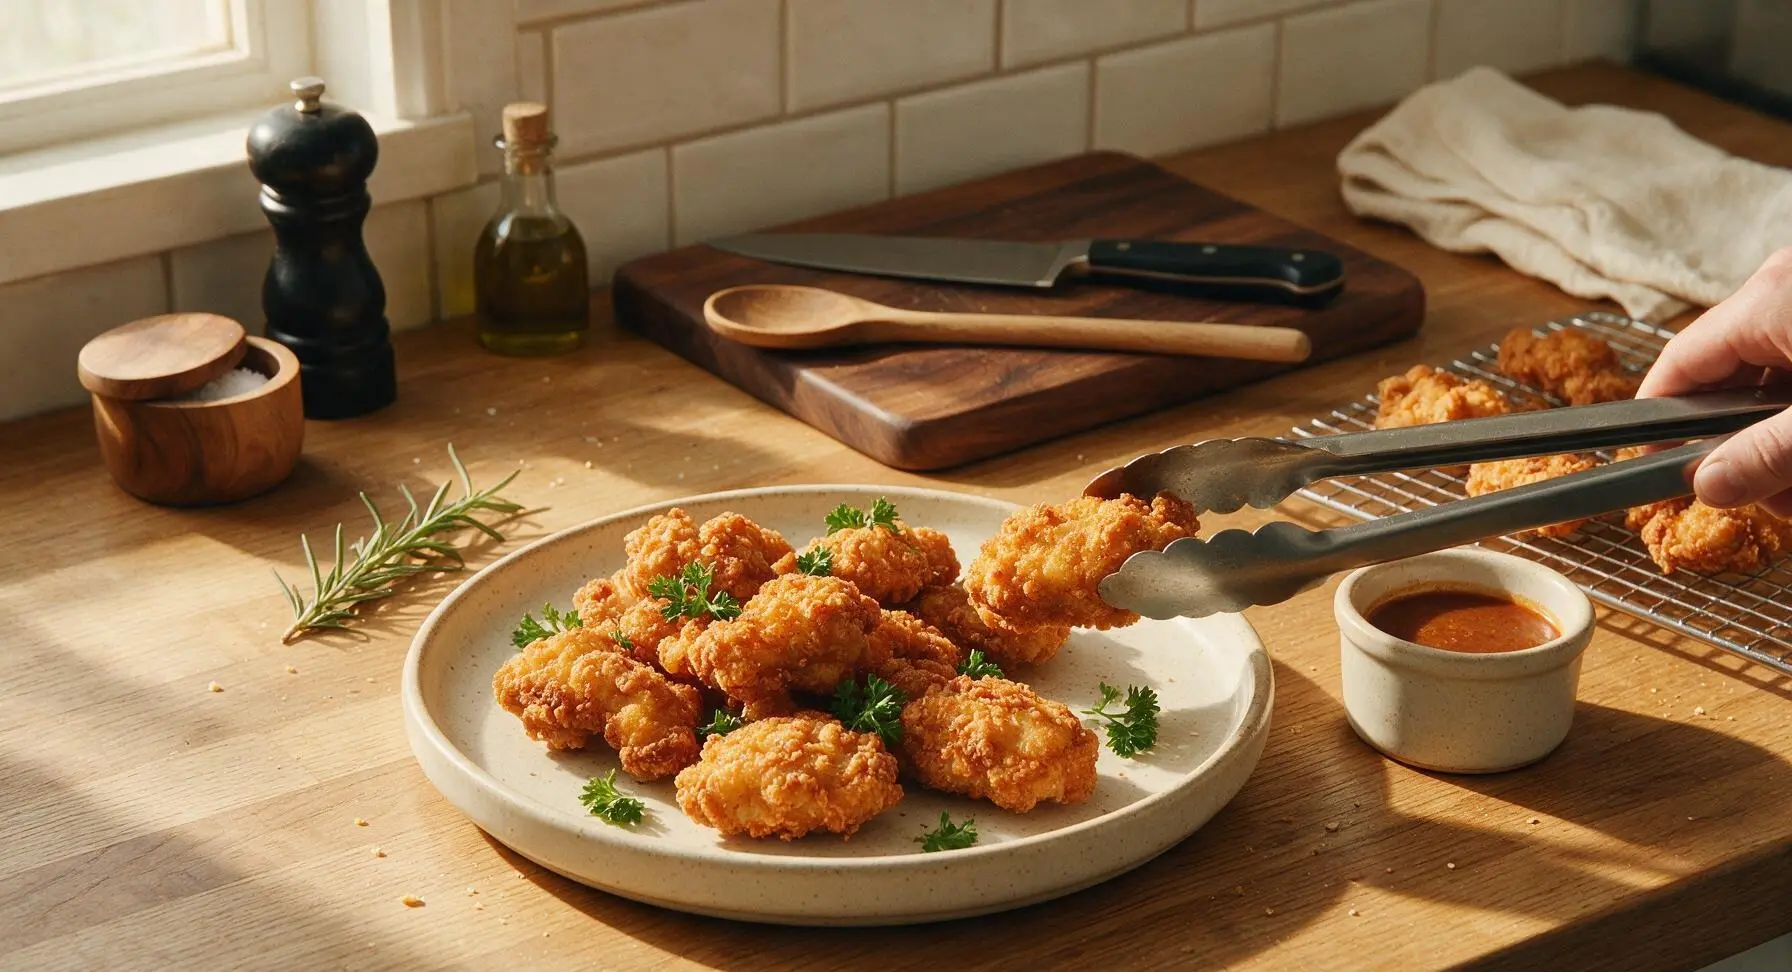
Arrange the rested fried chicken pieces on the fixed front-center cream speckled stoneware dinner plate, tucking a few sprigs of fresh curly parsley between pieces for a bright garnish. Set the matching 8cm cream stoneware ramekin of hot honey or hot sauce to the right of the plate for dipping, and serve immediately.
Step 7
step7:Plate and Serve

Tips

1.Always let dredged chicken rest for 5 minutes before frying: This rest period allows the flour to fully adhere to the wet batter, preventing the crust from sliding off in the oil and building the signature craggy, crunchy texture.
2.Hold oil temperature steady at 350°F (175°C) during frying: Oil that is too hot will burn the crust before the chicken cooks through, while oil below 325°F (160°C) will result in a greasy, soggy coating. Adjust burner heat between batches as needed.
3.The cornstarch and optional vodka in this recipe are key for long-lasting crisp: Cornstarch cuts gluten formation in the flour for a lighter, shatteringly crisp crust, while vodka evaporates faster than water during frying to reduce sogginess, leaving no residual alcohol flavor.


✨ You May Also Like

Main Course
🍜 United Kingdom

A showstopping classic of tender seared beef, savory mushroom duxelles, and crisp prosciutto wrapped in flaky golden puff pastry, baked to juicy perfection.

⏱️ 2 hours 1Main Course ★ 4.7
Main Course
🍜 India

Tender charred marinated chicken simmered in a rich, spiced creamy tomato sauce, this iconic Anglo-Indian curry pairs perfectly with basmati rice or warm naan.

⏱️ 50 minuteMain Course ★ 4.6
Main Course
🍜 Thailand

Classic tangy, sweet, and savory Thai stir-fried rice noodles with shrimp, tofu, and crunchy garnishes, balancing all five core Thai flavor profiles.

⏱️ 30 minuteMain Course ★ 4.5
Main Course
🍜 United Kingdom

Crispy golden beer-battered cod and fluffy double-fried chips, served with tangy tartar sauce and malt vinegar: the timeless, beloved British pub comfort classic.

⏱️ 45 minuteMain Course ★ 4.7
Main Course
🍜 Mexico

Smoky, chile-marinated pork tacos with caramelized pineapple, fresh cilantro, and lime: a beloved classic Mexican street food perfect for casual summer gatherings.

⏱️ 1 hour 45Main Course ★ 4.8
Main Course
🍜 United States

Crunchy Fritos corn chips layered with savory beef chili and melted cheddar, topped with cool, zesty fixings for a beloved, cozy Tex-Mex comfort food.

⏱️ 35 minuteMain Course ★ 4.8

best fried chicken batter:Frequently Asked Questions

1.Why does this batter stay crispy for 30+ minutes instead of turning soggy right after frying? ▾
That long-lasting crunch comes from two smart choices: we minimize excess wheat gluten development that softens as it sits, and the optional vodka evaporates far faster than water during frying. This leaves a porous, shatteringly crisp structure that doesn’t trap steam against the coating as the chicken rests.
2.Do I have to use bone-in, skin-on chicken pieces for this batter to work well? ▾
Bone-in, skin-on cuts deliver the juiciest, most classic results, but this batter works great on boneless, skinless thighs or breast strips too! Cut boneless pieces into uniform 1.5-inch sizes, reduce frying time by 3-4 minutes, and always confirm a 165°F internal temperature to avoid overcooking.
3.What does adding vodka to the batter actually do, and can I skip it entirely? ▾
Vodka is totally optional, but it adds next-level crispness because it evaporates at a much lower temperature than water, flashing off quickly in hot oil instead of soaking the coating and making it gummy. If you skip it, replace it 1:1 with ice-cold water to keep batter cold and limit gluten formation.
4.Can I use regular plain milk instead of buttermilk for this recipe? ▾
You can, but you won’t get the same tangy flavor and gentle tenderizing effect that buttermilk’s lactic acid delivers. If you don’t have buttermilk, make a quick substitute: stir 1 tablespoon of white vinegar or lemon juice into 1 cup of whole milk, let it sit 5 minutes until curdled, then use as directed.
5.How hot does my frying oil need to be to get that perfect golden, craggy crust? ▾
Heat neutral frying oil (peanut, canola, or vegetable oil work best) to a steady 350°F before adding any chicken. If oil is too cool, batter soaks up excess grease and turns soggy; if too hot, the outside burns before chicken cooks through. Use a clip-on candy thermometer to keep temp consistent between batches.
6.Why is my batter sliding right off the chicken when I lower it into the oil? ▾
Batter slide almost always happens because chicken is too wet when dipped, or oil isn’t hot enough when you add pieces. Pat chicken completely dry with paper towels before dipping, let excess batter drip off 2-3 seconds before frying, and don’t overcrowd the pot, which drops oil temp fast and loosens coating.
7.How long should I let battered chicken rest before putting it in the hot oil? ▾
You don’t need a long rest! Let battered pieces sit on a wire rack for just 3-5 minutes after coating to let the batter adhere slightly and form a tacky surface, which creates that signature craggy texture as it fries. Don’t let it sit longer than 10 minutes, or batter will get soft and absorb extra oil.
8.Can I mix this batter ahead of time and store it in the fridge for later use? ▾
You can mix the dry flour and seasoning components up to 3 days ahead and store them in an airtight container at room temperature, but wait to add wet ingredients (buttermilk, beaten large egg, hot sauce, vodka if using) until right before coating. Pre-mixed wet batter gets gluey from gluten development, leading to a tough, non-crisp crust.
9.How much hot sauce should I add, and will it make the finished chicken spicy? ▾
Start with 2 tablespoons of your favorite Louisiana-style hot sauce for subtle, tangy depth that doesn’t register as spicy for most eaters. If you love heat, bump it up to ¼ cup—most sharp spice cooks off during frying, leaving warm, rounded flavor rather than burning heat, as long as you keep batter ice cold.
10.Why do I get random soggy spots on my fried chicken even when I follow the recipe? ▾
Soggy spots almost always come from trapped steam after frying. Don’t rest fried chicken directly on paper towels, which lock moisture against the crust. Instead, set pieces on a wire rack over a baking sheet in a 200°F oven while you fry batches, leaving space between pieces for air to circulate.
11.Can I use this crispy batter for other foods besides fried chicken? ▾
Absolutely! This well-seasoned, crisp batter works perfectly for onion rings, fried pickles, shrimp, catfish fillets, or even fried green tomatoes. For smaller, quick-cooking items like shrimp or pickles, thin the batter with 2 extra tablespoons of cold liquid so it coats lightly instead of forming a too-thick crust.
12.Do I need to double-dip chicken in flour and batter for extra crispness? ▾
You don’t have to, but if you love an extra-thick, super craggy crust, you can do a quick dip in seasoned flour first, then the wet batter, then a light toss in extra dry mix before frying. Skip that step if you prefer a thinner, shatteringly crisp crust that doesn’t feel heavy or bready when you bite in.
13.What’s the best way to reheat leftover fried chicken so the crust stays crispy? ▾
Skip the microwave, which turns crust rubbery and soggy by trapping steam. Arrange leftover pieces on a wire rack set over a baking sheet, and bake at 375°F for 12-15 minutes until chicken reaches 165°F internally and the crust is crisp again. The circulating hot air keeps coating crunchy instead of softening it.
14.Can I adjust this batter to be gluten-free for friends with dietary restrictions? ▾
Yes! Swap the regular all-purpose flour in the batter for a 1:1 gluten-free all-purpose blend that contains xanthan gum, and double-check that your hot sauce is certified gluten-free. Follow the same core rules: keep batter ice cold, use optional vodka for extra crisp, and hold oil at a steady 350°F for best results.
15.Why does my fried chicken crust turn too dark before the chicken is fully cooked? ▾
That usually means your oil is running too hot, or your seasoning blend has too much added sugar that burns quickly. Keep oil steady at 350°F, and if using a pre-mixed seasoning with added sugar, cut it with regular all-purpose flour to slow browning. You can also finish darker pieces in a 350°F oven for 5 minutes to cook chicken through without burning crust.
16.Do I need to brine the chicken separately before using this batter? ▾
You don’t have to, because the buttermilk component acts as a gentle brine that tenderizes chicken and adds flavor as it sits. For extra juicy results, let chicken soak in the buttermilk and hot sauce mix for 4 to 12 hours in the fridge before coating in full batter—don’t soak longer than 24 hours, or chicken texture will turn mushy.
17.Can I use this batter in an air fryer, or does it have to be deep fried? ▾
You can adapt this for an air fryer, though you won’t get the exact same shatteringly crisp, craggy deep-fried texture. Spray battered chicken generously with oil on all sides, air fry at 380°F for 22-28 minutes, flipping halfway, until internal temp hits 165°F. The crust will be crisp, just slightly less craggy than deep-fried versions.
18.What seasonings work best in this batter without ruining its crisp texture? ▾
Stick to dry, powdered seasonings to avoid adding excess moisture that softens crust: garlic powder, onion powder, smoked paprika, black pepper, cayenne, and kosher salt work beautifully. Skip wet add-ins like minced garlic, fresh herbs, or soy sauce in the batter itself—those add moisture that makes crust soggy fast, so save them for dipping sauces.

Comments (11)

2 days ago

OMG this batter is INSANE. I made it for our Sunday family dinner last night and my kids loved it — even my super picky 7 year old asked for seconds! The crunch held up even after I let the chicken rest on a wire rack for 10 minutes, no soggy spots at all. 10/10 will be making this every other week from now on.

1 week ago

Game changer! I’ve been trying to nail crispy fried chicken for literal years and every other batter recipe either slides off the chicken or gets soggy 2 minutes after coming out of the oil. This one stuck perfectly, had that perfect shaggy crunch, and tasted exactly like the takeout I used to get as a kid. Only note: I added a tiny extra dash of paprika for a little more heat.

5 days ago

So glad you loved it, Jake! That extra paprika hack sounds delicious — we love adding a pinch of cayenne sometimes too for an extra kick. Just make sure your oil stays at a steady 350°F to keep that crunch locked in!

3 days ago

Made this for our neighborhood potluck last weekend and people were begging me for the recipe before I even finished setting my plate down! SO good, the crunch is unreal even when the chicken is room temp, which is perfect for potlucks where food sits out for a bit. My only complaint is I wish I made a double batch — it was gone in 15 minutes flat!

2 days ago

Wait how long did you let the chicken rest in the batter before frying? I tried making this for a work potluck last month and the batter was a little thin, wondering if I skipped a step!

yesterday

Hi Pete! We recommend letting the battered chicken rest on a wire rack for 10-15 minutes before frying — that helps the coating adhere so it doesn’t slide off or get thin. Also make sure you don’t overmix the batter, a few lumps are totally fine!

30 minutes ago

Okay I’m literally brand new to frying anything so I was super intimidated by a medium difficulty recipe, but this was so straightforward! The steps were easy to follow, and my first ever batch of fried chicken came out crispy and perfectly cooked, no raw spots, no burnt batter. My roommate said it’s better than the fast food place down the street, which is the highest compliment possible lmao.

5 minutes ago

That makes us so happy to hear! Frying can feel super scary when you’re first starting out, so we’re stoked this recipe worked out for you. Pro tip for next time: keep a candy thermometer clipped to your oil pot to take the guesswork out of temperature checks!

5 days ago

Solid batter recipe, I give it 4 stars only because I had to add a little extra salt and garlic powder to match my taste preferences. The crunch is absolutely unbeatable though, way better than the buttermilk only batter I’ve used for years. Will be tweaking the seasoning to my liking but keeping the base recipe for sure.

2 weeks ago

Meal prepped a big batch of this chicken on Sunday and it held up perfectly in the fridge all week! I reheated it in the air fryer for 5 minutes at 400°F and the crunch came right back, no sad soggy chicken for my kids’ school lunches. Total game changer for our weekly meal prep rotation, I can’t believe I didn’t find this recipe sooner.

1 week ago

Wait this is genius, I never thought to meal prep fried chicken! Did you use boneless thighs or breasts for yours? I feel like thighs would stay juicier in the fridge all week.

5 days ago

I used boneless skinless thighs! They stay way juicier than breasts even after reheating, my youngest refuses to eat white meat anyway so it worked out perfectly for us.

yesterday

Took this to my friend’s cookout yesterday and everyone thought I ordered it from that fancy southern restaurant downtown. The batter has the perfect amount of seasoning, not too bland, not so overpowering it covers up the chicken flavor. I dipped mine in hot honey and it was chef’s kiss. 10/10 would recommend to anyone who loves crispy fried chicken.

2 hours ago

Hot honey dip is such a move! I tried that last time I made this and my partner thought I was a culinary genius, lol.

5 minutes ago

Wait a second, why did no one tell me adding a little cornstarch to the batter makes SUCH a difference? I’ve been using all flour for years and my chicken was always crisp for like 2 minutes then turned soggy. This stayed crispy all the way through dinner, even when I smothered it in gravy. Absolute banger of a recipe.

just now

The cornstarch is the secret ingredient! It cuts down on gluten formation from the flour which is what keeps the coating light and crispy instead of getting dense and soggy, even with gravy on top.

just now

Wait you put gravy on your fried chicken? I need to try that immediately, that sounds insane in the best way.

2 hours ago

Made this in my tiny dorm kitchen with a cheap deep fryer I got off Facebook Marketplace and it turned out so good! I was worried it would be too complicated for a college kid with minimal cooking supplies but it was super easy, and I only made a tiny mess. My floor mates all showed up at my door when they smelled it, we ended up having an impromptu chicken dinner in the common room.

1 week ago

I was worried this would be too plain for my taste since I like my fried chicken with a little kick, so I added a teaspoon of cayenne, half a teaspoon of garlic powder, and a pinch of black pepper to the batter, and it was perfect! The crunch was exactly what I was looking for, the seasoning ratio was easy to adjust without ruining the batter texture. Definitely my new go-to.

5 days ago

Love that you customized the seasoning to your taste! This base batter is super versatile, so adding extra spices, herbs, even a little parmesan works beautifully without messing up that crispy texture. Thanks for sharing your hack!

2 weeks ago

I grew up eating my grandma’s fried chicken in Georgia and I’ve been chasing that exact crispy coating for years since she passed, and this batter is the closest I’ve ever gotten. It brought back so many good memories, I actually teared up a little when I took the first bite. Thank you so much for sharing this recipe, it’s going to be a staple at all my family holidays from now on.

1 week ago

Oh this made my heart so happy! I lost my grandma’s fried chicken recipe too when she passed, I’m definitely going to try this this weekend to see if it matches. Fingers crossed!

1 week ago

Rae, that means the absolute world to us. Food is all about making memories and carrying on traditions, so we’re so honored this recipe could help you feel close to your grandma. We hope your family loves it for years to come.



