
best frozen fried chicken
intro
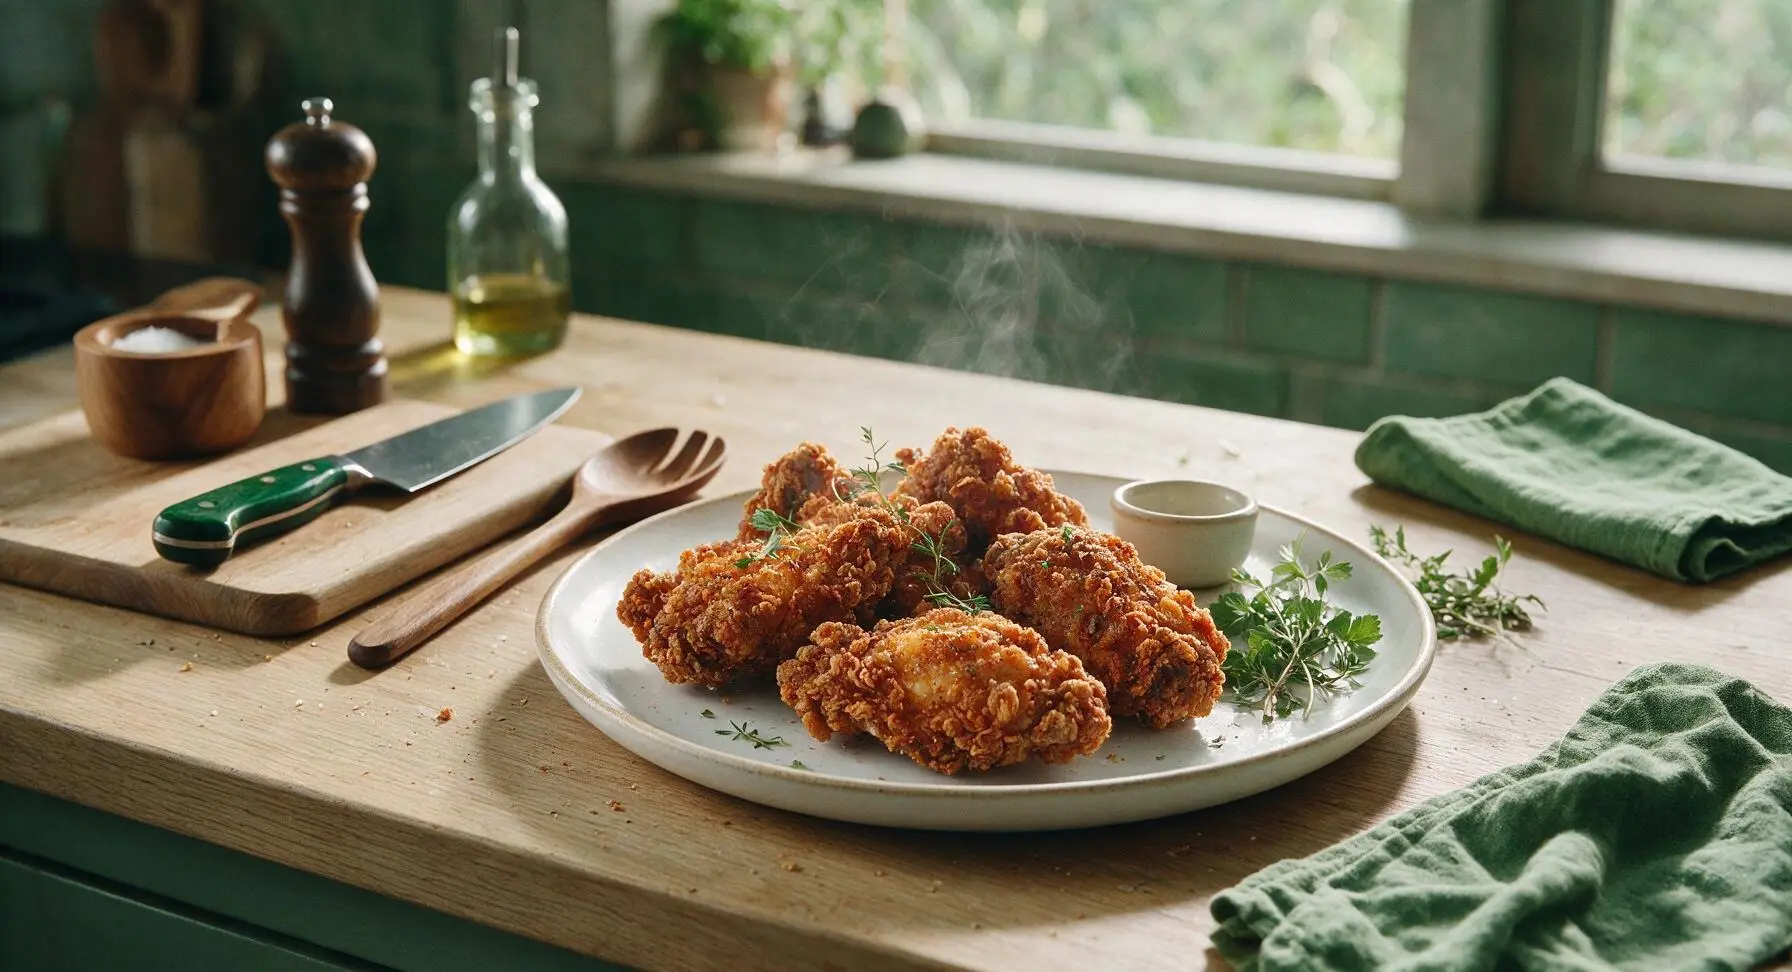
Shatteringly crisp, juicy make-ahead frozen fried chicken with a craggy seasoned crust, no sogginess after freezing, ready to bake straight from the freezer for easy, crowd-pleasing comfort food.
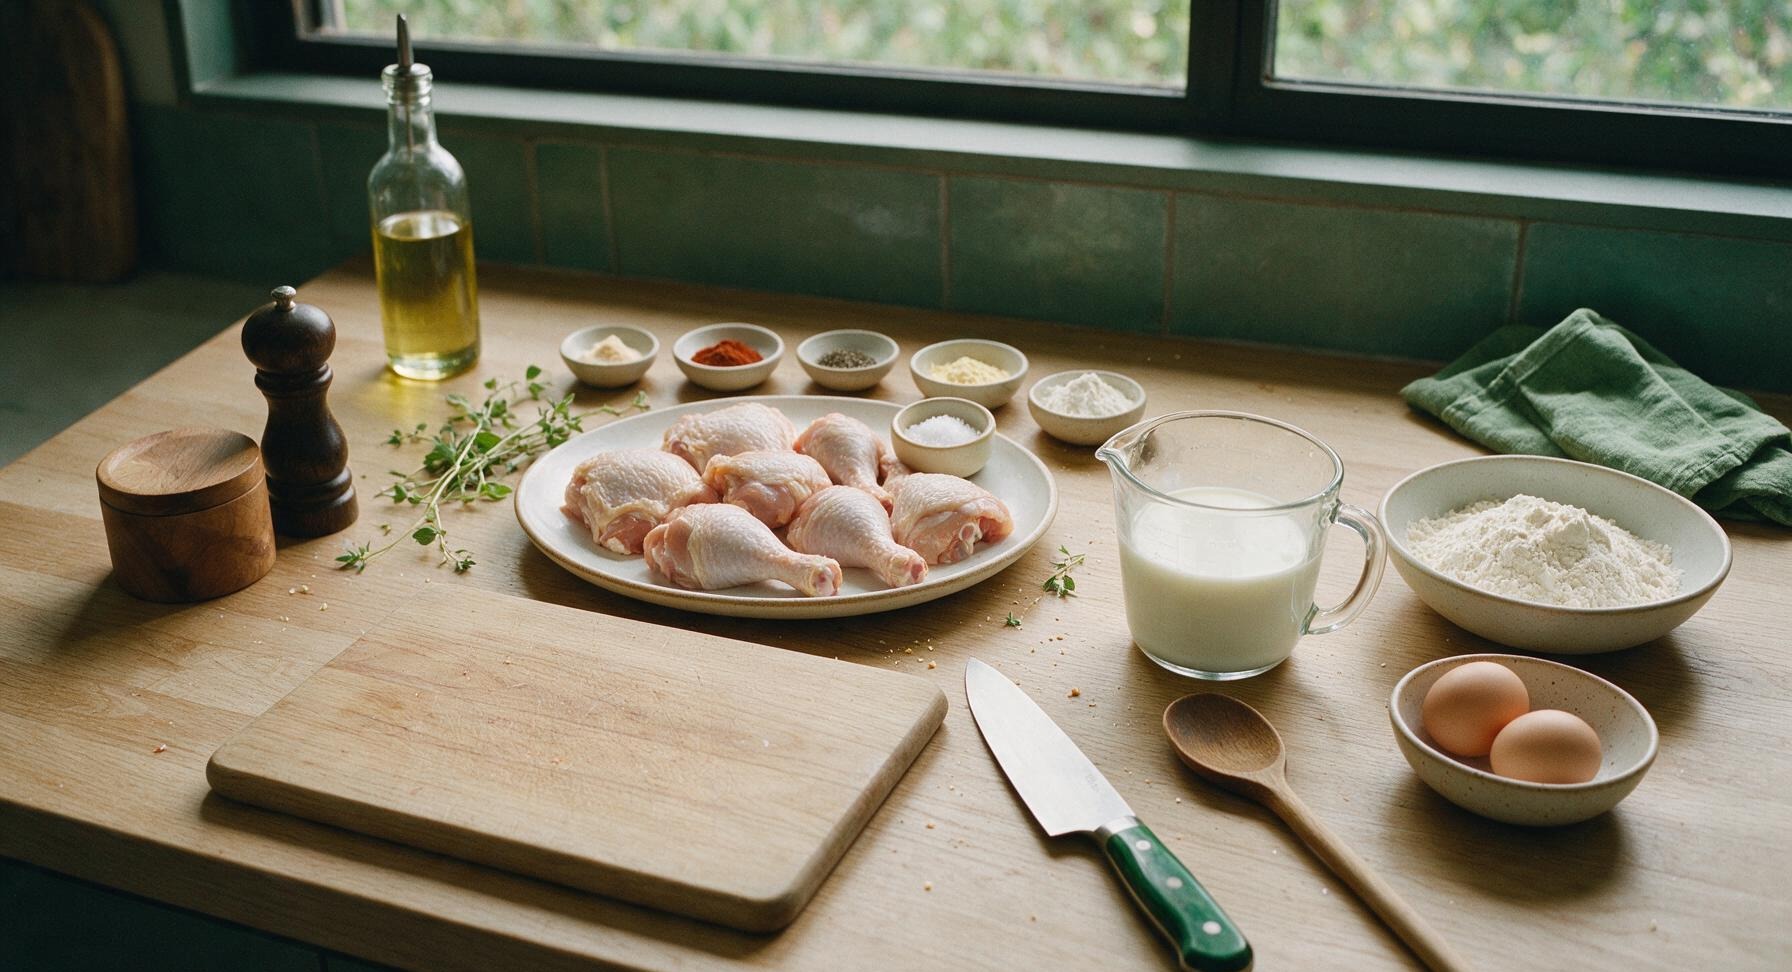
Ingredients
Steps
Brine Chicken Pieces
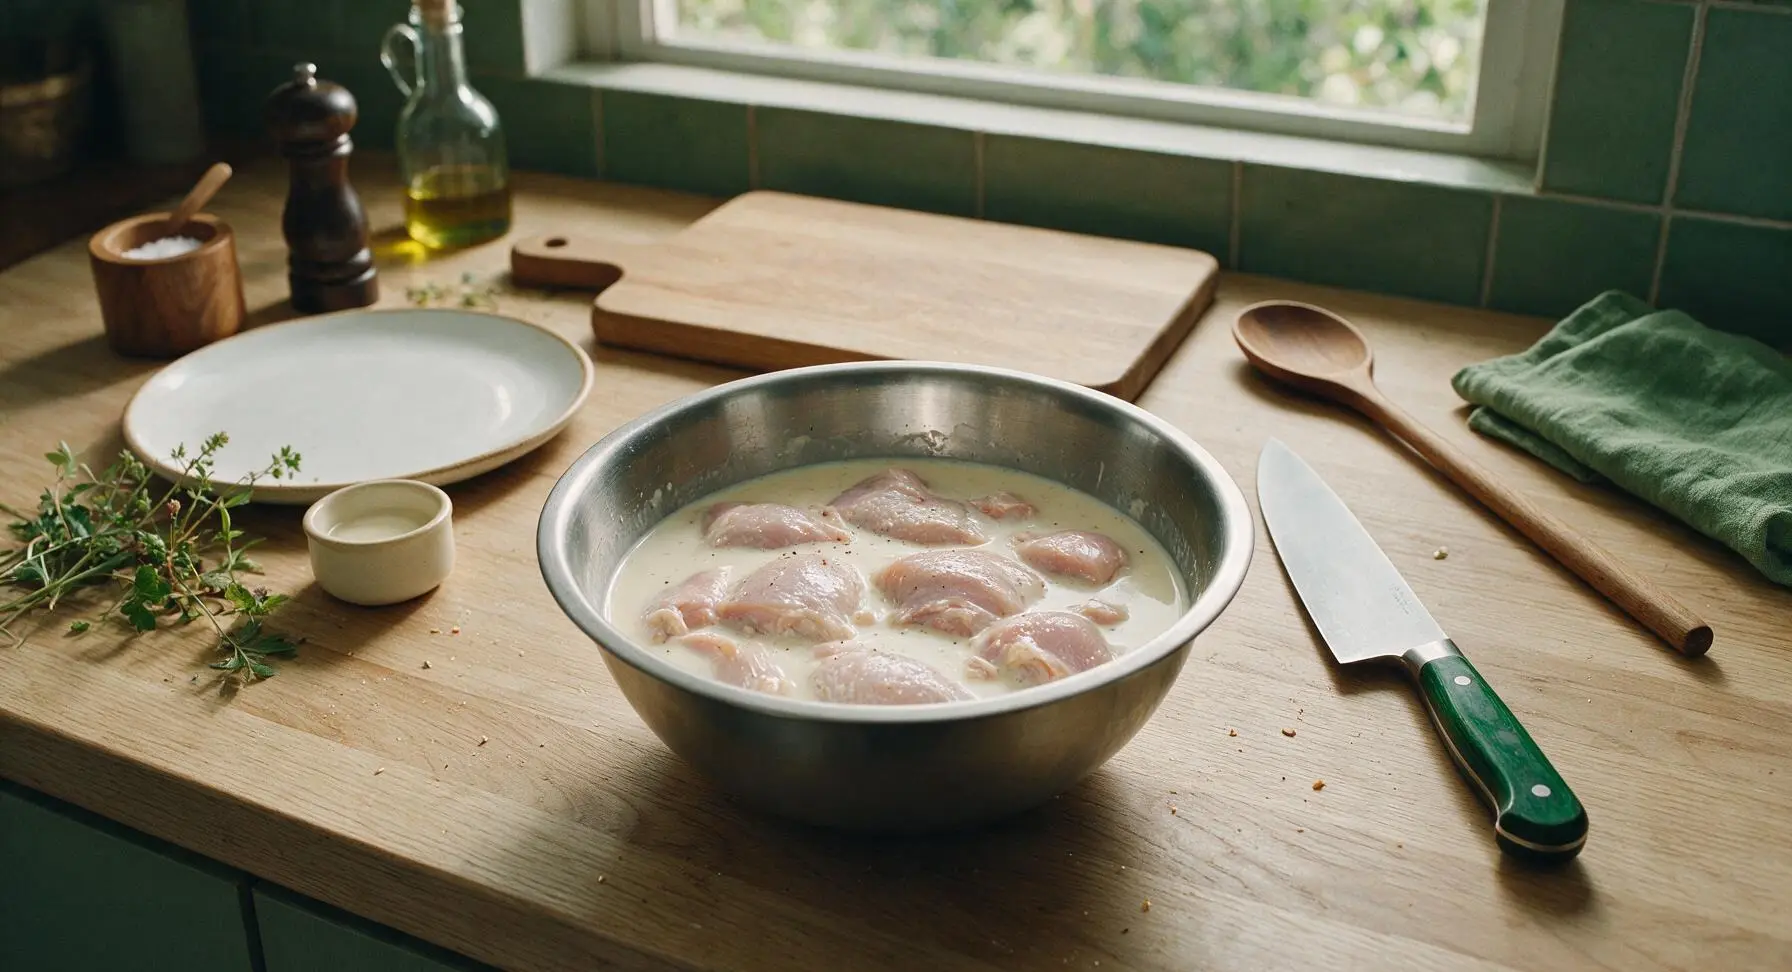
Place chicken pieces in the brushed stainless steel mixing bowl. Pour 2 cups full-fat buttermilk over the chicken, stir in 2 tablespoons kosher salt, 1 teaspoon garlic powder, and ½ teaspoon black pepper until fully combined. Ensure all chicken is fully submerged, cover the bowl, and refrigerate for 4 hours (up to 12 hours) to lock in moisture and season the meat through. Remove the bowl from the fridge 20 minutes before breading to take the chill off the chicken, which prevents oil temperature drops during frying.
Prep Breading Station
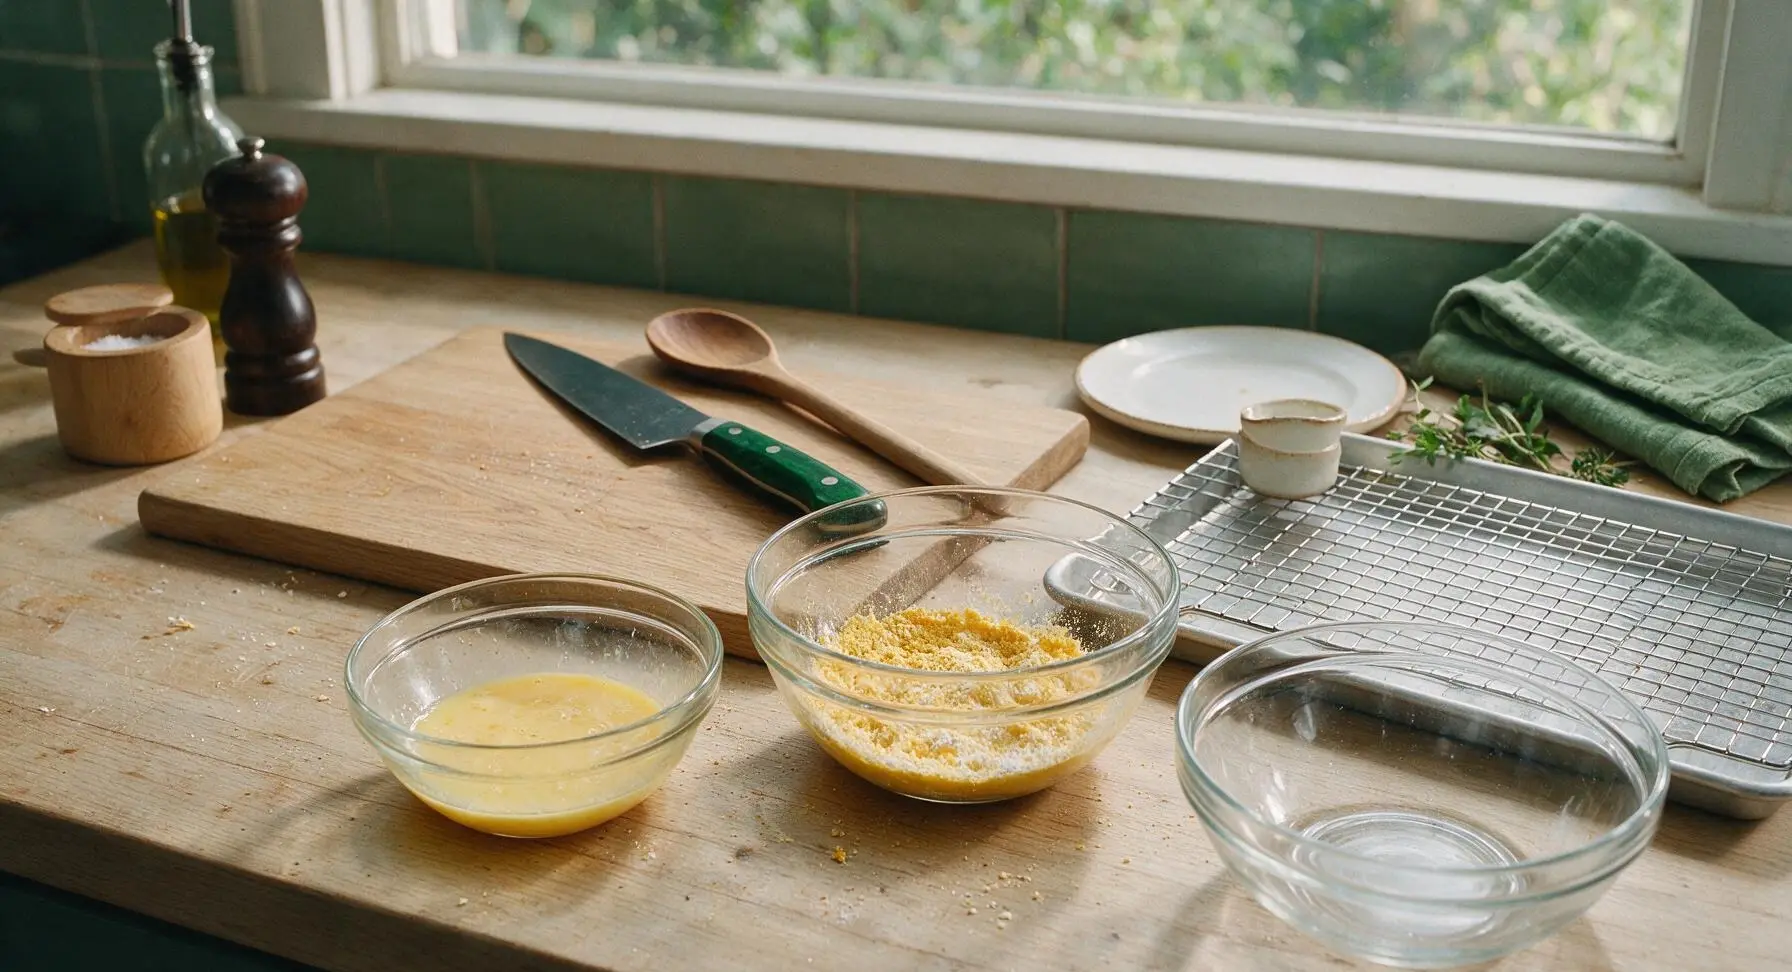
Remove chicken from the brine, set aside temporarily. Line up the three clear tempered glass prep bowls in a row on the counter: the first bowl holds 2 large eggs beaten with 2 tablespoons reserved buttermilk, the second bowl holds 2.5 cups all-purpose flour, ½ cup cornstarch, remaining 1 tablespoon kosher salt, 1 teaspoon garlic powder, 1 teaspoon smoked paprika, and ½ teaspoon black pepper, whisked until fully combined. Place the chrome wire baking rack on top of the matte silver aluminum baking sheet to the right of the prep bowls, to hold breaded chicken as it rests.
Coat Chicken Evenly
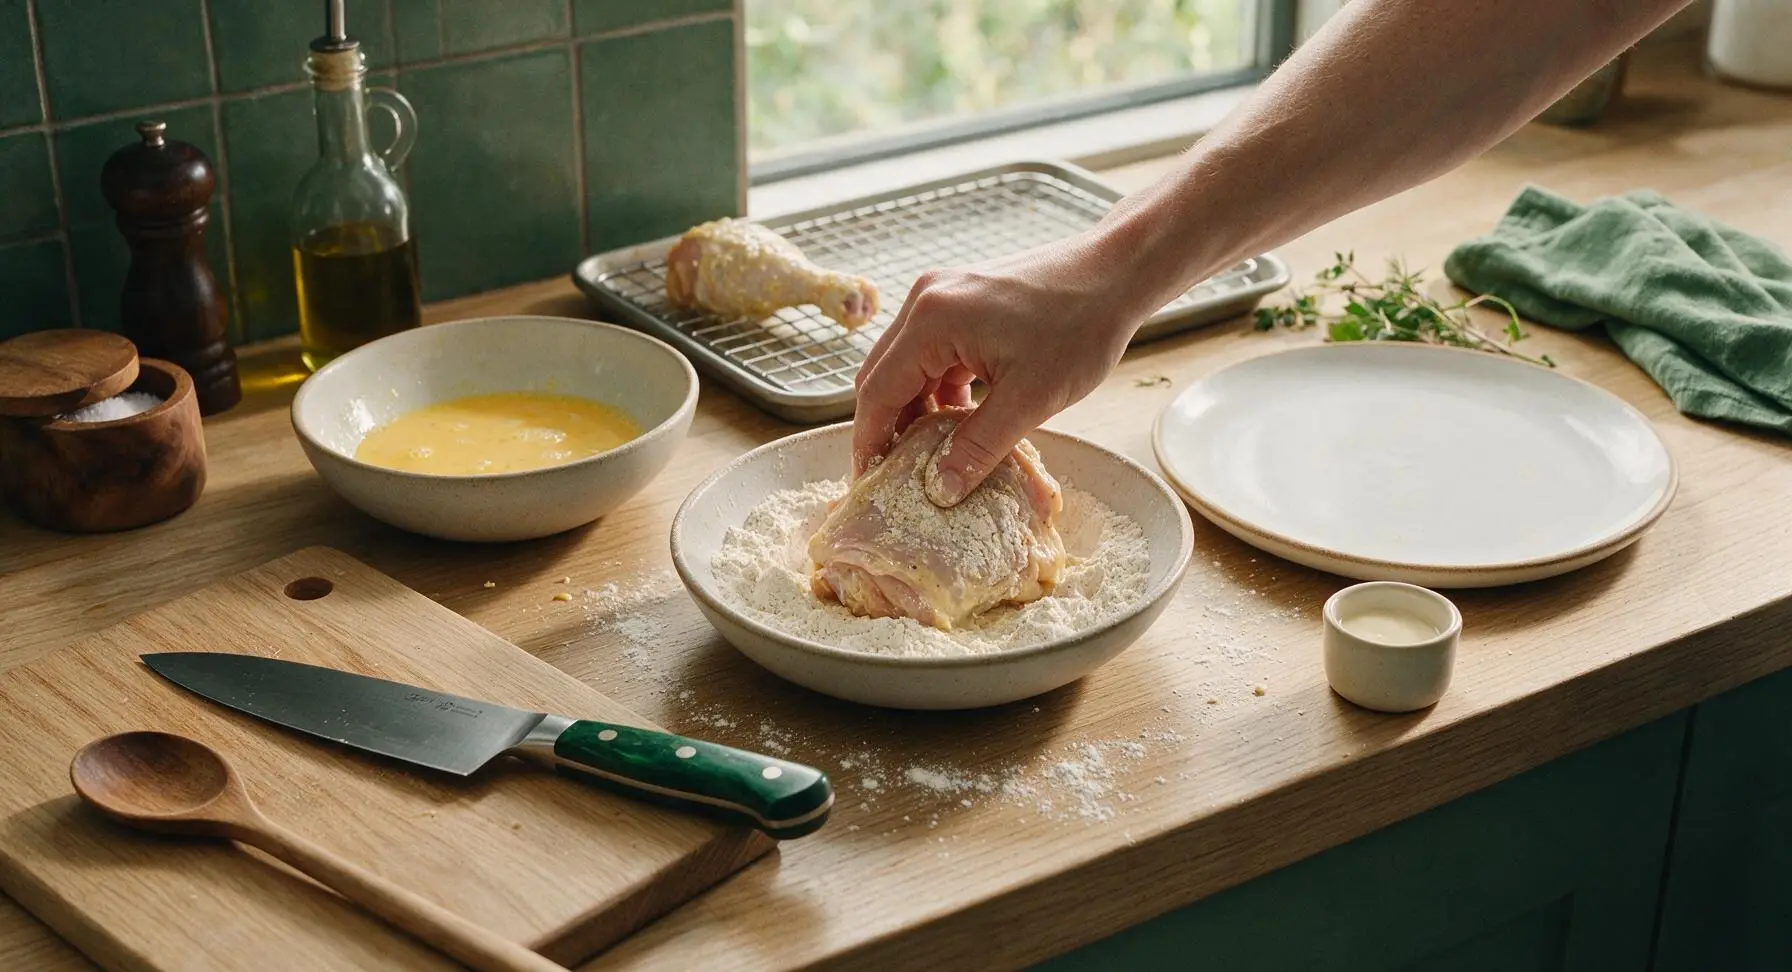
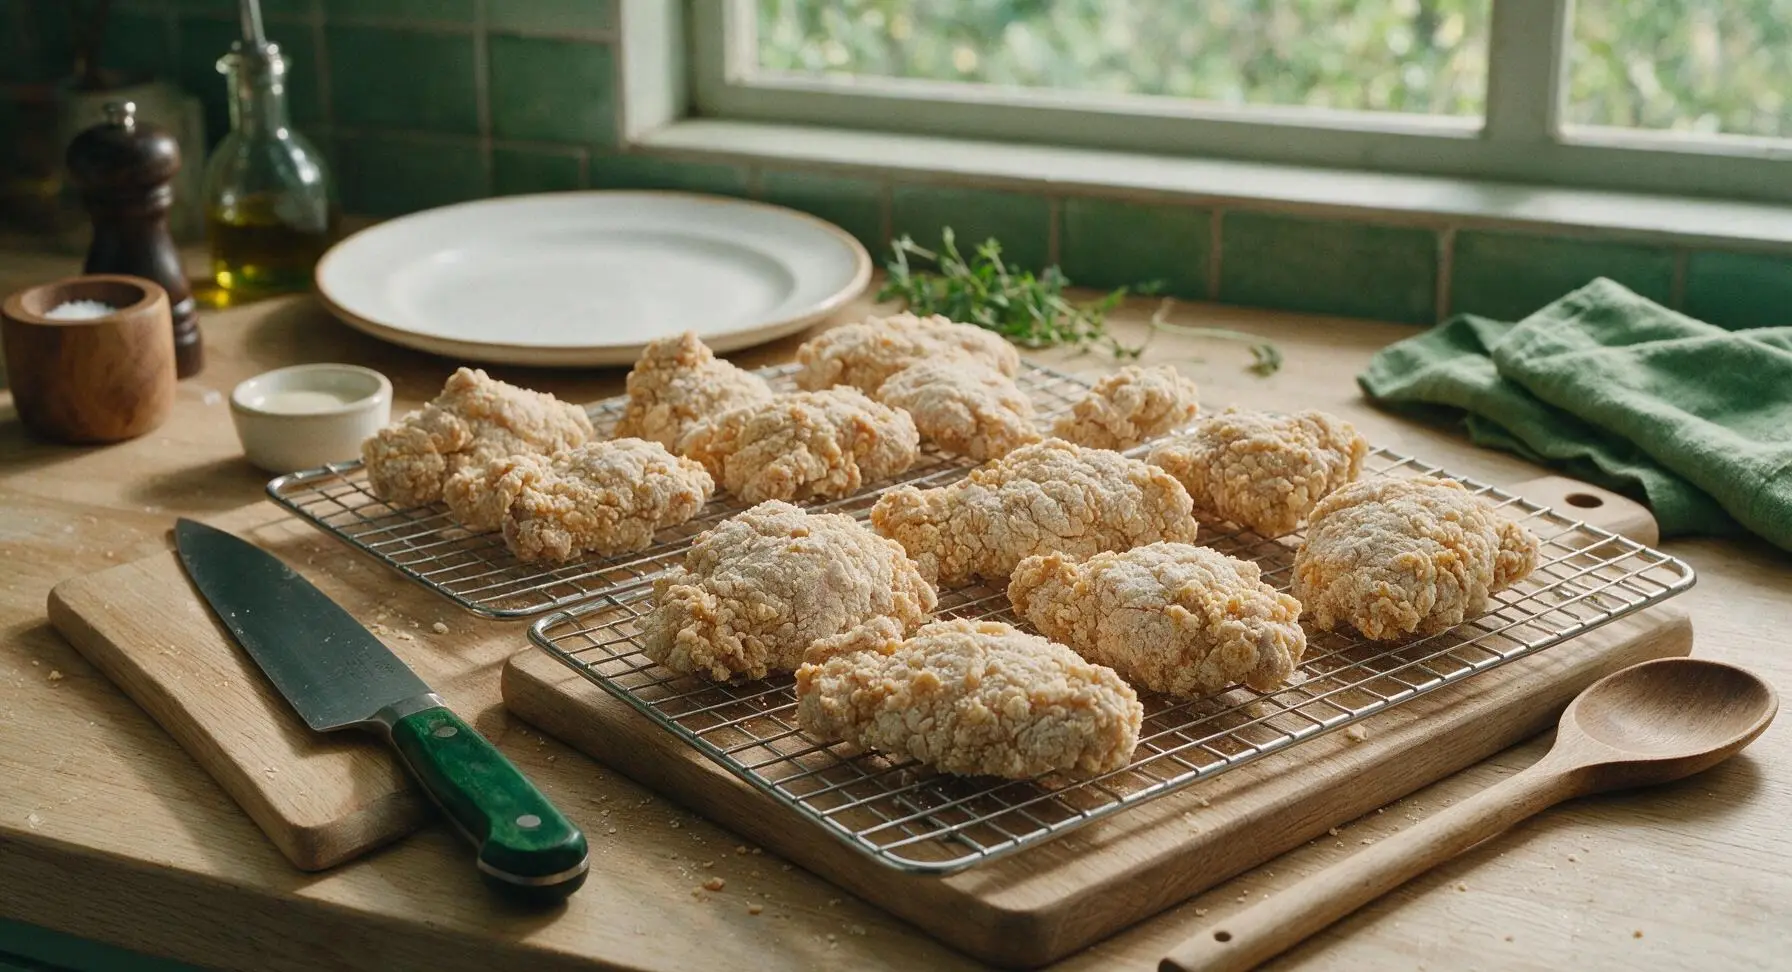
Working one piece at a time, lift chicken from the buttermilk brine, let excess liquid drip off for 3 seconds, then dredge fully in the seasoned flour mix, pressing firmly with your fingers to make the coating adhere. Dip the fully floured chicken into the egg wash, let excess egg drip off, then return the chicken to the flour for a second thick coat, pressing firmly to create craggy, uneven flour bits across the surface (these bits create extra crunch after cooking). Place each fully coated piece on the wire rack, and let rest 15 minutes at room temperature to let the coating set, which prevents it from falling off during frying.
Heat Frying Oil
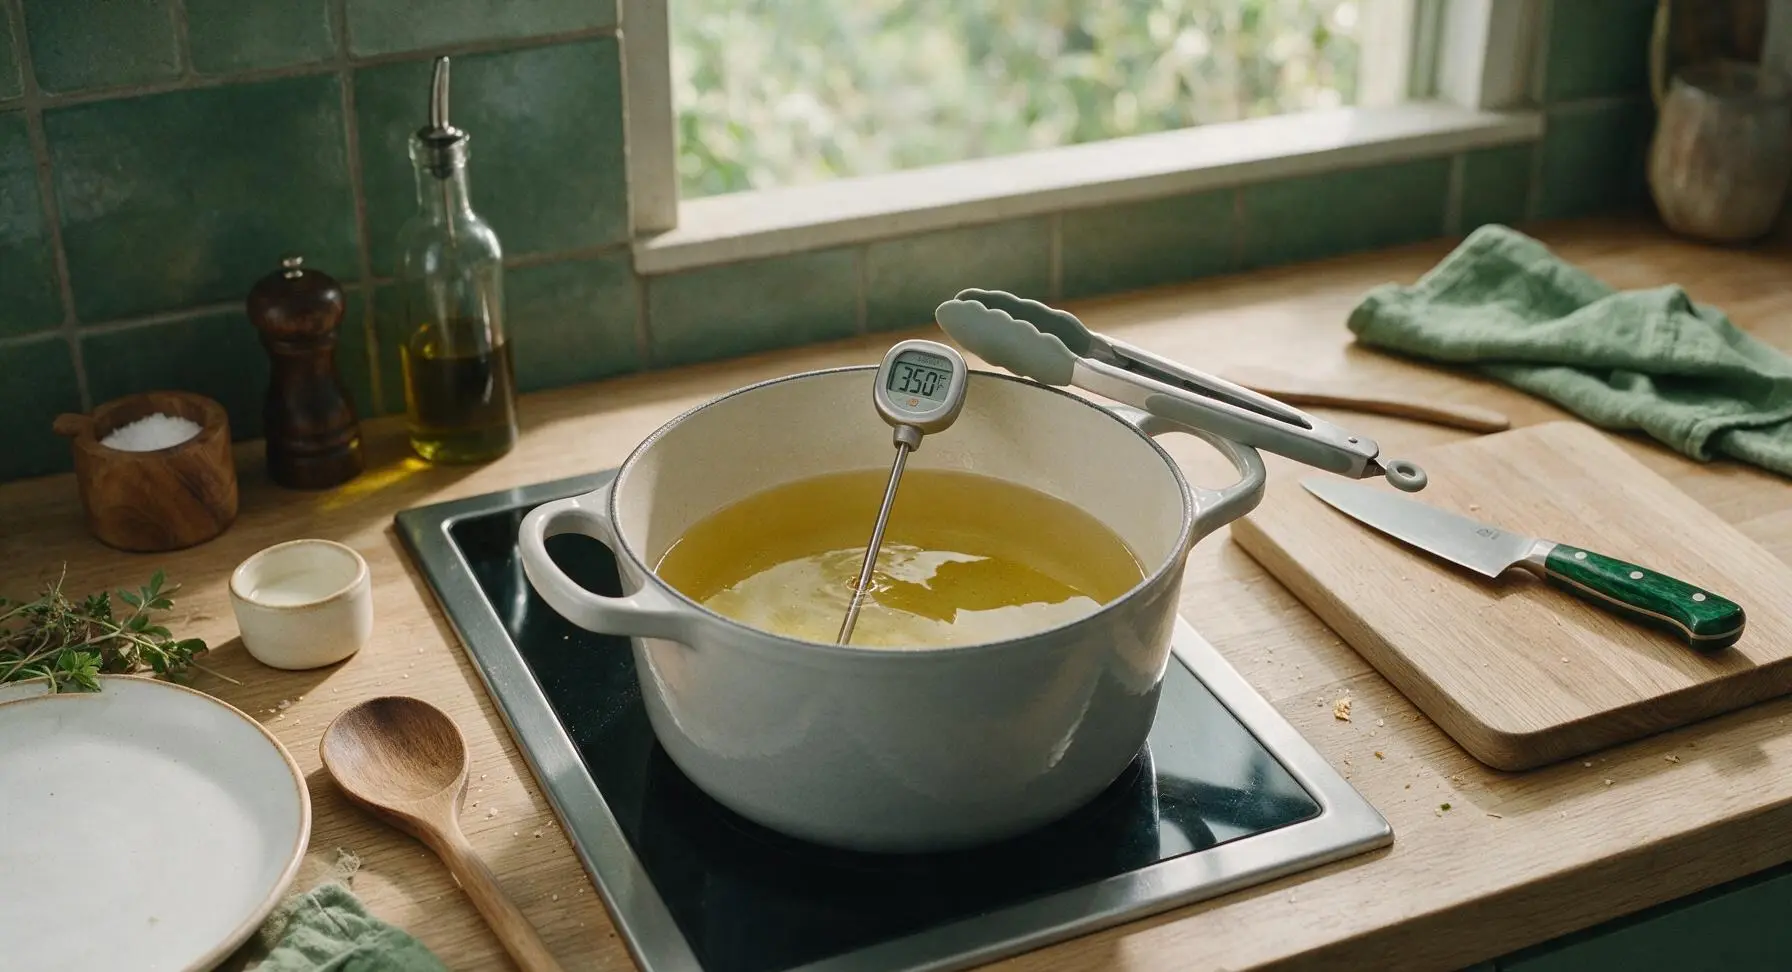
Pour 1.5 quarts of neutral oil into the light grey enameled cast iron Dutch oven, set it on the centered stovetop burner over medium heat. Clip or hold the digital instant-read thermometer in the oil, and heat until the oil reaches a steady 350°F (175°C). Adjust the stovetop heat as needed to maintain this temperature throughout frying, as oil that is too hot will burn the crust before the chicken cooks, and oil that is too cool will create a greasy, soggy coating.
Par-Fry to Set Crust
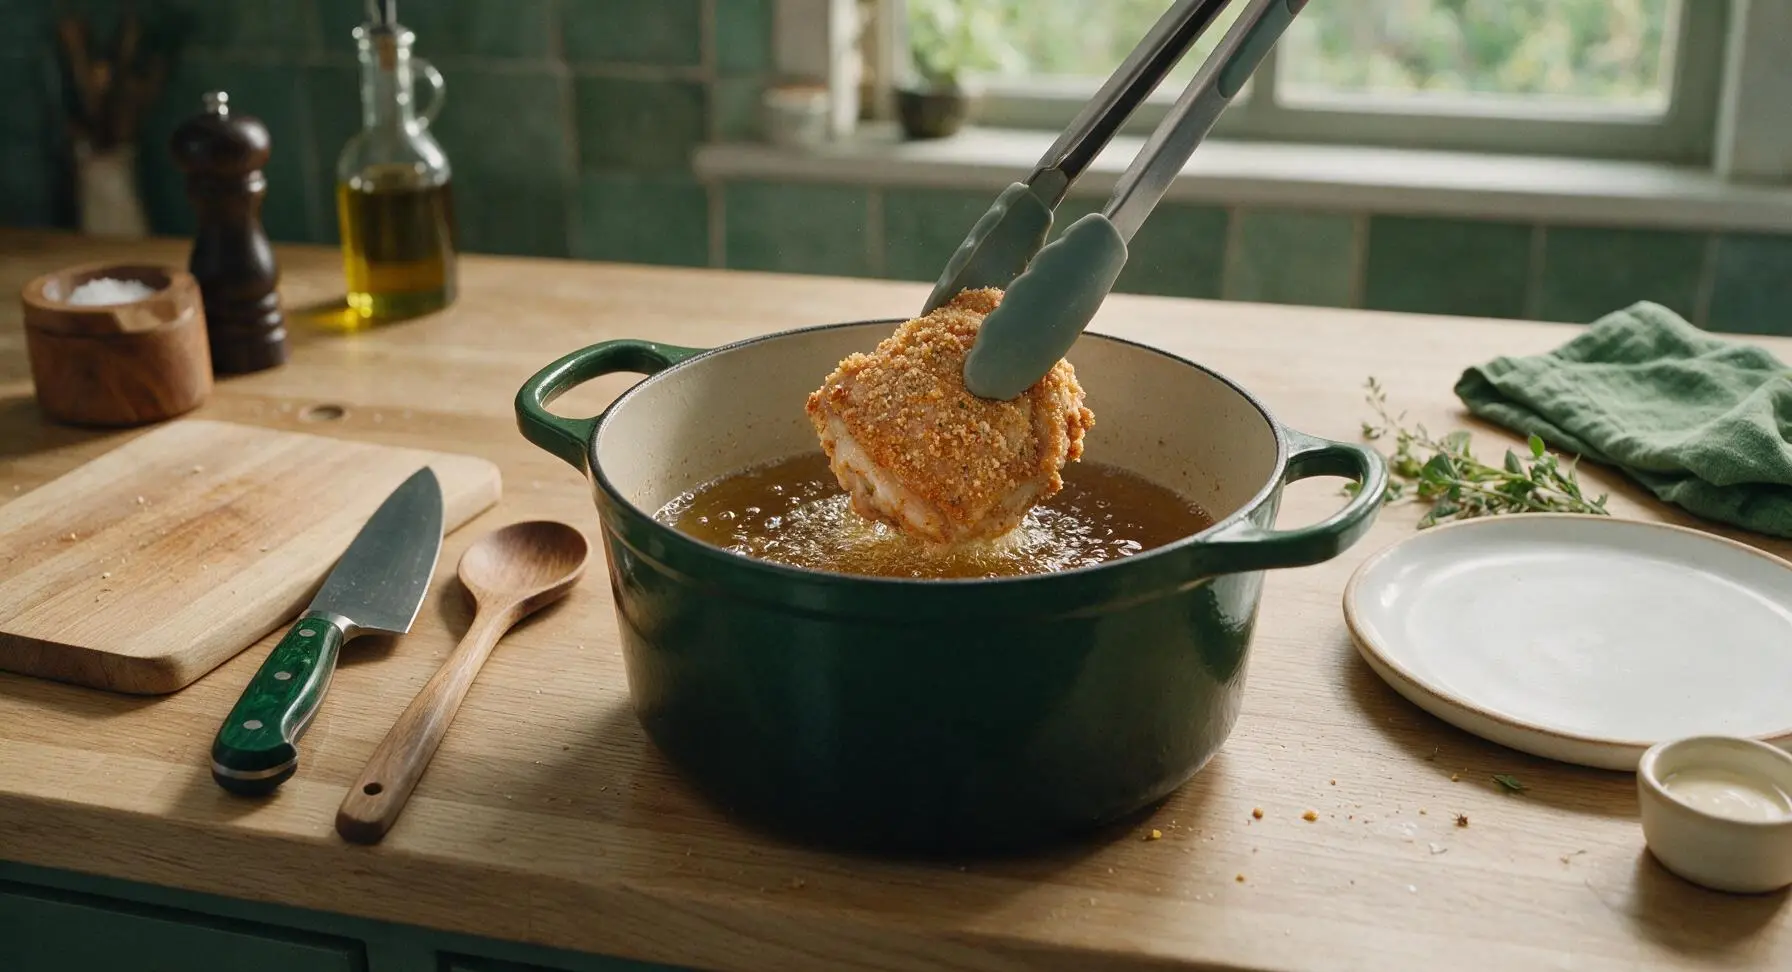
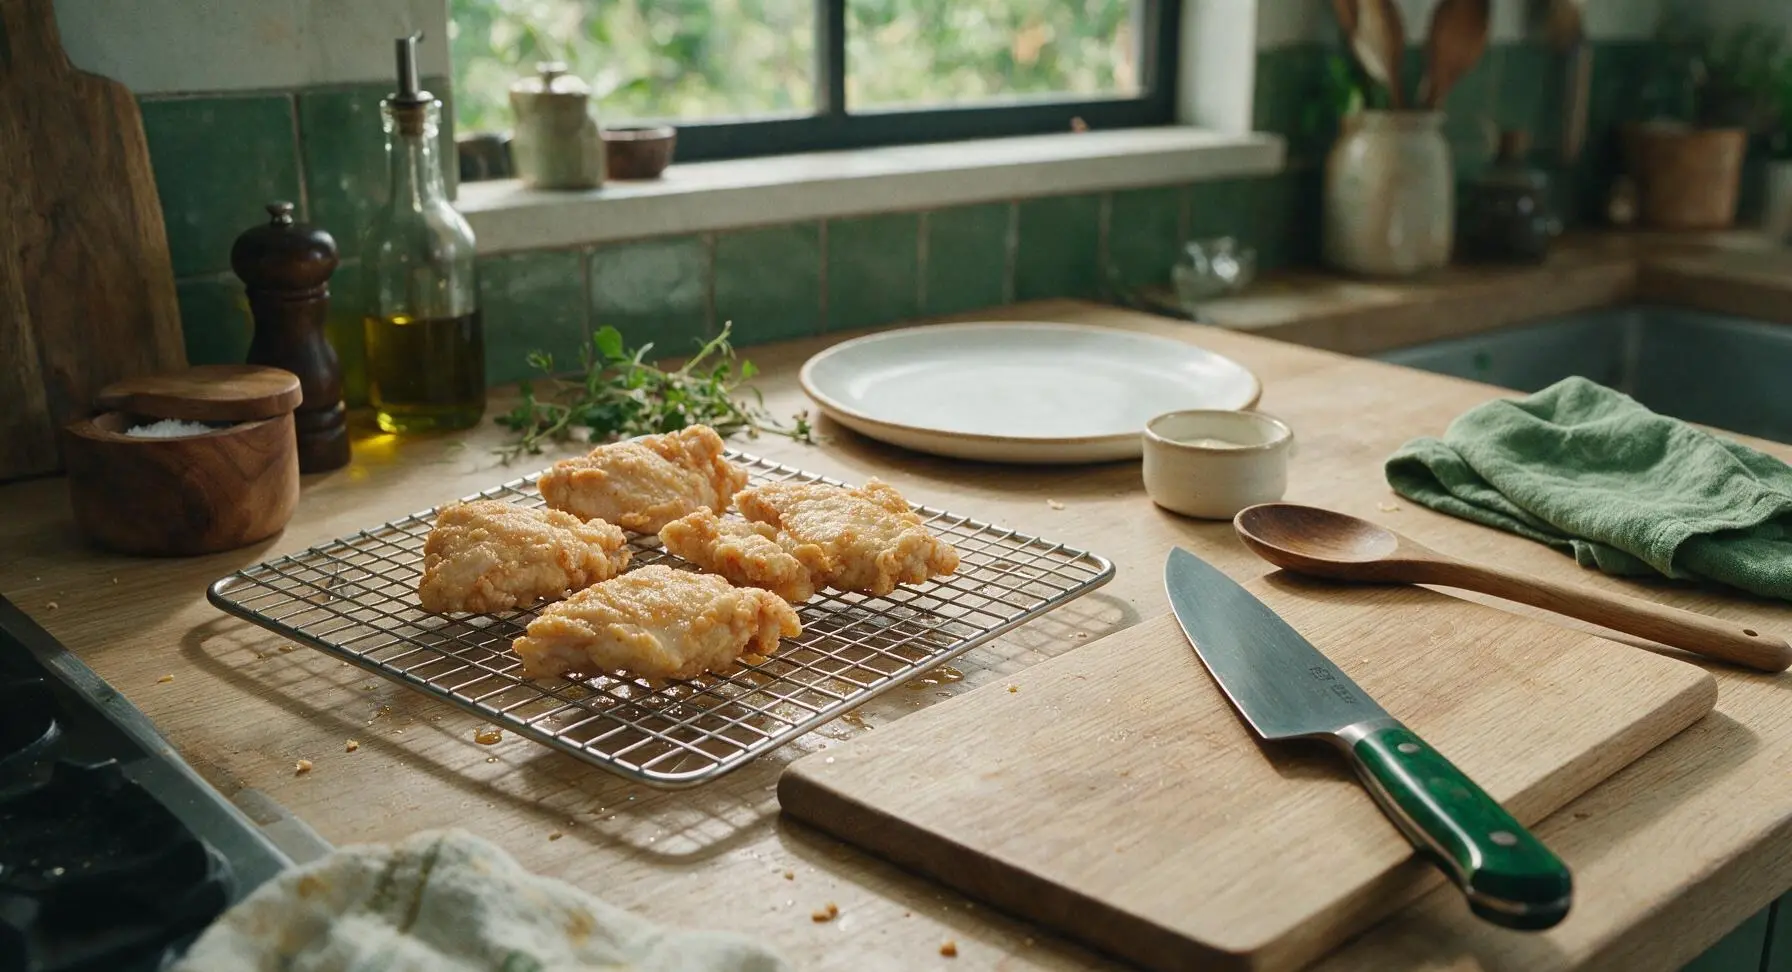
Using the silicone-tipped tongs, carefully lower 3-4 chicken pieces into the hot oil at a time, taking care not to overcrowd the pot (overcrowding drops oil temperature too quickly). Fry for 6 minutes total, flipping each piece once at the 3-minute mark, until the crust is a pale, even golden brown and fully set, but not deeply browned (the chicken will finish cooking from frozen). Transfer par-fried chicken back to the clean wire rack to drain excess oil.
Cool and Freeze
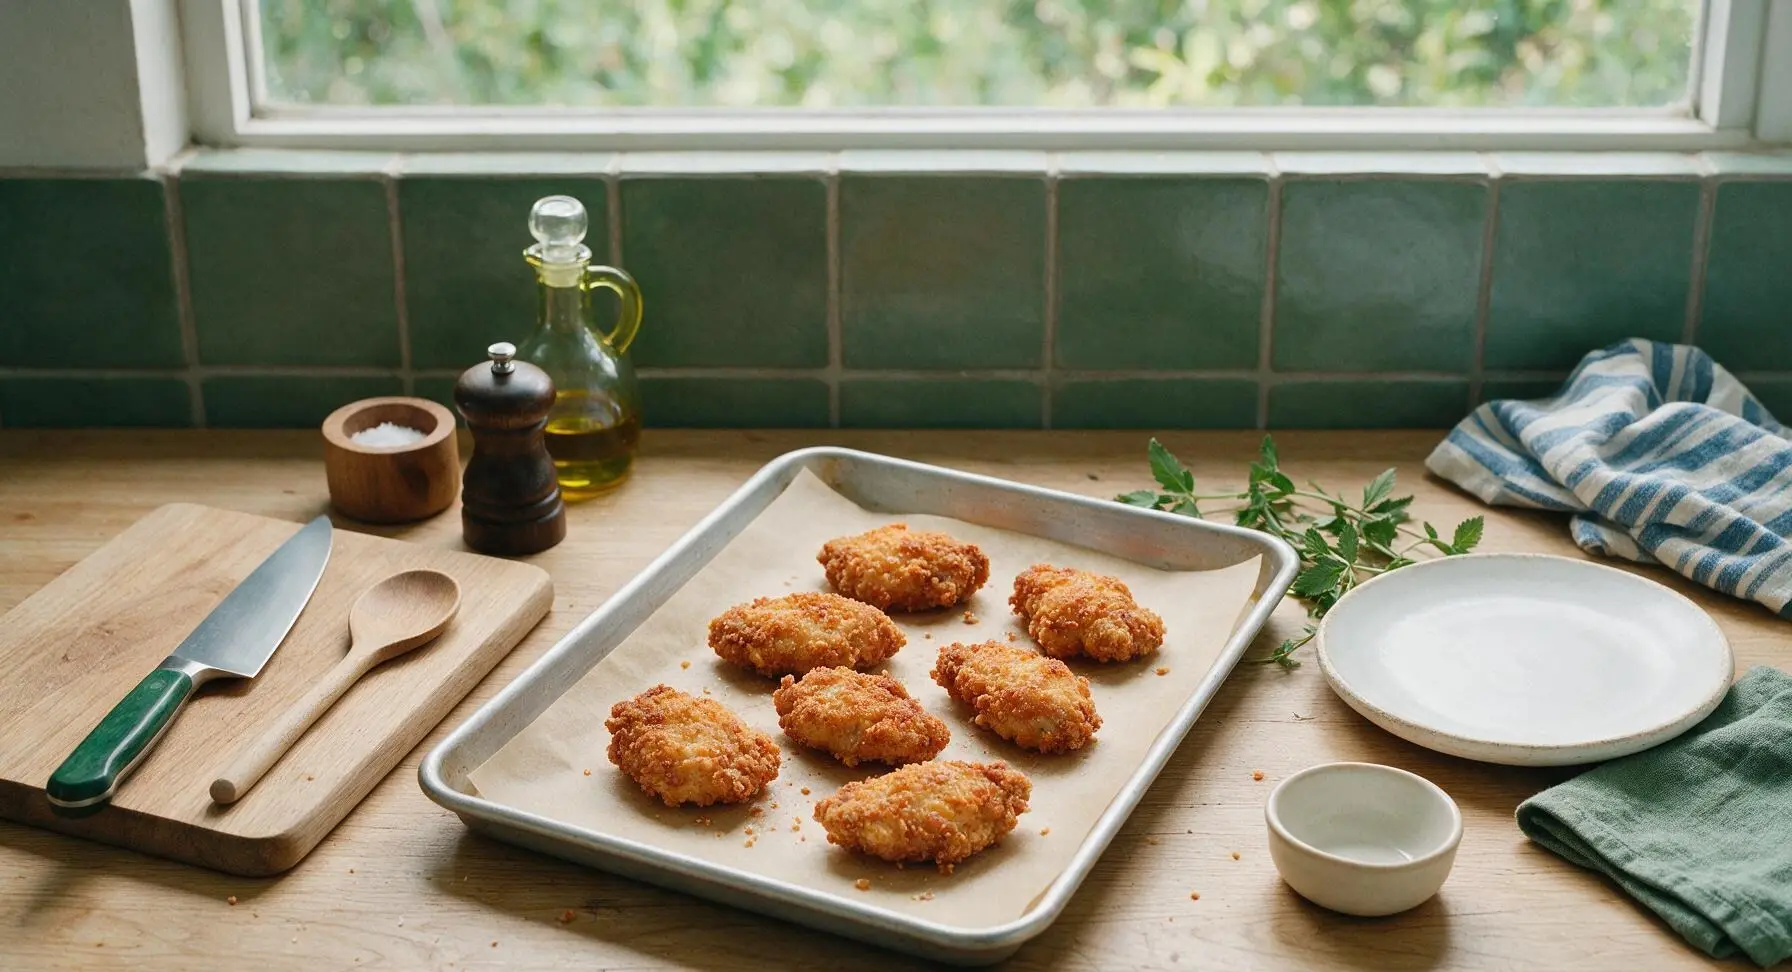
Let par-fried chicken cool completely to room temperature on the wire rack, about 30 minutes—cooling prevents condensation from forming in storage, which causes soggy crust. Line the aluminum baking sheet with unbleached parchment paper, arrange cooled chicken in a single, unstacked layer on the sheet, and freeze uncovered for 2 hours until the pieces are rock solid. Transfer frozen chicken pieces to a labeled zip-top freezer bag, and store for up to 3 months. Do not stack pieces before they are fully frozen, as they will stick together and damage the crust.
Bake From Frozen
When ready to serve, preheat oven to 425°F (220°C). Remove frozen chicken pieces directly from the freezer—do not thaw—and arrange them in a single layer on the wire rack set over the aluminum baking sheet. Bake for 25-30 minutes, flipping each piece once at the 15-minute mark, until the crust is a deep, rich golden brown and crispy, and the internal temperature of the thickest part of the chicken (away from bone) reads 165°F (74°C) on the instant-read thermometer.
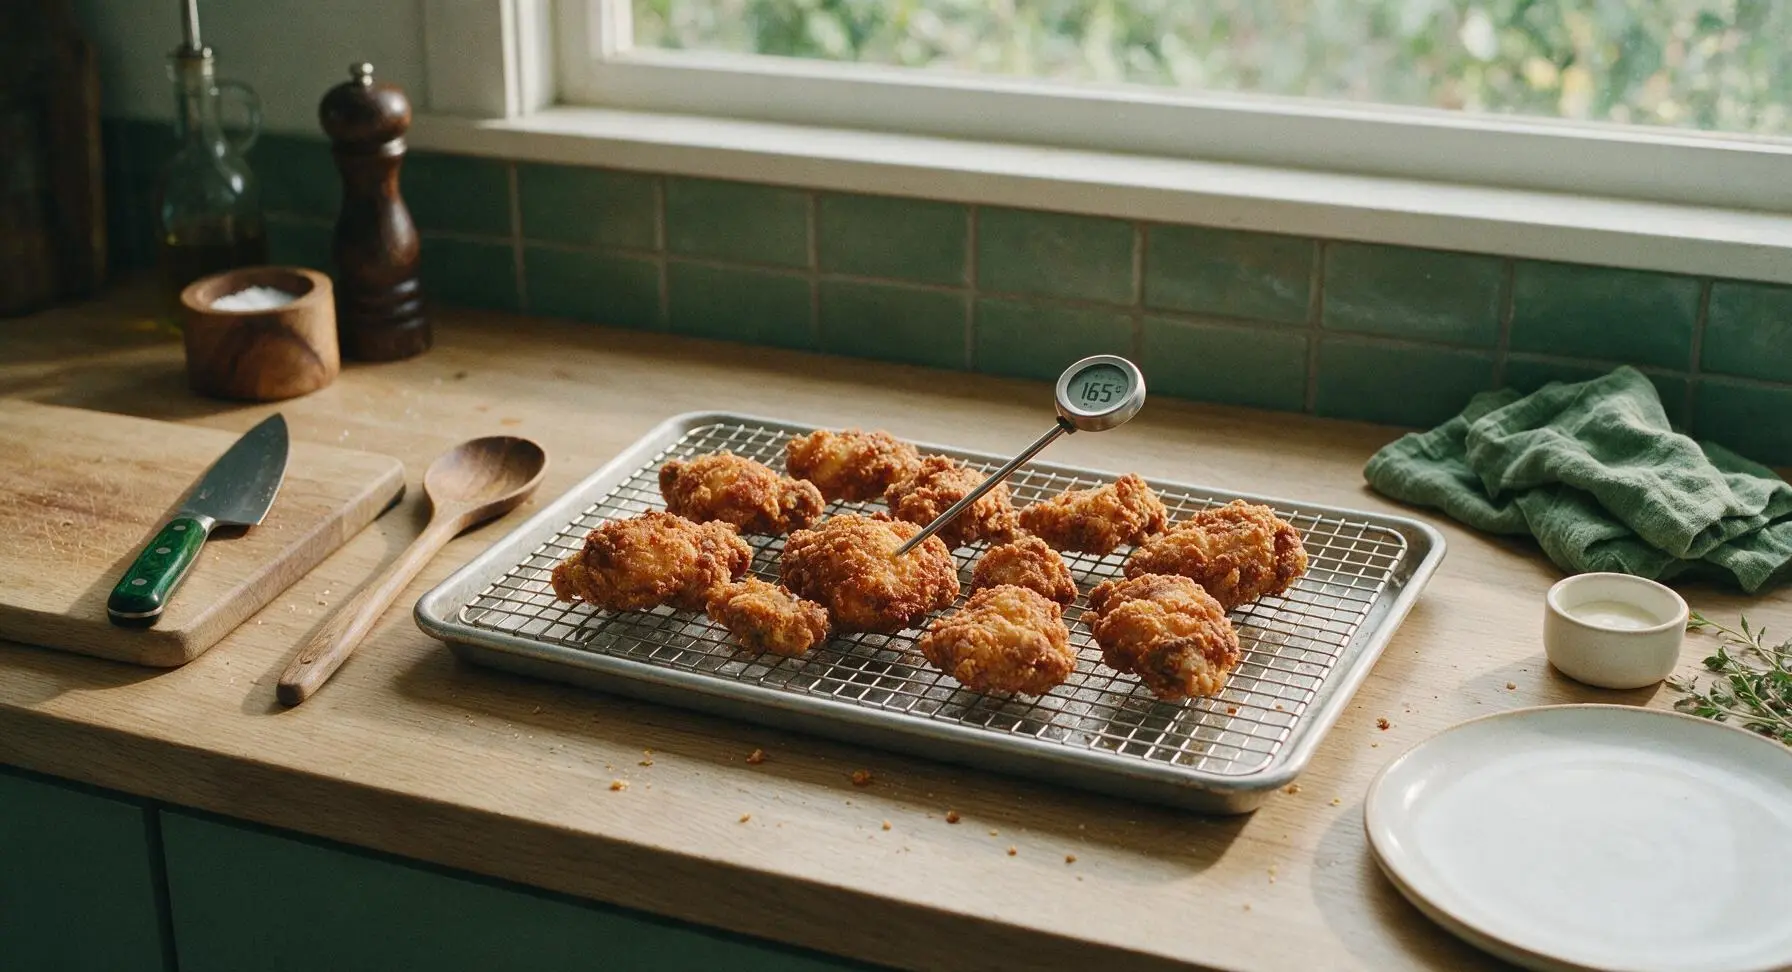
Plate and Serve
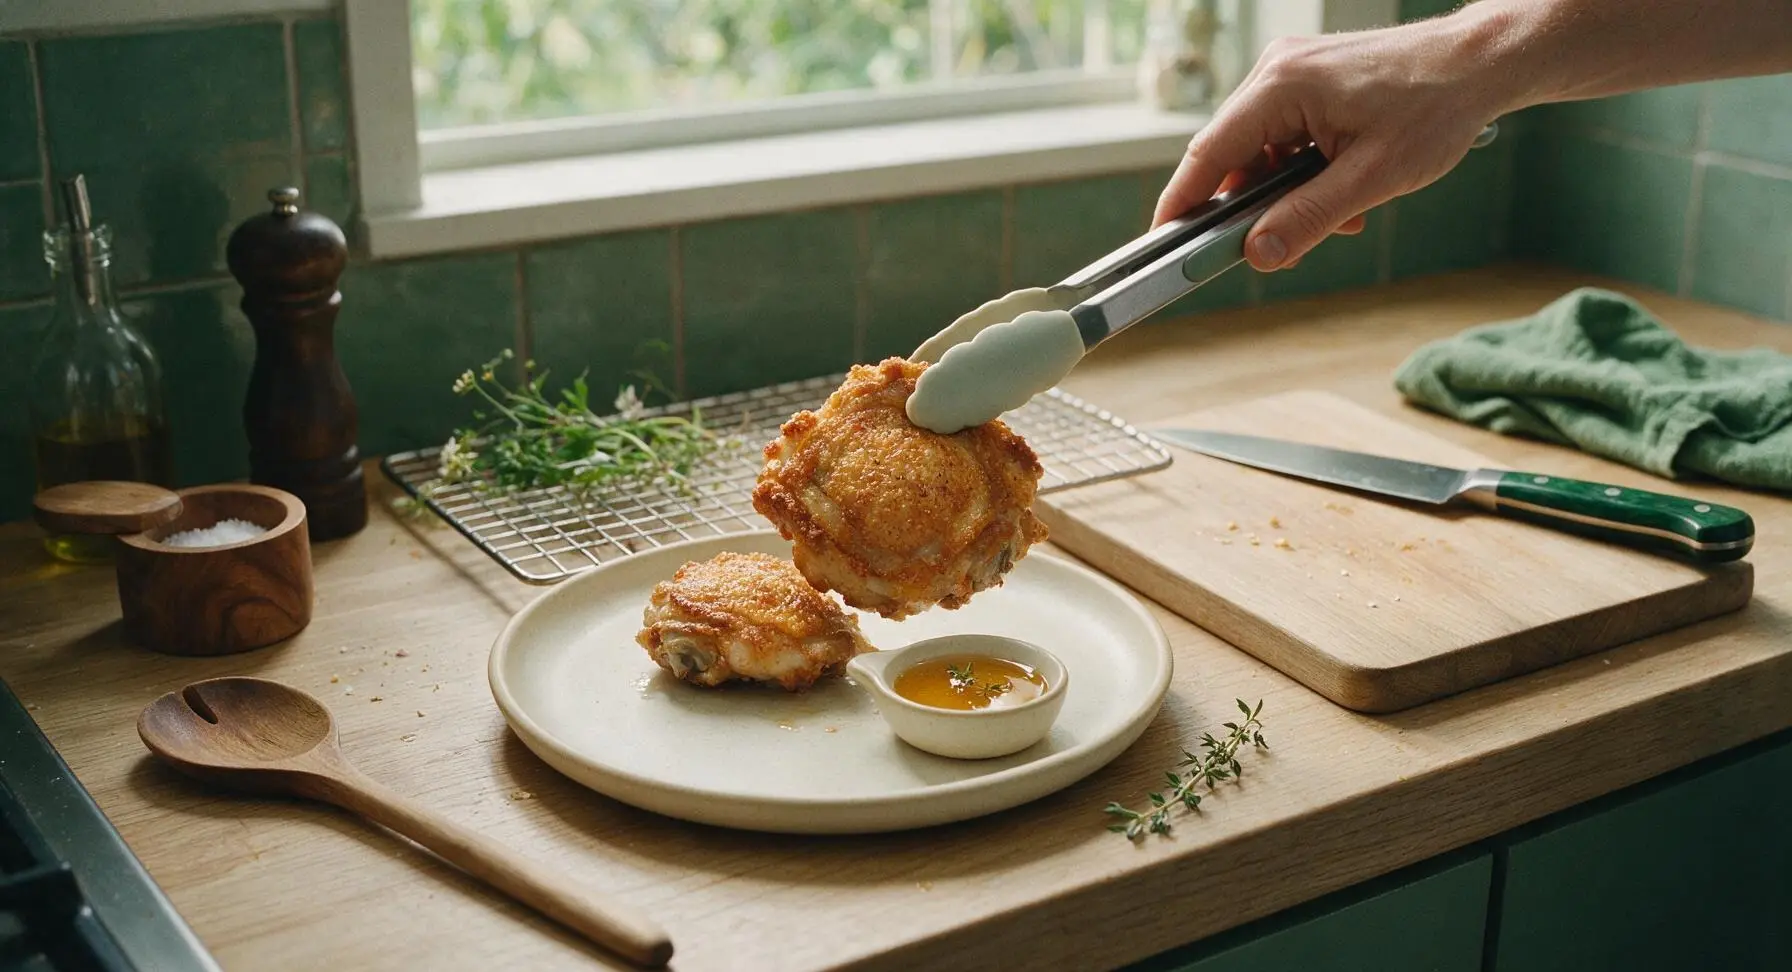
Using the tongs, transfer hot crispy chicken pieces to the matte cream stoneware dinner plate. Fill the matching cream stoneware ramekin with wildflower honey for dipping, place it on the plate, and tuck a small sprig of fresh thyme next to the chicken as a simple garnish. Let chicken rest 3 minutes before serving to let juices redistribute back into the meat, rather than running out when you take the first bite.
Tips
2.The double-dredge coating method (flour → egg → flour) creates a thick, craggy crust barrier that stays crisp through freezing and reheating; a single thin flour coat will turn soft and leathery after frozen storage.
3.Always use a wire rack for cooling, freezing, and baking chicken: setting chicken directly on a solid baking sheet traps steam against the crust, creating soggy spots, while the open rack allows 360-degree air circulation for maximum crunch on every side.
4.Wait 15 minutes after breading to let the coating set before frying: this resting period lets the flour hydrate and adhere to the chicken, so the crust won’t slide off during frying, freezing, or reheating.






OMG this is such a game changer! I usually dread frying chicken on busy weeknights because the mess and time is so overwhelming, but par-frying a big batch on Sunday and popping these in the oven straight from frozen? My kids devoured every piece last night, no sad soggy skin or bland meat at all. 10/10 will be a permanent meal prep staple for our family dinners.
Took a batch of this to my neighborhood potluck last weekend and people were hounding me for the recipe all night. The crust stayed crispy even after sitting out for an hour on the buffet table, which I never would’ve expected from frozen fried chicken. Only note is I added a little extra smoked paprika to the breading for a deeper smoky kick, worked like a charm.
SO good! I was skeptical that frozen fried chicken could taste as good as fresh, but the par-fry method locks in so much flavor and the bake from frozen step gets the skin perfectly crunchy. I portioned these out into individual bags for quick work lunches this week, way better than hitting the drive-thru on my lunch break.
I’ve been making fried chicken for 40+ years and was pretty sure frozen make-ahead versions couldn’t hold a candle to fresh, hot out of the cast iron. Color me wrong! This method works beautifully, the chicken stays juicy and the breading doesn’t slide off when you bake it. I will say I used my own seasoned salt blend instead of the one listed, but that’s just personal preference.
Made a test batch of these last week and they were incredible! Wait, hold up – can I freeze these for longer than a week? I want to stock a bunch in my deep freezer for nights when I don’t have any energy to cook, but I don’t want the breading to get freezer burnt. Anyone tested longer freezer times?
Made these for my fantasy football draft party last Sunday and they were gone in 10 minutes flat. I did a mix of drumsticks and thighs, tossed a little hot honey on half the batch for people who like sweet heat, and everyone was raving. Way easier than manning the fryer the whole time guests are over, I’ll be making these for every game day get-together from now on.
First time ever making fried chicken and this was way less intimidating than I thought! The medium difficulty rating felt totally doable even as a beginner, I didn’t burn the breading during the par-fry and the baked version came out so juicy. My roommates thought I ordered takeout lmao. Only thing is I wish I made a double batch because there were zero leftovers.