
best homemade fried chicken

title 1
best homemade fried chicken
⏱️ cook time 30 minutes
🍽️ servings 4
⚡ Difficulty medium

intro

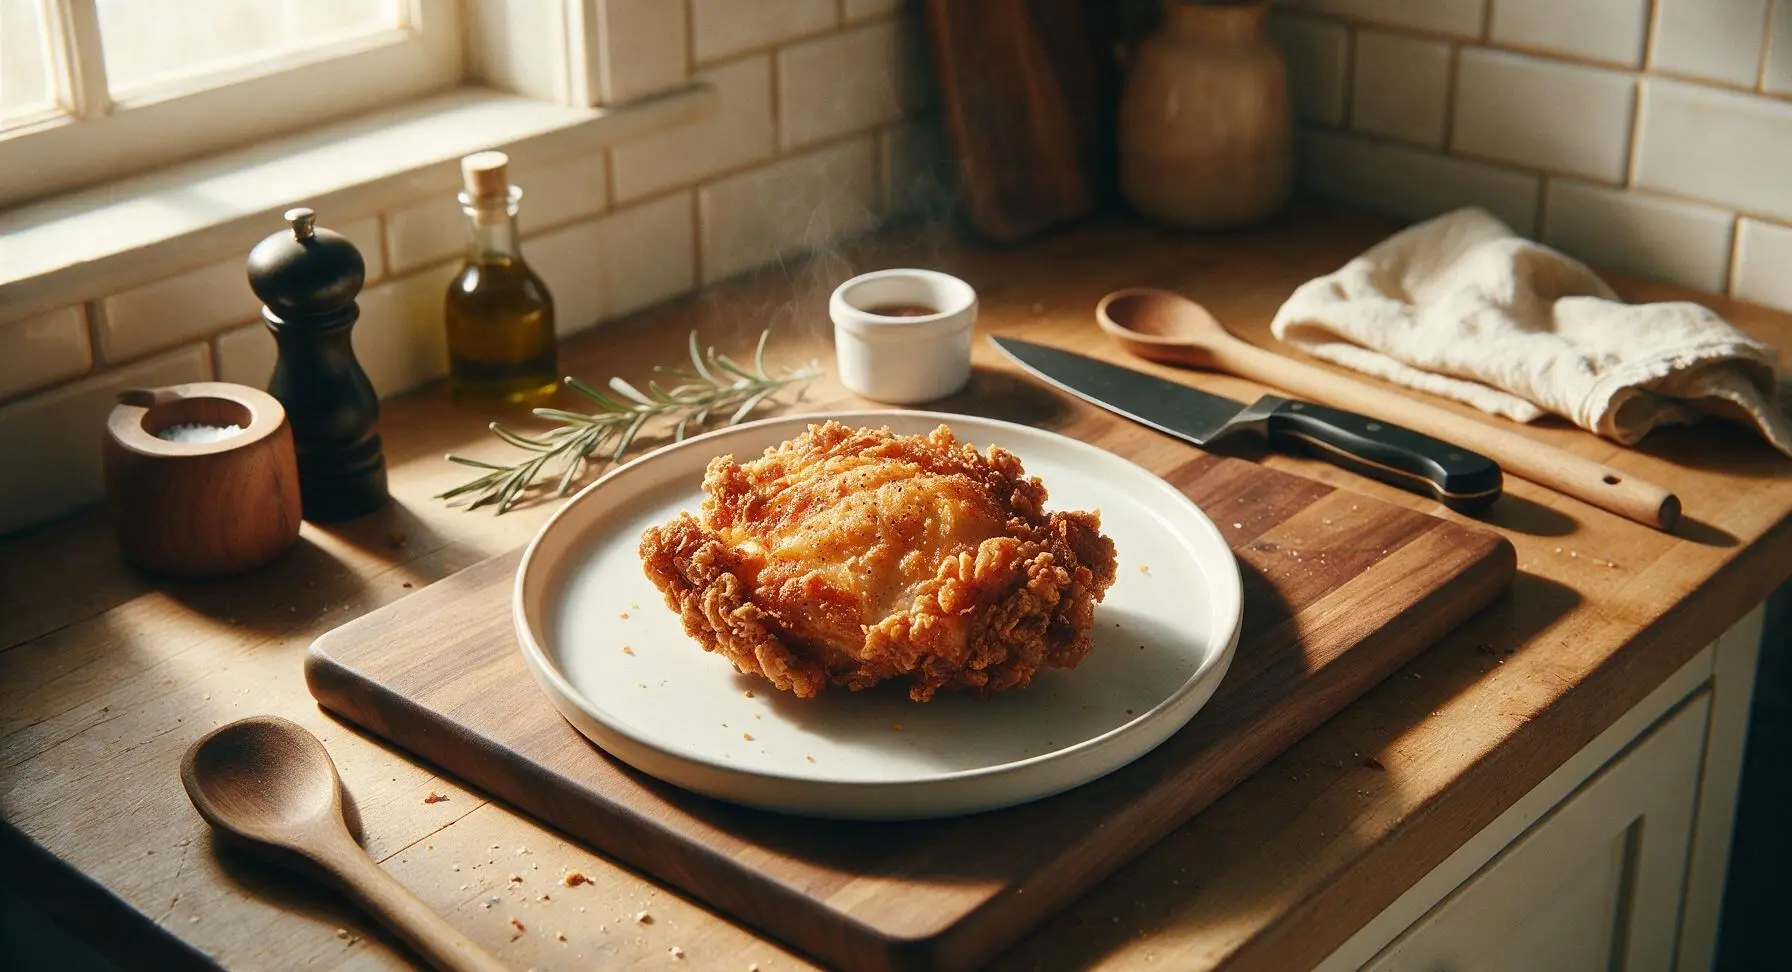
Shatteringly crisp, well-seasoned crust gives way to juicy, tender meat in this classic Southern fried chicken, the nostalgic centerpiece of any family meal.

Ingredients
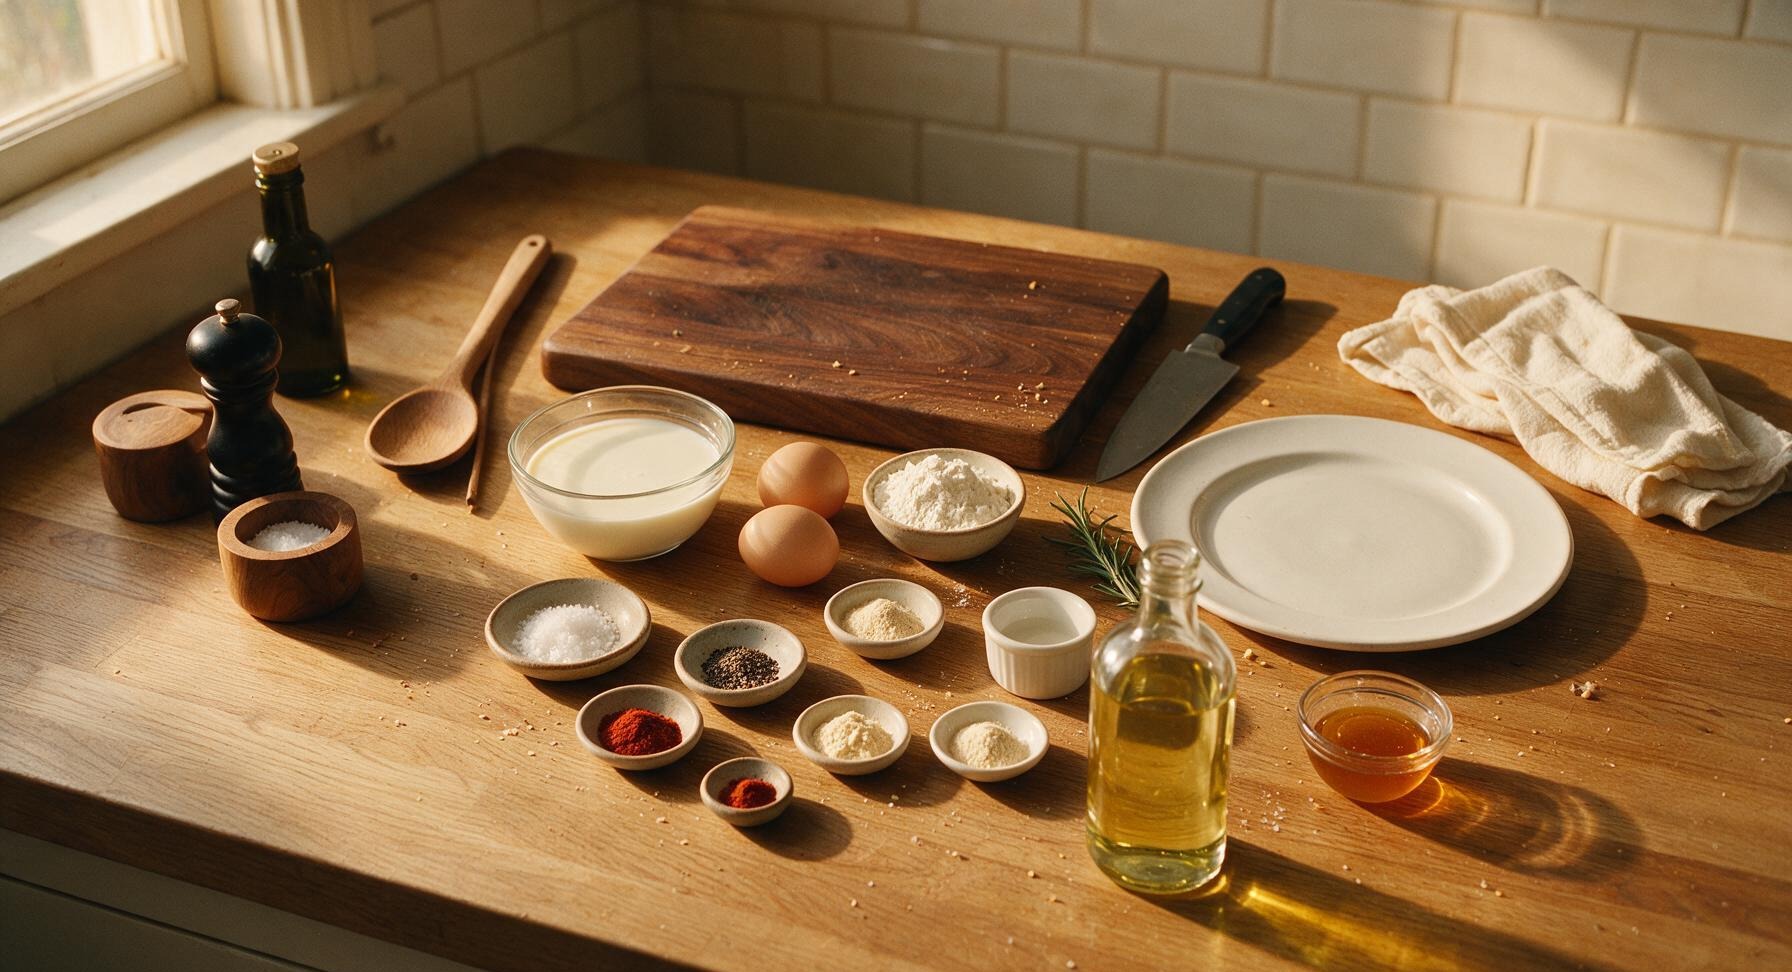
Bone-in, skin-on mixed chicken pieces (drumsticks, thighs, breasts, wings) 1.3kg (3 lbs)
Full-fat buttermilk 2 cups (480ml)
Large eggs 2
All-purpose flour 2 cups (240g)
Kosher salt 1 tbsp + 1 tsp
Freshly ground black pepper 1 tsp
Smoked paprika 1 tbsp
Garlic powder 1 tsp
Onion powder 1 tsp
Cayenne pepper 1/4 tsp
Neutral frying oil (peanut or canola) 1 quart (950ml)
Hot honey (for serving, optional) 2 tbsp

Steps

1

Brine Chicken in Buttermilk

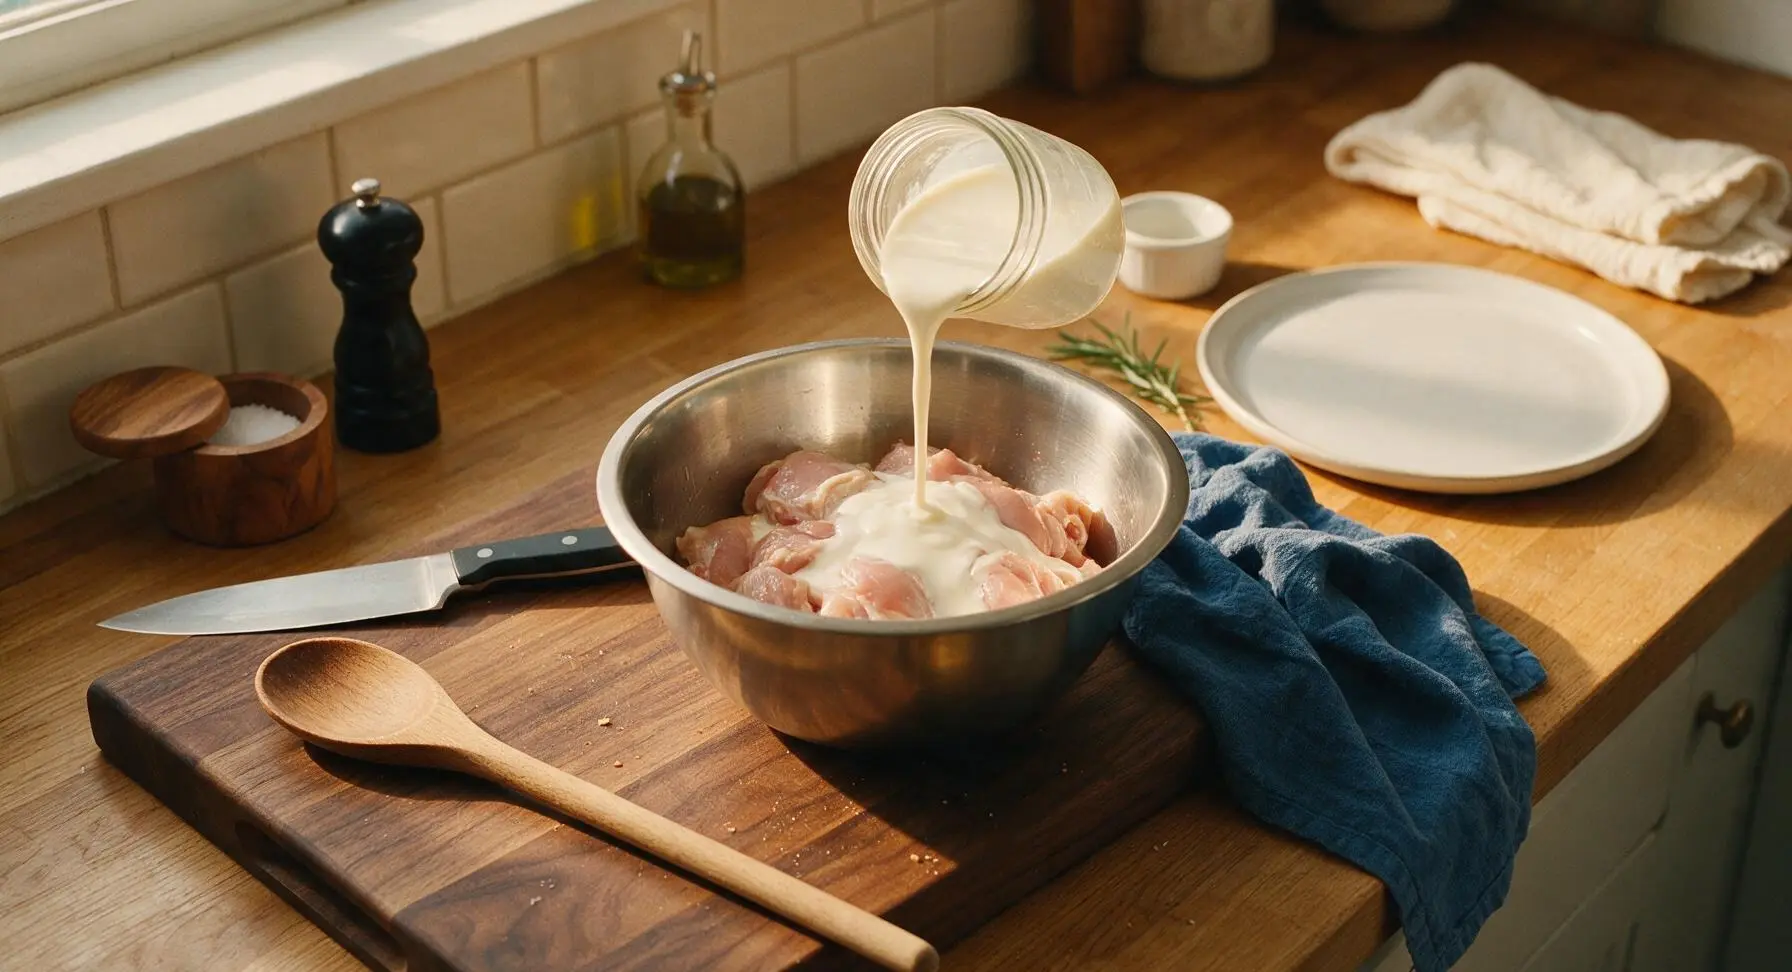
Pat chicken pieces completely dry with the indigo cotton kitchen towel, then place them in the largest (24cm) stainless steel mixing bowl. Pour buttermilk over the chicken, add 1 tsp kosher salt, and stir with the walnut spoon to coat every piece fully. Cover the bowl and refrigerate for 8–12 hours (minimum 2 hours for a quick brine) to tenderize the meat. Remove from the fridge 30 minutes before cooking to let chicken come to room temperature, which prevents uneven cooking.
Step 1
step1:Brine Chicken in Buttermilk
2

Set Up Dredge Station

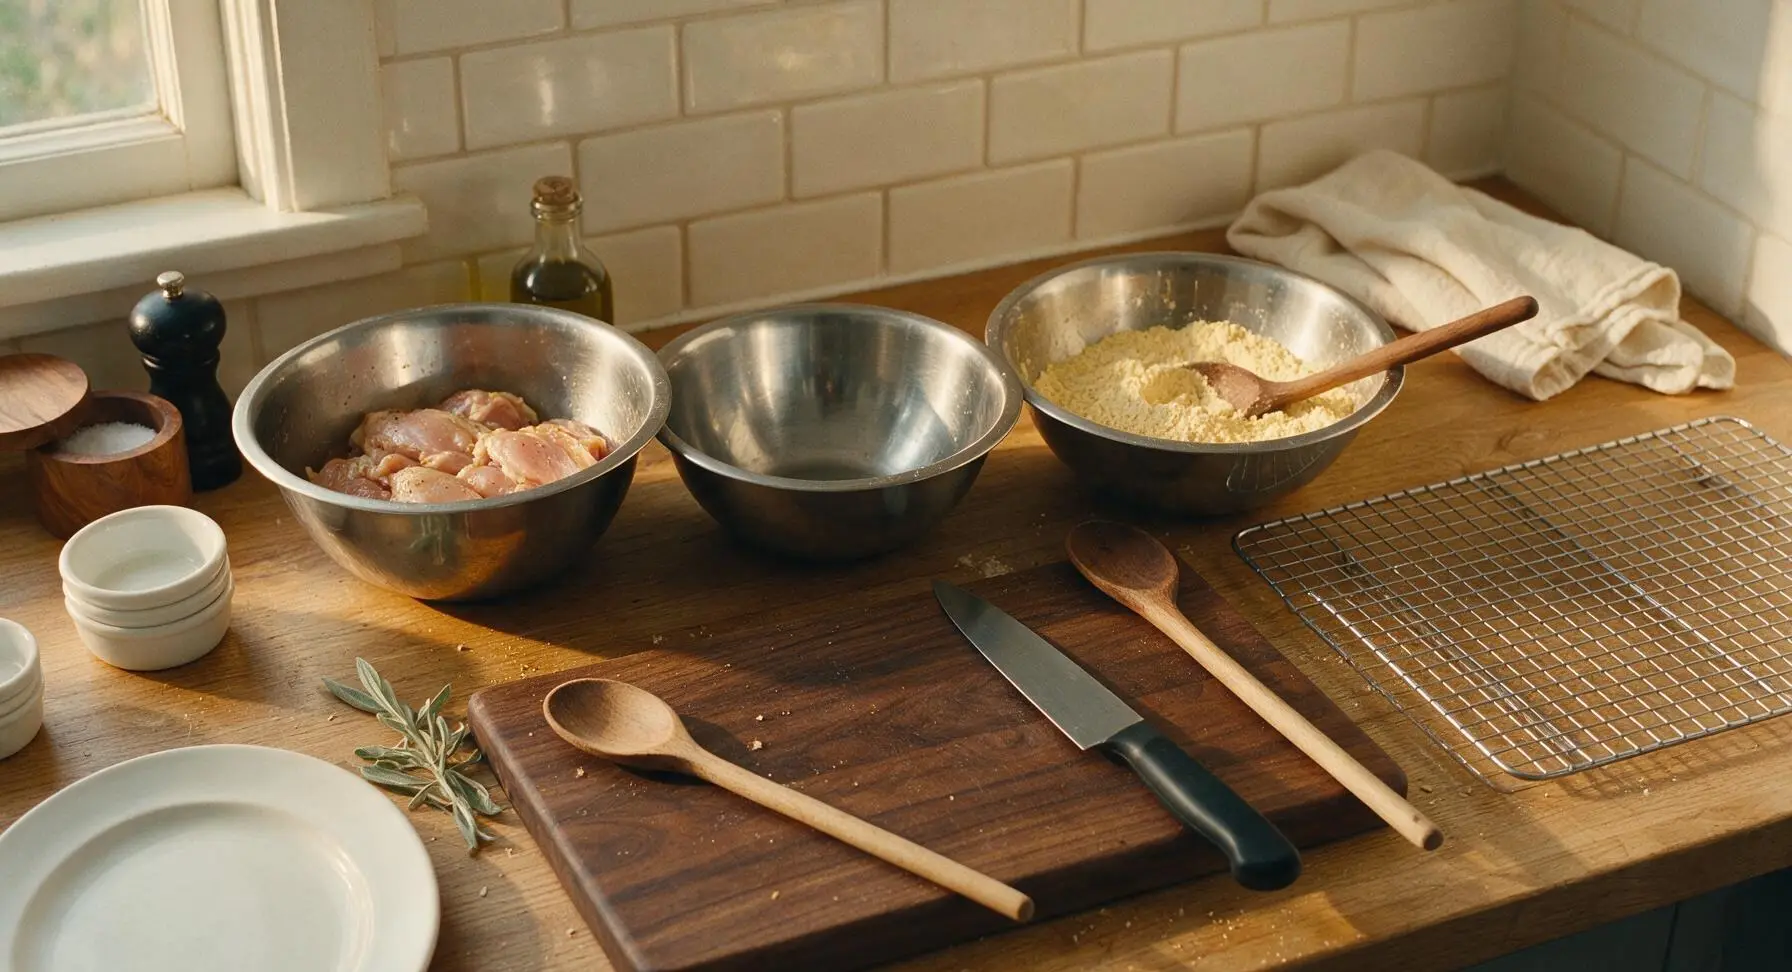
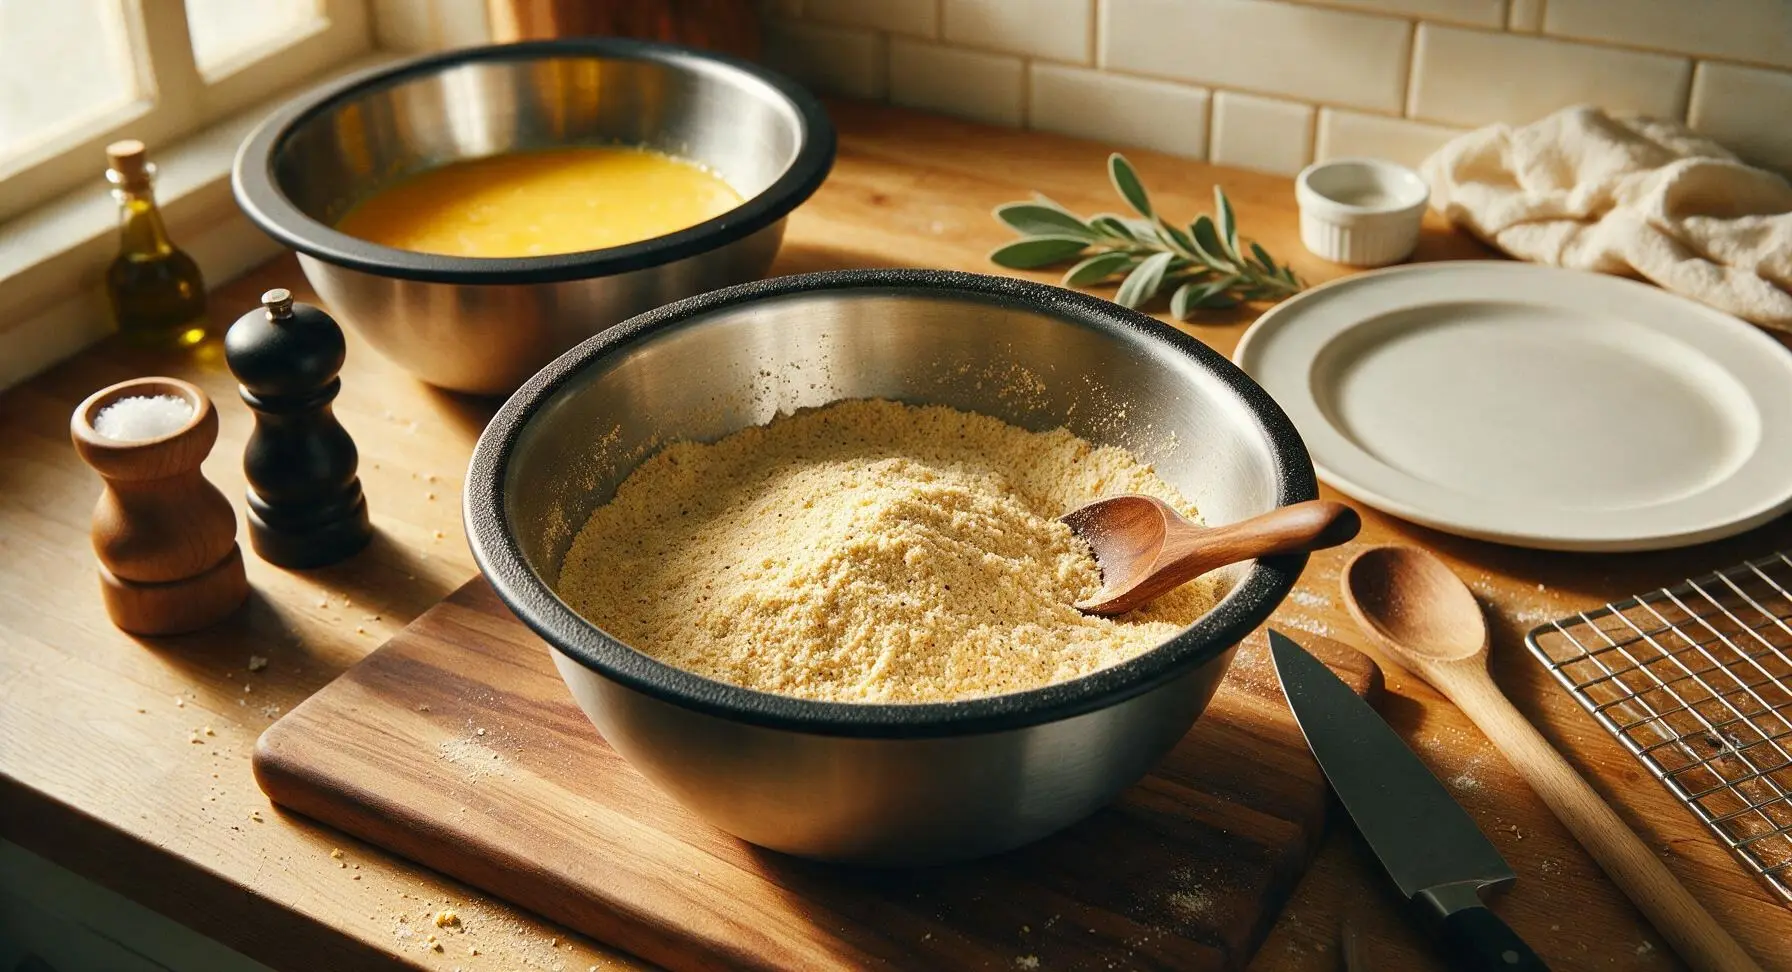
Pull the two smaller stainless steel mixing bowls from the stacked set at the top left counter. In the 20cm bowl, whisk the 2 eggs until completely smooth with no visible streaks of white. In the 16cm bowl, combine all-purpose flour, 1 tbsp kosher salt, black pepper, smoked paprika, garlic powder, onion powder, and cayenne pepper. Stir thoroughly with the walnut spoon to evenly distribute all spices, creating a uniformly pale golden seasoned flour. Position the wire cooling rack to the right of the cutting board, ready to hold draining chicken later.
Step 2
step2:Set Up Dredge Station
Step 2
step2:Set Up Dredge Station
3

Heat Frying Oil

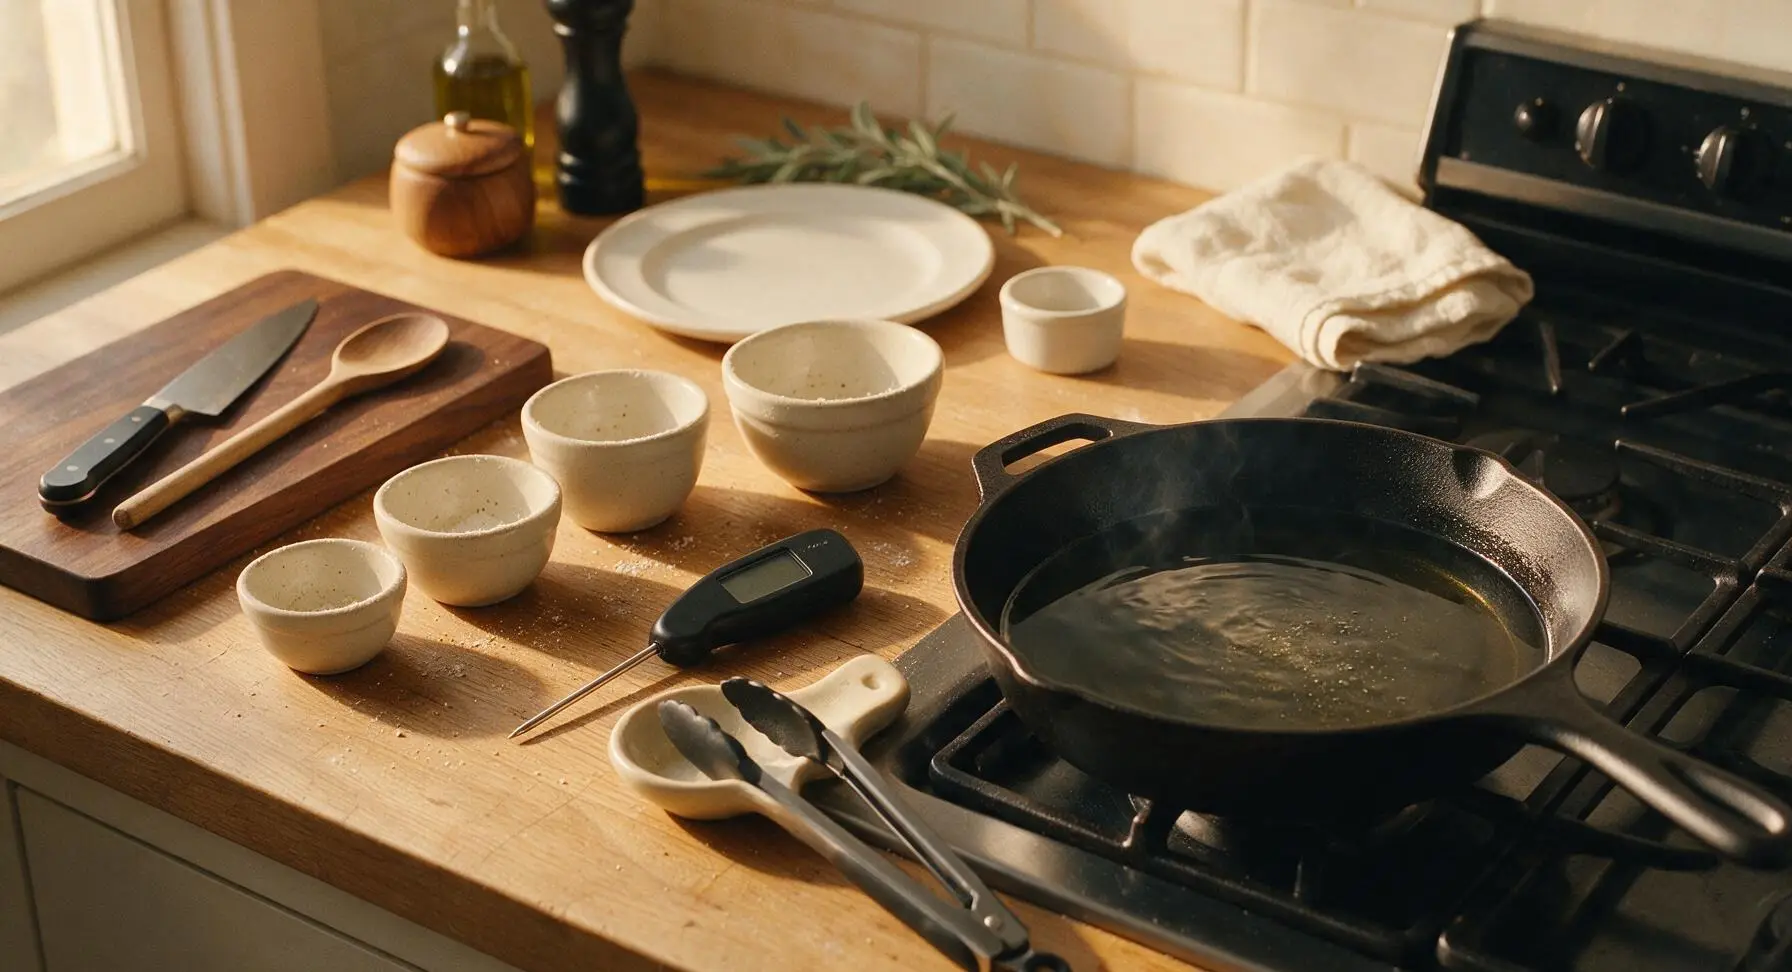
Retrieve the cast iron skillet from lower cabinet storage and place it on the front-right stovetop burner, along with the spoon rest and tongs. Pour neutral frying oil into the skillet until it reaches 1.5 inches deep – do not fill more than halfway up the skillet sides to prevent dangerous boil-over when chicken is added. Heat oil over medium heat until it reaches a steady 350°F (175°C), measured with the digital instant-read thermometer. Adjust burner heat as needed to hold this temperature consistently through all frying batches.
Step 3
step3:Heat Frying Oil
4

Dredge Chicken Pieces

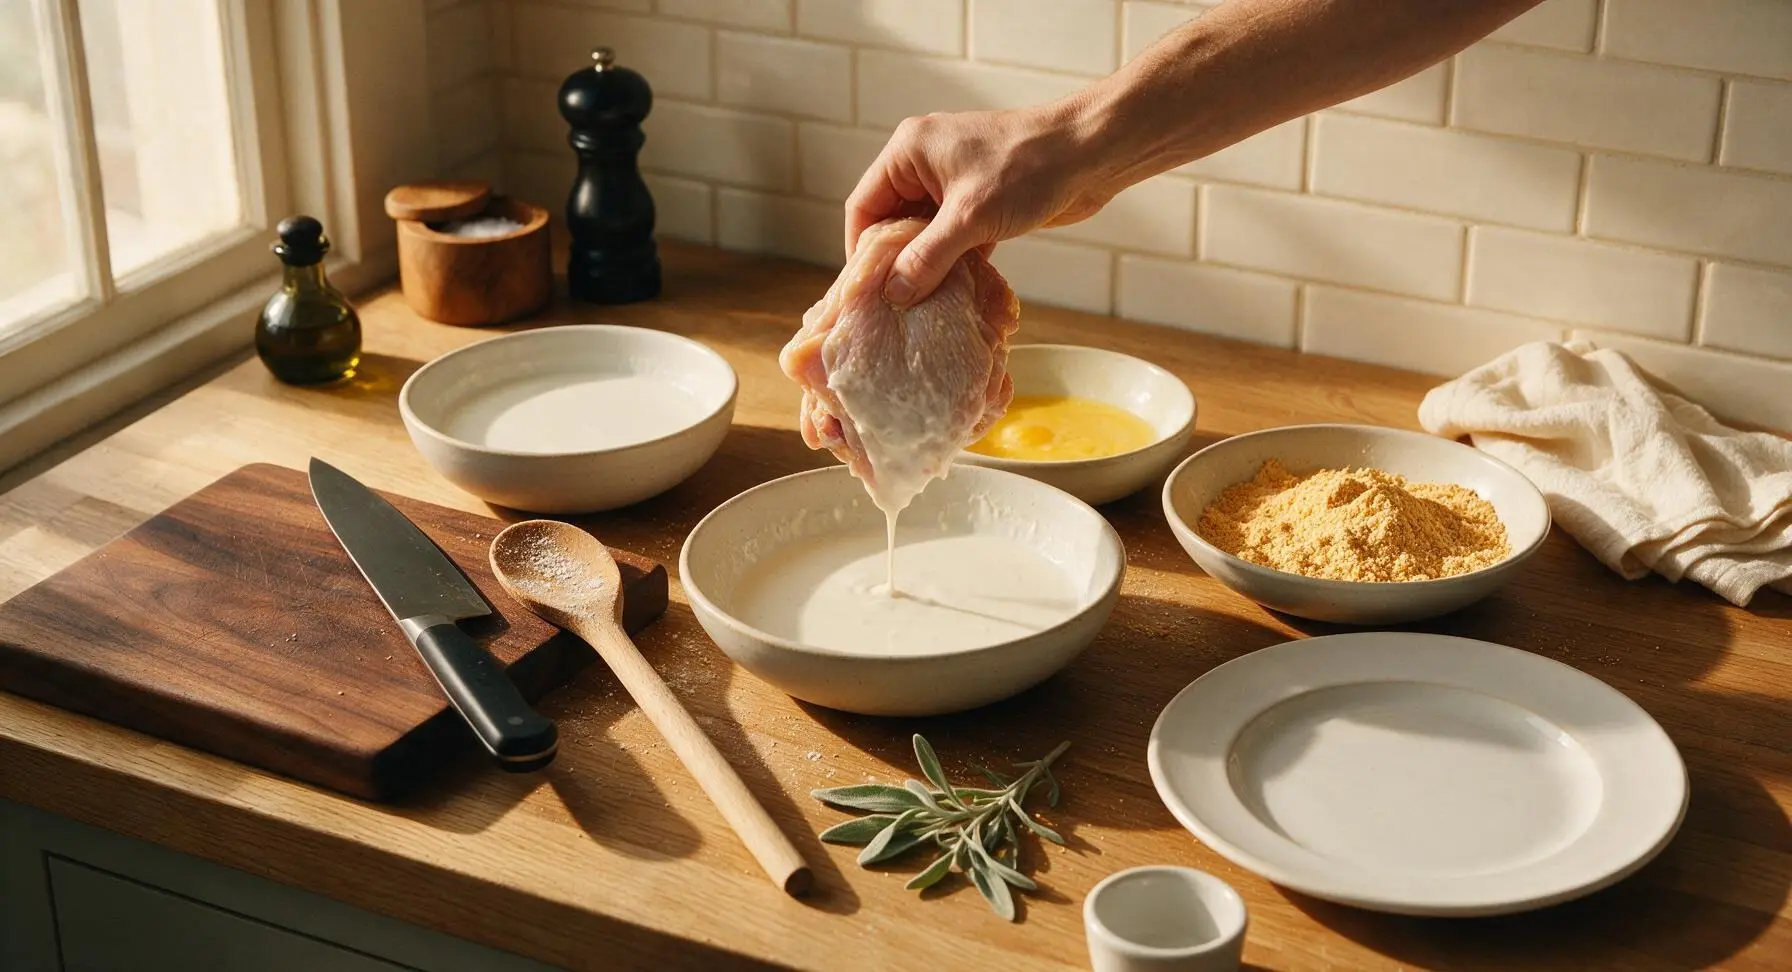
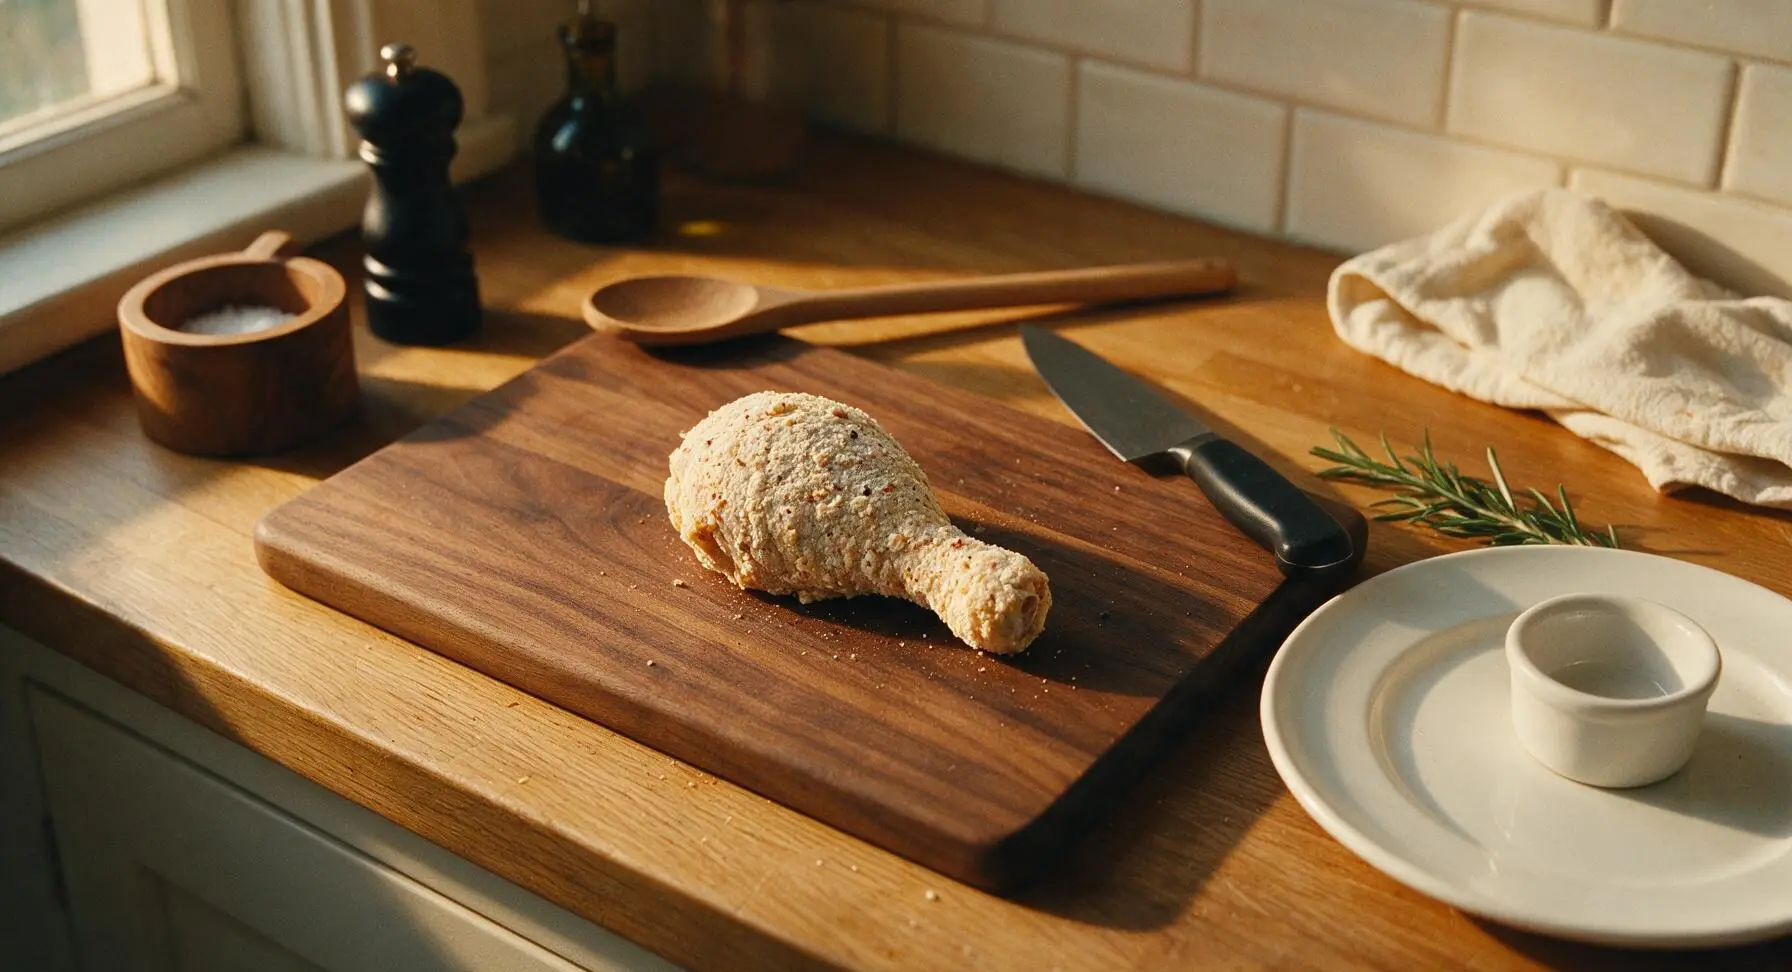
Working one piece at a time, lift chicken from the buttermilk, letting excess brine drip off for 2 seconds. Dip fully into the beaten egg, coating every surface, then press firmly into the seasoned flour, turning to coat all sides including under loose skin edges. Set dredged pieces on a clean section of the maple cutting board. Once all pieces are coated, let them rest for 10 minutes – this allows the coating to form a sticky bond that will not fall off during frying, creating a craggy, crisp crust.
Step 4
step4:Dredge Chicken Pieces
Step 4
step4:Dredge Chicken Pieces
5

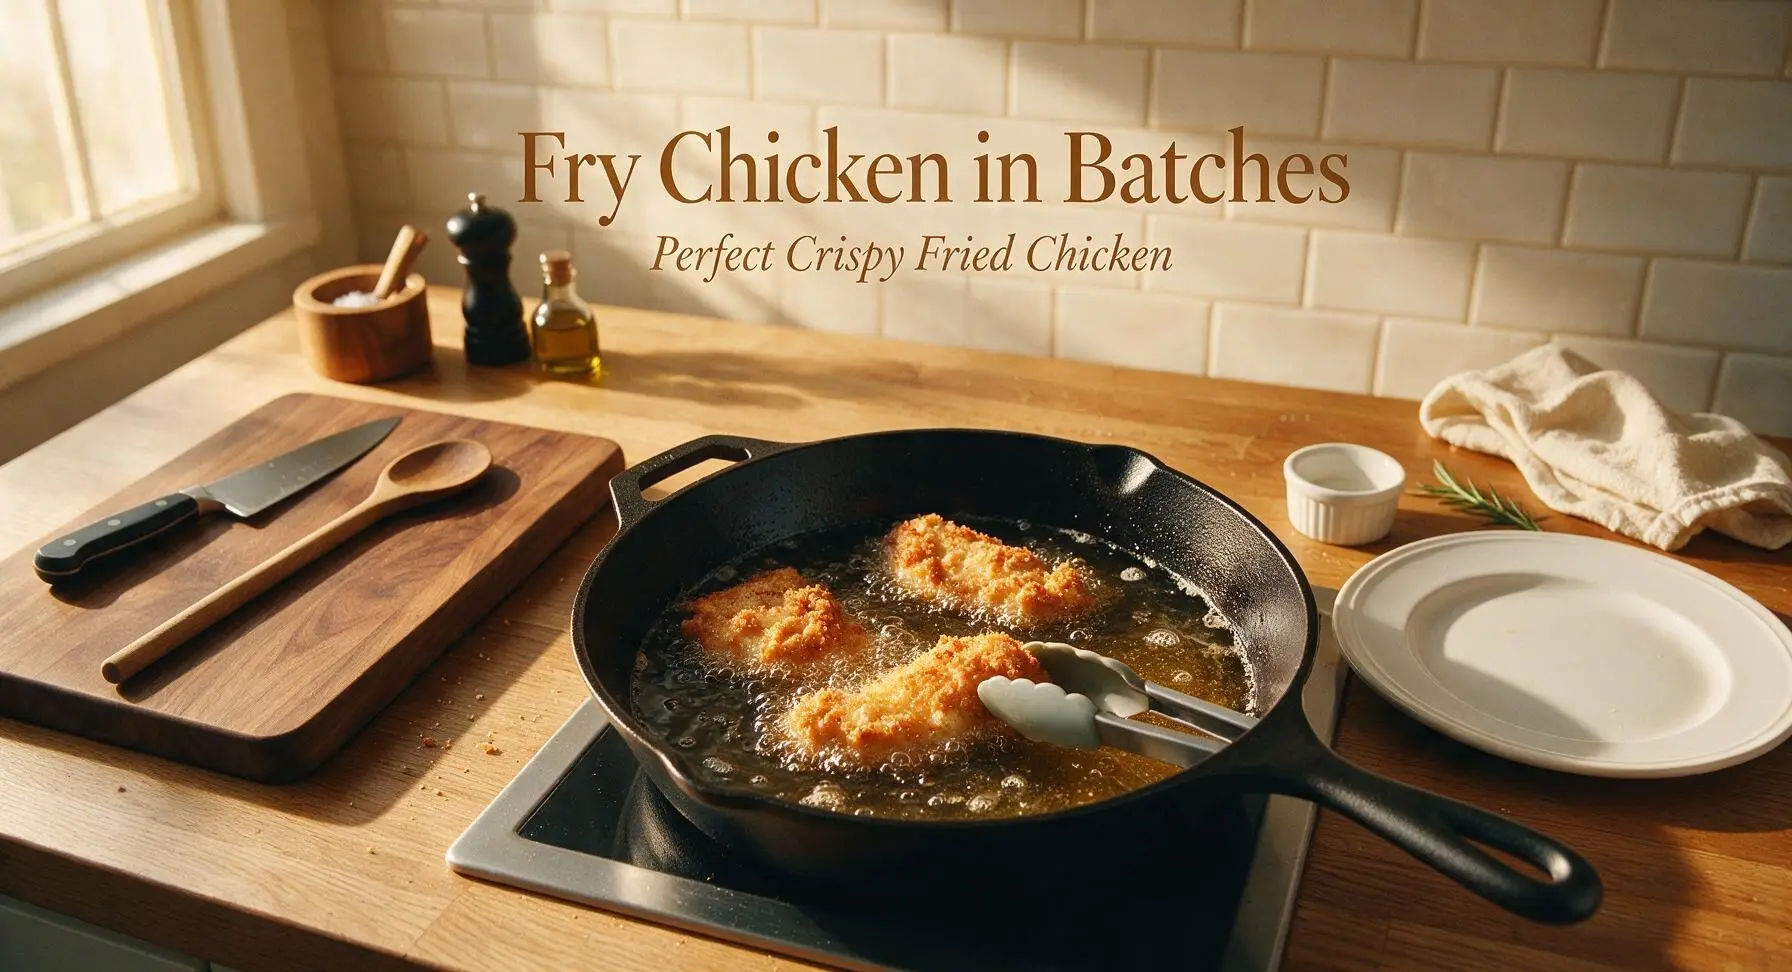
Fry Chicken in Batches

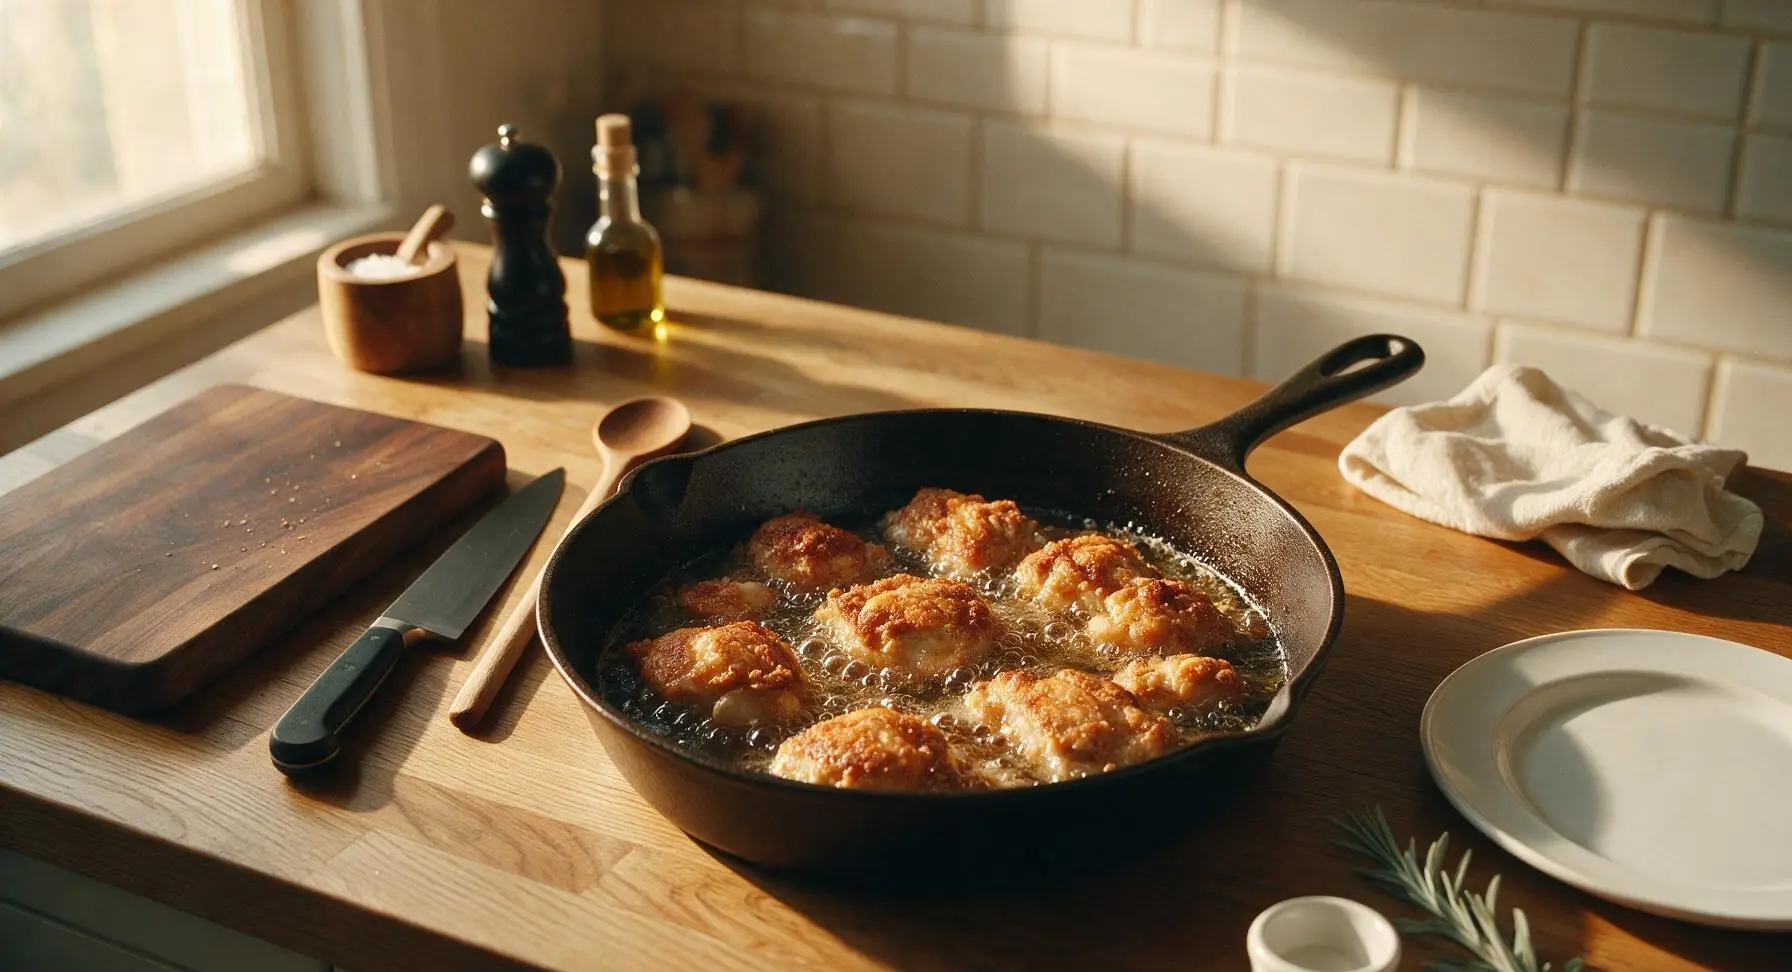
Once oil holds steady at 350°F, use the silicone-tipped tongs to carefully lower 3–4 chicken pieces into the skillet skin-side down, lowering them slowly away from you to avoid hot oil splatters. Do not overcrowd the pan, as this drops oil temperature and leads to soggy crust. Fry for 7–8 minutes on the first side, until the crust is a deep, even golden brown, then flip each piece and fry 6–7 minutes on the second side. Chicken is fully cooked when the instant-read thermometer reads 165°F (74°C) inserted into the thickest part of the meat, not touching bone.
Step 5
step5:Fry Chicken in Batches
Step 5
step5:Fry Chicken in Batches
6

Drain and Rest Chicken

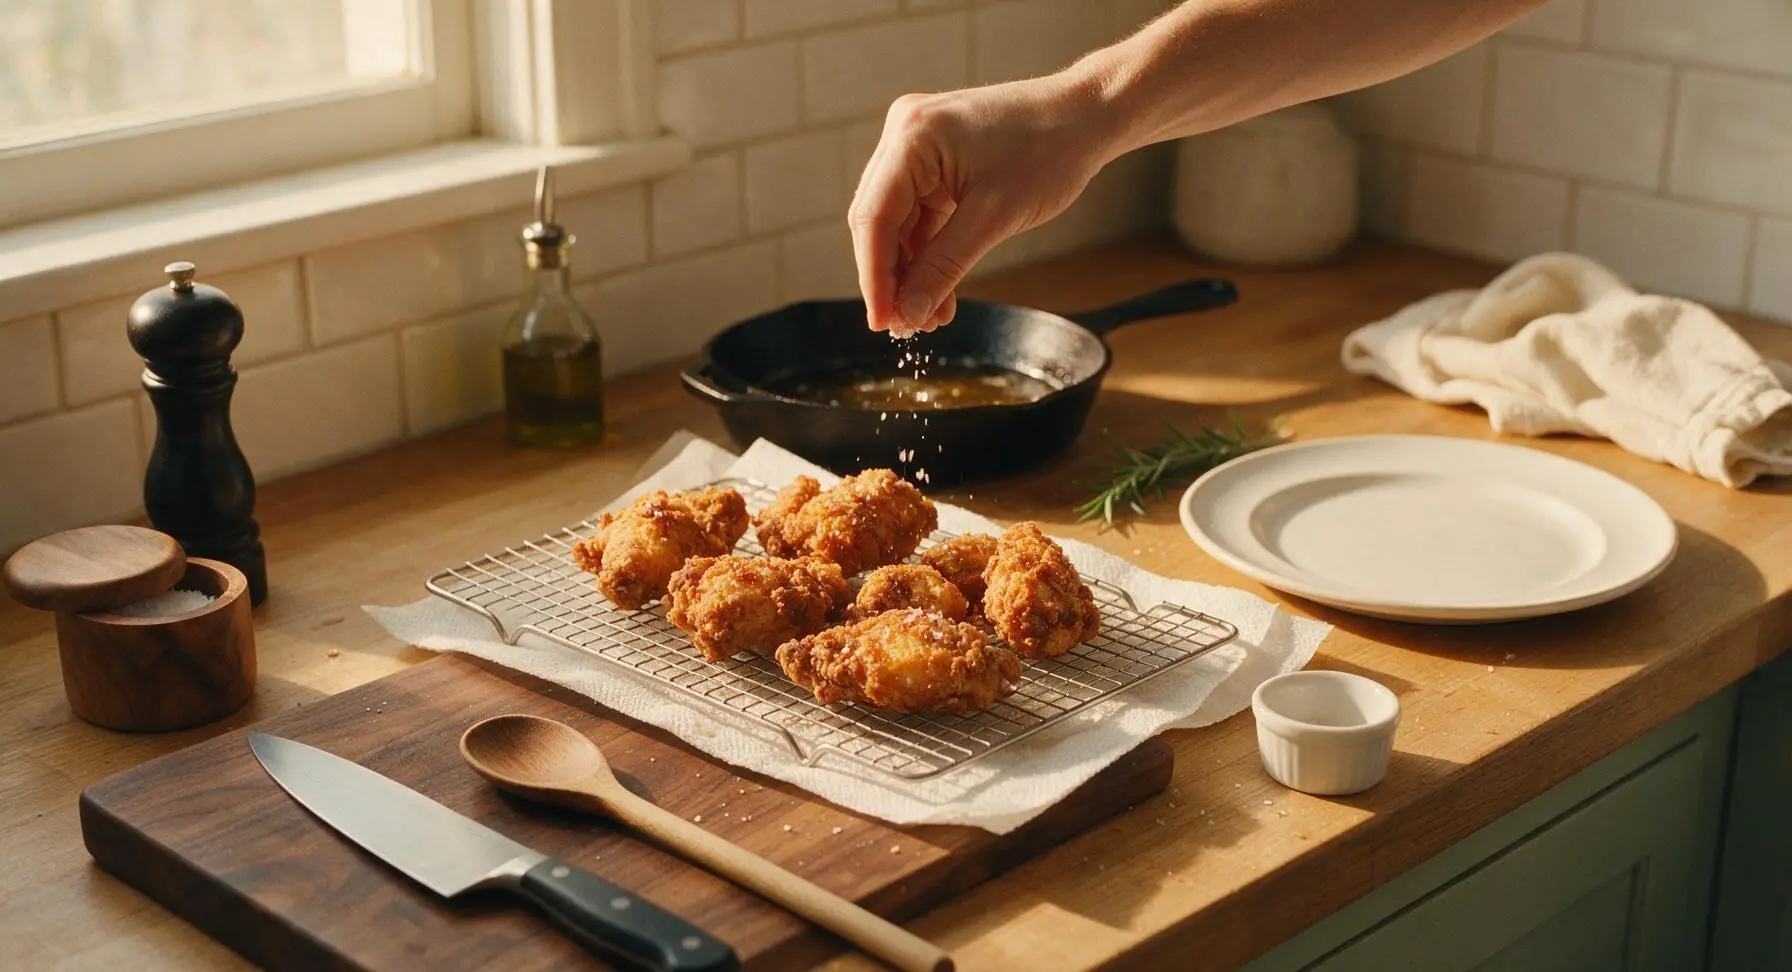
Use tongs to lift cooked chicken pieces from the oil, holding each piece above the skillet for 3 seconds to let excess oil drip back into the pan. Transfer pieces to the wire cooling rack, lined with a single layer of unbleached paper towel. Immediately sprinkle the hot crust with a tiny pinch of extra kosher salt, which will stick to the oily surface perfectly. Let chicken rest for 5 minutes before plating to let the crust set and juices redistribute, so juice does not run out when the chicken is cut.
Step 6
step6:Drain and Rest Chicken

Tips

1.Let dredged chicken rest 10 minutes before frying: this rest time lets the flour and egg mixture hydrate and form a sticky, secure bond to the chicken skin, preventing the crust from sliding off in the oil and creating the signature craggy, crisp texture instead of bare, patchy spots.
2.Hold oil steady at 350°F throughout frying: oil that is too hot will burn the crust to a dark brown before the meat cooks through, while oil below 325°F will make the crust absorb excess oil, resulting in soggy, greasy chicken. Check temperature with your thermometer between every batch and adjust burner heat as needed.
3.Don’t skip the buttermilk brine: the lactic acid in buttermilk gently breaks down tough muscle fibers in the chicken over time, resulting in juicy, well-seasoned meat all the way to the bone, rather than dry, bland meat under a crispy crust. For the most tender results, brine the chicken overnight in the fridge for 8–12 hours.


✨ You May Also Like

Main Course
🍜 United Kingdom

A showstopping classic of tender seared beef, savory mushroom duxelles, and crisp prosciutto wrapped in flaky golden puff pastry, baked to juicy perfection.

⏱️ 2 hours 1Main Course ★ 4.7
Main Course
🍜 India

Tender charred marinated chicken simmered in a rich, spiced creamy tomato sauce, this iconic Anglo-Indian curry pairs perfectly with basmati rice or warm naan.

⏱️ 50 minuteMain Course ★ 4.6
Main Course
🍜 Thailand

Classic tangy, sweet, and savory Thai stir-fried rice noodles with shrimp, tofu, and crunchy garnishes, balancing all five core Thai flavor profiles.

⏱️ 30 minuteMain Course ★ 4.5
Main Course
🍜 United Kingdom

Crispy golden beer-battered cod and fluffy double-fried chips, served with tangy tartar sauce and malt vinegar: the timeless, beloved British pub comfort classic.

⏱️ 45 minuteMain Course ★ 4.7
Main Course
🍜 Mexico

Smoky, chile-marinated pork tacos with caramelized pineapple, fresh cilantro, and lime: a beloved classic Mexican street food perfect for casual summer gatherings.

⏱️ 1 hour 45Main Course ★ 4.8
Main Course
🍜 United States

Crunchy Fritos corn chips layered with savory beef chili and melted cheddar, topped with cool, zesty fixings for a beloved, cozy Tex-Mex comfort food.

⏱️ 35 minuteMain Course ★ 4.8

best homemade fried chicken:Frequently Asked Questions

1.Why do you use bone-in, skin-on chicken instead of boneless, skinless cuts for this recipe? ▾
Bone-in, skin-on cuts are non-negotiable for that classic fried chicken texture and flavor. The bone conducts heat gently to keep meat juicy and tender as it fries, instead of drying out the way fast-cooking boneless cuts often do. The skin also renders fat as it cooks, creating a tight, adherent base for that shatteringly crisp crust we’re after.
2.How long should I soak chicken in buttermilk to get the juiciest results? ▾
For the best tender, tangy, juicy results, soak your chicken pieces in full-fat buttermilk for a minimum of 4 hours, and up to 24 hours in the fridge. The lactic acid in buttermilk gently breaks down tough muscle fibers without making the meat mushy, and it helps the flour coating stick tight for maximum crispness. Don’t skip this soak if you can avoid it!
3.Can I use low-fat or non-fat buttermilk instead of full-fat for this recipe? ▾
I strongly recommend sticking to full-fat buttermilk for the best results. Low-fat and non-fat versions have a thinner consistency, higher water content, and less rich tang, which can lead to a coating that slides off during frying and less tender, less flavorful meat. In a pinch, stir 1 tablespoon white vinegar into 1 cup full-fat whole milk and let sit 5 minutes as a substitute.
4.Why do you add eggs to the buttermilk soak? ▾
Whisking large eggs into your buttermilk soak creates a slightly thicker, more adhesive base for your flour coating to cling to. Without eggs, the flour can slough off in the hot oil, leaving bare patches on the chicken and less of that signature crisp crust. The egg also adds a subtle richness to the coating that balances savory seasoning perfectly.
5.What’s the best oil to use for frying this chicken to get a crispy, non-greasy result? ▾
Reach for a neutral, high-smoke-point oil like canola, peanut, or vegetable shortening for the best results. These oils can hold the steady 325–350°F temperature you need without burning or imparting off-flavors to the crust. Avoid olive oil or butter, which have low smoke points that lead to soggy, bitter, overly greasy fried chicken.
6.How do I get that shatteringly crisp crust instead of a soggy, soft coating? ▾
The biggest secret to shatteringly crisp crust is draining excess buttermilk off chicken before dredging, pressing flour firmly into every crevice of the pieces, and letting coated chicken rest on a wire rack for 15–20 minutes before frying. This rest lets the coating set, and frying at a steady 350°F avoids grease-logged, soggy crust.
7.Do I need to season the flour, or is seasoning the buttermilk enough? ▾
You absolutely need to season your all-purpose flour generously with kosher salt (and any other favorite spices like paprika, garlic powder, or black pepper) for well-flavored chicken. If you only season the buttermilk, the thick crust will taste bland, as salt won’t penetrate all the way through the coating. Aim for 1 tablespoon kosher salt per 2 cups flour for balanced flavor.
8.What temperature should the oil be to fry chicken perfectly without burning the crust or undercooking the meat? ▾
Keep your oil held steady at 350°F for the entire fry time, using a clip-on candy thermometer to monitor it closely. If oil is too hot, the crust will burn before meat cooks through; if it’s too cool, chicken will absorb excess oil and turn soggy. Adjust your burner as needed to maintain that consistent temperature as you add and remove batches.
9.How long does it take to fry different chicken pieces so they’re cooked through but still juicy? ▾
Cook times vary by cut: wings and drumsticks take 12–14 minutes, thighs take 14–16 minutes, and bone-in breasts take 16–18 minutes. Always verify doneness with an instant-read thermometer stuck into the thickest part of the meat (avoiding bone) — it should read 165°F. Let pieces rest 5 minutes after frying to let juices redistribute.
10.Why is my fried chicken crust falling off while it cooks? ▾
Crust sloughs off for a few common reasons: you didn’t let coated chicken rest before frying, your oil was too cold when you added chicken, you overcrowded the pan, or you didn’t press flour firmly into the chicken during dredging. Fix this by letting coated pieces rest 15 minutes pre-fry, heating oil to the correct temp, and frying in small batches so pieces don’t stick.
11.Can I bake this fried chicken instead of deep frying it to cut down on oil? ▾
You can make a solid baked version, though it won’t have that exact shatteringly crisp deep-fried crust. To do it, set coated chicken on a wire rack over a baking sheet, spritz generously with oil, and bake at 425°F for 35–40 minutes until it hits 165°F internally. The elevated rack lets air circulate to crisp coating on all sides.
12.Should I cover the pan while frying chicken? ▾
Avoid covering the pan for most of the fry time, as trapped steam will soften the crisp crust and make it soggy. You can cover the pan loosely for the first 5 minutes of frying each batch if you’re worried about oil splatters or want to help meat cook through faster, but remove the lid for remaining cook time to let moisture escape.
13.How far in advance can I dredge chicken before frying it for meal prep? ▾
You can dredge chicken in the flour coating up to 1 hour before frying, as long as you keep it on a wire rack in the fridge, uncovered. Any longer than that, and the flour will absorb too much moisture from the buttermilk, leading to a soft, uneven crust instead of that signature crisp bite. Never dredge chicken the night before, as the coating will turn gummy.
14.Why does my chicken come out dry even when I use a buttermilk soak? ▾
Dry fried chicken almost always stems from one of two issues: your oil was too hot, so the crust cooked fast and you overcooked the meat waiting for the center to come to temp, or you skipped resting the chicken after frying. Always use a thermometer to check oil and internal meat temp, and let chicken rest 5 minutes so juices don’t run out.
15.Can I use self-rising flour instead of all-purpose flour for the coating? ▾
Stick to plain all-purpose flour for the most consistent, crisp crust. Self-rising flour has added leavening and salt, which can make the coating puff up too much and turn soft or overly salty as it fries. If you only have self-rising on hand, cut it with 25% cornstarch and skip extra salt in the coating to balance it out.
16.Is it better to fry chicken in a cast iron skillet or a deep fryer? ▾
Both work great, but a heavy cast iron skillet is my go-to for classic Southern fried chicken. Cast iron holds heat incredibly steadily, which prevents big temperature drops when you add chicken, and shallow frying creates extra craggy, crisp crust bits. A countertop deep fryer works too, just filter oil between uses to keep flavors fresh.
17.How should I store leftover fried chicken to keep it as crisp as possible? ▾
Store leftover fried chicken in an airtight container lined with paper towels in the fridge for up to 3 days. Skip storing it in a sealed container without paper towels, as trapped moisture will make the crust soggy. To reheat, place pieces on a wire rack over a baking sheet and bake at 400°F for 10–12 minutes; skip the microwave, which turns crust rubbery.
18.Do I need to add cornstarch to the flour coating for extra crispness? ▾
You don’t need cornstarch to get shatteringly crisp crust with this recipe, as long as you follow the coating rest step and hold your oil at the correct temperature. If you love an extra-crunchy, extra-durable crust, swap ¼ cup of all-purpose flour per cup for cornstarch — don’t go higher than that ratio, or the coating will turn hard instead of crisp.
19.Why do you recommend kosher salt instead of table salt for this recipe? ▾
Kosher salt has larger, flakier crystals that distribute more evenly through the buttermilk soak and flour coating, so you don’t end up with overly salty spots or bland patches on your chicken. Table salt is much denser and more concentrated, so it’s easy to over-salt your coating, and it can leave a harsh, metallic aftertaste if used in the same volume as kosher salt.

Comments (17)

2 days ago

OMG this fried chicken is a GAME CHANGER for our Sunday family dinners! I’ve tried so many recipes that end up with soggy skin 10 minutes after frying, but this stayed crispy straight through dinner and even the leftover pieces I packed for my husband’s lunch the next day. My kids begged for seconds before they even finished their first piece! 10/10 will be making this for our next neighborhood potluck too.

1 day ago

Second this! I brought this to my office potluck last week and every single piece was gone in 10 minutes. People were hounding me for the recipe before I even got a chance to grab a piece for myself!

1 day ago

So glad this was a hit for your family, Liz! Quick pro tip for potlucks: keep the cooked chicken on a wire rack set over a baking sheet in a 200°F oven (or insulated carrier) until you serve, it locks in that crispness way better than piling it on a paper towel!

3 days ago

As a college guy who can barely make mac and cheese without burning it, this recipe was actually doable! I was worried medium difficulty meant I’d mess it up, but the steps were super straightforward. Turned out SO good, my roommates thought I ordered takeout from that fancy southern spot downtown. Only note is I added a little extra paprika because I like a kick.

2 days ago

Love that you gave this a go even as a beginner cook, Jake! The spice blend is totally customizable — extra paprika, a pinch of cayenne, even some extra garlic powder all work great here. So impressed your roommates thought it was takeout!

1 week ago

I make this for my weekly meal prep every other week now! It holds up so well in the fridge, and 20 seconds in the air fryer brings that crisp right back. Way better than the sad fast food fried chicken I used to grab on busy weeknights. My only tiny complaint is my whole apartment smells like fried oil for a full day after I make it, but it’s 100% worth it.

5 days ago

Pro tip for the smell: set a small bowl of white vinegar on the counter while you fry, it cuts the grease smell so much! I do this every time I make this recipe now and it works like a charm.

5 days ago

Taste was incredible, don’t get me wrong, but my first batch came out a little darker than I wanted because my oil was too hot. I didn’t have a candy thermometer so I guessed the temp, oops. Flavor was still chef’s kiss though, even if a couple pieces were extra crispy on the edges. Will definitely grab a thermometer before I make it again.

4 days ago

So sorry your first batch ran a little hot, Derek! If you don’t have a thermometer, you can test the oil by dropping in a tiny pinch of the flour coating — it should sizzle steadily and float to the top in 1-2 seconds if it’s the right temp. If it burns instantly, the oil’s too hot!

2 weeks ago

Made this for my first date night with my now fiancée and she still talks about it 6 months later. We make it at least once a month now, it’s our little tradition. The brine tip? Absolute genius, the chicken is so juicy even the white meat doesn’t dry out. No more dry chicken breast for us!

3 days ago

Honey, I’ve been making fried chicken for 40+ years and I decided to give this recipe a shot when my granddaughter sent it to me. Let me tell you, that crust crunch is better than my old recipe! I added a little seasoned salt to the flour like I always do, but otherwise followed it exactly. Even my old church group ladies asked for the recipe after our potluck last Sunday.

2 days ago

If a 40-year fried chicken vet approves, I know I need to stop putting this recipe off! Adding it to my grocery list for this weekend.

2 days ago

What an honor to get a seal of approval from someone with your fried chicken experience, Auntie Mae! Love that you added your own twist with seasoned salt — that’s the best part of home cooking, making it your own.

1 week ago

Made a double batch for our Super Bowl watch party last month and it was the MVP of the snack table. People were choosing this over the wings and pizza! The crust doesn’t slide off the chicken like so many other recipes I’ve tried, which is my biggest fried chicken pet peeve. 10/10

6 days ago

The crust not sliding off is the reason I keep coming back to this recipe! I hate when you take one bite and the whole coating falls off, total waste. This one sticks perfect every time.

yesterday

I was so nervous to fry chicken for the first time but this recipe made it so approachable! I used boneless thighs because that’s what I had in the freezer, and they turned out insanely juicy. Served it with some coleslaw and cornbread for a full southern spread, my roommate said it’s better than her grandma’s (don’t tell her grandma I said that).

30 minutes ago

Taste was amazing but I think the listed 30 minute cook time doesn’t account for getting the oil up to temp and cooking in batches if you have a smaller pot! Took me closer to 45 minutes start to finish, but the chicken itself was so crispy and juicy I can’t even be mad. Just block off a little extra time if you’re working with a tiny kitchen setup like me.

2 hours ago

My kids loved it! They’re SO picky about chicken, they usually only eat the frozen nugget kind, but they devoured this when I made it last night. I cut the chicken into smaller nugget-sized pieces for them and they kept asking for more. Even my 4 year old who refuses all “crunchy food” ate three pieces. This is going into our regular weeknight rotation for sure.

1 hour ago

I did the nugget cut for my picky toddler too! Game changer, he thinks they’re fancy fast food nuggets and has no clue they’re homemade. Win for mom!

1 hour ago

This makes my day to hear, Sarah! Cutting it into nugget-sized pieces is such a smart hack for picky eaters. I do the same for my niece and nephew, they love dipping them in honey mustard or ranch.

5 days ago

I made this for a neighbor who just had a baby and she texted me two days later saying it was the best meal they got the whole time people were bringing food. She said even the leftovers were crispy, which she didn’t think was possible for delivered fried chicken. Will absolutely be making this again for future meal trains and family visits.

4 days ago

That is such a good meal train idea! I never think to bring fried chicken because I assume it gets soggy, but if it holds up that well I’m adding this to my go-to list for new parents.

just now

As someone who eats a ton of chicken for gym gains, this recipe makes eating protein feel like a treat instead of a chore. I use skin-on thighs for the extra fat and flavor, and it keeps me full for hours after my workouts. Way better than plain boiled chicken, that’s for sure. If you’re bored of your usual meal prep chicken, give this a shot.

2 weeks ago

Wait, I didn’t have buttermilk on hand so I used the old milk + vinegar trick to make a sour milk substitute, and it worked perfectly! I was worried it would mess up the flavor or the juiciness, but the chicken was still so moist and the crust got so crispy. Saved me a last minute grocery run!

1 week ago

I did the same thing last time I made this! Used plain Greek yogurt thinned with a little milk too once when I had no vinegar, that worked great as well. Super flexible recipe.

1 week ago

Love the buttermilk hack, Jenna! The milk + vinegar trick works every bit as well as store-bought buttermilk for this recipe, so glad it saved you a trip to the store. Thanks for sharing your tip!

5 minutes ago

First batch was a little rough because I didn’t let the coated chicken rest before frying, oops! Some of the coating slid off when I put it in the oil, but after I let the second batch sit for 10 minutes like the recipe says? Perfect, no sliding, extra crispy crust. Read the instructions all the way through first, folks! Don’t be like me.

just now

You’re so right that the resting step makes all the difference! It lets the coating adhere so it doesn’t slide off in the oil. I’m glad your second batch turned out perfectly, Sam — that’s how we learn!

1 week ago

Made this for our Fourth of July cookout and it was a hit with every generation there. My 82 year old grandpa said it tasted just like his mom used to make, and my teen cousin said it was better than the fast food chicken place he begs his parents to take him to. Total crowd pleaser, will be making this for every summer cookout from now on.

6 days ago

I made this for Memorial Day and got the exact same reaction from my family! Multi-generational hits are the best kind of recipe, for sure.

2 days ago

Added a tablespoon of hot sauce to the buttermilk brine and a half teaspoon of cayenne to the flour for a little extra heat, and wow. It’s got the perfect slow burn that doesn’t overpower the actual chicken flavor. Served it with waffles last weekend for brunch and my girlfriend said I need to make it a monthly brunch staple. 10/10

yesterday

I’ve avoided making homemade fried chicken for years because every time I tried it came out dry on the inside or burnt on the outside, no in between. This recipe? Perfect on the first try. The 15 minute brine trick is no joke, every single piece was juicy all the way through, even the white meat! The crust was shatteringly crisp, just like I get at my favorite local chicken spot. I’m never using another fried chicken recipe again.

20 hours ago

Same! I had given up on homemade fried chicken too after so many flops, but this recipe is foolproof. I’ve made it four times now and it’s turned out perfect every single time.

18 hours ago

This makes us so happy to hear, Casey! We designed this recipe to be approachable even for people who’ve had bad fried chicken experiences in the past, so it means the world that it worked out for you. That shatteringly crisp crust and juicy meat is exactly what we’re going for!



