
best waffle machine

title 1
best waffle machine
⏱️ cook time 15 minutes
🍽️ servings 4
⚡ Difficulty easy

intro

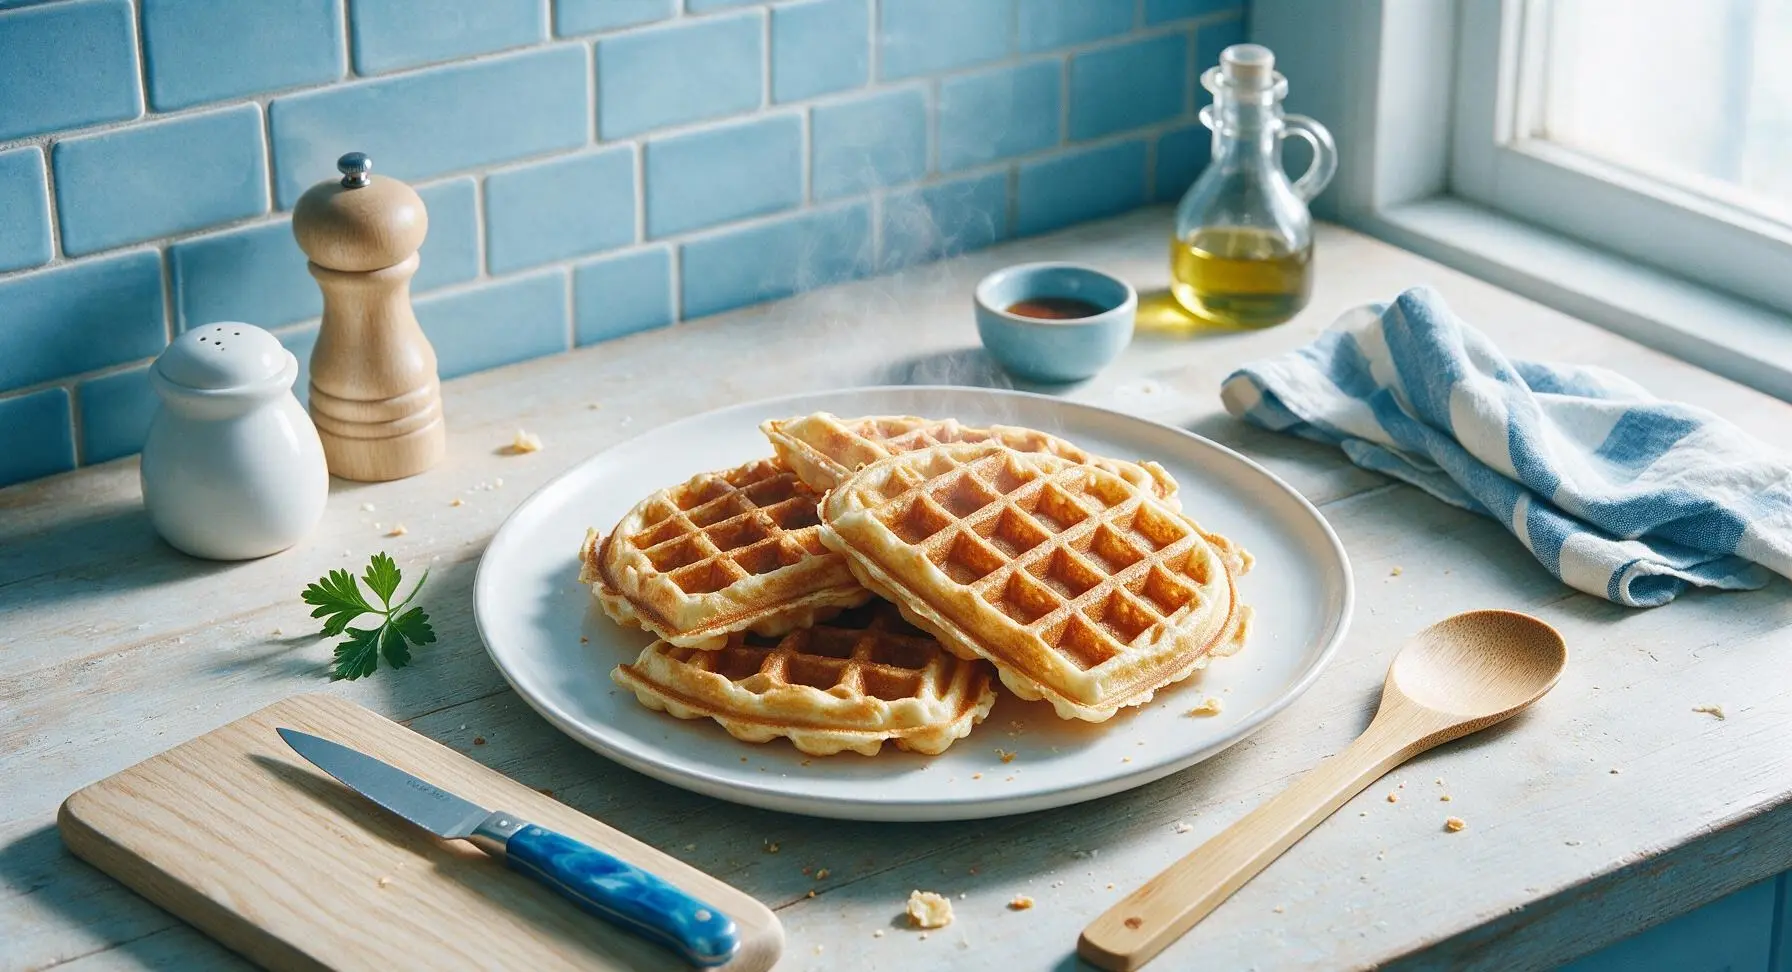
Crisp golden-edged, fluffy-centered classic diner waffles made in your countertop waffle machine, perfect for topping with maple syrup, fresh fruit, or whipped cream.

Ingredients
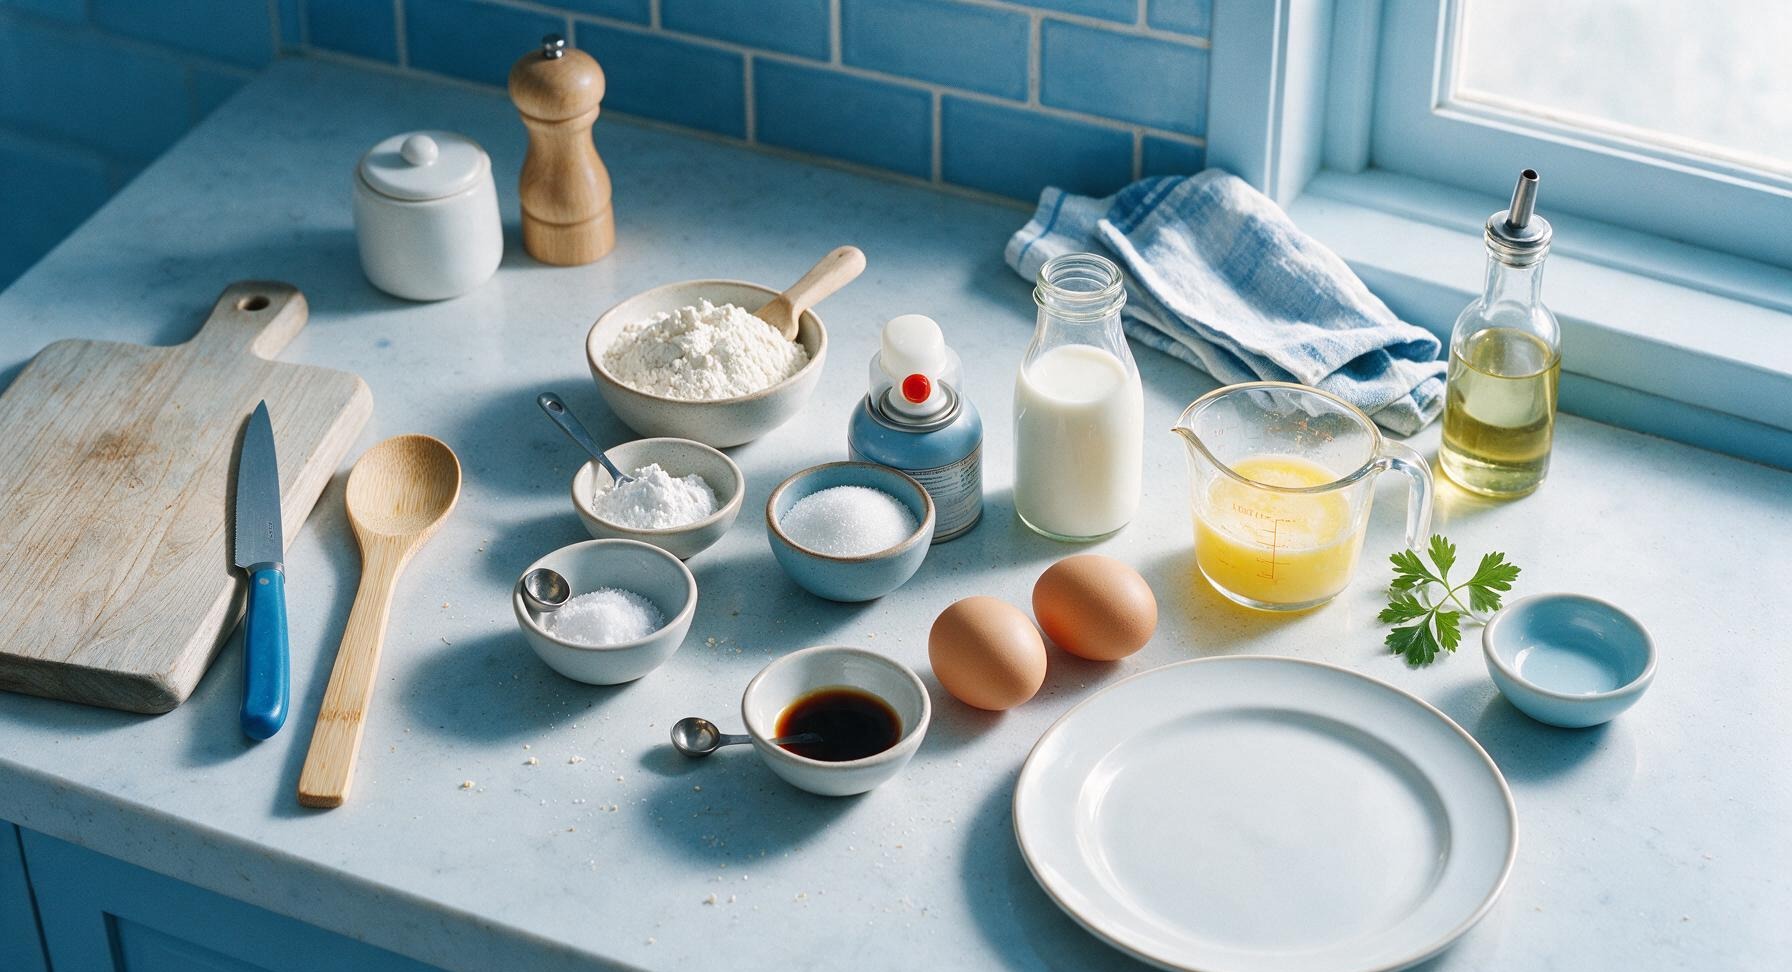
All-purpose flour 2 cups (240g)
Baking powder 1 tablespoon
Fine sea salt 1/2 teaspoon
Granulated sugar 1 tablespoon
Large eggs 2
Whole milk 1 3/4 cups (414ml)
Unsalted butter, melted and cooled 1/3 cup (76g)
Pure vanilla extract 1 teaspoon
Non-stick cooking spray as needed

Steps

1

Preheat the Waffle Maker

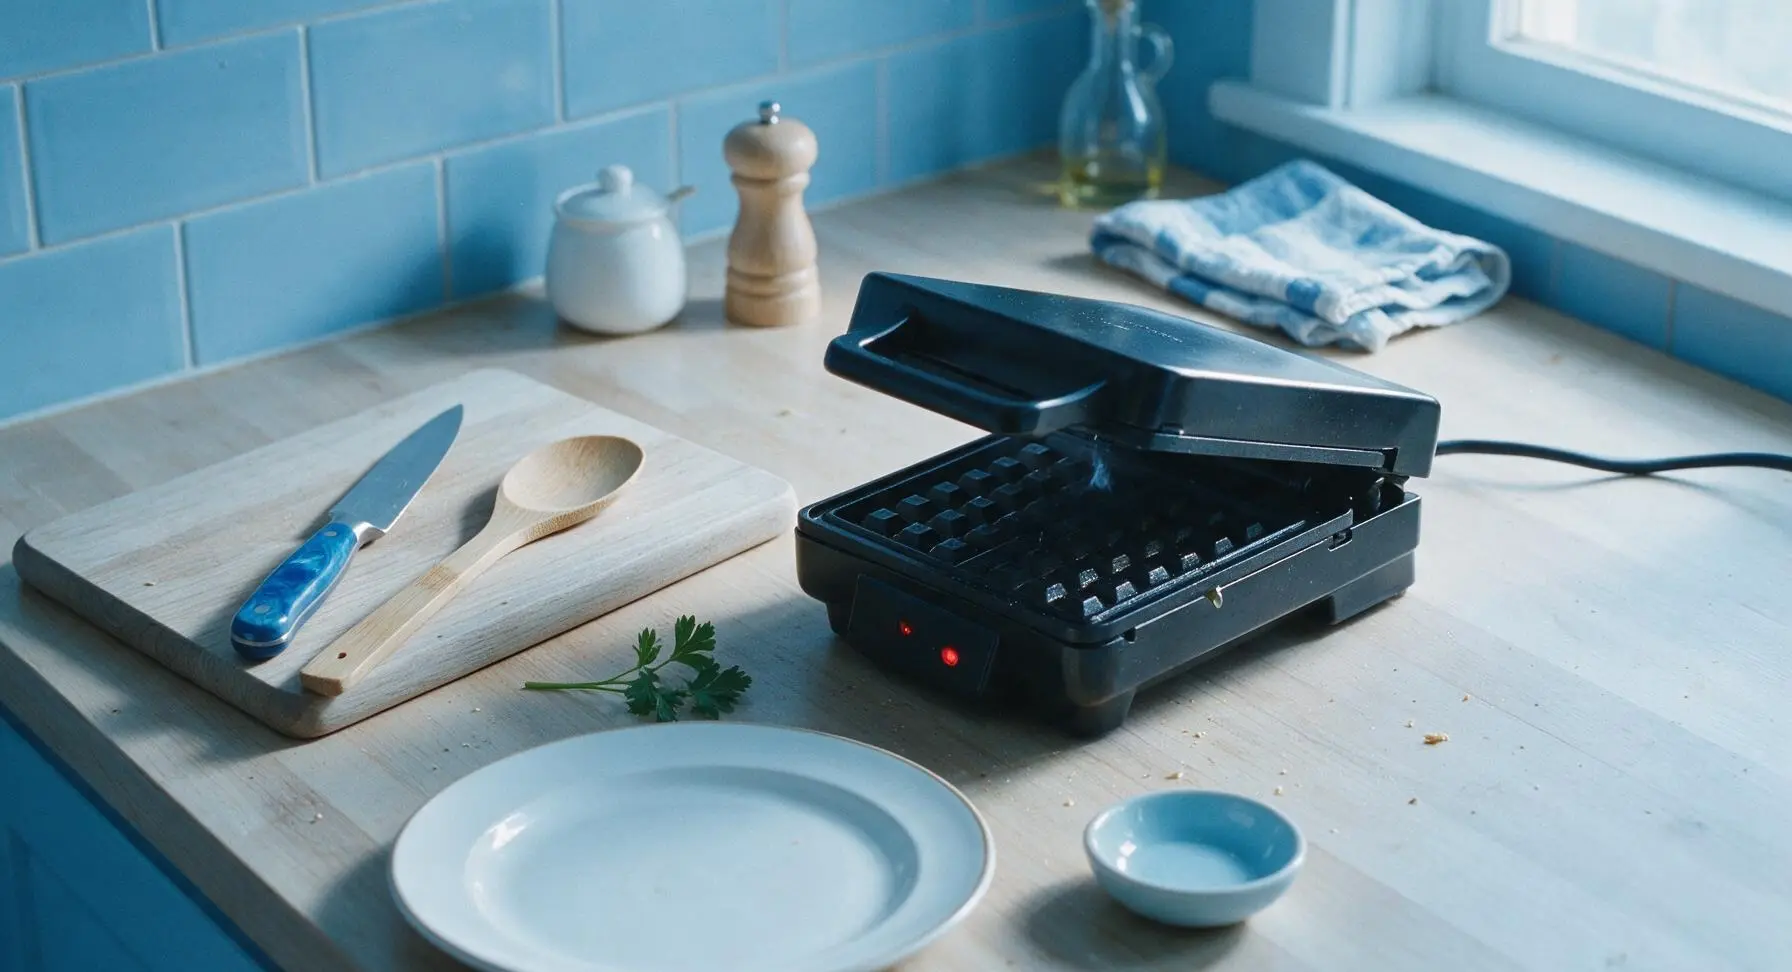
Plug in the matte black stainless steel waffle maker, close the lid, and set it to medium-high heat (375°F/190°C). Preheat for 5 minutes until the indicator light shows it is fully ready; a drop of water flicked onto the grid should sizzle and dance immediately across the surface. Do not grease the grids yet.
Step 1
step1:Preheat the Waffle Maker
2

Mix Dry Ingredients

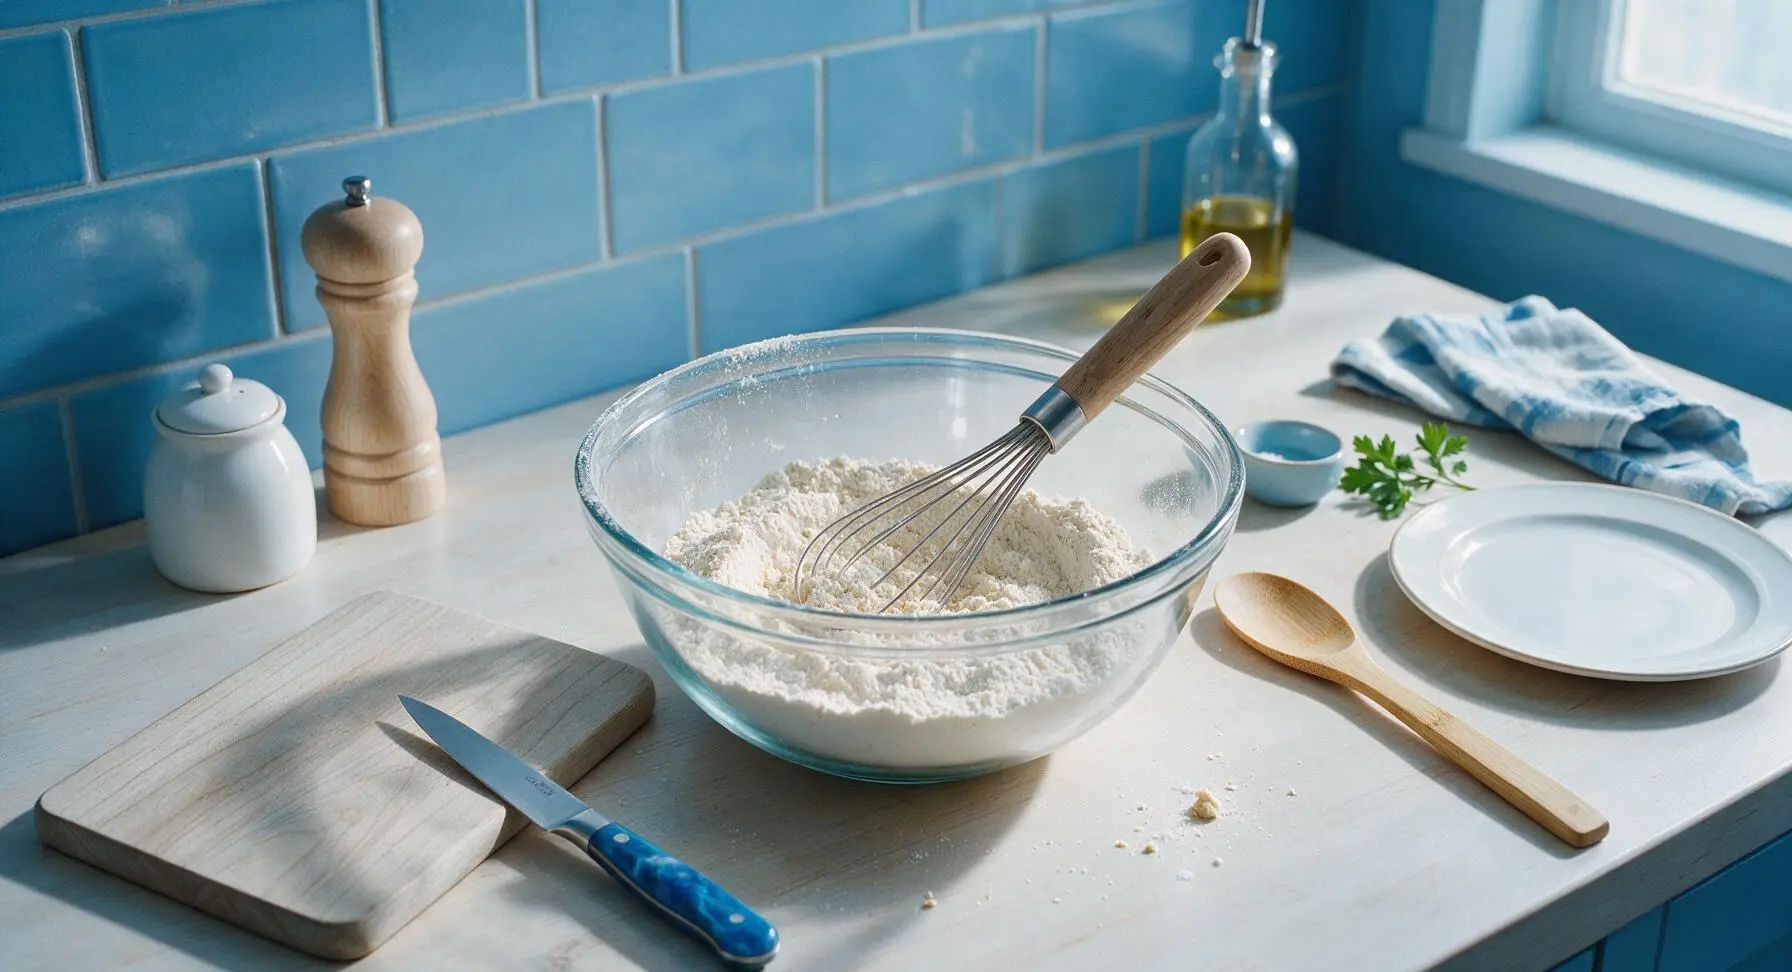
Add the 2 cups all-purpose flour, 1 tablespoon baking powder, 1/2 teaspoon fine sea salt, and 1 tablespoon granulated sugar to the 2-quart clear glass mixing bowl. Use the stainless steel and maple whisk to stir the dry ingredients together for 30 seconds until fully combined, with no clumps of baking powder visible.
Step 2
step2:Mix Dry Ingredients
3

Add Wet Ingredients

Create a 3-inch wide well in the center of the mixed dry ingredients in the glass mixing bowl. Crack the 2 large eggs into the well, then pour in the 1 3/4 cups whole milk, cooled melted unsalted butter, and 1 teaspoon pure vanilla extract directly into the well.
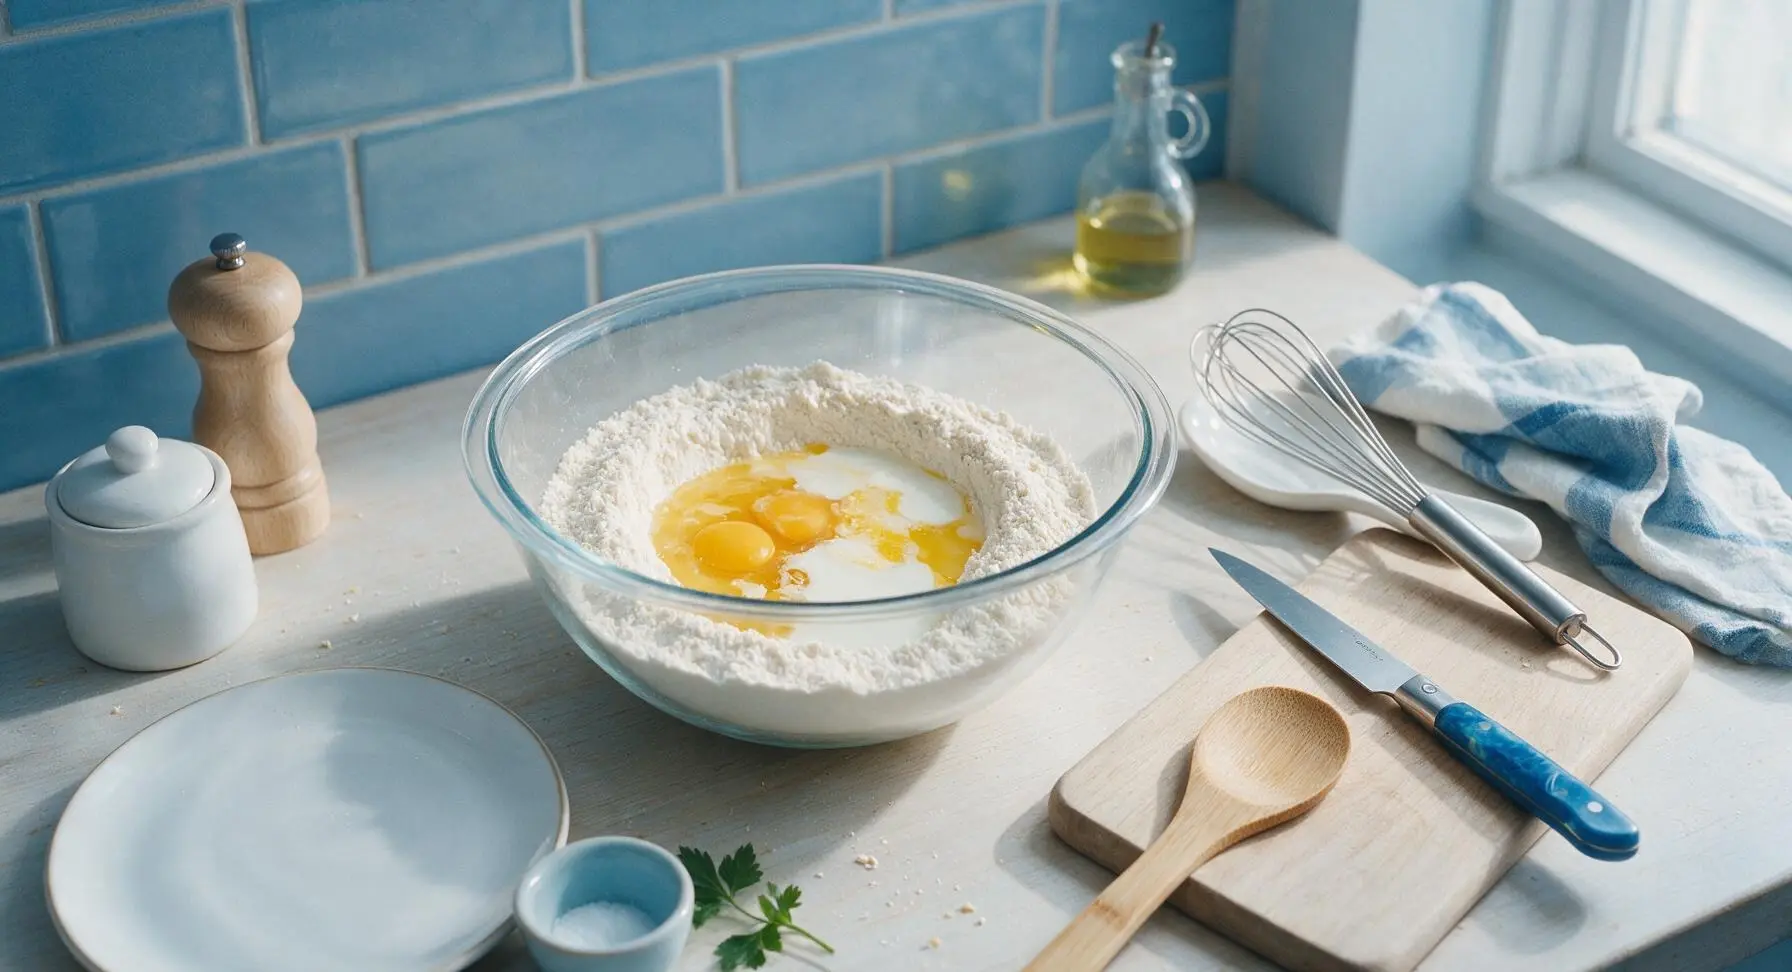
Step 3
step3:Add Wet Ingredients
4

Mix Waffle Batter

Use the wire whisk to gently stir the wet and dry ingredients together, mixing only just until no large dry flour clumps remain. Stop stirring as soon as the batter comes together; the batter should be thick and slightly lumpy, with small 1/4-inch lumps visible throughout. Overmixing will develop gluten and make tough, dense waffles. Let the batter rest for 5 minutes at room temperature; it will bubble slightly as the baking powder activates.
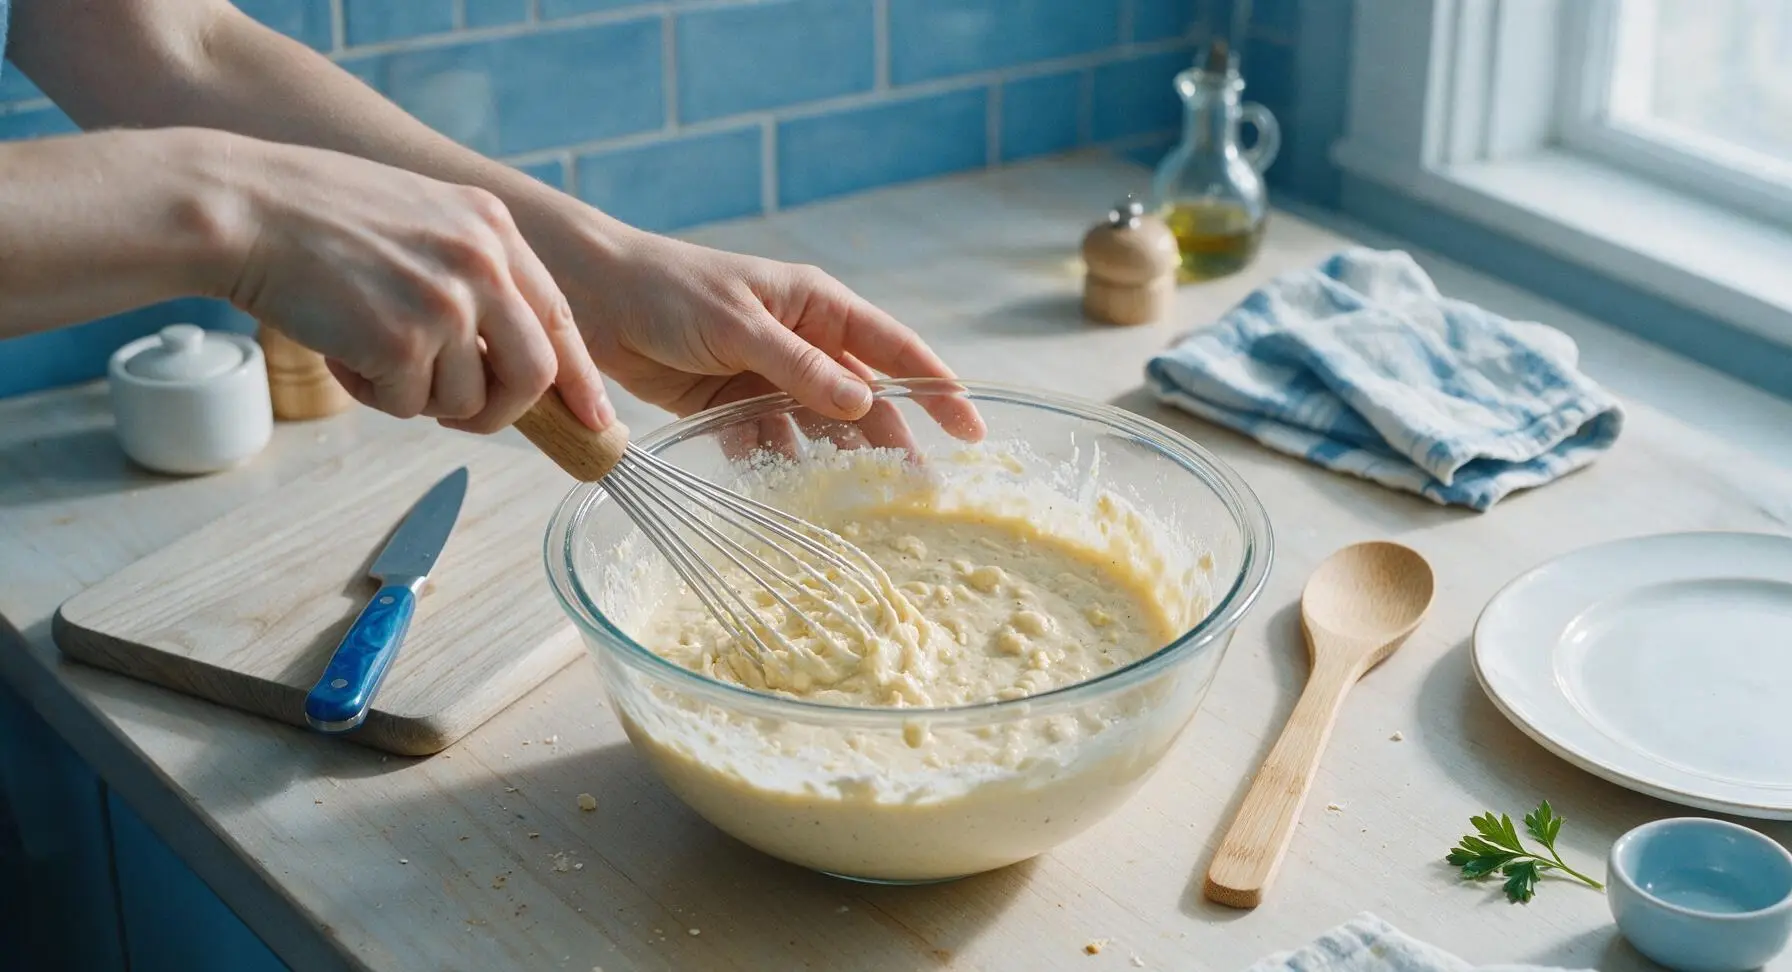
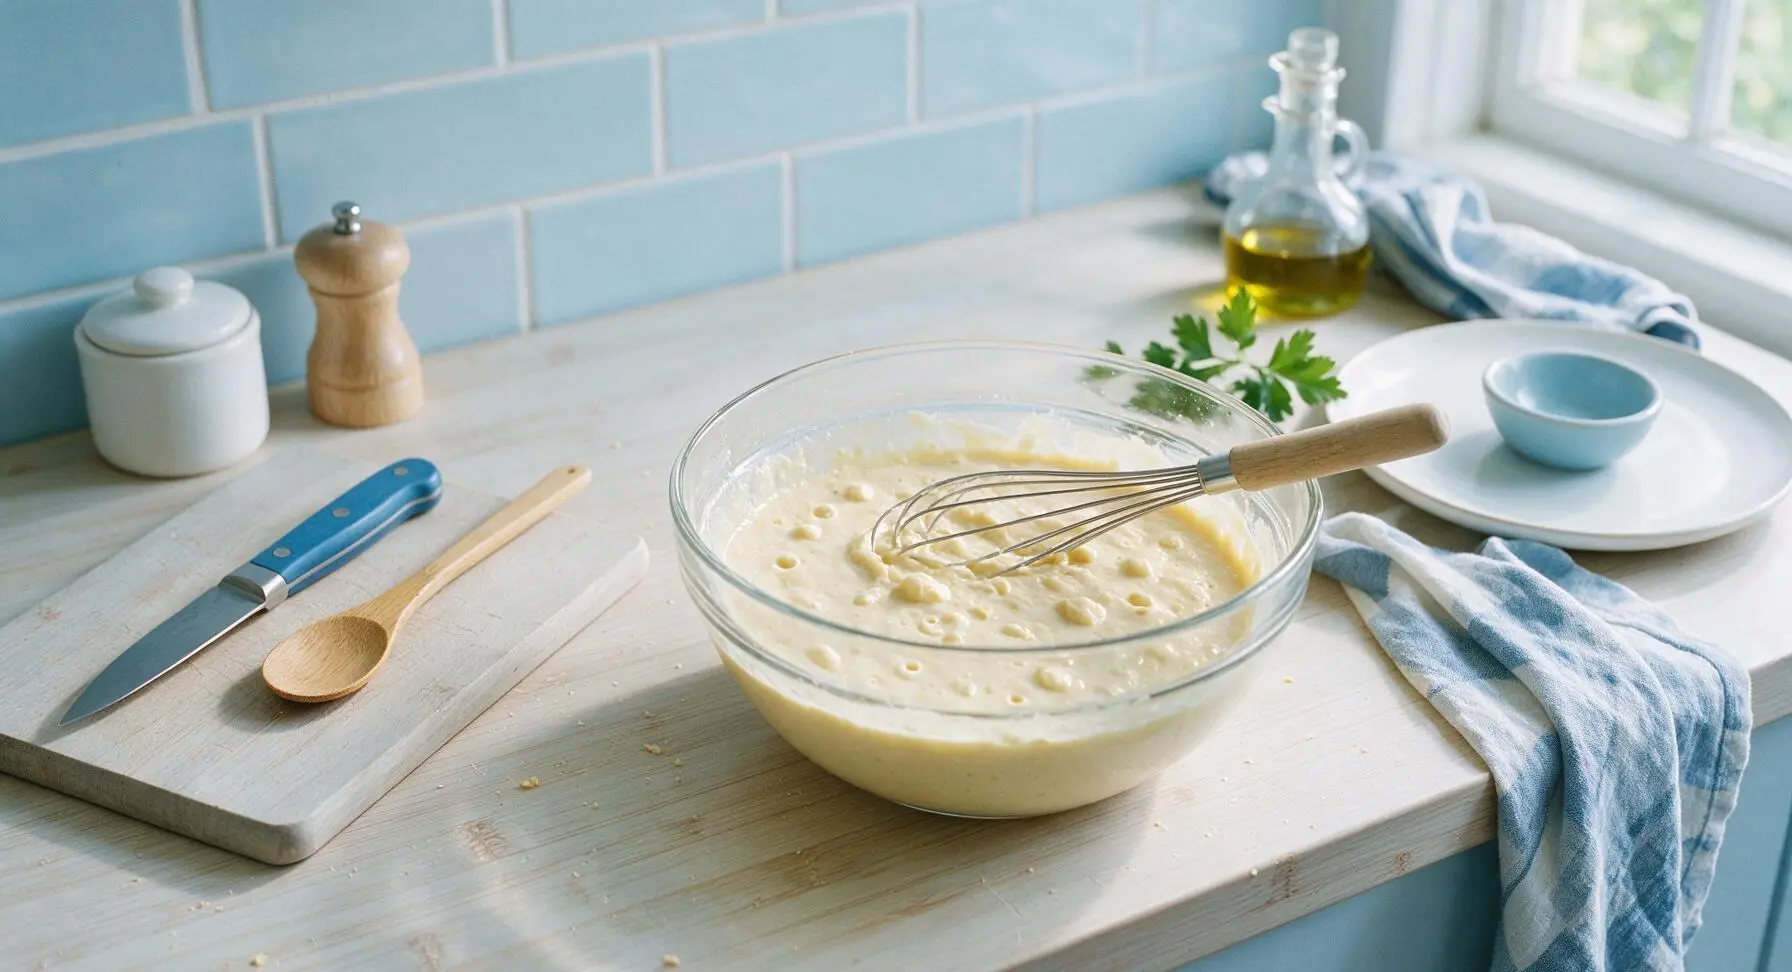
Step 4
step4:Mix Waffle Batter
Step 4
step4:Mix Waffle Batter
5

Grease Hot Grids

Once the waffle maker is fully preheated and the batter has rested, open the waffle maker lid. Lightly coat both top and bottom grids with a thin layer of non-stick cooking spray, holding the spray 6 inches away from the grids to avoid excess oil buildup that causes burnt edges.
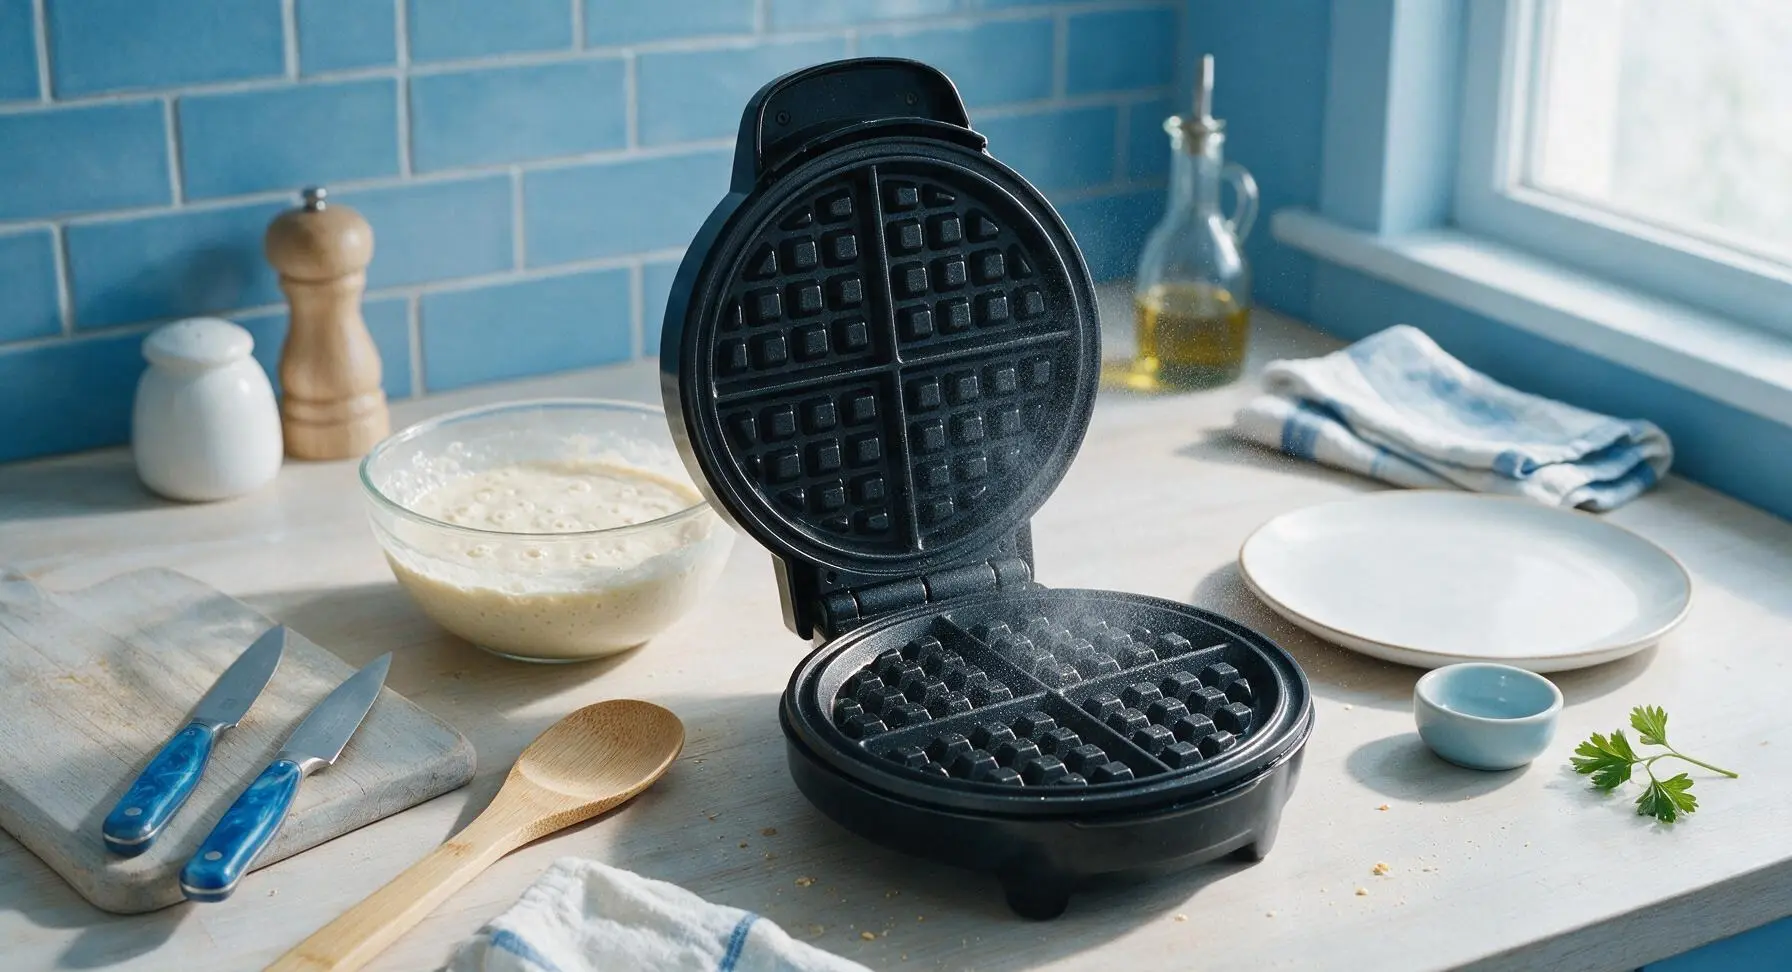
Step 5
step5:Grease Hot Grids
6

Pour and Cook Waffles

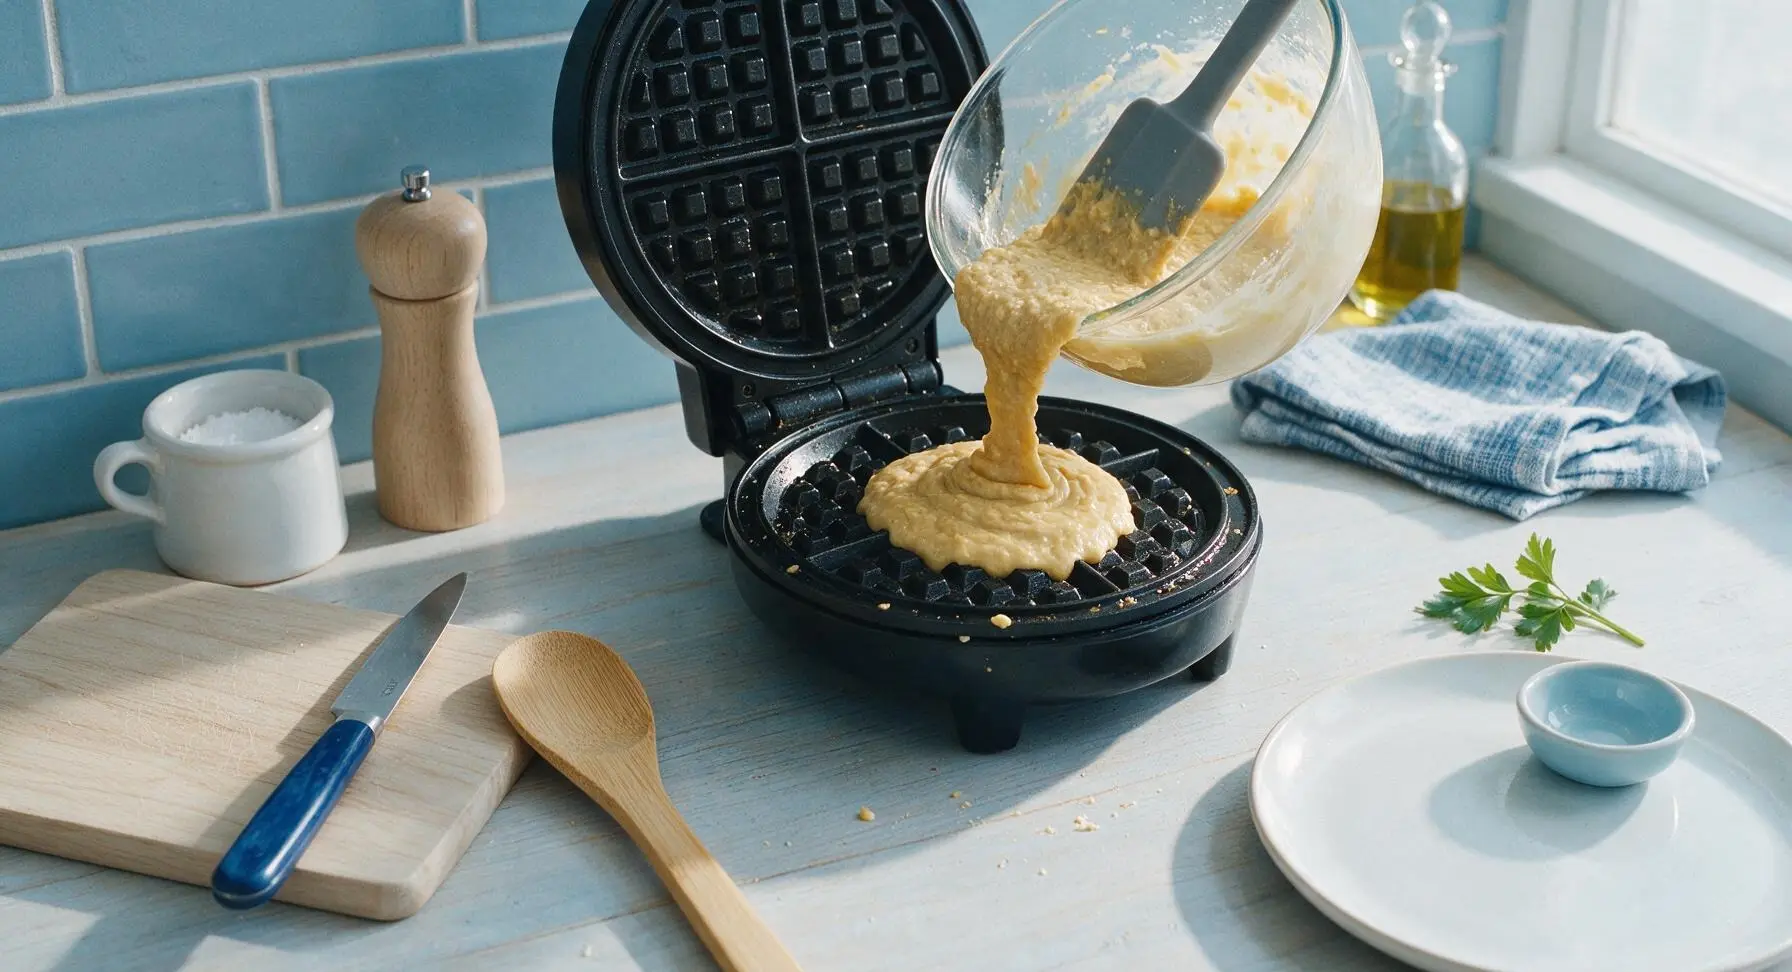
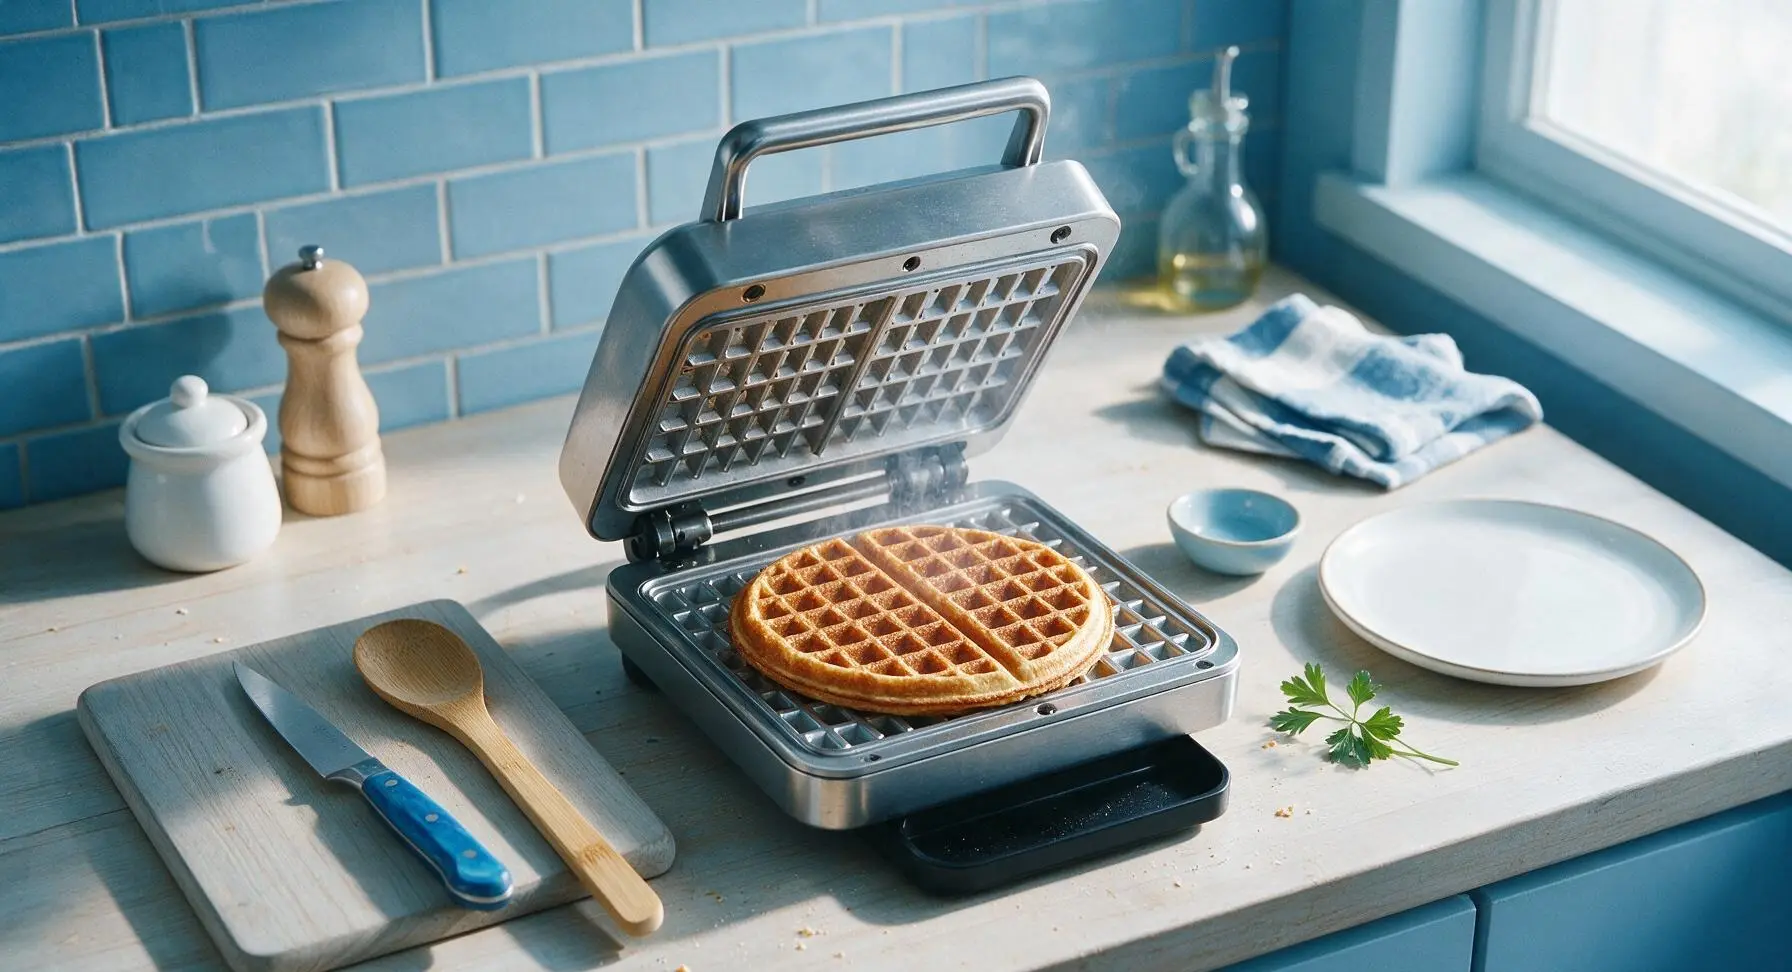
Use the grey silicone spatula to scoop 2/3 cup of batter, pouring it directly onto the center of the bottom waffle grid. Close the lid immediately, do not press down hard on the lid. Cook for 3 to 4 minutes, until steam stops escaping from the edges of the waffle maker and the waffle is deep golden brown and crisp to the touch. Do not open the lid before the 3-minute mark, as this will cause the waffle to split and stick.
Step 6
step6:Pour and Cook Waffles
Step 6
step6:Pour and Cook Waffles
7

Remove Cooked Waffle

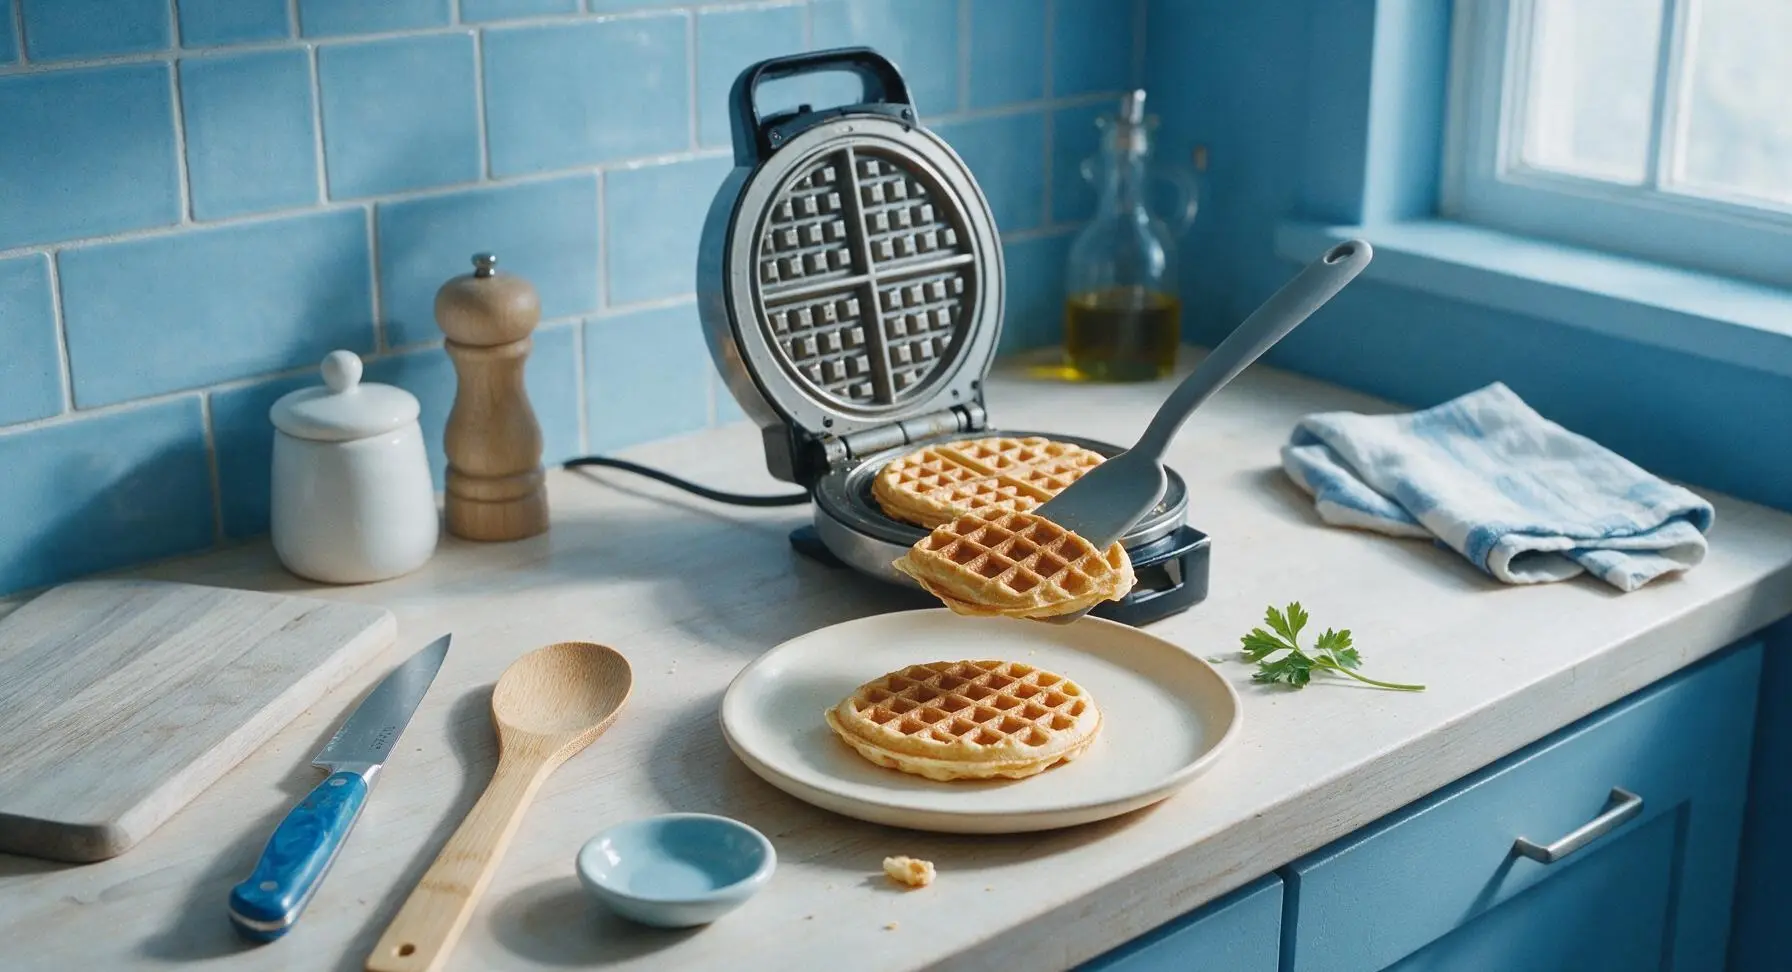
Use the silicone spatula to gently lift the edge of the finished waffle from the grid, then transfer it directly to the matte cream dinner plate at front center. Repeat the greasing, pouring, and cooking process with the remaining batter, stacking cooked waffles loosely on the plate to keep them crisp (do not wrap them in a towel, as this traps steam and makes them soggy).
Step 7
step7:Remove Cooked Waffle
8

Top and Serve

Once all waffles are cooked, stack them neatly on the cream dinner plate. Top the stack with a 1-tablespoon pat of salted butter, a light drizzle of pure maple syrup, and garnish with fresh sliced strawberries and a sprig of mint from the wicker basket. Serve immediately while hot and crisp.

Step 8
step8:Top and Serve

Tips

1.Let the batter rest for a full 5 minutes before cooking: this gives the baking powder time to activate and the flour time to absorb liquid, resulting in lighter, taller, fluffier waffles with crisp edges instead of flat, dense ones.
2.Resist the urge to overmix the batter: small, pea-sized lumps are ideal, as overstirring develops gluten in the flour that leads to tough, chewy waffles instead of tender, crisp-centered ones. Stop stirring as soon as no dry flour pockets remain.
3.Wait until steam stops seeping out from the waffle maker edges before lifting the lid: opening too early causes the partially set waffle to split and stick to the grids, and results in a pale, soggy crust instead of a deep golden, crunchy exterior.


✨ You May Also Like

Breakfast
🍜 United States

Crisp-edged, fluffy lard griddle cakes are a nostalgic homestyle staple, with rich savoriness from rendered lard, perfect topped with maple syrup or savory gravy.

⏱️ 25 minuteBreakfast ★ 4.8
Breakfast
🍜 United States

Flaky, buttery homemade buttermilk biscuits smothered in creamy, peppery pork sausage gravy: a beloved, hearty Southern American comfort food classic.

⏱️ 35 minuteBreakfast ★ 4.8
Breakfast
🍜 United States

Golden, custardy brioche stuffed with sweet cream cheese and fresh berries, pan-fried to crisp perfection. An indulgent, cozy breakfast perfect for slow weekend mornings.

⏱️ 30 minuteBreakfast ★ 4.7
Breakfast
🍜 United States

Flaky, buttery Southern-style biscuits stuffed with savory salty country ham, a portable, satisfying classic perfect for casual on-the-go meals.

⏱️ 25 minuteBreakfast ★ 4.8
Breakfast
🍜 United States

Iconic puffy baked pancake popularized in Seattle, with crisp golden edges and soft custardy center, served warm with classic sweet toppings.

⏱️ 35 minuteBreakfast ★ 4.6
Breakfast
🍜 United States

Fluffy, golden pancakes studded with juicy peak-summer mixed berries, drizzled with maple syrup for a bright, comforting, crowd-pleasing family breakfast.

⏱️ 25 minuteBreakfast ★ 4.7

best waffle machine:Frequently Asked Questions

1.Why do these waffles turn out crispy like diner versions instead of soft and soggy? ▾
Great question! Diner-style crisp comes from a few simple, intentional choices: the small amount of granulated sugar caramelizes on the hot waffle iron surface, we avoid overmixing batter (overworked gluten makes chewy, limp waffles), and we rest cooked waffles on a wire rack for 1 minute instead of stacking, so trapped steam doesn’t soften the golden crust.
2.Can I use self-rising flour instead of all-purpose flour and baking powder for this recipe? ▾
You absolutely can, with one quick adjustment. For every cup of all-purpose flour the recipe calls for, swap in 1 cup of self-rising flour, then omit the added baking powder and fine sea salt. Keep all other ingredients (eggs, granulated sugar) the same, and mix just as gently as you would with the original batter to keep waffles light and crispy.
3.Do I need to separate the eggs to get fluffy waffle centers? ▾
Nope! That’s a common, extra-fussy myth for classic diner waffles. This recipe is formulated to get that perfect soft, fluffy center without the work of separating and whipping egg whites. The precise ratio of baking powder delivers all the lift you need, as long as you don’t deflate the batter by overmixing, and your iron is fully preheated before pouring.
4.How do I know when my waffle maker is hot enough to pour batter? ▾
The easiest home test is to sprinkle a single drop of cold water onto the center of the lower waffle plate. If the water sizzles immediately, dances across the surface, and evaporates in 2 to 3 seconds, the iron is perfectly preheated. If it sits and fizzles slowly, give it another 1 to 2 minutes to heat up for that signature crisp, golden edge.
5.Why do my waffles stick to the waffle maker even when I spray it with nonstick? ▾
Sticking almost always traces back to one of two simple issues: either your iron isn’t fully preheated, or you’re trying to lift the waffle too early. Even nonstick irons need a light coating of oil or spray before the first batch, and you should wait until steam stops billowing from the iron sides before checking for doneness—prying early tears the delicate, crisp crust.
6.Can I make this batter the night before to save time in the morning? ▾
You can, with a small tweak to keep the lift intact. Mix all the dry ingredients (flour, baking powder, fine sea salt, granulated sugar) together the night before and store in an airtight container. Whisk your eggs and other wet ingredients right before combining in the morning—pre-mixed wet batter loses baking powder power overnight, leading to flat, dense waffles.
7.How much batter should I pour per waffle to avoid messy overflow? ▾
It depends on your waffle maker size, but a reliable rule of thumb is to pour enough batter to cover about ⅔ of the lower waffle plate’s grid pattern. The baking powder makes the batter rise and spread as it cooks, so pouring enough to fully cover the plate pre-cook will lead to sticky batter oozing out the sides and burning on the iron exterior.
8.Can I freeze leftover cooked waffles for quick breakfasts later? ▾
Absolutely! Let cooked waffles cool completely on a wire rack first, then stack them between sheets of parchment paper so they don’t fuse together, and store in a sealed freezer bag for up to 3 months. Reheat straight from frozen in a toaster or toaster oven on medium to bring back that crisp, diner-style edge—no thawing required.
9.What happens if I overmix the waffle batter? ▾
Overmixing develops the gluten in the all-purpose flour, which leads to tough, chewy waffles instead of light, fluffy centers with crisp golden edges. It’s totally normal (and preferred!) to have a few small lumps left in the batter after combining wet and dry ingredients—just stop mixing as soon as you no longer see visible streaks of dry flour.
10.Can I reduce the amount of sugar in this recipe for less sweet waffles? ▾
You can cut the granulated sugar by half without ruining the texture, but I don’t recommend omitting it entirely. That small amount of sugar doesn’t just add subtle, balanced sweetness—it helps the waffle edges caramelize to that perfect diner-style crisp, and offsets the mild savoriness of the fine sea salt in the batter.
11.Why do my waffles come out flat and dense instead of light and fluffy? ▾
Flat, dense waffles usually trace back to one of three common issues: your baking powder is expired and no longer active, you overmixed the batter and deflated all the trapped air bubbles, or you opened the waffle iron too early while the waffle was still setting. Test old baking powder by dropping a pinch into hot water—if it fizzes vigorously, it’s still good to use.
12.Do I need to grease my waffle maker for every single batch? ▾
If you have a high-quality nonstick waffle maker, you only need to grease it lightly before the first batch of the day. The slight fat content from the large egg yolks in the batter will naturally release subsequent waffles as long as the iron stays fully hot. If you have an older, worn waffle iron, give it a light spritz of nonstick spray between every other batch to avoid sticking.
13.What toppings work best with these classic diner-style waffles? ▾
These waffles are built to be ultra versatile, so you really can’t go wrong! Classic diner picks include pure maple syrup, a pat of salted butter, freshly whipped cream, sliced strawberries or bananas, or a light dusting of powdered sugar. For a savory twist, they pair perfectly with crispy fried chicken, a drizzle of hot honey, or even a scoop of melted pimento cheese.
14.Can I use this batter to make pancakes instead if I don’t have a waffle maker? ▾
You can, with one small adjustment to get fluffy diner-style pancakes. Waffle batter is slightly thicker than ideal pancake batter, so stir in 1 to 2 extra tablespoons of your regular wet batter liquid to thin it just a bit. Cook on a preheated greased griddle until small bubbles form and pop on the surface, then flip and cook for another 1 to 2 minutes until golden.
15.How long should I cook these waffles to get the perfect crisp without burning them? ▾
Cook time varies slightly by waffle maker model, but most standard countertop units take 3 to 4 minutes per batch for that perfect crisp edge without burning. Use the indicator light as a rough guide if your iron has one, but the most reliable sign is when steam stops pouring out from the closed iron edges—that means excess moisture has cooked off, leaving a golden crust.
16.Can I add mix-ins like chocolate chips, blueberries, or nuts to this waffle batter? ▾
You absolutely can, but add them the right way to avoid soggy spots or sinking mix-ins. Toss ½ cup of your chosen mix-in (chocolate chips, fresh blueberries, chopped pecans, etc.) with a pinch of all-purpose flour first, then fold them into the batter very gently right before pouring. The flour coating keeps mix-ins suspended evenly instead of sinking to the waffle grid bottom.

Comments (18)

2 days ago

OMG these are exactly the crispy diner waffles I’ve been chasing for years! I’ve tried so many recipes that came out soggy no matter what I did, but these stayed crunchy even after I loaded them up with syrup and whipped cream. My kids devoured theirs before I even sat down to eat. 15 minute cook time is perfect for chaotic school mornings too, total game changer.

yesterday

So glad these worked for your busy school mornings! Pro tip: if you make a big batch on Sunday, you can pop them in the toaster straight from the freezer for that same crisp texture all week long.

3 days ago

First time making waffles that actually got that perfect shatteringly crisp crust, I was screaming. I subbed a little vanilla extract for some of the sugar because that’s what I had on hand, and it still turned out chef’s kiss. Made these for my partner’s birthday breakfast and he said they’re better than the waffles at our favorite local diner.

2 days ago

Wait how much vanilla did you use? I’ve been wanting to tweak this to add a little extra vanilla flavor but didn’t want to mess up the texture!

yesterday

Great question! You can swap 1 tsp of the granulated sugar for 1 tsp of vanilla extract without impacting the crispness at all — we do that sometimes too for extra warmth!

1 week ago

SO good. I was worried it’d be too complicated since I’m a total beginner, but the steps were super straightforward and the whole thing took 15 minutes just like the recipe said. Topped mine with fried chicken and hot honey for a lazy brunch and it hit every single spot.

1 week ago

These are now my go-to meal prep breakfast! I make a double batch every Sunday, separate them with parchment paper, and freeze them. They reheat so well in the toaster oven — no sogginess, just that perfect crisp every time. Saved me so much money on stopping for diner breakfasts on my way to work.

5 days ago

Love that meal prep hack! Freezing them is such a time saver, and we’re so glad you’re loving the recipe enough to make it a weekly staple.

1 week ago

Brought these to my neighborhood block party potluck last weekend and people were asking me for the recipe before I even set the platter down! I set out a little topping bar with berries, syrup, chocolate chips, and whipped cream so people could customize theirs. Only complaint is I didn’t make a double batch, they were gone in 10 minutes flat.

5 days ago

Wait were you the person who brought the waffles to the Westside block party?? I had three of those they were INSANE, I’ve been looking for the recipe ever since!

3 days ago

That topping bar idea is genius! We’re definitely stealing that for our next family gathering. So sorry you ran out — next time triple the batch, trust us 😉

2 weeks ago

Really solid recipe! I swapped the all purpose flour for a 1:1 gluten free baking blend and it came out almost perfect — the only reason it’s not 5 stars is my first waffle stuck a little to the waffle maker, but after I gave the plates a quick extra spritz of nonstick spray the rest came out perfectly crisp. Will definitely make again.

1 week ago

Thanks for the gluten free swap tip! A quick extra spritz of spray between waffles is always a good call, especially with gluten free blends that tend to stick a little more. So glad you enjoyed them!

30 minutes ago

No way these are this easy and taste this good. I only have a tiny cheap dorm waffle maker and they still came out crispy as hell, no fancy equipment needed. Ate three straight off the iron no toppings they were that good. 10/10.

yesterday

Quick question — do I need to let the batter rest like other waffle recipes? I’m making these for my in-laws who are visiting tomorrow and don’t want to mess it up! They look so good I’m nervous.

yesterday

I made these last week and didn’t let the batter rest at all, they came out perfect! Saved me so much time, didn’t notice any difference in texture compared to when I rest batter for other recipes.

2 hours ago

You don’t need to let this batter rest at all! Just mix it up and pour it straight into your preheated waffle maker for the best results. Hope your in-laws love them!

2 weeks ago

I worked at a small town diner for 4 years in high school making waffles every weekend, and this recipe is dead on for the ones we served. That secret little bit of cornstarch is exactly what gives them that crisp that doesn’t get soggy under syrup. I can’t believe you shared the hack, I thought that was top secret diner intel!

1 week ago

You caught us! That little cornstarch trick is the key to getting that authentic diner crisp without any fancy restaurant equipment. So cool to hear it’s got the former line cook seal of approval!

5 days ago

These are really tasty, but they’re definitely a treat food, not something I’d make every week. The crisp factor is 10/10 but they’re a little higher in butter than I usually use for waffles. Still great for a special weekend breakfast though, my whole family loved them even if I cut the butter a tiny bit.

2 days ago

Added a half cup of mini chocolate chips to the batter and wow, these were next level. My roommates are already begging me to make them again this weekend. The edges get so crispy and the middle is fluffy but not soggy, exactly what I want in a waffle.

yesterday

Oh the chocolate chip addition sounds so good! Did you toss them in a little flour first to keep them from sinking to the bottom of the batter?

2 hours ago

I didn’t actually! I just stirred them in right before pouring and they were evenly distributed, no sinking issues at all, probably because the batter is nice and thick!

1 week ago

Accidentally added a little too much milk to the batter my first go around and thought I ruined them, but they still came out crispy! I just cooked them 30 seconds longer than the recipe said and they were perfect. Super forgiving recipe, which is great for someone like me who never measures anything right.

5 days ago

Love that this recipe was forgiving enough for your accidental extra milk! Cooking them a touch longer is exactly the right fix for thinner batter, great call.

2 hours ago

Wait, what heat setting do you use on the waffle maker? Mine has 1-5 settings and I have no idea which one to pick for these, I don’t want to burn them or have them come out undercooked and soggy.

30 minutes ago

I use setting 4 on mine and they come out perfect! Golden, crispy on the outside, fluffy inside, no burning. I’d start at 4 and adjust if your waffle maker runs hot or cold.

5 minutes ago

Great question! We recommend a medium-high setting (usually 4 out of 5 on most waffle irons) and waiting until the steam stops coming out of the edges before you open the lid — that’s the trick to perfect crisp every time!

yesterday

Made these for our weekly friend brunch yesterday and everyone lost their minds. We did a chicken and waffle spread and these held up perfectly even with a big piece of fried chicken and gravy on top. No sogginess, just crunch all the way through. 10/10 will be making again.

3 days ago

I followed the recipe exactly but mine came out soft, not crispy at all. I’m so disappointed, I was really looking forward to that diner crisp. Not sure what I did wrong, I even used cornstarch like the recipe said.

2 days ago

Oh no, we’re sorry these didn’t crisp up for you! The most common culprit is a waffle maker that isn’t fully preheated before you pour the batter in — make sure it’s hot enough that a drop of water sizzles immediately when it hits the plates. Also, wait until all the steam stops coming out of the edges before opening the lid, that means all the excess moisture has cooked off. Give it another try, we promise it works!

5 minutes ago

My teenage son who lives off frozen waffles said these are the best thing I’ve ever made. Win for dad. Didn’t change a thing about the recipe, followed it exactly, came out perfect first try. Easy enough to make even on a weekday before practice.

30 minutes ago

Can I store leftover batter in the fridge for a day or two? I always end up making too much batter and hate wasting food, especially when it’s for waffles this good.

5 minutes ago

I stored leftover batter for 2 days in an airtight container in the fridge last week and it worked great! The waffles were just as crispy as the ones I made fresh, just give the batter a quick stir before pouring.

just now

Great question! Leftover batter will keep for up to 3 days in an airtight container in the fridge — just give it a gentle stir before using, and you’re good to go. No waste necessary!

just now

I added a teaspoon of cinnamon to the dry mix and topped these with cream cheese glaze and it tasted like a churro waffle from the fair, SO good. The crisp texture is unbeatable, I don’t think I’ll ever use another waffle recipe again. I’ve already sent this to three of my friends.

just now

The cinnamon and cream cheese glaze idea is genius! I’m making these tomorrow and definitely stealing that, that sounds like absolute perfection.



