
best way to air fry chicken
intro
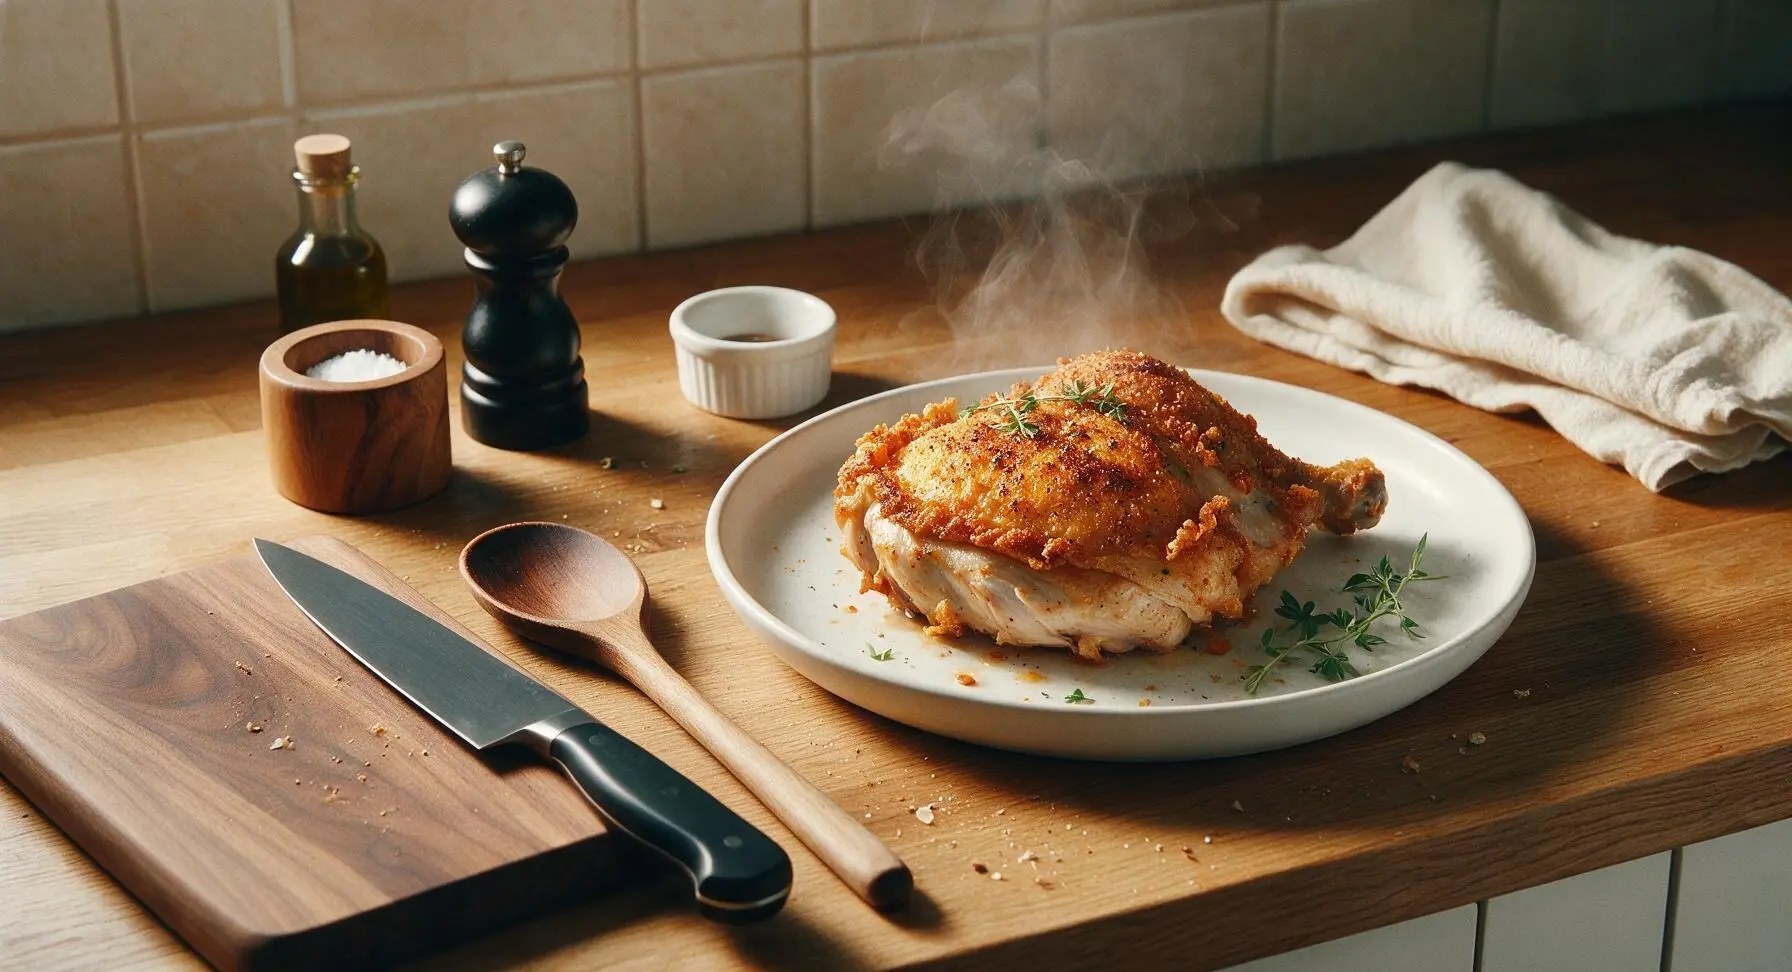
Shatteringly crisp golden seasoned skin gives way to tender, juicy, perfectly cooked chicken — this no-fuss air fryer recipe delivers consistent results in under 30 minutes for a satisfying weeknight meal.
Ingredients
Steps
Pat Chicken Dry
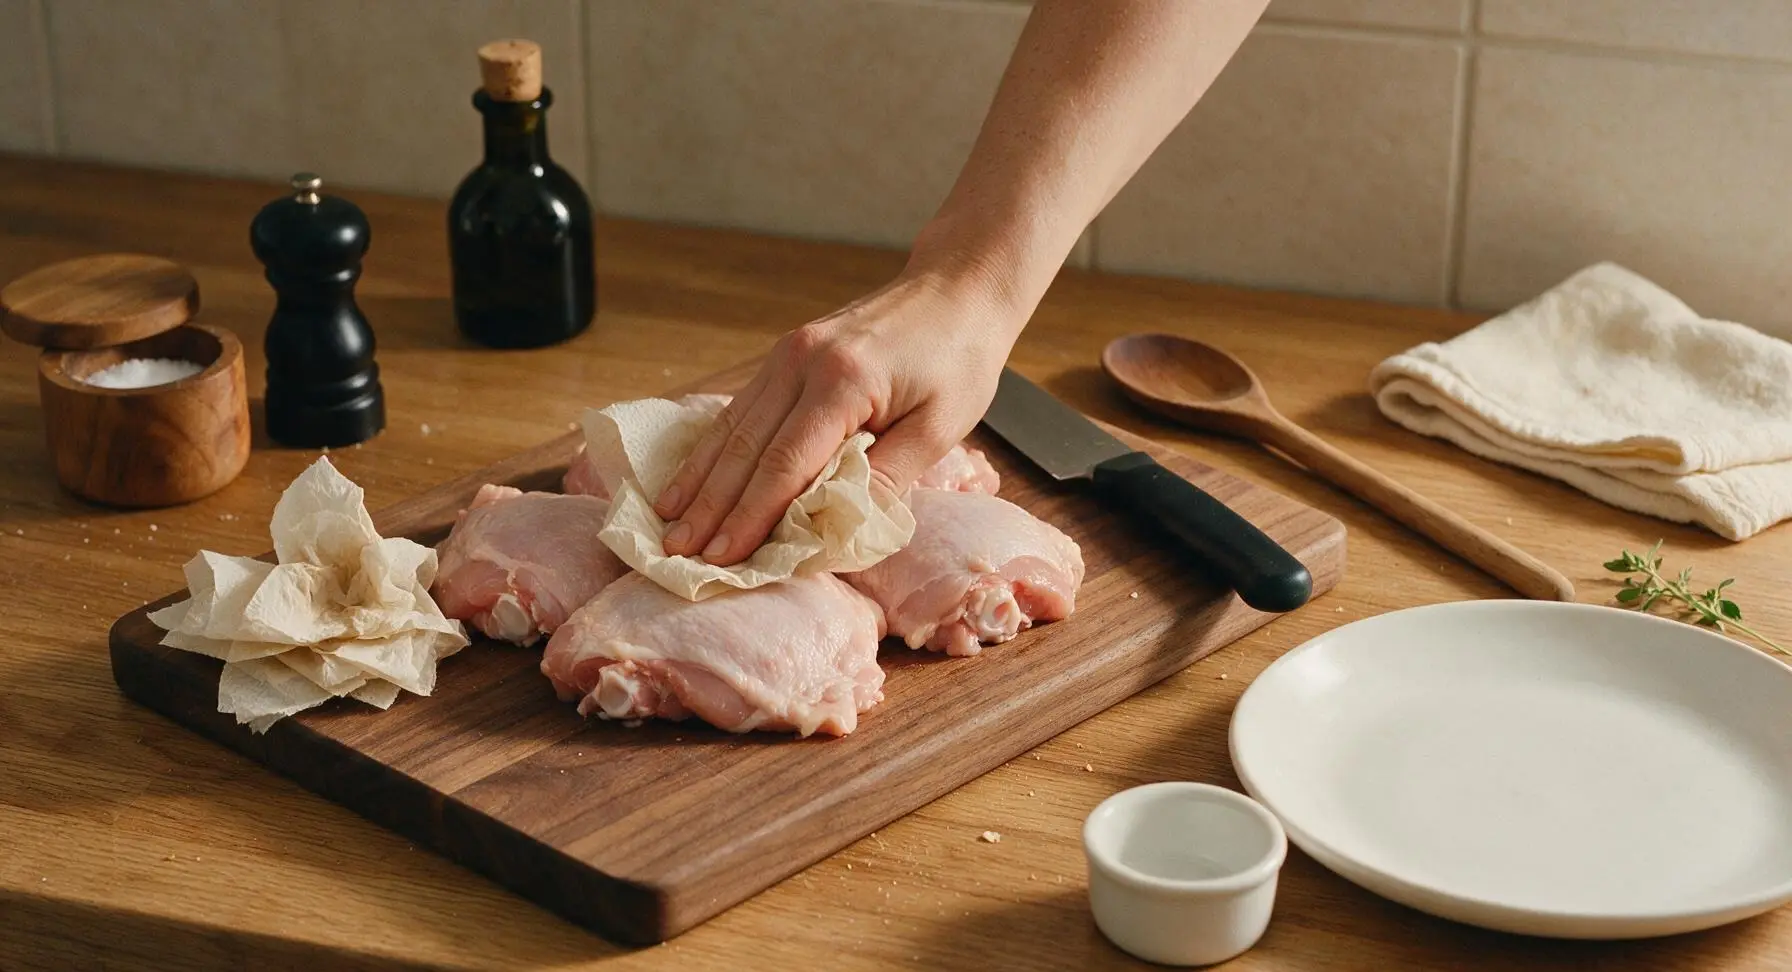
Remove chicken thighs from packaging and place on the acacia wood cutting board. Tear sheets of unbleached paper towel from the roll to thoroughly pat every surface of the chicken skin and meat completely dry, paying extra attention to crevices under the skin and around the bone. Discard used paper towels. The skin should feel matte and dry to the touch, with no remaining surface moisture — this is non-negotiable for crispiness.
Mix Crispy Spice Rub
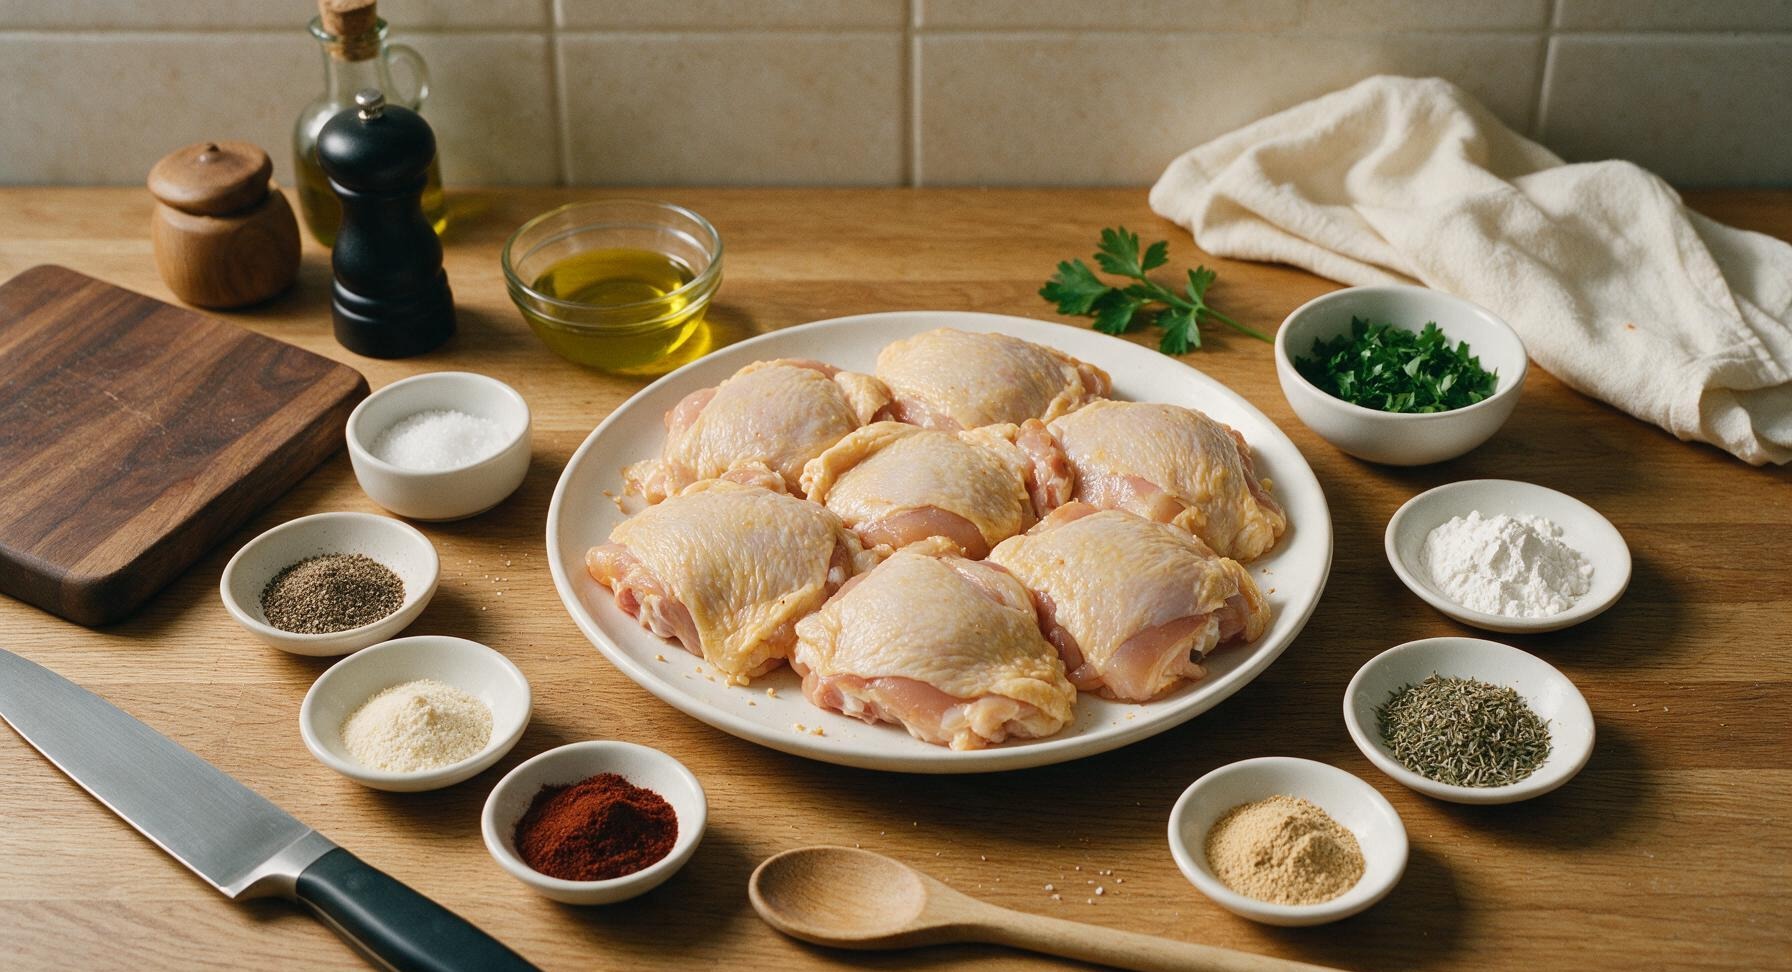
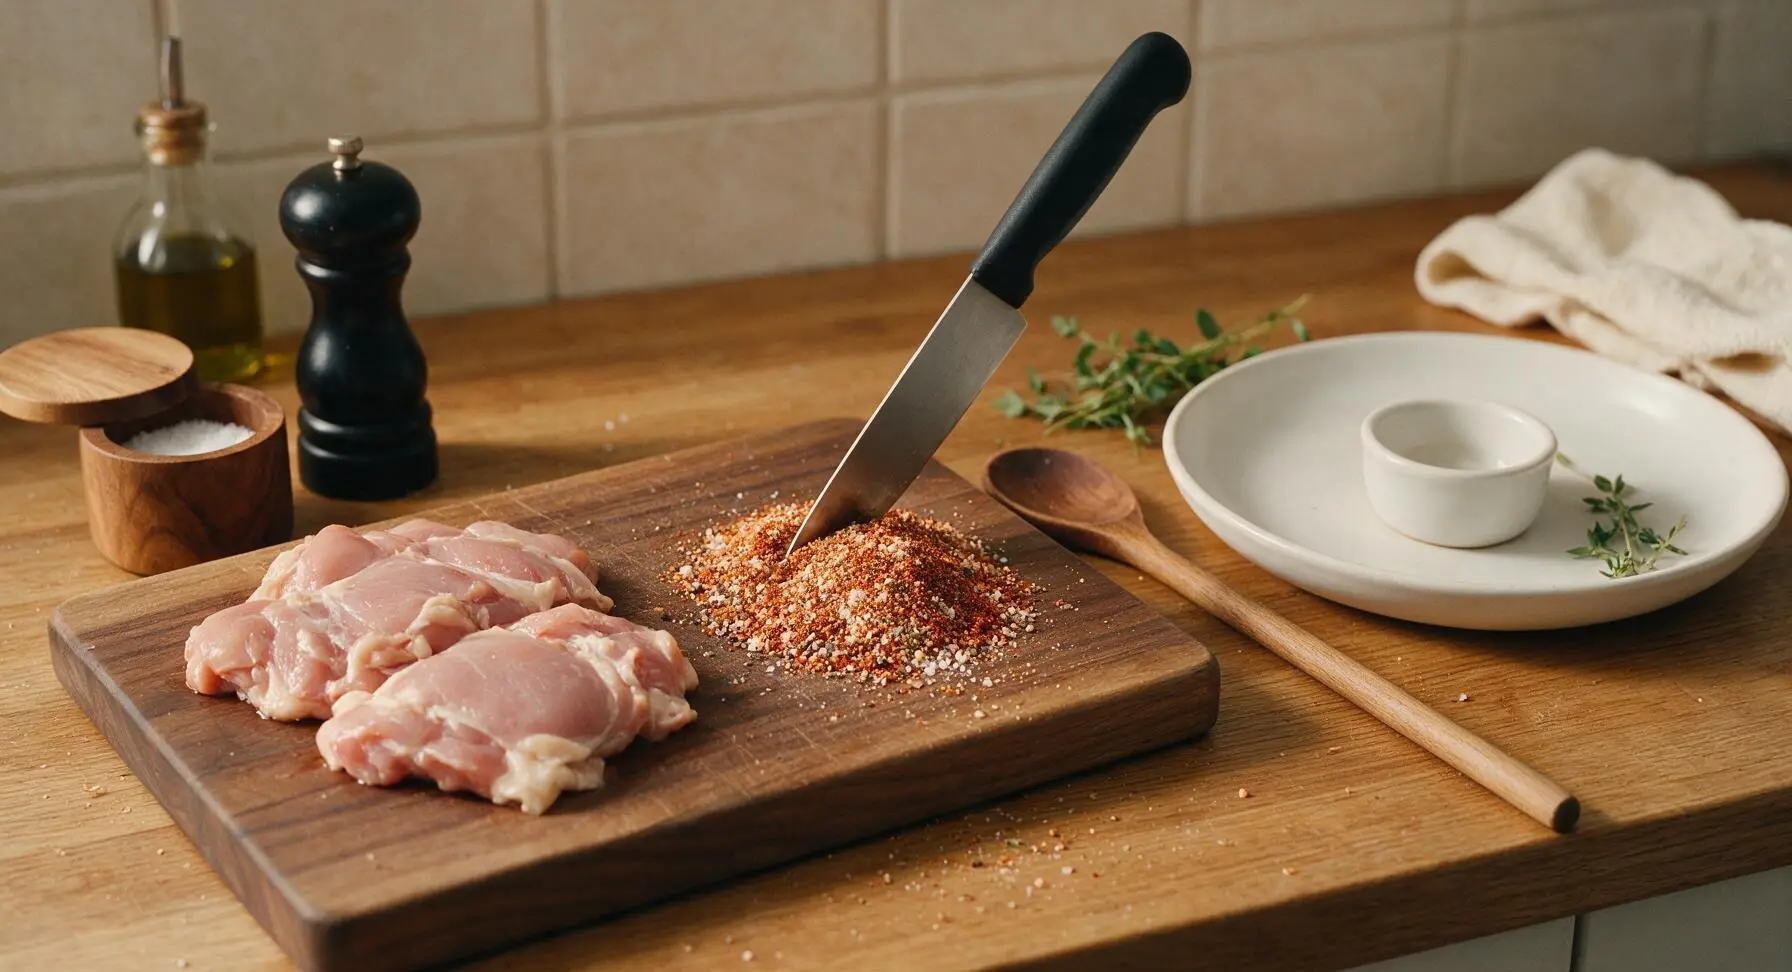
Push the patted-dry chicken thighs to the left side of the acacia cutting board. Combine measured kosher salt, black pepper, garlic powder, smoked paprika, onion powder, dried thyme, and aluminum-free baking powder in a small neat pile on the empty right corner of the board. Use the tip of the chef knife to stir the spices together until fully evenly blended, with no clumps of baking powder remaining.
Coat with Oil and Spices
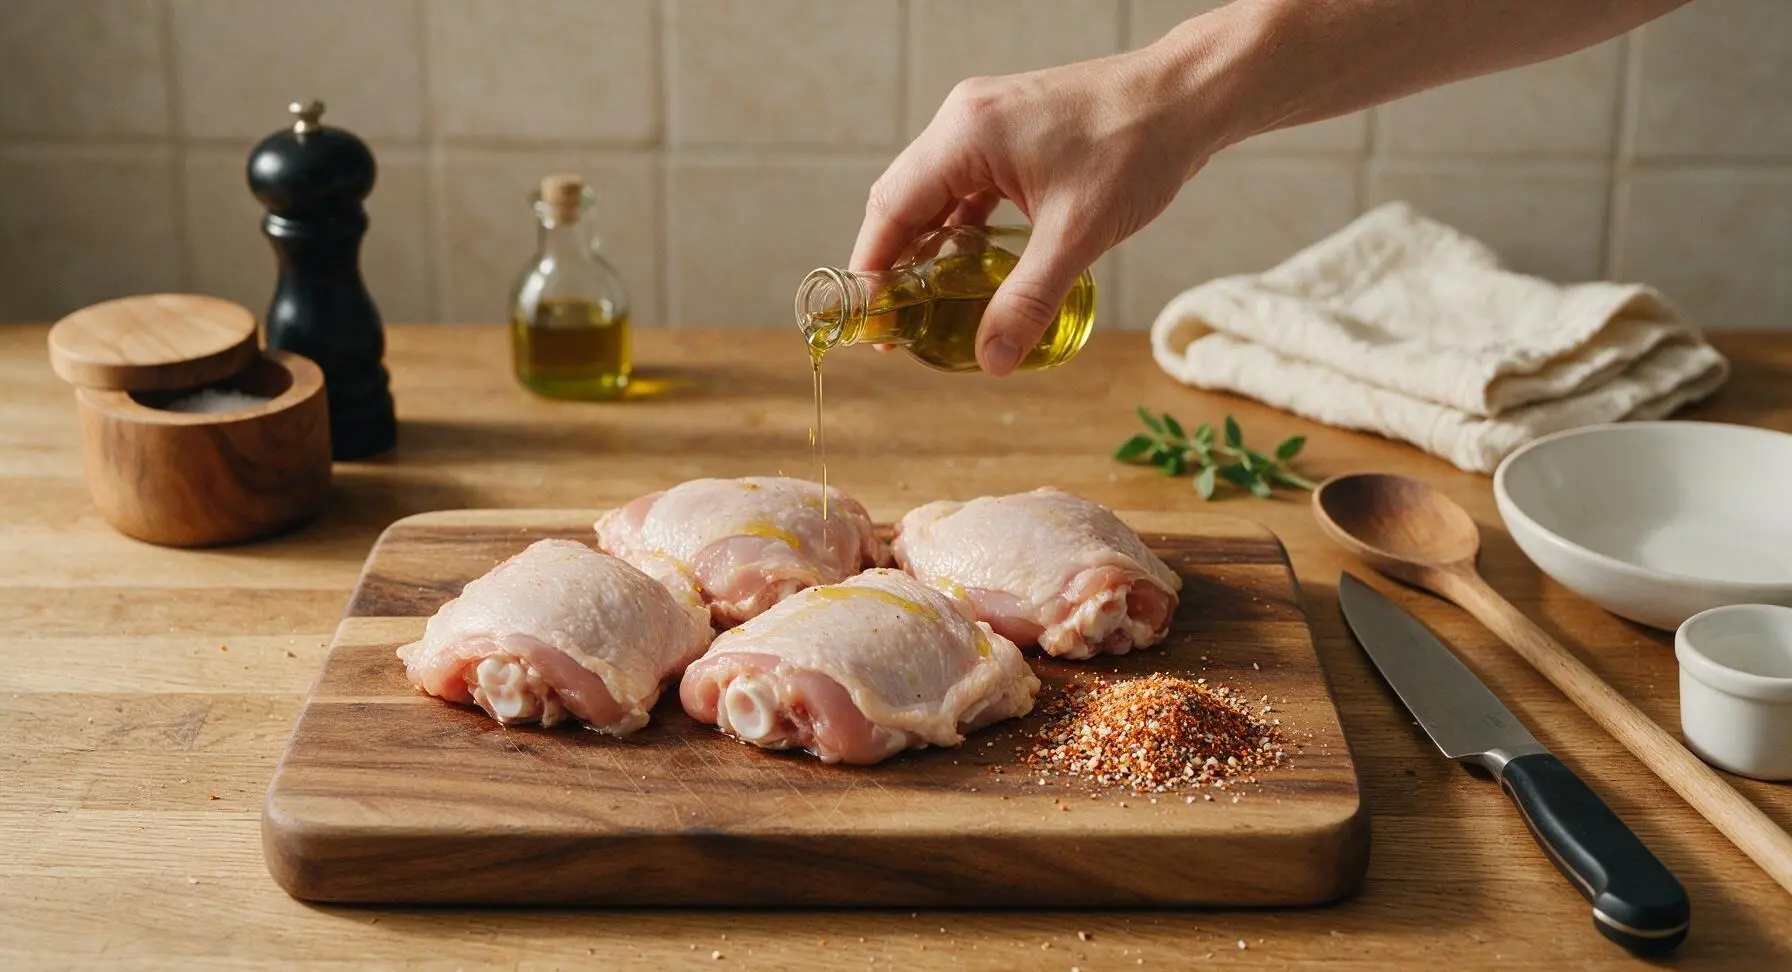
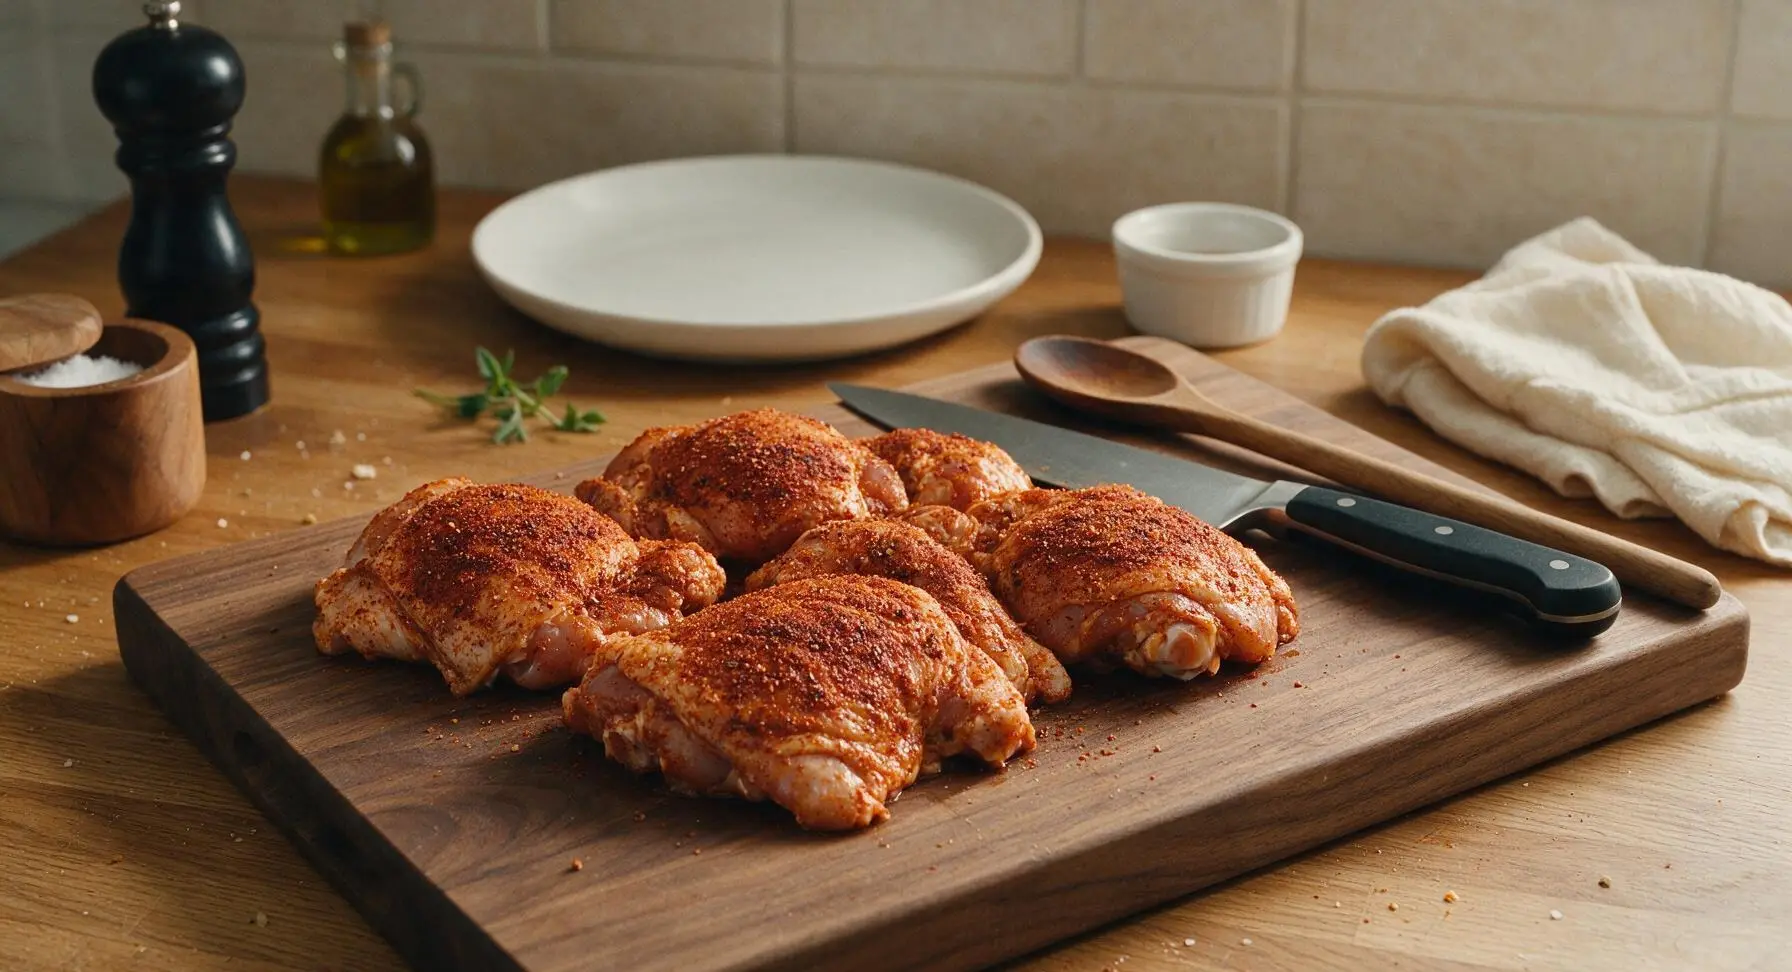
Drizzle 1 tablespoon of extra-virgin olive oil over the dry chicken thighs, using clean hands to rub the oil evenly over every skin and meat surface. Sprinkle the mixed spice rub evenly across all sides of the chicken, pressing gently so the seasoning adheres firmly to the skin and meat. No bare patches of skin should remain, and the rub should form a thin, even coating rather than a thick caked layer.
Preheat the Air Fryer
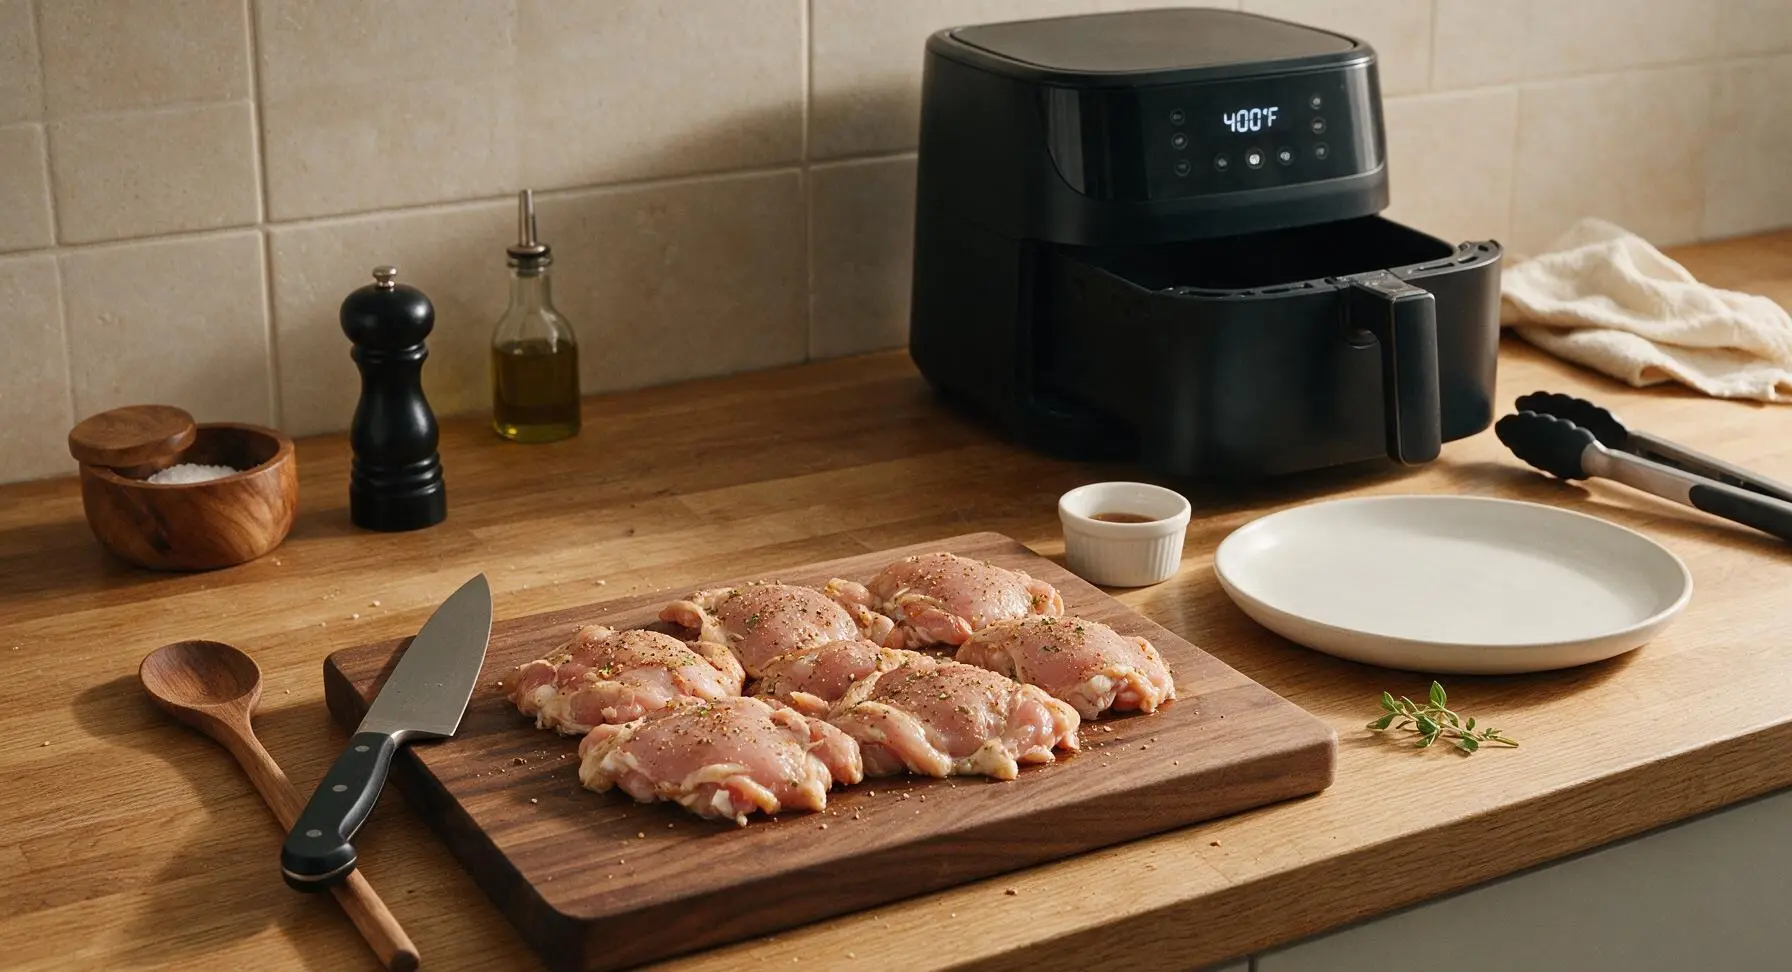
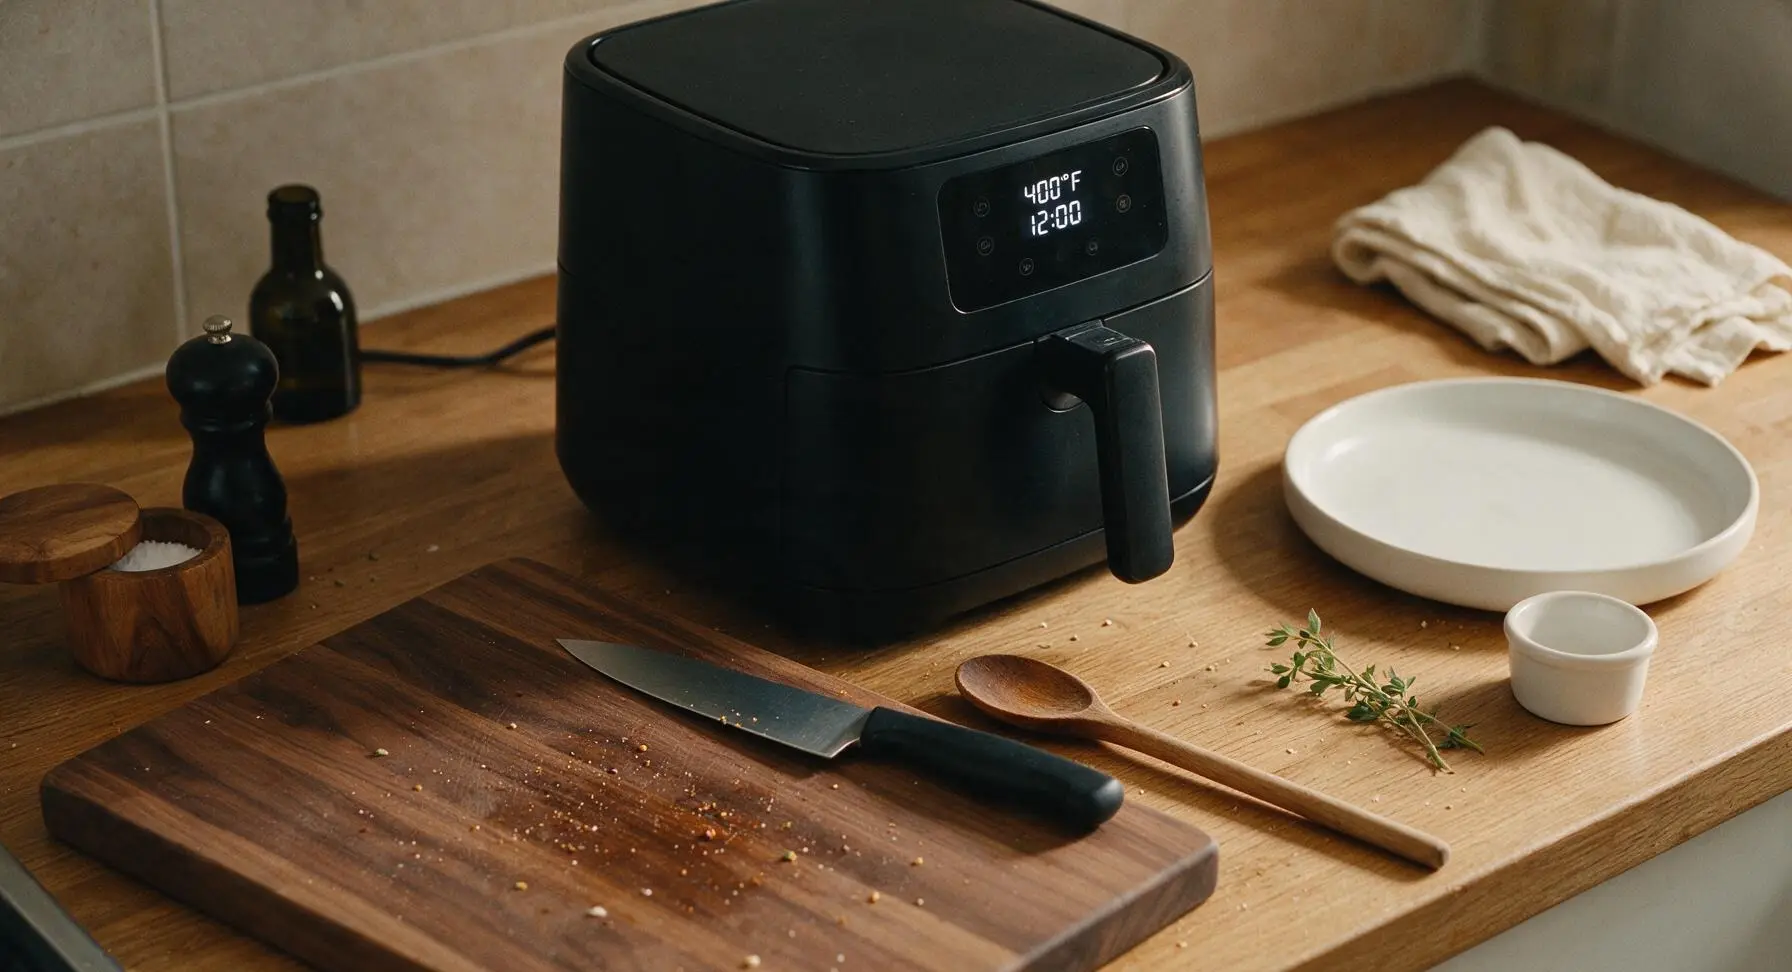
Slide the basket of the matte black 6-quart air fryer out slightly, then return it empty to the unit. Preheat to 400°F (200°C) for 3 minutes. Preheating ensures chicken skin starts rendering immediately on contact with the hot basket, preventing sticking and boosting crispiness. Do not spray the basket with nonstick spray — the oil on the chicken and rendered fat will prevent sticking.
Arrange Chicken in Basket
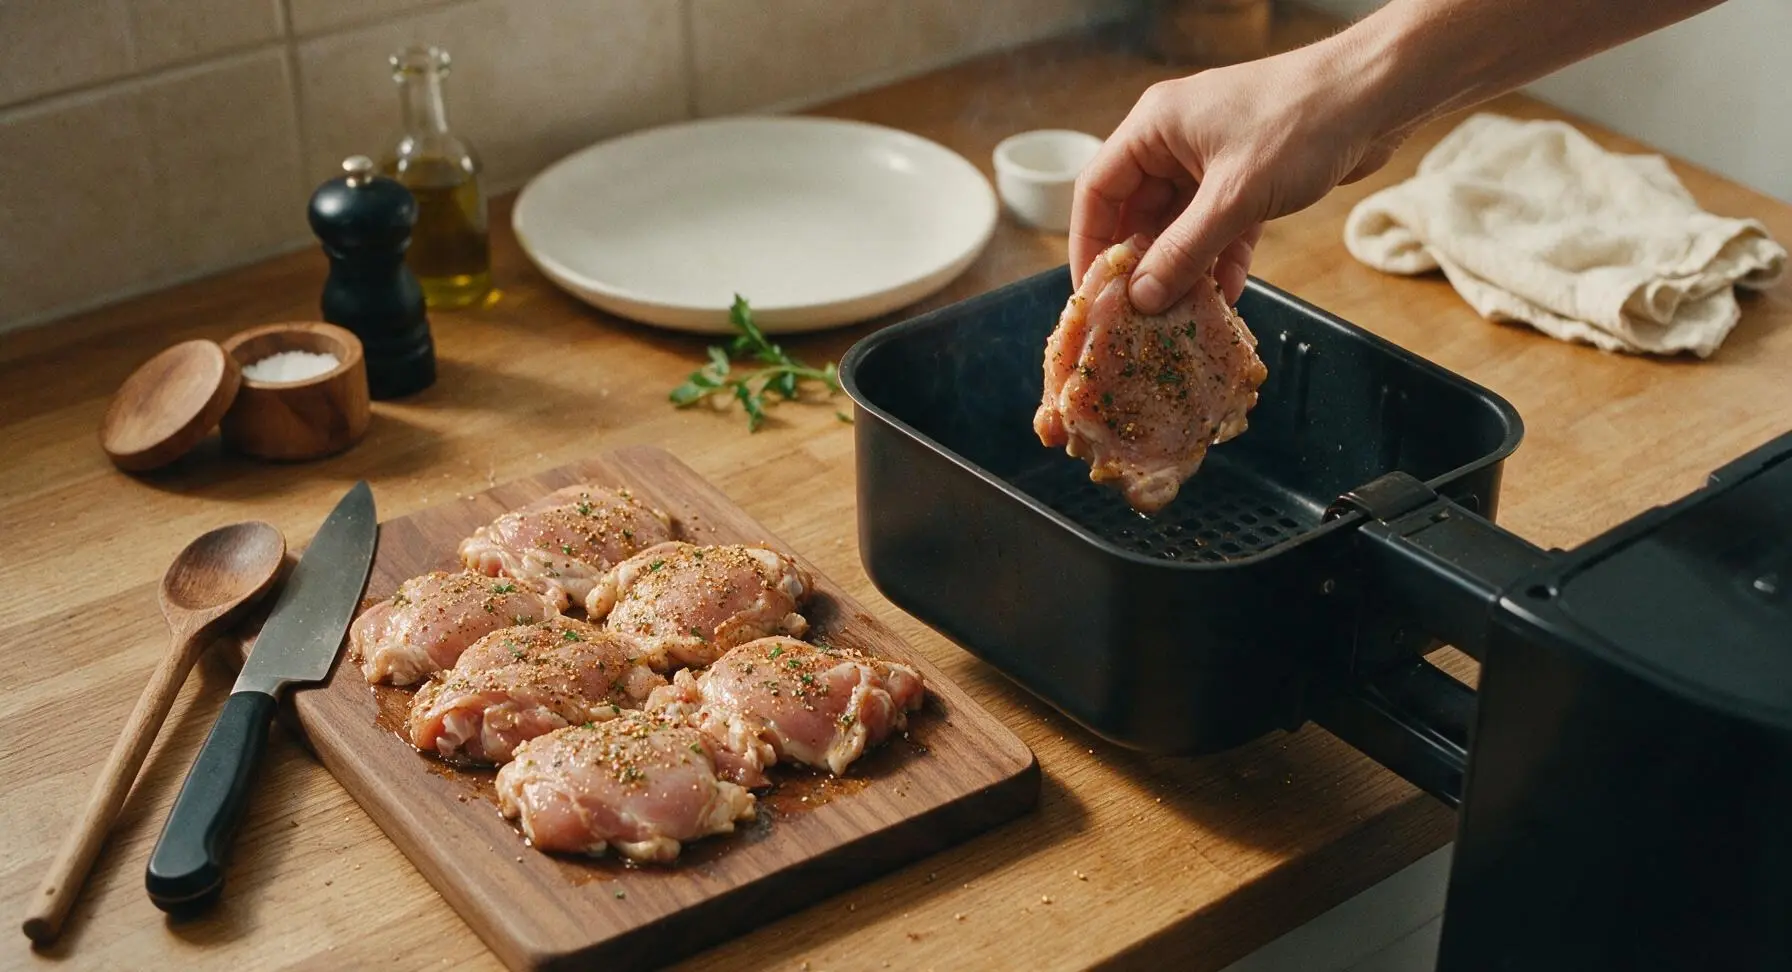
Once preheated, carefully pull the hot air fryer basket out. Arrange seasoned chicken thighs in a single layer in the basket, skin-side down first, leaving 1/2 inch of space between each piece to allow proper air circulation. Do not overcrowd the basket — cook in 2 batches if using an air fryer smaller than 6 quarts. Close the air fryer drawer.
Cook Chicken Skin-Side Down
Set the air fryer to cook at 400°F (200°C) for 12 minutes. Do not open the drawer during this time — consistent high heat renders excess fat from the skin and builds a crispy golden crust. After 12 minutes, the skin in contact with the basket will be deep golden and fully rendered.
Flip and Finish Cooking
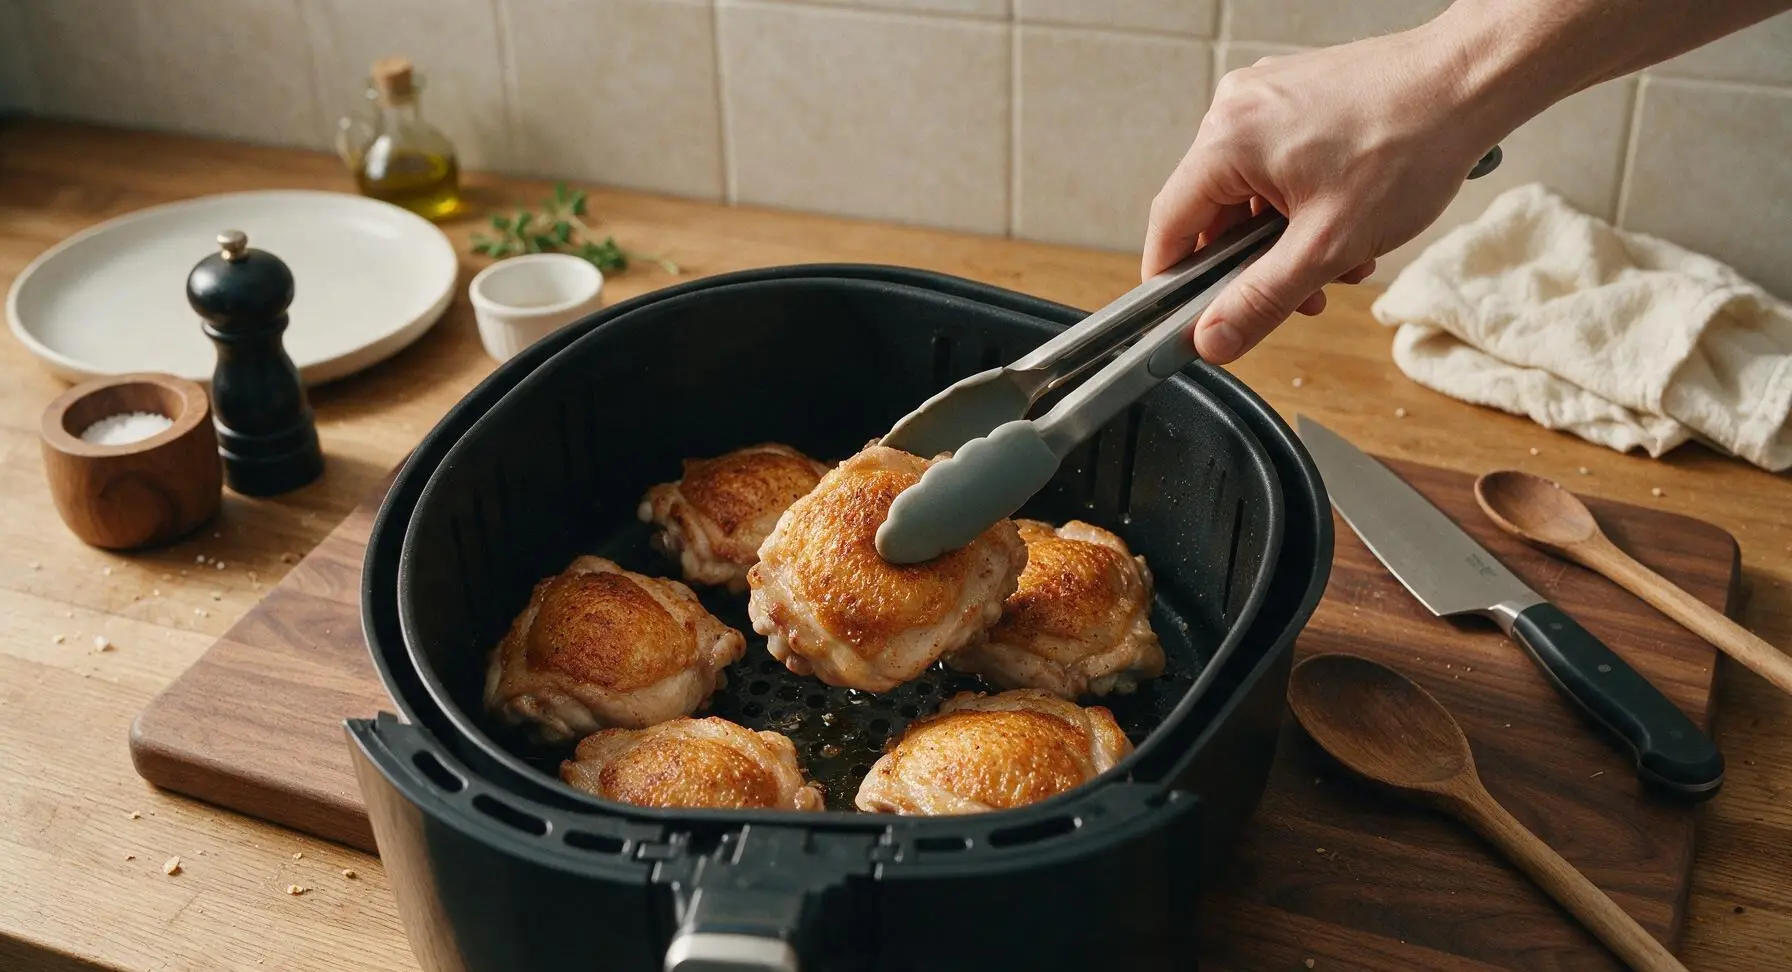
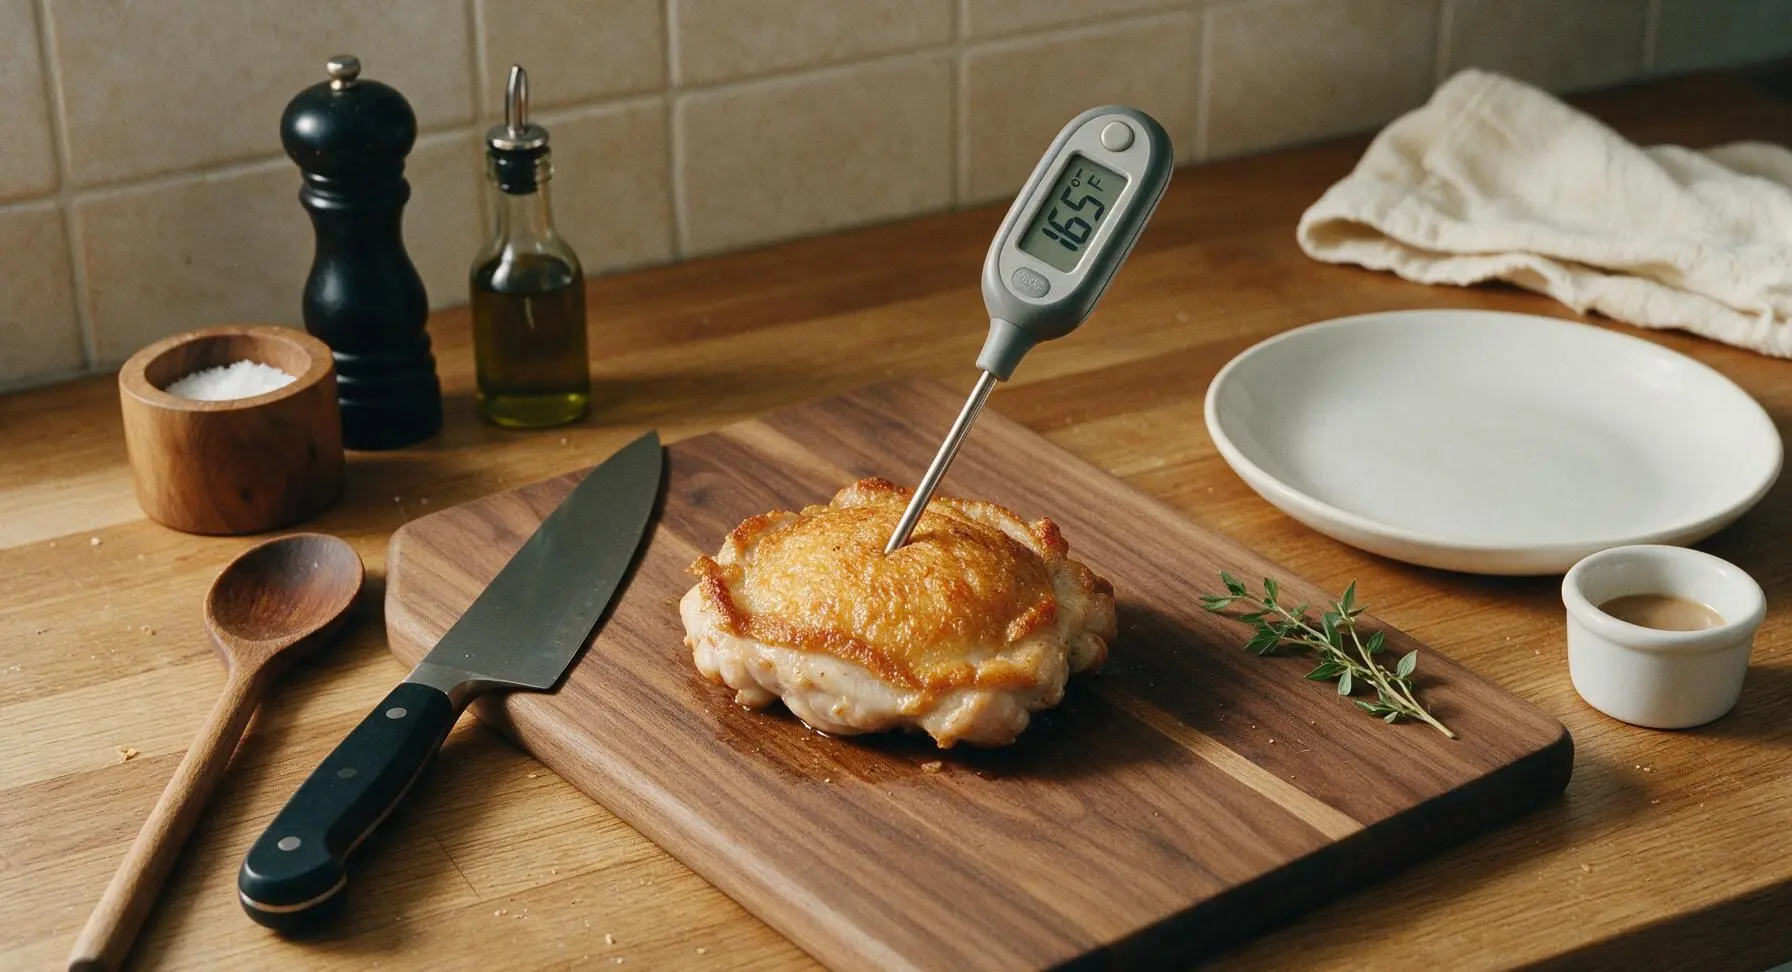
Carefully pull the air fryer basket out after the 12 minute cook time. Use the silicone-tipped stainless steel tongs to flip each chicken thigh so the skin side faces up. Return the basket to the air fryer and cook for an additional 10-12 minutes at 400°F (200°C), until skin is deep golden and crackly, and the internal temperature of the thickest part of the thigh (not touching bone) reads 165°F (74°C) on the instant-read digital thermometer.
Rest Chicken Before Serving
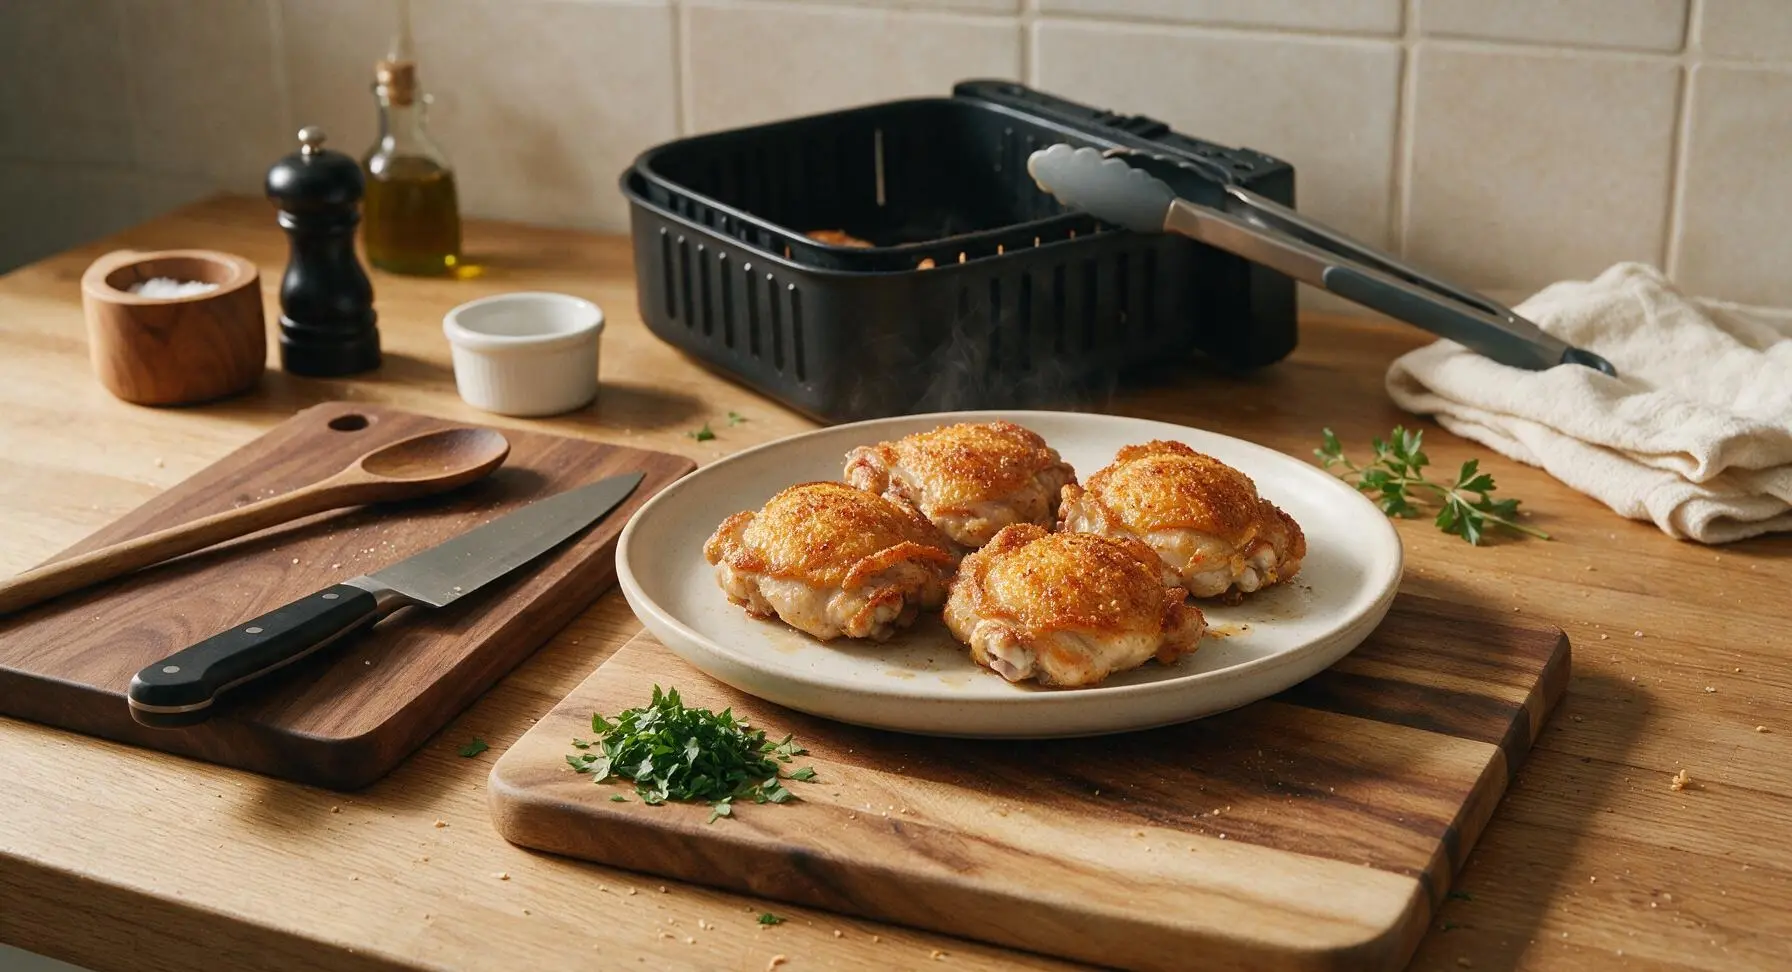
Use the tongs to transfer cooked chicken thighs from the air fryer basket to the matte off-white stoneware dinner plate. Let chicken rest for 3 minutes to allow juices to redistribute through the meat, which prevents juice from running out when cut and keeps every bite juicy. Garnish with a light sprinkle of chopped fresh flat-leaf parsley.
Tips
2.Cook chicken skin-side down first: the hot perforated air fryer basket makes direct contact with the skin to quickly render excess fat, creating a shatteringly crisp crust that won’t stick, while the final skin-side up cook time lets the top crisp without burning from direct heat.
3.Never overcrowd the air fryer basket: tight spacing blocks hot air circulation, leading to steamed, soggy skin instead of crispy texture. If using a smaller 4-quart air fryer, cook the chicken in 2 batches of 3 thighs each, keeping the first batch warm on a plate tented loosely with foil while the second batch cooks.






OMG this is a total game changer!!! I’ve tried so many air fryer chicken recipes that come out either soggy on the outside or dry as a bone inside, but this one was perfectly crispy and so juicy my kids asked for seconds before they even finished their first plate. I added a little extra smoked paprika because my family loves that warm, smoky kick, and it paired perfectly with roasted broccoli for our weeknight dinner. 10/10 will be adding this to our regular meal prep rotation!
SO good, I can’t believe how easy this was! I was nervous to make bone-in chicken in the air fryer because I always worry about undercooking, but the 25 minute cook time was spot on for my 6-quart air fryer. The crust had that perfect crunch just like deep-fried chicken without all the excess grease, and my partner said it’s better than the fast food fried chicken we grab on road trips. Will definitely be making this for our next game night with friends!
Made this last night for dinner and honestly it’s going to replace my usual Sunday fried chicken recipe. I didn’t have panko so I used crushed cornflakes for the coating and it still came out unbelievably crispy! Only note is that my chicken thighs were a little on the larger side so I added 3 extra minutes of cook time, and it came out perfect with no pink at all. Even my super picky teen ate two pieces without complaining — that’s the real win in my book.