
best way to cook chicken breast in oven

title 1
best way to cook chicken breast in oven
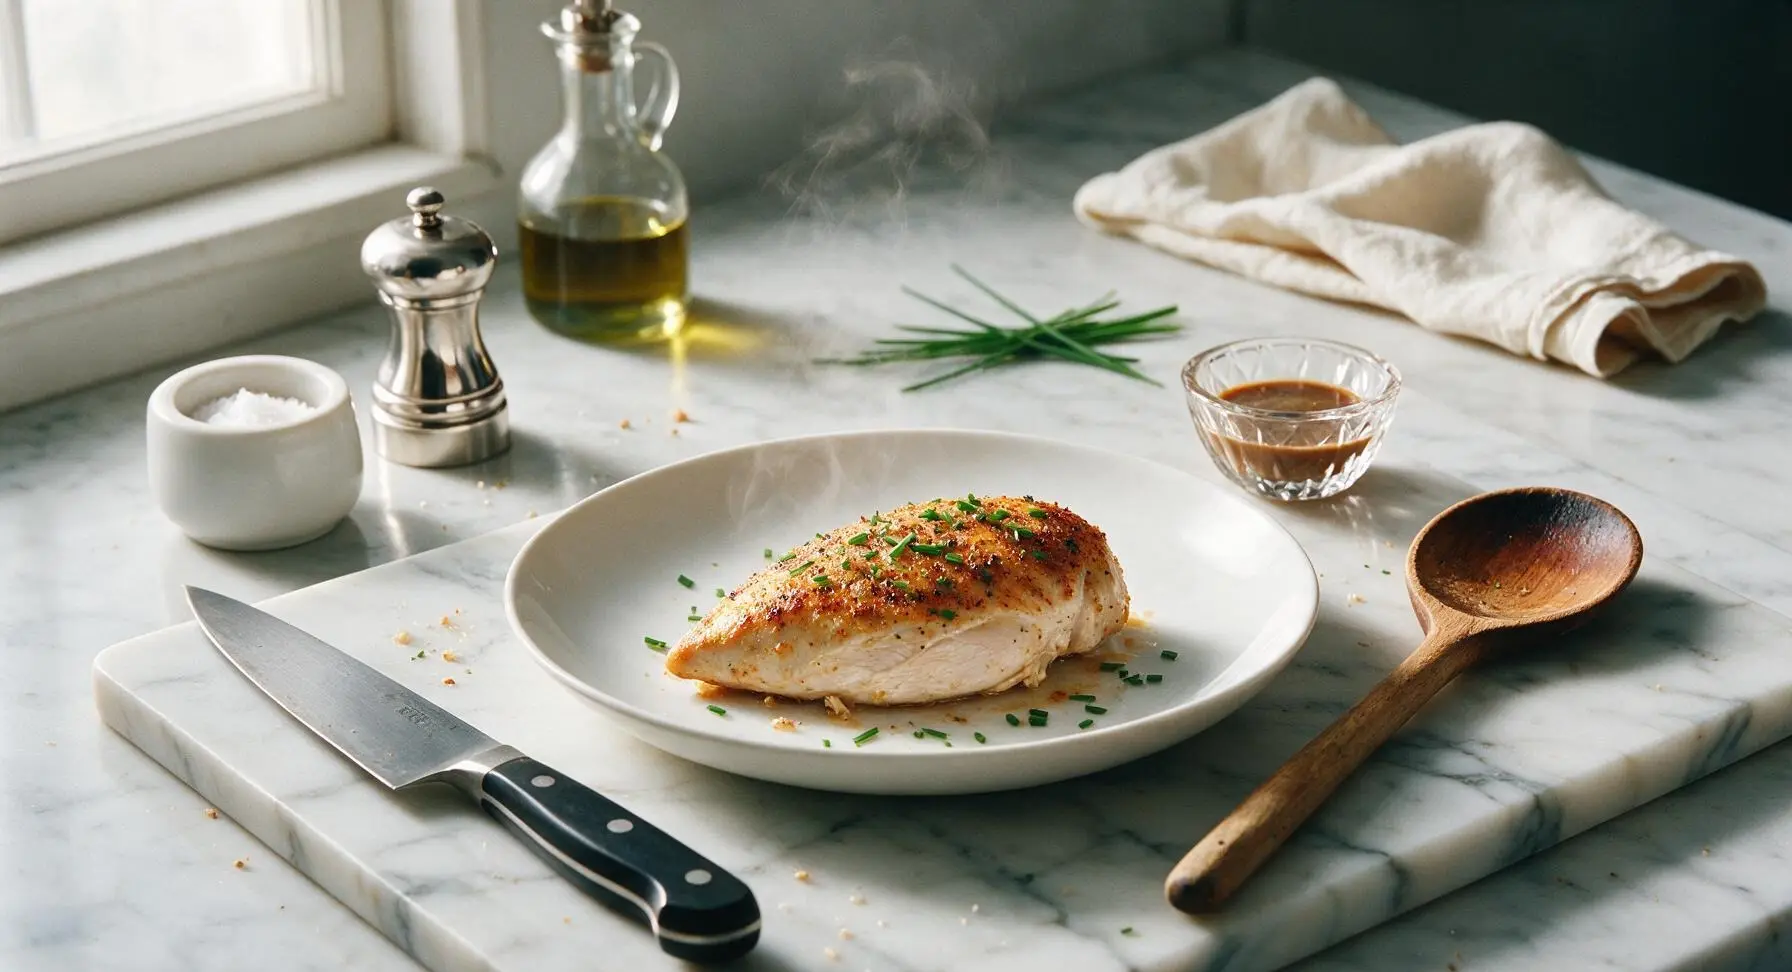
⏱️ cook time 20 minutes
🍽️ servings 4
⚡ Difficulty easy

intro

Skip dry, rubbery chicken breast forever. This high-heat oven method locks in juices, creates a golden seasoned crust, and delivers perfectly tender chicken in under 30 minutes.

Ingredients
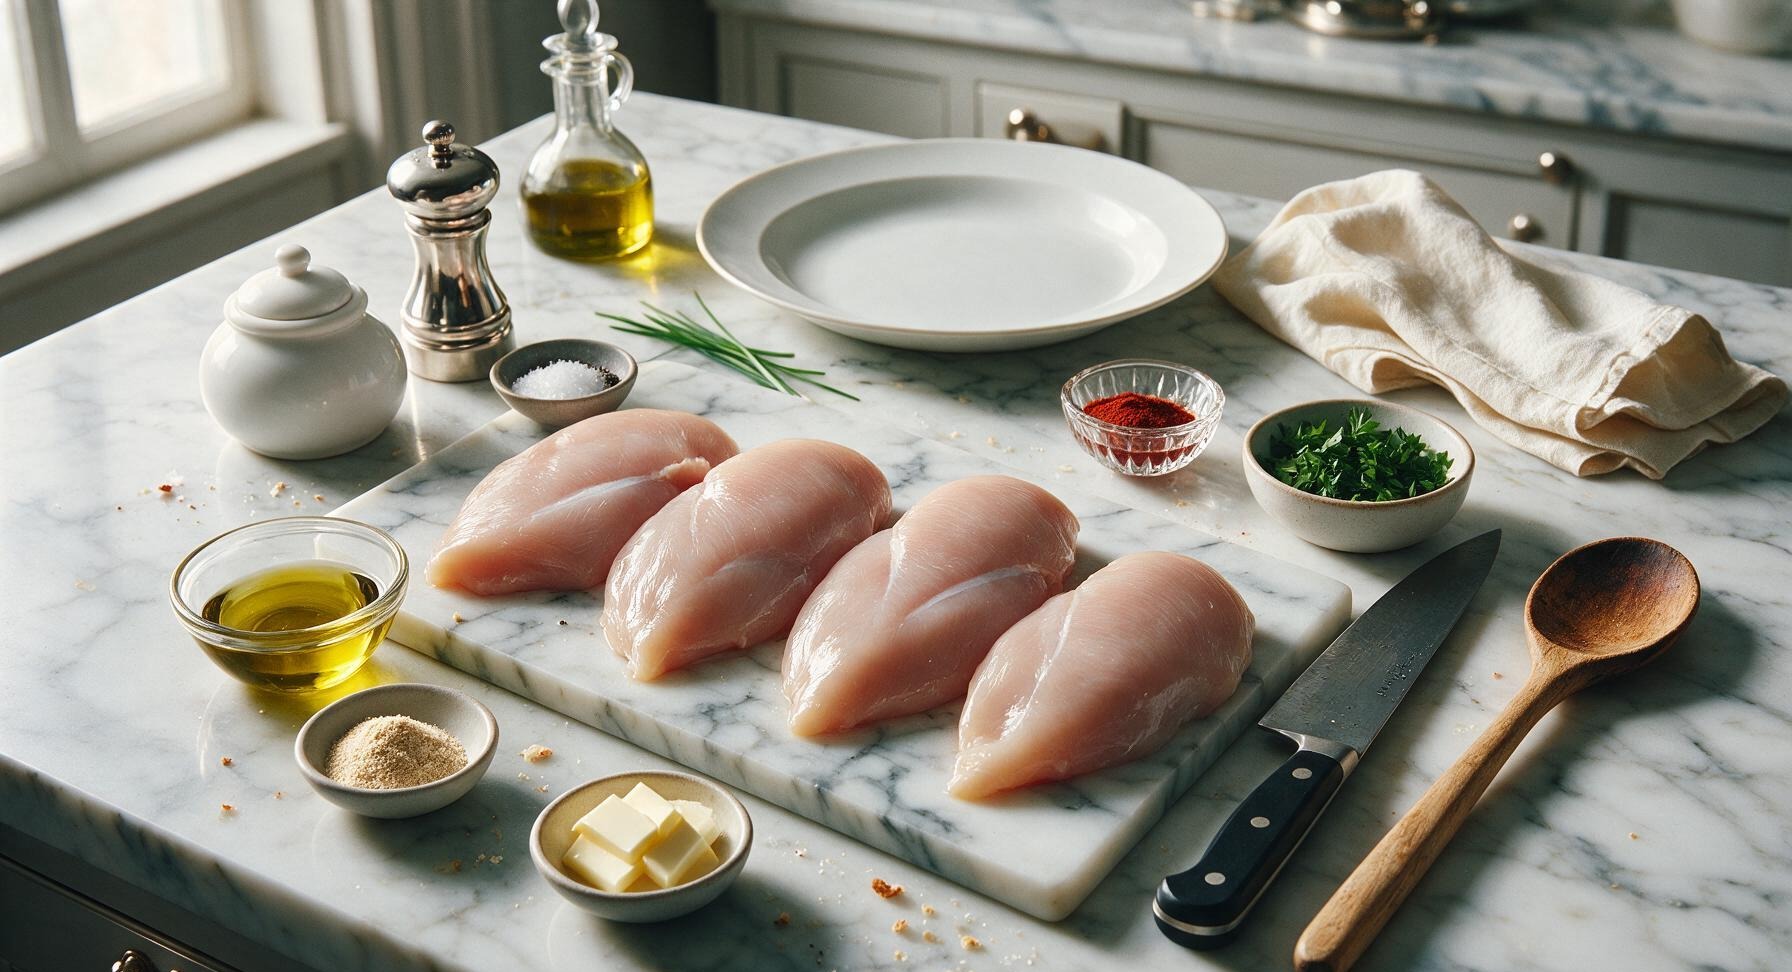
Boneless, skinless chicken breasts 600g (4 pieces, 2.5cm thick, evenly sized)
Extra-virgin olive oil 1 tablespoon
Kosher salt 1.5 teaspoons
Freshly ground black pepper ½ teaspoon
Garlic powder 1 teaspoon
Smoked paprika ½ teaspoon
Unsalted butter 2 tablespoons, cut into 4 thin pats
Fresh flat-leaf parsley 2 tablespoons, chopped

Steps

1

Preheat Oven and Prep Pan

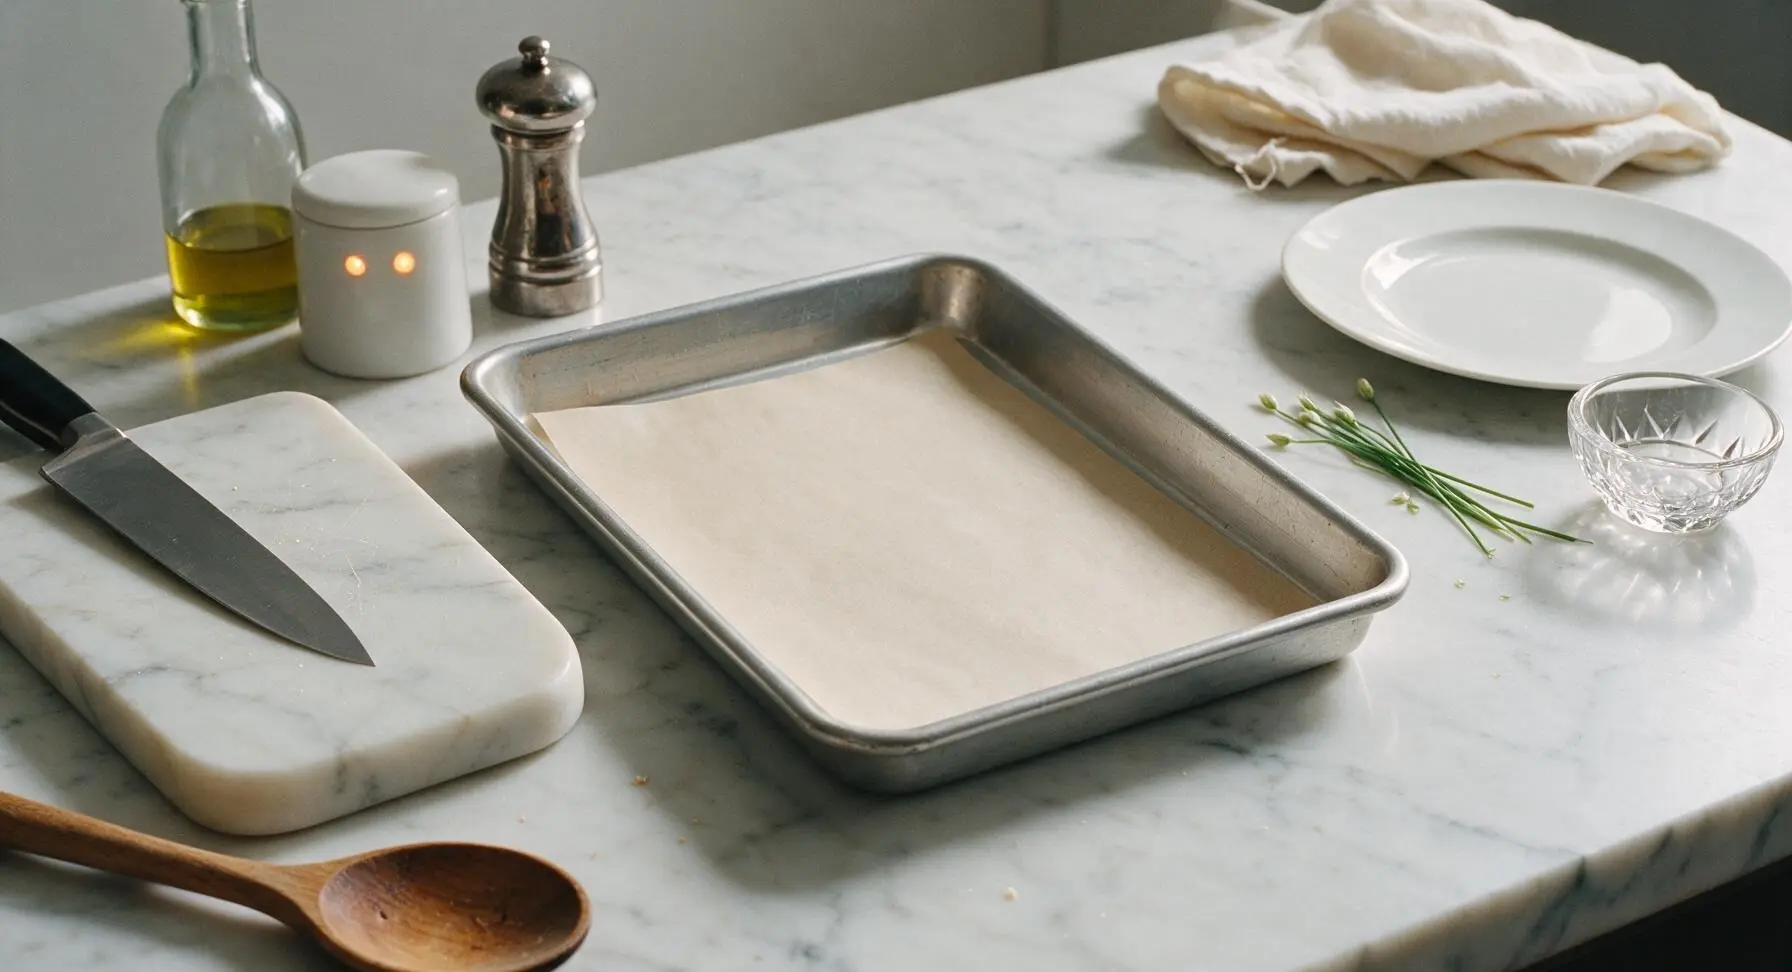
Adjust your oven rack to the middle position, then preheat the oven to 425°F (220°C). Line the rimmed half-sheet aluminum baking pan with a cut sheet of unbleached parchment paper, smoothing it flat across the pan bottom to eliminate wrinkles that could stick to the chicken. Set the prepped pan on the center of the counter.
Step 1
step1:Preheat Oven and Prep Pan
2

Pat Chicken Completely Dry

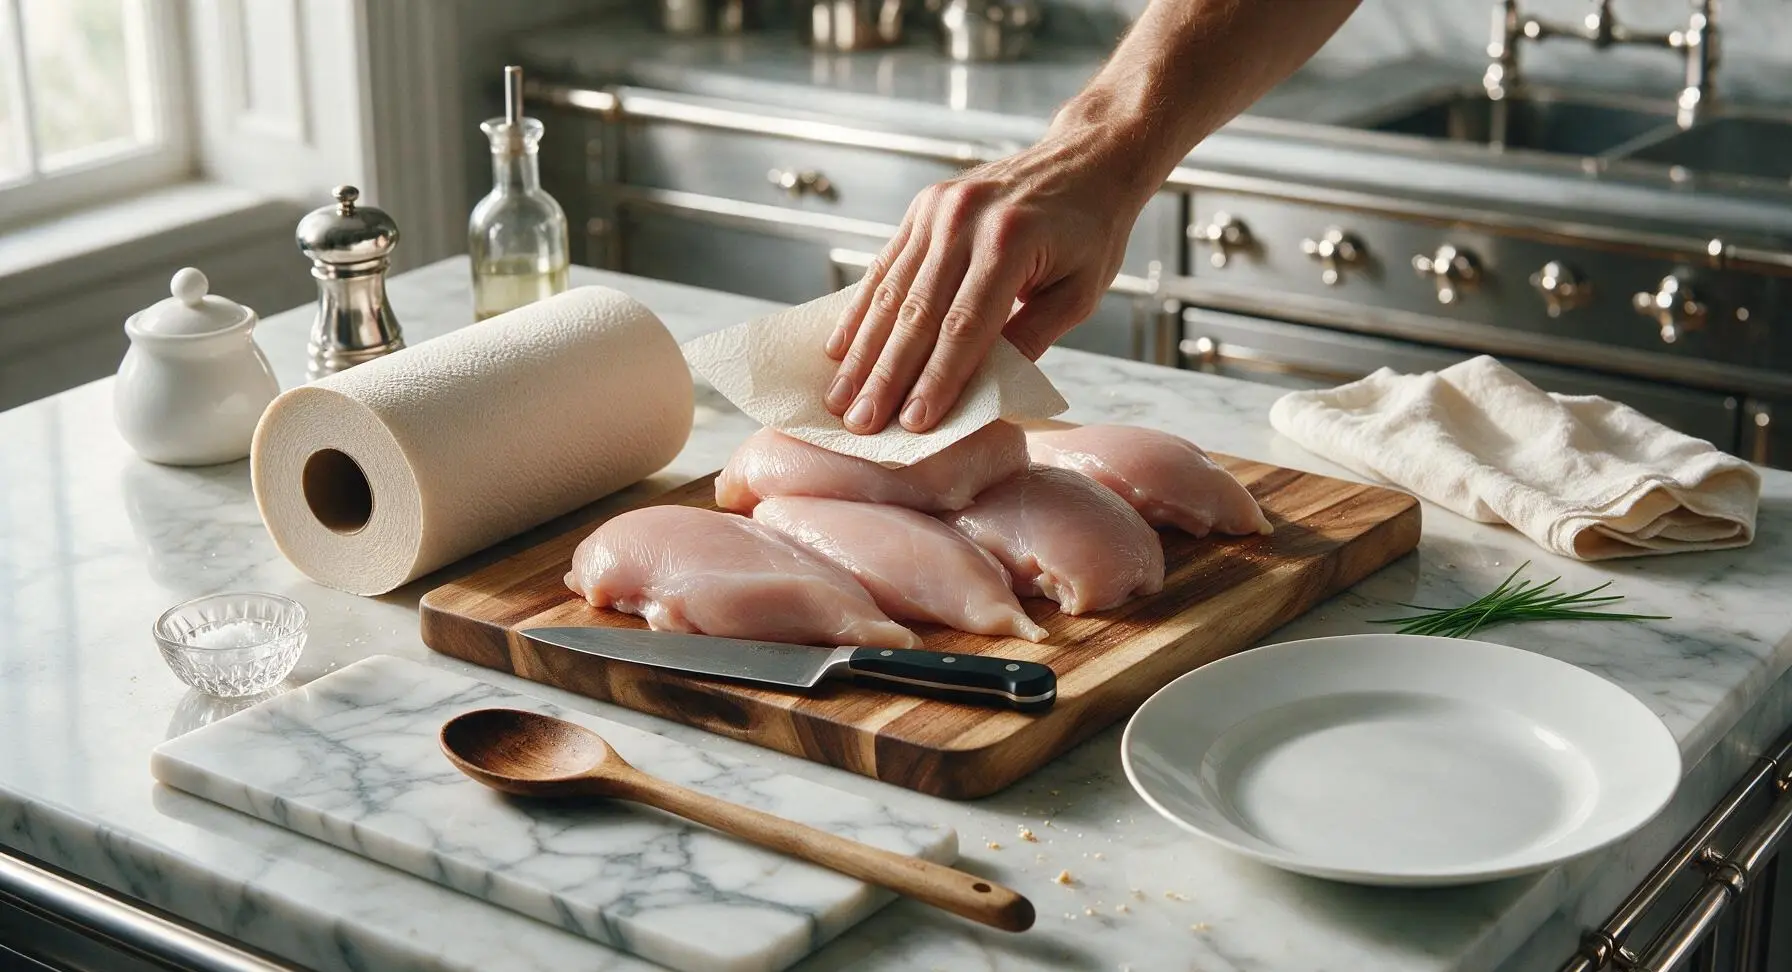
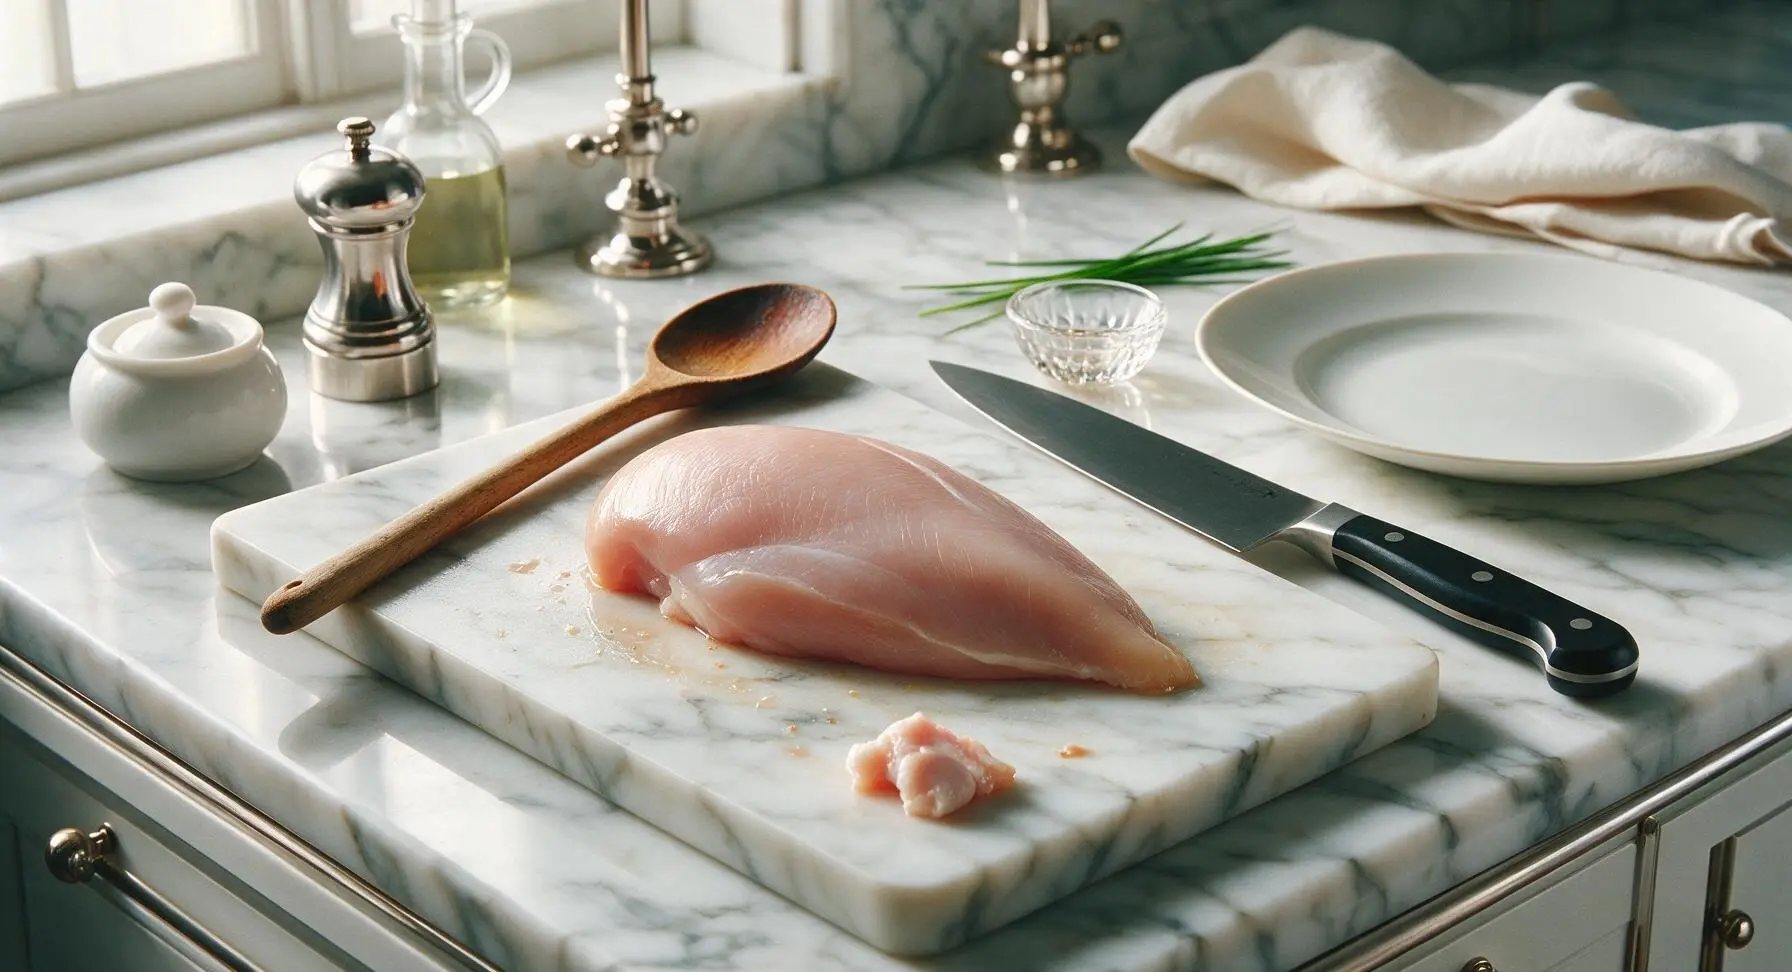
Place the four raw chicken breasts on the acacia wood cutting board. Use clean paper towels to pat every surface (top, bottom, and thin side edges) of the chicken completely dry, pressing firmly to soak up all surface moisture. Use the chef knife to trim away any visible chunks of hard fat or loose silver skin. The chicken will feel matte and dry to the touch, not slimy or wet, when ready for seasoning.
Step 2
step2:Pat Chicken Completely Dry
Step 2
step2:Pat Chicken Completely Dry
3

Season Chicken Evenly

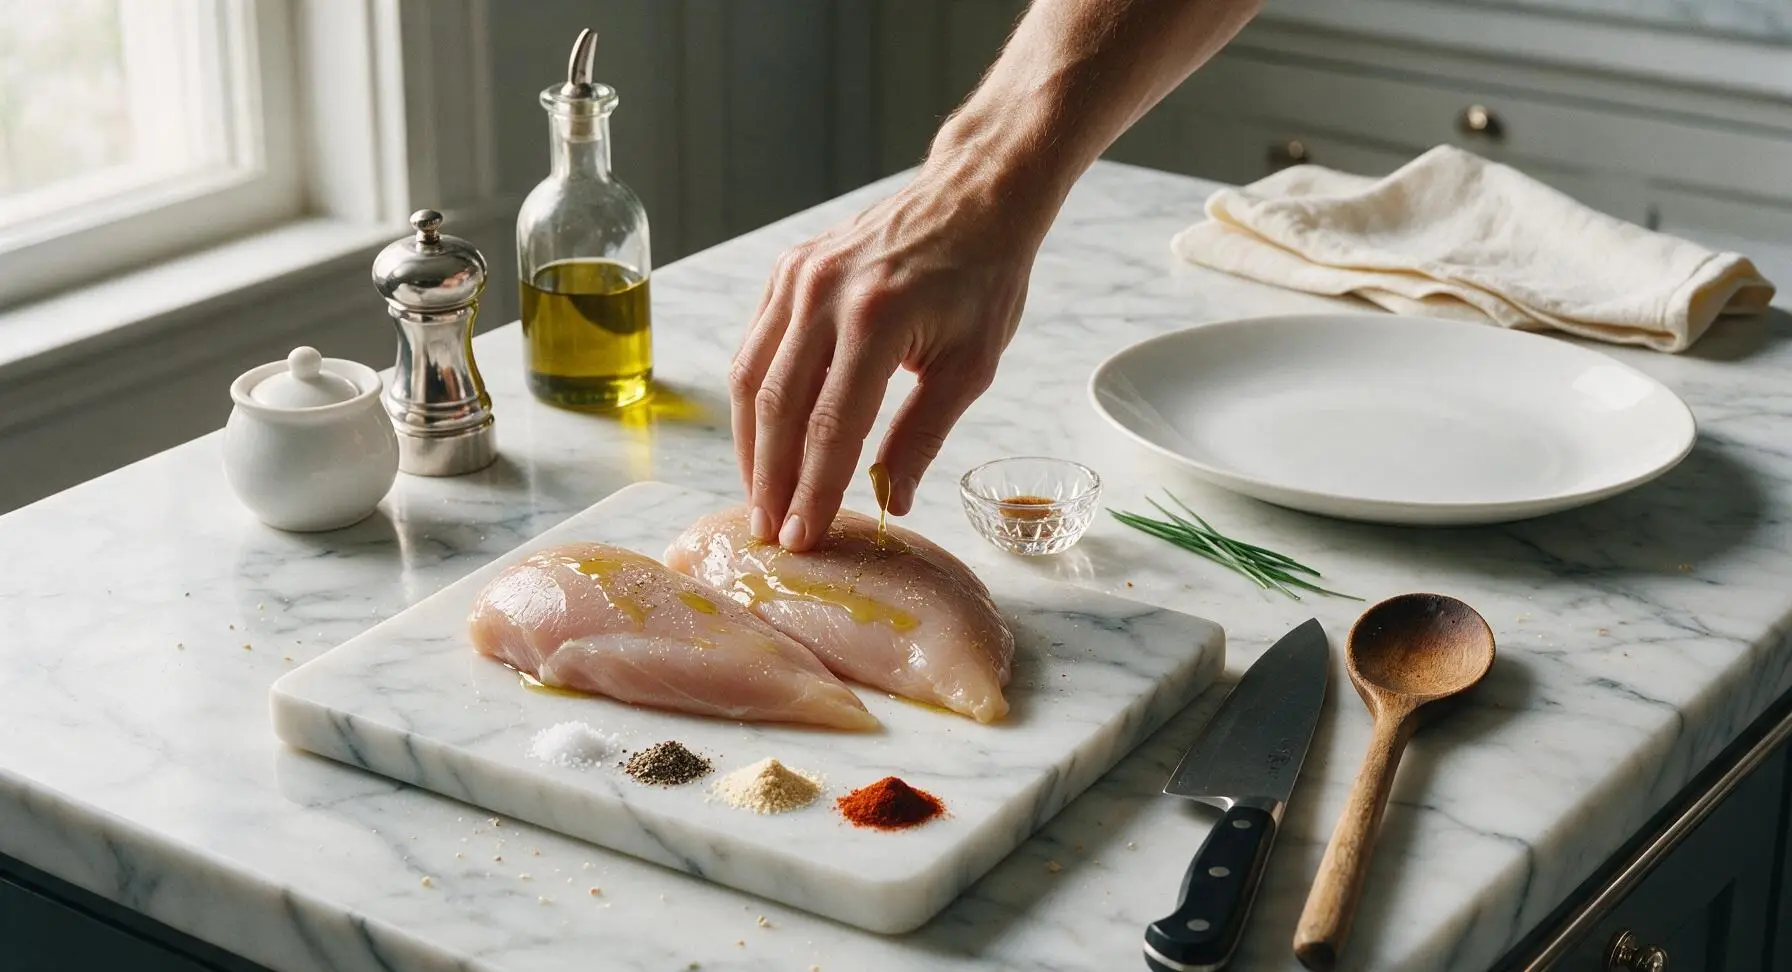
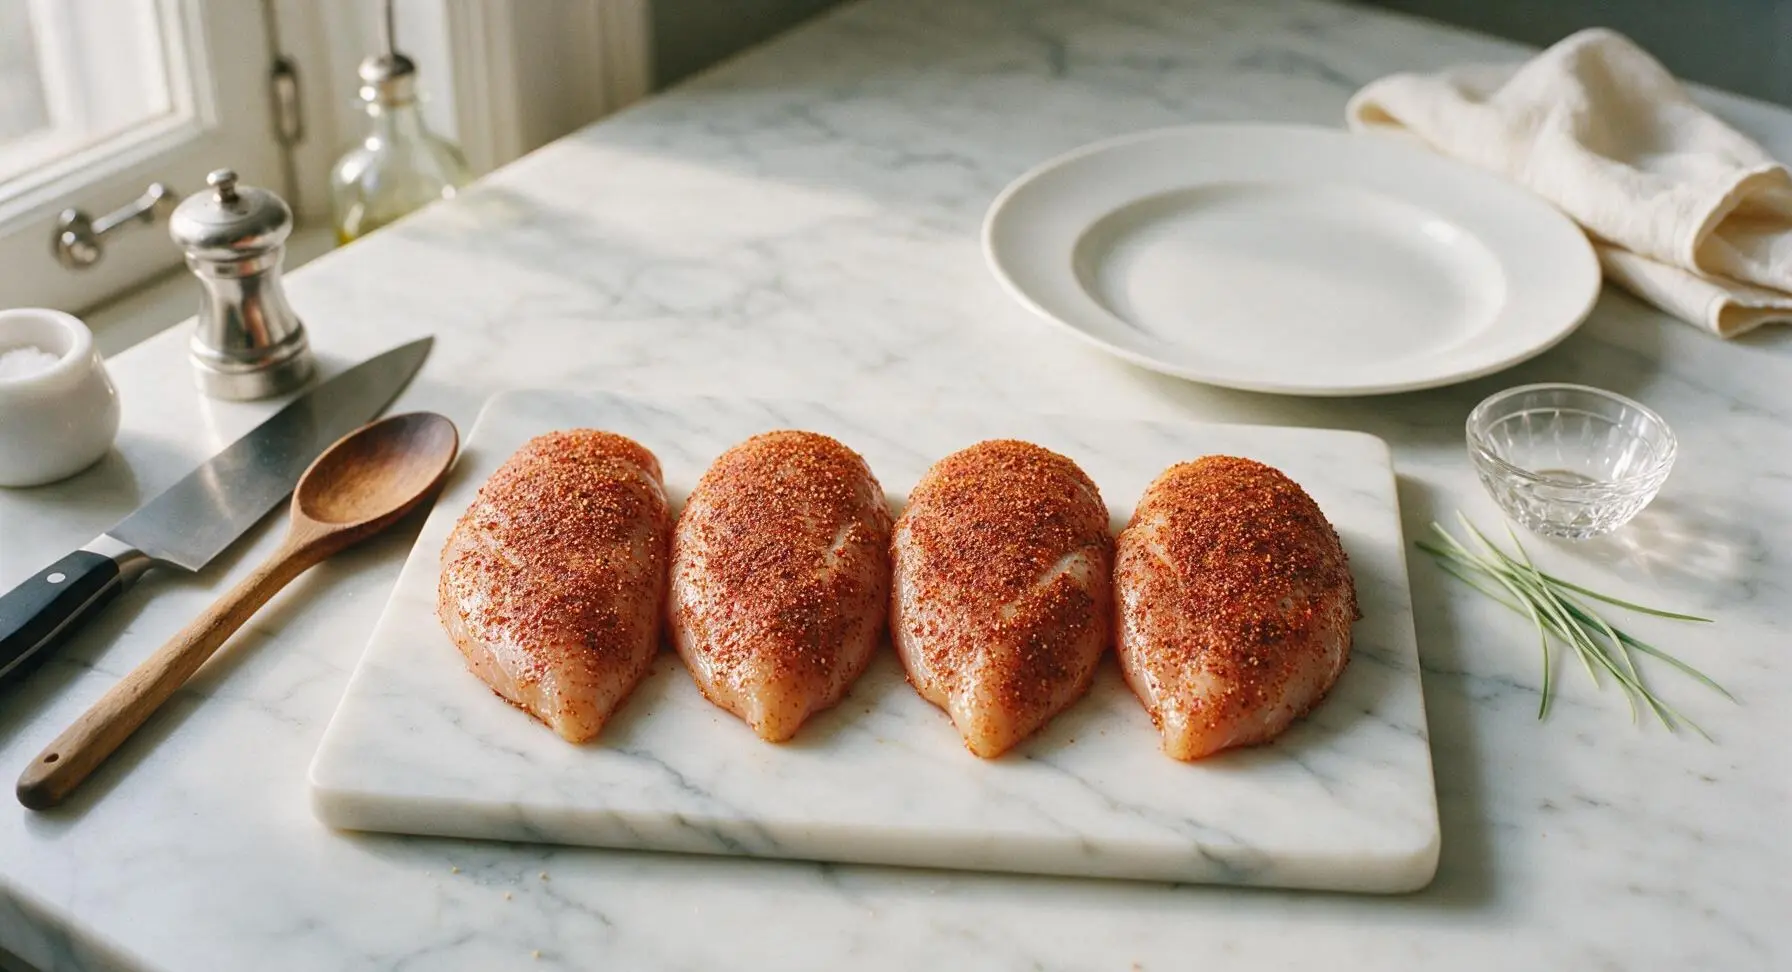
Drizzle 1 tablespoon of extra-virgin olive oil over the dried chicken breasts, using clean fingertips to rub the oil across every surface to create a thin, even coating. Combine 1.5 teaspoons kosher salt, ½ teaspoon freshly ground black pepper, 1 teaspoon garlic powder, and ½ teaspoon smoked paprika in a small pile, then sprinkle the spice blend evenly over all sides of the chicken, pressing lightly so the seasoning adheres. No bare patches of unseasoned chicken should remain.
Step 3
step3:Season Chicken Evenly
Step 3
step3:Season Chicken Evenly
4

Arrange on Baking Sheet

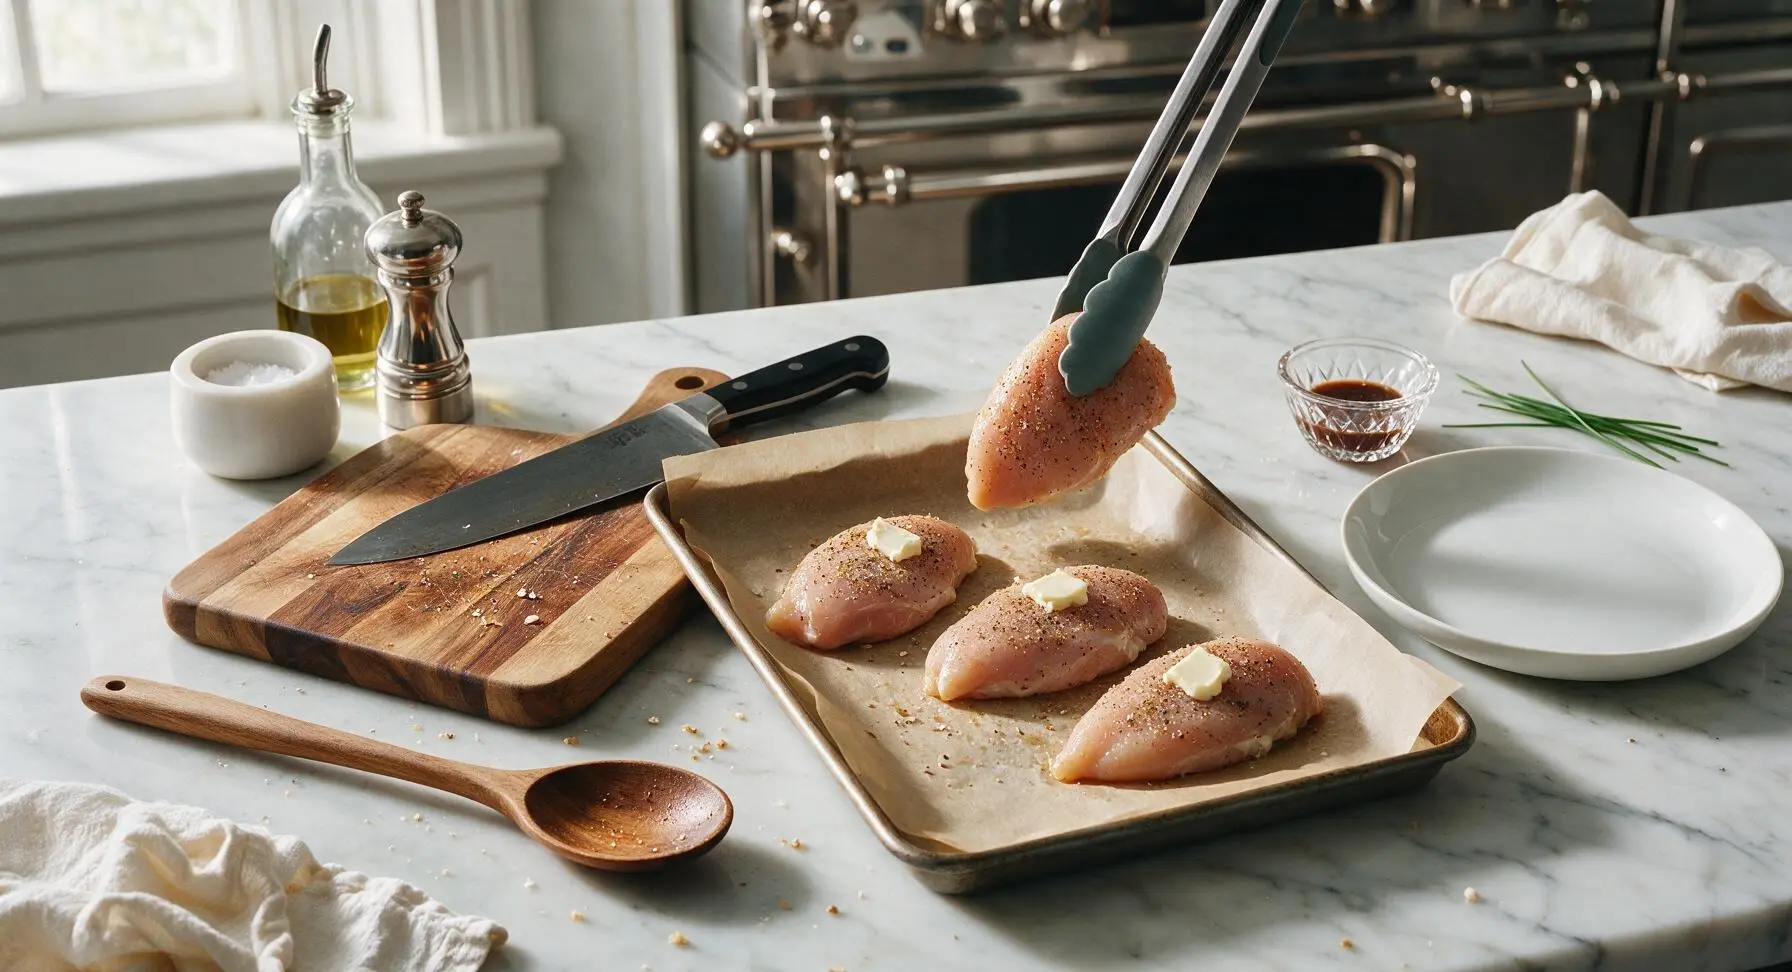
Use the metal kitchen tongs to transfer the seasoned chicken breasts to the parchment-lined half-sheet pan, spacing each piece 5cm apart to allow hot oven air to circulate evenly around every breast. Place one thin pat of butter directly on the center top of each chicken breast; the butter will melt during baking to baste the surface and add subtle richness.
Step 4
step4:Arrange on Baking Sheet
5

Bake to Correct Temp

Carefully slide the baking pan onto the preheated middle oven rack. Bake for 18 minutes, then pull the pan out and set it back on the center counter to check doneness. Insert the stainless steel instant-read meat thermometer into the thickest part of each breast; chicken is ready when the internal temperature reads 160°F (71°C). If the temperature is lower, return the pan to the oven for 2-4 additional minutes before rechecking. Do not cook past 160°F at this stage, as residual carryover heat will bring the chicken to the food-safe 165°F (74°C) as it rests.
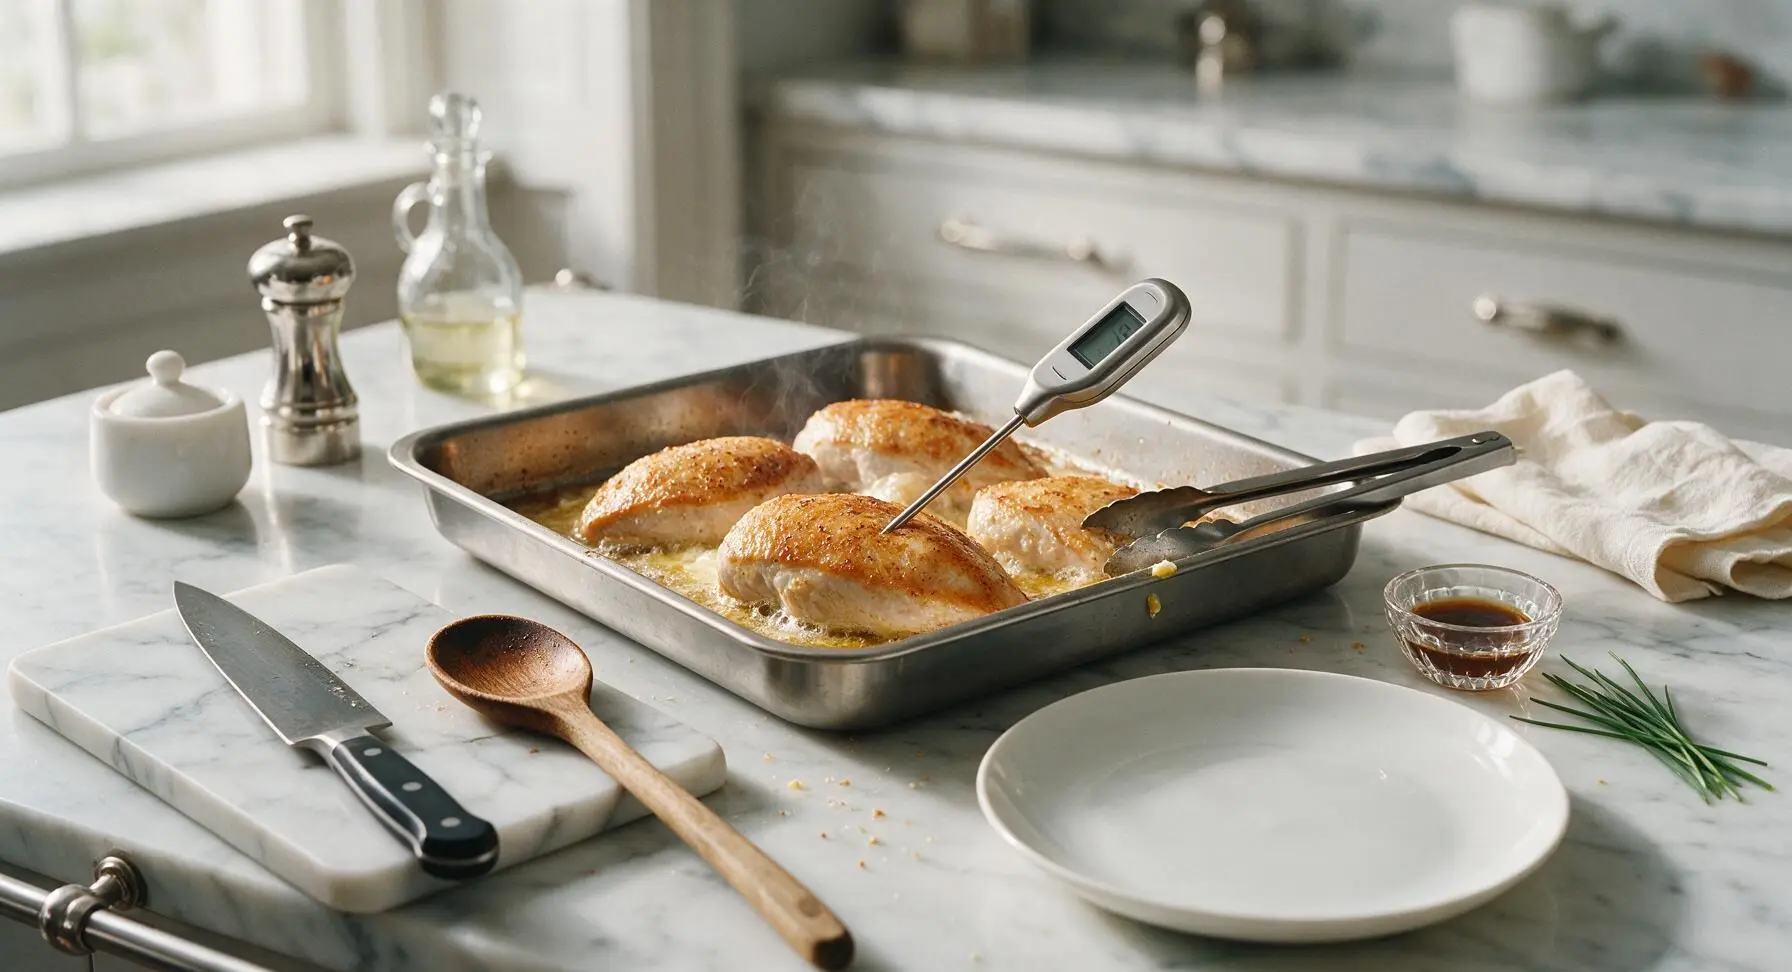
Step 5
step5:Bake to Correct Temp
6

Rest Chicken Before Slicing

Once the chicken hits 160°F, tent the pan loosely with a sheet of aluminum foil (crimped only at the pan edges, leaving a small gap for steam to escape) and let the chicken rest for a full 5 minutes on the counter. Resting allows the tight muscle fibers to relax and reabsorb juices, preventing all the flavorful moisture from running out onto the plate when you slice.
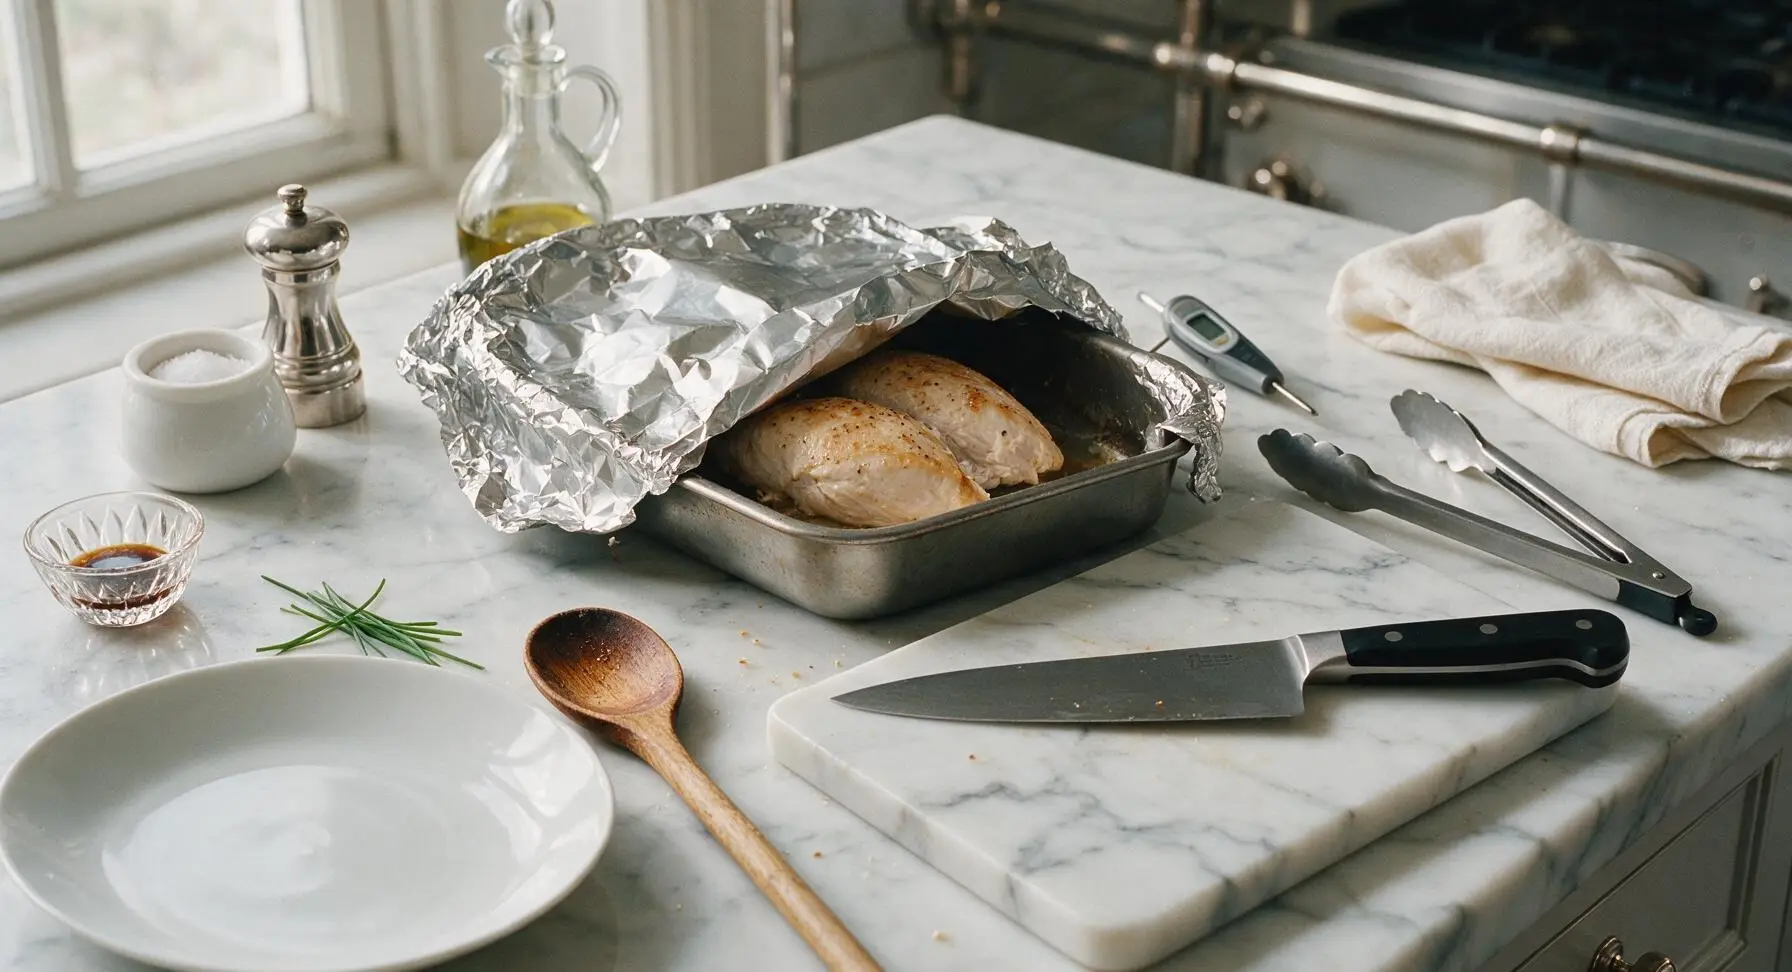
Step 6
step6:Rest Chicken Before Slicing
7

Slice Against the Grain

After resting, use the tongs to transfer the chicken breasts back to the acacia wood cutting board. Hold the chef knife at a slight angle, and slice the chicken into 1cm thick slices, cutting firmly against the grain (perpendicular to the direction of the long, visible muscle fibers) to shorten the muscle strands for maximum tenderness.
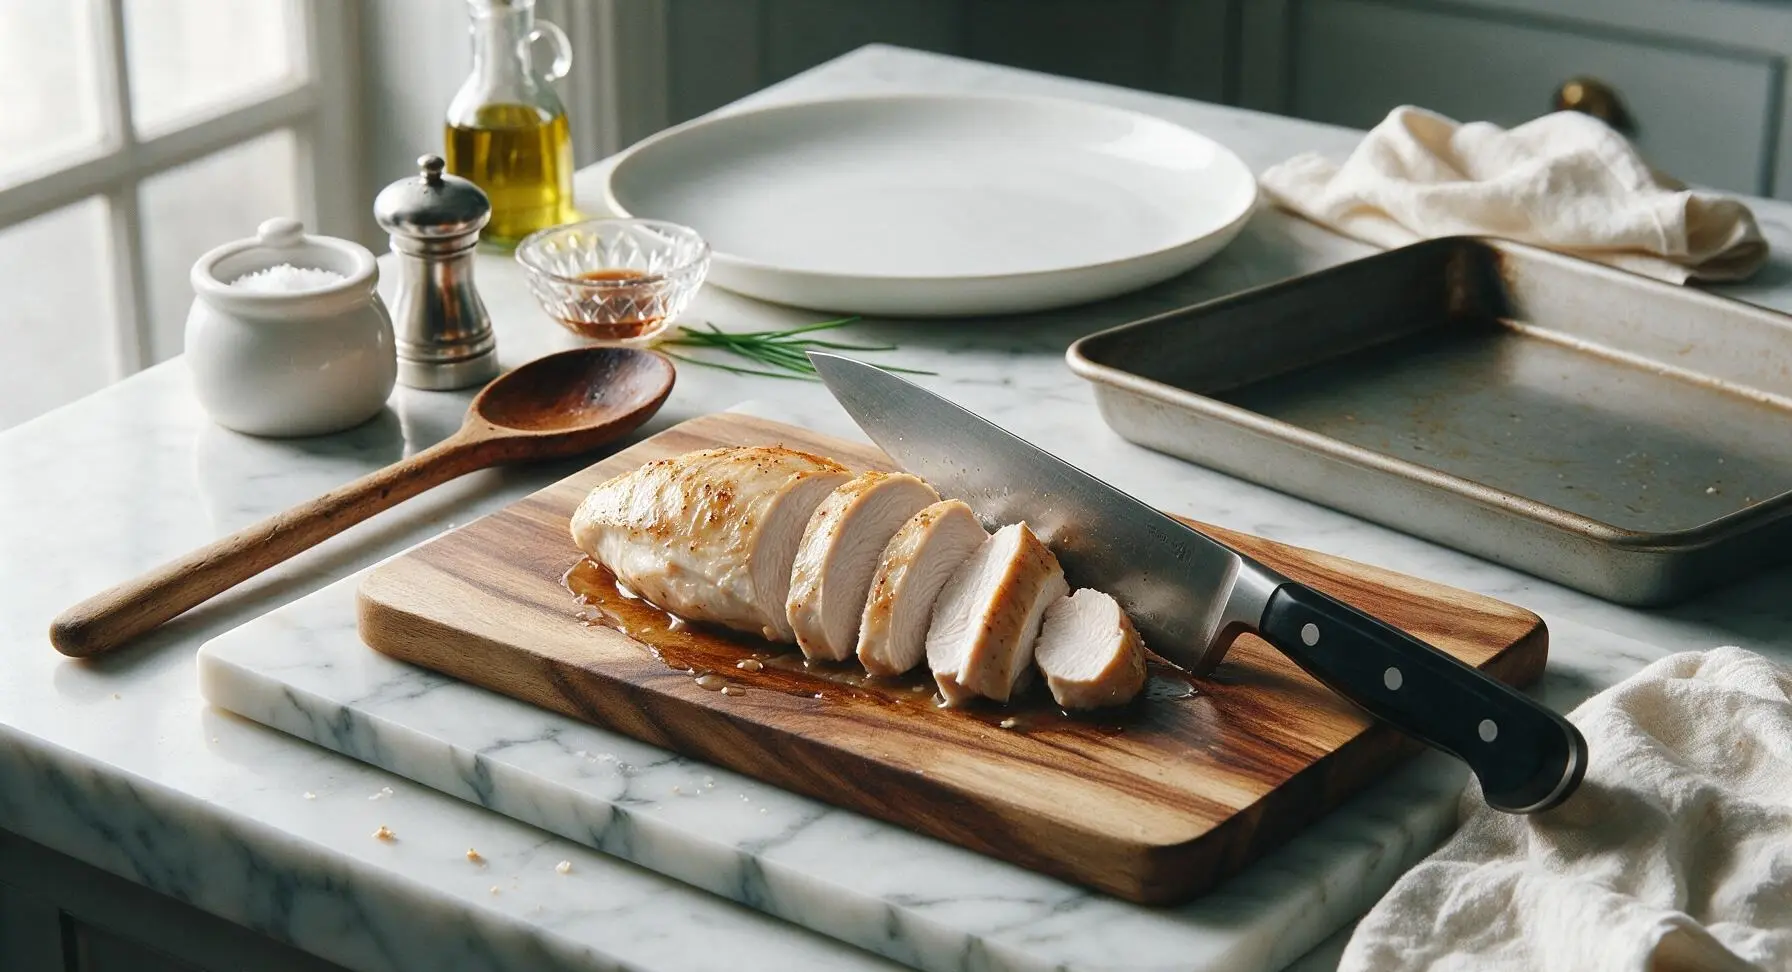
Step 7
step7:Slice Against the Grain
8

Plate and Garnish

Arrange the sliced chicken in a gentle, overlapping fan across the center of the matte off-white ceramic dinner plate. Drizzle any collected savory juices from the baking pan and cutting board over the top of the slices, then garnish with the chopped fresh flat-leaf parsley and a light crack of fresh black pepper if desired. Serve immediately.
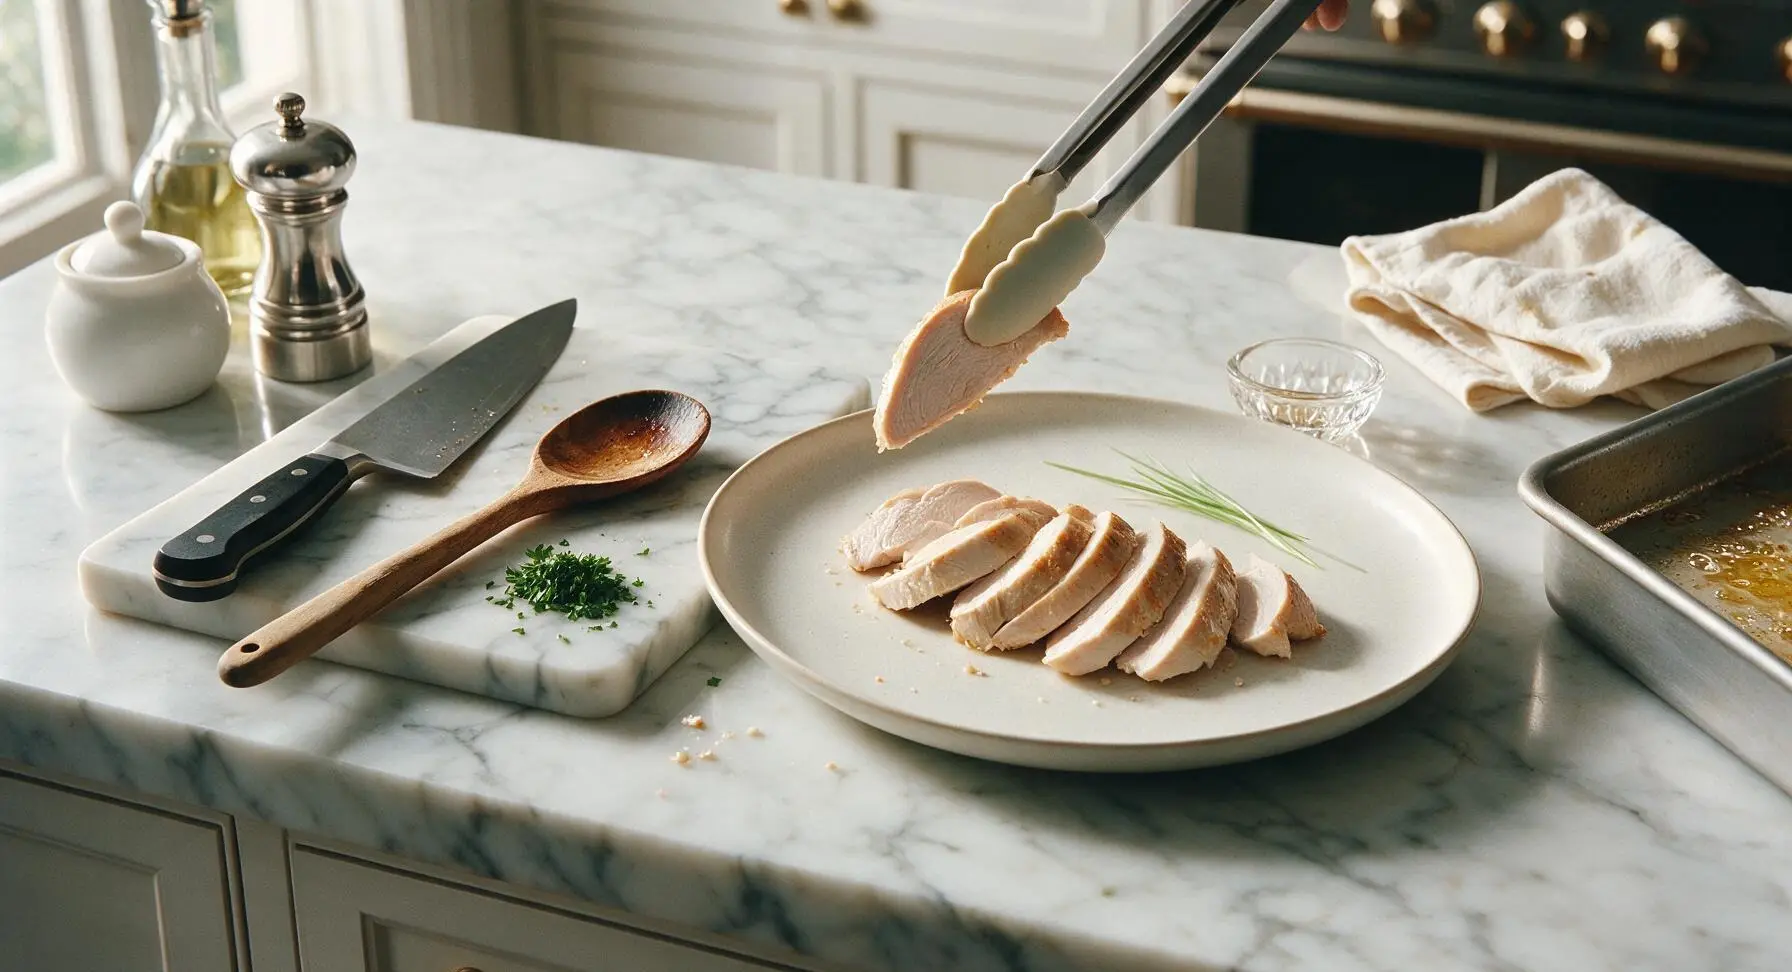
Step 8
step8:Plate and Garnish

Tips

1.Let chicken rest on the counter for 10 minutes before prepping: taking the chill off ensures even cooking, so you won’t end up with overcooked, dry edges and an undercooked center.
2.Never skip drying the chicken surface: wet chicken steams instead of developing a light, golden seasoned crust, and seasoning will slide off instead of adhering to the meat.
3.Always use an instant-read thermometer instead of relying on cook time: chicken breast thickness varies, and just 2 minutes of extra cooking can turn juicy chicken rubbery. Pulling at 160°F and resting 5 minutes hits the food-safe 165°F via carryover cooking without overcooking.
4.Slice against the grain every time: cutting perpendicular to the long muscle fibers shortens the strands, creating tender, easy-to-chew slices even if you slightly overcook the chicken.


✨ You May Also Like

Main Course
🍜 United Kingdom

A showstopping classic of tender seared beef, savory mushroom duxelles, and crisp prosciutto wrapped in flaky golden puff pastry, baked to juicy perfection.

⏱️ 2 hours 1Main Course ★ 4.7
Main Course
🍜 India

Tender charred marinated chicken simmered in a rich, spiced creamy tomato sauce, this iconic Anglo-Indian curry pairs perfectly with basmati rice or warm naan.

⏱️ 50 minuteMain Course ★ 4.6
Main Course
🍜 Thailand

Classic tangy, sweet, and savory Thai stir-fried rice noodles with shrimp, tofu, and crunchy garnishes, balancing all five core Thai flavor profiles.

⏱️ 30 minuteMain Course ★ 4.5
Main Course
🍜 United Kingdom

Crispy golden beer-battered cod and fluffy double-fried chips, served with tangy tartar sauce and malt vinegar: the timeless, beloved British pub comfort classic.

⏱️ 45 minuteMain Course ★ 4.7
Main Course
🍜 Mexico

Smoky, chile-marinated pork tacos with caramelized pineapple, fresh cilantro, and lime: a beloved classic Mexican street food perfect for casual summer gatherings.

⏱️ 1 hour 45Main Course ★ 4.8
Main Course
🍜 United States

Crunchy Fritos corn chips layered with savory beef chili and melted cheddar, topped with cool, zesty fixings for a beloved, cozy Tex-Mex comfort food.

⏱️ 35 minuteMain Course ★ 4.8

best way to cook chicken breast in oven:Frequently Asked Questions

1.What oven temperature is best for making juicy, not dry, baked chicken breast? ▾
A 425°F (220°C) high-heat oven is ideal for this method. It quickly sears the outside of the chicken to lock in natural juices, forms a flavorful golden seasoned crust, and cooks breasts fast enough that they don’t dry out from prolonged low-heat exposure that causes rubbery, tough outer layers.
2.How do I know when chicken breast is fully cooked without cutting into it? ▾
Always use an instant-read meat thermometer for zero guesswork. Stick the probe into the thickest part of the breast, and pull it out when it hits 160°F (71°C). It will rise 5°F as it rests to hit the food-safe 165°F internal temp; cutting early lets precious juices run right out onto your cutting board.
3.Do I really need to pound chicken breasts to an even thickness first? ▾
This step is non-negotiable for evenly cooked, juicy results. Most breasts have a thick, bulbous end and thin tapered end that will overcook long before the thick part is done. Use a meat mallet or heavy-bottomed pan to pound breasts to a uniform 1-inch thickness before seasoning.
4.How long should I let chicken rest after baking, and why does it matter? ▾
Let it rest 5 to 7 minutes, tented loosely with foil, right after it comes out of the oven. As it cooks, muscle fibers tighten and push juices toward the center; resting lets fibers relax and reabsorb moisture, so juices stay in the meat instead of pooling all over your plate when you slice.
5.Can I use regular table salt instead of kosher salt for seasoning? ▾
You can, but you’ll need to adjust the amount, because table salt is much denser and saltier per volume than flaky kosher salt. If swapping, use half the measured amount of table salt to avoid over-seasoning. I still prefer kosher salt because it distributes more evenly for a consistent, well-seasoned crust.
6.Why does my baked chicken breast always turn out rubbery even when I follow cook times? ▾
The two most common culprits are cooking at too low a temperature, and overcooking the meat past 165°F internal temp. Low heat means chicken spends too long in the oven, squeezing out moisture and making proteins tough. Stick to 425°F, use a thermometer, and pull it right when it hits temp to avoid that texture.
7.Can I add other seasonings besides garlic powder, salt, and pepper? ▾
Of course! This base recipe is extremely customizable. Add smoked paprika, dried oregano, onion powder, a pinch of cayenne, or a light sprinkle of parmesan for extra flavor. Just skip heavy, wet sauces before baking, as they will prevent that nice crisp golden crust from forming on the exterior.
8.Do I need to use a baking rack set over my sheet pan for this recipe? ▾
It’s not required, but it does help hot air circulate all around the chicken, so the entire exterior gets evenly crisp instead of the bottom steaming against the hot sheet pan. If you don’t have a rack, line your pan with parchment for easy cleanup, and flip breasts halfway through cooking for even browning on both sides.
9.How thick should chicken breasts be for this recipe to turn out correctly? ▾
Aim for a uniform 1-inch thickness across the entire breast after pounding. If breasts are 1.5 to 2 inches thick even after trimming, they’ll take too long to cook through, leading to dry outer layers before the center is done. Breasts thinner than 1 inch will cook too fast to develop that nice golden crust.
10.Can I use frozen chicken breasts for this recipe without thawing them first? ▾
I don’t recommend it for this quick high-heat method. Frozen chicken will release a ton of excess water as it bakes, which steams the meat instead of searing it, leading to soggy, unevenly cooked chicken with no crisp crust. Thaw breasts fully in the fridge overnight first, then pat them dry before seasoning.
11.Why do I need to pat the chicken dry before seasoning and baking? ▾
Any excess surface moisture on the chicken will steam instead of sear when it hits the hot oven, which stops that golden, flavorful crust from forming and can lead to soggy, less juicy meat. Pat every side of the pounded chicken completely dry with paper towels before tossing with olive oil and seasonings.
12.How long will leftover baked chicken breast stay fresh in the fridge? ▾
Stored in an airtight container, leftover chicken will stay good for 3 to 4 days in a fridge set to 40°F or below. I recommend slicing it only right before you eat it, rather than pre-slicing all of it for storage, to help the leftover meat retain as much moisture as possible for salads, wraps, or quick meals.
13.Can I marinate the chicken ahead of time for extra flavor? ▾
You absolutely can, just stick to thinner, oil-based marinades and skip super sugary mixes that will burn at 425°F before the chicken cooks through. Pat marinated chicken lightly dry before baking to preserve that crisp crust, and don’t marinate longer than 2 hours, as acidic ingredients can turn meat mushy over time.
14.My chicken breasts are different sizes—how do I adjust cook time? ▾
Always go by internal temperature, not a set cook time, especially if breasts are different sizes. Once you pound them to a uniform 1-inch thickness, size differences will be minimal, but smaller pieces may hit 160°F 2 to 3 minutes earlier than larger ones. Pull each piece as it hits temp to avoid overcooking.
15.Is extra-virgin olive oil safe to use at this high oven temperature? ▾
It is for this short cook time! Extra-virgin olive oil has a smoke point around 375 to 400°F, but since we’re coating cool chicken (not heating oil empty on a hot pan) and cooking for only 18 to 22 minutes total, it won’t burn or turn bitter. Swap in avocado oil if you prefer a higher smoke point and more neutral flavor.
16.Can I use this same method for bone-in, skin-on chicken breasts? ▾
You can, but you’ll need to adjust cook time! Bone-in, skin-on breasts are thicker and have bone acting as an insulator, so they’ll take 10 to 15 extra minutes in the oven to hit that 160°F pull temp. The high heat will still crisp the skin beautifully; just temp the thickest part away from bone for accuracy.

Comments (3)

2 days ago

OMG this is such a game changer! I’ve always struggled with dry, rubbery baked chicken breast for my weekly meal prep, and this came out perfectly juicy in exactly 20 minutes like the recipe said. My 7 year old even asked for seconds at dinner last night, that’s basically a 5 star review on its own. I seasoned it with a little extra paprika because that’s what we had in the pantry, zero regrets.

yesterday

Second this! I made a big batch for my work lunch prep this week and it stayed juicy even after reheating in the office microwave. No more sad desk chicken!

2 hours ago

So glad to hear this worked for both family dinner and meal prep! The paprika swap sounds delicious, feel free to play around with your favorite seasonings to keep it interesting week after week.

3 days ago

Brought this to my neighborhood potluck this past weekend and every single piece was gone before I even got to grab a second helping! I was worried it would be bland since the recipe is so simple and easy to follow, but the cook time is totally spot on to keep it juicy, no fancy brining or anything required. 10/10 will be making this again for next month’s block party.

2 days ago

That makes us so happy to hear! Simple, reliable recipes that work for crowds are exactly what we love to share—thanks for bringing it to your potluck!

5 minutes ago

Wait y’all, I am NOT good at cooking at all and even I pulled this off? 20 minutes in the oven, no fancy steps, and it didn’t come out dry like every other chicken breast I’ve ever baked in my life. I paired it with roasted broccoli and microwaved rice for a super quick weeknight dinner, and my roommate thought I ordered takeout lmao. Only knocking off a star because I wish it had a quick seasoning blend suggestion for people like me who never know what spices to use, but it was still SO good.



