
best way to cook frozen burritos
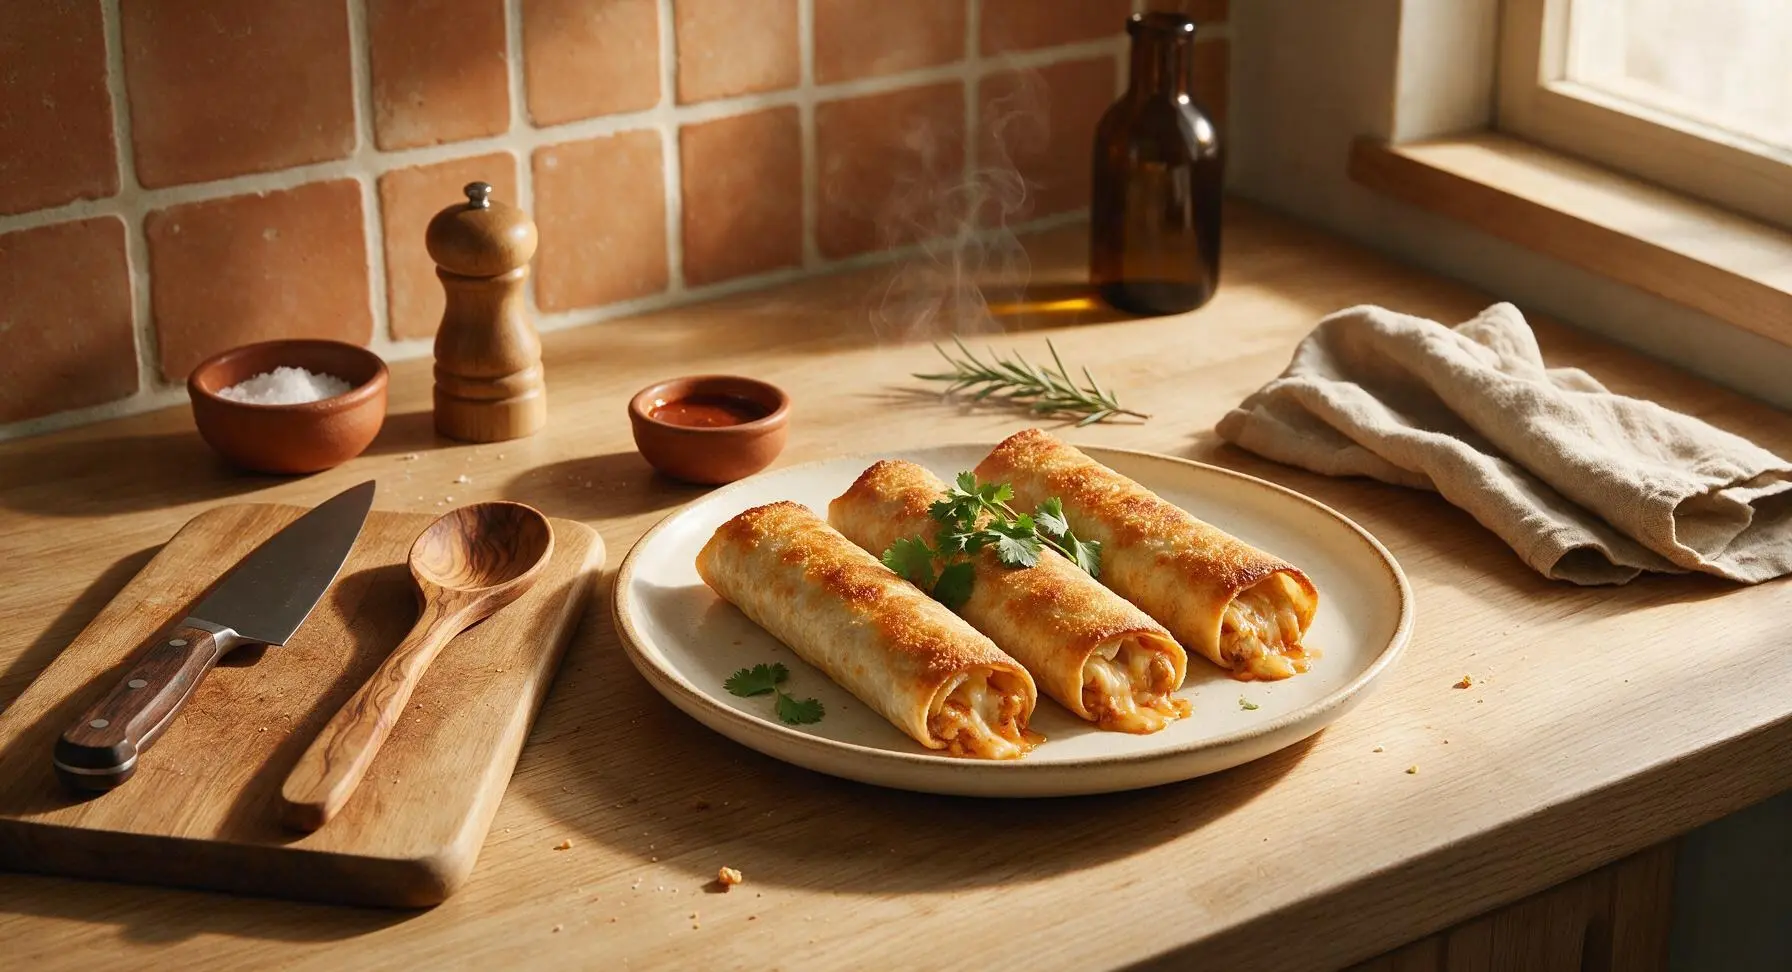
intro
Skip soggy microwave results: this no-thaw method delivers shatteringly crisp tortilla exteriors, evenly heated melty fillings, and zero soggy bottoms in under 30 minutes.
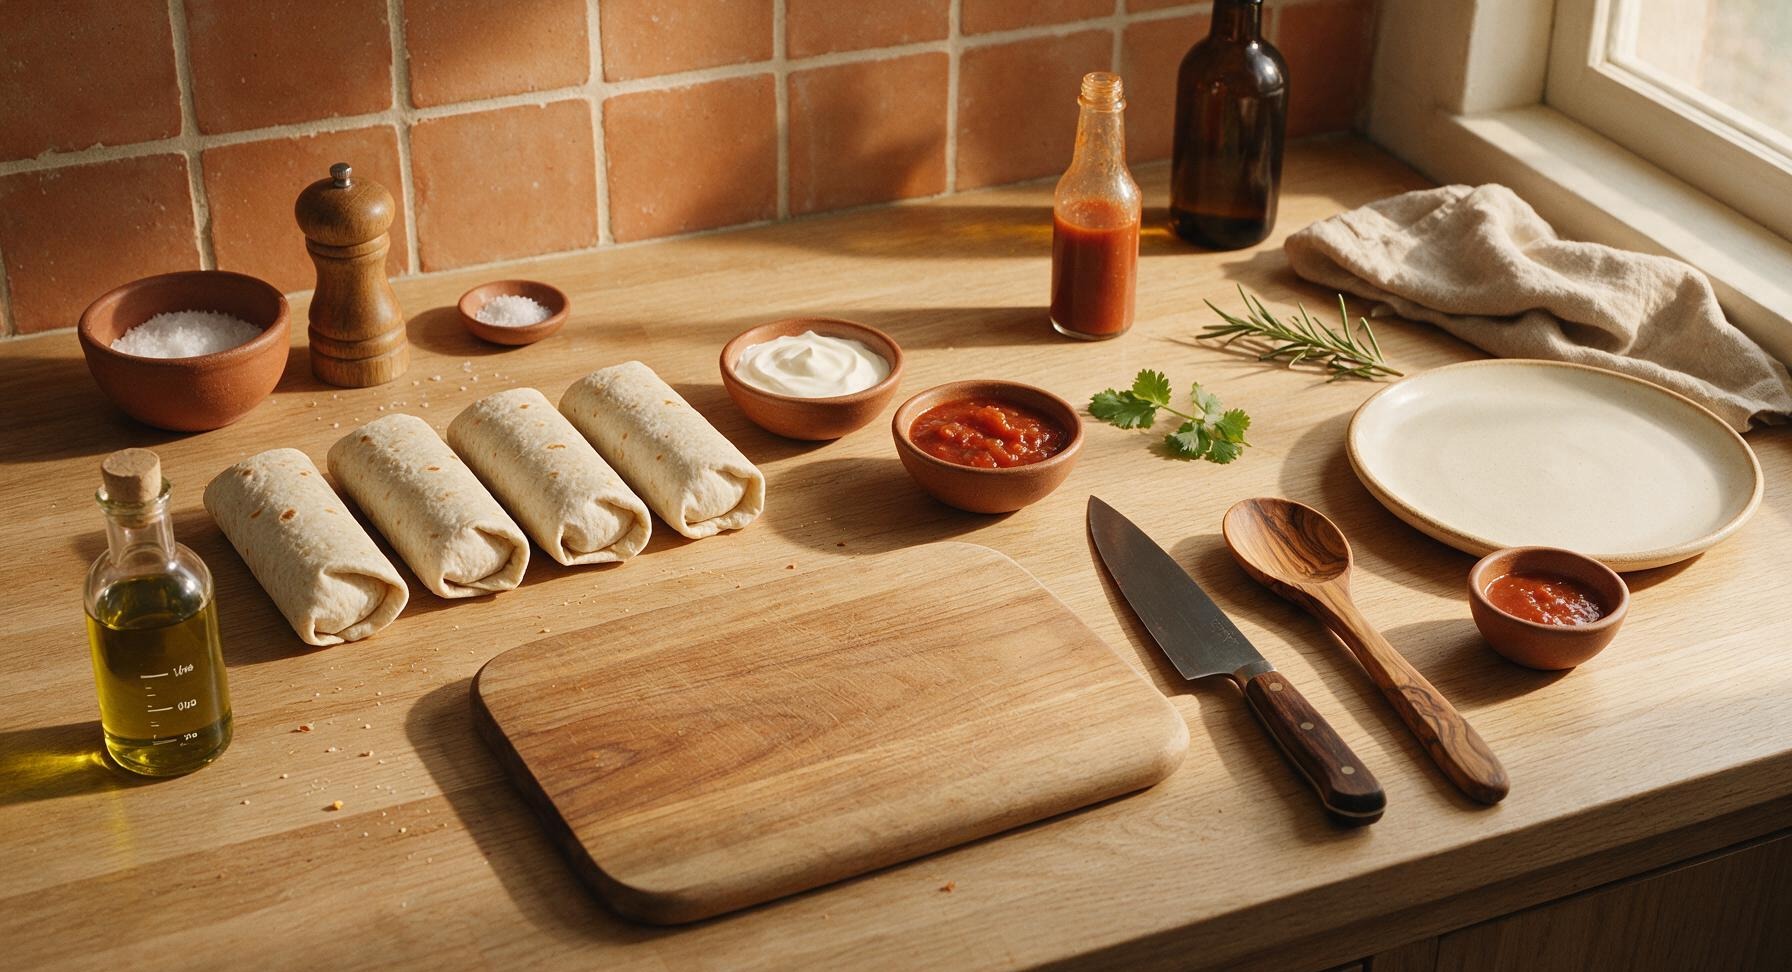
Ingredients
Steps
Prep Oven and Pan
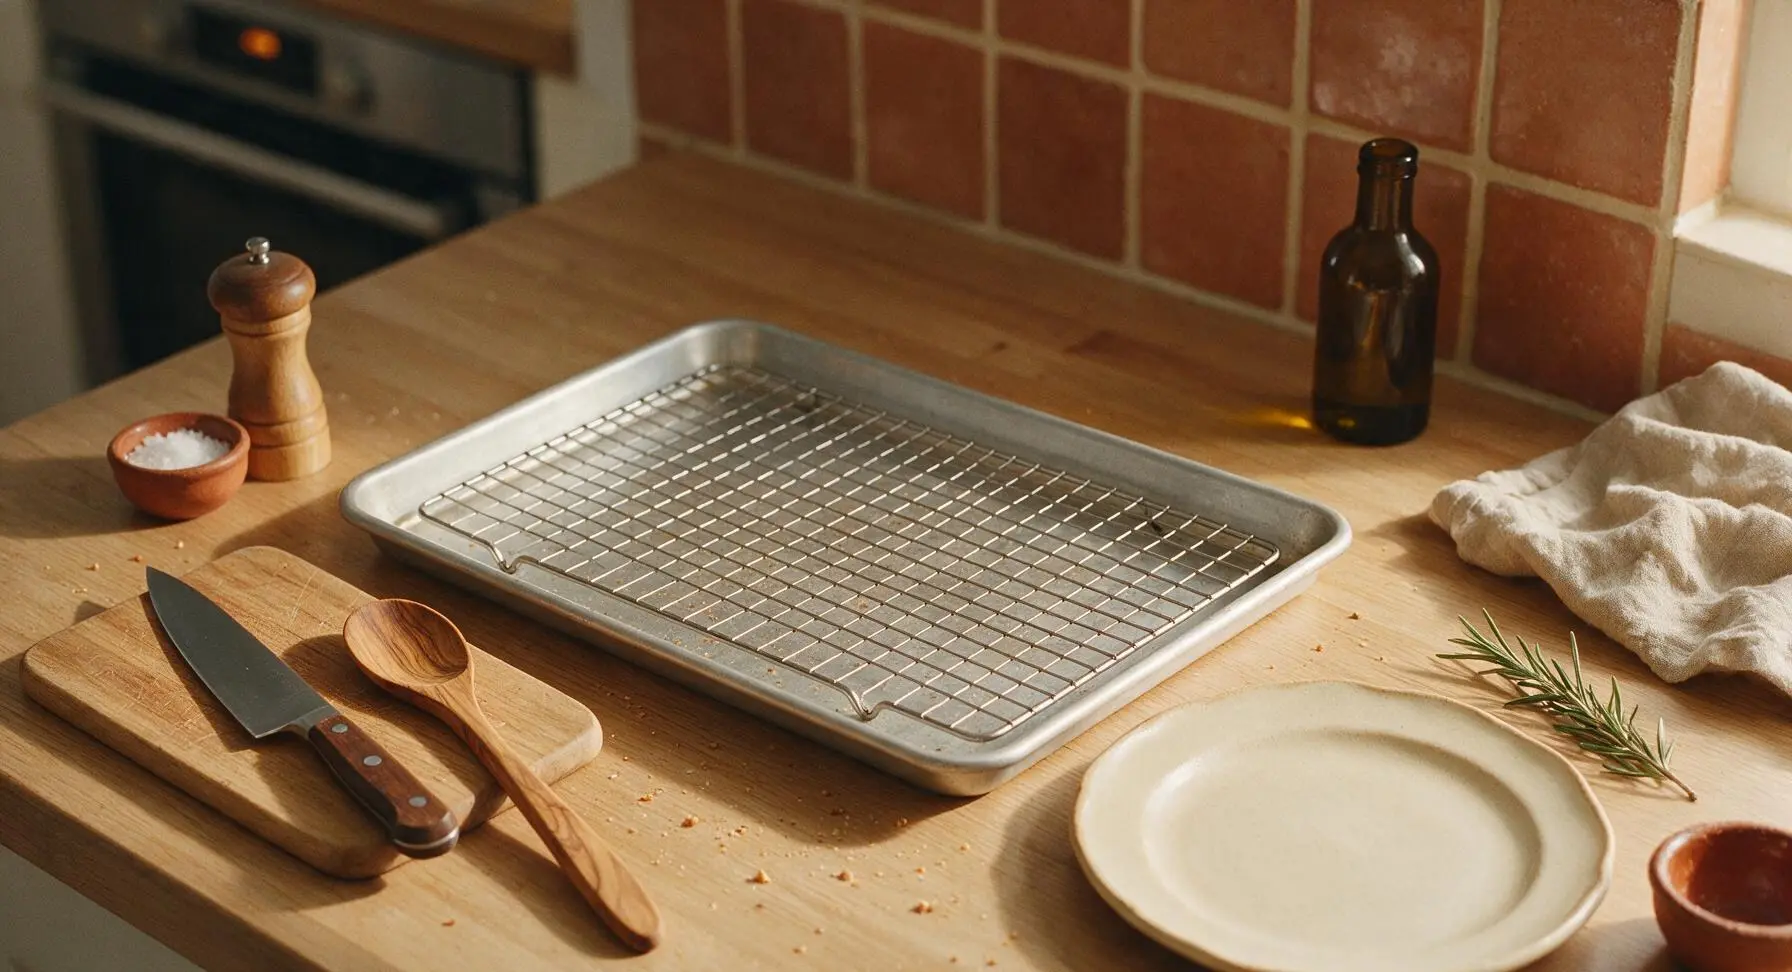
Adjust your oven rack to the middle position, then preheat the oven to 400°F (200°C). Set the stainless steel wire cooling rack inside the 12-inch rimmed aluminum baking sheet, making sure it sits level with no wobble. Do not line the pan or rack with parchment paper or foil, as this blocks critical air flow for crisp tortillas.
Arrange Frozen Burritos
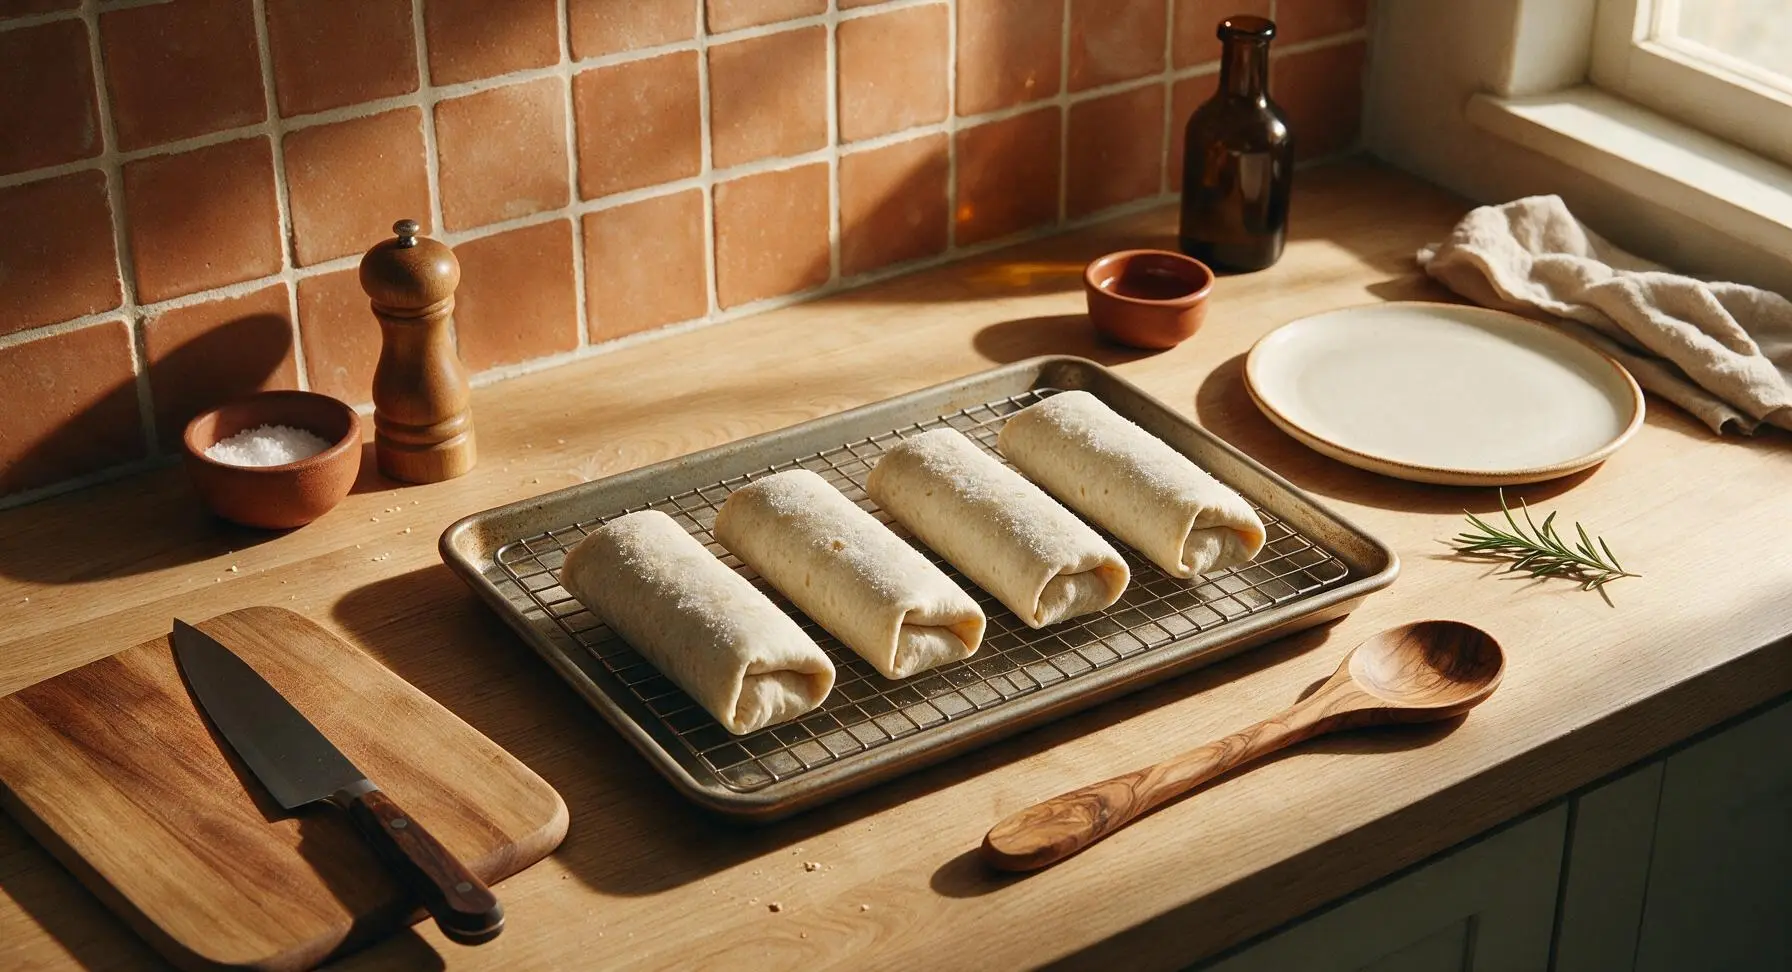
Remove all 4 burritos from their plastic packaging, keeping them fully frozen with no thawing. Space them evenly 2 inches apart on the wire rack, leaving open gaps between each burrito to let hot air circulate. Ensure no burritos hang over the rack edges or touch each other.
Oil and Season Tortillas
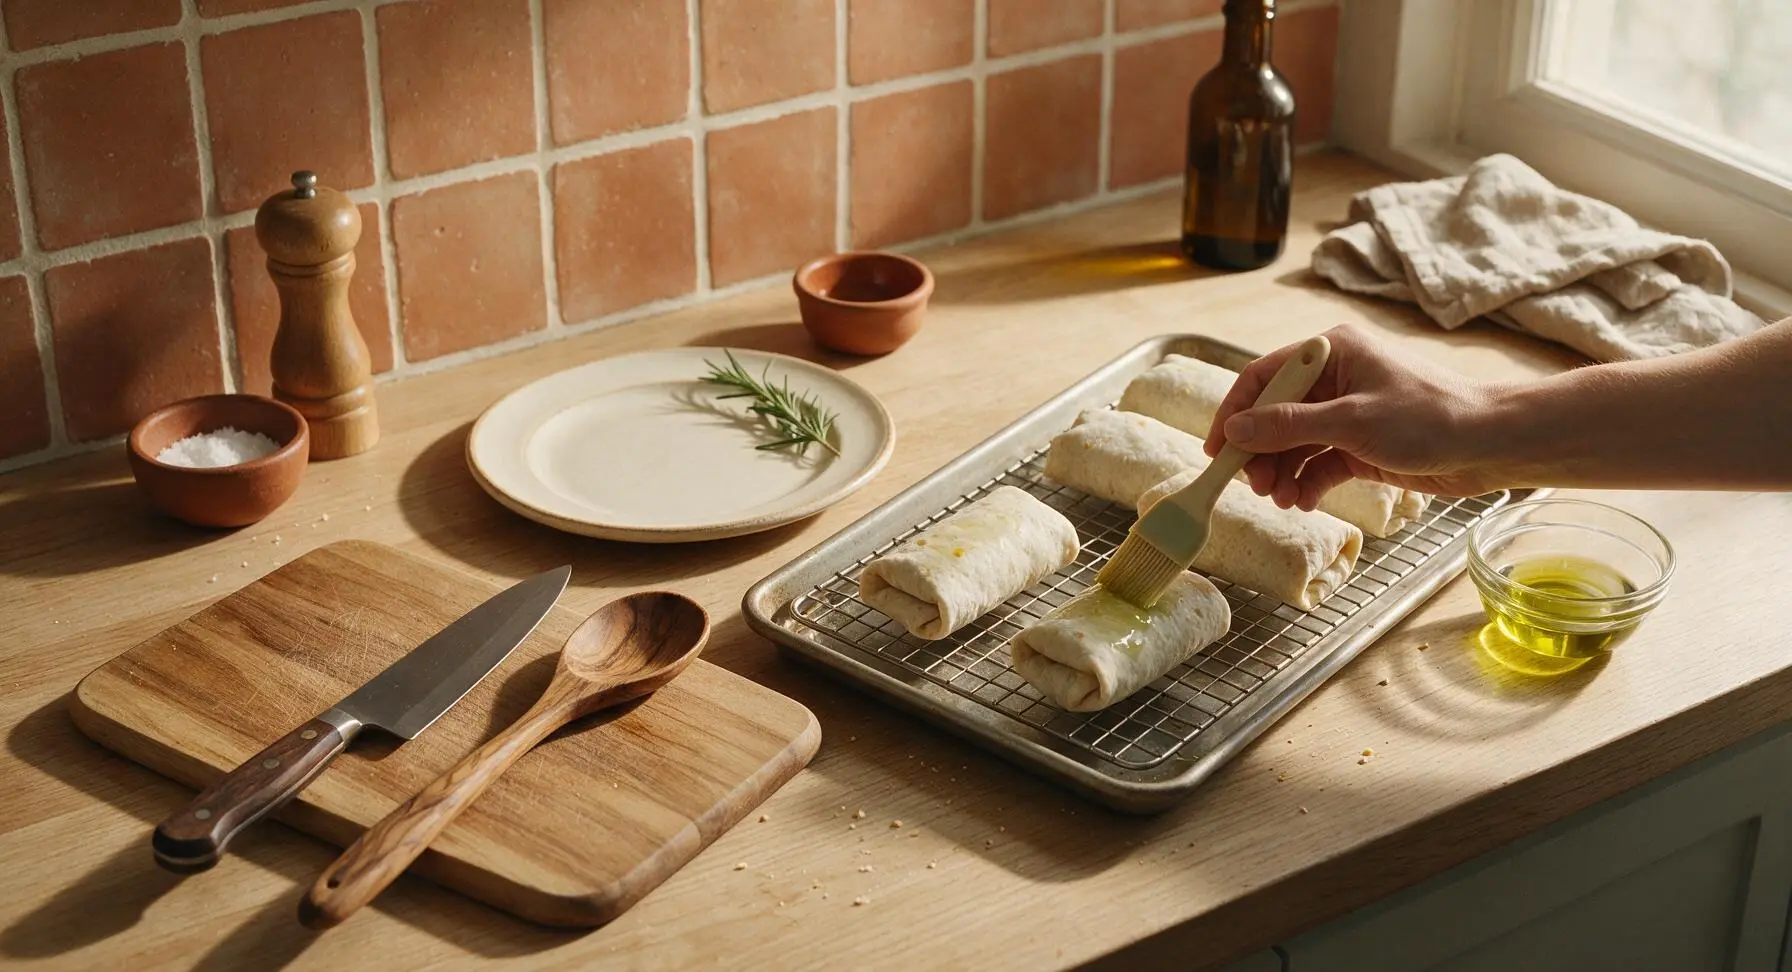
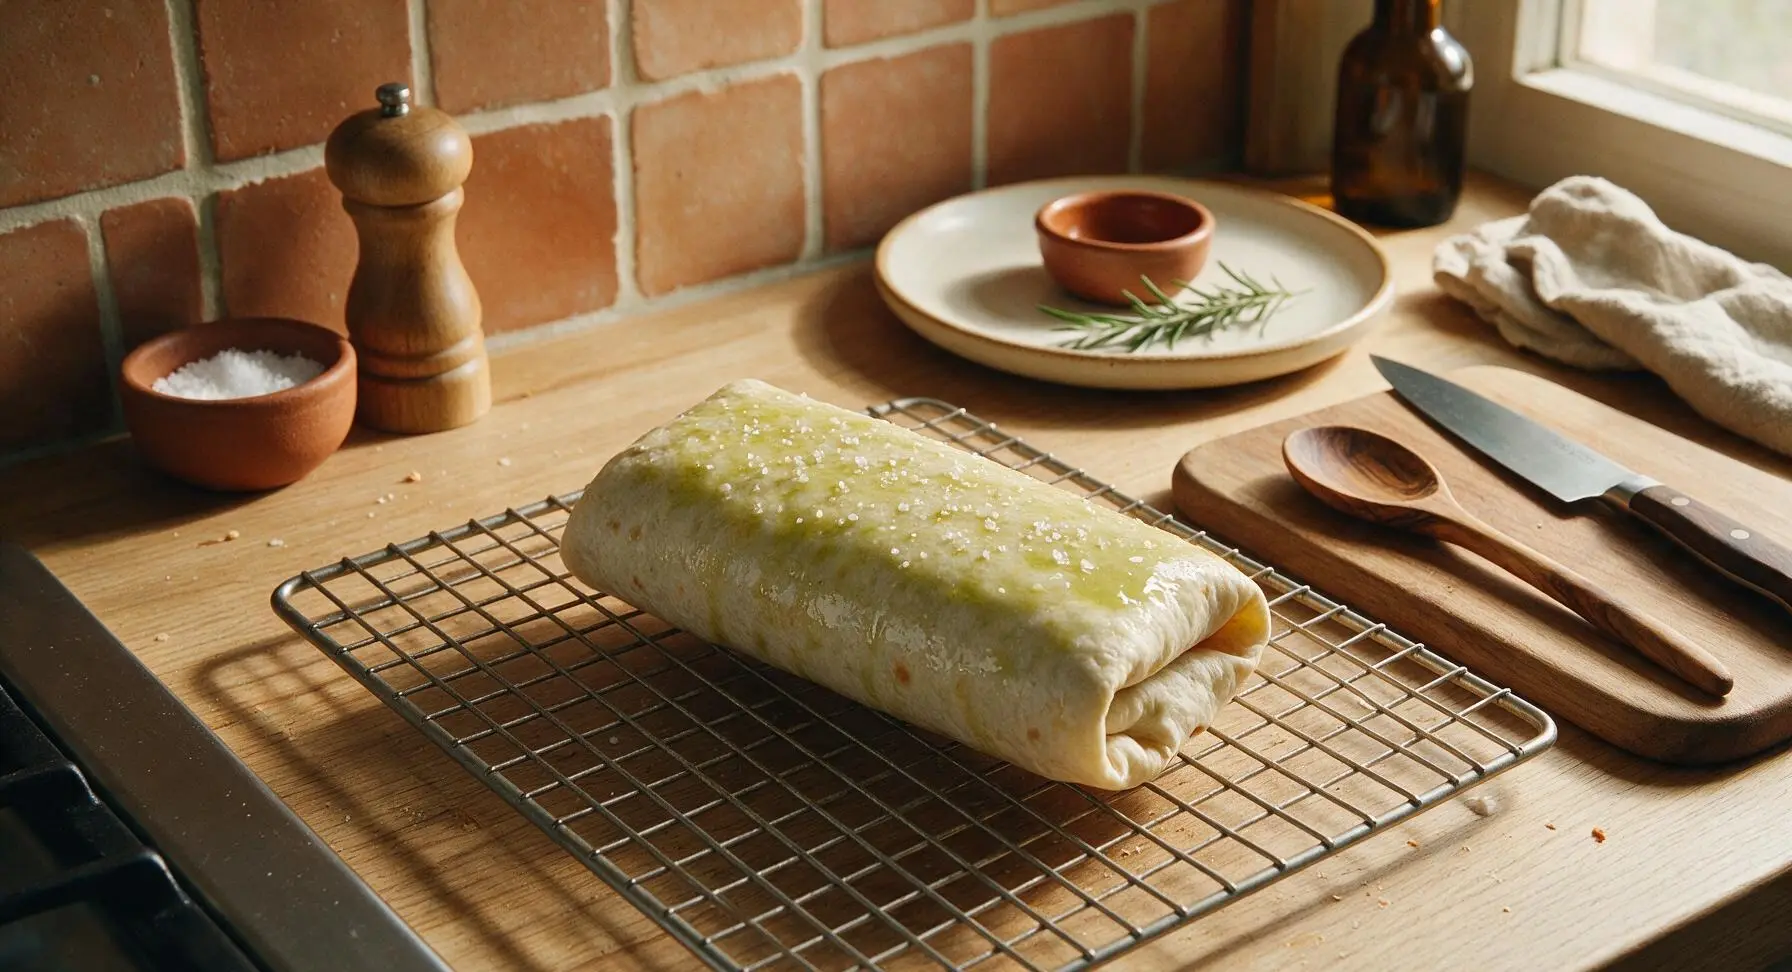
Pour 1 tablespoon of avocado oil into the small clear glass prep bowl. Use the silicone pastry brush to spread a thin, even layer of oil across every exposed top and side surface of each frozen burrito—you do not need to oil the bottom, as it will crisp on the rack. Sprinkle the oiled surfaces evenly with 1/4 teaspoon fine sea salt to boost browning and add a subtle salty crunch.
Bake Until Heated Through
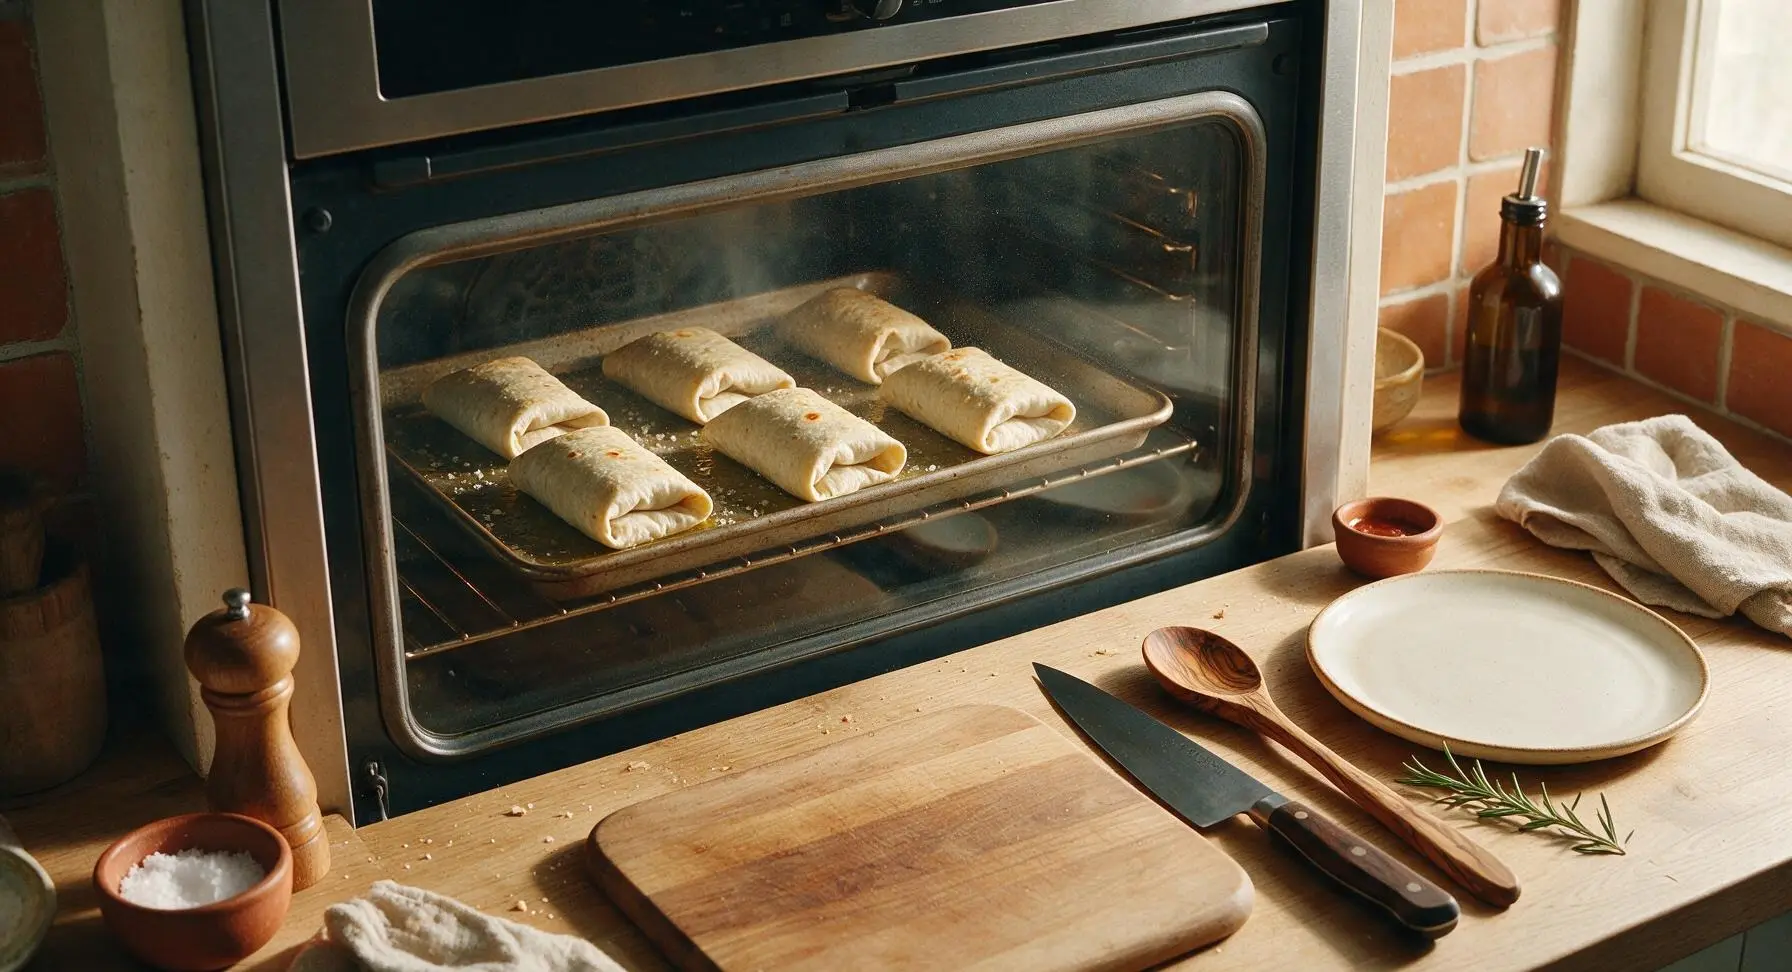
Carefully slide the baking sheet with the rack and burritos onto the preheated middle oven rack. Bake for 20 minutes total, with no flipping required, as the elevated rack allows hot air to reach the bottom of every burrito. When done, the tortillas will be pale golden and firm to the touch, with internal filling temperature reaching 165°F (74°C) for food safety.
Preheat Skillet for Searing
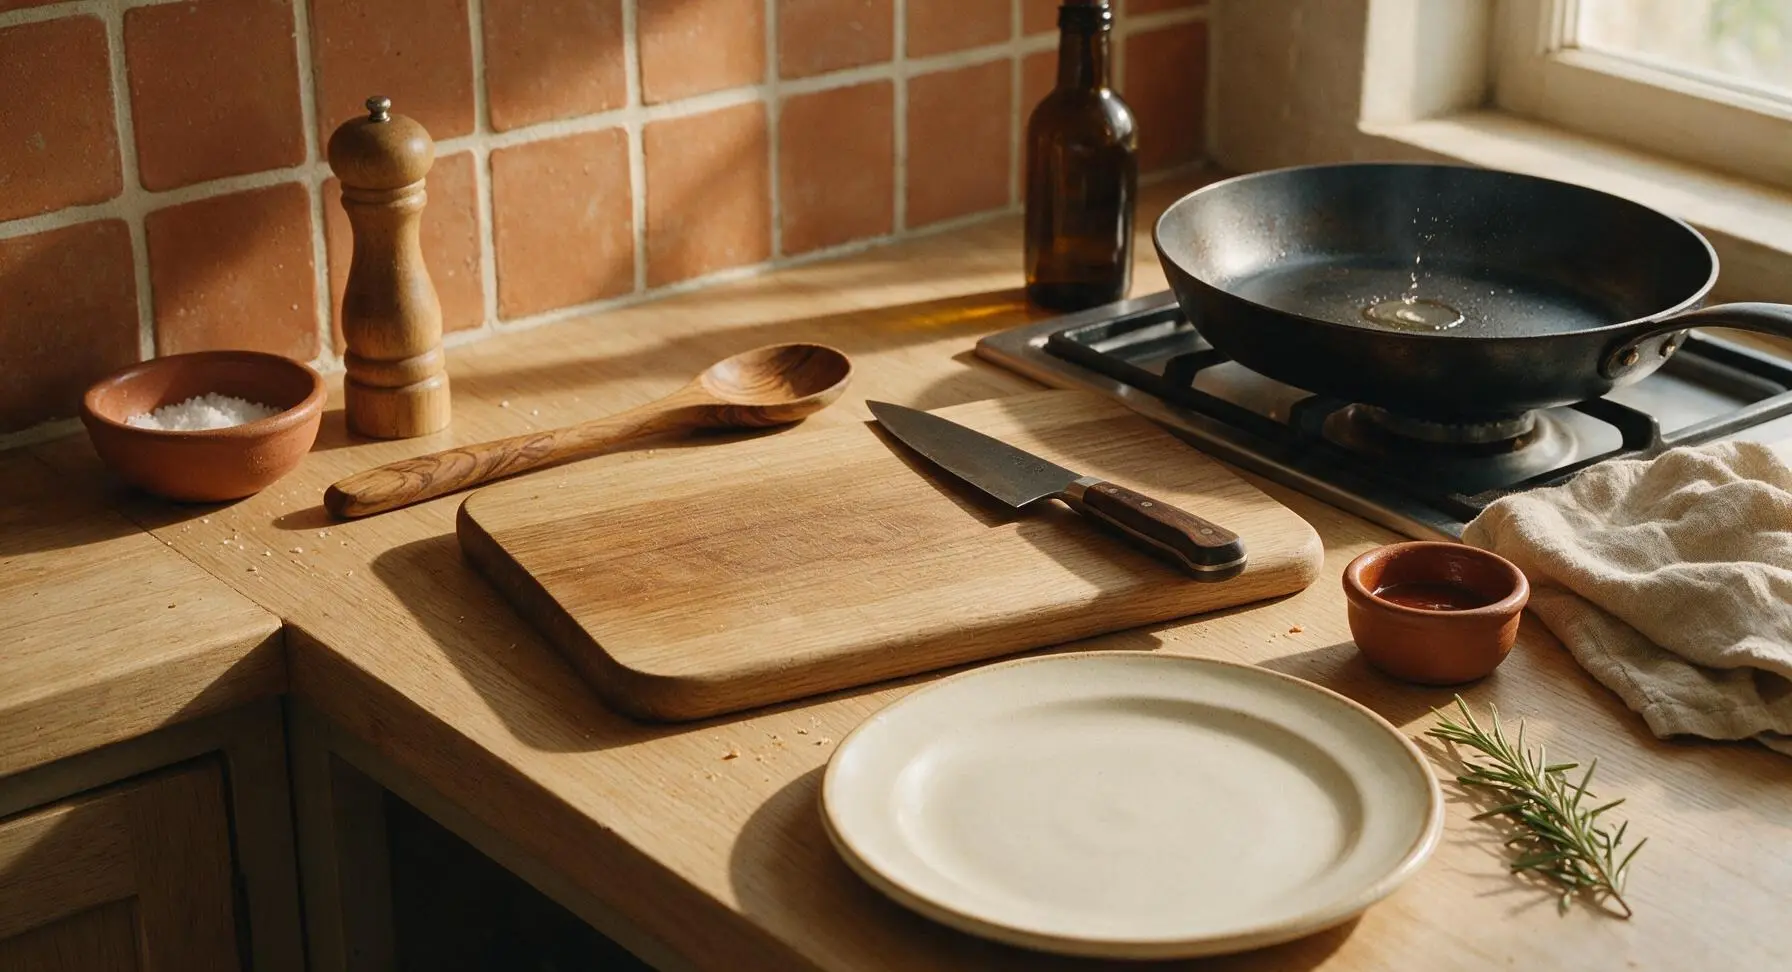
When the burritos have 5 minutes of bake time remaining, place the 10-inch seasoned carbon steel skillet on a stovetop burner set to medium heat. Let the skillet preheat for 3 full minutes, until a single drop of water flicked onto the surface dances across the pan and evaporates in 1-2 seconds. Do not add extra oil to the skillet.
Sear for Extra Crunch
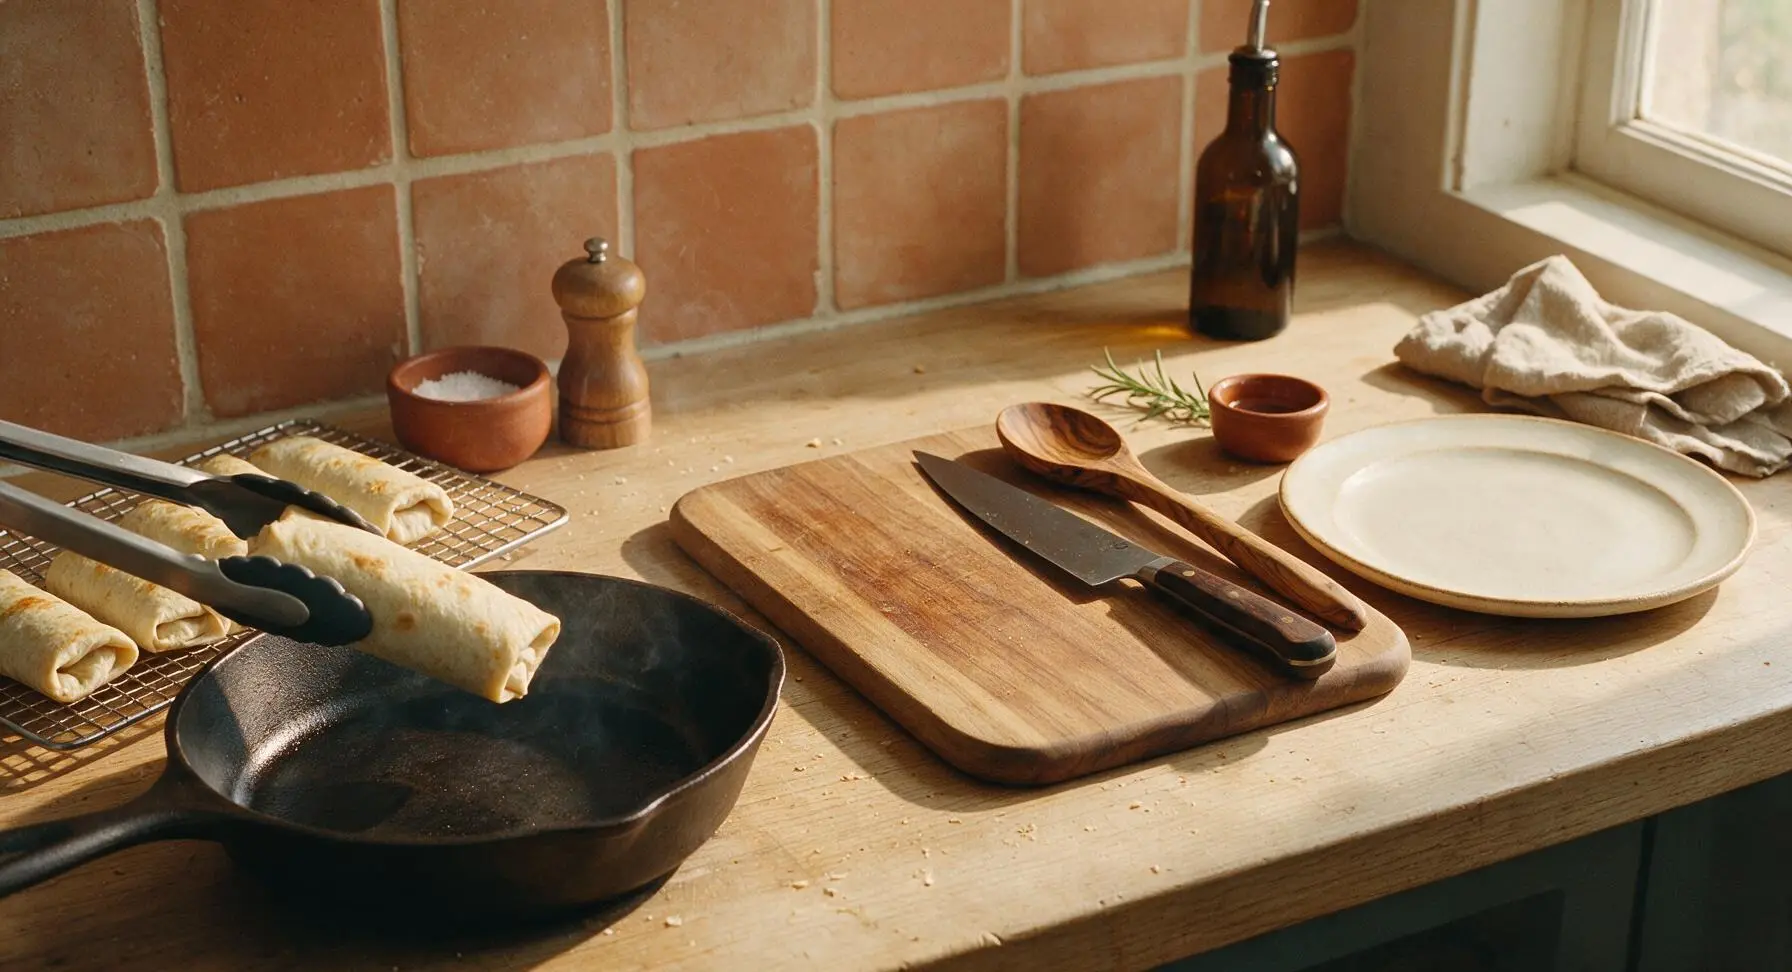
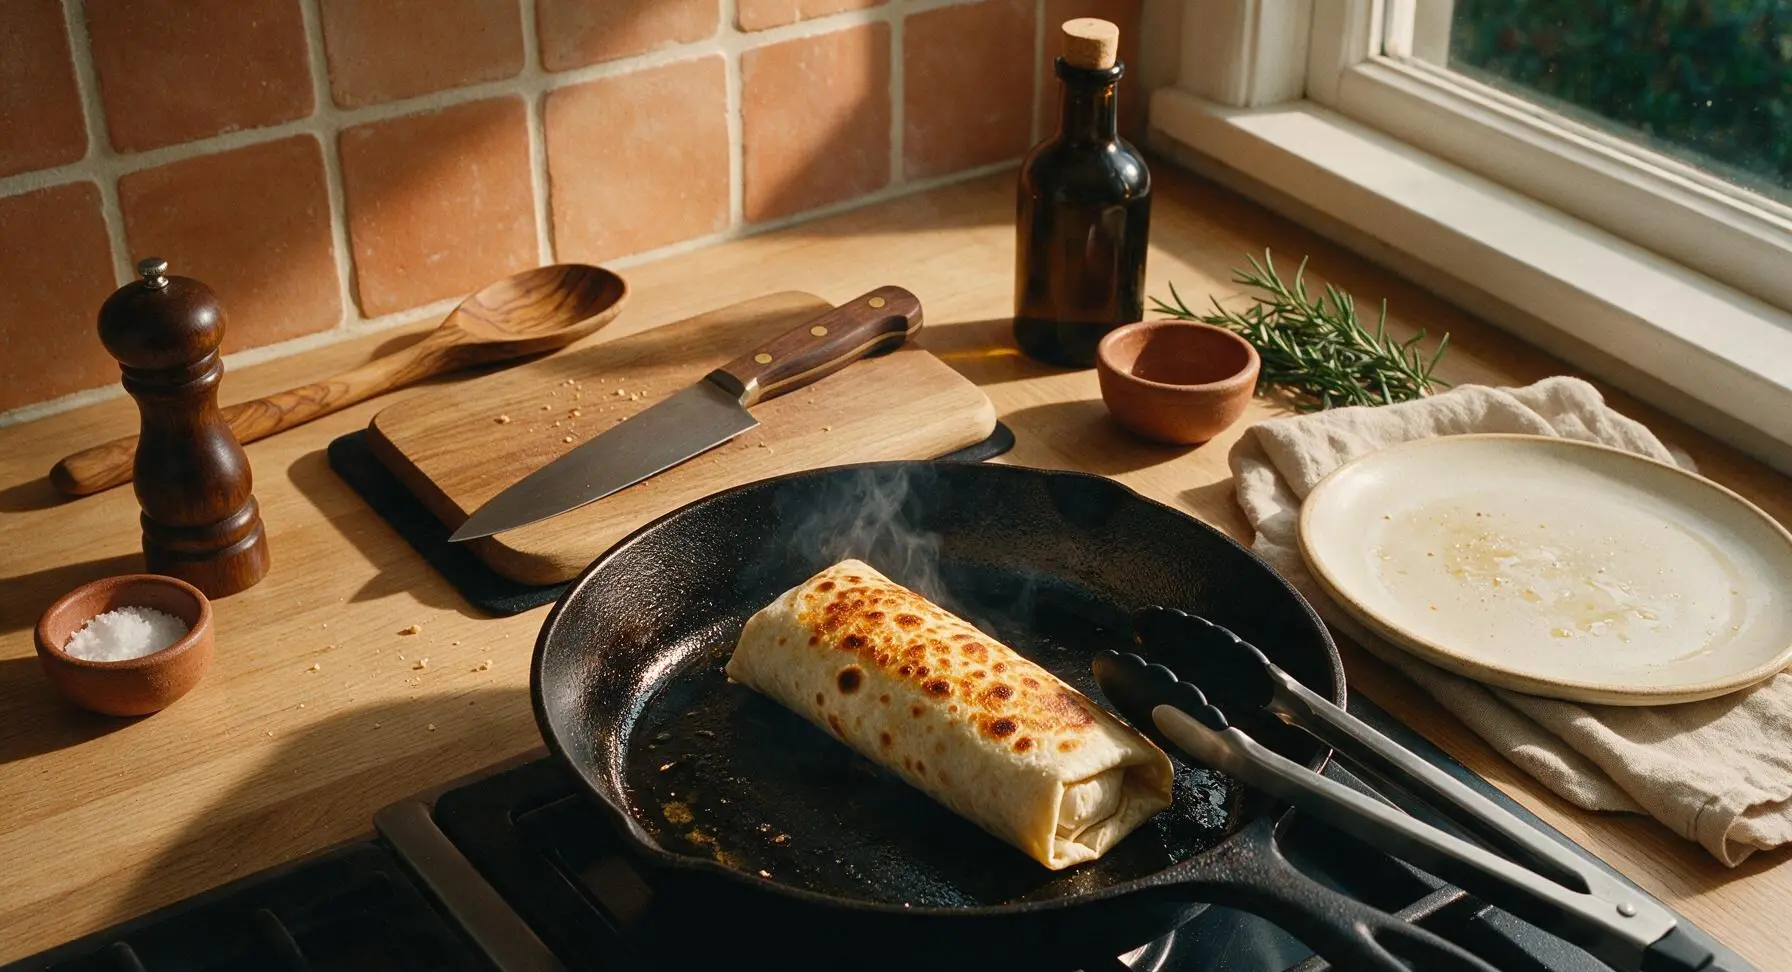
Use the stainless steel silicone-tipped tongs to transfer the hot, pale golden burritos from the oven rack directly to the preheated skillet. Sear each burrito for 45 seconds per side, rotating to crisp all four flat sides, until the tortilla develops deep golden patches and small, slightly charred blisters. This step eliminates any remaining soft, steamy tortilla spots for uniform crunch.
Rest Burritos Briefly
Use the tongs to transfer all seared burritos back to the wire rack to rest for 2 full minutes. Resting allows the molten hot filling to settle and thicken slightly, so it does not gush out when you cut or bite into the burritos, and keeps the tortilla crisp instead of steaming on a solid plate.
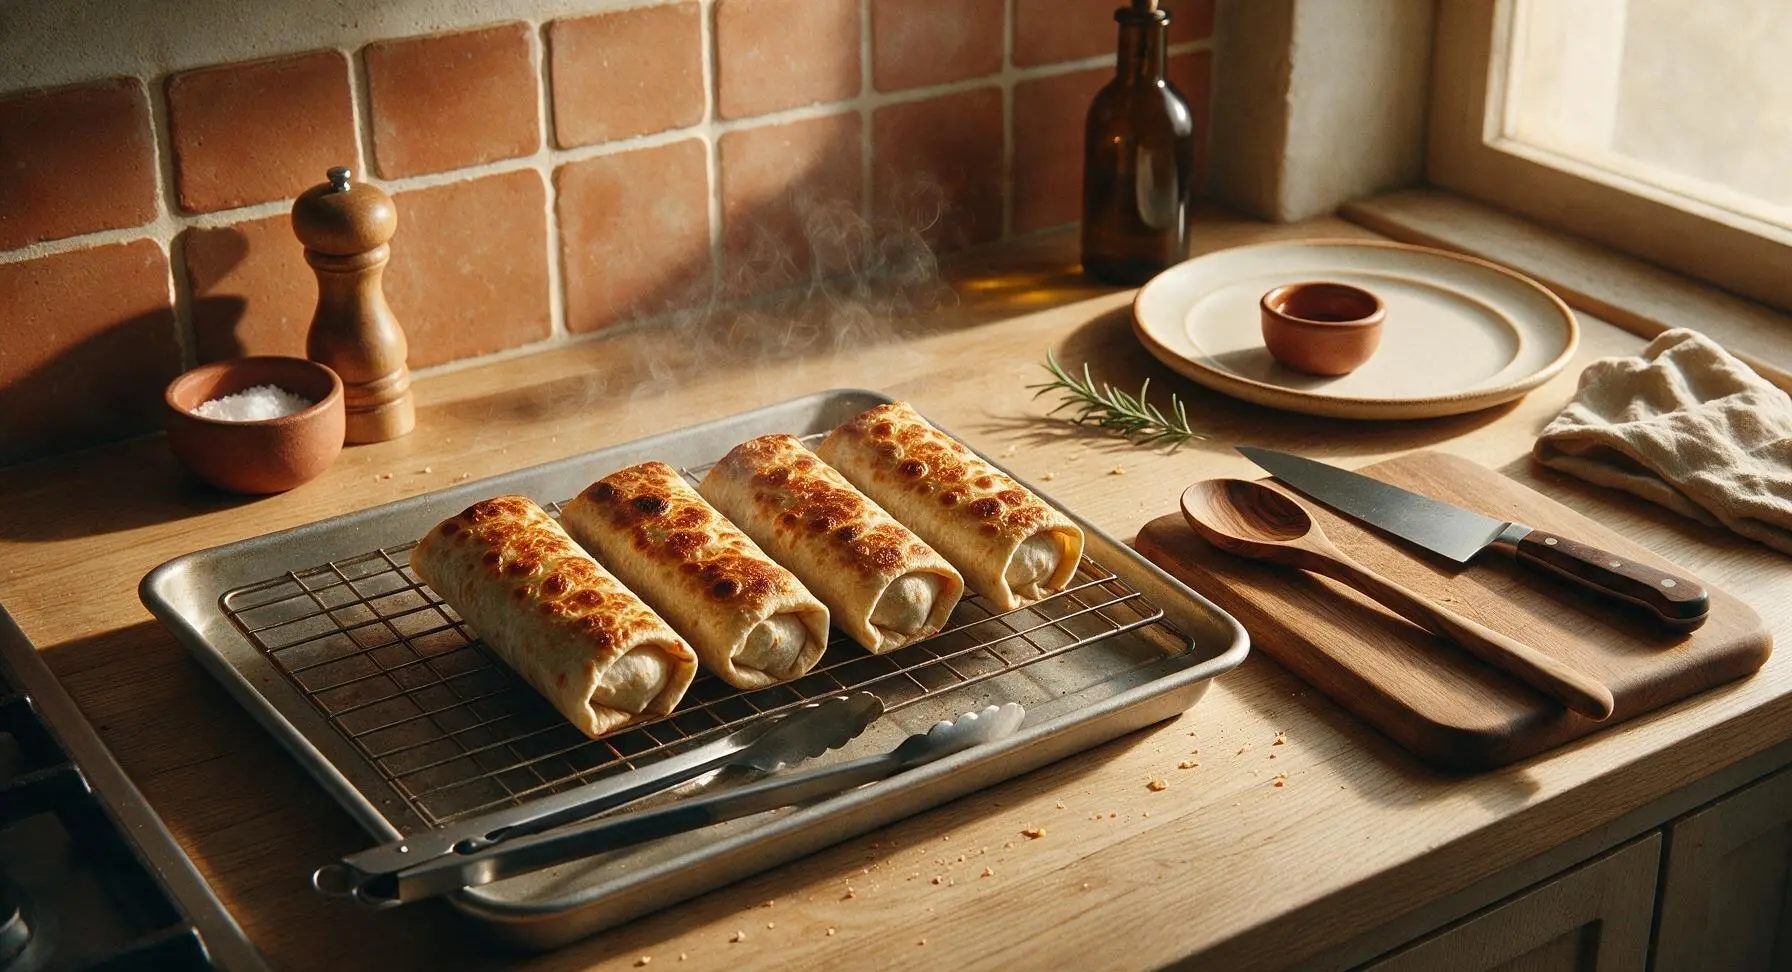
Plate and Serve
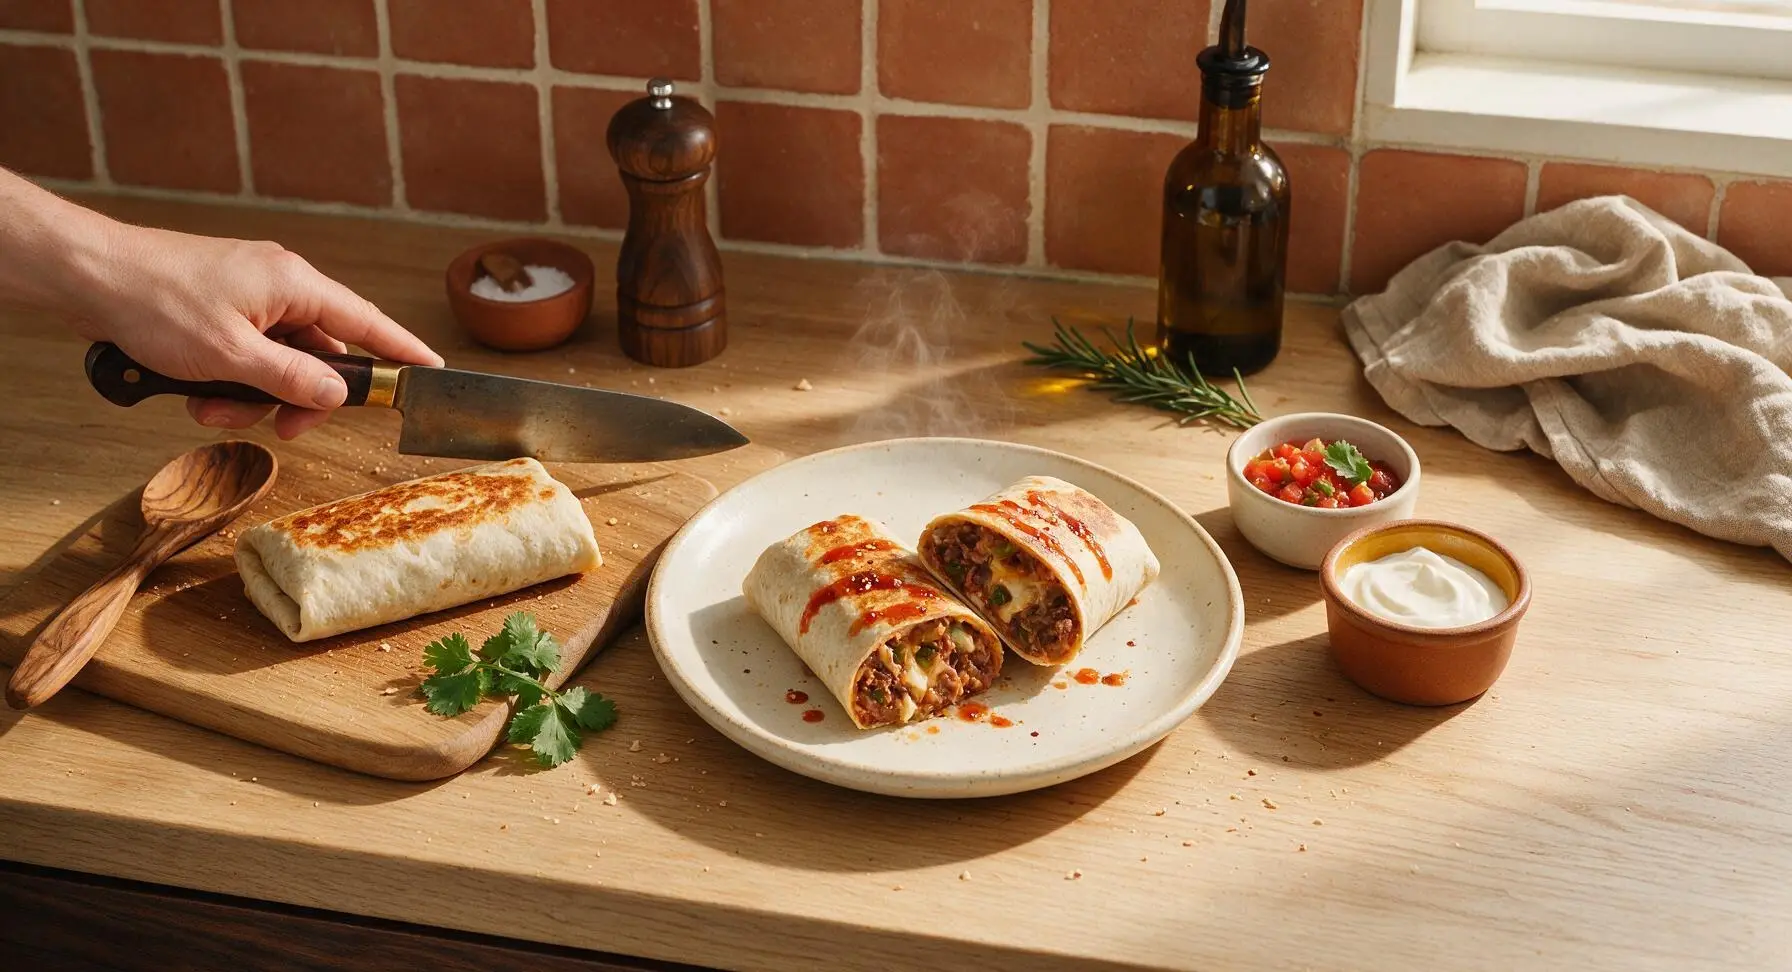
Set the matte terracotta dinner plate on the counter. Place two burritos on the plate, slicing each diagonally in half with the chef knife to expose the steaming, melty bean and cheese filling. Spoon sour cream into the matte terracotta ramekin and salsa into the matte white ramekin, set them on the plate, tuck a fresh cilantro sprig beside the burritos, and drizzle with hot sauce if desired.
Tips
2.Skip parchment or foil liners on your baking sheet: Lining blocks hot air flow under the burritos, trapping steam and creating soft, damp bottom tortillas. The elevated wire rack allows 360-degree air circulation for all-over crunch.
3.Rest burritos for 2 full minutes after searing: The internal filling reaches over 200°F (93°C) during cooking, and resting lets molten cheese and thick bean filling set slightly so it does not gush out and burn your chin on the first bite.






OMG this is such a game changer! I always have a stock of frozen burritos in the deep freeze for crazy busy school nights, but they always turn out soggy in the microwave. These came out perfectly crispy all over, no thaw needed, and my kids DEVOURED them. Even asked for seconds! I served them with a side of sour cream and guac for our quick taco Tuesday dinner earlier this week. 10/10 will make every week now.
SO good! I made a big batch of homemade bean and cheese burritos last month and froze them for meal prep, and I was so worried they’d turn to mush when I cooked them from frozen. Followed this recipe exactly, 25 minutes in the oven, and they were crisp on the outside, hot and melty all the way through. Perfect for grabbing on my way to work when I don’t have time to make breakfast. Already added this to my permanent meal prep rotation!
Tried this the other night for our family movie night and it did not disappoint. I usually just nuke frozen burritos and cover them in queso to hide the soggy texture, but these were crispy enough that we didn’t even need extra toppings (okay, we still added queso, no shame). Only thing I will say is mine needed an extra 3 minutes in the oven to get as crispy as I wanted, but that’s probably just my janky old apartment oven. Super easy, zero effort, will make again.
Brought these to our neighborhood potluck this past weekend and everyone was asking for the recipe! I set out a little topping bar with salsa, sour cream, pickled jalapeños, and cotija cheese so people could load them up how they liked. They were so easy to make ahead and pop in the oven right before we left, no thawing, no fancy steps. Even the teenagers at the potluck went back for thirds. Total crowd pleaser!
Game. Changer. I survive on frozen burritos in my dorm because the dining hall food is mid, but I only have a tiny toaster oven. Tried this recipe today and it worked perfectly! 25 minutes, no thaw, crispy outside, no sad soggy burrito. Way cheaper than getting takeout, and I didn’t even have to wait for them to defrost. Only wish I found this hack earlier in the semester.
Wait, can you cook these in an air fryer too? I hate heating up my whole oven in the summer when it’s 90 degrees out, I use my air fryer for basically everything these days. I’ve tried air frying frozen burritos before but I always end up with the outside burnt before the middle is thawed, so I’m curious if there’s a temp adjustment needed?