
best way to make hot dogs at home

title 1
best way to make hot dogs at home
⏱️ cook time 10 minutes
🍽️ servings 4
⚡ Difficulty easy

intro

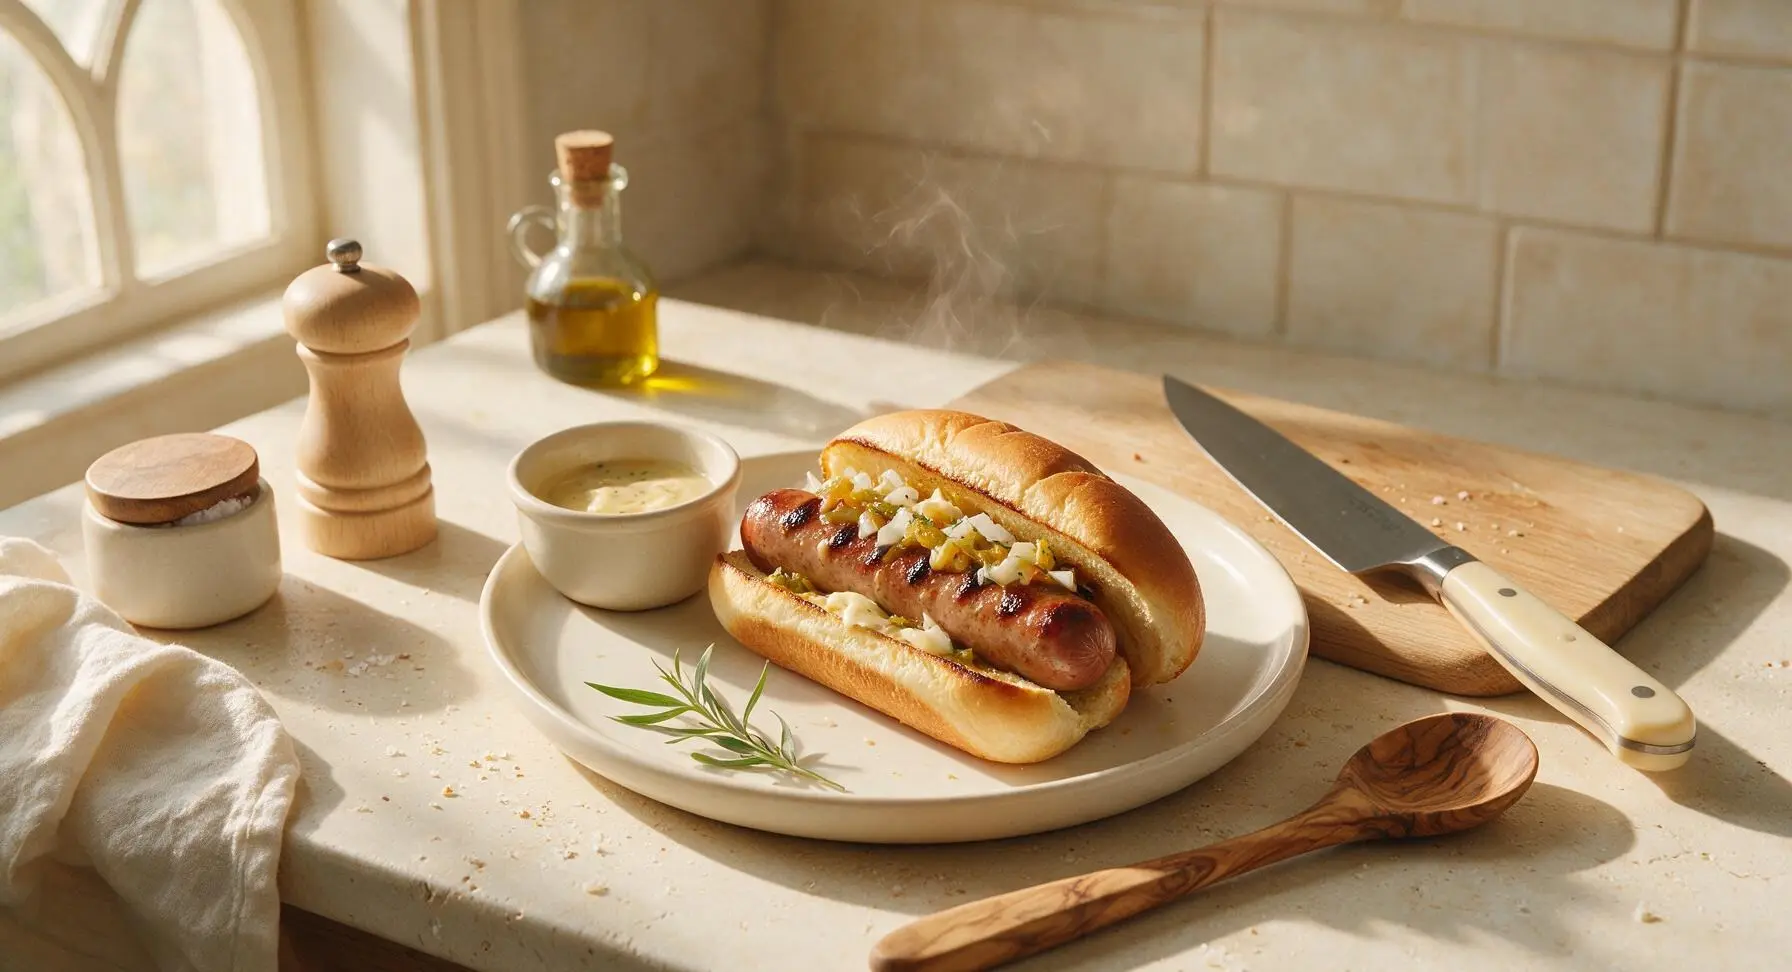
Snappy, juicy natural-casing grilled hot dogs with buttery toasted buns and classic tangy toppings, better than any stadium stand, ready in 20 minutes for casual summer gatherings.

Ingredients
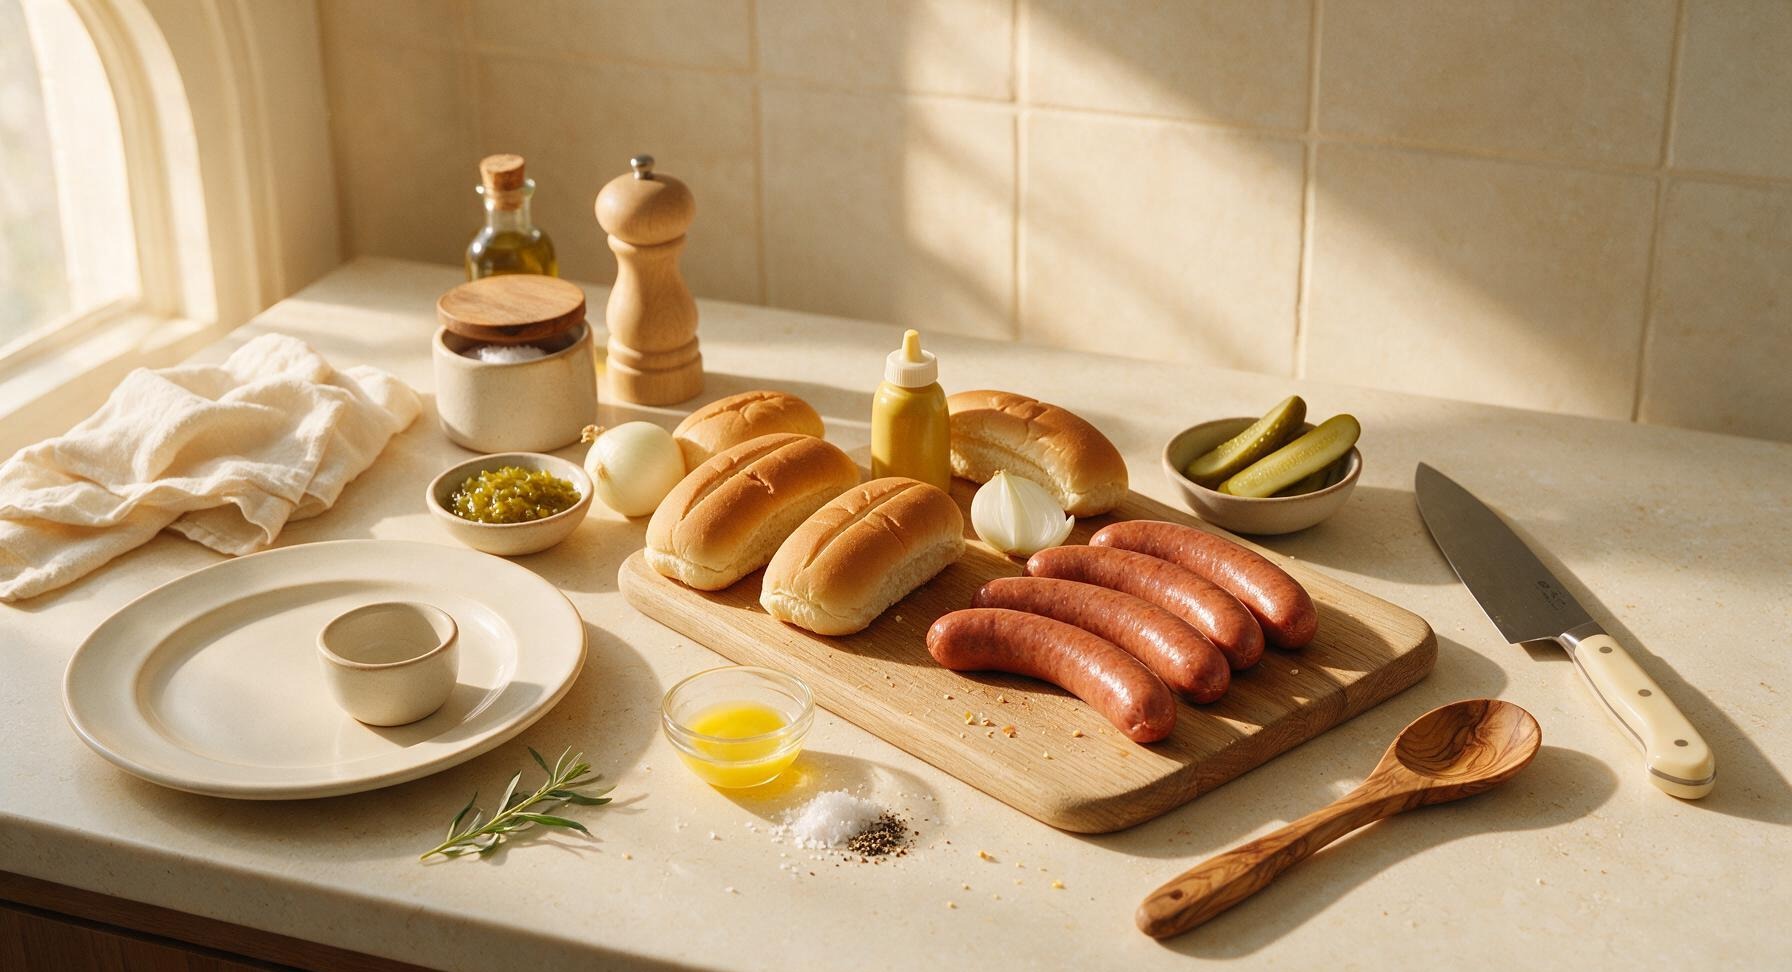
Natural-casing all-beef hot dogs 4 links (340g total)
Split-top potato hot dog buns 4 each
Yellow mustard 2 tablespoons
Sweet dill relish 1/4 cup
Small white onion 1 (110g)
Dill pickles 4 spears
Unsalted butter 1 tablespoon, melted
Flaky sea salt 1/4 teaspoon
Freshly ground black pepper 1/8 teaspoon

Steps

1

Prep Classic Toppings

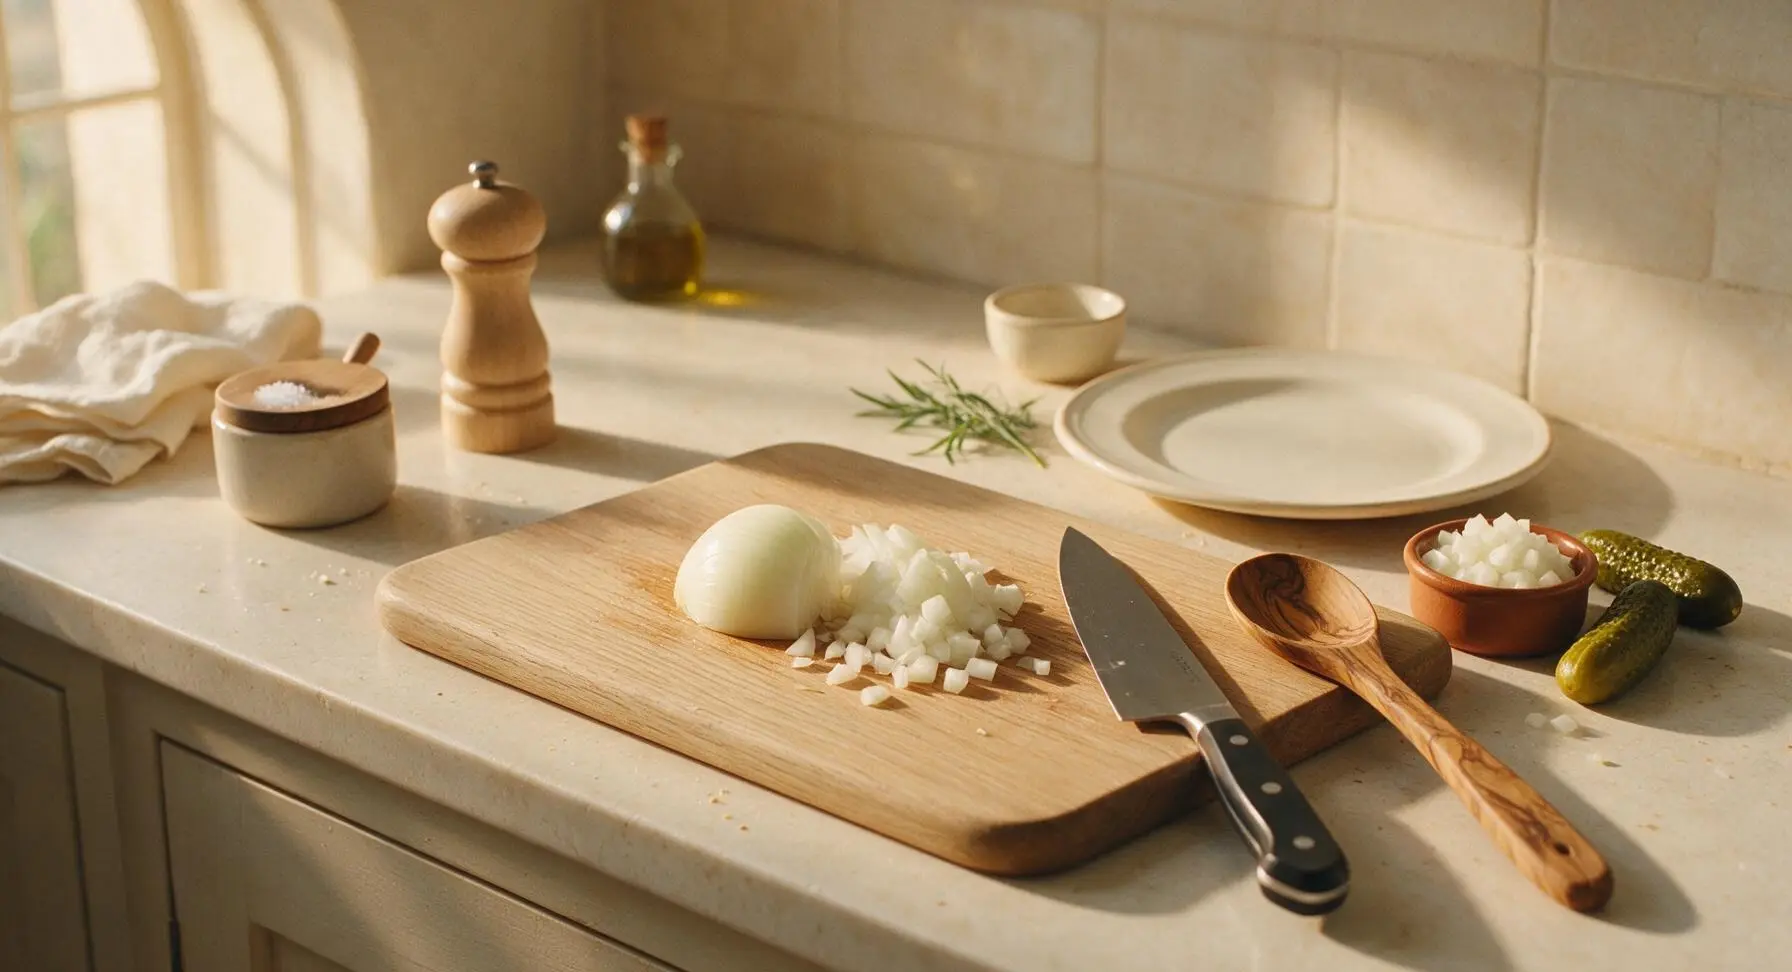
Place the thick maple cutting board in the center work zone. Set the small white onion on the board, use the walnut-handled chef knife to trim 1/4 inch off the root and stem ends, peel away the papery outer skin, then finely dice into uniform 1/4-inch pieces. Scoop the diced onion into one of the small terracotta ramekins. Cut whole dill pickles into 1/4-inch thick spears (if using whole pickles) and set in a second ramekin, then measure sweet relish into a third ramekin. Set all ramekins to the right of the cutting board so toppings are ready to use as soon as hot dogs are cooked; total prep time for toppings is 5 minutes.
Step 1
step1:Prep Classic Toppings
2

Preheat Grill Pan

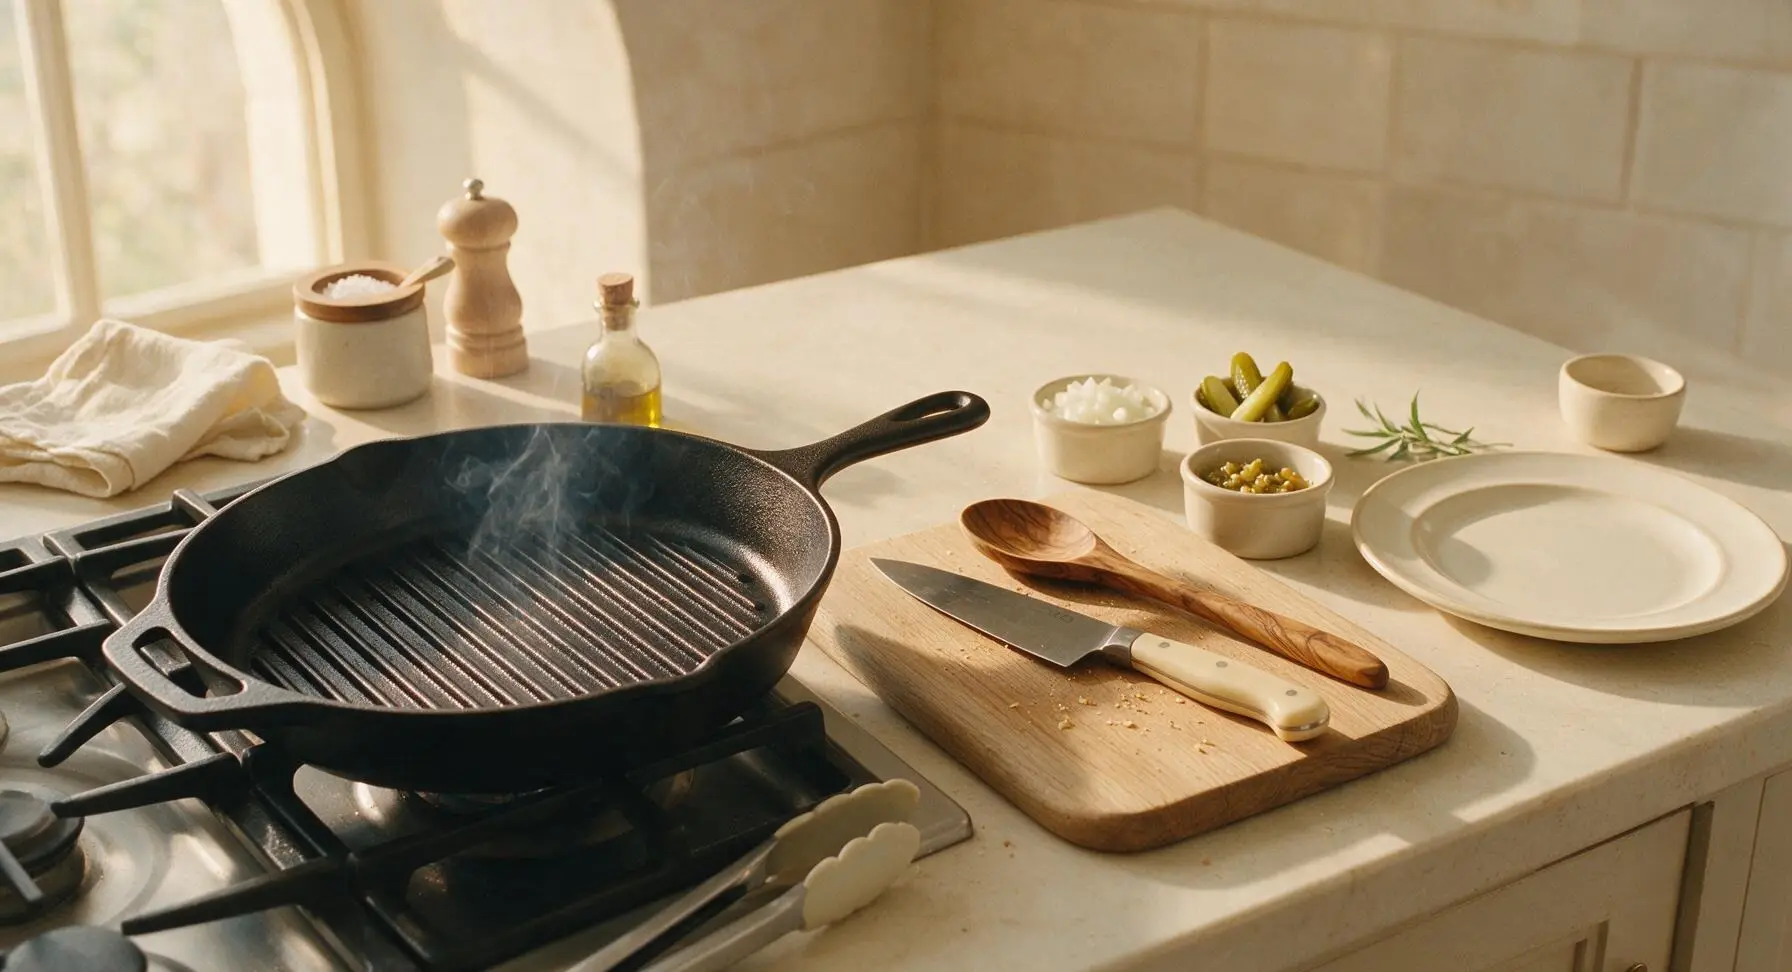
Place the 12-inch pre-seasoned cast iron grill pan on the left stovetop burner, turn heat to medium-high, and preheat for 4-5 minutes. The pan is ready when you see a thin, faint wisp of smoke rising from the raised grill ridges, and a drop of water flicked onto the surface dances and evaporates in 1-2 seconds. Do not oil the pan at this stage—dry preheating creates crisp, defined grill marks and prevents hot dogs from sticking.
Step 2
step2:Preheat Grill Pan
3

Sear Hot Dogs Evenly

While the pan preheats, use the tip of the chef knife to cut 3 shallow, diagonal 1-inch slits across the surface of each hot dog, spaced 1 inch apart. These slits prevent casings from bursting as they heat and allow excess fat to render for extra crispness. Use the silicone-tipped tongs to place the hot dogs diagonally across the hot grill ridges, arranging them so they do not touch. Cook undisturbed for 3 minutes, until deep, dark mahogany grill marks form on the contact side.
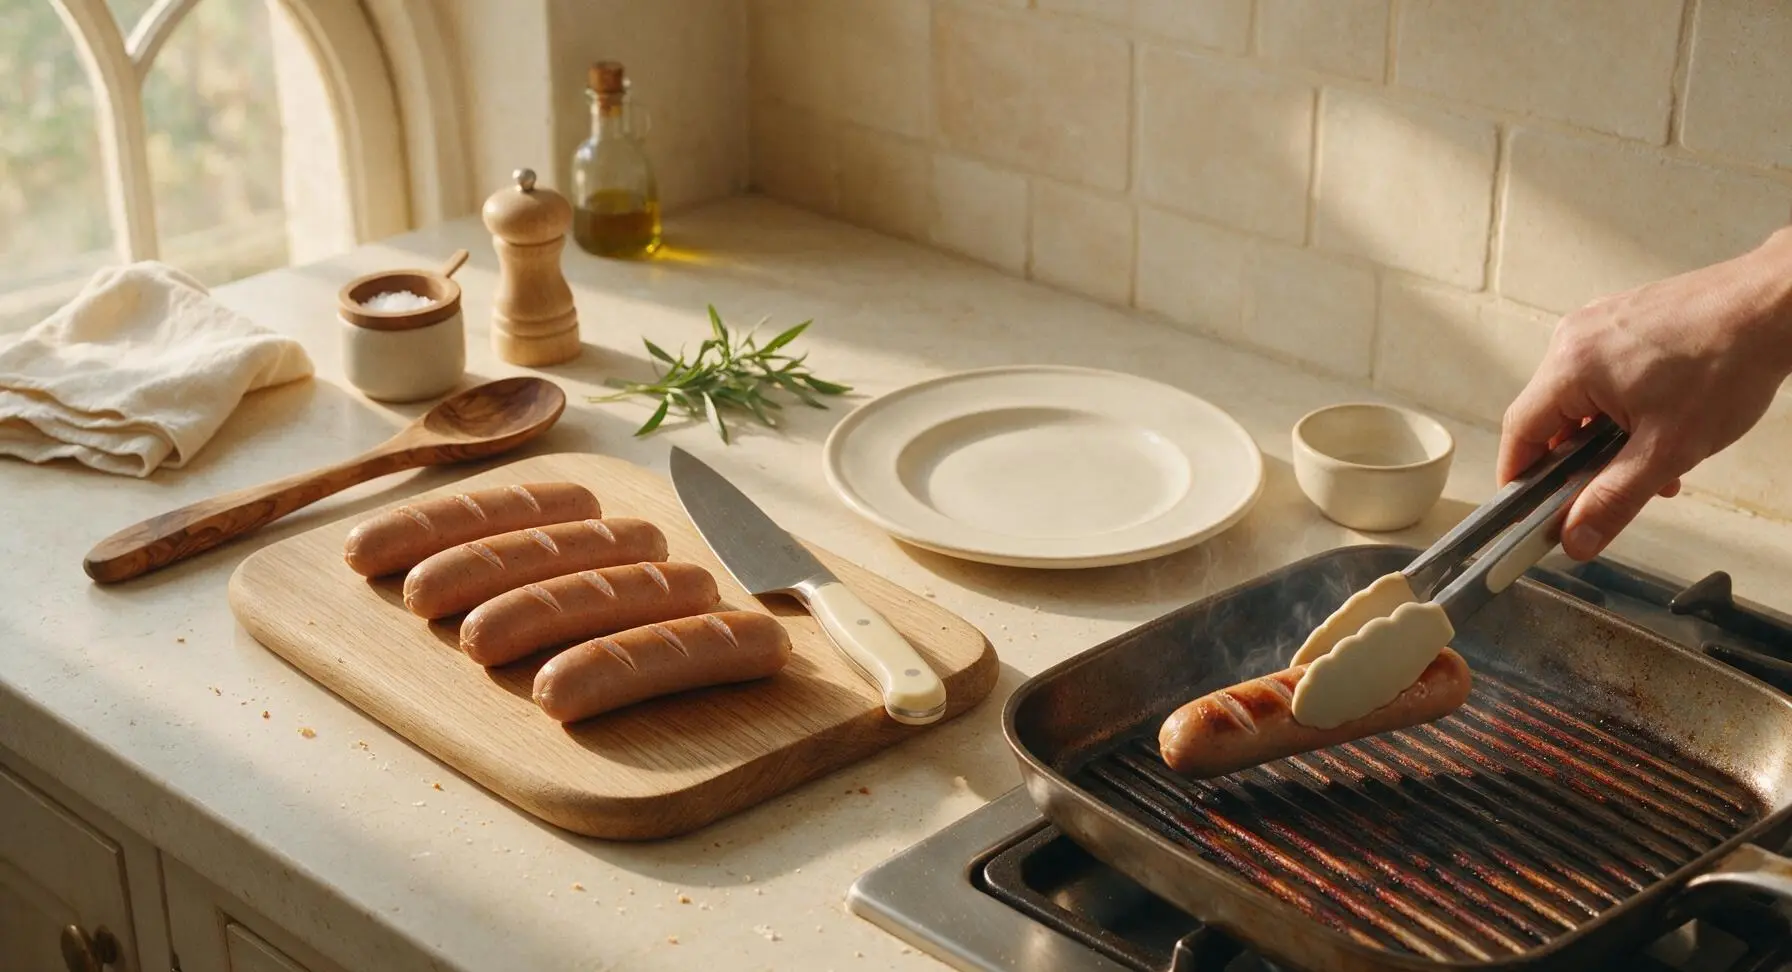
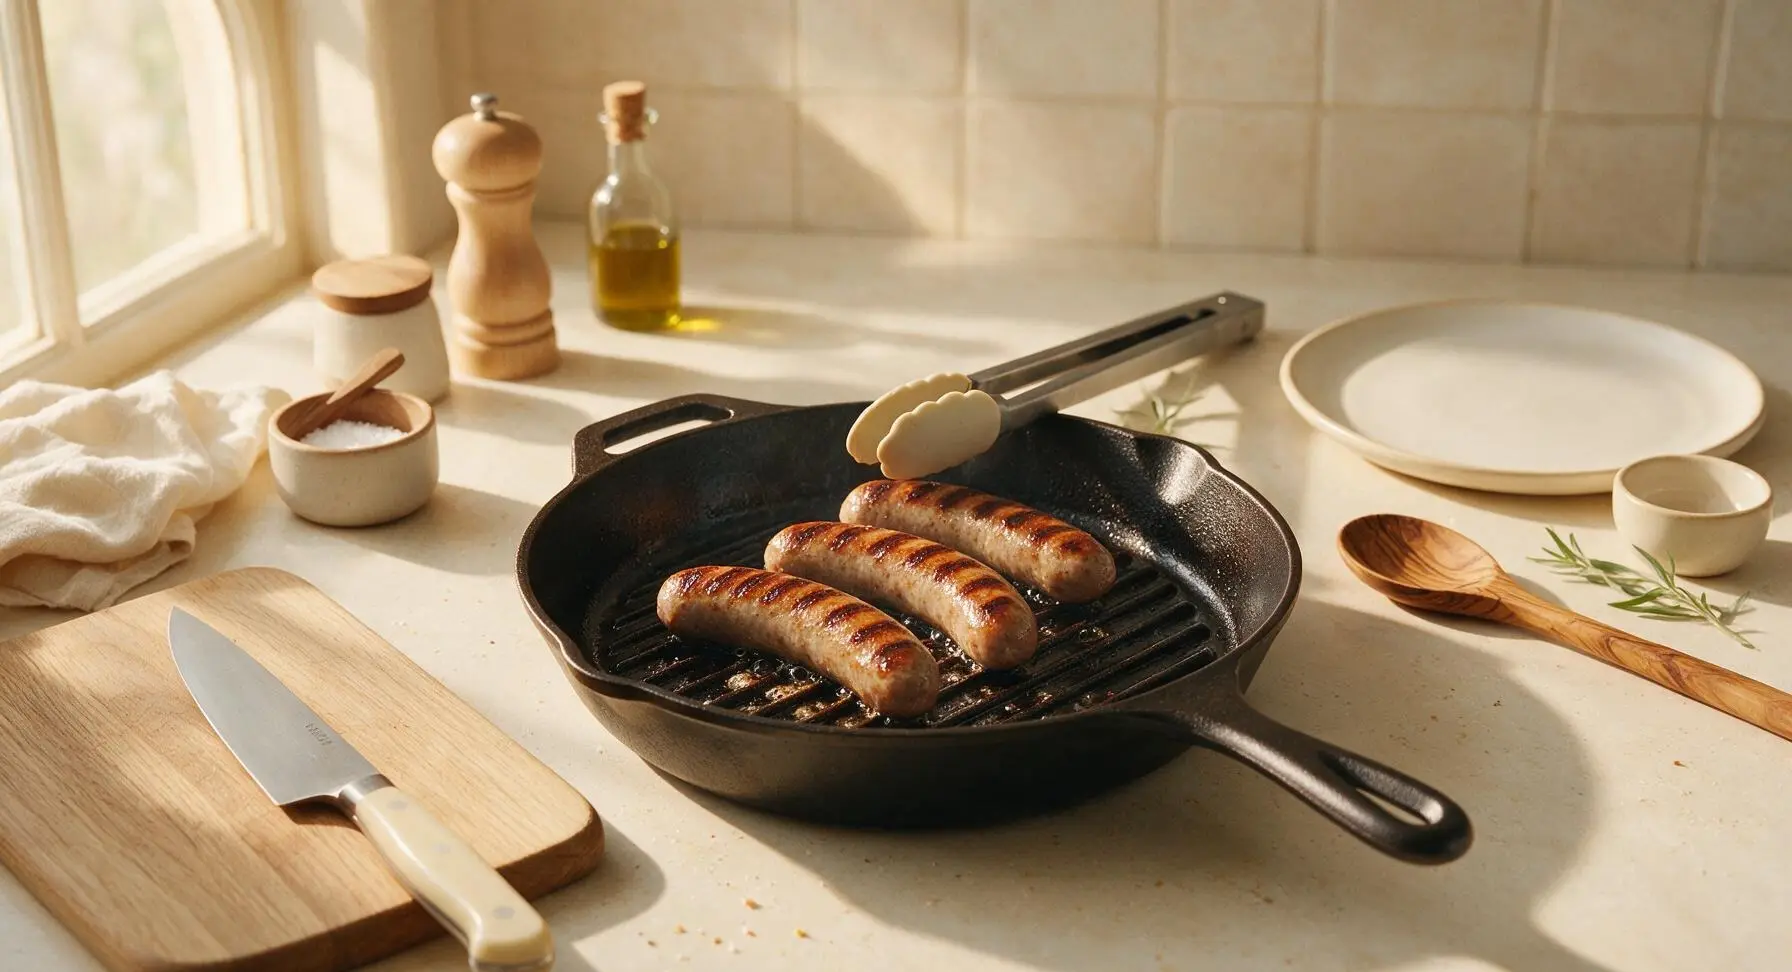
Step 3
step3:Sear Hot Dogs Evenly
Step 3
step3:Sear Hot Dogs Evenly
4

Flip and Cook Through

Use the tongs to rotate each hot dog a quarter turn, and cook for 2-3 minutes per side, for a total cook time of 8-9 minutes. The hot dogs are done when all sides have even dark grill marks, the natural casings are taut and snappy to the touch, and the internal temperature reads 160°F (71°C) on an instant-read thermometer. Important: Do not press down on the hot dogs with the tongs while cooking—this squeezes out flavorful rendered fat and leaves the dogs dry.
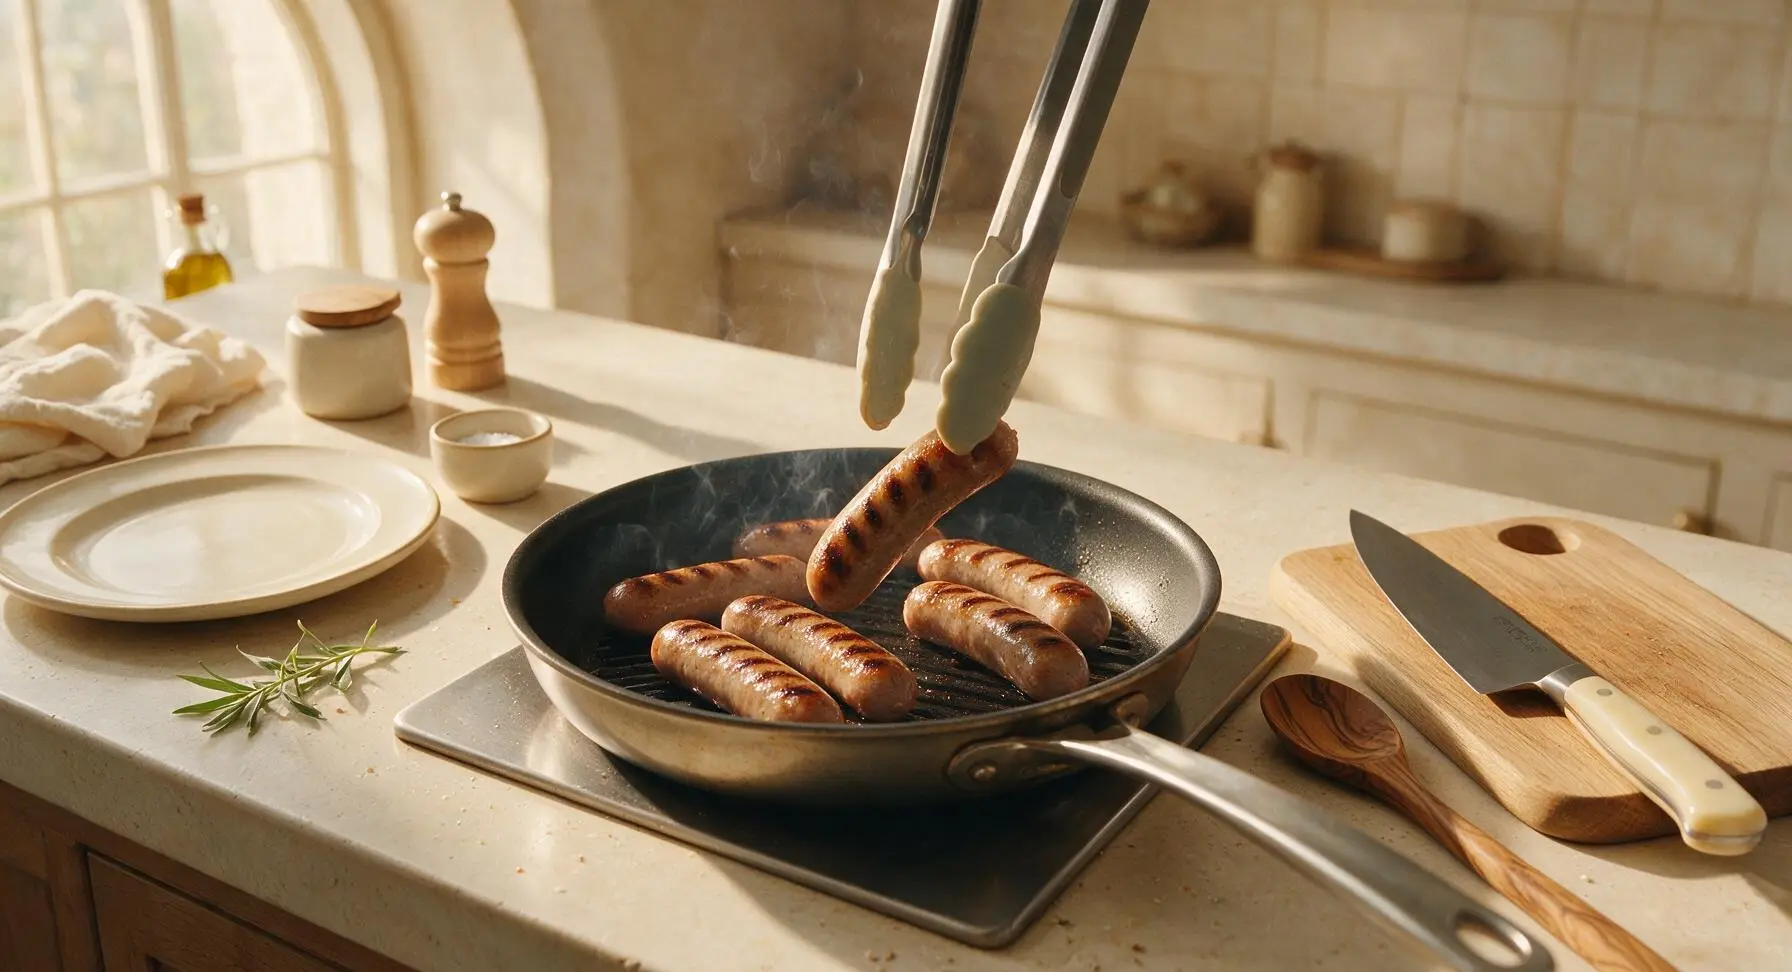
Step 4
step4:Flip and Cook Through
5

Butter and Toast Buns

While the hot dogs finish cooking, use the silicone basting brush to coat the cut inner sides of all split potato buns with melted unsalted butter. Once hot dogs are fully cooked, transfer them temporarily to the edge of the maple cutting board. Place the buns cut-side down directly on the hot grill pan ridges, working in batches if needed. Toast for 30-45 seconds, until light golden grill marks form on the cut surface, and the edges are slightly crisp but the center of the bun remains soft and pillowy. Do not toast longer than 1 minute, or buns will become hard and crumbly.
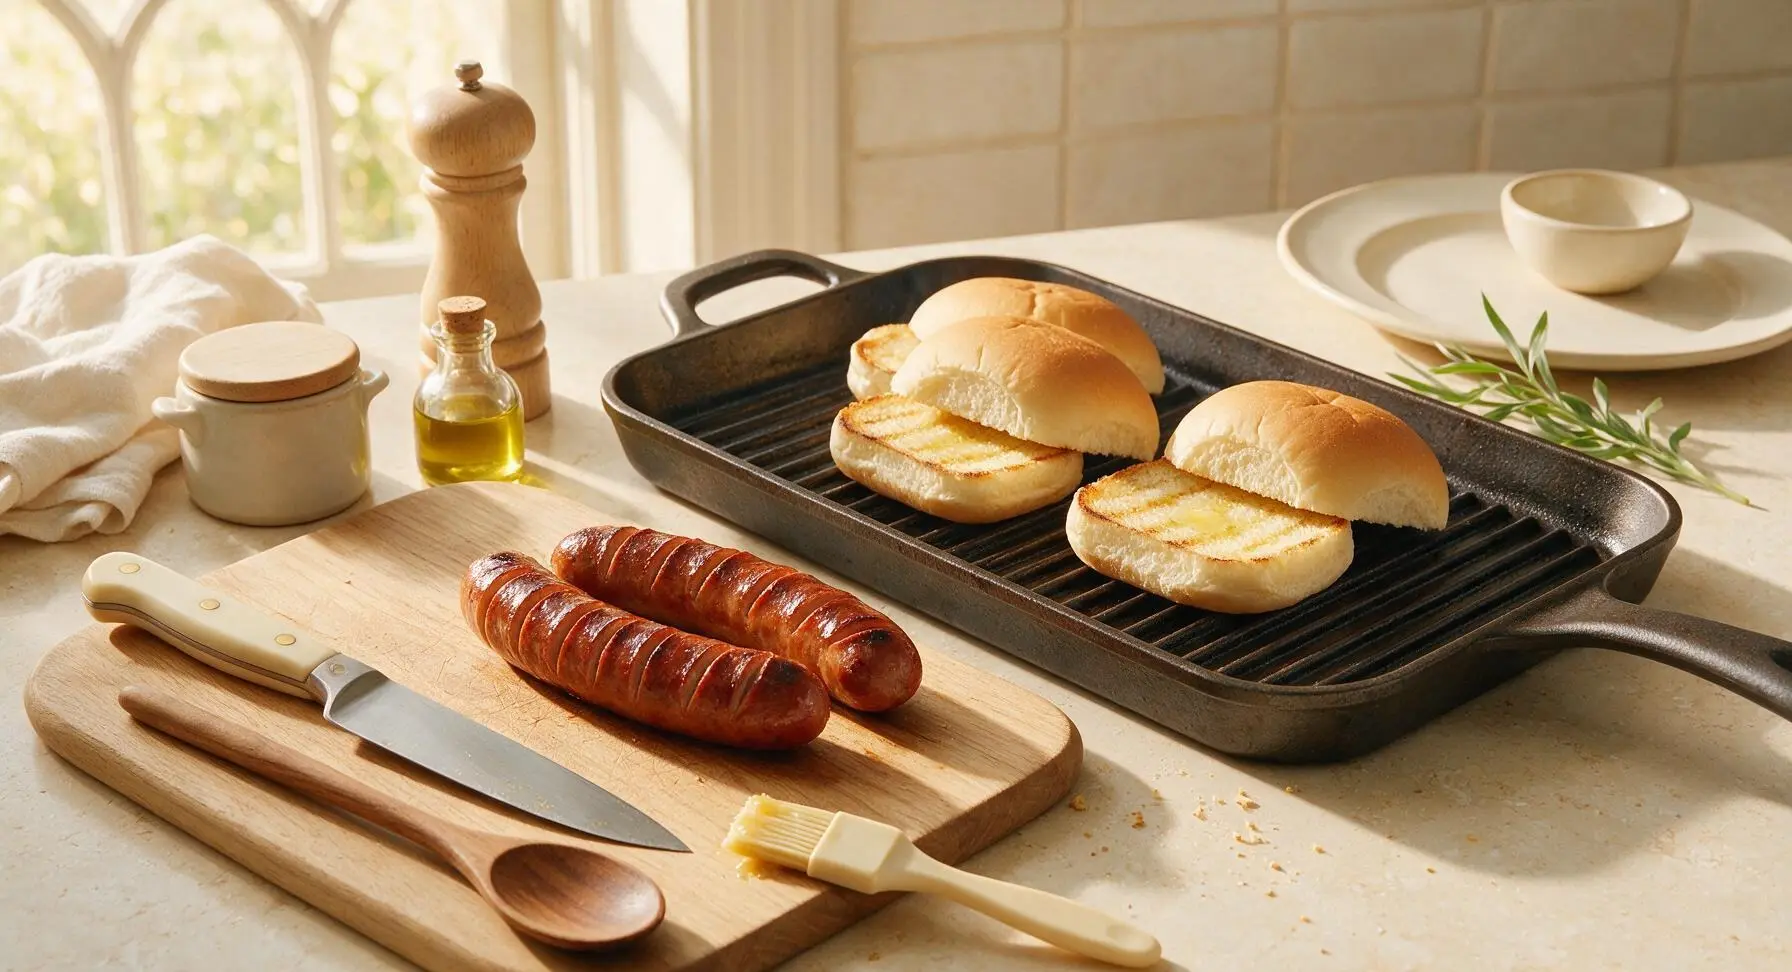
Step 5
step5:Butter and Toast Buns
6

Assemble Hot Dog Base

Set the primary matte cream ceramic dinner plate in the front center of the counter. Place one toasted bun on the plate, cut side up. Use the tongs to nestle one fully cooked hot dog into the bun split, adjusting so 1/2 inch of bun extends past each end of the hot dog for easy, mess-free holding.
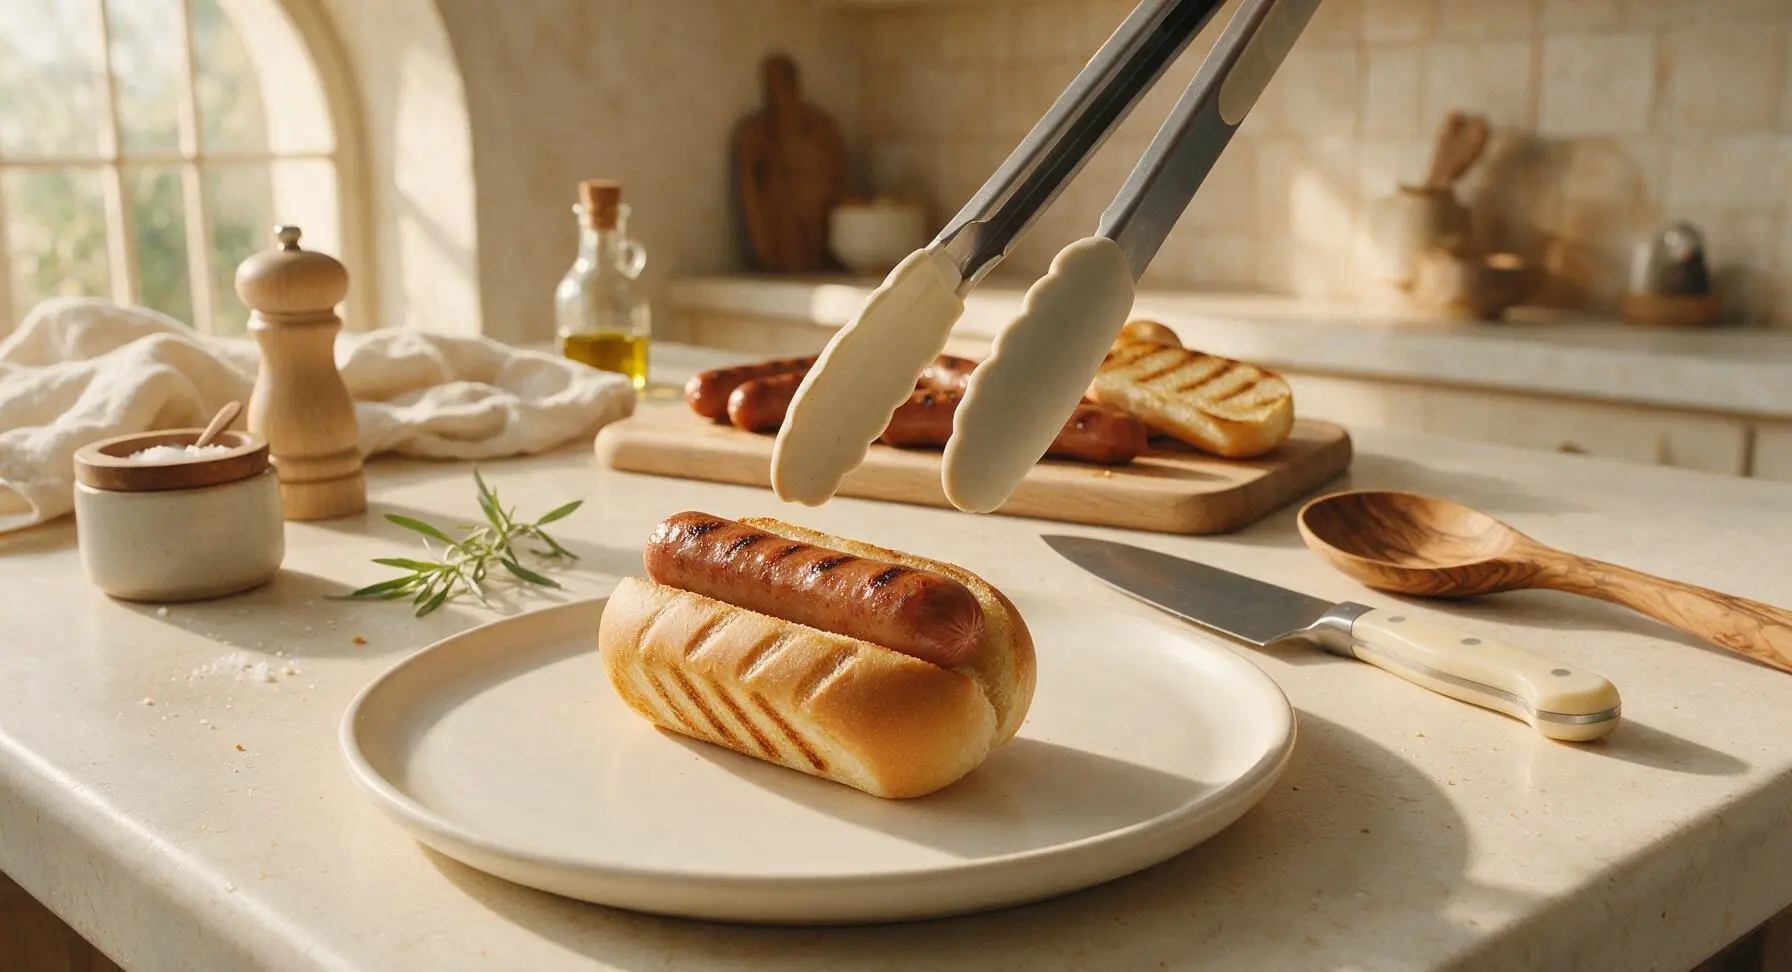
Step 6
step6:Assemble Hot Dog Base
7

Add Toppings and Serve

Drizzle a thin, even zig-zag of yellow mustard down the full length of the hot dog. Top with 1 tablespoon of sweet dill relish, a light sprinkle of finely diced white onion, and tuck one dill pickle spear against the left side of the bun. Add a tiny pinch of flaky sea salt and a light twist of black pepper if desired. Serve immediately, while the hot dog is hot, the casing is snappy, and the bun is still warm and crisp.
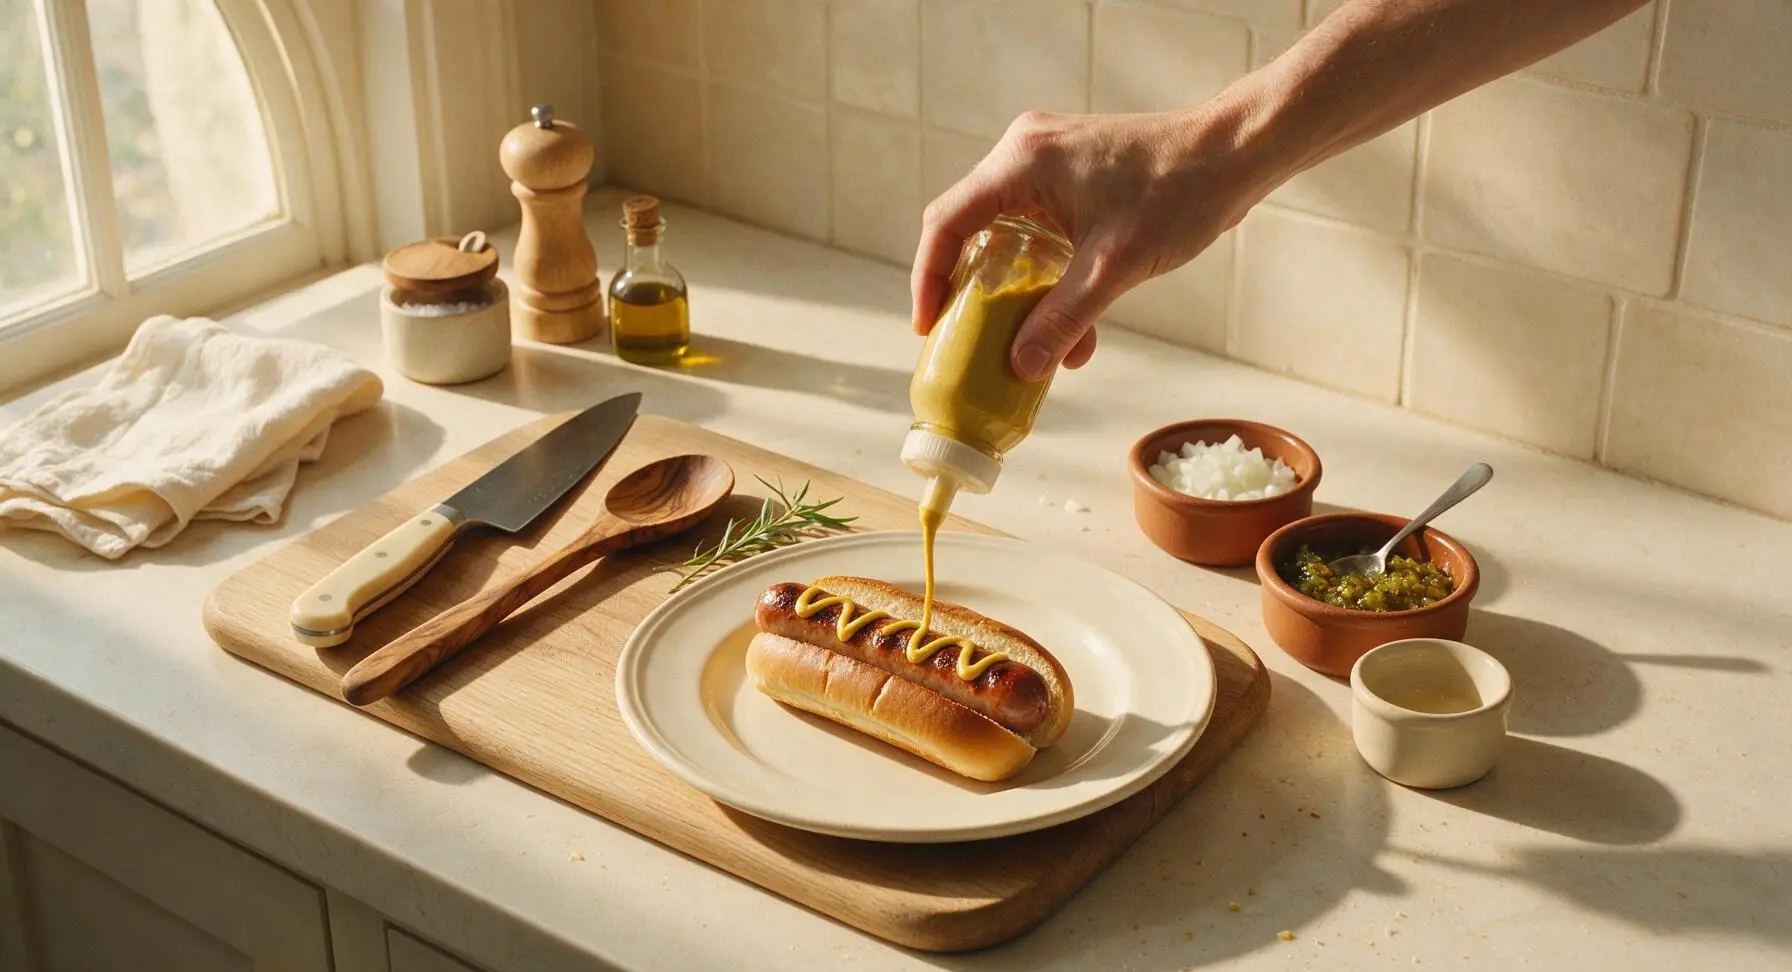
Step 7
step7:Add Toppings and Serve

Tips

1.Choose natural-casing all-beef hot dogs over skinless varieties for the best texture: the natural edible casing creates that iconic, satisfying 'snap' when you bite in, and 100% beef blends have a deeper, meatier flavor than mixed-meat or poultry dogs with added fillers.
2.Avoid boiling hot dogs for premium results: boiling leaches out savory beef flavor, makes casings rubbery, and prevents the crisp, charred grill marks that add subtle smoky depth. Dry heat from a cast iron grill pan (or outdoor grill) renders fat evenly and keeps casings crisp.
3.Toast buttered buns directly on the grill surface instead of using a separate toaster: the buns absorb a light smoky note from the pan and rendered hot dog fat, and the melted butter creates a moisture barrier that prevents juicy toppings from making the bun soggy as you eat.


✨ You May Also Like

BBQ & Grilling
🍜 United States

Tender, melt-in-your-mouth beef brisket with a crisp, spiced bark, slow-smoked to deep smoky perfection, the iconic centerpiece of Texas backyard barbecue.

⏱️ 12 hours BBQ & Grilling ★ 4.4
BBQ & Grilling
🍜 Korea

Tender, sweet-savory marinated beef short ribs, a beloved Korean BBQ staple with caramelized, slightly charred edges and deep umami flavor, perfect for outdoor summer gatherings.

⏱️ 4 hours 2BBQ & Grilling ★ 4.8
BBQ & Grilling
🍜 United States

Juicy grilled beef patties topped with smoky homemade chili, melted cheddar, and tangy pickles on toasted brioche buns for a hearty, flavor-packed handheld meal.

⏱️ 40 minuteBBQ & Grilling ★ 4.7
BBQ & Grilling
🍜 United States

A sweet, smoky, tangy BBQ sauce brightened with peak-season dark cherries, ideal for glazing grilled ribs, chicken, pork, or summer roasted veggies.

⏱️ 35 minuteBBQ & Grilling ★ 4.7
BBQ & Grilling
🍜 United States

Rich, smoky, slightly sweet homemade bourbon BBQ sauce with deep caramel notes, ideal for glazing grilled ribs, chicken, and burgers at cookouts.

⏱️ 25 minuteBBQ & Grilling ★ 4.7
BBQ & Grilling
🍜 United States

Iconic Alabama-style BBQ featuring tender hickory-smoked chicken slathered in tangy creamy white sauce, a beloved regional Southern cookout staple.

⏱️ 3 hoursBBQ & Grilling ★ 5

best way to make hot dogs at home:Frequently Asked Questions

1.Why do I need to use natural-casing hot dogs instead of regular skinless ones? ▾
Natural casings (made from cleaned, edible sheep intestine) deliver that iconic snappy bite skinless dogs can never replicate, lock in juiciness far better as they grill, and hold up to light char without splitting prematurely. This single swap is 90% of what makes these dogs taste better than your average stadium stand fare.
2.What should I use if I can’t find natural-casing all-beef hot dogs? ▾
If all-beef natural-casing dogs are out of stock, reach for a natural-casing beef-pork blend as a close second—skip filler-heavy dogs loaded with artificial additives, as they leach excess fat and turn mushy on the grill. Avoid skinless options entirely if you want that signature snappy, juicy texture.
3.What grill temperature is ideal for cooking these hot dogs? ▾
Aim for consistent medium heat, around 375–400°F, whether you’re using a gas or charcoal grill. Too high and the casings will split and burn before the interior warms through; too low and you won’t get perfect blistered char without drying out the dog as it cooks.
4.Do I need to score or poke holes in the hot dogs before grilling? ▾
Absolutely not—poking or scoring natural-casing dogs lets all their juicy, fatty interior drip out onto the coals, leading to dry, bland dogs and unnecessary, soot-causing flare-ups. The casing will expand gently as it heats, and only split if your grill is cranked too high, so skip the prep piercings.
5.How long do these hot dogs need to stay on the grill? ▾
Grill for 6–8 minutes total, turning every 2 minutes with tongs (never pierce them with a fork!) to get even, light char on all sides. They’re done when plump, dotted with faint golden-brown blisters across the casing, and register 140°F on an instant-read thermometer stuck into the end.
6.Why use split-top potato buns instead of regular side-split hot dog buns? ▾
Split-top potato buns have a soft, slightly sweet, pillowy crumb that holds up to juicy dogs and tangy toppings without getting soggy, and their flat split sides toast perfectly to a buttery crisp. Regular side-split buns tear easily, turn mushy fast, and don’t toast nearly as evenly on the grill.
7.How do I toast the buns perfectly without burning them? ▾
Brush the cut sides of the split potato buns lightly with melted salted butter, then set them cut-side down on the cooler edge of the grill for 30–45 seconds right as the hot dogs finish cooking. Watch them closely—they go from perfectly golden to charred black in seconds, so pull them as soon as you see light toasting.
8.Can I make these on a stovetop if I don’t have an outdoor grill? ▾
Definitely! Heat a cast-iron grill pan over medium heat, add the dogs, and turn every 2 minutes for 7–9 minutes until blistered and plump. Toast the buttered buns cut-side down in the same pan for 30 seconds after you pull the dogs for that same toasty, char-kissed vibe, no backyard required.
9.What’s the best way to prep the white onion for toppings? ▾
Finely dice the small white onion into 1/8-inch pieces, then soak them in a bowl of ice water for 10 minutes before draining really well. This tames the sharp, raw onion bite so it’s bright and crisp without overpowering the dog, or leaving you with harsh, lingering onion breath after every bite.
10.Am I required to stick to just mustard, relish, and onion for toppings? ▾
Not at all—those three are the classic, tangy stadium-style baseline, but you can add sauerkraut, sport peppers, a sprinkle of celery salt, or thin tomato slices for Chicago-style flair. Just skip heavy, wet toppings like chili or cheese sauce if you want to keep that snappy, non-soggy bun texture.
11.Why sweet dill relish instead of plain dill or straight sweet relish? ▾
Sweet dill relish hits the perfect balance of briny dill tang and subtle sweetness that cuts through the rich, fatty beef of the hot dog, without being cloyingly sweet like straight sweet relish or overly sour like plain dill relish. It’s the exact balance that makes classic stadium dogs taste so nostalgic.
12.How do I prevent annoying fat flare-ups while grilling? ▾
First, scrub your grill grates clean before you start, and keep one section of the grill unlit (or coal-free) as a cool zone to move dogs to if flare-ups pop up. Don’t overcrowd the grill, and never spray flare-ups with water—that spreads ash and makes dogs taste sooty; just shift dogs away from the flame briefly.
13.Can I prep these hot dogs ahead of time for a summer party? ▾
You can prep all your toppings (soaked diced onion, measured relish, set-out mustard) up to a day ahead, and keep cold dogs in the fridge until 15 minutes before grilling. Don’t grill the dogs ahead of time—they get rubbery and lose their snappy texture if held in a warmer for more than 20 minutes.
14.What’s the best charcoal setup for these hot dogs? ▾
Set up a two-zone fire by piling lit charcoal on just one half of the grill, leaving the other half empty. Sear the dogs over the hot coal side for that perfect char, then shift them to the cool side if they cook too fast or flare-ups hit. This gives you far more control than spreading coals evenly across the grill.
15.Should I boil the hot dogs first before grilling them? ▾
Skip the boil entirely! Boiling natural-casing dogs leaches out most of their beefy flavor, makes the casing rubbery instead of snappy, and leaves you with waterlogged, bland dogs. Direct medium grill heat is all you need to warm them through, crisp the casing, and build that perfect light char.
16.How do I keep the hot dogs juicy right after they come off the grill? ▾
As you pull finished dogs off the grill, tent them loosely with a sheet of aluminum foil on a platter for 2–3 minutes to let the juices redistribute, just like you would with a steak. Don’t wrap them tightly in foil, though—trapped steam will make the crispy casing go soft and soggy fast.
17.Can I use spicy brown or whole-grain mustard instead of yellow mustard? ▾
You absolutely can, if that’s your preference! Classic yellow mustard has that bright, mild tang that pairs perfectly with the other traditional toppings, but spicy brown adds a nice horseradish kick, and whole-grain adds seedy texture—just skip thick, creamy honey mustards, which are too sweet for this classic profile.
18.How should I store and reheat leftover grilled hot dogs? ▾
Let leftover grilled dogs cool completely, then store them in an airtight container in the fridge for up to 3 days. Reheat them in a 350°F oven for 5 minutes, or in a dry skillet over medium heat for 2 minutes per side to crisp the casing back up—skip the microwave, it turns casings rubbery and chewy.
19.Are these natural-casing hot dogs safe for gluten-free guests? ▾
Most natural-casing all-beef hot dogs are gluten-free, but always check ingredient labels to make sure there are no hidden wheat-based binders in the dogs or casings. All the classic toppings listed (mustard, sweet dill relish, onion, potato buns) are widely available in certified gluten-free versions for guests with dietary needs.
20.How do I serve these at a cookout without ending up with soggy buns? ▾
Set up a small build-your-own bar with toasted buns in a lined basket, grilled dogs on a loosely tented platter, and toppings in small bowls with serving spoons, so guests can build their own dogs right before eating. Don’t pre-assemble dogs ahead of time—trapped moisture will turn buns soggy in 10 minutes flat.

Comments (7)

2 days ago

OMG these were SO good! I’ve been messing up natural casing dogs for years by cooking them too hot, the low-and-slow first then quick sear trick is a total game changer. Threw these on for our Sunday backyard cookout and every single guest asked for the method. 10 minute cook time is no joke too, perfect for when people show up hungry.

yesterday

Wait did you soak them first like the recipe says? I almost skipped that step last time I made natural casing dogs, curious if that made a difference for you!

yesterday

Great question! That quick 10 minute soak in room temp water helps prevent the casings from splitting when they hit the grill grates, so don’t skip it! So glad the cook method worked out for your cookout, GrillDad42!

3 days ago

My kids loved it!!! I’ve been buying those cheap skinless hot dogs for forever because I thought natural casing would be too much work, but this was so easy? We had these for a quick weeknight family dinner with baked beans and coleslaw, even my super picky middle kid asked for seconds. Total win.

2 days ago

That makes our day to hear! Natural casing dogs have that perfect snap kids (and adults) go crazy for, and we love that it comes together so fast for busy weeknights. Thanks for giving it a try!

1 week ago

Solid recipe! I prepped a pack of these for my weekly meal prep, grilled them up Sunday and kept them in the fridge to reheat on the grill pan during the work week. The casings hold up way better than regular dogs even when reheated, will definitely be adding this to my regular rotation.

5 days ago

Brought these to our neighborhood block party potluck last weekend and they were gone in 15 minutes flat. Everyone was raving about that classic snap you only get from natural casing, nobody believed they only took 10 minutes to cook. Pro tip: toast the buns on the upper grill rack while the dogs rest, chef’s kiss.

3 days ago

Oh the toasted bun tip is genius! I always forget to do that and end up with soggy buns from all the toppings. Can’t wait to try that next time I make these!

30 minutes ago

I’m brand new to using a charcoal grill and was super nervous I’d mess these up, but the instructions were so straightforward! Got that perfect char on the outside and juicy inside, no split casings at all. Way easier than I thought it would be, already told my roommate we’re making these again this weekend.

yesterday

As someone who grew up eating natural casing dogs from NYC street carts, I’m super picky about how these are cooked. Tried this method last night and honestly? It’s almost exactly the cart taste. The only thing missing was the onion sauce and yellow neon relish, but that’s on me, not the recipe. SO good.

2 hours ago

That’s the highest compliment we could get! That street cart snap is hard to replicate at home, so we’re thrilled this method got you close. Next time give the quick homemade onion sauce we linked in the recipe notes a try, it’s a perfect match!

5 minutes ago

Wait a second, do natural casing hot dogs typically have gluten? I have celiac and have been avoiding them for years because I thought the casings had wheat fillers, but these look so good I want to try them for our 4th of July cookout if they’re safe!

just now

I have celiac too! Just make sure you buy brands that explicitly label their natural casing dogs gluten free, a lot of the major ones actually are now. I made these last week with a GF brand and had zero issues!

just now

Great question! Natural casings themselves are made from animal intestines and don’t contain gluten, but always double check the ingredient label on your specific pack of hot dogs to make sure there aren’t any hidden gluten fillers added to the meat itself. Hope you love them at your 4th of July party!



