
betty crocker waffle
intro
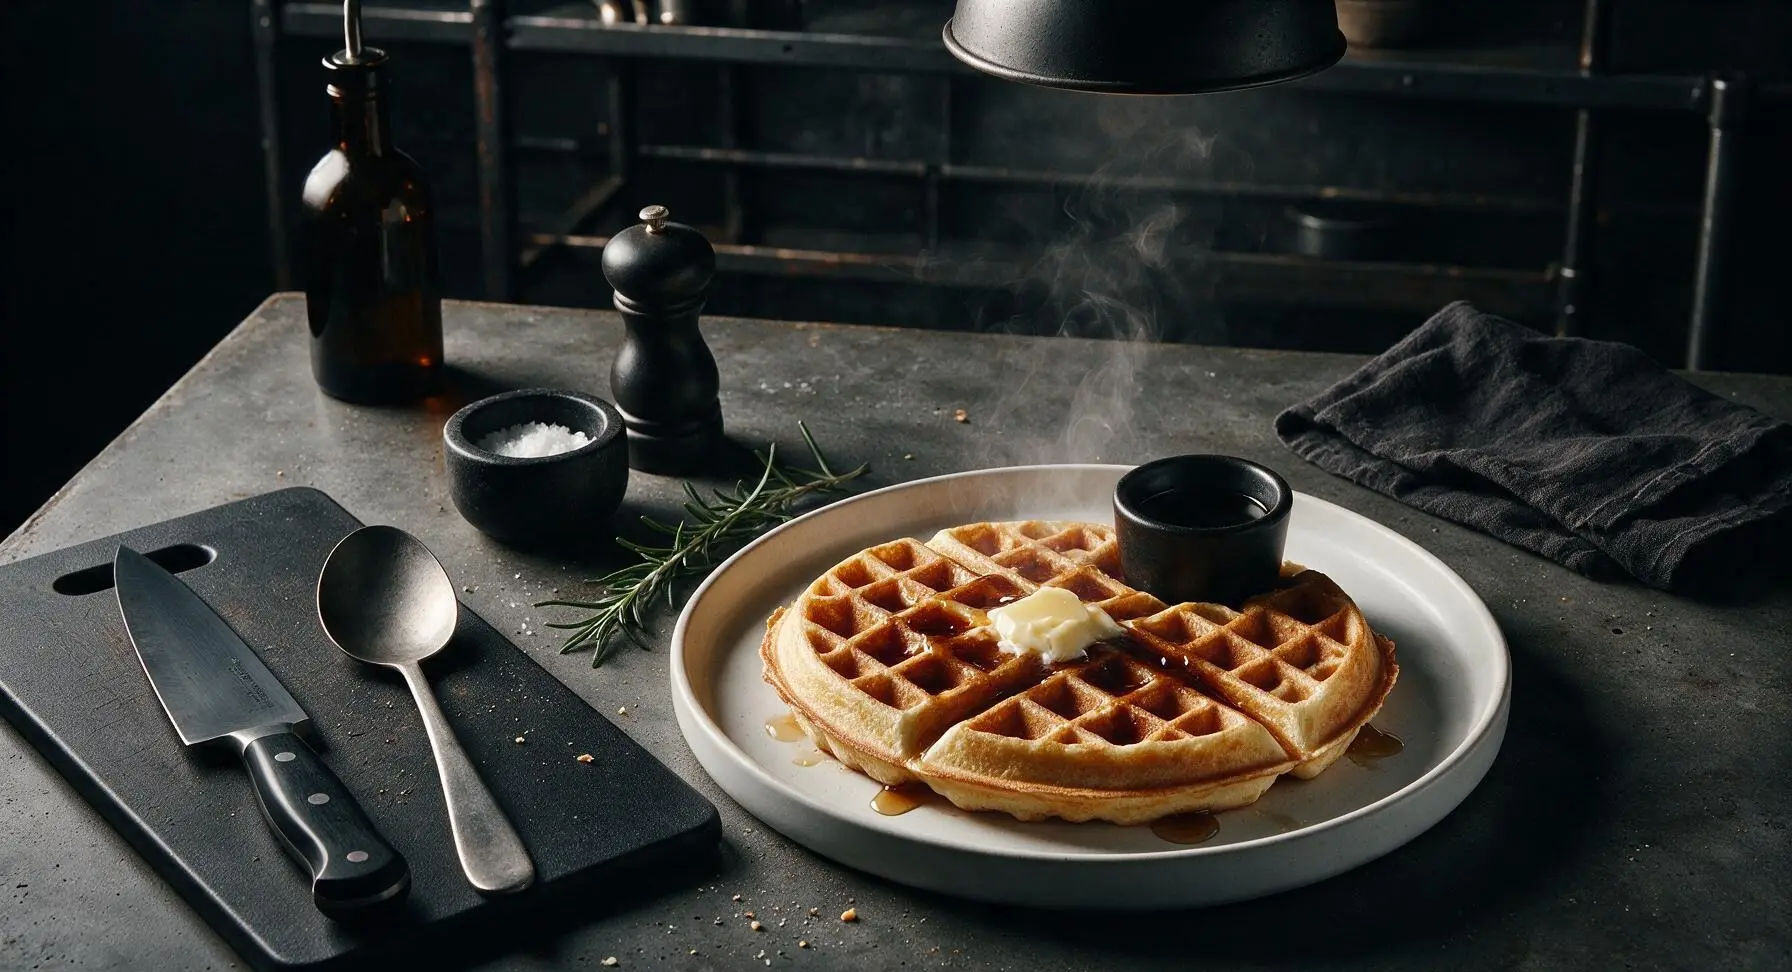
Fluffy, crisp-edged classic Betty Crocker waffles with a tender, light crumb and golden exterior, perfect topped with melted butter and maple syrup for a fast, nostalgic, comforting meal.
Ingredients
Steps
Preheat Waffle Iron
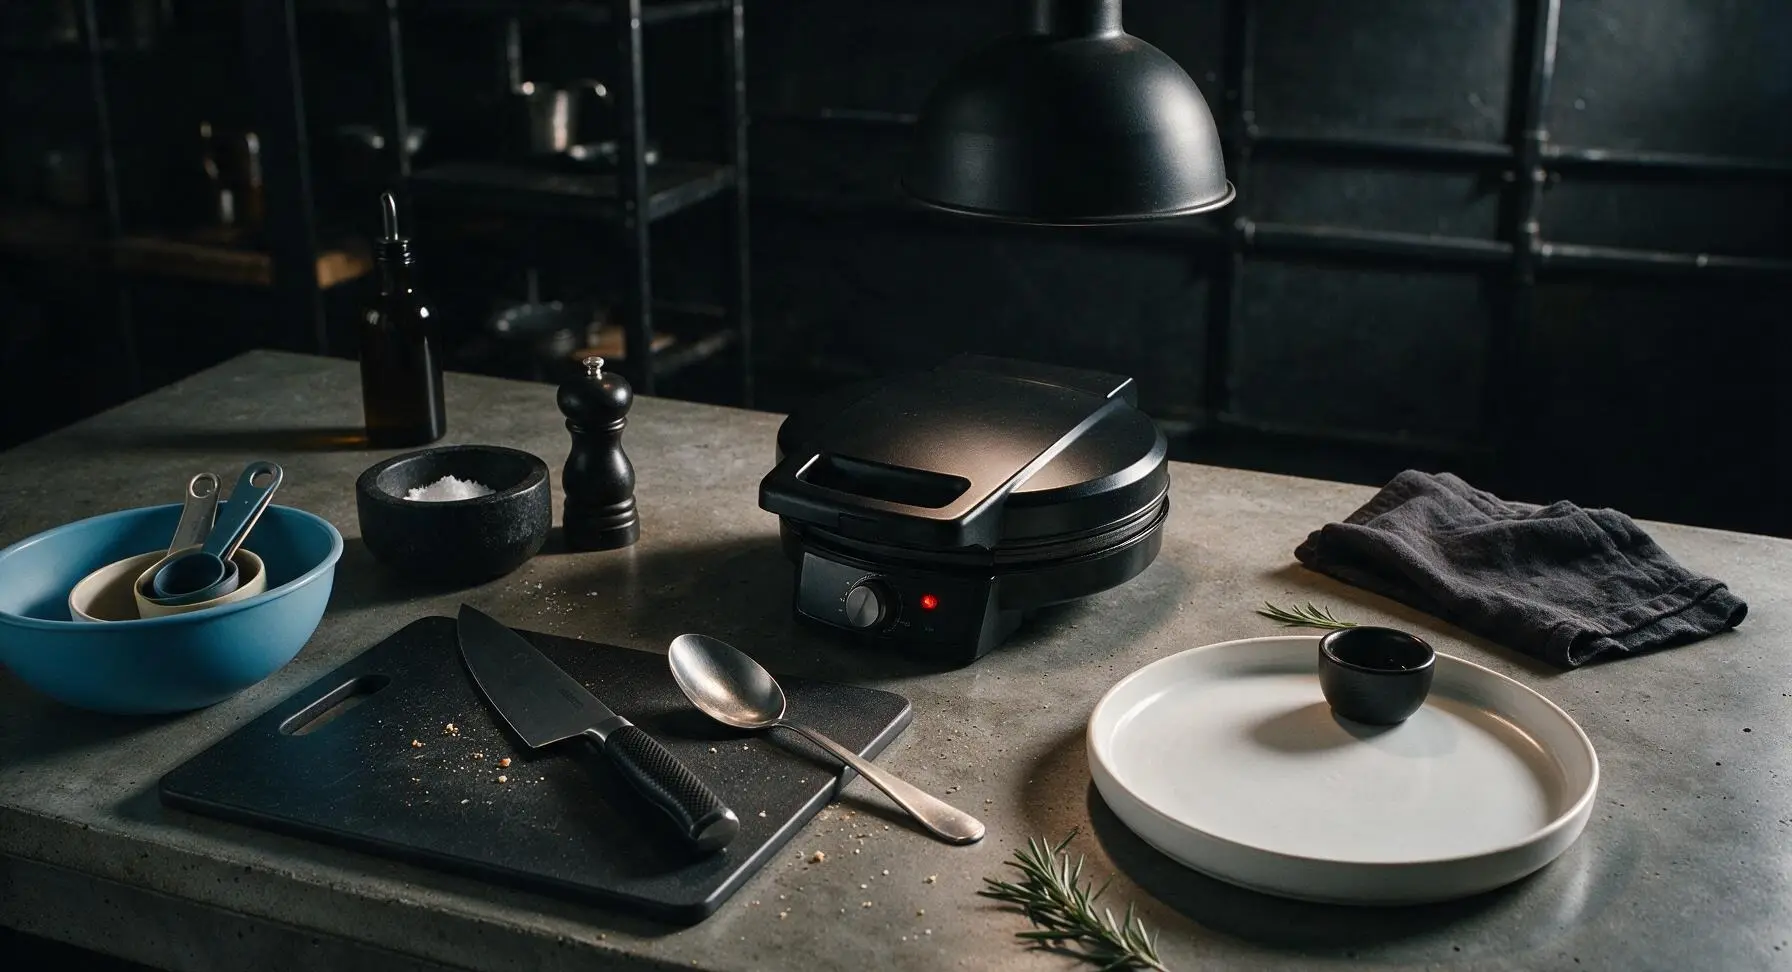
Plug in the matte black electric waffle maker, set the browning dial to medium (level 3 out of 5), and close the lid to preheat for 5 minutes until the ready indicator light illuminates, signaling the plates have reached 375°F (190°C)—the ideal temperature for evenly golden, crisp waffles that don’t stick. Hold off on greasing the plates until right before adding batter.
Mix Dry Ingredients
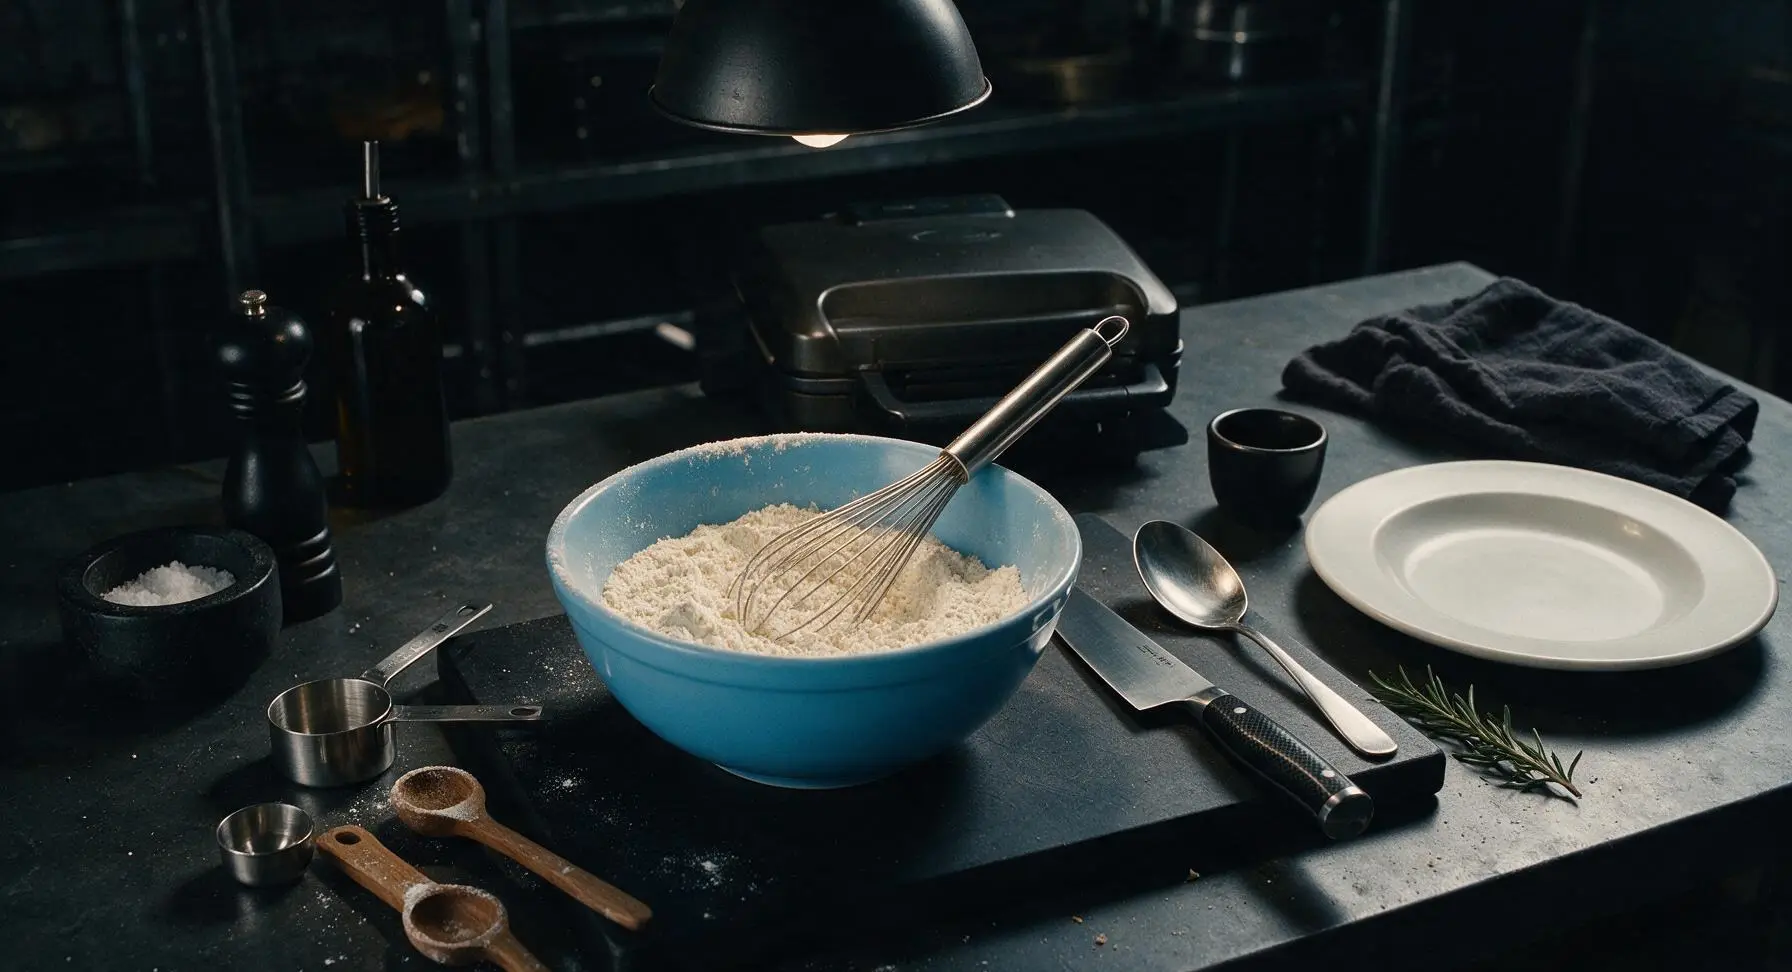
Add 2 cups all-purpose flour, 1 tablespoon baking powder, 1 tablespoon granulated sugar, and 1/2 teaspoon fine salt to the sky-blue ceramic mixing bowl. Use the stainless steel balloon whisk to stir the dry ingredients for 30 seconds, until fully combined with no visible clumps of baking powder, creating a uniform pale off-white powder.
Whisk Wet Yolk Mixture
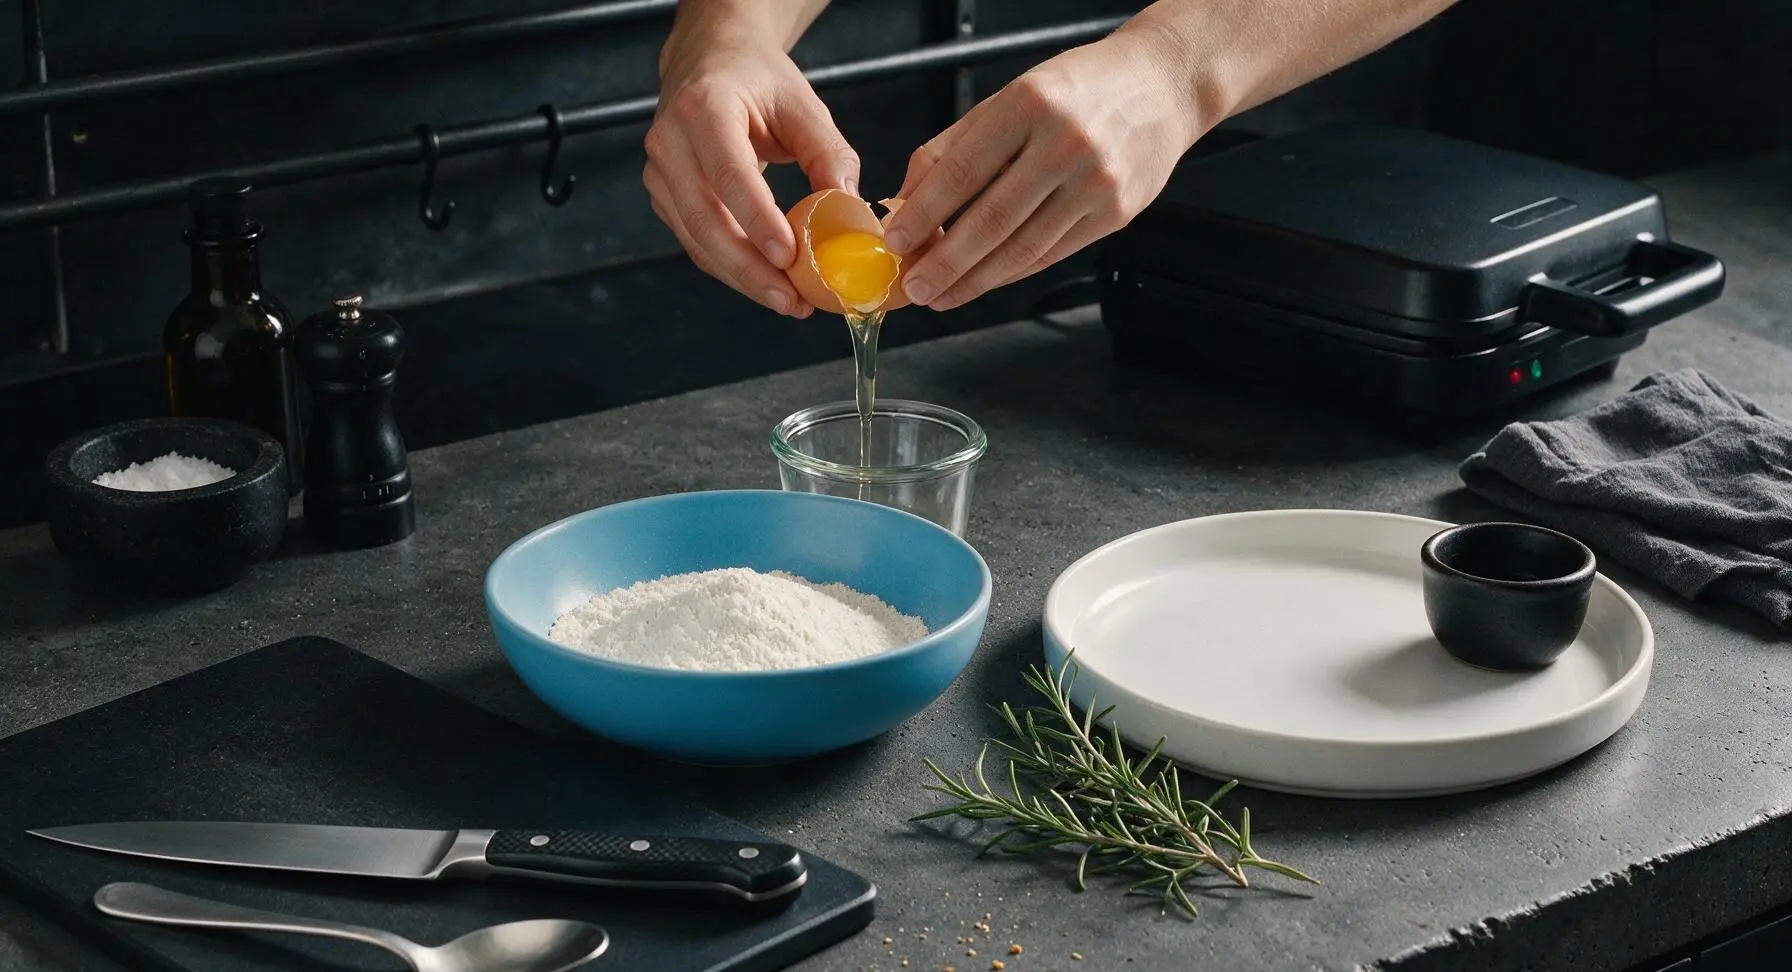
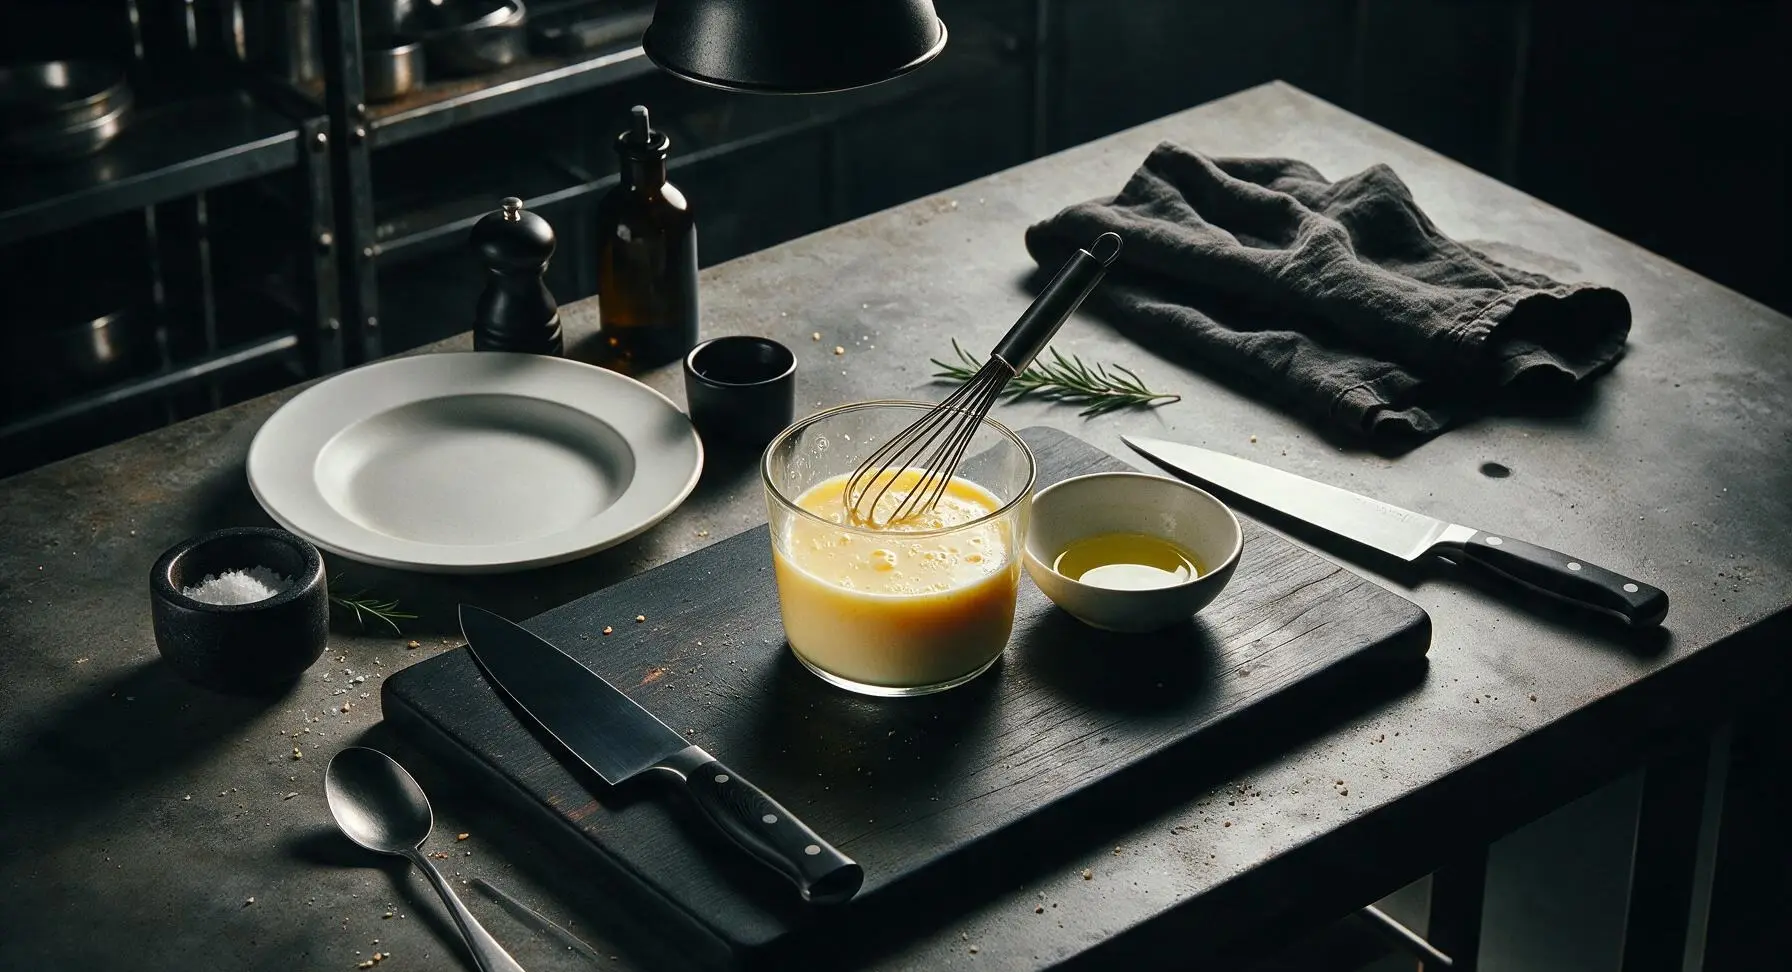
Crack 2 large eggs, carefully separating the yolks into a small glass cup and the whites into a completely clean, dry small bowl (reserve whites for the next step). Add 1 3/4 cups whole milk, 1/3 cup cooled melted unsalted butter, and 1 teaspoon pure vanilla extract to the egg yolks. Whisk gently for 20 seconds until the yolk mixture is smooth, pale golden yellow, with no streaks of unblended yolk or separated butter.
Combine Batter Base
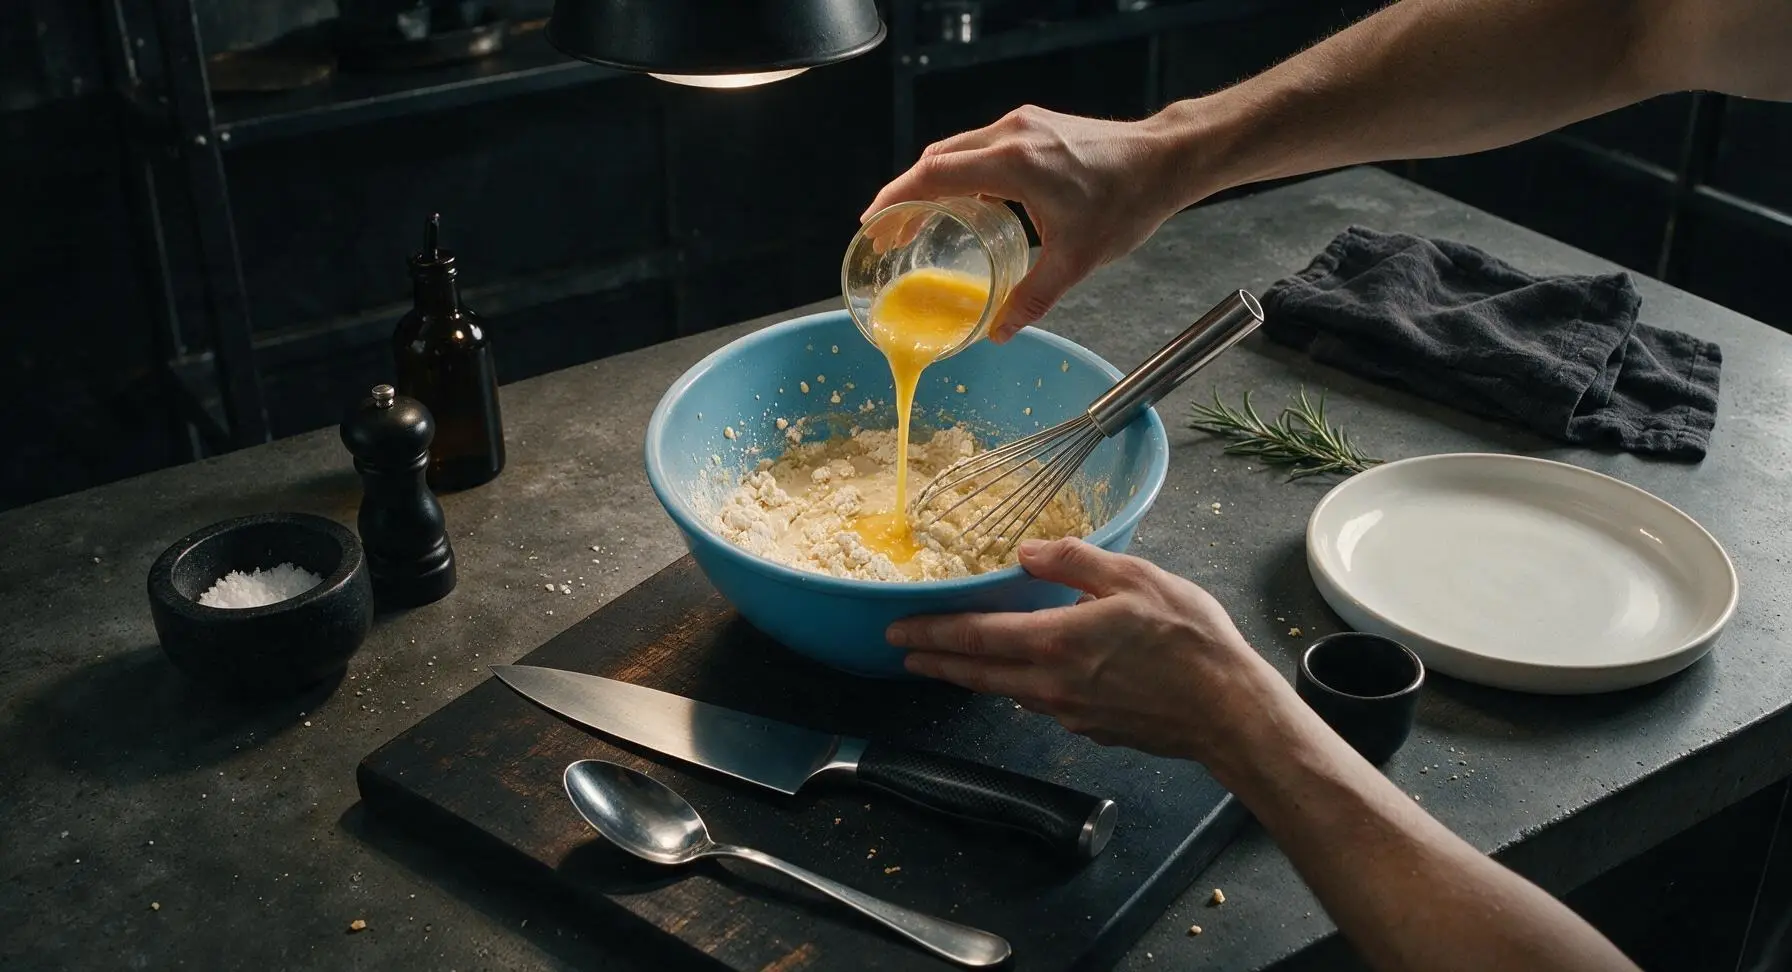
Pour the entire wet yolk mixture into the sky-blue mixing bowl with the dry ingredients. Use the stainless steel whisk to stir the batter in slow, broad strokes, mixing only until no large pockets of dry flour remain. Stop stirring as soon as the batter comes together—small lumps are normal and desirable, as overmixing develops gluten and creates tough, dense waffles.
Whip Egg Whites
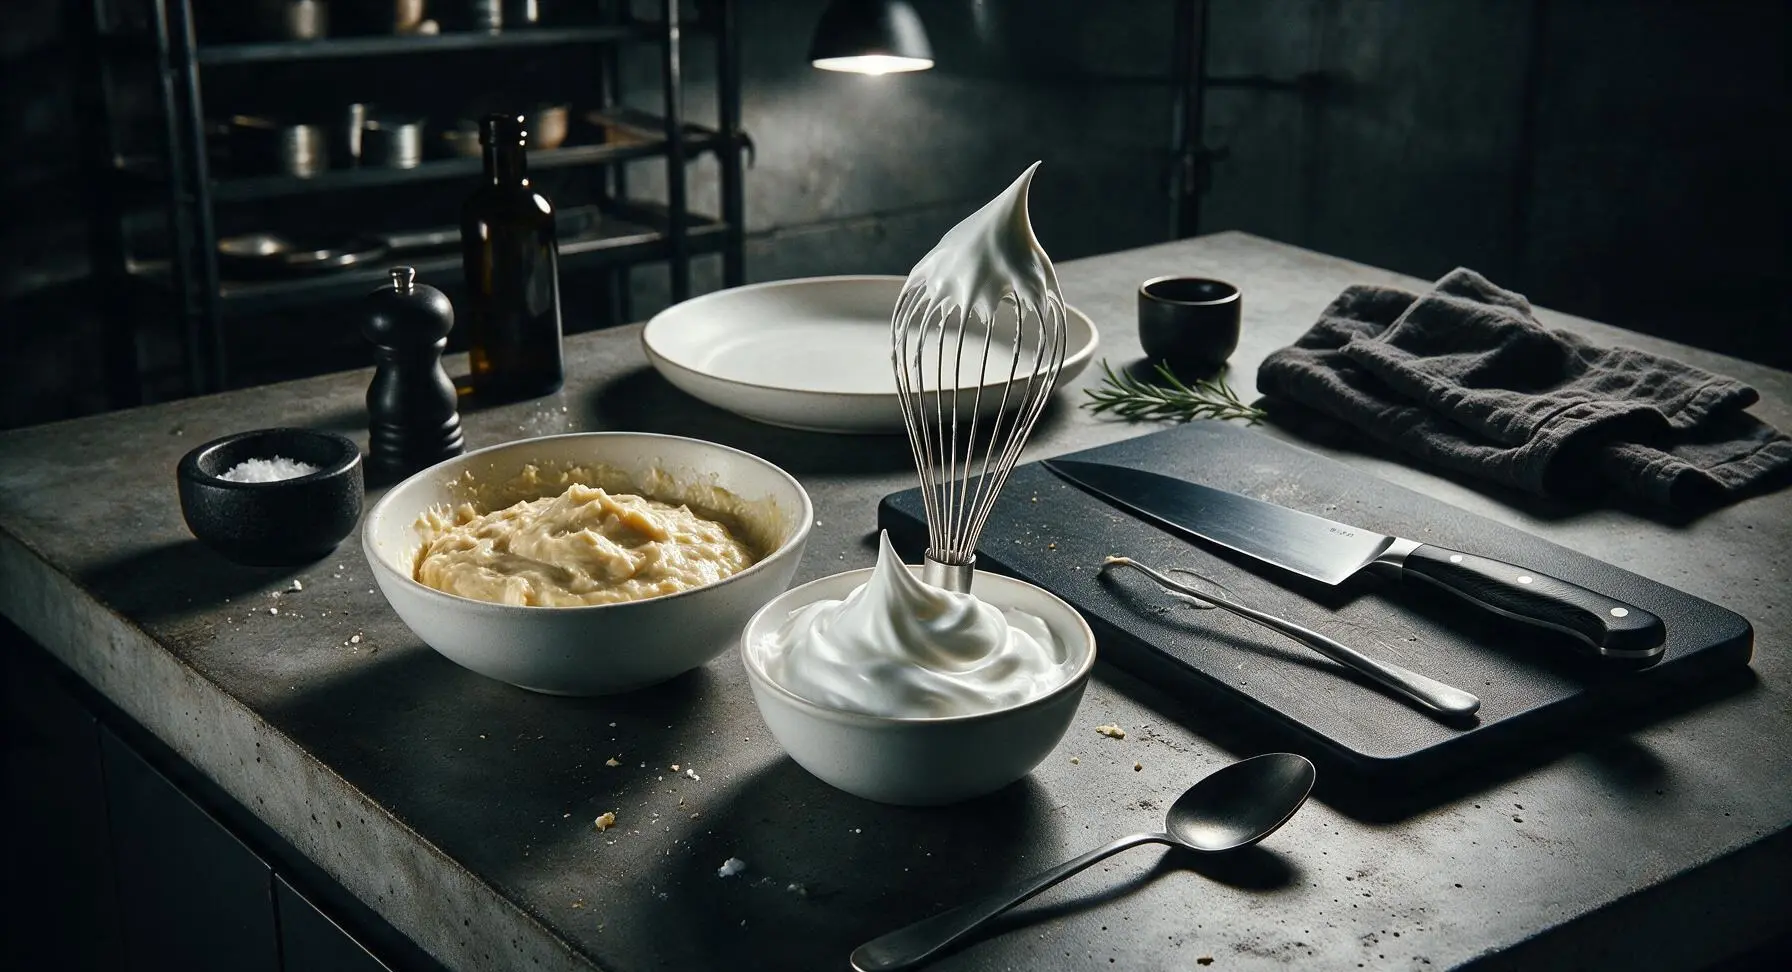
Confirm the whisk and bowl holding the reserved egg whites are completely free of grease (any trace of fat will prevent whites from forming stable peaks). Whisk the egg whites vigorously by hand for 2 minutes, until they form stiff, glossy peaks that hold their shape completely when the whisk is lifted straight up out of the bowl. Stop before whites become dry and crumbly.
Fold Whites Into Batter
Scoop one third of the whipped egg whites into the batter, stirring gently to lighten the thick, heavy base. Add the remaining egg whites, using the matte white silicone spatula to fold them in with slow, cut-and-turn motions, stopping as soon as no large streaks of white egg white remain. The batter will be light, fluffy, and thick, with small faint streaks of white still visible—do not overfold, as this will deflate the air that creates tender, fluffy waffles.
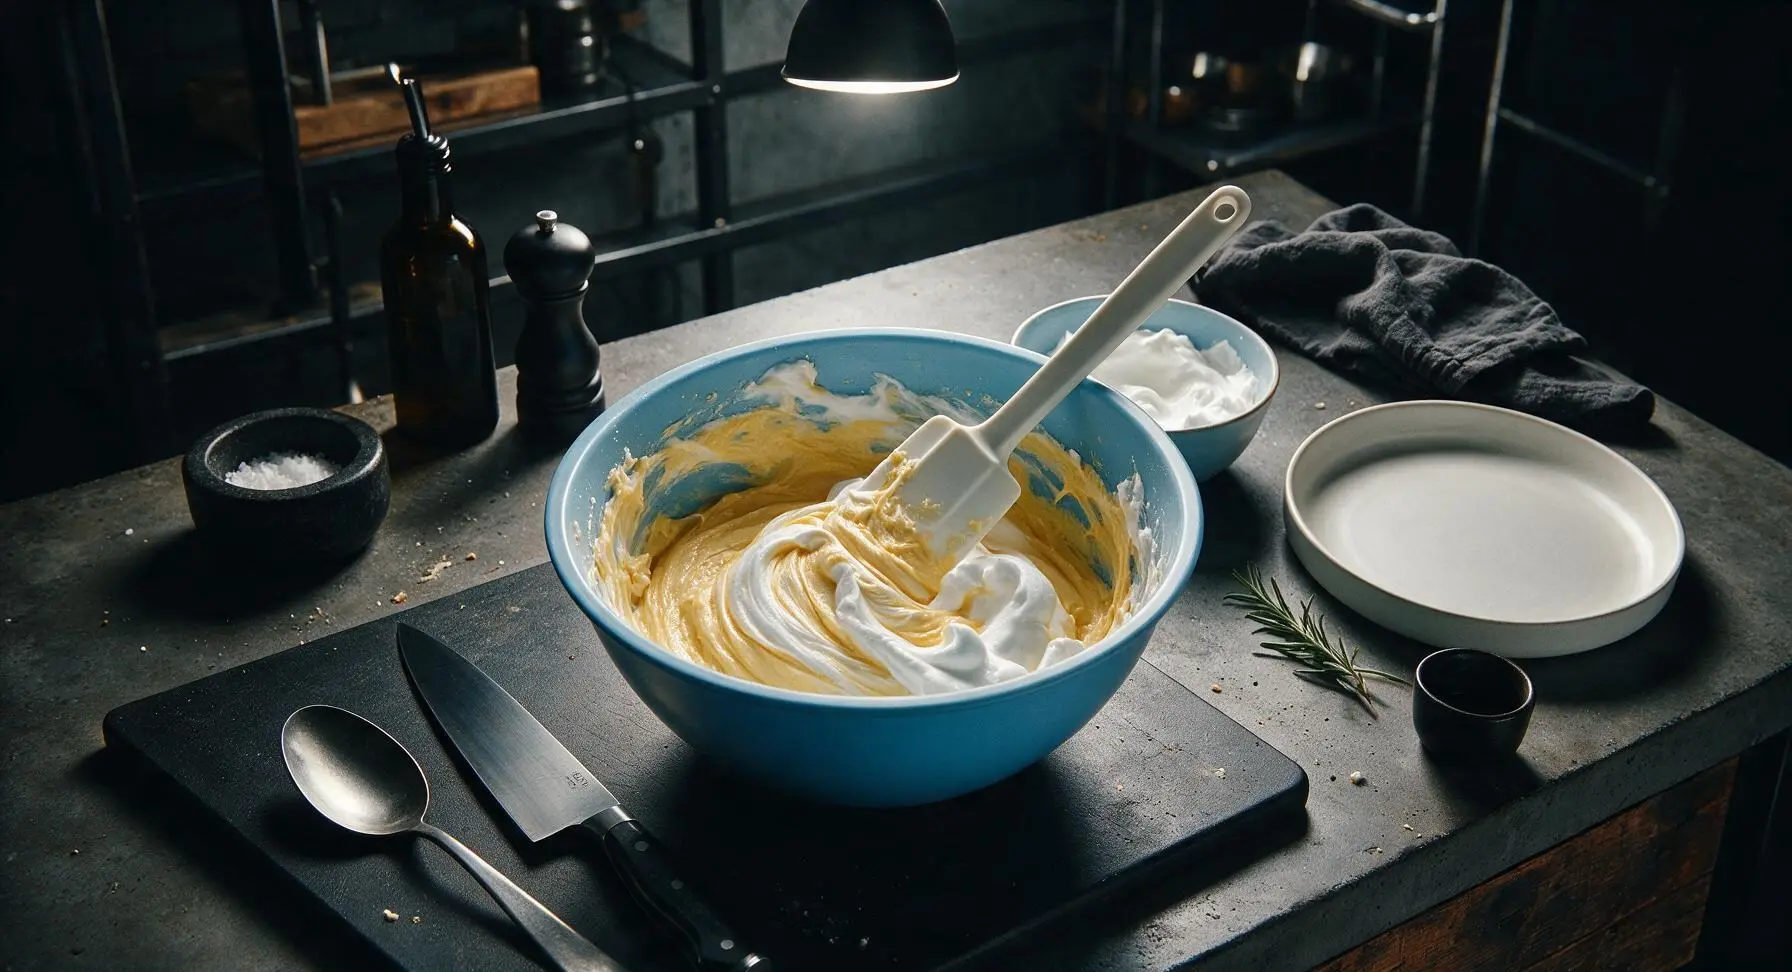
Cook Waffles Until Golden
Give the preheated waffle iron plates a quick 1-second spray of non-stick cooking spray. Ladle 1/2 cup of the fluffy batter onto the exact center of the bottom waffle plate, then close the lid gently (do not press down hard, as this squeezes out batter and creates flat, dense waffles). Cook for 3 to 4 minutes, until steam stops escaping from the waffle iron edges and the waffle is deep golden brown with crisp edges. Use the silicone-tipped tongs to lift the finished waffle out, and transfer it to the chrome wire cooling rack to stay crisp while cooking the remaining batter, making 8 total waffles.
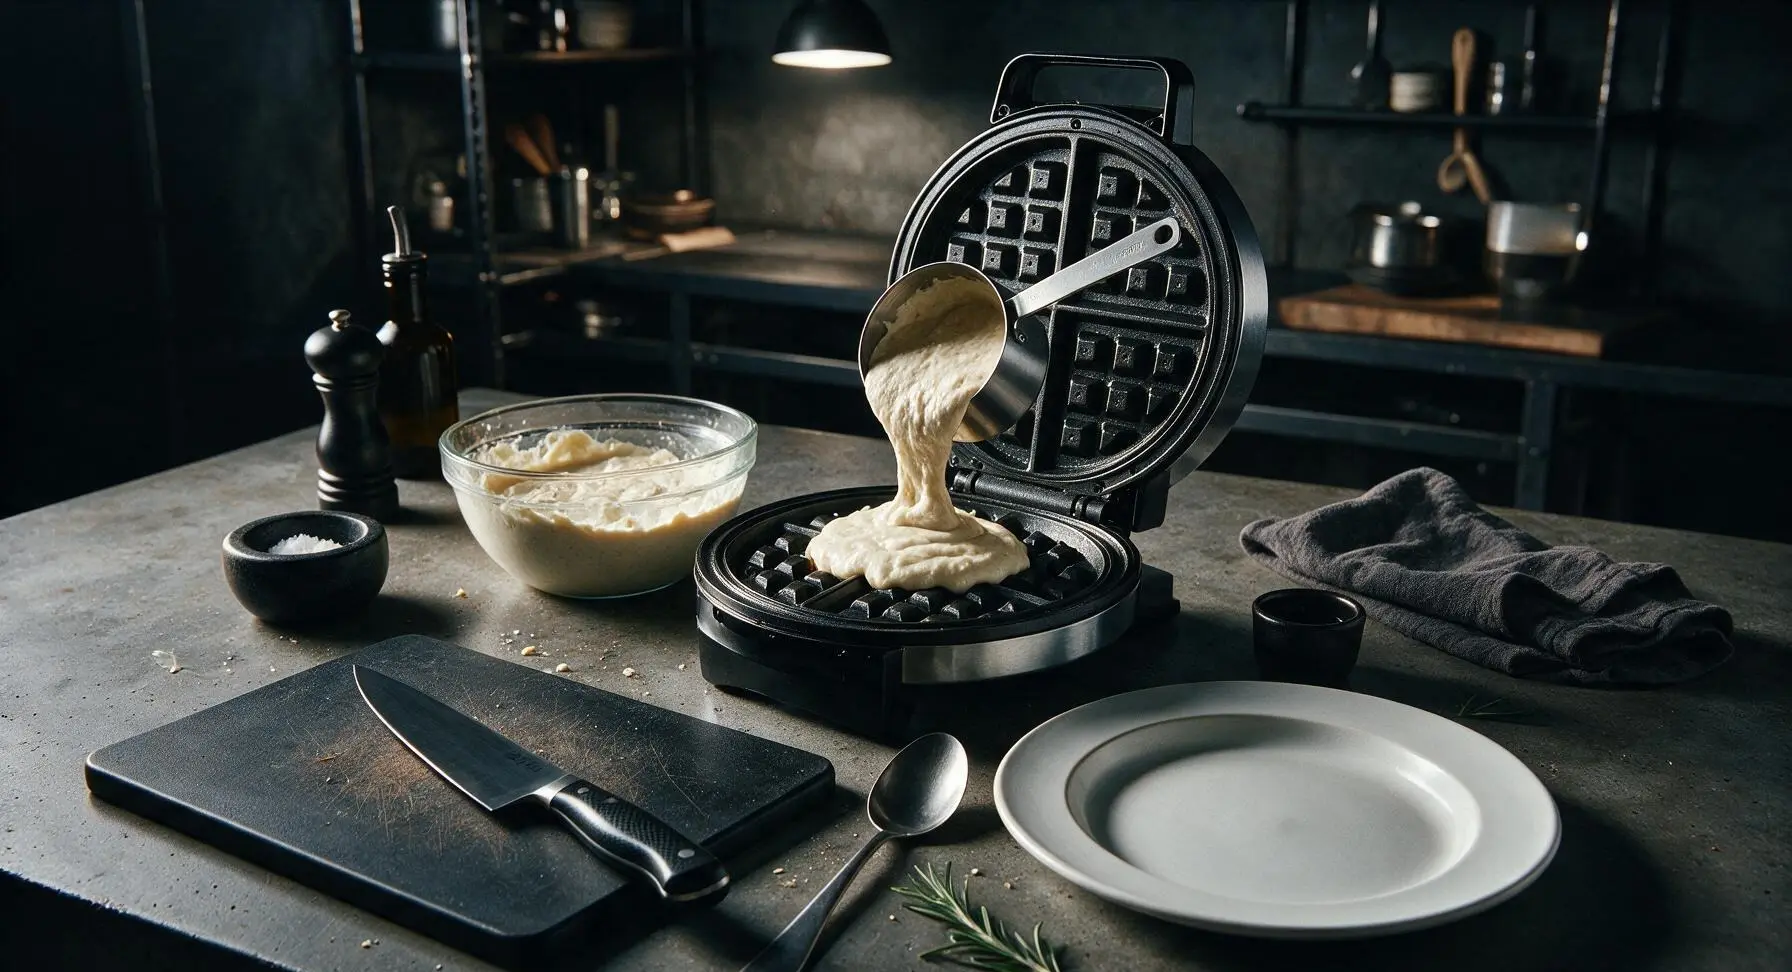
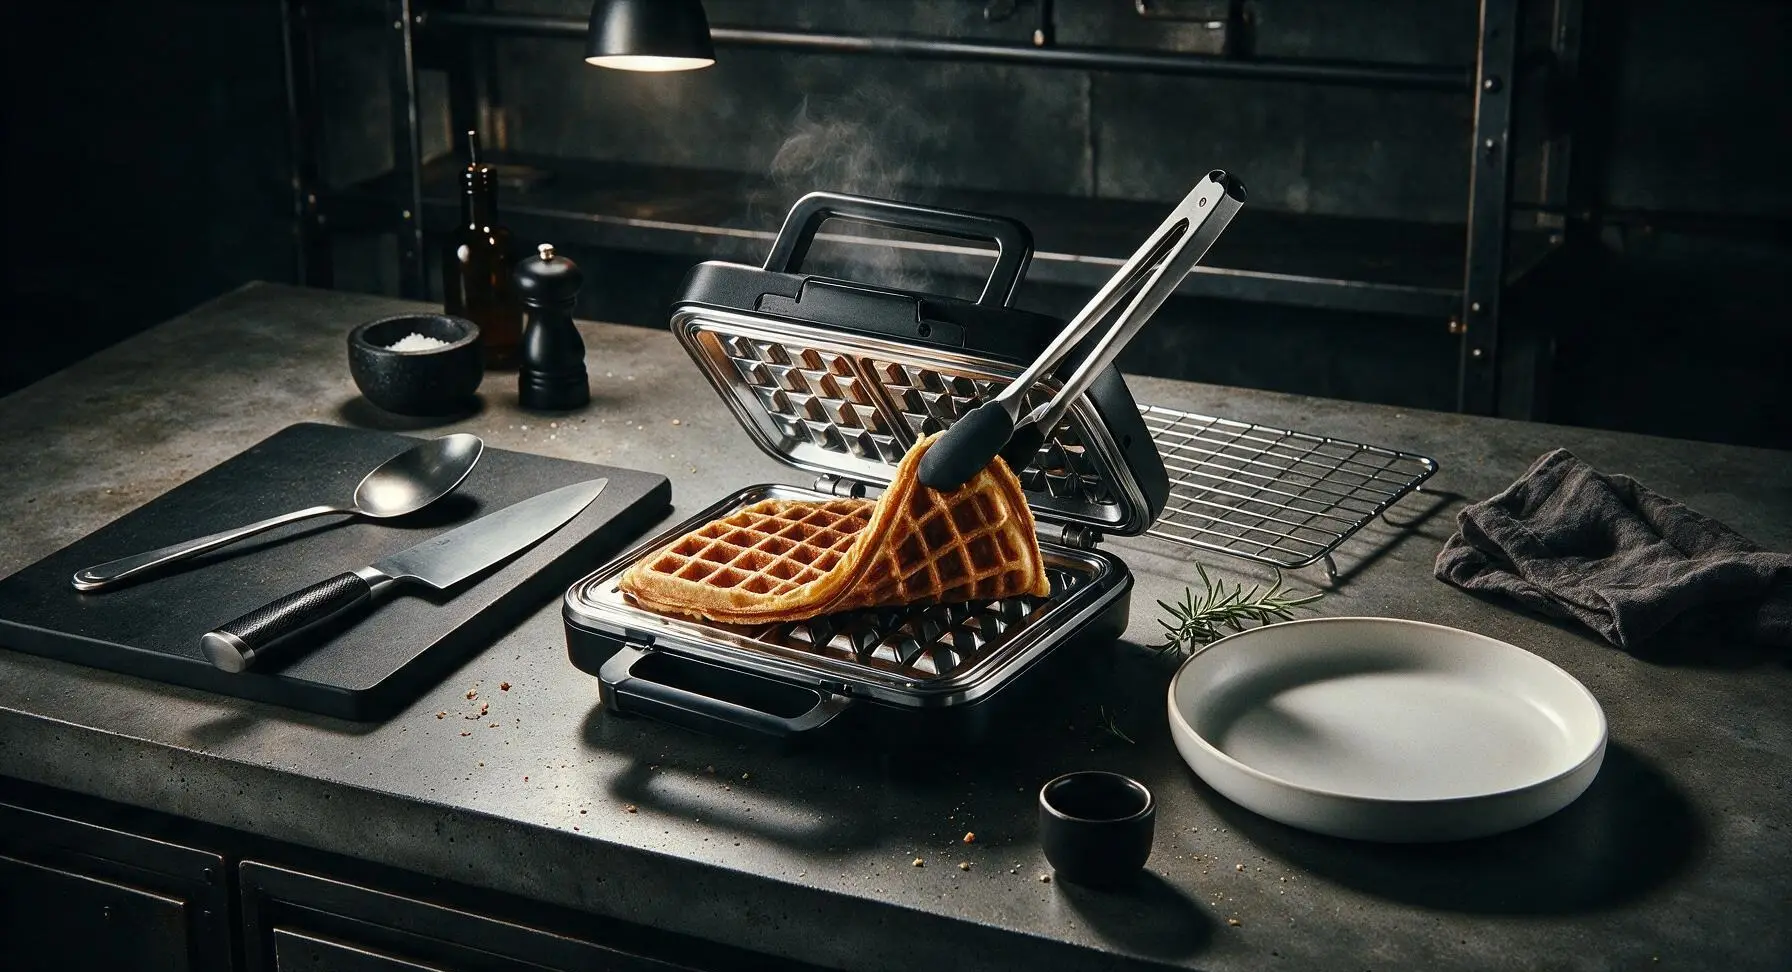
Plate and Serve Hot
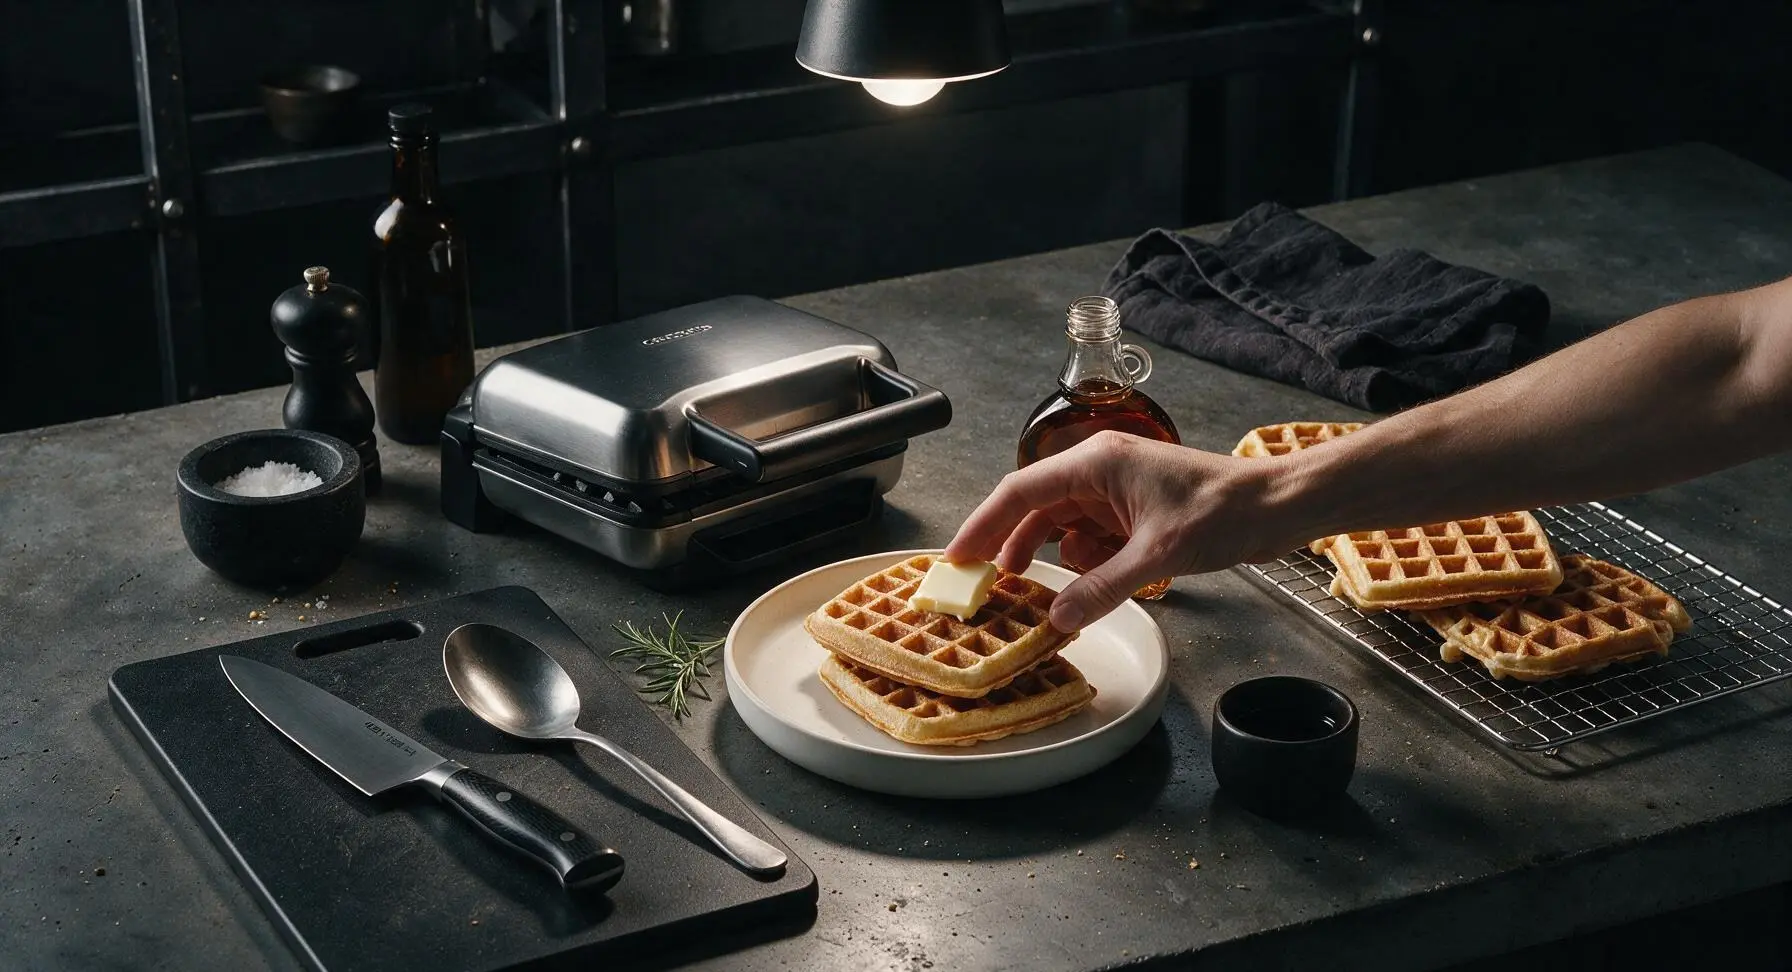
Stack 2 waffles per serving on the top matte cream ceramic dinner plate. Top with a 1-tablespoon pat of salted butter, allowing it to melt slightly into the warm waffle pockets, then drizzle with 2 tablespoons of pure maple syrup. Add fresh sliced strawberries from the wicker basket on the side if desired, and serve immediately while the waffles are hot and crisp.
Tips
2.Keep cooked waffles crisp by resting them on the chrome wire rack in a 200°F (95°C) oven while you cook remaining batches; stacking hot waffles directly on a plate traps steam and turns them soft and soggy within minutes.
3.Make sure your bowl and whisk are completely grease-free before whipping egg whites: even a tiny trace of butter or egg yolk will prevent whites from forming stiff peaks, leading to flat, dense waffles instead of the fluffy texture classic Betty Crocker waffles are known for.






OMG these are SO good! I’ve been messing up waffles for years trying to get that light, fluffy texture that doesn’t get soggy 2 minutes after you pour syrup on it. I used this exact classic Betty Crocker recipe for Sunday brunch last weekend, and my kids devoured a whole double batch before I even got to sit down and eat mine! Total game changer — I’m never going back to boxed mix again. It’s so easy too, even my 10-year-old helped measure ingredients with zero mess.
Such an easy, reliable recipe! I whipped up a batch for weekly meal prep last Sunday, and total cook time was right at 15 minutes like the recipe states. I let the waffles cool fully, then stacked them between parchment paper squares to stash in the freezer. Pop ‘em in the toaster for 2 minutes on weekday mornings and they taste just as fresh as when they came off the iron! I brought an extra batch to my office potluck on Wednesday and three coworkers asked me for the recipe before lunch even ended. Only small tweak I made was adding a dash of cinnamon to the batter, chef’s kiss.
I swapped the all-purpose flour for a 1:1 gluten-free baking blend to make these for my sister who has celiac when she visited last weekend, and they came out perfectly fluffy! I was so worried the texture would be weird or gummy like so many GF waffle recipes I’ve tried, but these were basically indistinguishable from the regular version. We topped them with fresh strawberries and whipped cream for our post-hike breakfast on Saturday, and even my picky teen nephew ate two full waffles. 10/10 will be making these on repeat!