
Bibimbap
intro
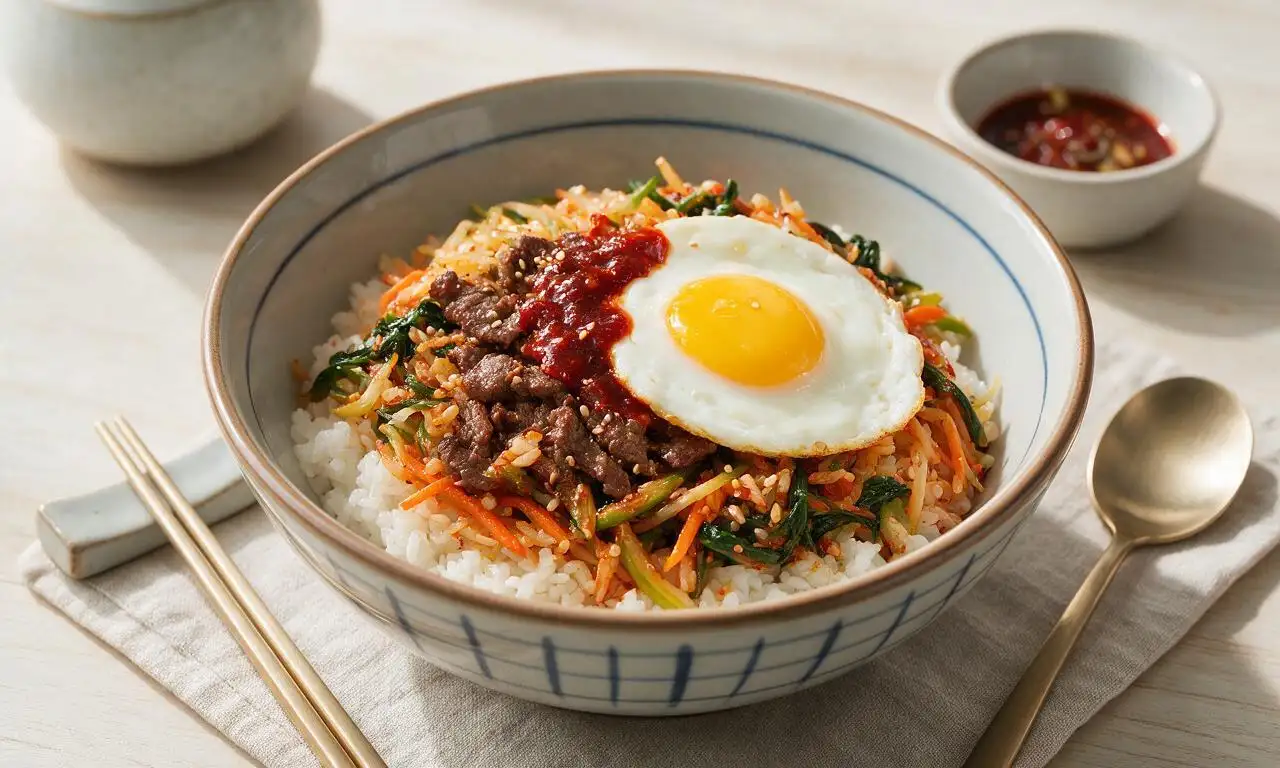
Warm, vibrant Korean rice bowl topped with seasoned vegetables, savory seared beef, runny fried egg, and spicy gochujang sauce, mixed for bold, balanced flavor.
Ingredients
Steps
Cook short-grain rice
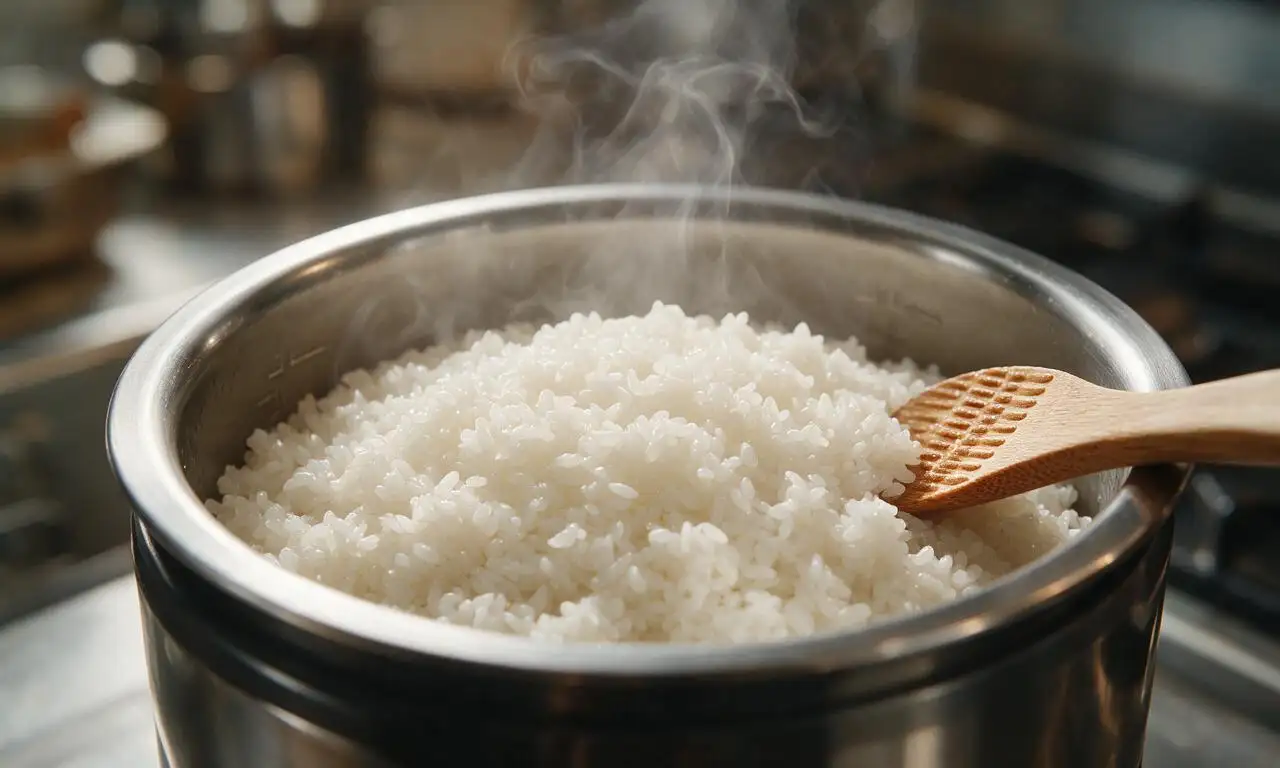
Rinse 320 grams short-grain white rice under cold running water until the water runs completely clear, then drain fully. Add rinsed rice and 480ml cold water to a rice cooker, set to the standard white rice cycle, and cook for 20 minutes until tender and sticky. Keep rice warm until ready to assemble bowls.
Marinate sliced beef
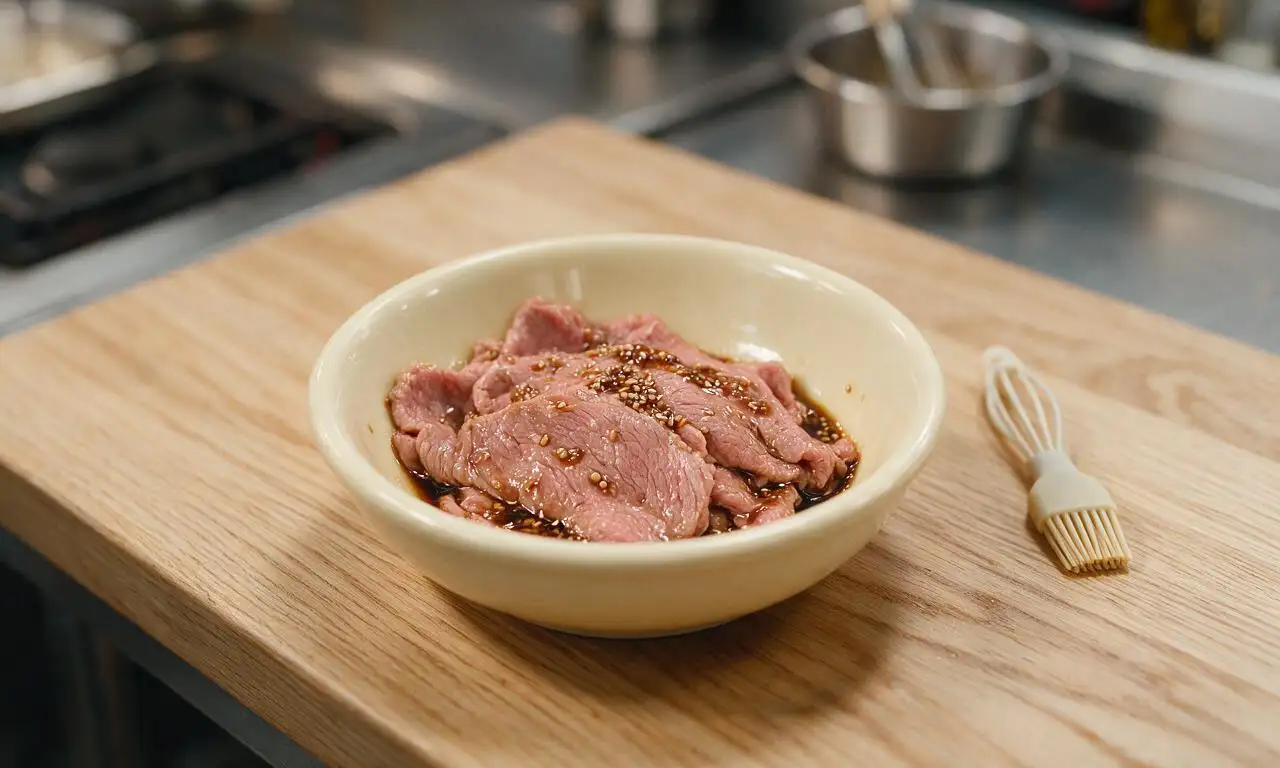
In a small bowl, toss 225 grams thinly sliced beef sirloin with 1 tablespoon soy sauce, 1 teaspoon minced garlic, 1 teaspoon sesame oil, and 1/4 teaspoon kosher salt. Let the beef marinate at room temperature for 15 minutes while you prep and cook vegetables.
Cook seasoned vegetables
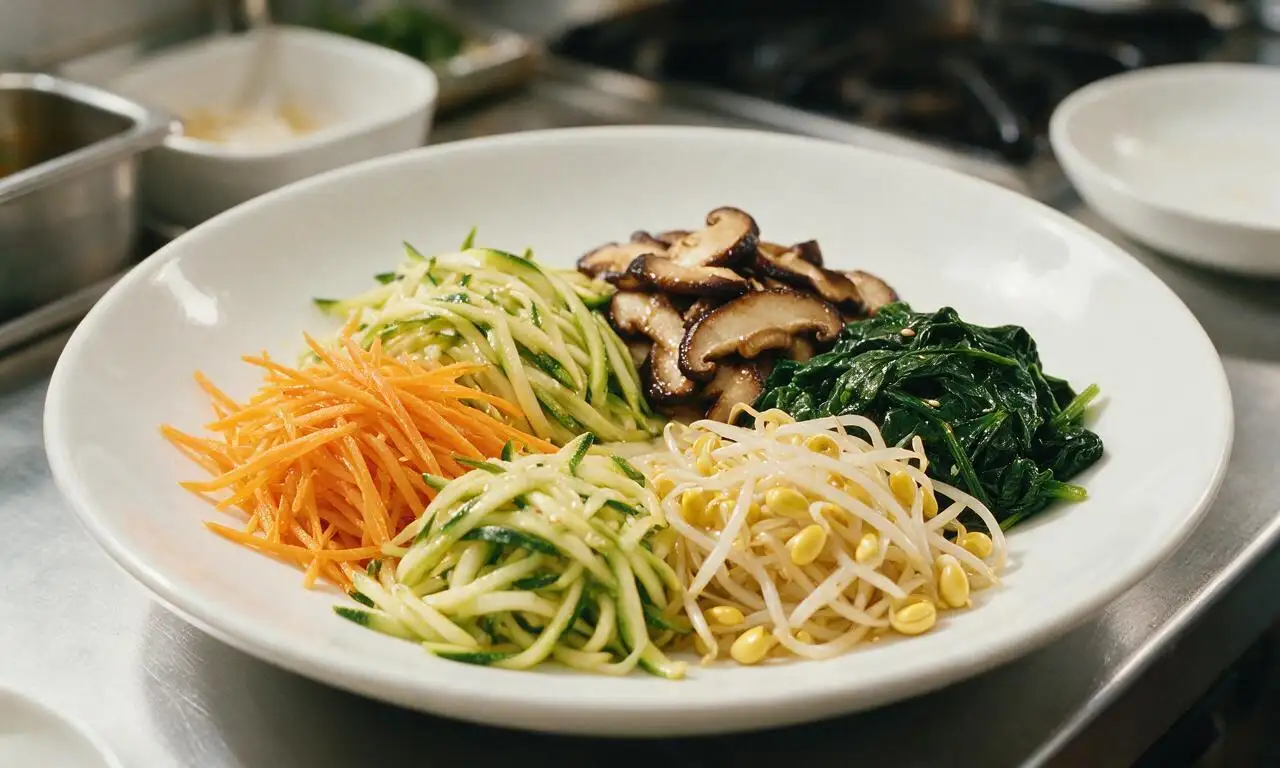
Heat 2 teaspoons vegetable oil in a large skillet over medium heat (350°F/175°C). Working in small batches to avoid crowding the pan: cook julienned carrot for 3 minutes until crisp-tender, season with 1/8 teaspoon salt, set aside; cook julienned zucchini for 2 minutes, season with 1/8 teaspoon salt, set aside; cook sliced shiitake mushrooms for 4 minutes until soft and lightly browned, set aside. Blanch spinach and soybean sprouts in boiling water for 1 minute each, drain and squeeze out all excess water, then toss each with 1 teaspoon sesame oil and a pinch of salt, set aside.
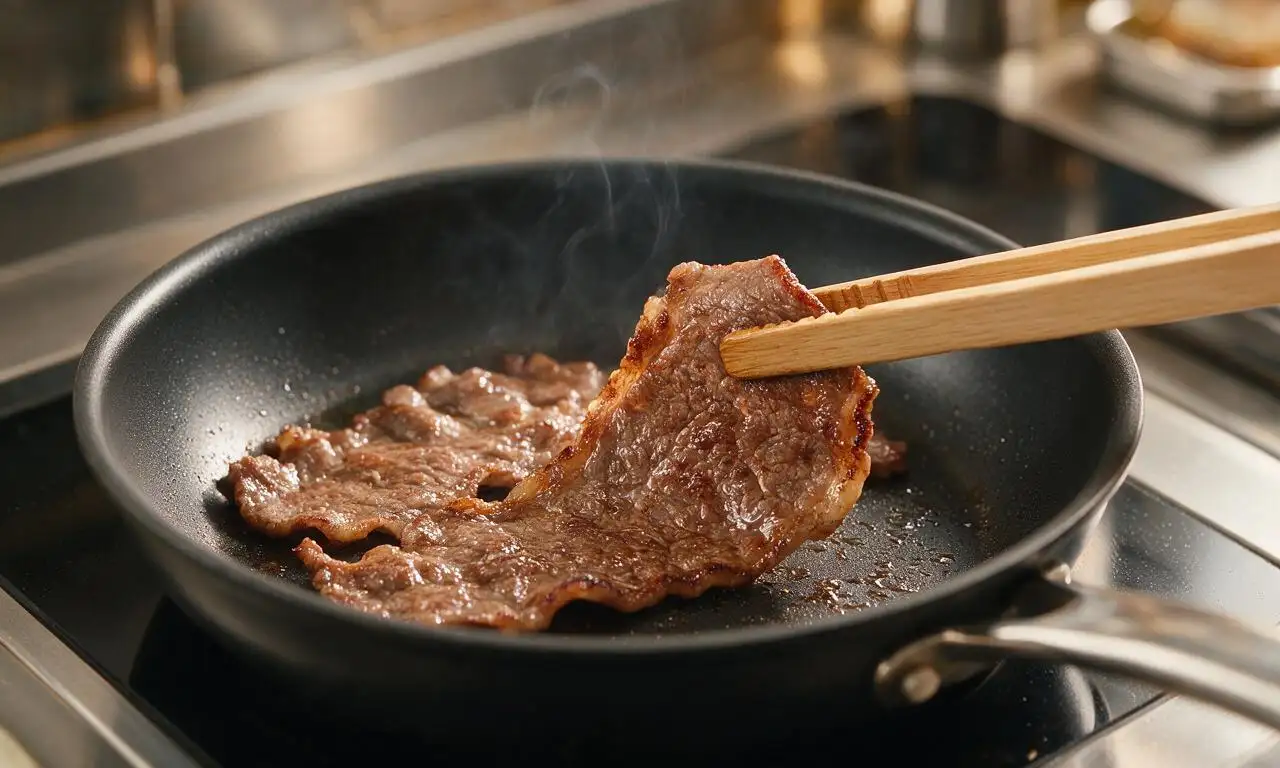
Sear marinated beef
Wipe out the same skillet used for vegetables, heat 1 teaspoon vegetable oil over medium-high heat (400°F/205°C). Add marinated beef in a single layer, cook for 2-3 minutes total, stirring once halfway through, until edges are caramelized and beef is just cooked through with no pink remaining. Transfer seared beef to a small plate and set aside.
Fry sunny-side eggs
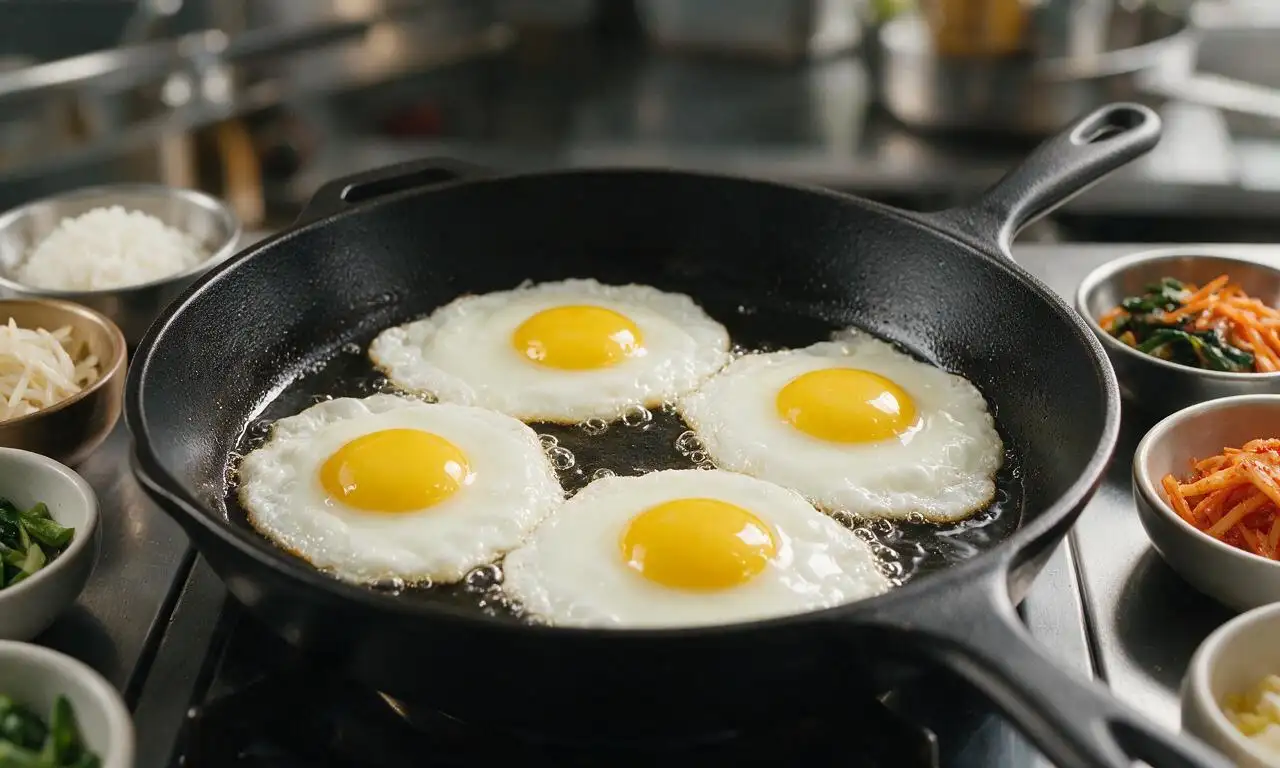
Reduce skillet heat to medium-low (300°F/150°C), add the remaining 3 teaspoons (1 tablespoon) vegetable oil. Crack 4 large eggs into the pan, spacing them 2 inches apart, and cook for 3 minutes until egg whites are fully opaque and set, while yolks remain bright and runny. Lightly season eggs with the remaining 1/4 teaspoon kosher salt.
Make gochujang sauce
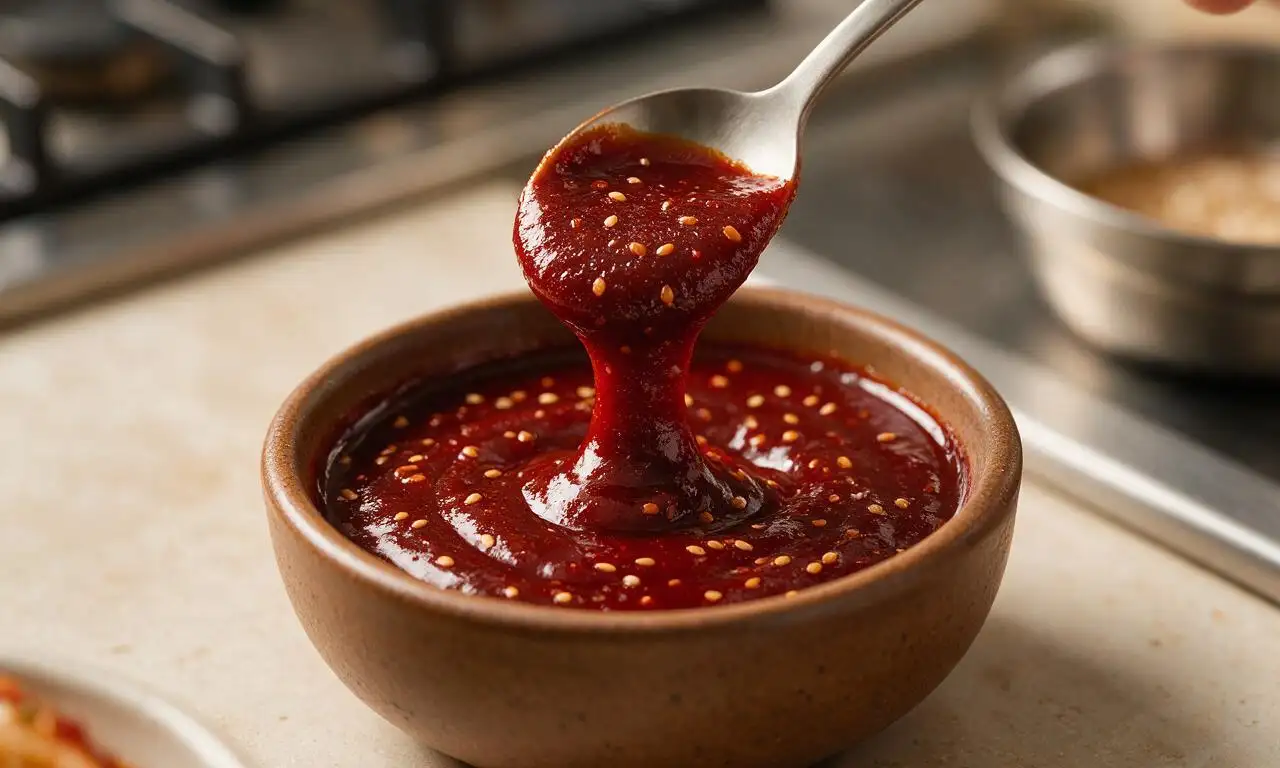
In a small bowl, stir together 4 tablespoons gochujang, remaining 1 tablespoon soy sauce, remaining 2 tablespoons sesame oil, remaining 3 cloves minced garlic, 1 teaspoon granulated sugar, and 1 tablespoon toasted white sesame seeds until completely smooth and evenly combined.
Assemble bibimbap bowls
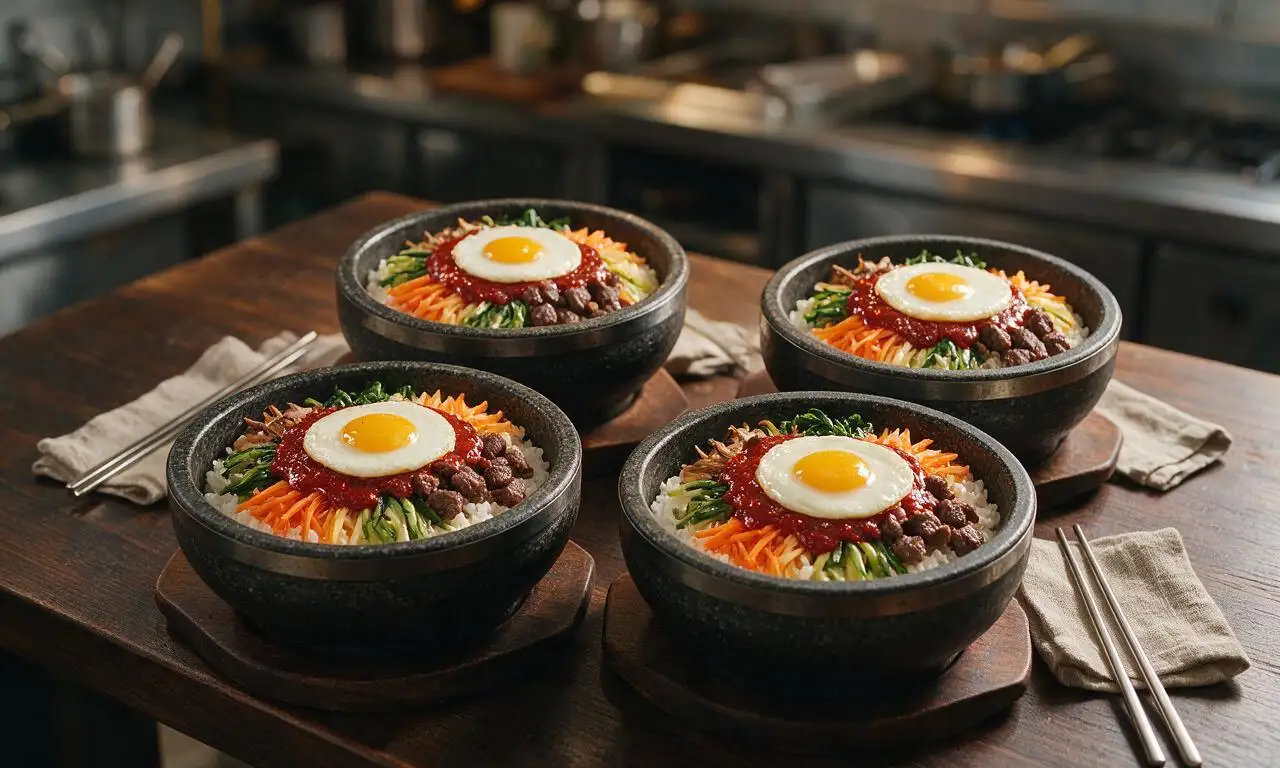
Divide warm cooked rice evenly between 4 deep serving bowls. Arrange neat, separate piles of cooked vegetables and seared beef on top of the rice around the edge of each bowl, place one fried egg in the center of each bowl, and drizzle 2 tablespoons of gochujang sauce over the top. Serve immediately, letting diners mix all components thoroughly together before eating.
Tips
2.For a classic dolsot (stone pot) bibimbap experience, preheat a coated stone bowl over low heat for 3 minutes, add rice and toppings, and cook 5 minutes to create a crispy, golden rice crust at the bottom.
3.Customize toppings to match what you have on hand: swap beef for marinated tofu, shrimp, or bulgogi chicken, and add veggies like bell peppers, pickled daikon, or kimchi for extra tang and flavor.






OMG this bibimbap recipe is SO good!!! I’ve been intimidated to make it at home for years because I thought it’d be super complicated, but 40 minutes total? No way. My kids devoured every bite, even my picky 7 year old who hates veggies asked for seconds. Total game changer for weeknight family dinners!
Made this for my roommates last night for our weekly potluck and everyone was raving! The veggies came out so crisp-tender, the gochujang sauce is chef’s kiss. I used leftover rice from the fridge which made it come together even faster, 10/10 will make again.
Super easy recipe, but I wish it had a little more guidance on how to get the crispy rice at the bottom of the pot! Mine came out a little mushy even though I used day old rice. Flavor was still great though, will try again with higher heat next time.
Meal prepped this for my work lunches this week and it held up perfectly! I kept the sauce separate and just tossed it on when I was ready to eat, didn’t get soggy at all. Way better than the takeout bibimbap I used to order that cost $15 a bowl, saved so much money!
Wait, can I make this without the beef? I’m vegetarian and was wondering if tofu would be a good swap? Don’t want to mess up the flavor balance!
Made this for date night last night and my partner said it was better than the bibimbap we had at the Korean restaurant downtown for our anniversary last month. Win! I added a fried egg on top like the recipe said, runny yolk for the win.
As a dad who can barely cook scrambled eggs without burning them, I was shocked how easy this was to pull off! The instructions were super straightforward, no fancy ingredients required. My whole family cleaned their plates, will be adding this to our regular weeknight rotation.
I’ve been wanting to make bibimbap forever after seeing my favorite idols eat it on variety shows, and this recipe did NOT disappoint! It tasted exactly like what I’ve gotten at K-town restaurants in the city, I was screaming. I added extra kimchi on top because I’m obsessed.
Brought this to my neighborhood block party potluck last weekend and people were coming up to me asking for the recipe all night! I made a big batch in a sheet pan to serve a crowd and it worked perfectly. 10/10, will be making for every potluck from now on.
Took me a little longer than 40 minutes because I prepped all the veggies separately, but it was still totally worth it. The sauce is so good I’ve been putting it on other bowls all week too—roasted veggies, grain bowls, even on eggs in the morning. Obsessed.
My granddaughter has been begging me to make bibimbap after she tried it at a friend’s house, and this recipe was so easy to follow even at my age! We had the best time cooking it together last Sunday, it’s going to be our new special tradition.
Super budget friendly recipe for us broke college kids! I used frozen mixed veggies instead of fresh to save money and time, and it still slapped. Spent like $8 total for 4 servings, way better than eating ramen for the third night in a row lmao.
Really solid base recipe! I added sautéed shiitake mushrooms, spinach, bean sprouts, and shredded carrot like the recipe said, but also tossed in some pickled radish for extra tang. The flavor balance was spot on, not too spicy, not too bland. Great easy weeknight meal.
Made this after a long day hike last weekend and it was the perfect post-hike meal! Hearty, packed with veggies and protein, didn’t leave me feeling heavy like takeout usually does. I added a little extra sesame oil for nuttiness, chef’s kiss.
First meal I made for my husband after we got back from our honeymoon, and he said it’s the best thing I’ve ever cooked! We had bibimbap on our trip to Seoul and he said this tasted exactly like the street food we had there. Win for wife points fr.
I doubled the gochujang in the sauce because I love super spicy food, and it was perfect! If you’re a heat wimp though, start with half the amount the recipe says and add more to taste, don’t dump the whole thing in unless you want to sweat through dinner lmao.
Wait, can I prep all the veggies ahead of time on Sunday so I can throw this together in 10 minutes on weeknights? My schedule is so chaotic after work, any make-ahead tips would be amazing.
So glad this recipe is easy to make gluten free! I swapped the regular soy sauce for tamari and it didn’t change the flavor at all, my whole family (even the non-gluten free folks) loved it. Finally a bibimbap recipe I don’t have to modify half the ingredients for!