
Seolleongtang
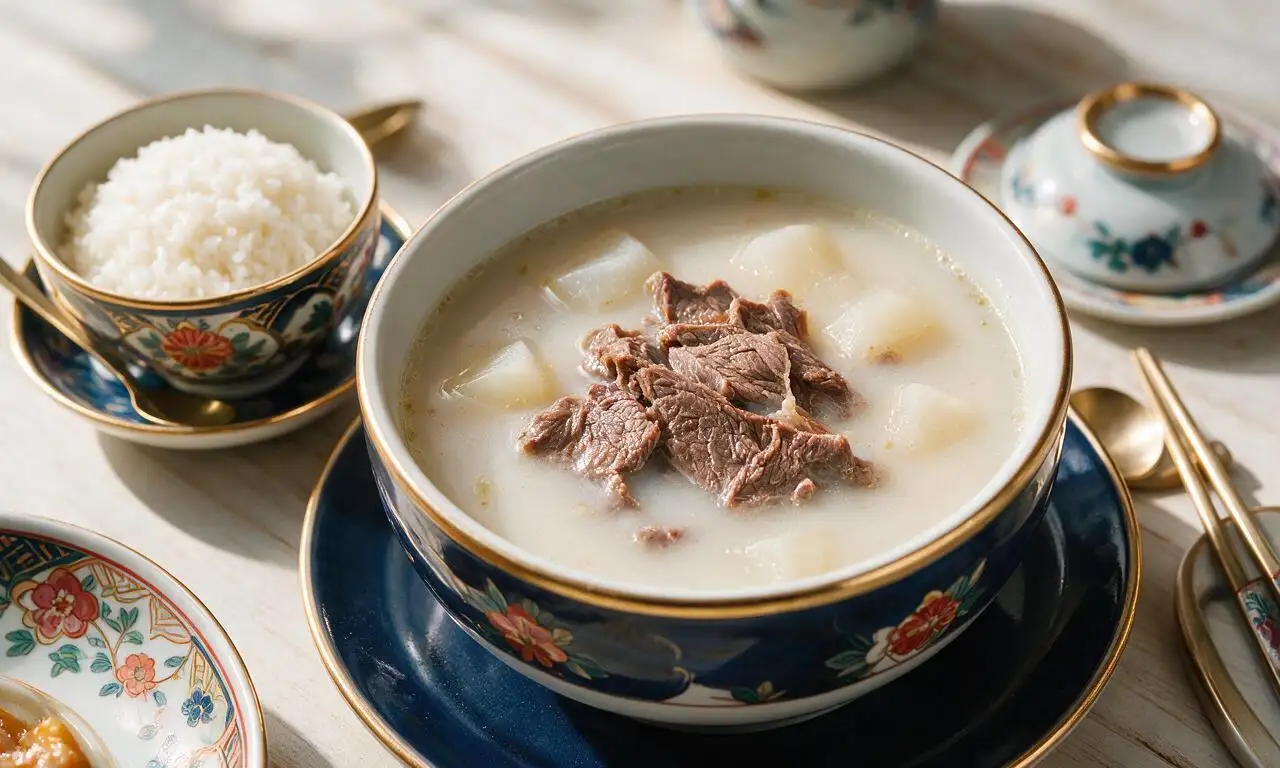
intro
A rich, milky slow-simmered Korean ox bone soup, served with tender beef, radish, and rice for a deeply nourishing, cold-weather comfort meal.
Ingredients
Steps
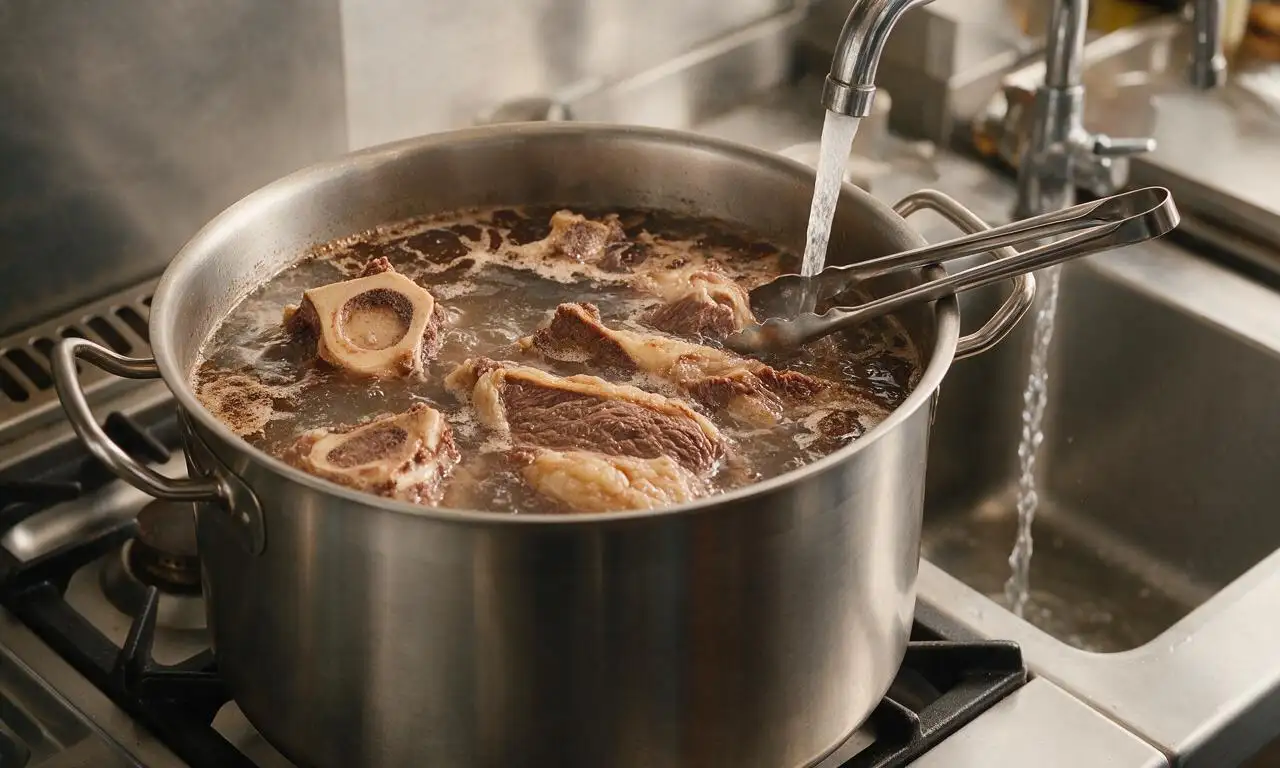
Blanch bones and brisket
Place 1.8kg ox leg bones and 450g whole beef brisket in a large 8L stock pot, cover completely with 2L cold water (for blanching, discarded later), bring to a rolling boil over high heat (approximately 15 minutes). Boil uncovered for 10 minutes to draw out residual blood and impurities, then drain all water completely. Rinse the bones, brisket, and empty pot thoroughly under cold running water to remove all dark scum residue, ensuring no gritty dark bits remain on ingredients or pot surfaces.
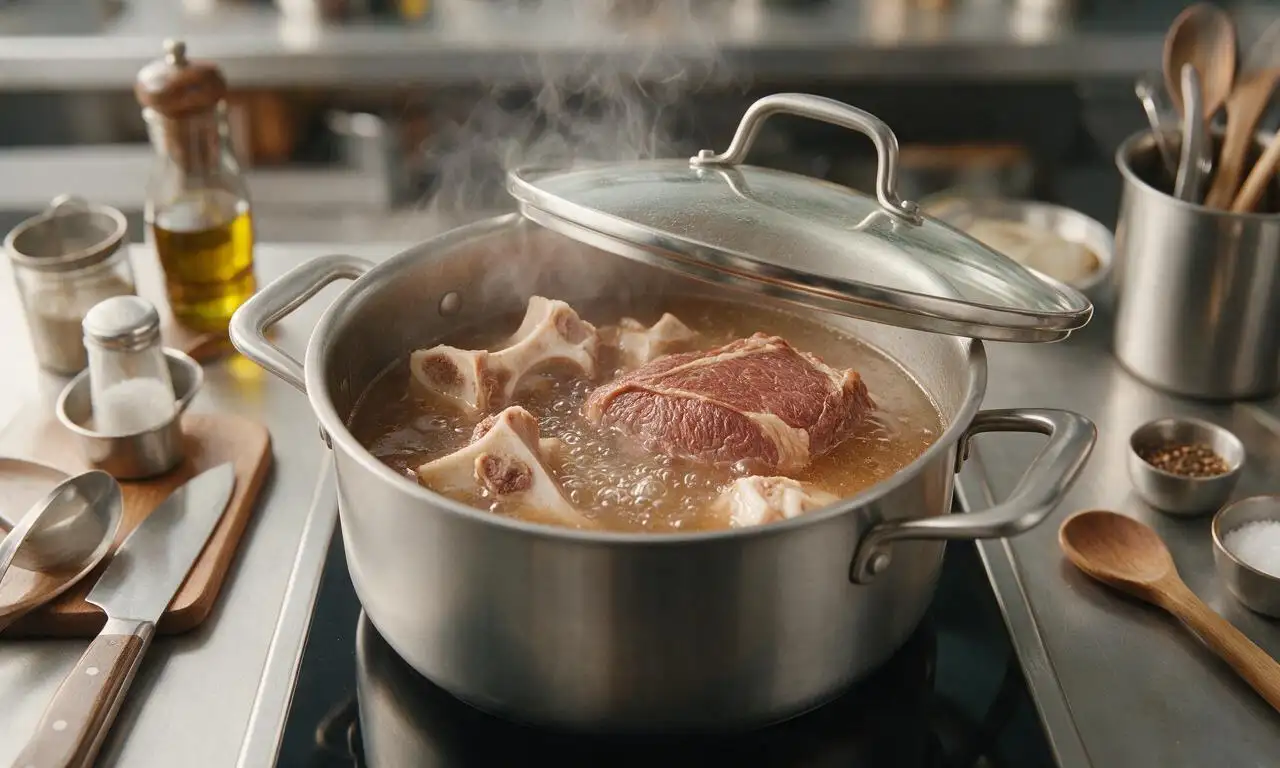
Start initial slow simmer
Return the thoroughly cleaned bones and brisket to the scrubbed stock pot, pour in 4L of cold fresh water. Set heat to medium-high to bring the water to a gentle boil (approximately 12 minutes), then immediately turn heat to the lowest stovetop setting to maintain a soft, constant simmer (no violent rolling bubbles). Cover the pot partially with a lid, leaving a 2cm gap for steam to escape, and simmer for 3 full hours. Check the pot every 30 minutes, topping up with 120ml (1/2 cup) hot water if the liquid level drops below the top of the bones.
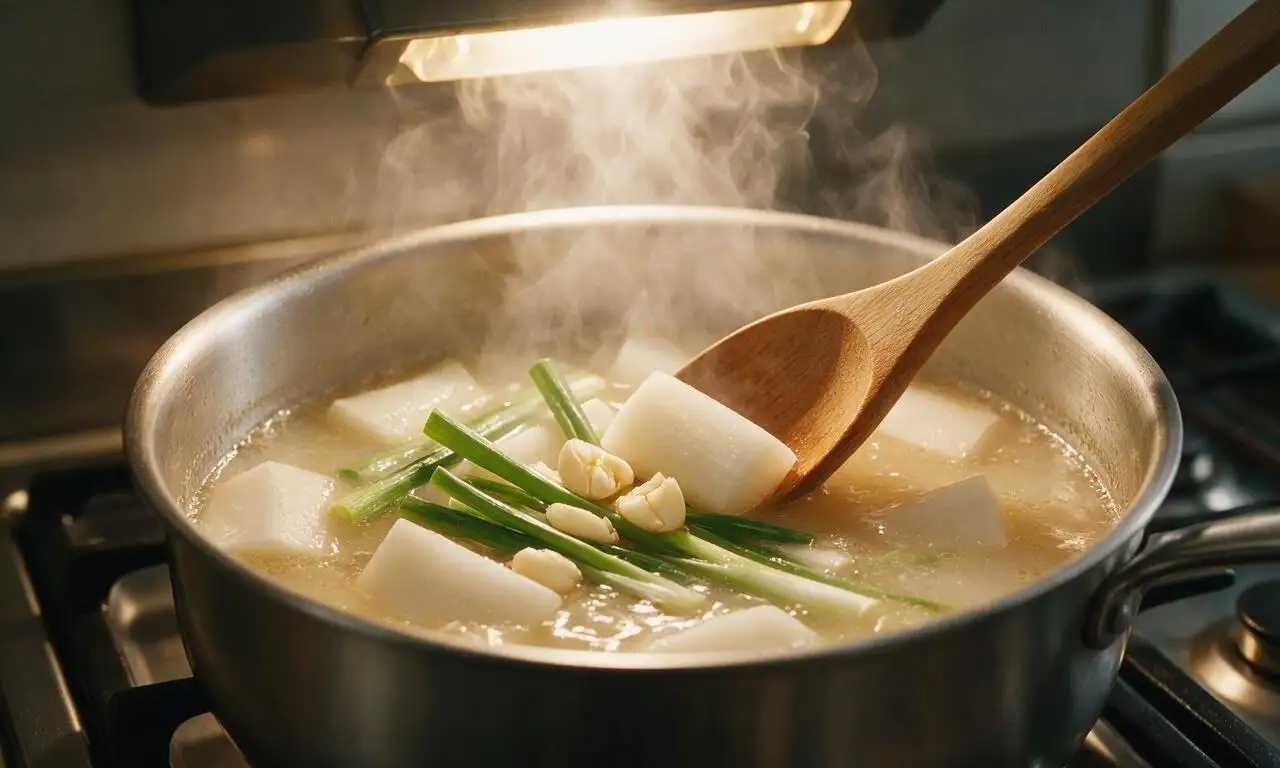
Add radish and aromatics
After 3 hours of initial simmering, cut the peeled white radish into 8cm chunks and add to the pot, along with 8 lightly crushed whole garlic cloves and 4 whole green onions. Keep heat on the lowest setting to maintain the soft simmer, keep the lid partially cracked, and cook for an additional 2.5 hours. Avoid aggressive stirring, which can cloud the broth; gently push floating ingredients under the liquid surface with a ladle as needed.
Remove and slice solids
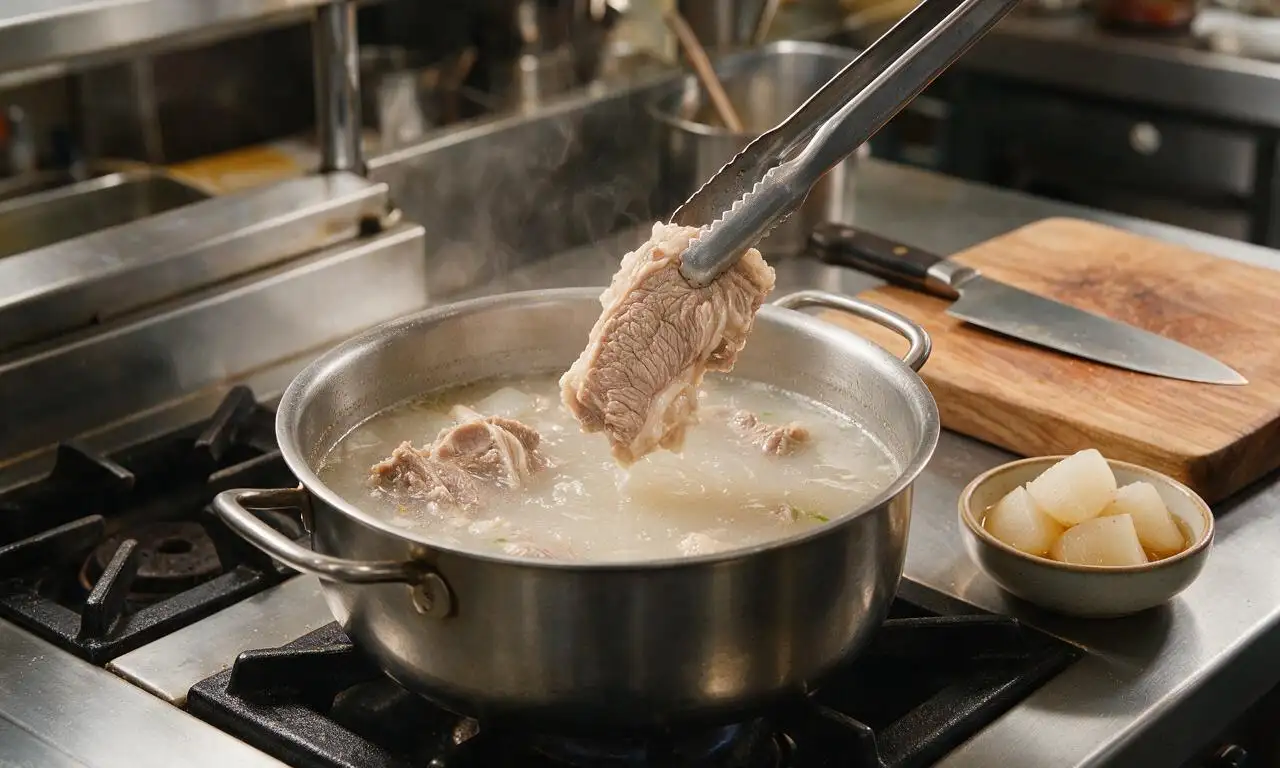
After 5.5 total hours of simmering, use tongs to carefully lift the brisket, radish chunks, green onions, and garlic from the pot. Discard the mushy, overcooked green onions and garlic. Transfer the brisket to a wooden cutting board to rest for 10 minutes, then slice it thinly against the grain into 0.5cm thick pieces. Slice the cooked radish into 1cm thick bite-sized pieces. Leave the bones in the broth, and continue simmering on low heat for 30 more minutes to deepen the milky broth color.
Strain and season broth
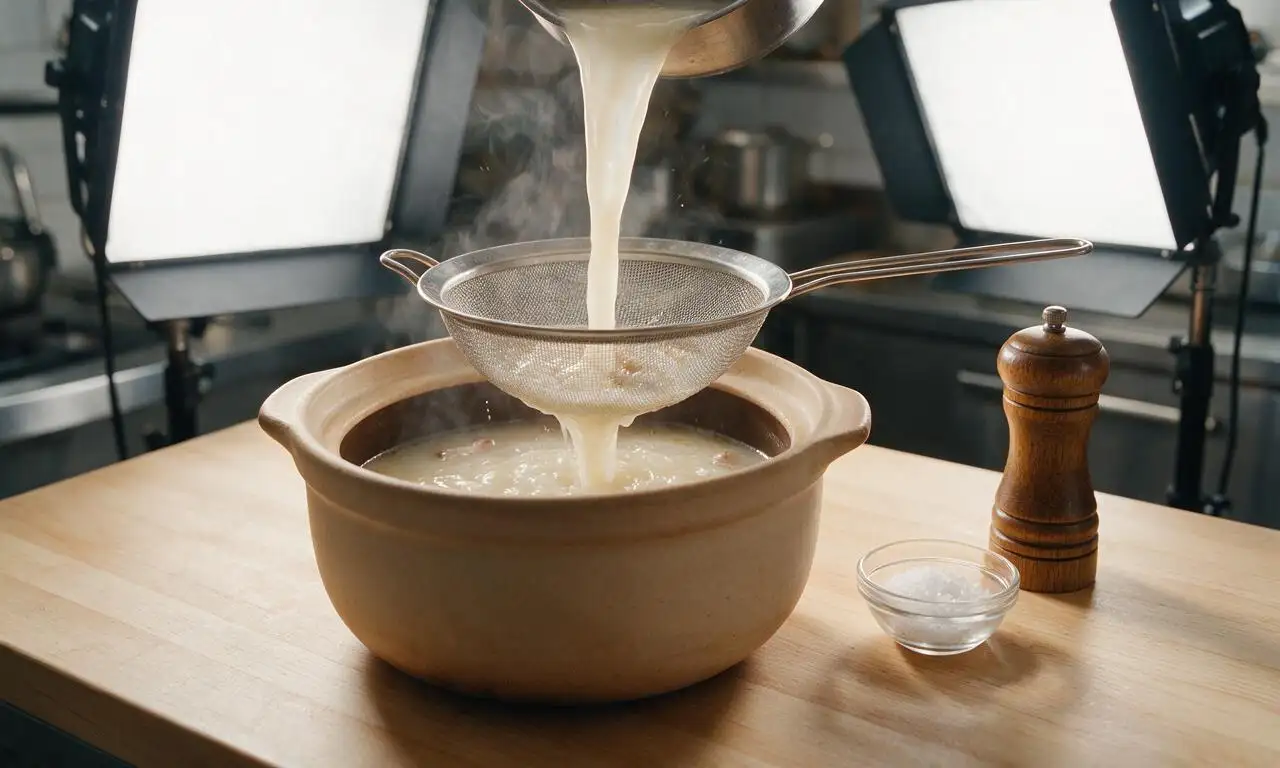
After the final 30 minutes of simmering (6 hours total broth cook time), turn off the heat. Pour the broth through a fine-mesh sieve into a clean second pot, discarding the spent, flavorless bones. Stir in 7.5g (1/2 tablespoon) of fine sea salt and 1g (1/2 teaspoon) of ground black pepper, tasting and adjusting salt levels as needed. The finished broth should be a rich, opaque milky white with a deep, meaty savory aroma.
Assemble and serve hot
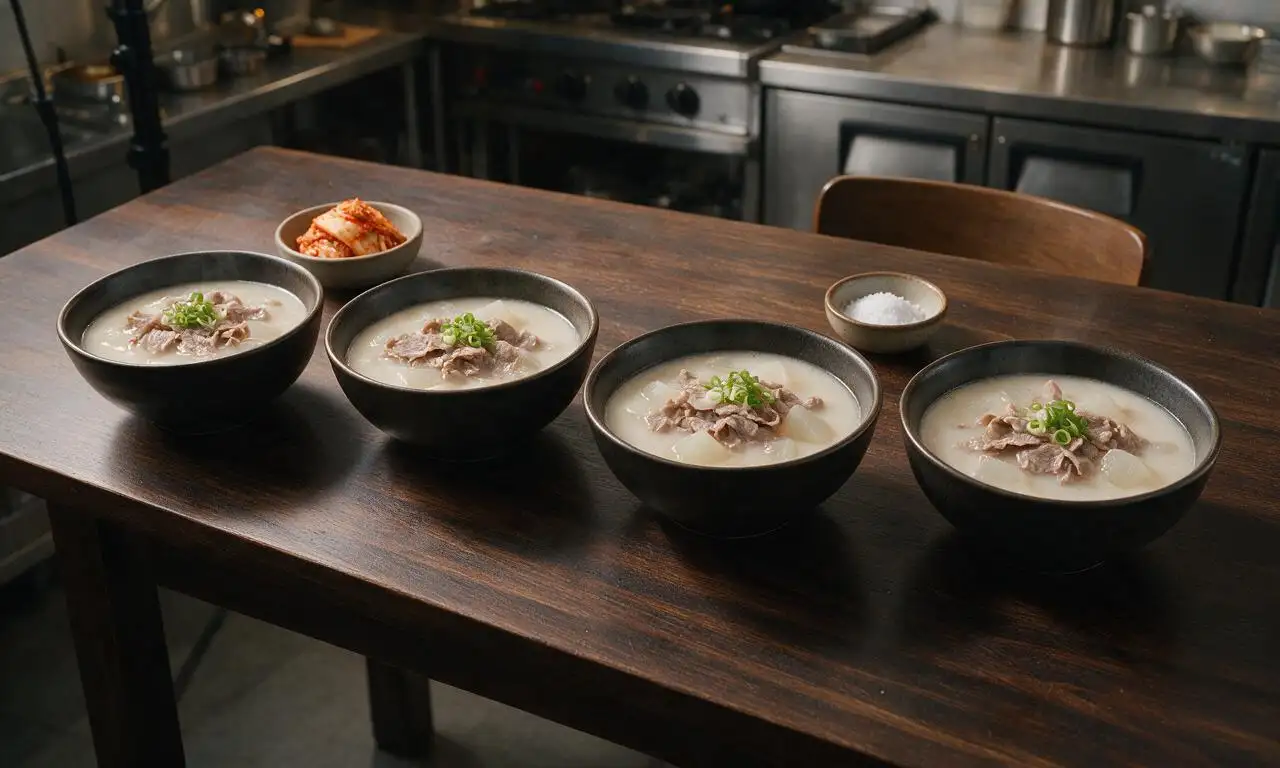
Place 180g (1 cup) of cooked short-grain white rice in the bottom of each of 4 deep serving bowls. Ladle 300ml (1.25 cups) of hot broth over the rice in each bowl, then top with 3-4 thin slices of cooked brisket, 2 pieces of sliced radish, a sprinkle of thinly sliced remaining 2 green onions, and a pinch of the remaining ground black pepper. Serve immediately while piping hot, with extra sea salt and optional kimchi on the side for diners to adjust seasoning to taste.
Tips
2.Always top up simmering liquid with hot (not cold) water during the long cook time: cold water will shock the bones, stopping gelatin and marrow from rendering out properly and thinning the broth flavor.
3.Avoid adding strong seasonings like soy sauce, garlic powder, or chili flakes to the main broth pot; traditional seolleongtang has a mild, pure beef flavor, so diners can season their individual bowls to preference.




OMG, I made this for our Sunday family dinner last weekend and it was a total hit! I was so intimidated by the 6+ hour cook time but it was 100% worth it—my kids went back for seconds, even my super picky 7 year old! The broth came out so rich and creamy, exactly like the seolleongtang I get at my local K-town spot. I prepped all the garnishes (chopped green onion, flaky sea salt, pickled radish) the night before so serving day was totally low-effort. Total game changer for those cold Illinois nights, will absolutely be adding this to my monthly meal prep rotation!
Solid recipe, but let me tell you—the 6.5 hour cook time is no joke! I thought I could cut a corner by cranking the heat up to a rolling boil for the last hour instead of keeping it at that low, gentle simmer, and my broth came out a little greasier than I wanted. The flavor was still totally on point though, especially when I loaded my bowl up with thin sliced brisket and a big scoop of that spicy kkakdugi I had stashed in the fridge. Next time I’ll follow the temp instructions exactly, no dumb shortcuts!
SO good!!! I’d never made any kind of bone broth before, let alone a Korean soup, and this recipe walked me through every single step with zero confusion. I brought a big pot to my office potluck last week and people were begging me for the recipe left and right. The only swap I made was using udon noodles instead of the traditional somyun because that’s what I had in my pantry, and it still slapped. 10/10 would make again, especially once the weather cools down more here in AZ!