
biscuit chicken pot pie

title 1
biscuit chicken pot pie
⏱️ cook time 35 minutes
🍽️ servings 6
⚡ Difficulty easy

intro

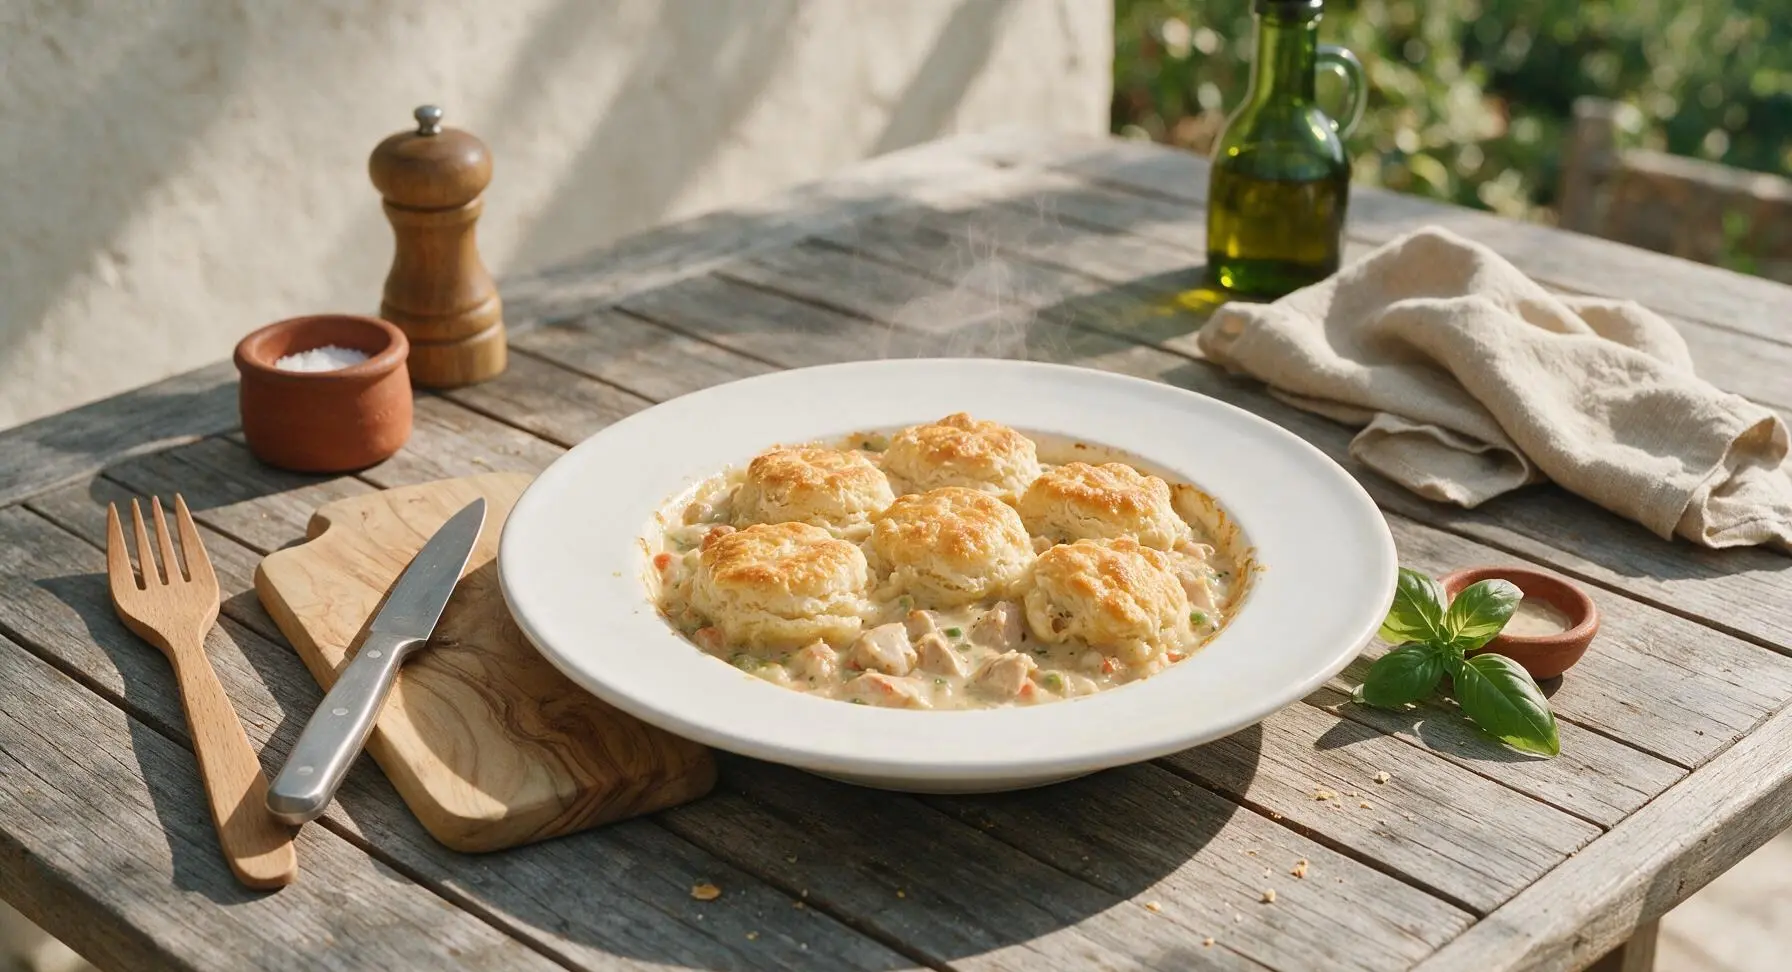
Creamy, savory chicken and vegetable filling topped with flaky golden buttermilk biscuits—this cozy, nostalgic one-pan meal is pure cool-weather comfort.

Ingredients
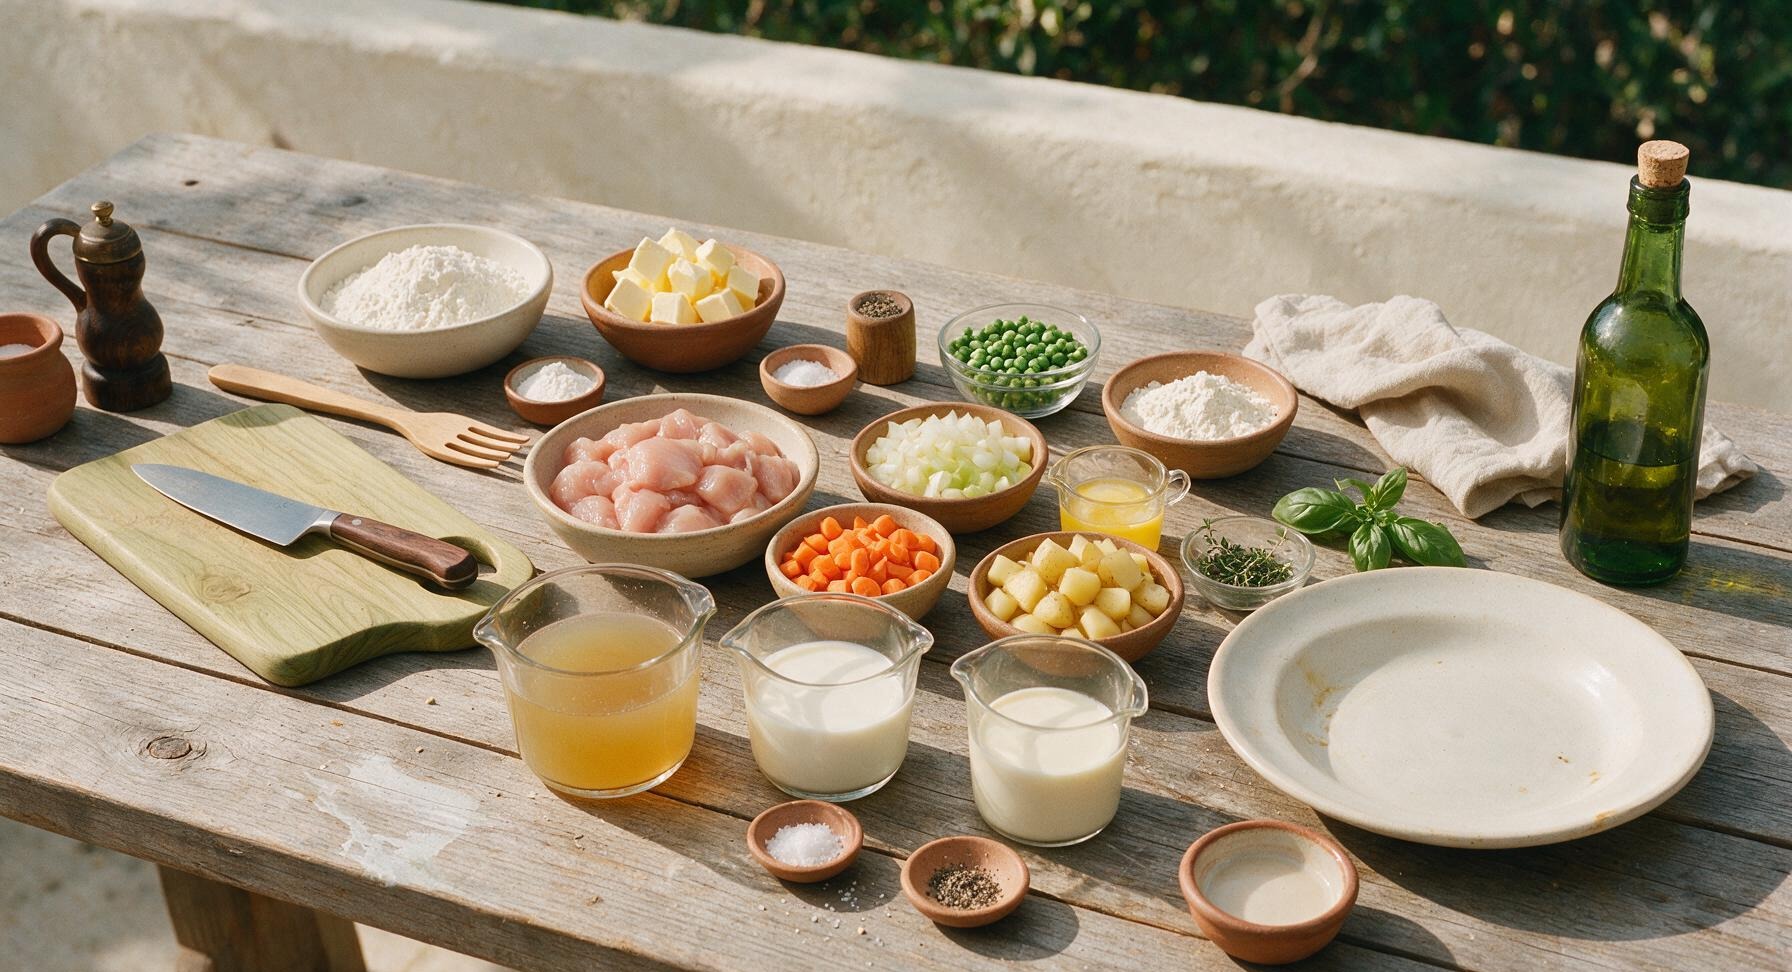
Boneless skinless chicken breasts, cut into 2cm cubes 450g
Unsalted butter (for filling) 3 tbsp (42g)
Yellow onion, diced 1cm 1 medium (150g)
Carrots, diced 1cm 2 medium (120g)
Celery stalks, diced 1cm 2 stalks (100g)
Yukon gold potato, diced 1cm 1 medium (180g)
Frozen green peas ½ cup (70g)
All-purpose flour (for filling) 3 tbsp (24g)
Low-sodium chicken broth 2 cups (480ml)
Heavy cream ½ cup (120ml)
Fresh thyme leaves 1 tsp
Kosher salt 1.5 tsp (divided)
Freshly ground black pepper ½ tsp
All-purpose flour (for biscuits) 1.5 cups (180g)
Cold unsalted butter, cubed (for biscuits) 6 tbsp (85g)
Baking powder 2 tsp
Cold buttermilk ¾ cup (180ml)

Steps

1

Prep Filling Ingredients

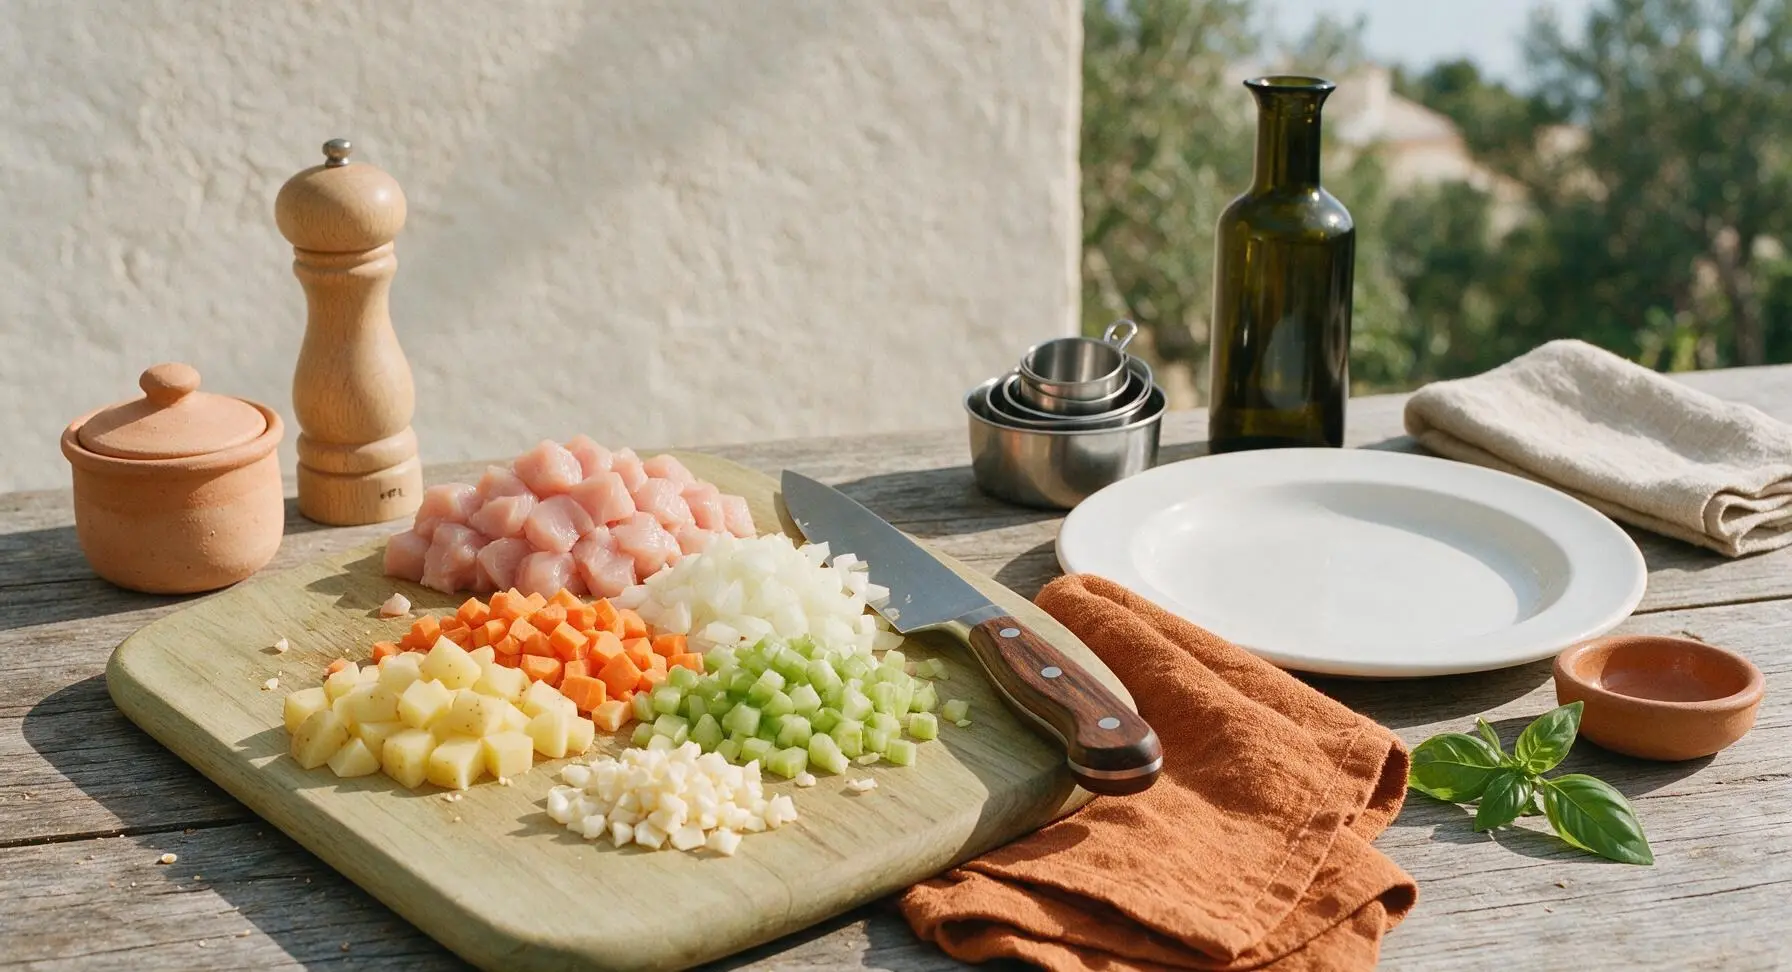
Place the maple cutting board on the left third of the counter. Using the 8-inch walnut-handled chef knife, dice the chicken breasts into 2cm cubes, then dice the onion, carrots, celery, and Yukon gold potato into uniform 1cm pieces. Set all prepped ingredients aside in separate small piles; pat chicken dry by dabbing with the edge of the fixed burnt-orange linen towel to ensure even browning. This step takes approximately 8 minutes.
Step 1
step1:Prep Filling Ingredients
2

Sear Chicken and Aromatics

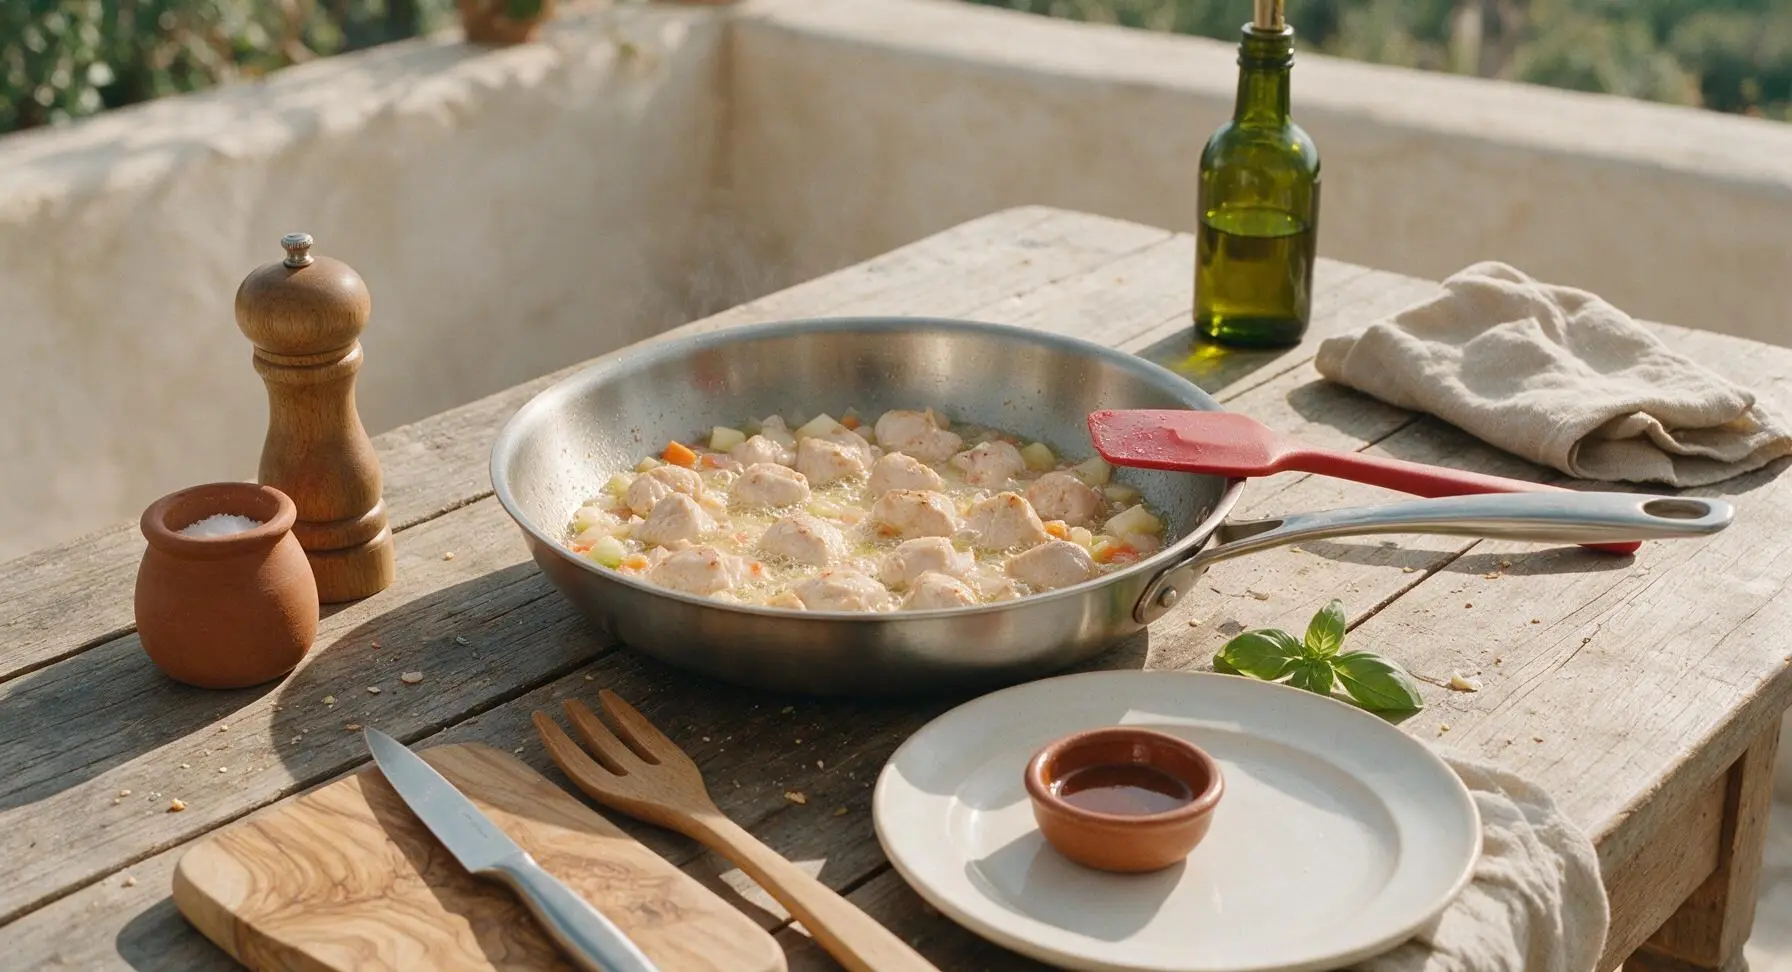
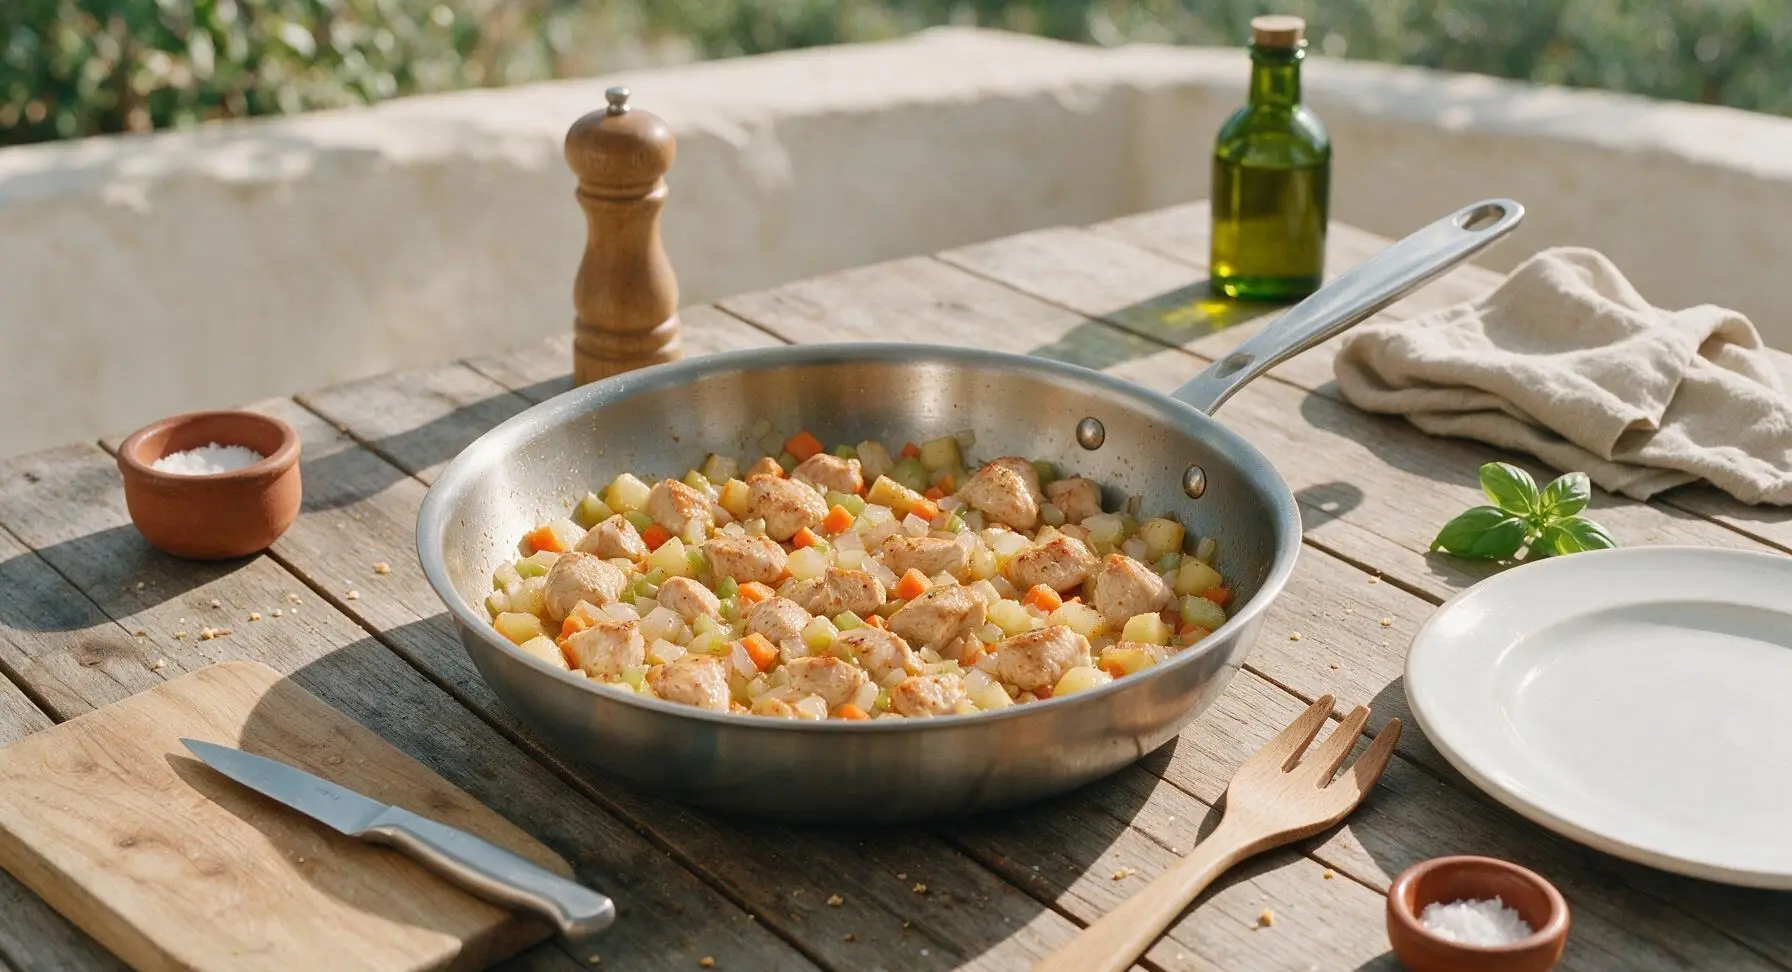
Place the 12-inch stainless steel skillet on the stovetop over medium heat (175C/350F). Melt 3 tablespoons of unsalted butter in the skillet, then add the cubed chicken. Sear for 4 minutes, stirring occasionally with the red silicone spatula, until chicken is lightly golden on all edges (it does not need to be fully cooked through). Add the diced onion, carrot, celery, and potato, then sauté for 5 minutes until vegetables soften slightly and onion turns translucent.
Step 2
step2:Sear Chicken and Aromatics
Step 2
step2:Sear Chicken and Aromatics
3

Make Creamy Gravy Base

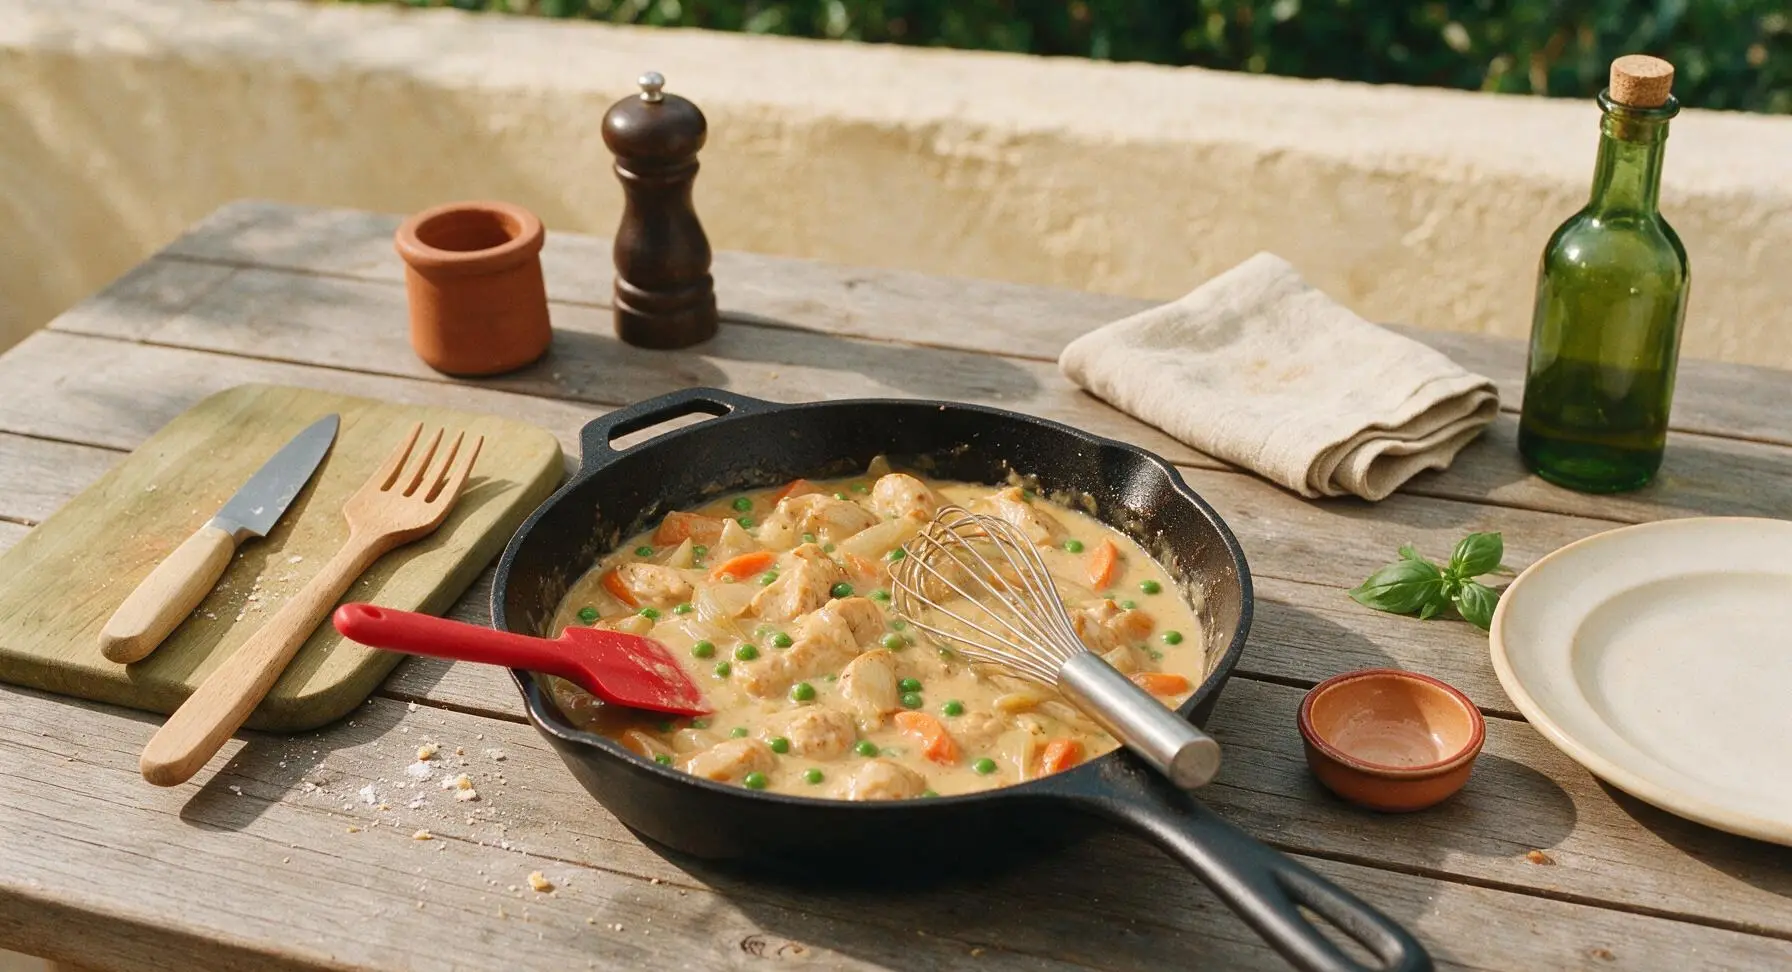
Sprinkle 3 tablespoons of all-purpose flour over the chicken and vegetable mixture in the skillet, stirring constantly with the silicone spatula for 1 minute to cook out the raw flour taste, forming a light golden roux that coats all ingredients evenly. Slowly pour in the 2 cups of chicken broth and ½ cup heavy cream, stirring continuously with the stainless steel whisk to prevent lumps. Add the fresh thyme, 1 teaspoon kosher salt, and ½ teaspoon black pepper. Bring the mixture to a gentle simmer, then cook for 3 minutes until the gravy thickens enough to coat the back of a spoon. Stir in the frozen peas, then remove the skillet from heat.
Step 3
step3:Make Creamy Gravy Base
4

Mix Buttermilk Biscuit Dough

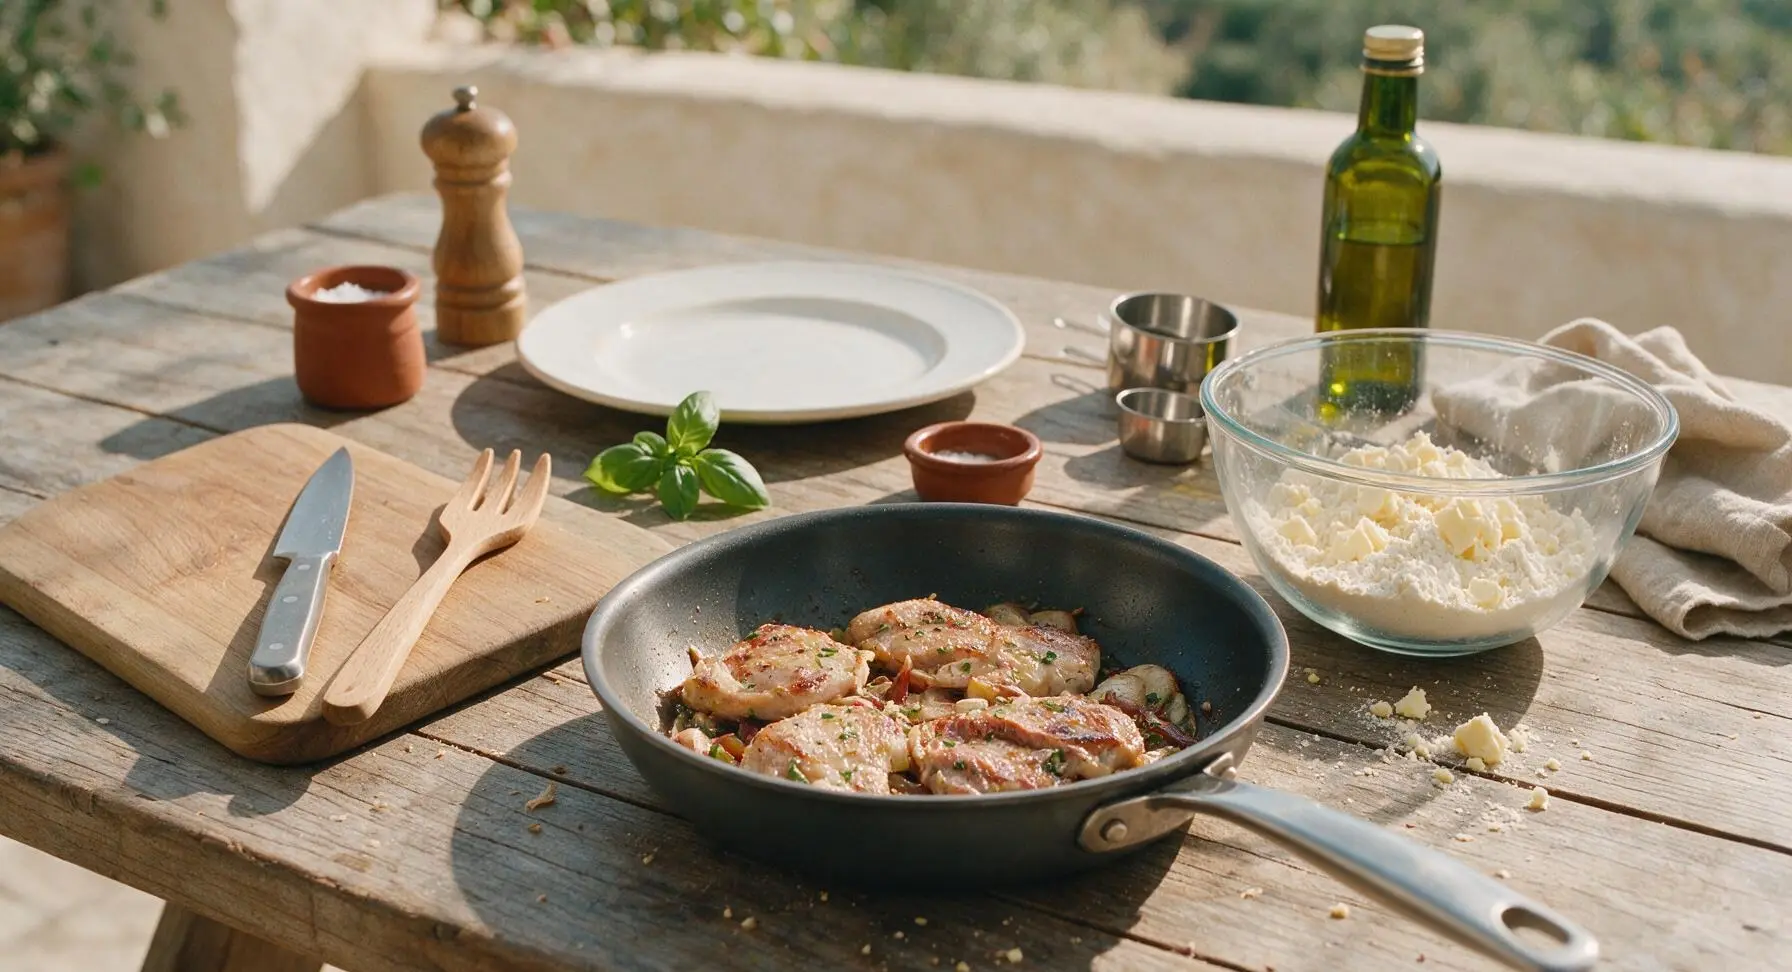
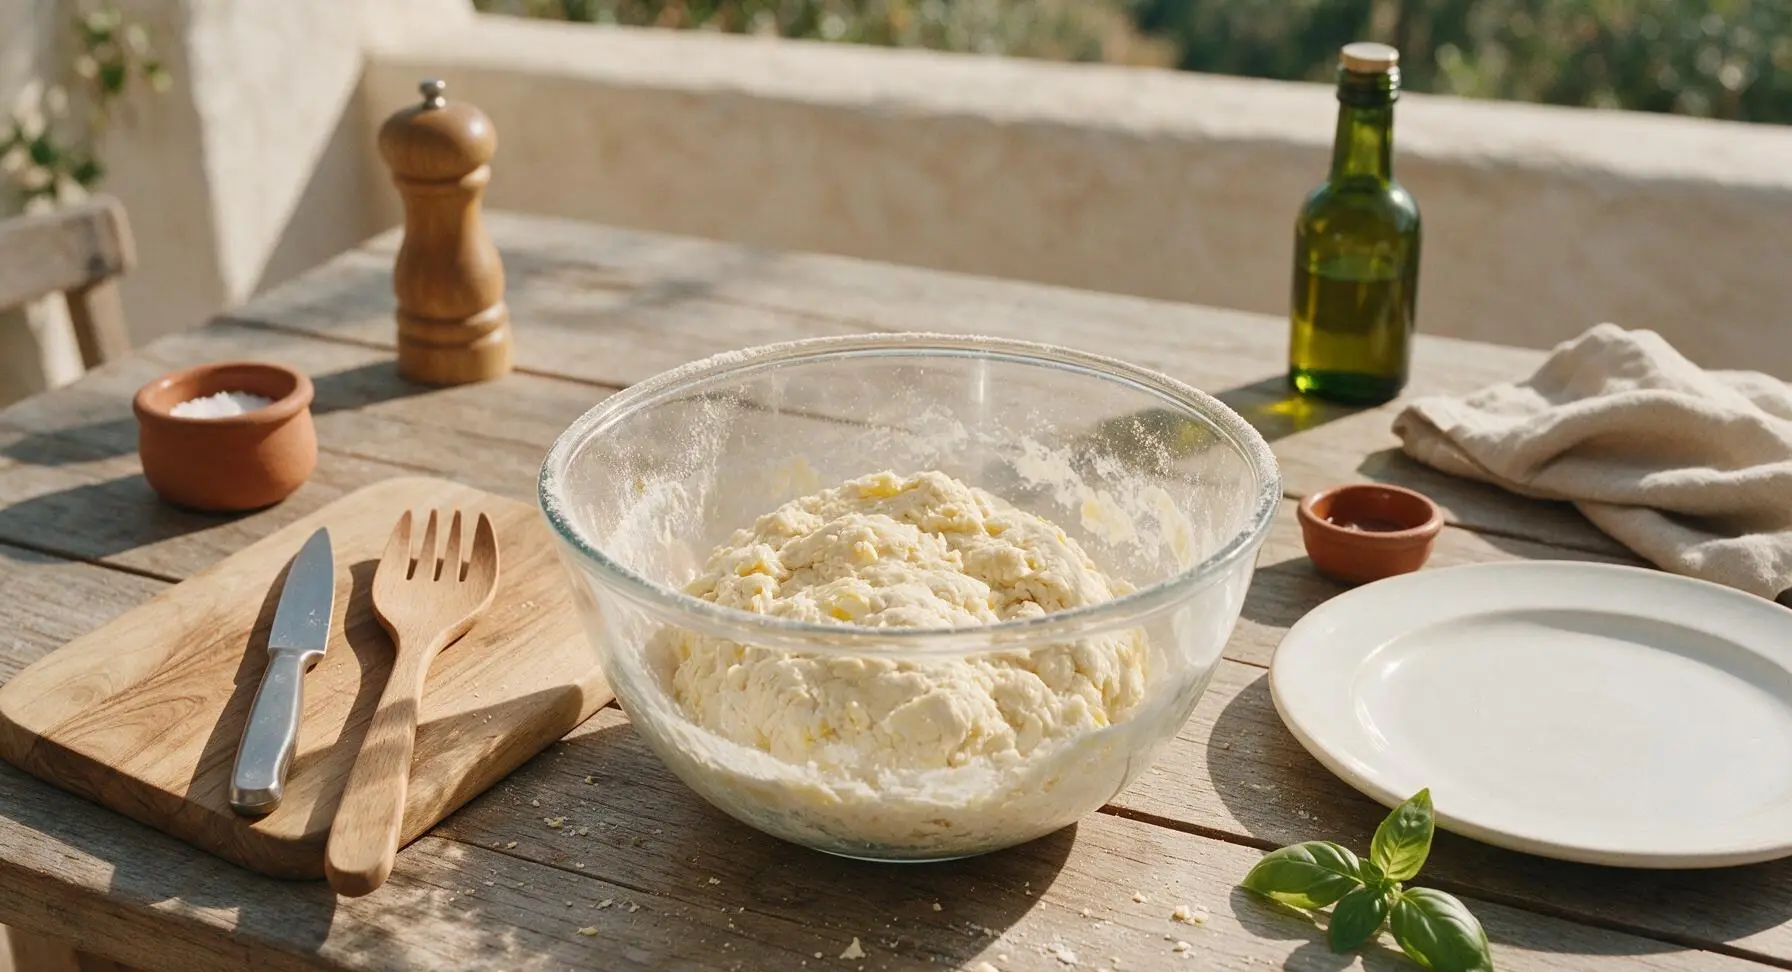
In the 1L clear glass mixing bowl, combine 1 ½ cups all-purpose flour, 2 teaspoons baking powder, and remaining ½ teaspoon kosher salt. Add the 6 tablespoons of cold cubed butter, using your fingertips to rub the butter into the flour until the mixture resembles coarse crumbs with some pea-sized butter pieces remaining (this ensures flaky layers). Pour in the cold buttermilk, stirring with a fork just until a shaggy, slightly sticky dough forms; do not overmix, as this will make tough biscuits.
Step 4
step4:Mix Buttermilk Biscuit Dough
Step 4
step4:Mix Buttermilk Biscuit Dough
5

Cut Biscuits For Topping

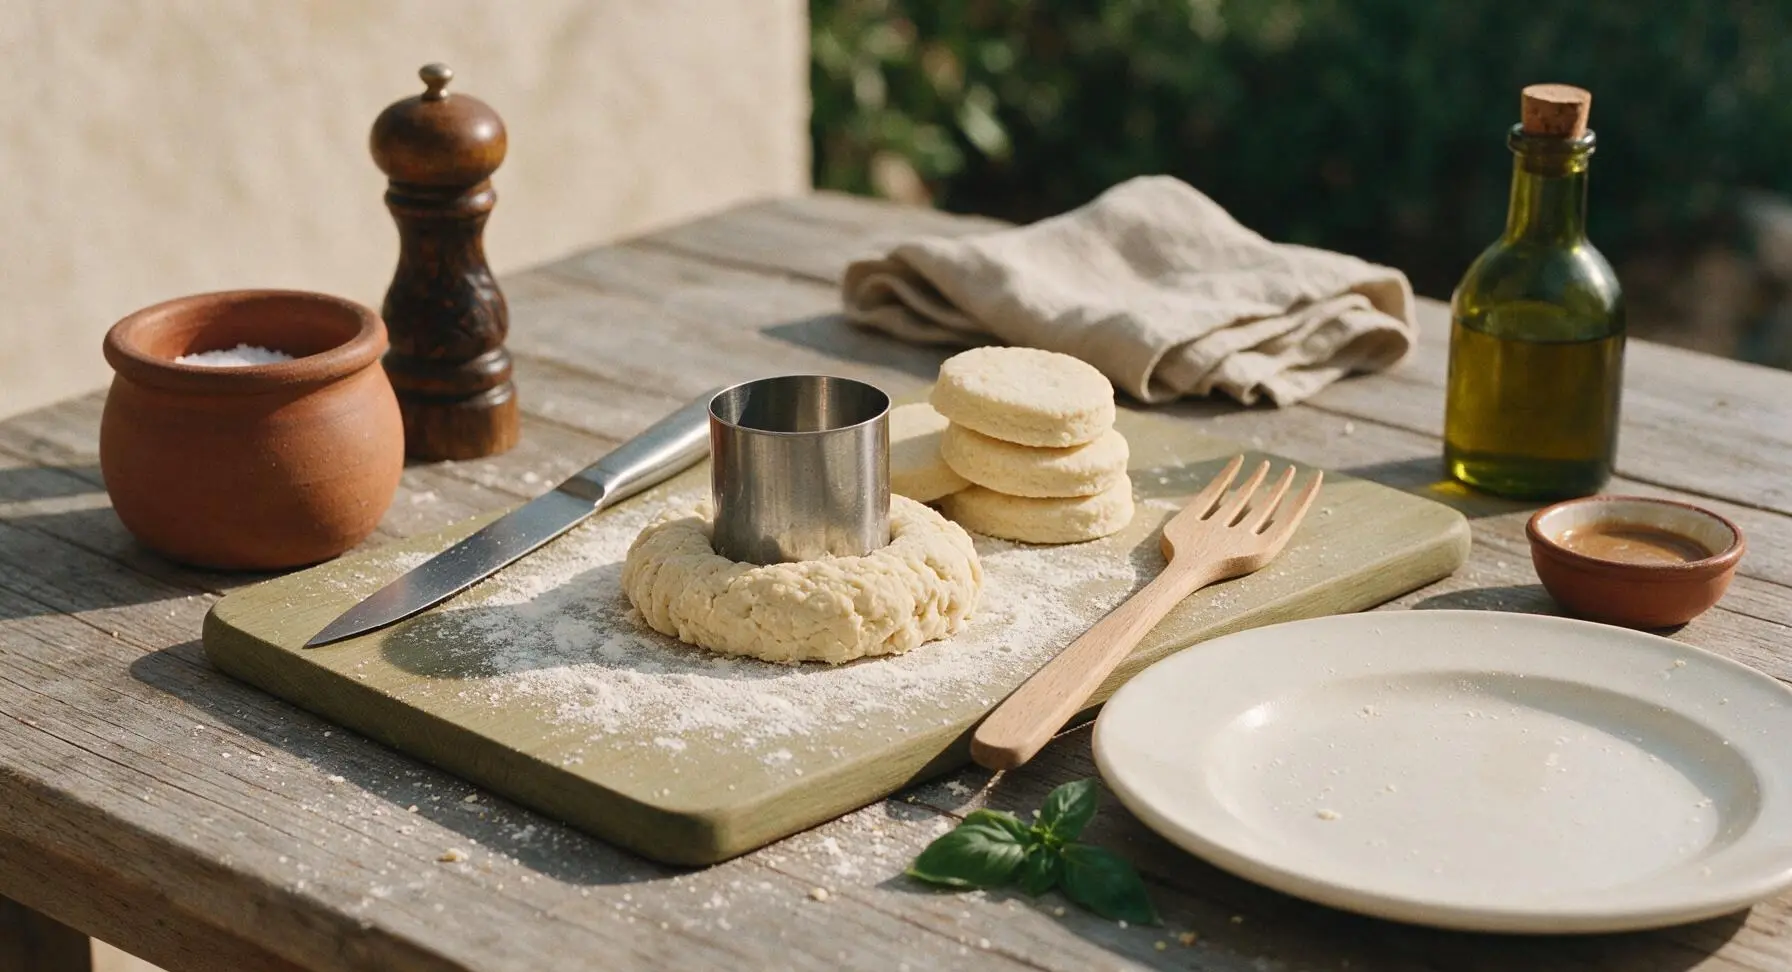
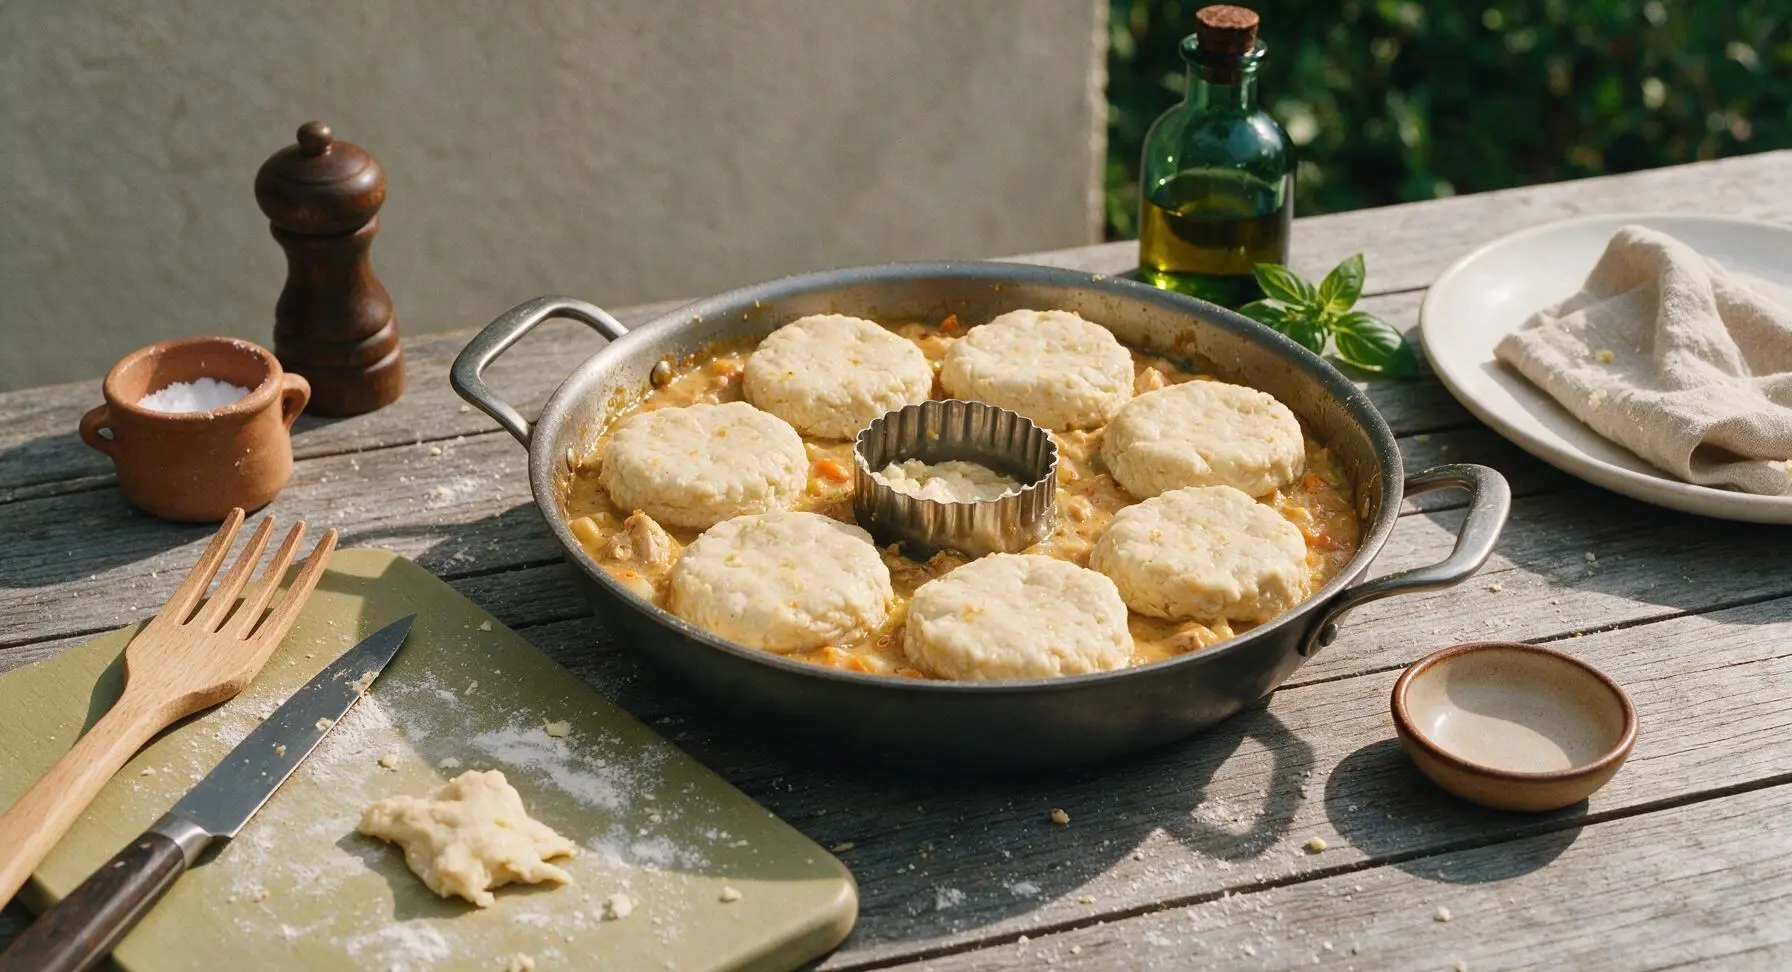
Lightly flour a small section of the maple cutting board. Turn the shaggy biscuit dough out onto the floured surface, patting it to a 2.5cm (1 inch) thickness with your fingertips (do not roll too thin, or biscuits will not rise properly). Use the 7cm stainless steel biscuit cutter to cut 6 even rounds, pressing straight down without twisting (twisting seals the edges and prevents rise). Gather any dough scraps, pat again, and cut remaining rounds as needed. Arrange the biscuit rounds in a single layer directly on top of the warm pot pie filling in the skillet, leaving small gaps between biscuits for gravy to bubble through.
Step 5
step5:Cut Biscuits For Topping
Step 5
step5:Cut Biscuits For Topping
6

Bake Until Golden Bubbly

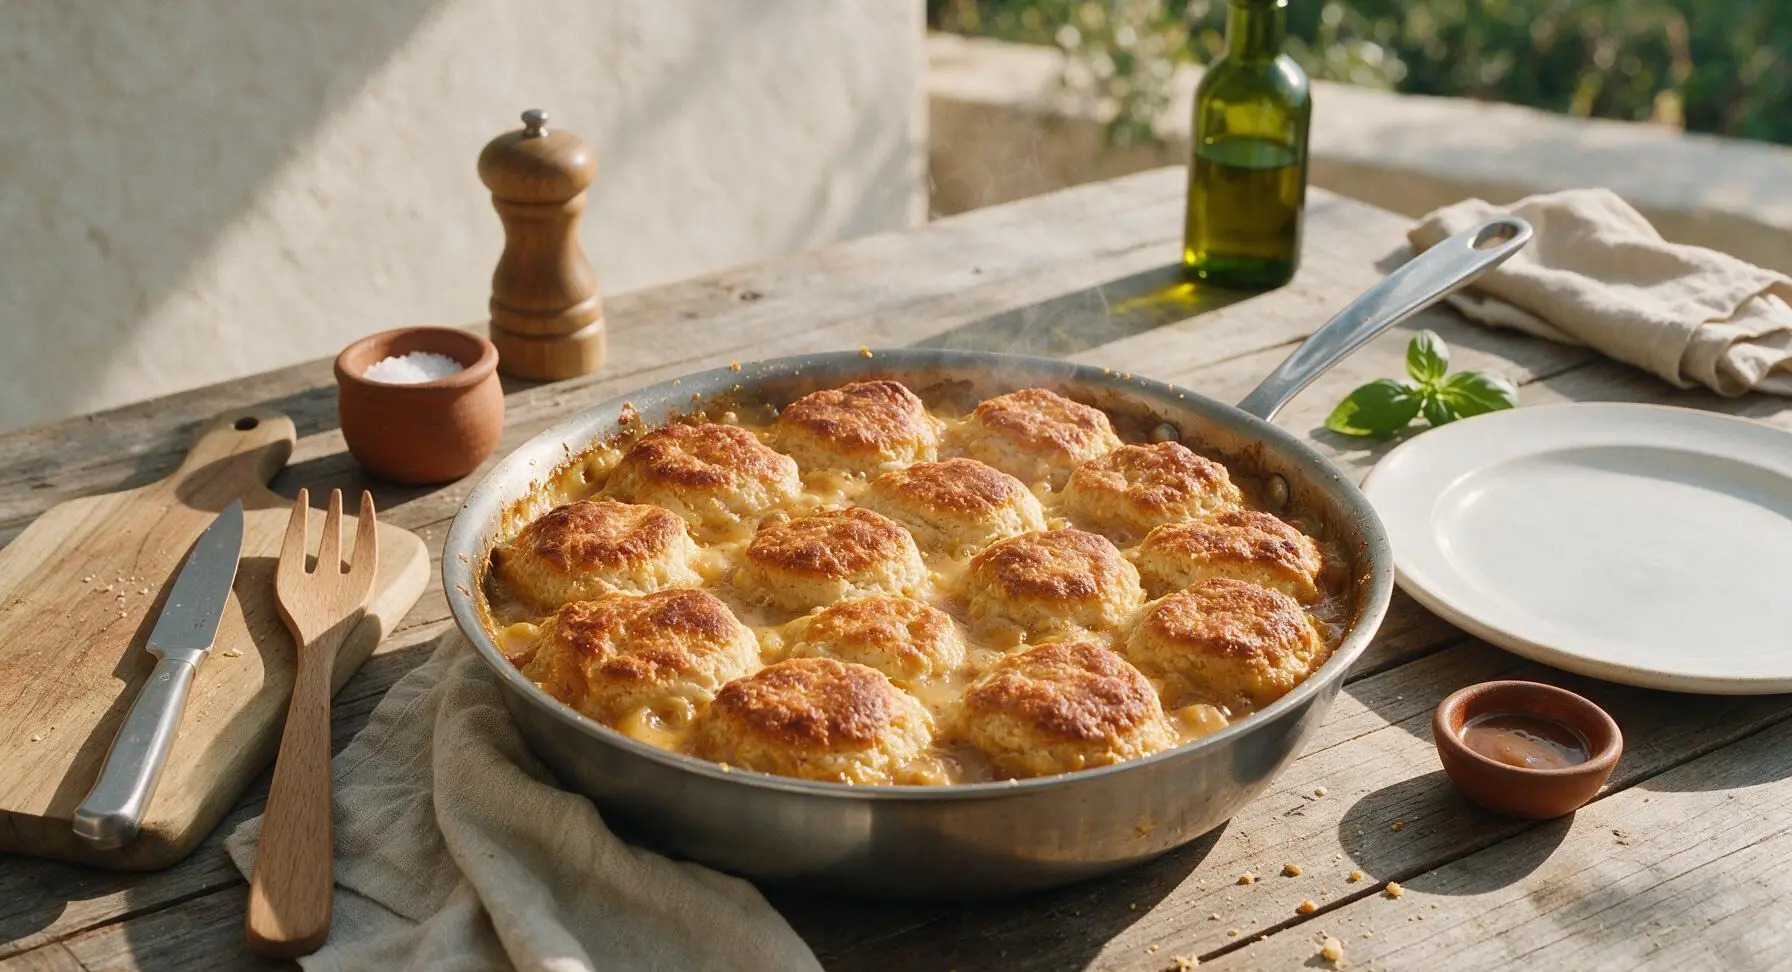
Place the skillet in a preheated 205C (400F) oven. Bake for 25 minutes, until the biscuits are deep golden brown on top, flaky and fully cooked through, and the pot pie filling is bubbling vigorously around the edges of the biscuits. If the biscuit tops brown too quickly (check at 20 minutes), tent loosely with a sheet of aluminum foil for the last 5 minutes of baking. Remove from the oven and let rest for 5 minutes before serving, to allow the filling to set slightly.
Step 6
step6:Bake Until Golden Bubbly
7

Plate and Serve Warm

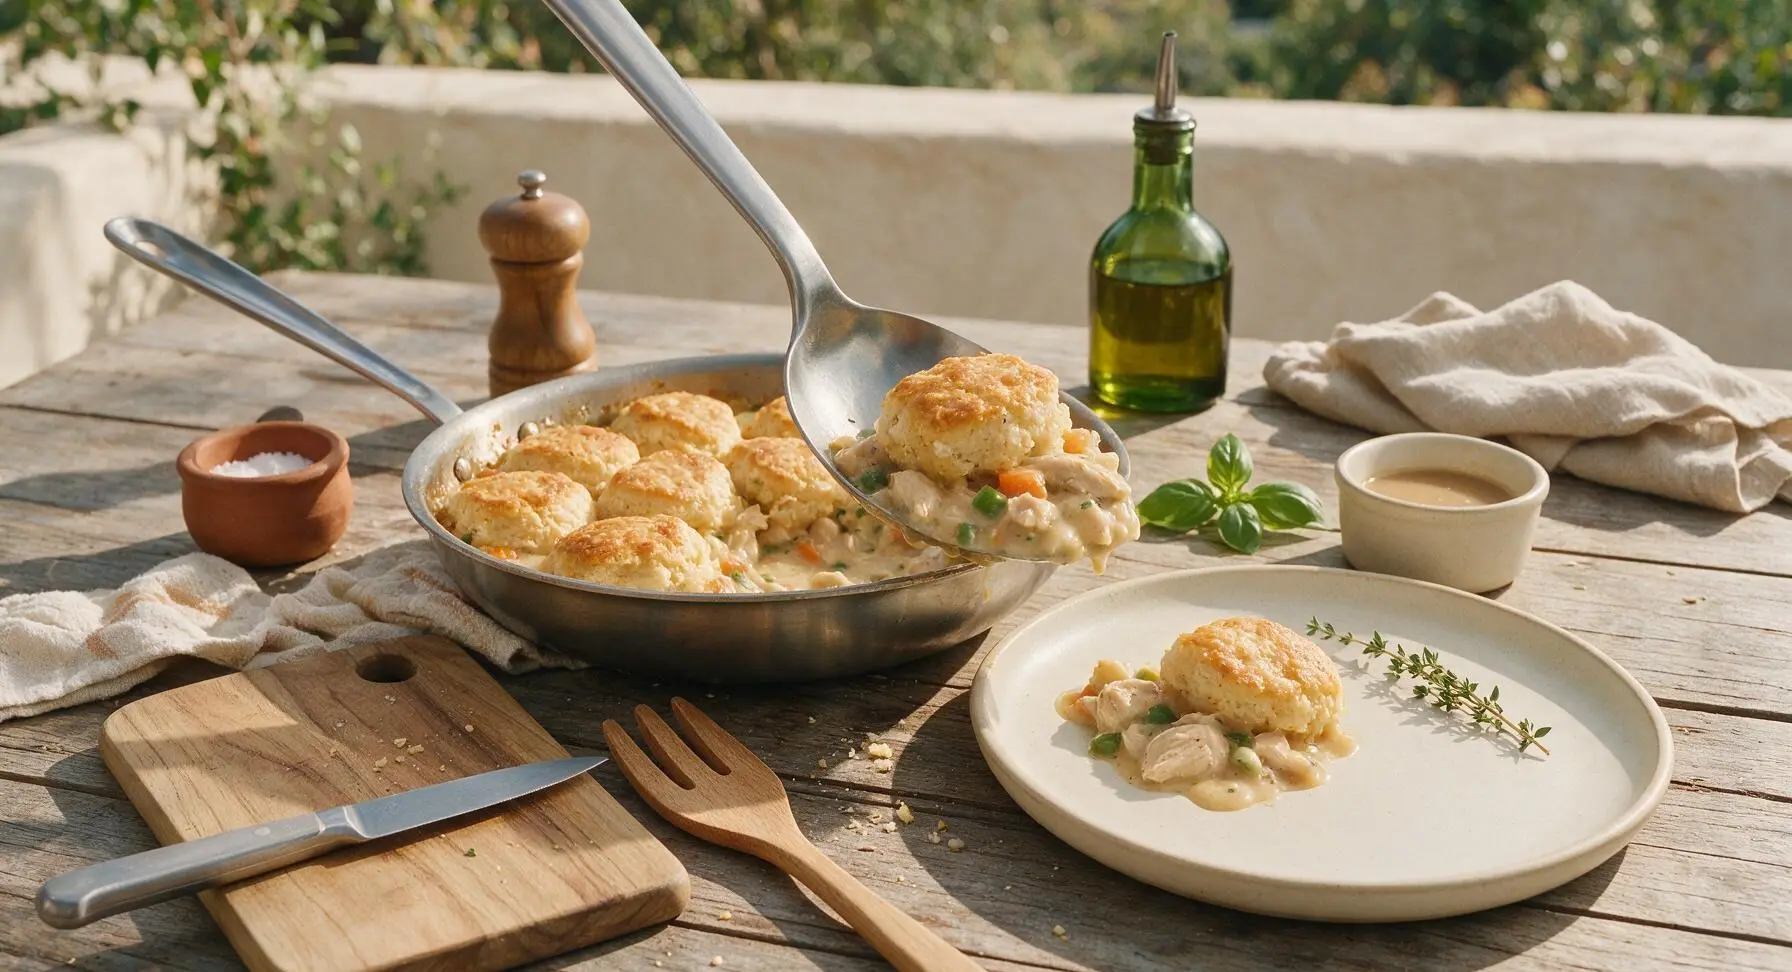
Use the large stainless steel serving spoon to scoop a portion of the pot pie (one biscuit per serving, plus a generous scoop of filling) onto the matte cream ceramic shallow dinner plate. Garnish with a small sprig of fresh thyme, and serve immediately while warm, with extra pan gravy served in the matching cream ramekin if desired.
Step 7
step7:Plate and Serve Warm

Tips

1.Keep biscuit butter and buttermilk ice cold: Cold butter melts rapidly in the hot oven to create pockets of steam, which build light, flaky biscuit layers; if butter warms to room temperature before baking, it will absorb into the flour and produce dense, flat biscuits instead of tall, tender ones.
2.Press biscuit cutters straight down, no twisting: Twisting the cutter pinches the cut edges of the dough shut, which seals the layers and prevents biscuits from rising evenly; a straight downward cut yields tall, evenly puffed biscuits with crisp, flaky sides.
3.Rest the baked pot pie for 5 minutes before serving: The filling will be boiling hot and very runny straight out of the oven; resting allows the gravy to thicken slightly so it clings to the chicken and veggies instead of running across the plate, and also prevents painful burnt mouths.


✨ You May Also Like

Main Course
🍜 United Kingdom

A showstopping classic of tender seared beef, savory mushroom duxelles, and crisp prosciutto wrapped in flaky golden puff pastry, baked to juicy perfection.

⏱️ 2 hours 1Main Course ★ 4.7
Main Course
🍜 India

Tender charred marinated chicken simmered in a rich, spiced creamy tomato sauce, this iconic Anglo-Indian curry pairs perfectly with basmati rice or warm naan.

⏱️ 50 minuteMain Course ★ 4.6
Main Course
🍜 Thailand

Classic tangy, sweet, and savory Thai stir-fried rice noodles with shrimp, tofu, and crunchy garnishes, balancing all five core Thai flavor profiles.

⏱️ 30 minuteMain Course ★ 4.5
Main Course
🍜 United Kingdom

Crispy golden beer-battered cod and fluffy double-fried chips, served with tangy tartar sauce and malt vinegar: the timeless, beloved British pub comfort classic.

⏱️ 45 minuteMain Course ★ 4.7
Main Course
🍜 Mexico

Smoky, chile-marinated pork tacos with caramelized pineapple, fresh cilantro, and lime: a beloved classic Mexican street food perfect for casual summer gatherings.

⏱️ 1 hour 45Main Course ★ 4.8
Main Course
🍜 United States

Crunchy Fritos corn chips layered with savory beef chili and melted cheddar, topped with cool, zesty fixings for a beloved, cozy Tex-Mex comfort food.

⏱️ 35 minuteMain Course ★ 4.8

biscuit chicken pot pie:Frequently Asked Questions

1.What size should I cut my chicken and vegetables, and why does that sizing matter? ▾
Aim for 2cm cubes for chicken, and 1cm dice for onion, carrots, and celery, just as the recipe specifies. This uniform cut ensures every ingredient cooks at the same rate, so you won’t end up with crunchy undercooked carrot chunks or tough, overcooked chicken, plus every bite has a perfectly balanced mix of savory filling components.
2.Can I use store-bought rotisserie chicken instead of raw boneless skinless chicken breasts? ▾
Totally—this is one of my favorite time-saving swaps! Cube or shred rotisserie chicken to match the 2cm size, and add it right after you finish sautéing your mirepoix. Cut the initial filling simmer time by 5 minutes, since you only need to warm the chicken through instead of cooking it from raw.
3.Why does the recipe call for unsalted butter for the filling instead of salted butter? ▾
Unsalted butter lets you control the exact sodium level of your pot pie filling, which is key since store-bought broth, biscuits, and even chicken can have hidden added salt. If you only have salted butter on hand, just cut any extra added salt in the filling by half, and taste as you go to avoid over-seasoning.
4.My pot pie filling came out too runny—how do I fix that quickly? ▾
If your filling is thin after simmering, make a quick slurry of 1 tablespoon cornstarch mixed with 2 tablespoons cold water, then stir it into the bubbling filling 1 minute before adding the biscuit topping. It will thicken instantly as it simmers, giving you that perfect rich, creamy consistency without diluting flavor.
5.Can I prep this Biscuit Chicken Pot Pie ahead of time for easy weeknight meals? ▾
Absolutely! You can make the full chicken and veggie filling up to 3 days in advance, store it tightly covered in the fridge, then top with biscuits and bake when you’re ready to eat. Let chilled filling sit at room temp for 15 minutes first, and add 5-7 minutes to bake time to account for the cold start.
6.Do I have to make homemade buttermilk biscuits for the topping? ▾
Not at all! High-quality refrigerated store-bought buttermilk biscuits work beautifully here and cut down prep time dramatically. If using frozen biscuits, let them thaw completely in the fridge first so they bake up light and flaky instead of doughy in the center, and space them evenly across the top of the filling.
7.Why are my biscuits soggy on the bottom where they touch the filling? ▾
Soggy biscuit bottoms usually happen if your filling isn’t fully bubbling hot when you add the biscuit topping. Make sure your filling is at a gentle simmer right before you arrange the biscuits on top, and bake the dish uncovered on the middle oven rack so hot air circulates around the biscuits as they cook.
8.Can I mix extra vegetables into the pot pie filling? ▾
Of course! This recipe is super flexible. Diced potatoes, frozen peas, corn, or even chopped mushrooms make delicious additions—just cut any firm veggies like potatoes to the same 1cm dice as your carrots and celery so they cook evenly, and add softer frozen veggies during the last 2 minutes of simmering the filling.
9.What’s the best trick to get golden, flaky biscuit tops? ▾
For that perfect shiny golden crust, brush the tops of your biscuits with a little melted butter or a beaten egg mixed with a splash of milk right before baking. Make sure your oven is fully preheated to 400°F before you put the pan in, too—high initial heat is what makes biscuits rise and get that crisp outer layer.
10.Can I adjust this recipe to be dairy-free? ▾
You absolutely can! Swap the unsalted butter for a dairy-free baking stick, use unsweetened oat or soy milk (or dairy-free half-and-half) for the creamy filling base, and use dairy-free buttermilk biscuits for the topping. Double-check broth labels for hidden dairy, and taste to adjust seasoning before adding the biscuit layer.
11.How do I know when the pot pie is fully done baking? ▾
Your pot pie is ready when the biscuits are deep golden brown on top, the filling is bubbling vigorously around the edges of the pan (and even between the biscuit gaps), and the internal temperature of the filling hits 165°F on an instant-read thermometer. If biscuits brown too fast, tent the pan loosely with foil for the last 5 minutes.
12.Can I use boneless skinless chicken thighs instead of chicken breasts? ▾
Definitely! Boneless, skinless chicken thighs cut into 2cm cubes add even richer, juicier flavor than breasts, since they have a slightly higher fat content. You won’t need to adjust cook time much—just make sure the chicken reaches 165°F internally, and note the filling will have a slightly deeper, savorier flavor.
13.What’s the best way to store leftover Biscuit Chicken Pot Pie? ▾
Let leftovers cool completely to room temperature within 2 hours of baking, then cover the pan tightly with plastic wrap or an airtight lid, and store in the fridge for up to 4 days. For best texture, reheat individual portions in a 350°F oven for 10 minutes to keep biscuits crisp, instead of microwaving if you dislike soft biscuit texture.
14.Can I freeze this pot pie to eat later? ▾
You can! Assemble the full unbaked pot pie in a freezer-safe baking dish, wrap tightly in two layers of plastic wrap and one layer of foil, and freeze for up to 3 months. Bake straight from frozen at 375°F for 50-60 minutes, until filling is bubbly and biscuits are cooked through, tenting with foil if tops brown too fast.
15.My carrots and celery are still crunchy after simmering the filling—what went wrong? ▾
Crunchy mirepoix usually means you didn’t sauté the veggies long enough before adding liquid and chicken. Make sure you cook the diced onion, carrots, and celery in butter for 7-8 minutes first, until they’re just starting to soften and turn fragrant, before adding broth, cream, and chicken to the pan. This step builds deep flavor, too!
16.What kind of pan works best for this one-pan pot pie? ▾
A 12-inch oven-safe cast iron skillet or deep ceramic baking dish works perfectly here, since it goes straight from stovetop (for sautéing veggies and cooking the filling) to the oven (for baking the biscuit topping). Avoid shallow pans, since the bubbling filling can spill over the sides while baking if there’s not enough headspace.
17.Can I make a lighter version without the classic thick, creamy roux filling? ▾
If you want a lighter filling, you can skip the heavy cream and cut the roux butter by half, using extra low-sodium chicken broth and a small cornstarch slurry to thicken it instead. You’ll still get a cohesive, flavorful filling that coats the chicken and veggies, just with a lighter, less indulgent mouthfeel than the classic version.
18.Why is the chicken in my filling coming out dry and tough? ▾
Dry chicken almost always comes from overcooking! Since you’re cutting breasts into small 2cm cubes, they only need 8-10 minutes of gentle simmering in the filling before you add the biscuits—any longer and the proteins will seize up and get tough. If using pre-cooked chicken, only add it at the very end of filling prep to just warm through.

Comments (20)

2 hours ago

OMG this was so easy to throw together on a busy weeknight! I used leftover rotisserie chicken from Sunday dinner and it came together in literally 10 minutes of prep, popped it in the oven for 35 and my whole family devoured it. My 7 year old asked for seconds before he even finished his first serving! Total game changer for our weeknight meal rotation.

30 minutes ago

So glad your family loved it! Leftover rotisserie chicken is such a great hack for cutting down prep time even more, thanks for sharing that tip!

yesterday

Solid recipe! Super straightforward, even for a guy who usually burns toast. The only tweak I made was adding a little extra black pepper and a handful of frozen peas because I love peas in pot pie. Biscuit top came out perfectly fluffy, not soggy at all which I was worried about. Brought it to my office potluck yesterday and people were asking for the recipe by the end of lunch.

yesterday

Wait the extra peas are such a good call! I did the same thing last time I made it, adds such a nice pop of sweetness

2 hours ago

Love that potluck win! Adding extra veggies is always a great move, so glad you were able to customize it to your taste. No soggy biscuit top is the goal, so happy that worked out for you!

3 days ago

Added this to my Sunday meal prep lineup! It reheats like an absolute dream in the microwave all week, no sad mushy biscuits even after 4 days in the fridge. I portioned it out into individual glass containers and it made 6 perfect servings for work lunches. 35 minute cook time is no joke, way faster than the traditional pot pie I used to make that took 2 hours.

1 week ago

I’ve been making chicken pot pie for 50 years and I have to say, this biscuit version is my new favorite! No fussing with rolling out pie crust, which is hard on my old arthritic hands these days. The flavor is exactly the cozy, creamy comfort food I grew up on, and my grandkids went crazy for it when they came over last weekend.

5 days ago

This makes my day to hear! I’m so glad this recipe is accessible even when kneading and rolling out crust is tricky, and that it got the grandkid approval—there’s no better seal of approval than that!

5 days ago

Really tasty! I only gave it 4 stars because I used the cheap flaky layered canned biscuits on my first try and they didn’t cook all the way through on the bottom where they touched the filling. Ended up tossing it back in the oven for 10 extra minutes, which fixed it, but next time I’ll use the regular homestyle biscuits like the recipe says. Flavor was chef’s kiss though, even with the slightly underdone biscuit mishap.

3 days ago

Oh I had that exact same problem the first time! I started baking the biscuits for 5 minutes on a baking sheet first before putting them on top of the filling, game changer no more soggy underdone bottoms!

2 days ago

Thanks for the honest feedback! The homestyle canned biscuits definitely hold up better against the creamy filling, but that pre-baking trick from Liz is genius— I’ll have to add that note to the recipe tips soon!

2 weeks ago

Made this for our Sunday football watch party and it was a hit! I doubled the recipe and baked it in a big 9x13 pan, fed 8 hungry guys no problem. The creamy filling with the tender chicken and veggies, plus that buttery biscuit top? SO good, I don’t think there was a single bite left by the end of the first quarter.

1 week ago

That’s the ultimate game day win! Doubling the recipe for a crowd works perfectly in a 9x13, I’m so stoked it was a hit with your crew.

2 days ago

Great base recipe! I swapped the chicken for chickpeas to make it vegetarian for my roommate, and used dairy-free biscuits and oat milk for the cream sauce, and it still turned out amazing. Super versatile, love that I can tweak it to fit different dietary needs without it falling flat.

30 minutes ago

As a single dad working 9-5, quick dinners that my kids don’t complain about are basically gold. This took barely any effort, used frozen mixed veggies so I didn’t have to chop a single thing, and all three of my kids cleaned their plates. Even my picky 4 year old who says she hates all veggies ate every last carrot bite. Will be making this at least twice a month for sure.

5 minutes ago

This is exactly why I love sharing easy weeknight recipes! No chopping, minimal effort, and kid-approved is the holy grail for busy parents. So glad this worked out for you and your crew!

2 days ago

Wait why did I never think to use biscuits instead of pie crust before??? This is 100x better than any frozen pot pie I’ve ever bought, and almost as fast to make. I added a sprinkle of shredded cheddar on top of the biscuits the last 5 minutes of baking and oh my GOD, chef’s kiss.

yesterday

The cheddar sprinkle is such a galaxy brain idea! I’m making this tonight and I’m definitely stealing that, thank you for the tip!

2 hours ago

Cheddar on top is next level! I do that sometimes too, it melts into the biscuit tops and adds the perfect salty, cheesy kick. Great call!

5 minutes ago

First recipe I’ve made in my new apartment that didn’t turn out a total disaster! The instructions were so easy to follow, no fancy equipment needed, and it came out looking exactly like the photo. My roommate thought I ordered takeout until I told her I made it myself. Confidence in the kitchen = unlocked.

just now

Welcome to cooking in your first apartment, that’s such an exciting win! So proud this recipe turned out for you, can’t wait to hear what other recipes you try next!

1 week ago

Really good! My only note is that the filling was a little runnier than I expected when I pulled it out of the oven, but I let it rest for 10 minutes like the recipe note said and it thickened right up to that perfect pot pie consistency. Don’t skip the rest step, y’all, I almost panicked for a second!

5 days ago

Oh thank god I’m not the only one who almost panicked when it looked soupy! I almost added a cornstarch slurry before I remembered the rest note, it was perfect after sitting.

3 days ago

That rest step is so important! The filling keeps bubbling and thickening as it sits, so it will always be a little loose right out of the oven. So glad you stuck it out and it turned out great!

3 days ago

Used gluten-free canned biscuits and swapped the regular flour for a 1:1 gluten free flour blend for the roux, and it turned out perfectly! No weird texture, no off flavor, just straight up comfort food that I can eat without my stomach hurting later. Finally a pot pie recipe that works for my GF diet without a million extra steps.

2 weeks ago

I’ve brought this to three different church potlucks in the last month and I’ve had to hand out the recipe every single time. People go crazy for it! It travels well, stays warm for a good 30 minutes in my insulated carrier, and it’s just as good at room temp as it is hot out of the oven. 10/10.

1 week ago

Three potluck wins in a month? That’s a legend move! I love that it travels well too, perfect for bringing to gatherings of any kind. Thanks for sharing!

5 days ago

Really solid base! I added a teaspoon of smoked paprika and a pinch of cayenne to the filling to give it a little kick, and it was chef’s kiss. If you’re someone who likes a little heat, I highly recommend that tweak. Biscuits were perfectly golden and buttery, no sogginess at all.

3 days ago

Smoked paprika and cayenne? That sounds incredible! I put hot sauce on literally everything so I know that little kick would be perfect for me, can’t wait to try that this weekend.

2 days ago

Love a little added heat! Smoked paprika adds such a deep, warm flavor that pairs so well with the creamy chicken filling. I’ll have to try that tweak myself next time I make it!

yesterday

Made this in my dorm room oven with stuff I grabbed from the campus grocery store! Canned biscuits, frozen mixed veggies, a can of cream of chicken, pre-cooked grilled chicken strips from the deli, literally zero fancy ingredients, cost me like $10 total and fed me and my two roommates. Way better than the dining hall food, 10/10 easy.

1 week ago

Made this on a rainy 30 degree day last week and it was the coziest meal ever. It tasted like a hug in a dish! I served it with a little side salad and it was the perfect simple weeknight dinner that made the whole house smell amazing while it baked. My partner already asked when we’re having it again.

5 days ago

There’s nothing better than a warm, cozy meal on a cold rainy day! I’m so glad it hit the spot for you and your partner, it’s one of my go-to cold weather meals too.

2 days ago

I wanted to love this so bad, but my biscuits got super soggy on the bottom even when I used the homestyle biscuits like the recipe said. What did I do wrong? Flavor of the filling was great, but the texture of the biscuits was a total bummer for me.

yesterday

Make sure your filling is bubbling hot before you put the biscuits on top! If the filling is lukewarm when you add the biscuits, they steam instead of bake and get all soggy. That fixed the sogginess for me!

yesterday

So sorry you had soggy biscuit issues! Bella’s tip is spot on— making sure the filling is fully simmering before topping with biscuits helps them bake up crisp instead of steaming. You can also try arranging the biscuits so there’s a little space between them for air flow, that helps too!

3 days ago

Made this for a neighbor who just had a baby and she said it was the best meal train drop off they got all week! It freezes really well too, I made an extra one and stuck it in my freezer for a busy night later this month. Easy to transport, easy to reheat, total crowd pleaser for every occasion.

5 days ago

Pro tip: brush the tops of the biscuits with a little melted garlic butter right when you pull them out of the oven. It makes them taste like those fancy Red Lobster biscuits, I swear my family lost their minds when I did that. The recipe is amazing as is, but that little extra step makes it next level.

2 days ago

Garlic butter brush on top? That is such a brilliant hack, I’m obsessed with Red Lobster cheddar bay biscuits so I know that’s incredible. Thanks for sharing that awesome tip with everyone!

2 weeks ago

I’ve made this four times in the last two weeks, no joke. It’s just so easy and so satisfying, I can’t get enough. Last time I added some diced potatoes to the filling to make it a little heartier, and it was so filling I didn’t even need a side dish. 10/10, this recipe is going to be a staple in my house for years.



