
Bison Burnt Ends
intro
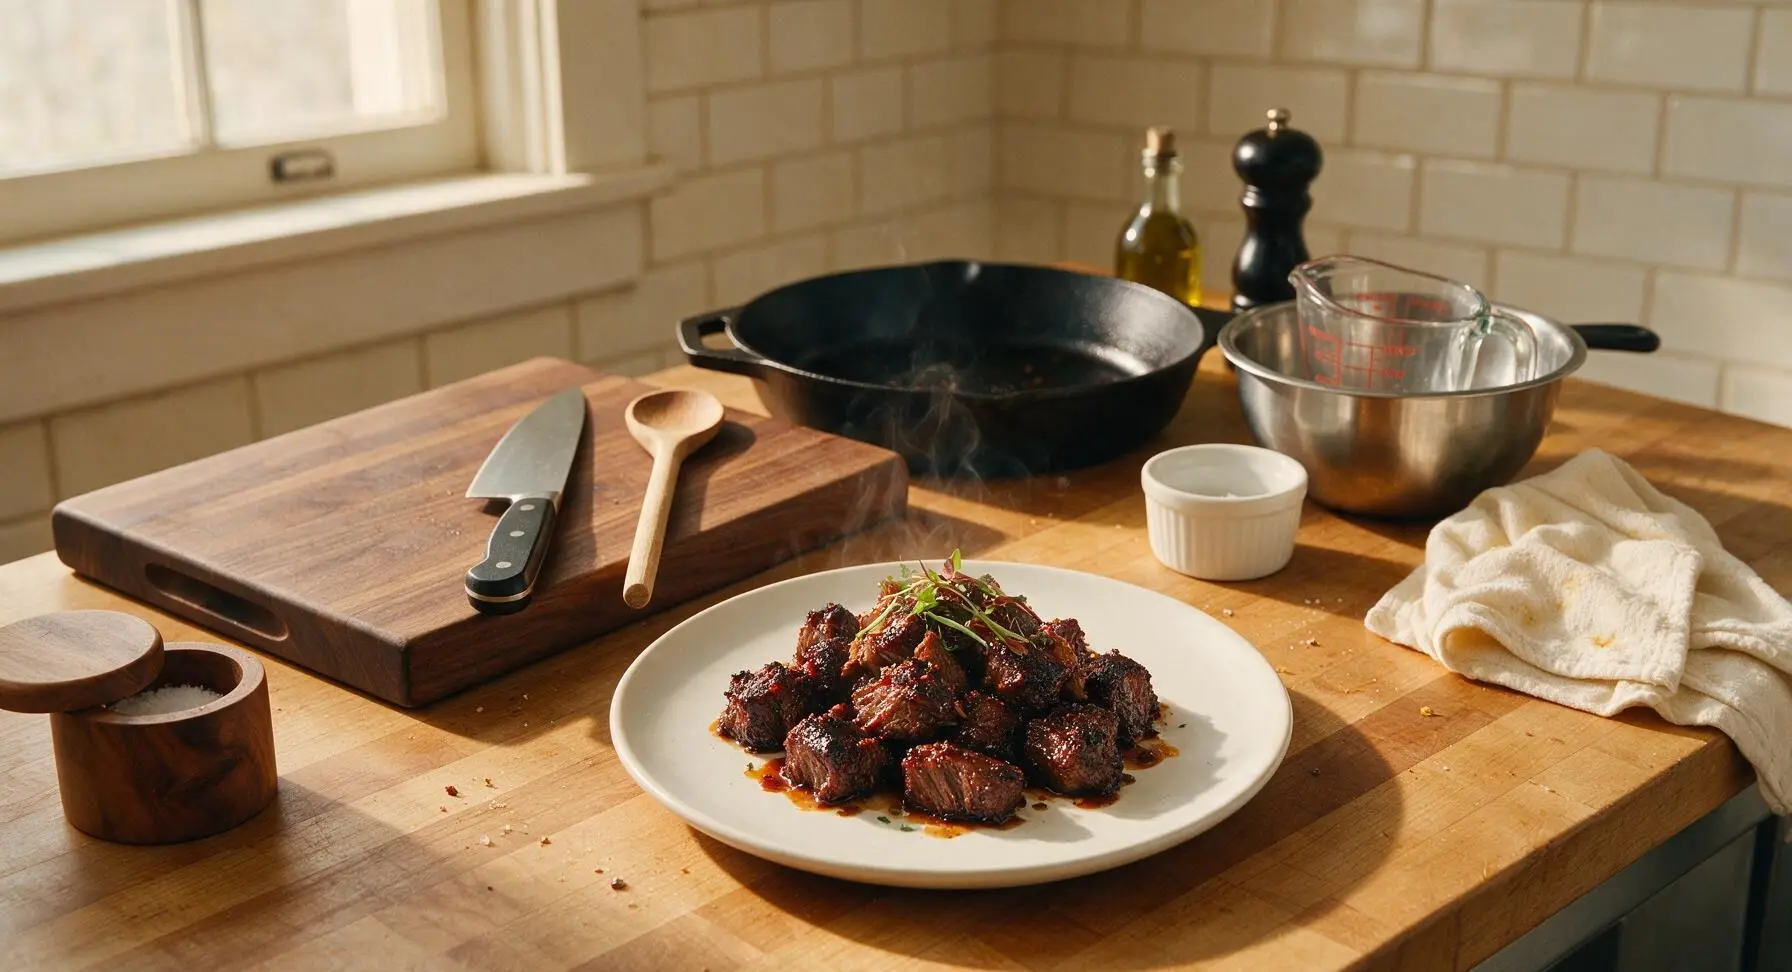
Smoky, caramelized bison burnt ends with a crisp spiced bark, sticky BBQ glaze, and juicy melt-in-your-mouth center: a lean, bold twist on classic Kansas City BBQ.
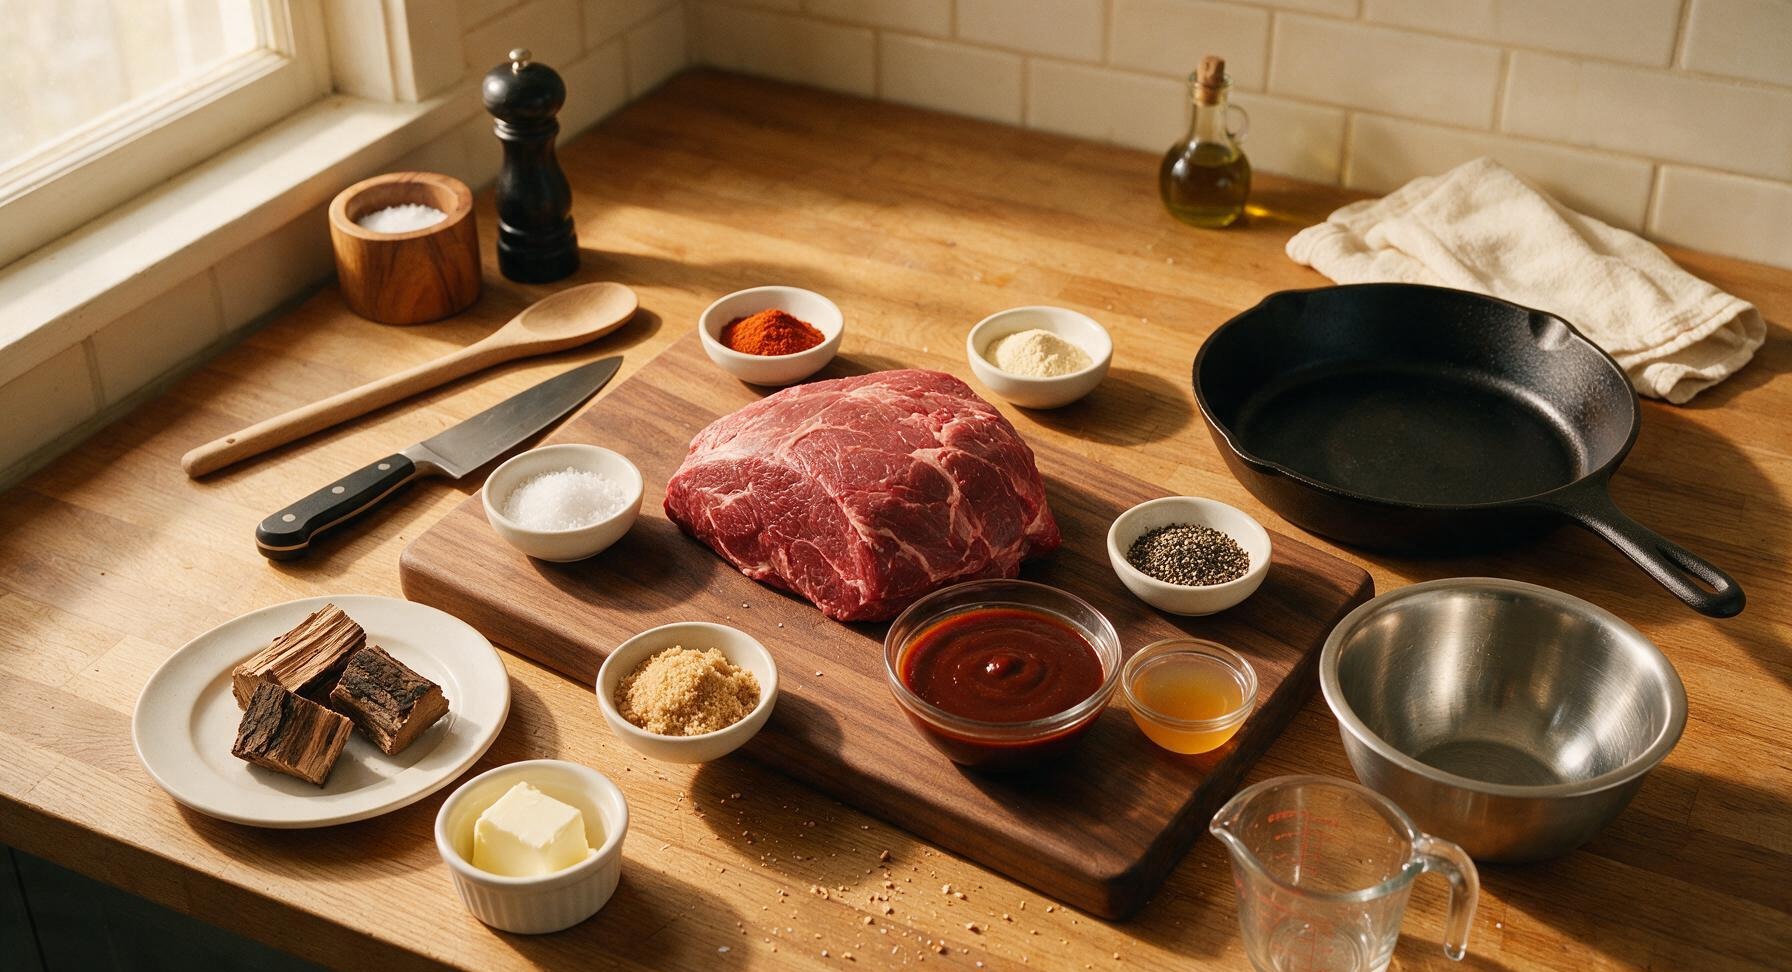
Ingredients
Steps
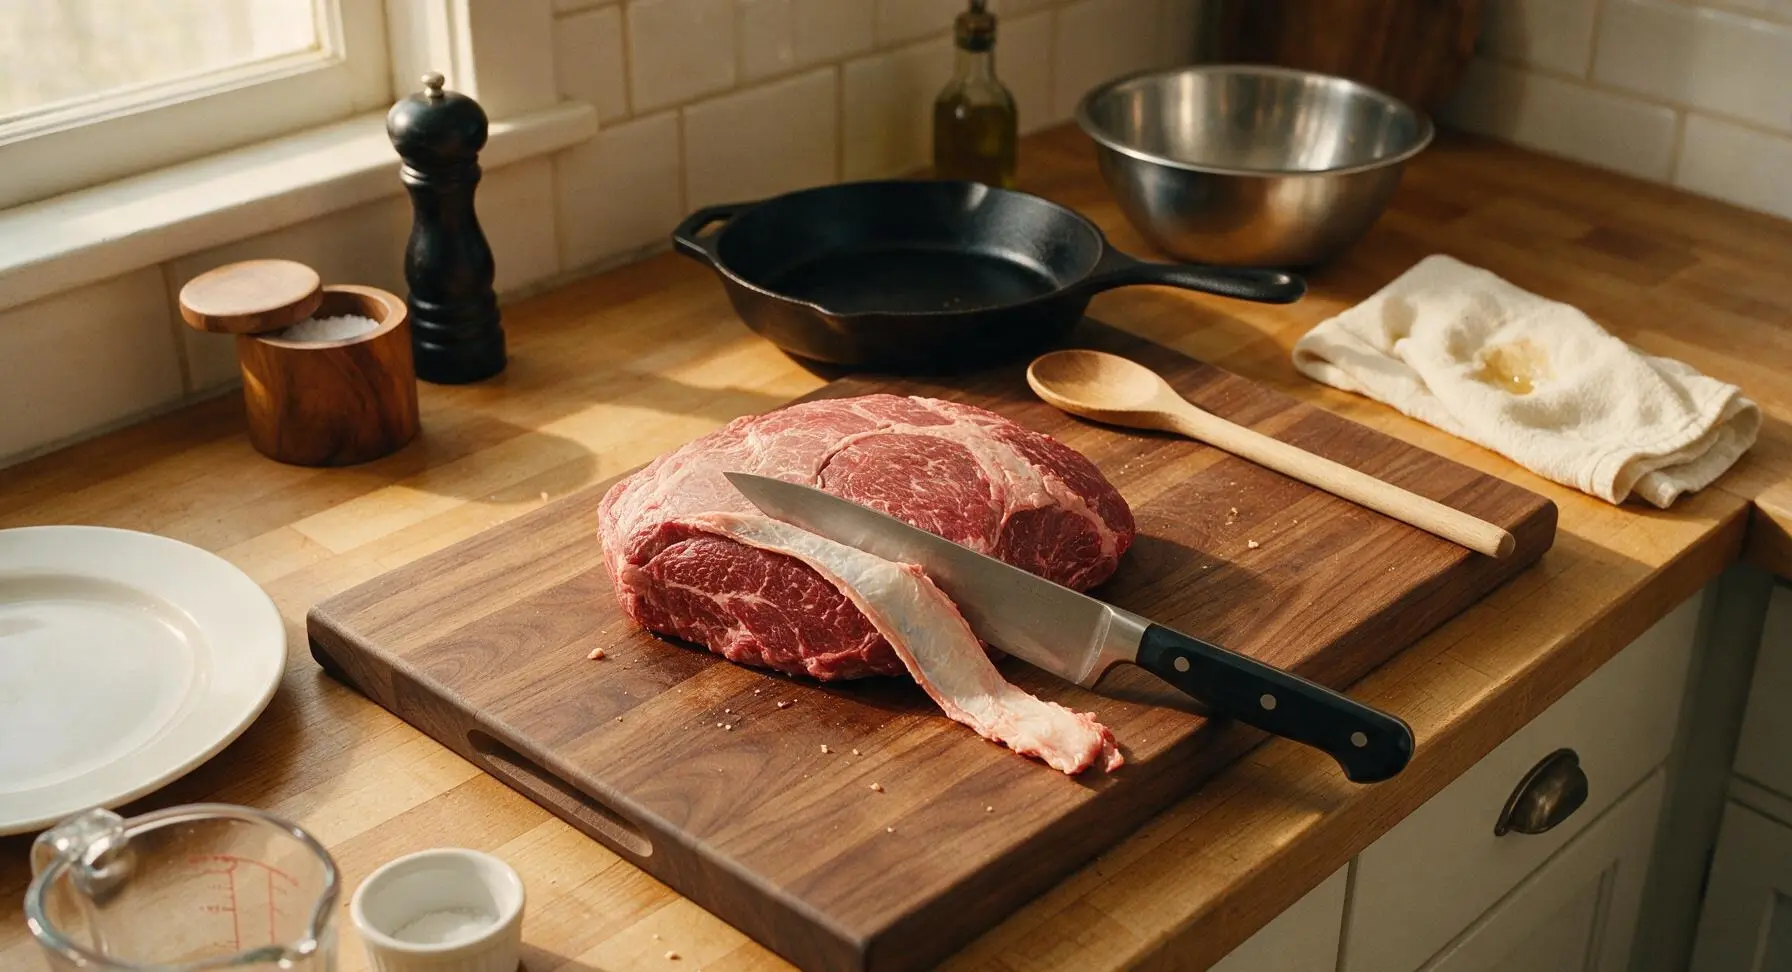
Trim Bison Chuck
Place the 1.5kg bison chuck roast on the honey oak end-grain cutting board. Use the 8-inch chef knife to trim away thick, tough silver skin from the roast surface, leaving only a thin 1/8-inch layer of fat (bison is significantly leaner than beef, so minimal fat retention prevents drying during long cooking). Pat the entire roast completely dry with the edge of the cream linen towel, until the surface feels matte and free of visible wet spots.
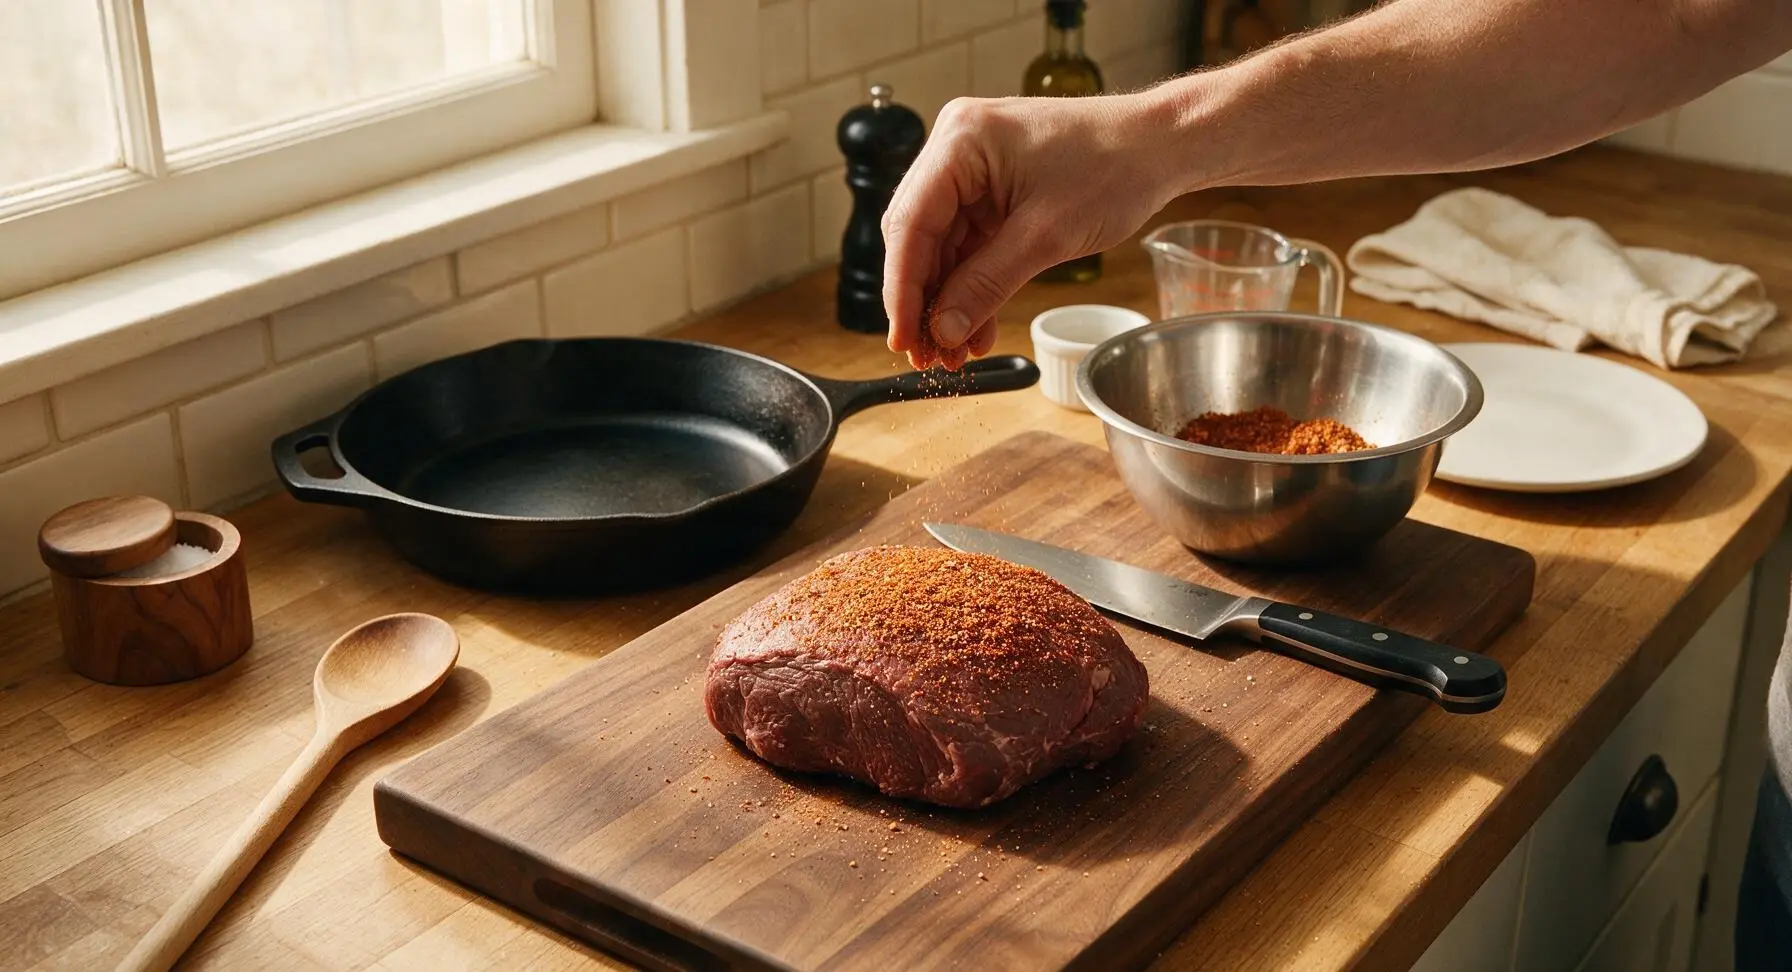
Apply Dry Rub
Combine 2 tbsp kosher salt, 2 tbsp coarse black pepper, 1 tbsp smoked paprika, 1 tbsp garlic powder, and 1 tbsp light brown sugar in the medium stainless steel mixing bowl, stirring until fully blended with no clumps of brown sugar. Sprinkle the rub evenly over every surface of the trimmed, dried bison roast, pressing gently to help the spices adhere to the meat. Ensure no patches of bare meat remain visible.
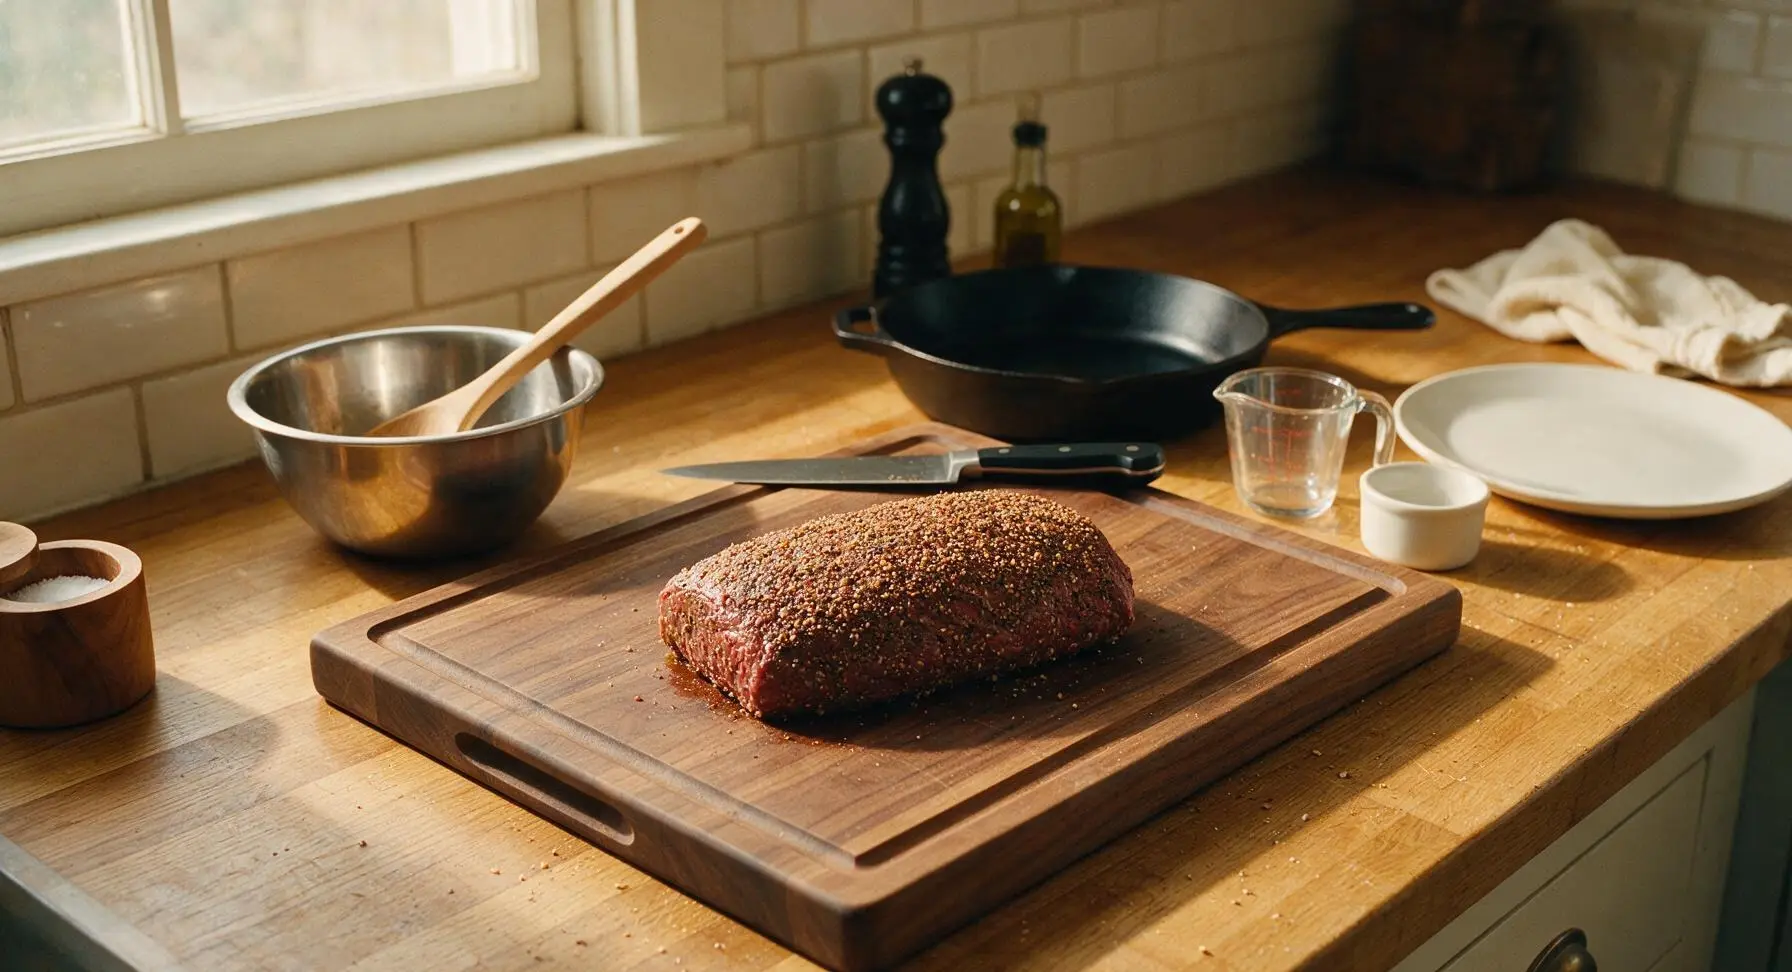
Smoke to Initial Temp
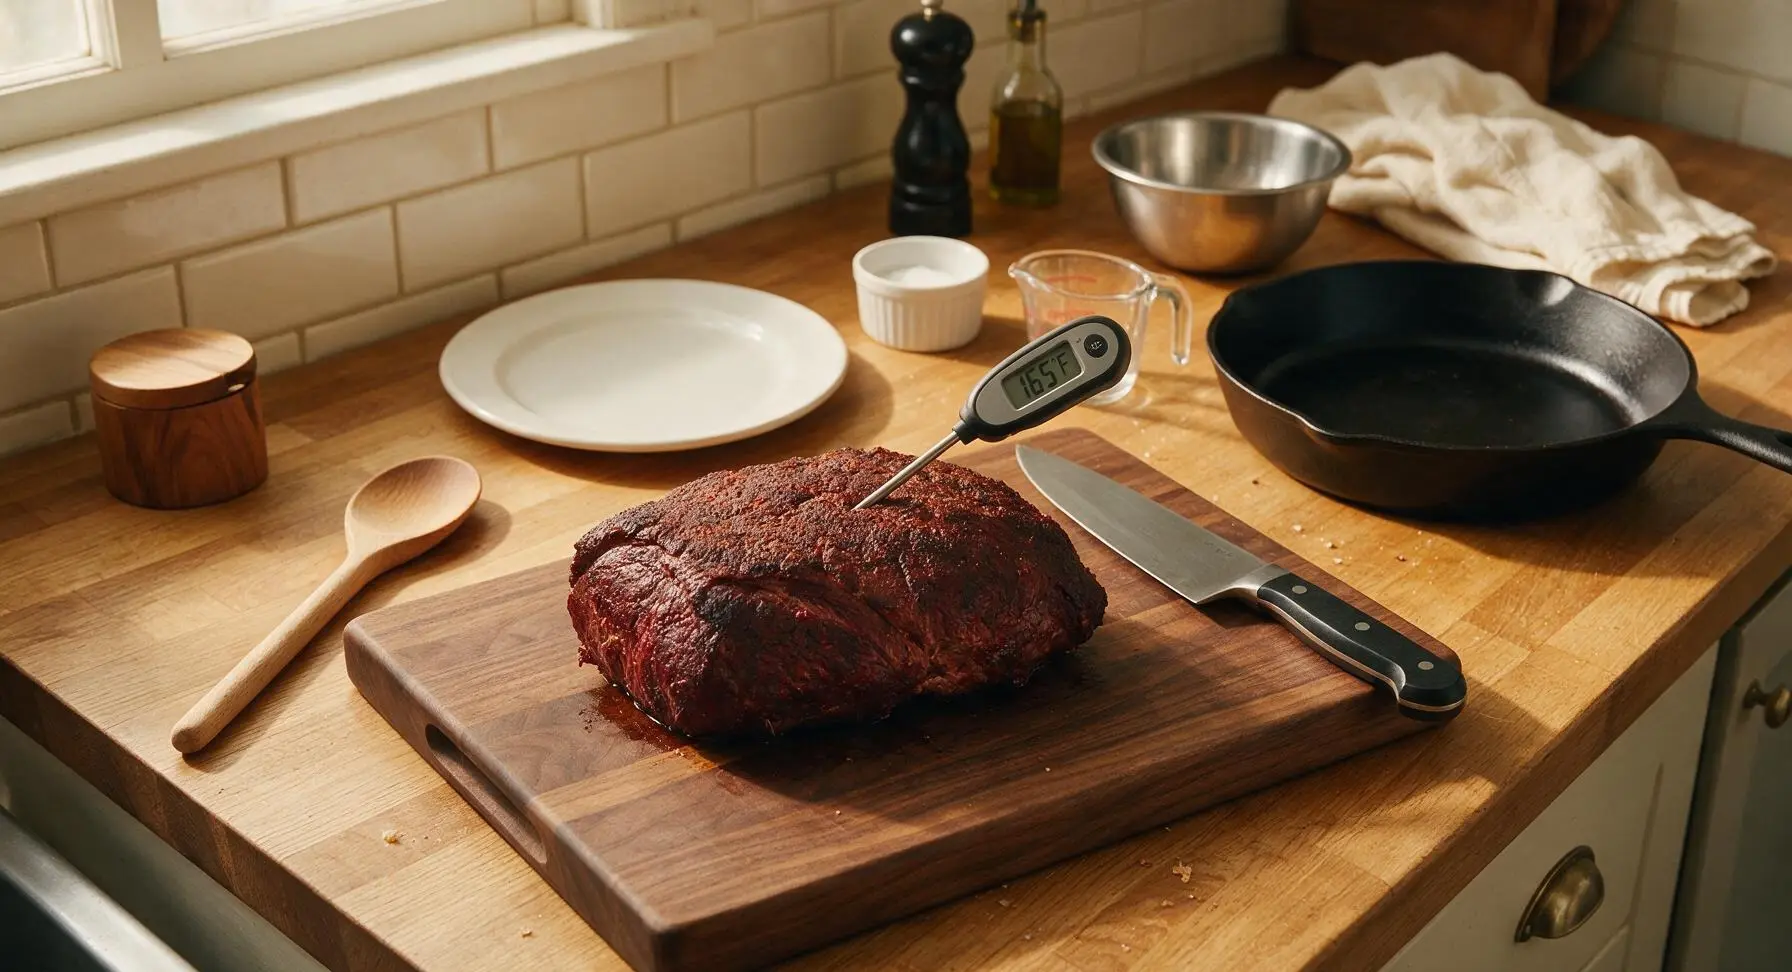
Preheat your smoker to 225°F (107°C), add the 3 hickory wood chunks to produce mild, smoky flavor. Transfer the rubbed bison roast to the smoker grates, fat side up, and smoke for 3 hours, maintaining a consistent internal smoker temperature. Bring the roast back to the prep counter to check doneness: it should have a firm, dark reddish-brown bark, and register 165°F (74°C) on the digital instant-read thermometer inserted into the thickest part of the roast, avoiding bone or fat.
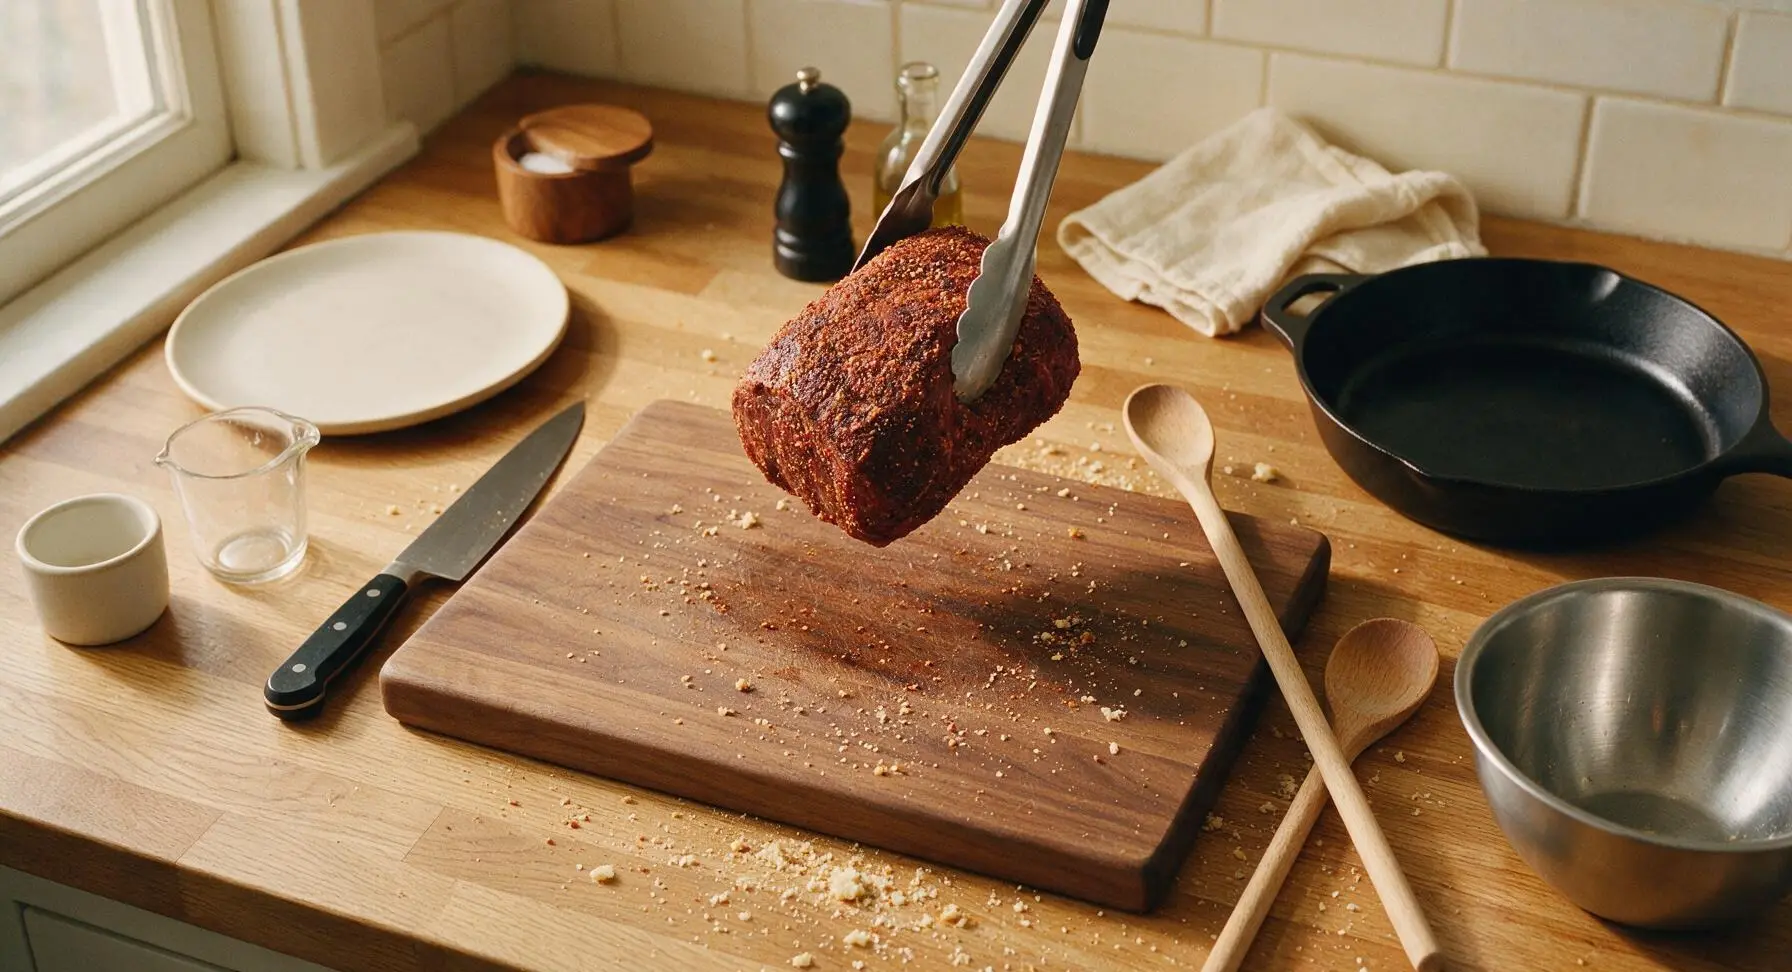
Cube Smoked Roast
Place the temperature-checked smoked bison roast back on the oak cutting board. Use the 8-inch chef knife to cut the roast into uniform 1.5-inch cubes, keeping cuts as even as possible to ensure consistent cooking in the next stage. The cut cubes will show a dark spiced bark on the outside and a faint pink smoke ring just inside the bark, with juicy, slightly pink interior meat.
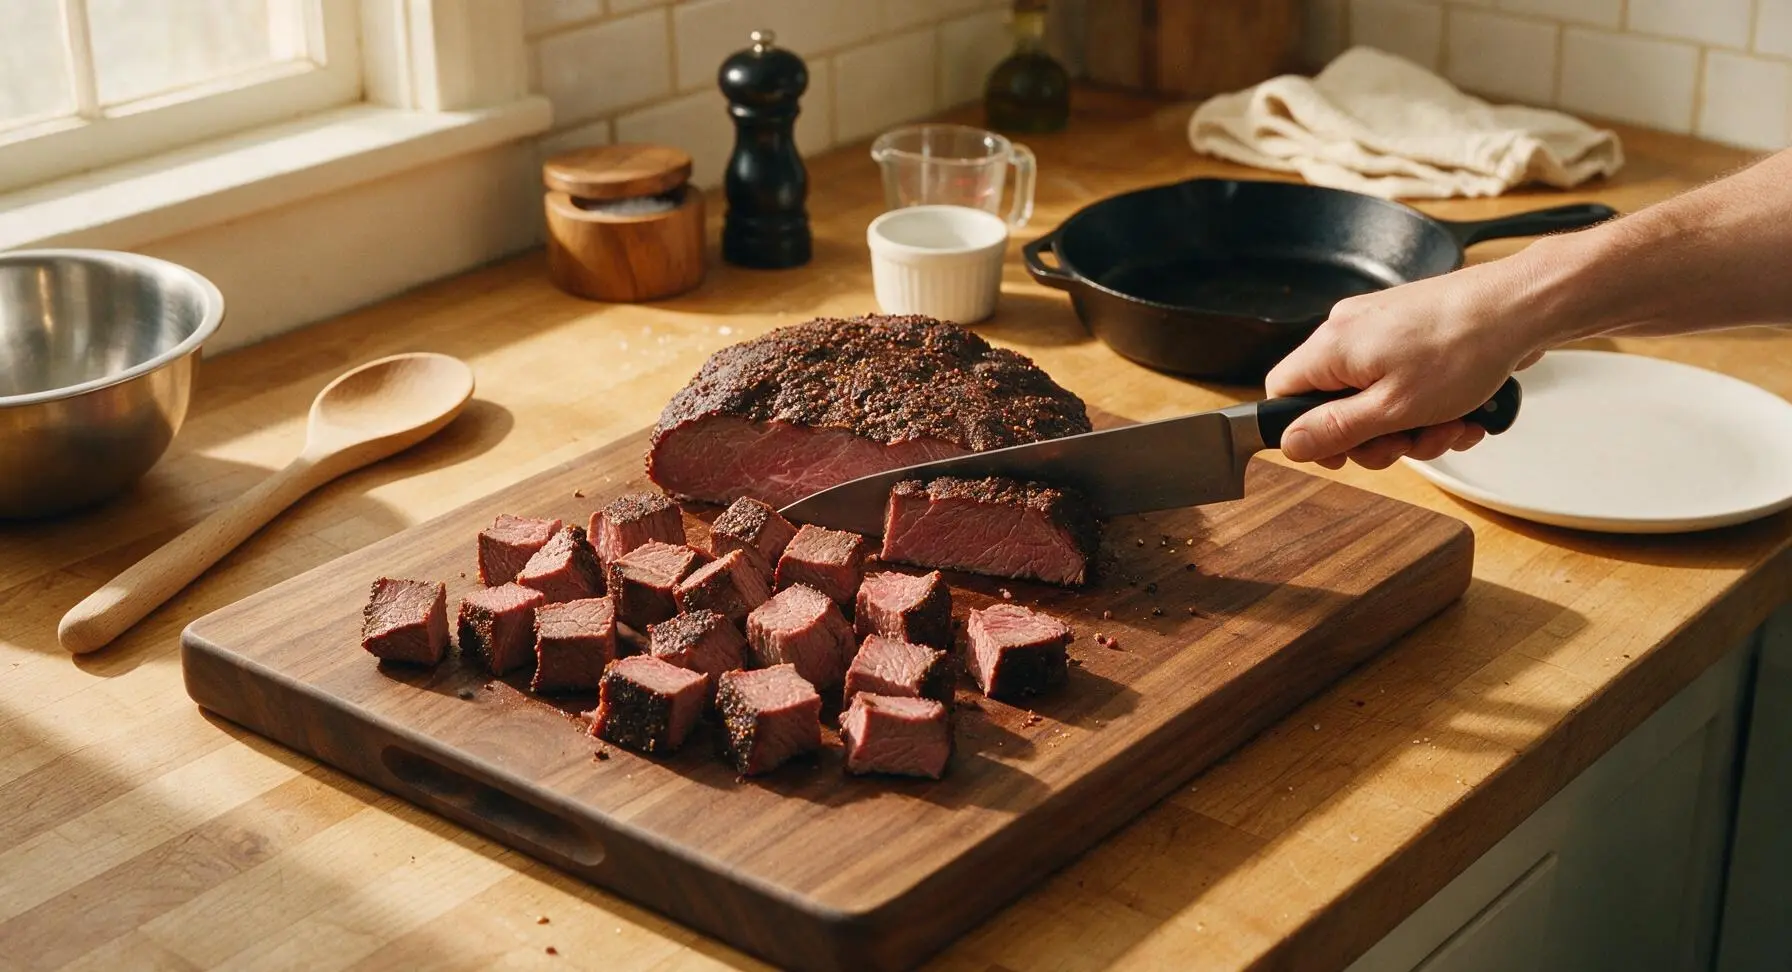
Toss with Sauce and Butter
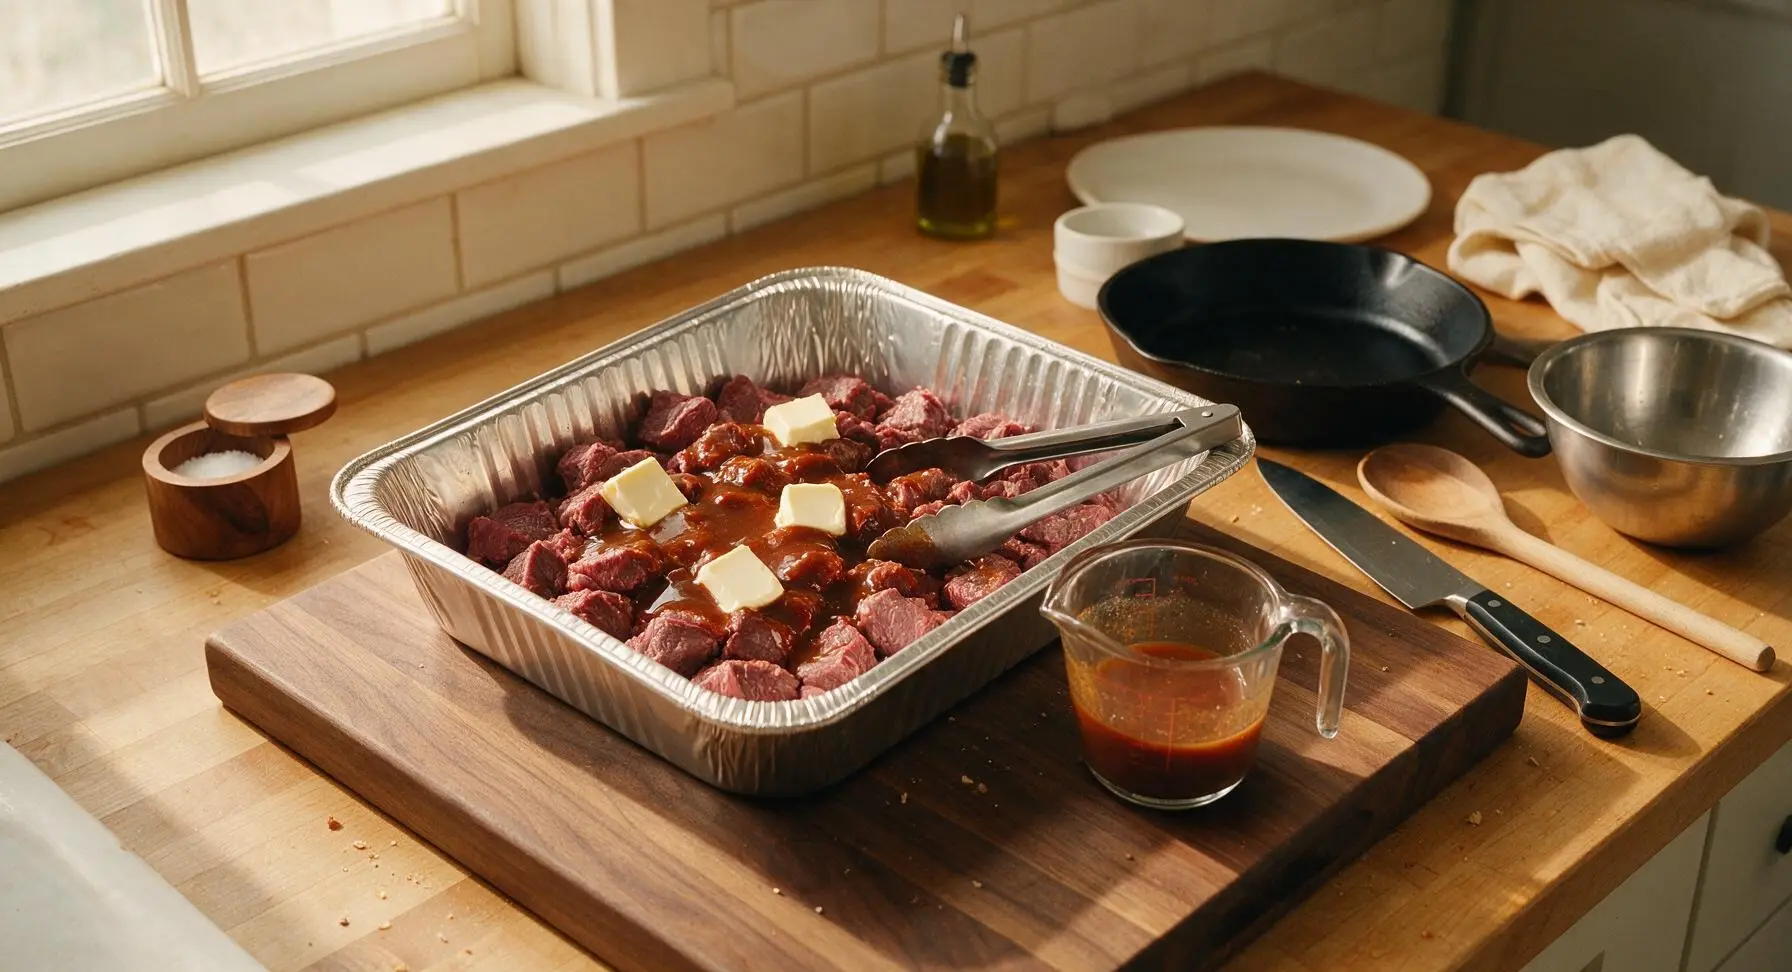
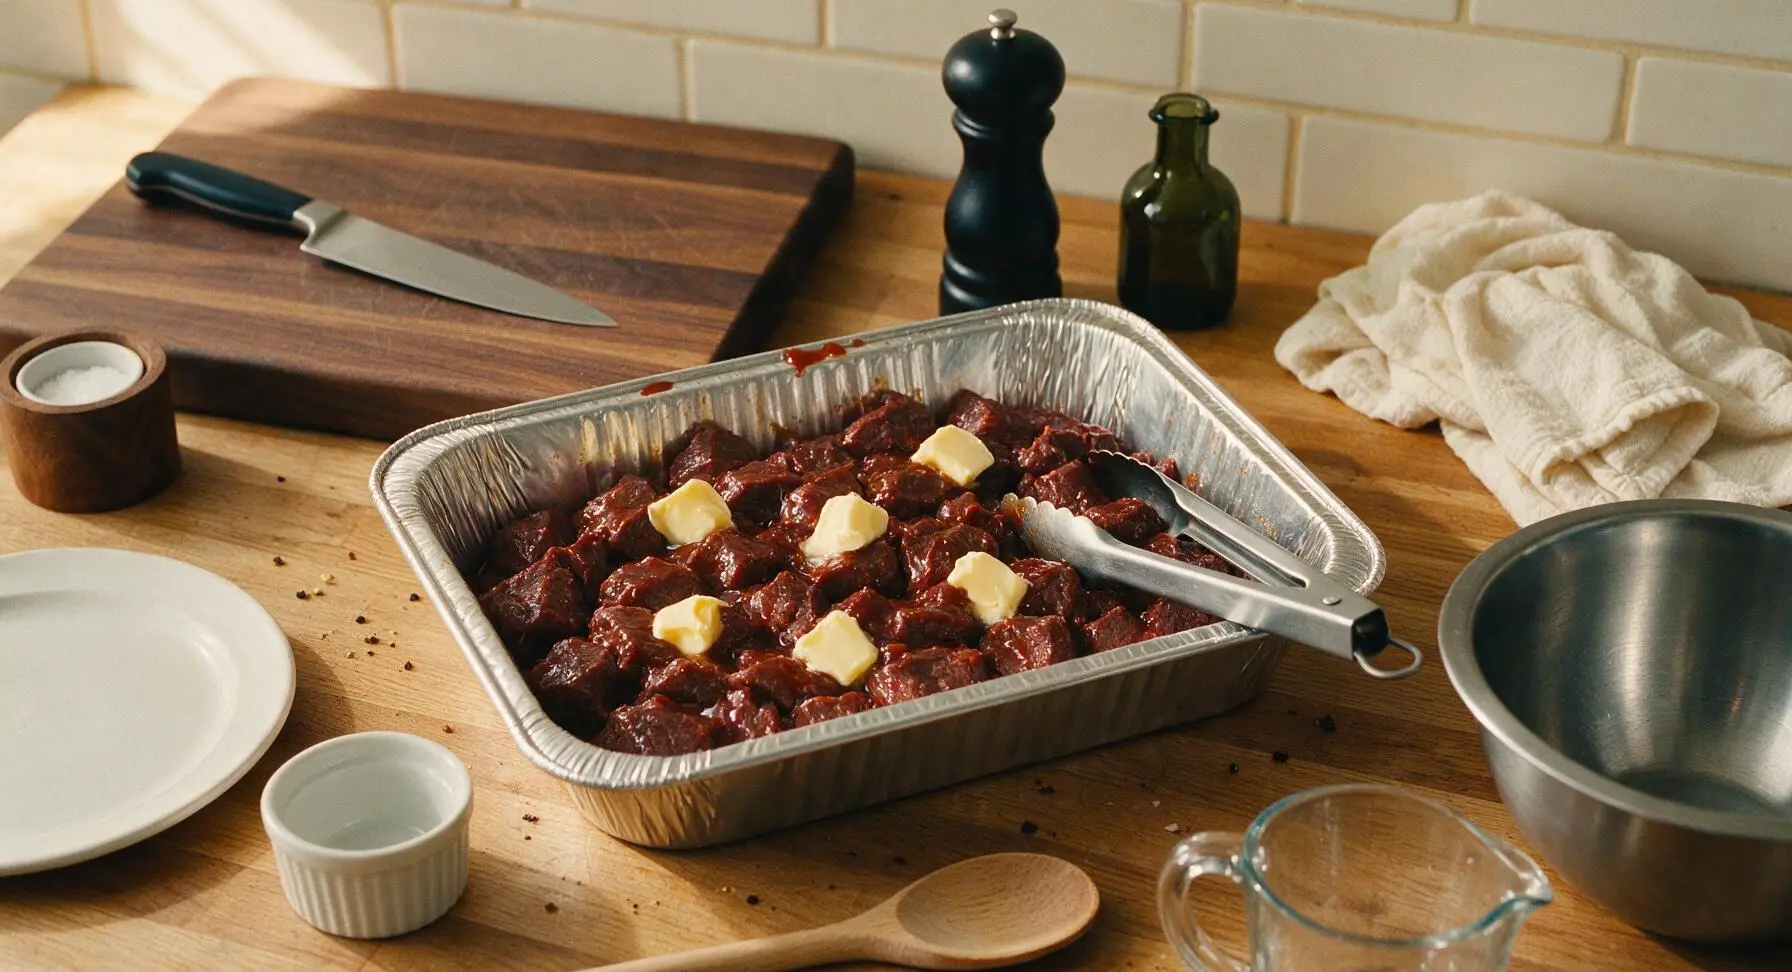
Transfer all cut bison cubes into the 9x13 inch aluminum foil pan. Cut the 4 tbsp unsalted butter into 4 equal pats and scatter evenly over the top of the cube pile. In the clear tempered glass measuring cup, whisk together 250ml Kansas City BBQ sauce and 60ml apple cider vinegar until smooth, then pour 3/4 of the mixture over the bison cubes. Toss gently with the stainless steel tongs to coat every cube evenly in sauce.
Braise Until Tender
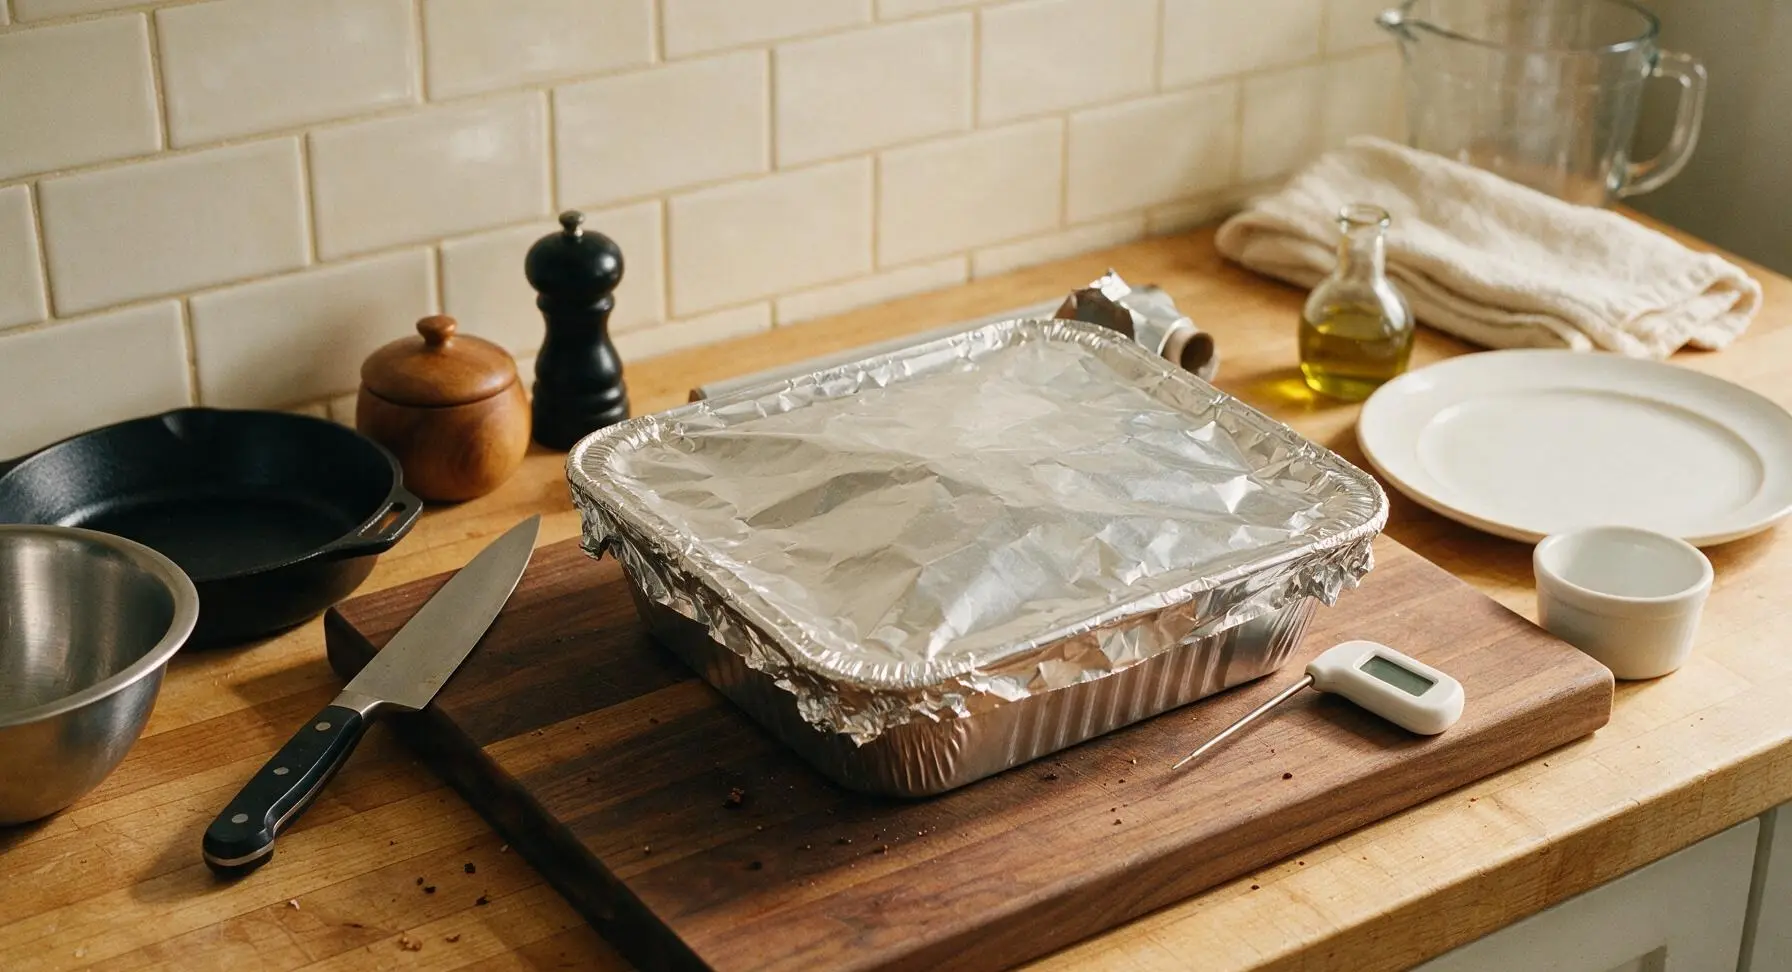
Tear off two sheets of heavy-duty aluminum foil from the roll, and cover the aluminum foil pan tightly, crimping all edges to create an airtight seal that traps steam inside. Return the sealed pan to the 225°F smoker and cook for 1 hour, until the cubes reach 200°F (93°C) internal temperature and are probe-tender: the thermometer should slide into a cube with no resistance, like pushing into soft room-temperature butter.
Caramelize the Glaze
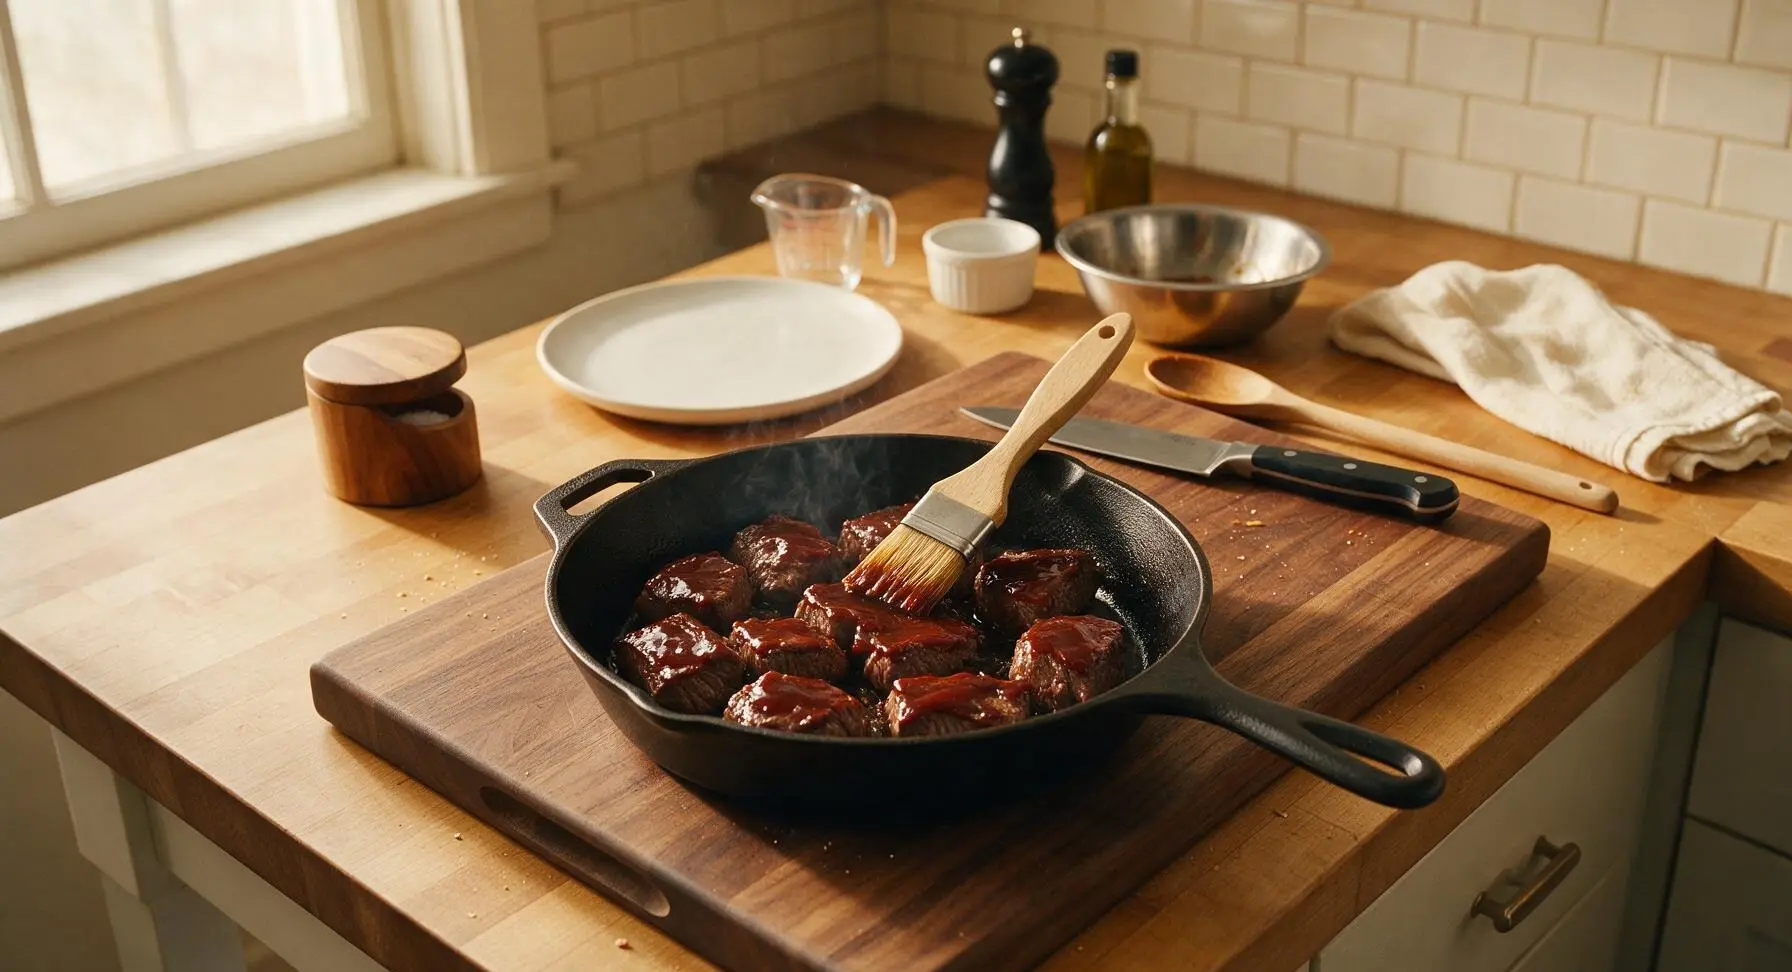
Remove the foil cover from the pan (be careful of escaping hot steam), then use the boar bristle basting brush to brush the remaining 1/4 of the BBQ sauce-vinegar mixture over the top of every bison cube. Leave the pan uncovered and return it to the smoker for an additional 30 minutes, until the glaze is sticky, bubbly, and caramelized around the cube edges, with no thin, runny sauce pooling in the bottom of the pan.
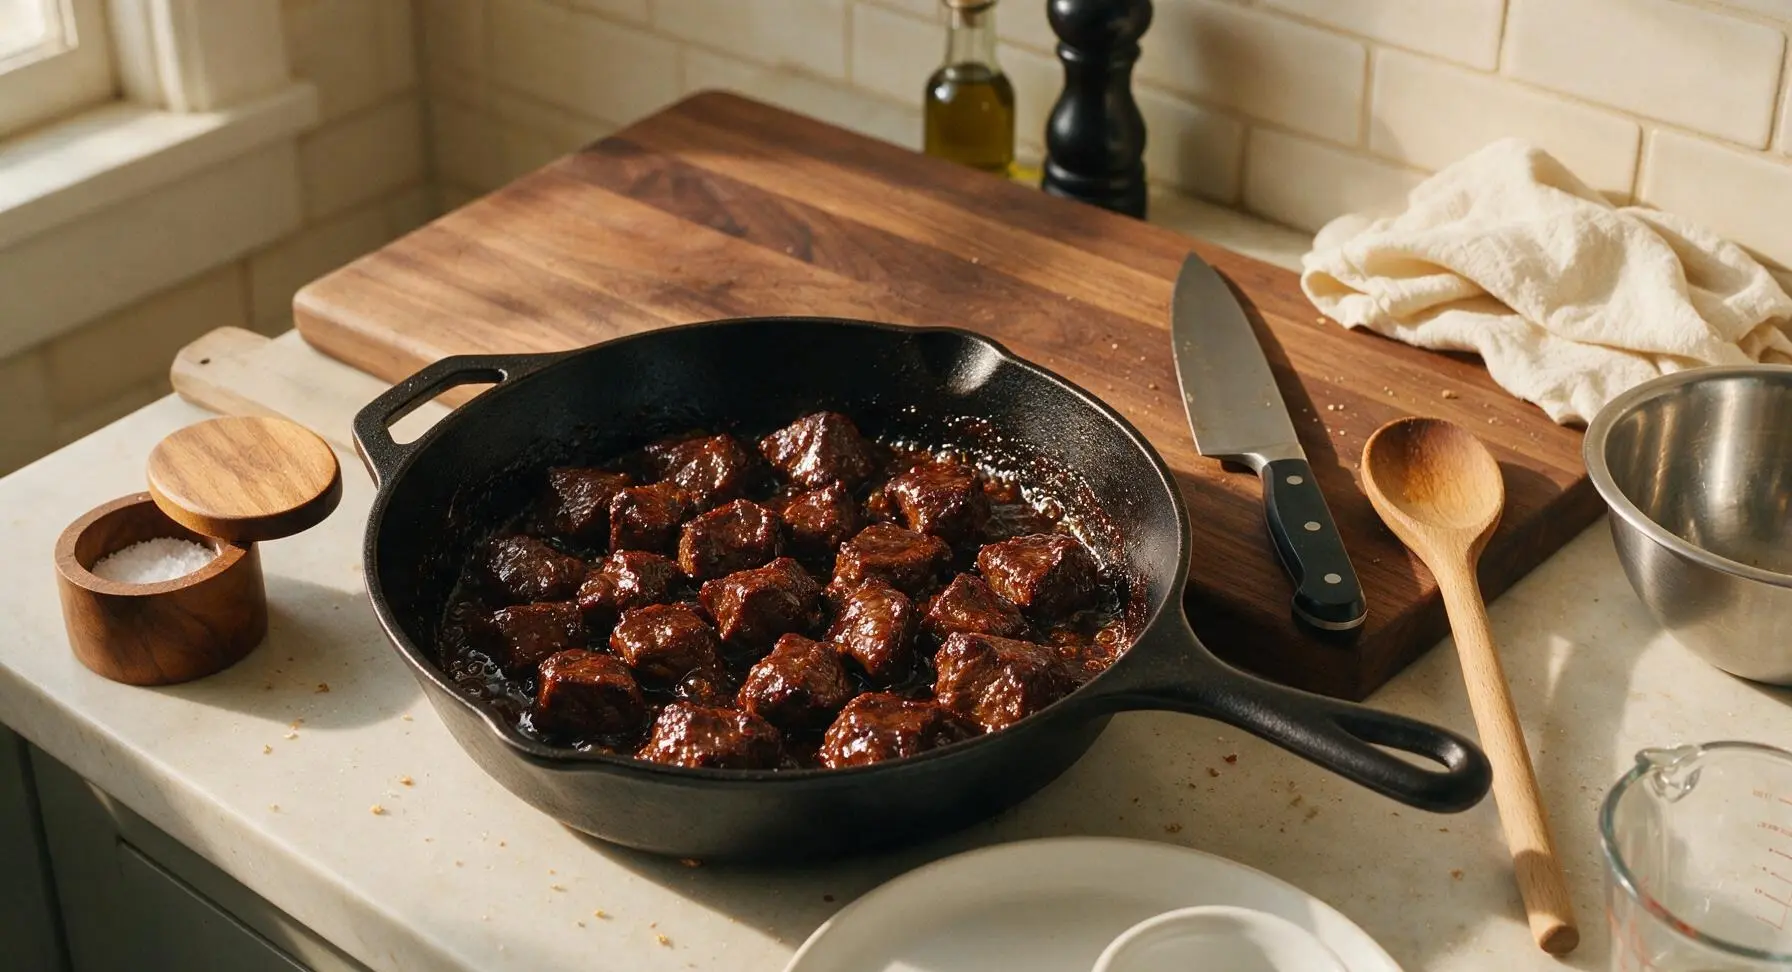
Rest and Serve
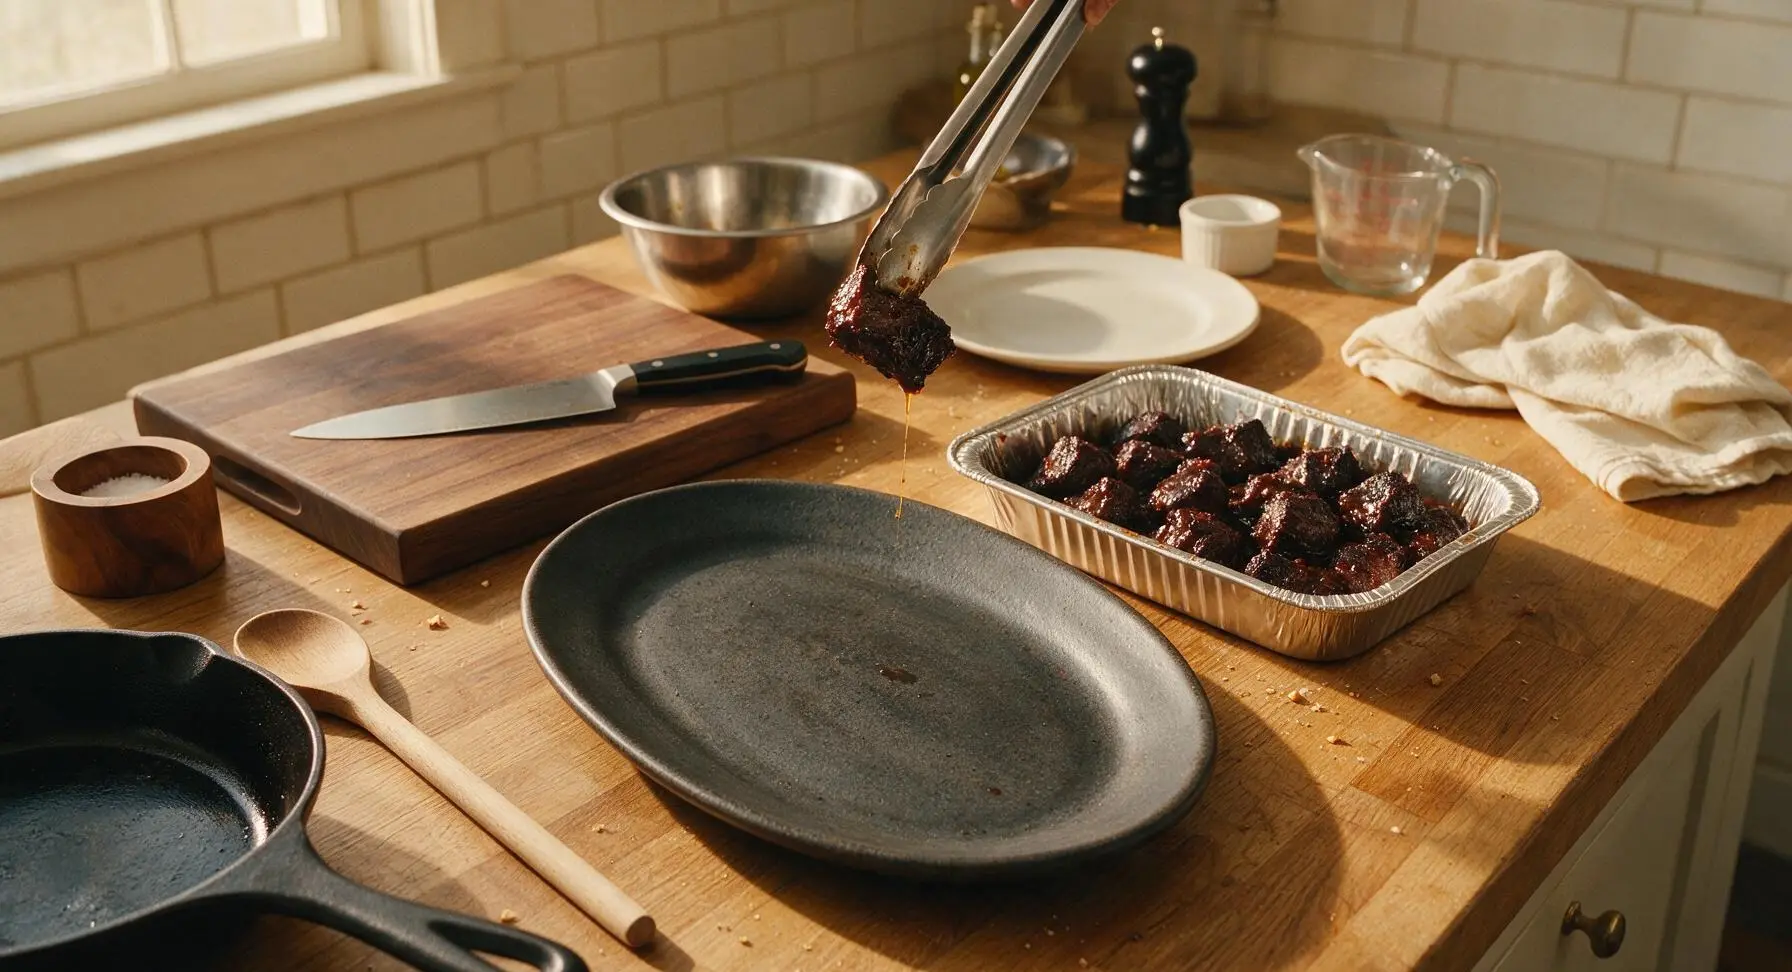
Remove the pan of burnt ends from the smoker and let them rest for 10 minutes in the pan, allowing juices to redistribute and the glaze to set slightly. Use the tongs to transfer the burnt ends to the matte charcoal stoneware oval platter, spooning any remaining thick glaze from the pan over the top of the pile before serving.
Tips
2.Go light on smoke wood: Bison has a richer, slightly sweeter, more mineral-forward flavor than grain-fed beef, so 3 small hickory chunks (not full logs) produce a balanced smoke level; too much smoke will overpower the meat and leave a bitter aftertaste.
3.Prioritize texture over temperature: While 200°F is a target internal temp, bison connective tissue can take longer to fully break down. Always test for probe tenderness (thermometer slides in with zero resistance) before removing the cubes, as tough, under-braised bison will be chewy instead of melt-in-your-mouth tender.






OMG these bison burnt ends were an absolute game changer for our weekend cookout! I was worried bison would be too lean and dry out, but following the temp guide here kept them juicy and packed so much smoky flavor. My whole crew went back for seconds, even my picky 10 year old who swears he only eats chicken nuggets. 10/10 will be making these for every potluck this summer!
Loved the flavor on these, but my first batch came out a little chewier than I expected. I think I cut the cubes too big? Cook time was almost exactly 4.5 hours but I was using an older offset smoker so temp fluctuated a bunch. Still tasty, just not as fall-apart tender as the photos look.
SO good! I made a big batch of these on Sunday to portion out for weekday lunches, and they reheated like an absolute dream in the air fryer. Tossed them in a little extra BBQ sauce before reheating and my coworkers kept stopping by my desk asking what smelled so good. Way better than the sad takeout I usually grab for lunch.
Made these for our family dinner last night and my kids loved it! I swapped the regular BBQ sauce for a honey bourbon variety to add a little extra sweetness, and it paired perfectly with the roasted corn and coleslaw I served on the side. Will absolutely be adding this to our regular rotation.
Took these along on our post-hike campout last weekend and they were a hit! Packed so much flavor, didn’t take up too much cooler space, and even cooked partially over the campfire coals when my portable smoker ran out of pellets. Total crowd pleaser after 6 miles of uphill hiking.
Made these for our 4th of July beach cookout and they flew off the platter before I even got a second piece! Only note is I’d make a double batch next time, because everyone was asking for the recipe before we even finished eating. The bark on these is unreal, way better than the regular brisket burnt ends I usually make.
Medium difficulty is no joke, y’all. I’m pretty new to smoking meats and I definitely messed up the first spritz step, so my first round was a little dry. But the flavor profile was so good I’m gonna give it another shot this weekend, I already picked up another bison chuck roast from the local butcher.
Wait I’ve never cooked bison before, is it really that different from beef? I can get bison chuck at my local grocery store for a pretty good price this week, but I don’t wanna waste money if it’s gonna taste gamey or something. I’ve made regular brisket burnt ends a dozen times so I’m comfortable with the process, just nervous about the meat swap! The instructions look super straightforward so I’m sure it’ll turn out great, just wanted to ask!
Made these for our first college football tailgate of the season and they were the star of the spread! I served them with little pickles and slider buns so people could make mini sandwiches, and even the opposing team fans were coming over to ask for a bite. 10/10, will be making these for every home game this fall.
These are such a great higher-protein swap for regular burnt ends! I tracked the macros and they’re way leaner than the brisket version I usually make, which is perfect for when I’m craving BBQ but don’t wanna blow my calorie goals for the week. The flavor is so spot on I don’t even miss the extra fat.
Wait the cook time says 4.5 hours, but does that include the resting time? I’m making these for a dinner party on Saturday and I’m trying to plan out my day so I don’t have guests showing up when the meat’s still on the smoker. Don’t wanna be that guy! The recipe looks incredible otherwise, just wish total time including rest was listed upfront.
I’ve been making beef burnt ends for 20 years and decided to give bison a shot after seeing this recipe. Color me impressed! The bark was perfect, the sauce caramelized just right, and even my old school BBQ buddies who swear bison is “health nut food” were going back for thirds. Only change I made was adding a little extra cayenne for heat, which worked great.
Just pulled these out of the smoker and oh my GOD, the smell alone is worth the 4.5 hour wait. I haven’t even sauced them yet and I’ve already snuck three pieces, they’re that good. Will update once the rest of the family tries them but so far this is a home run.