
bite size waffle maker

title 1
bite size waffle maker
⏱️ cook time 15 minutes
🍽️ servings 4
⚡ Difficulty easy

intro

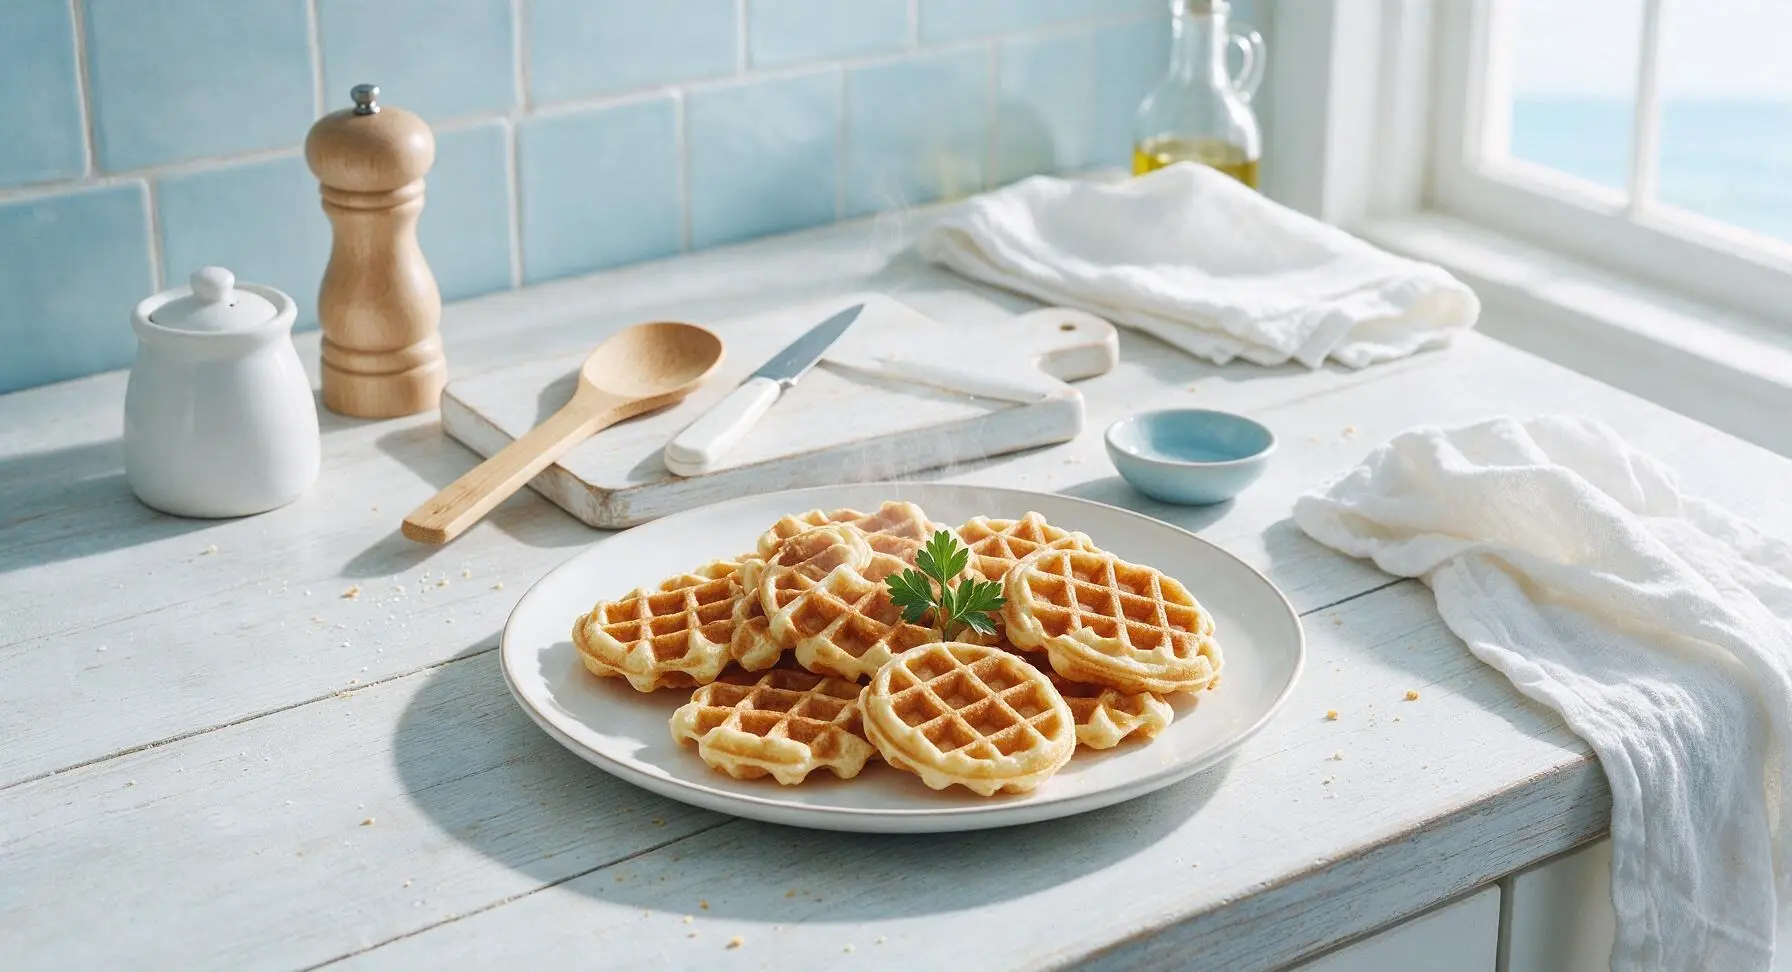
Crisp-edged, fluffy-centered bite-sized buttermilk waffles made in a mini waffle maker, quick to prep, perfect for dipping, and ideal for fast, cozy weekday meals.

Ingredients
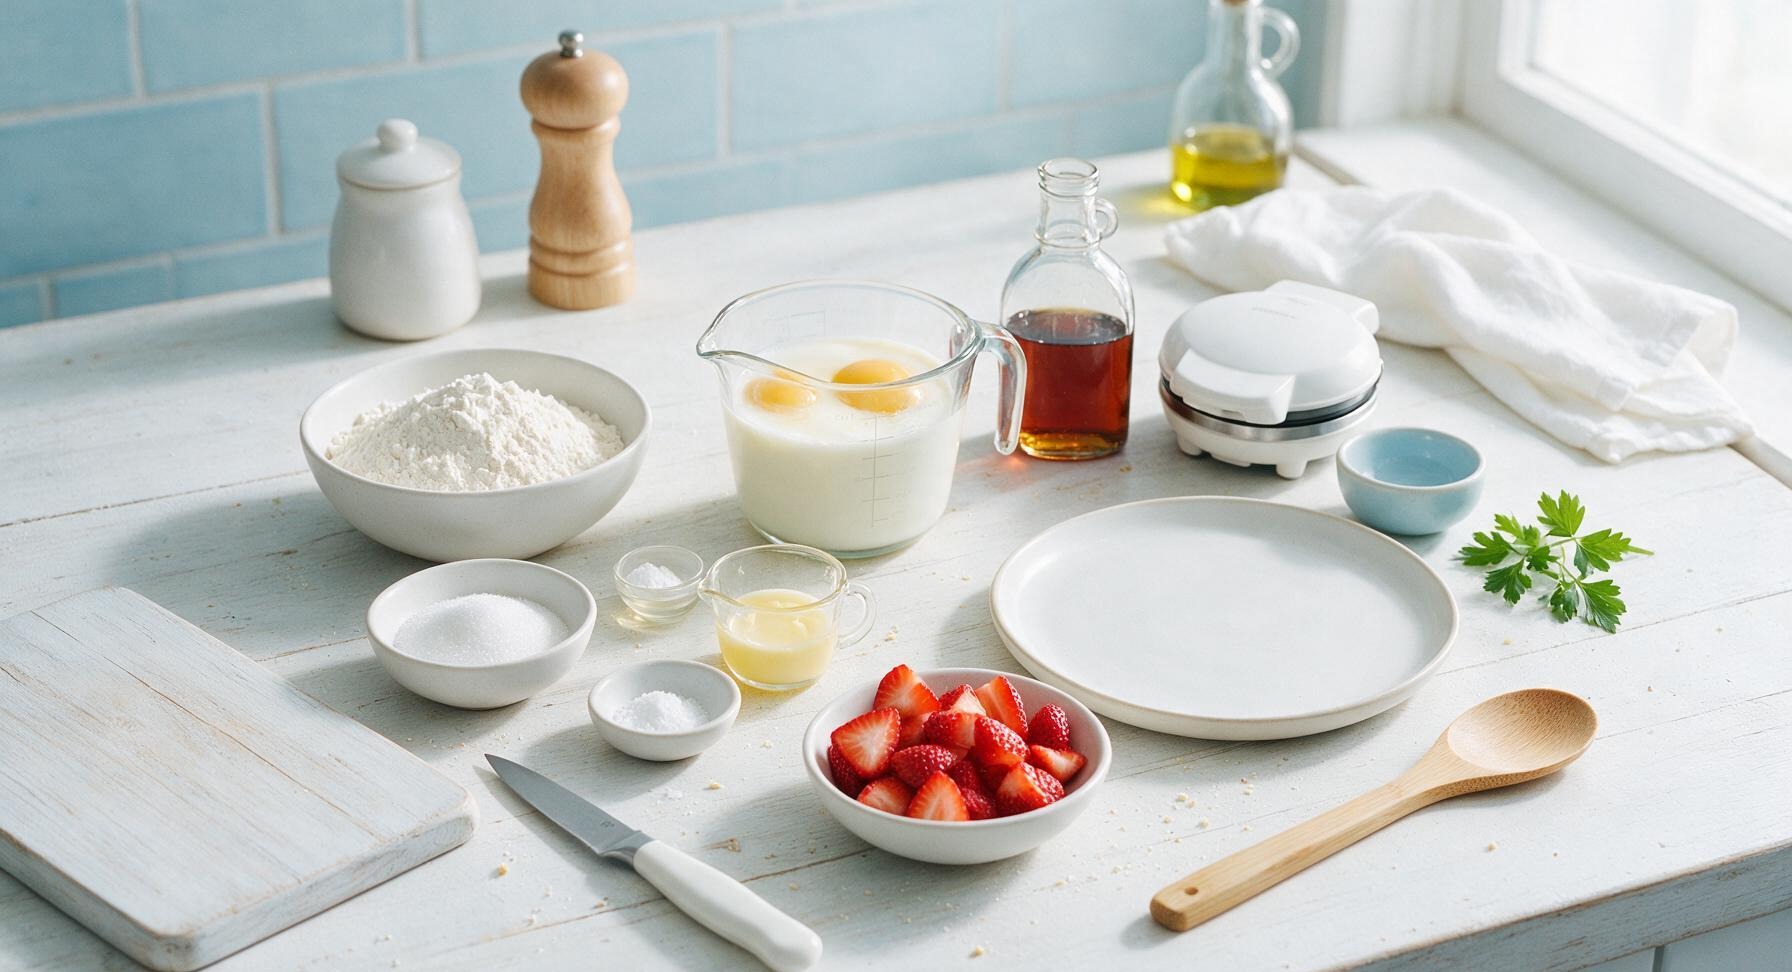
All-purpose flour 2 cups (240g)
Granulated sugar 2 tbsp (25g)
Baking powder 1 tsp
Baking soda 1/2 tsp
Fine sea salt 1/2 tsp
Large eggs 2 each
Whole buttermilk 1 3/4 cups (420ml)
Unsalted butter (melted, cooled) 4 tbsp (57g)
Pure vanilla extract 1 tsp
Pure maple syrup (for serving) 1/2 cup (120ml)
Fresh strawberries (for garnish) 1 cup (150g, sliced)

Steps

1

Preheat Waffle Maker

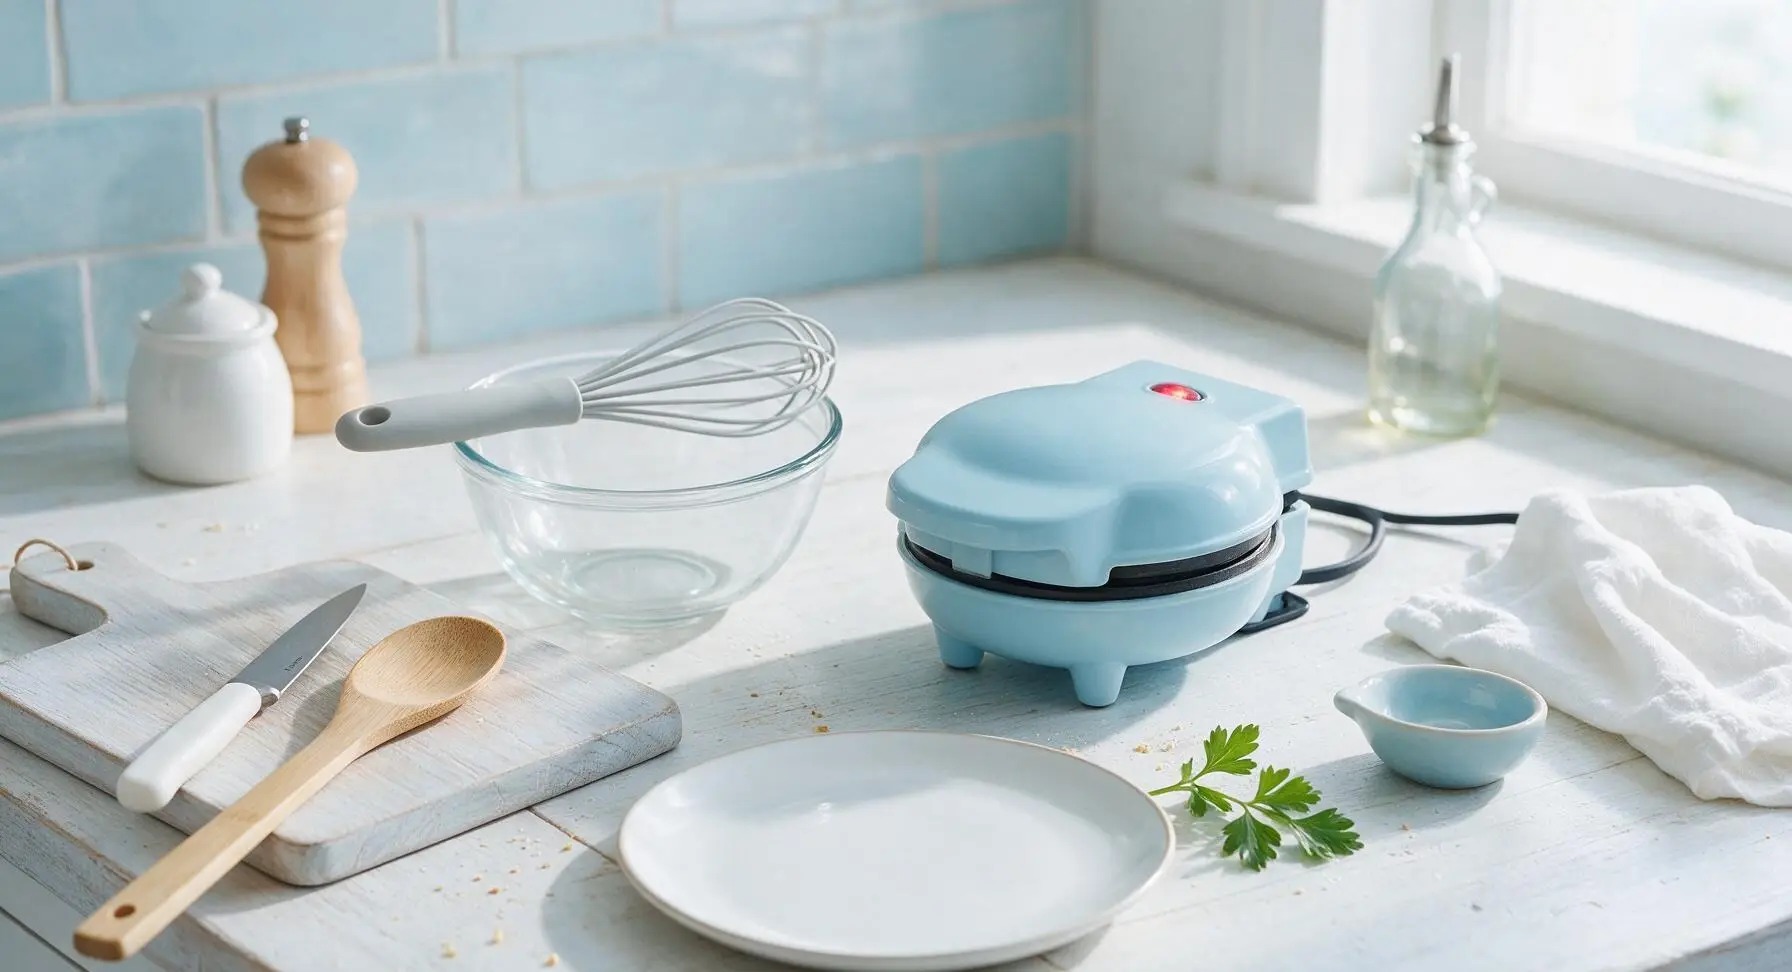
Plug in the pastel blue mini bite-size waffle maker and preheat to medium heat (375°F/190°C) for 3-4 minutes, until the built-in indicator light shows the plates are fully heated. There is no need to grease high-quality nonstick plates; if your waffle maker has older, worn nonstick, lightly brush plates with 1/4 tsp melted butter before heating. Keep the lid closed during preheating.
Step 1
step1:Preheat Waffle Maker
2

Whisk Dry Ingredients

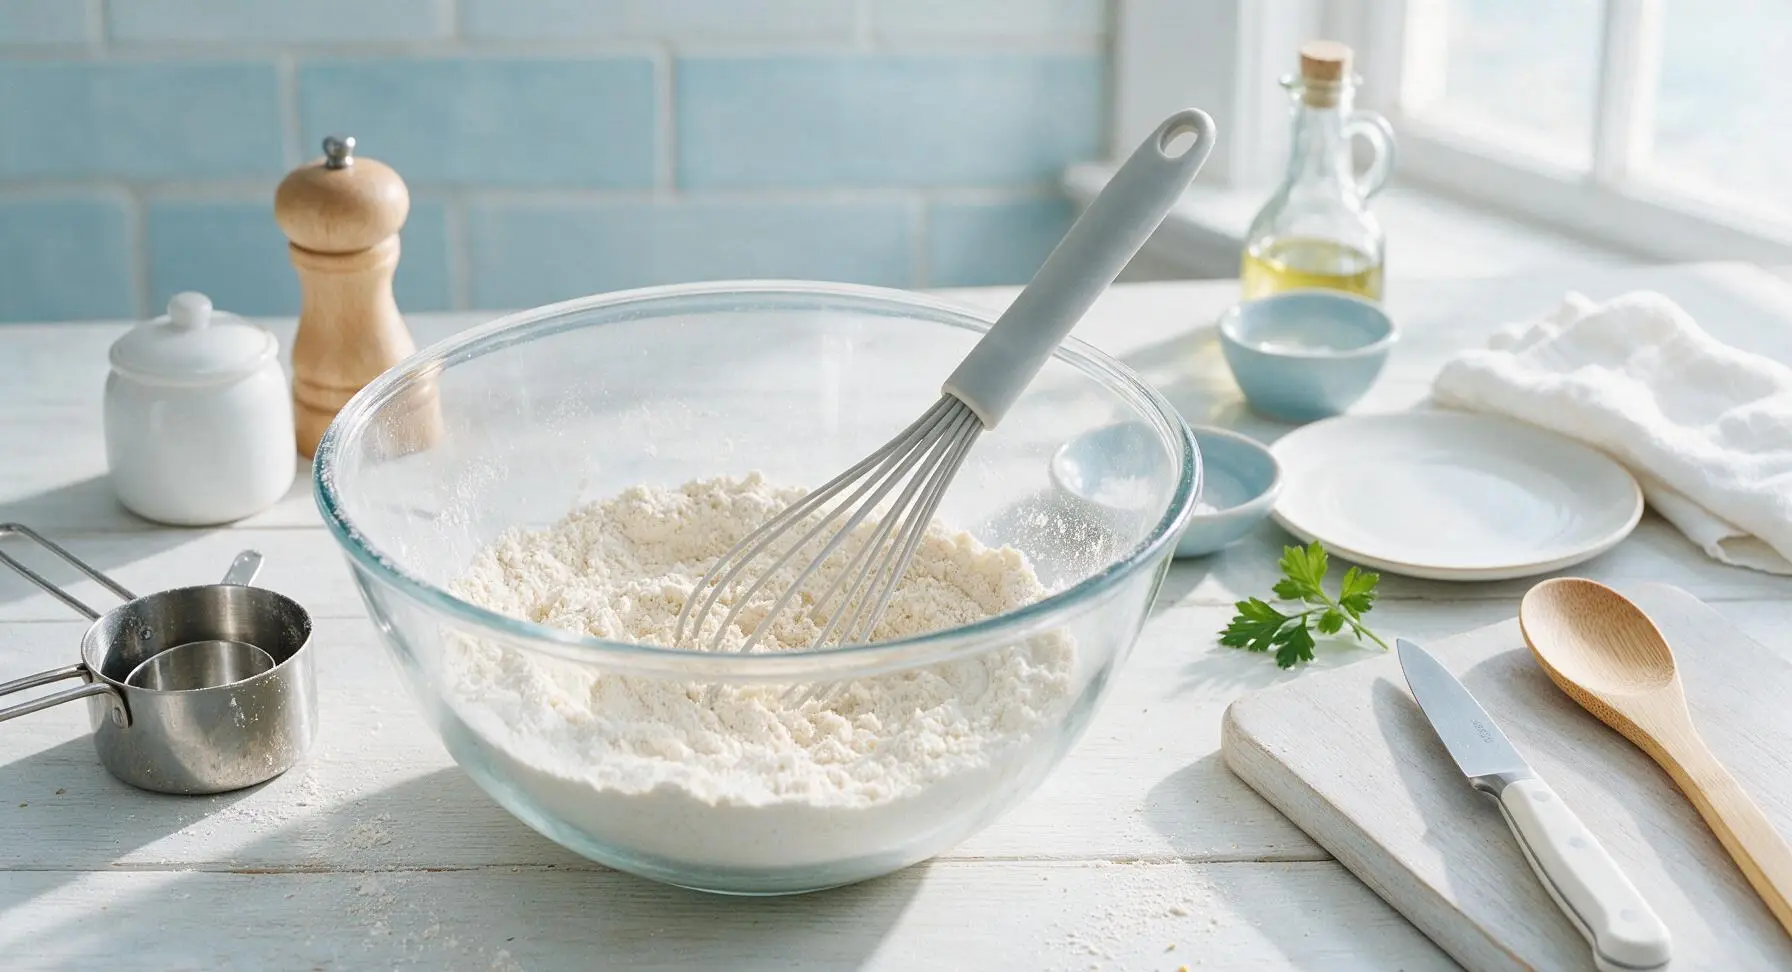
Add 2 cups all-purpose flour, 2 tbsp granulated sugar, 1 tsp baking powder, 1/2 tsp baking soda, and 1/2 tsp fine sea salt to the clear 2L glass mixing bowl. Use the light gray silicone whisk to stir the dry ingredients for 30 seconds, until fully combined with no visible clumps of leavening or uneven color.
Step 2
step2:Whisk Dry Ingredients
3

Add Wet Ingredients

Create a 10cm (4-inch) wide well in the center of the whisked dry ingredients. Crack 2 large eggs directly into the well, then pour in 1 3/4 cups whole buttermilk, 4 tbsp cooled melted unsalted butter, and 1 tsp pure vanilla extract. Do not stir yet.
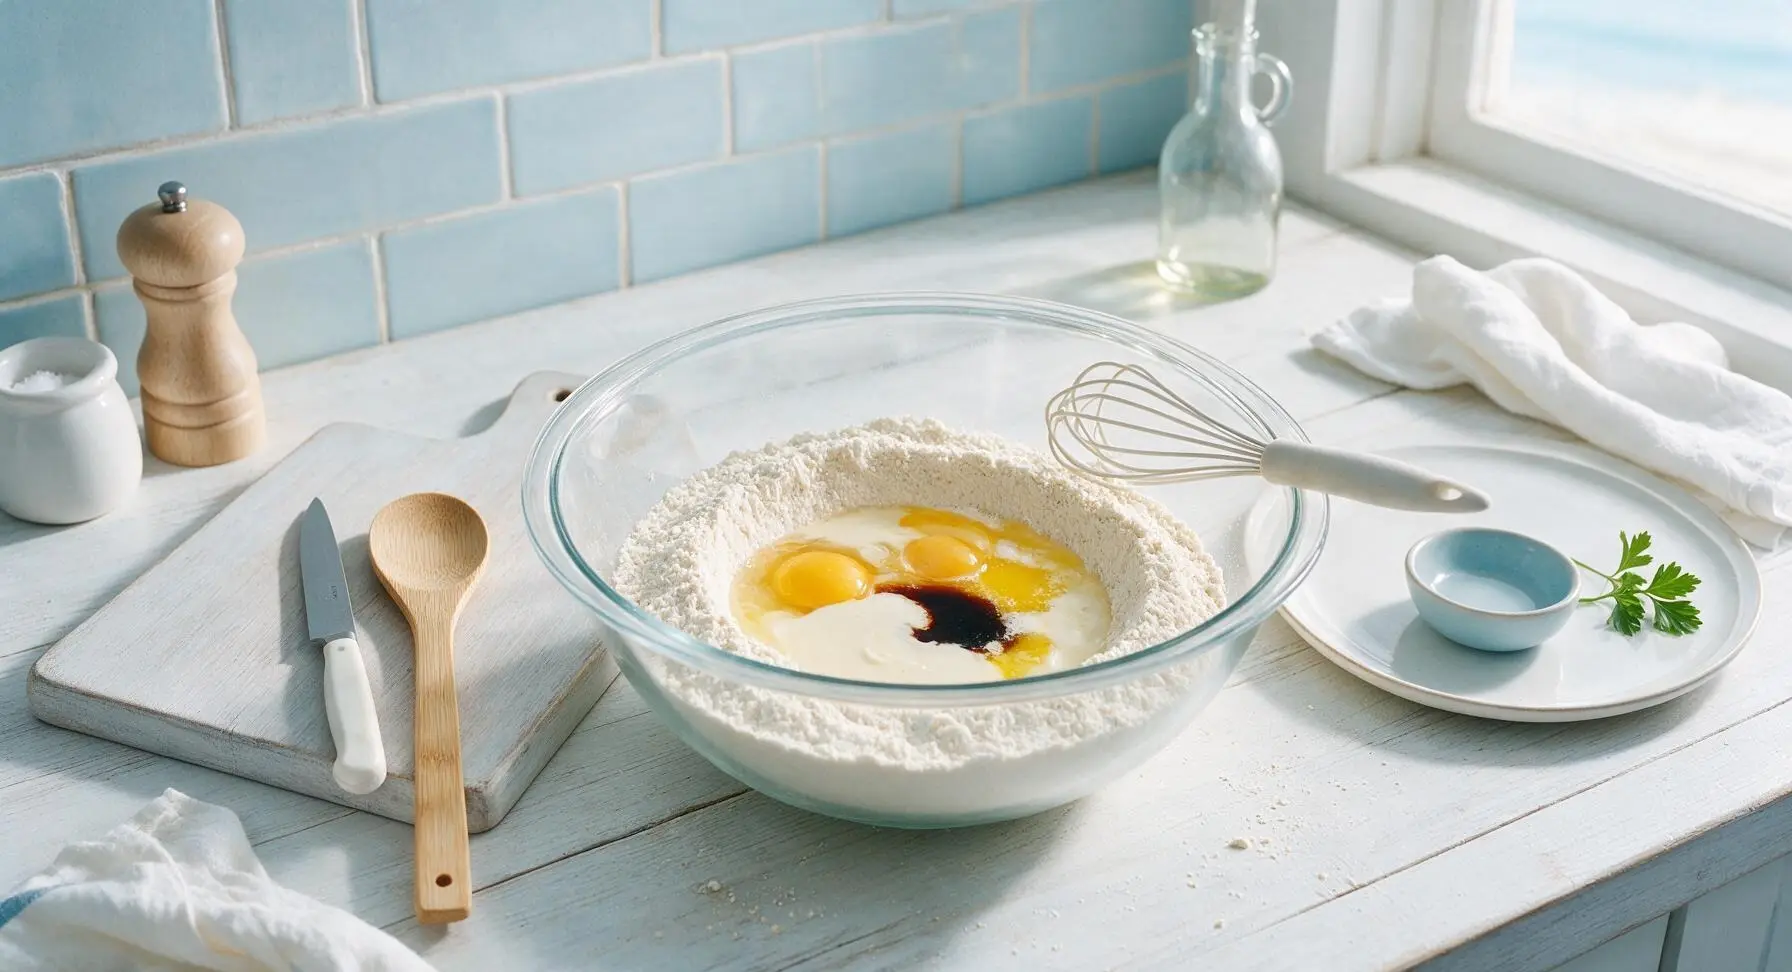
Step 3
step3:Add Wet Ingredients
4

Mix Smooth Batter

Use the light gray silicone whisk to gently stir the wet ingredients into the dry, mixing for only 20 seconds, just until no large pockets of dry flour remain. Do not overmix: small pea-sized lumps in the batter are normal and desirable, as overmixing develops gluten and makes tough waffles. Let the batter rest for 5 minutes at room temperature, until small air bubbles dot the surface, indicating the leavening is activated.
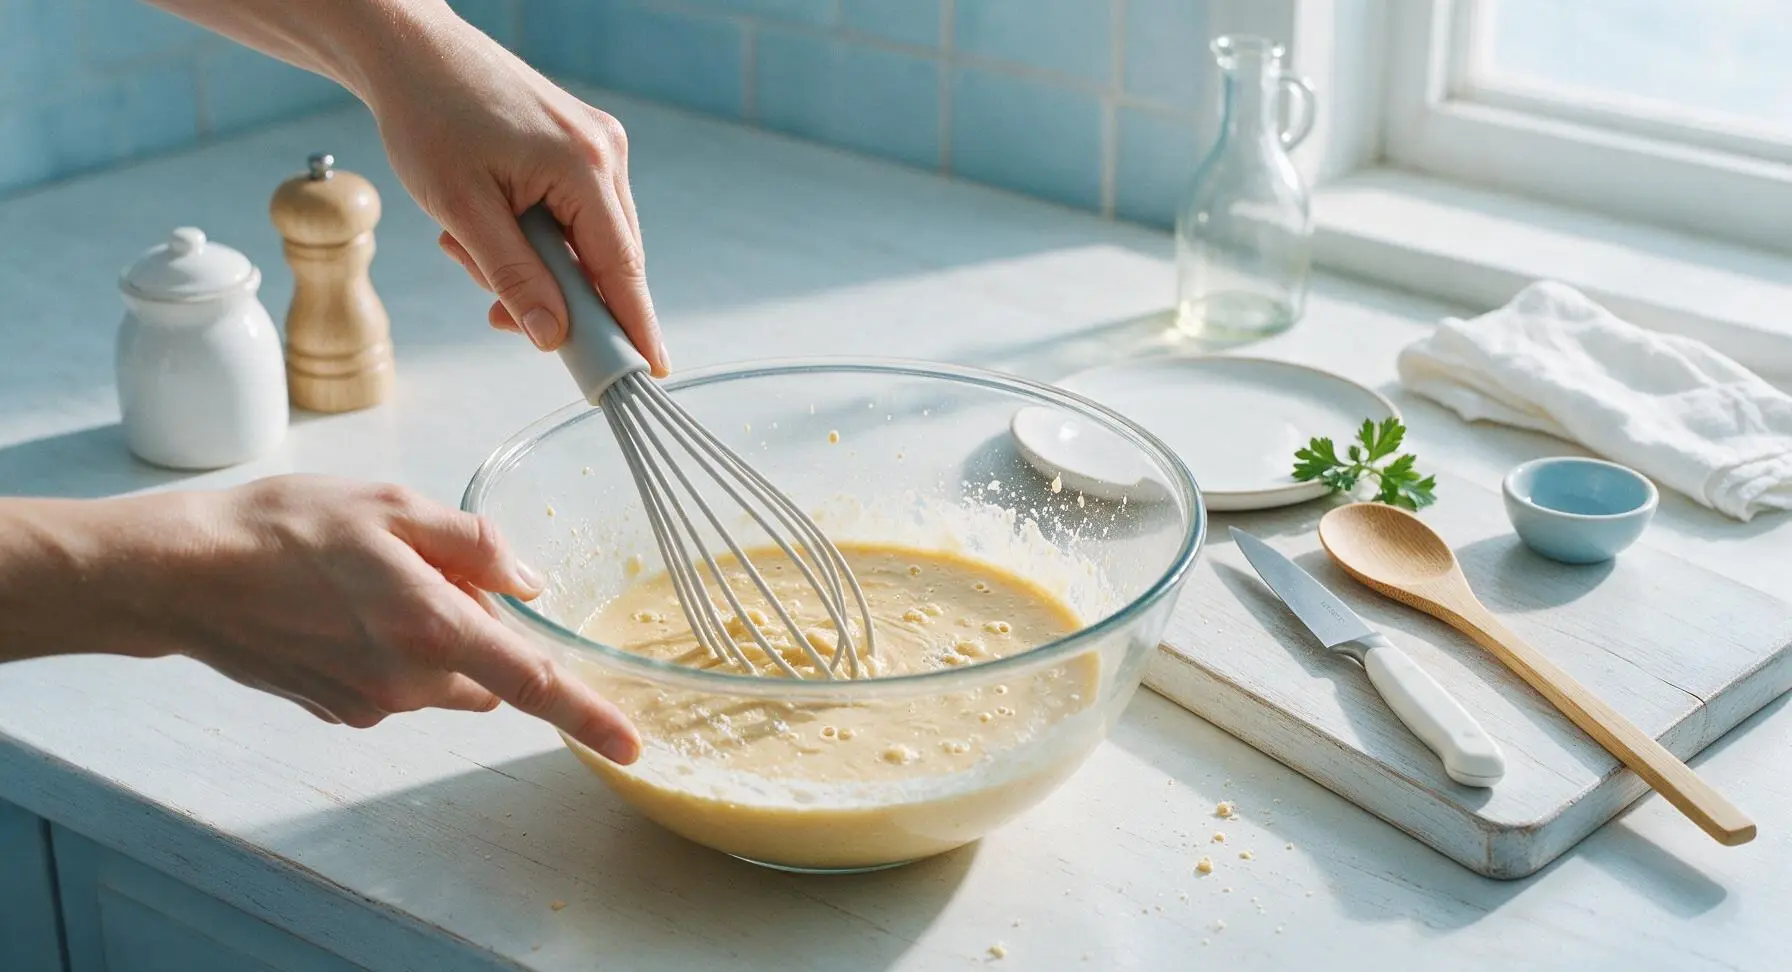
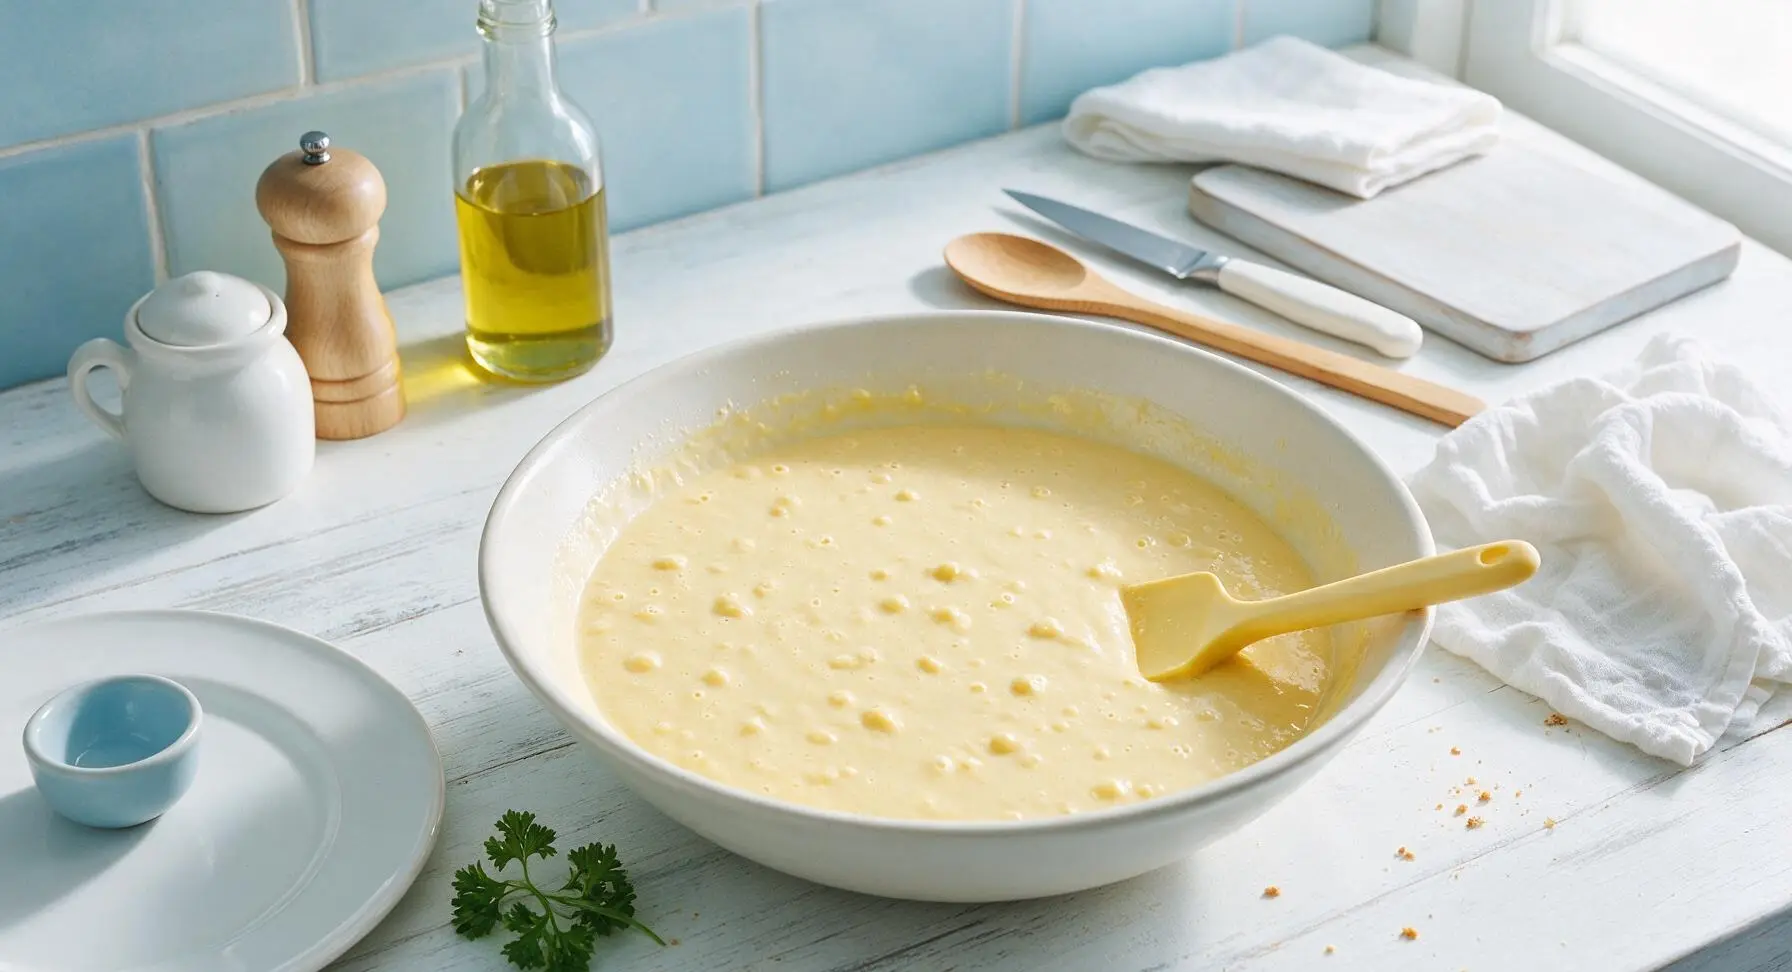
Step 4
step4:Mix Smooth Batter
Step 4
step4:Mix Smooth Batter
5

Scoop Batter Into Maker

Once the waffle maker is fully preheated, open the lid. Use the spring-loaded 1-tablespoon stainless steel cookie scoop to drop exactly 1 tablespoon of batter directly into the center of the lower cooking plate. Do not spread the batter — it will spread evenly across the plates when the lid closes. Never add more than 1 tablespoon of batter, as excess will leak out the sides and burn.
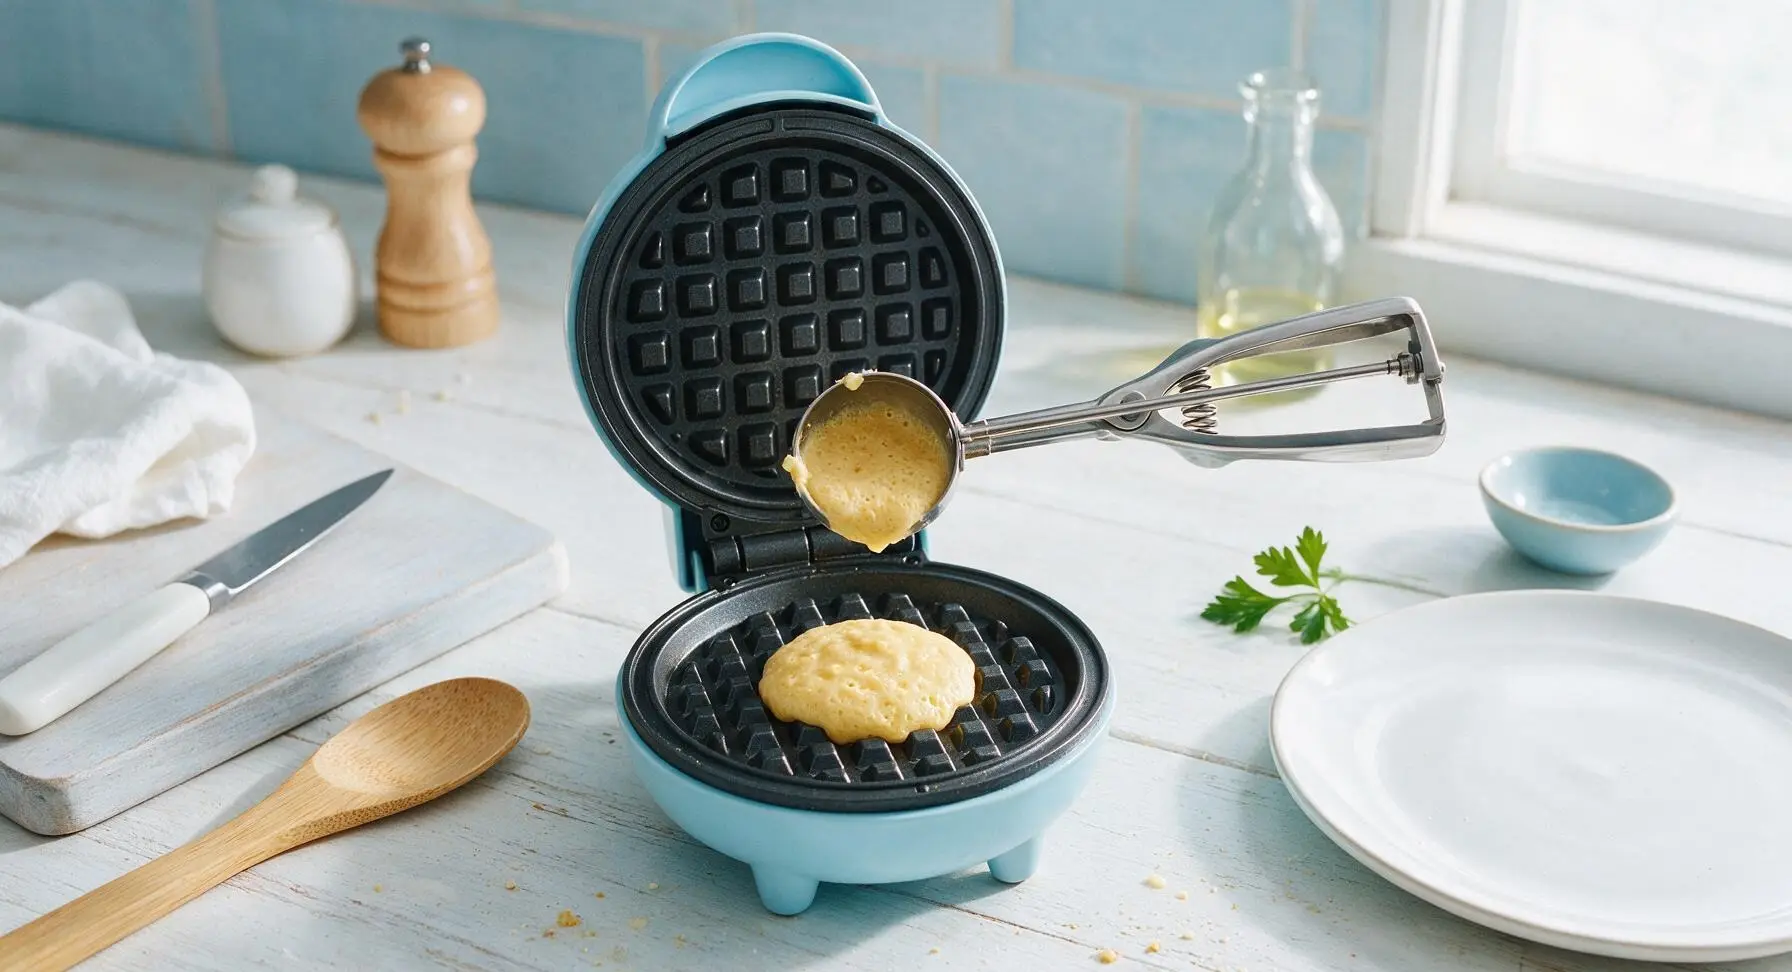
Step 5
step5:Scoop Batter Into Maker
6

Cook Until Golden Crisp

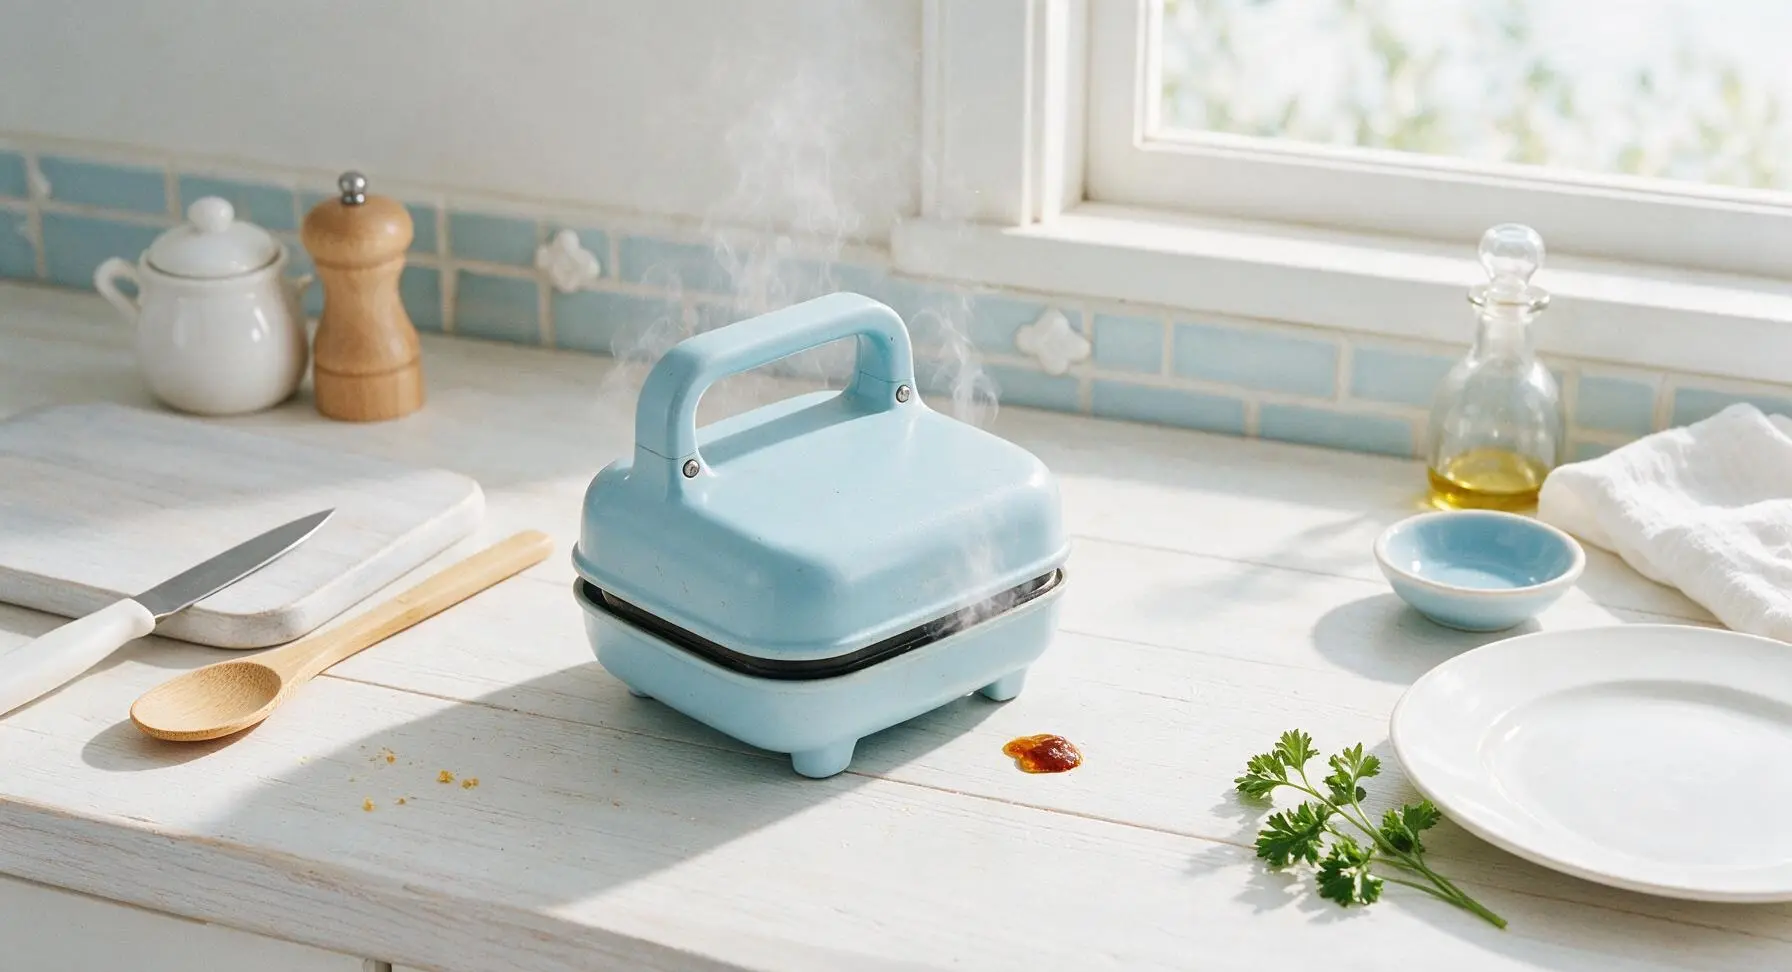
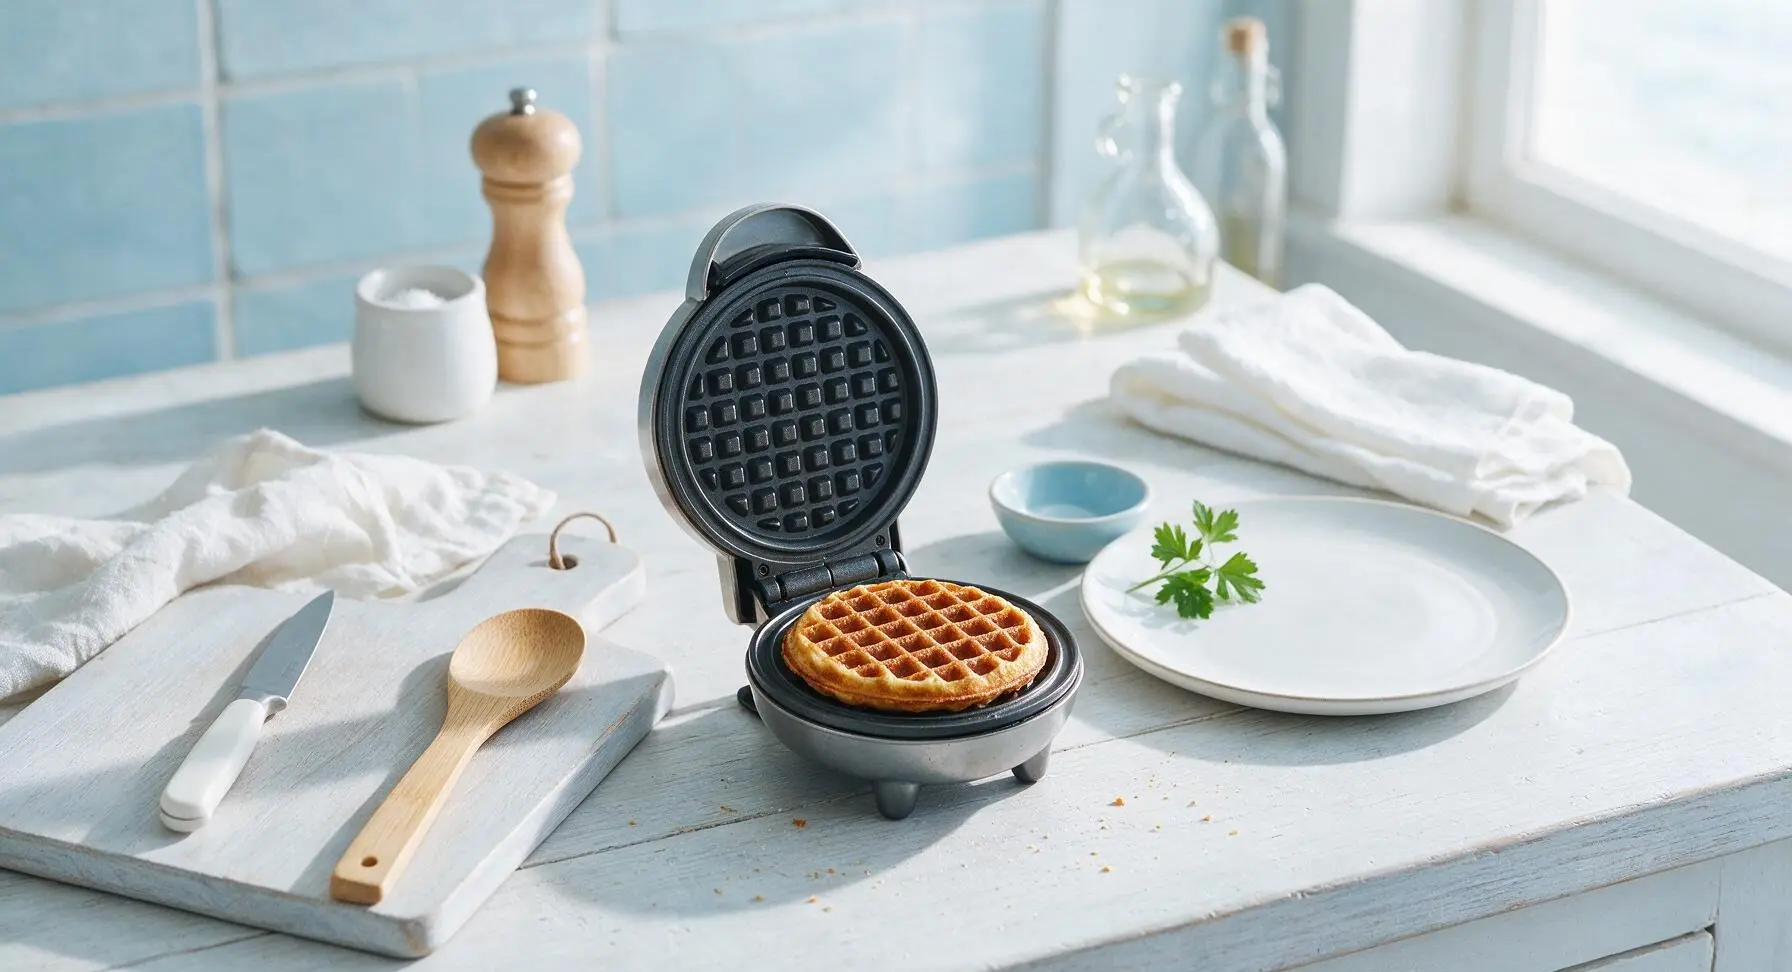
Close the waffle maker lid and cook for 1.5 to 2 minutes per waffle, until no more steam escapes from the edges of the appliance and the waffle is deep golden brown with crisp edges. Do not open the lid for the first 60 seconds of cooking, as this will cause the waffle to split, stick, or deflate.
Step 6
step6:Cook Until Golden Crisp
Step 6
step6:Cook Until Golden Crisp
7

Transfer Waffles To Platter

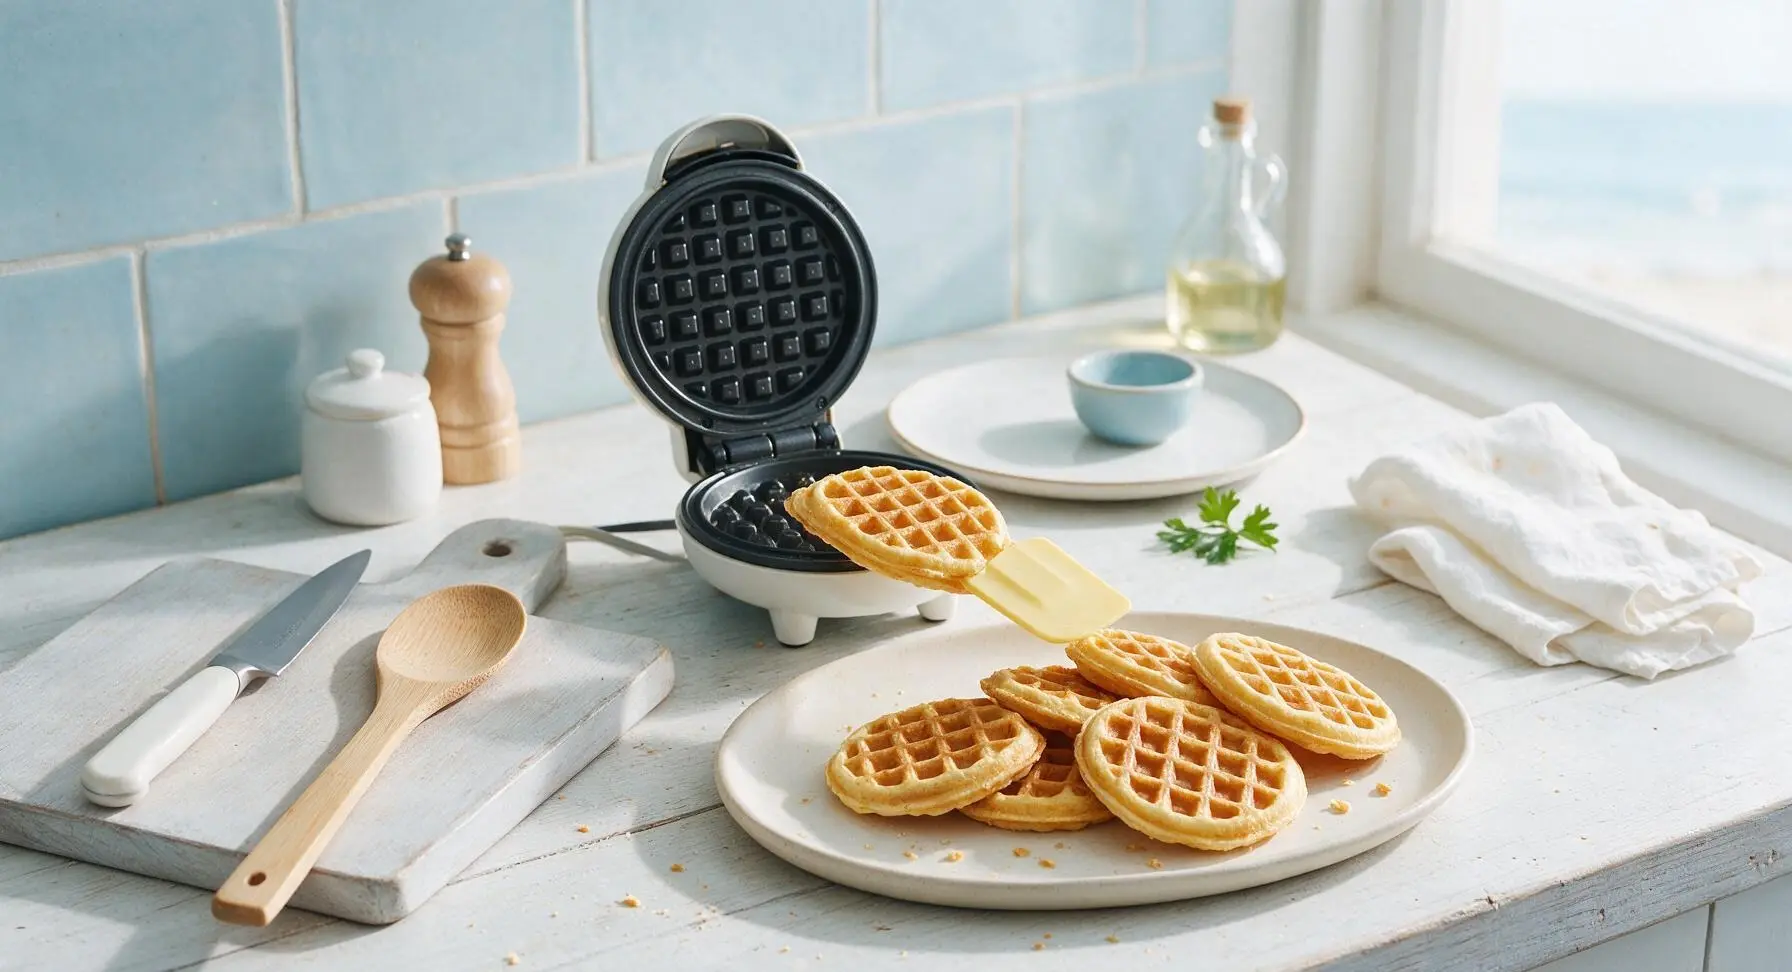
Use the flexible tip of the pale yellow silicone spatula to gently lift the cooked waffle from the plates, and transfer it to the matte cream white ceramic serving platter. Repeat the scooping and cooking process with remaining batter, arranging cooked waffles in a loose, shallow stack on the platter to avoid trapping steam that would soften crisp edges.
Step 7
step7:Transfer Waffles To Platter
8

Garnish And Serve Warm

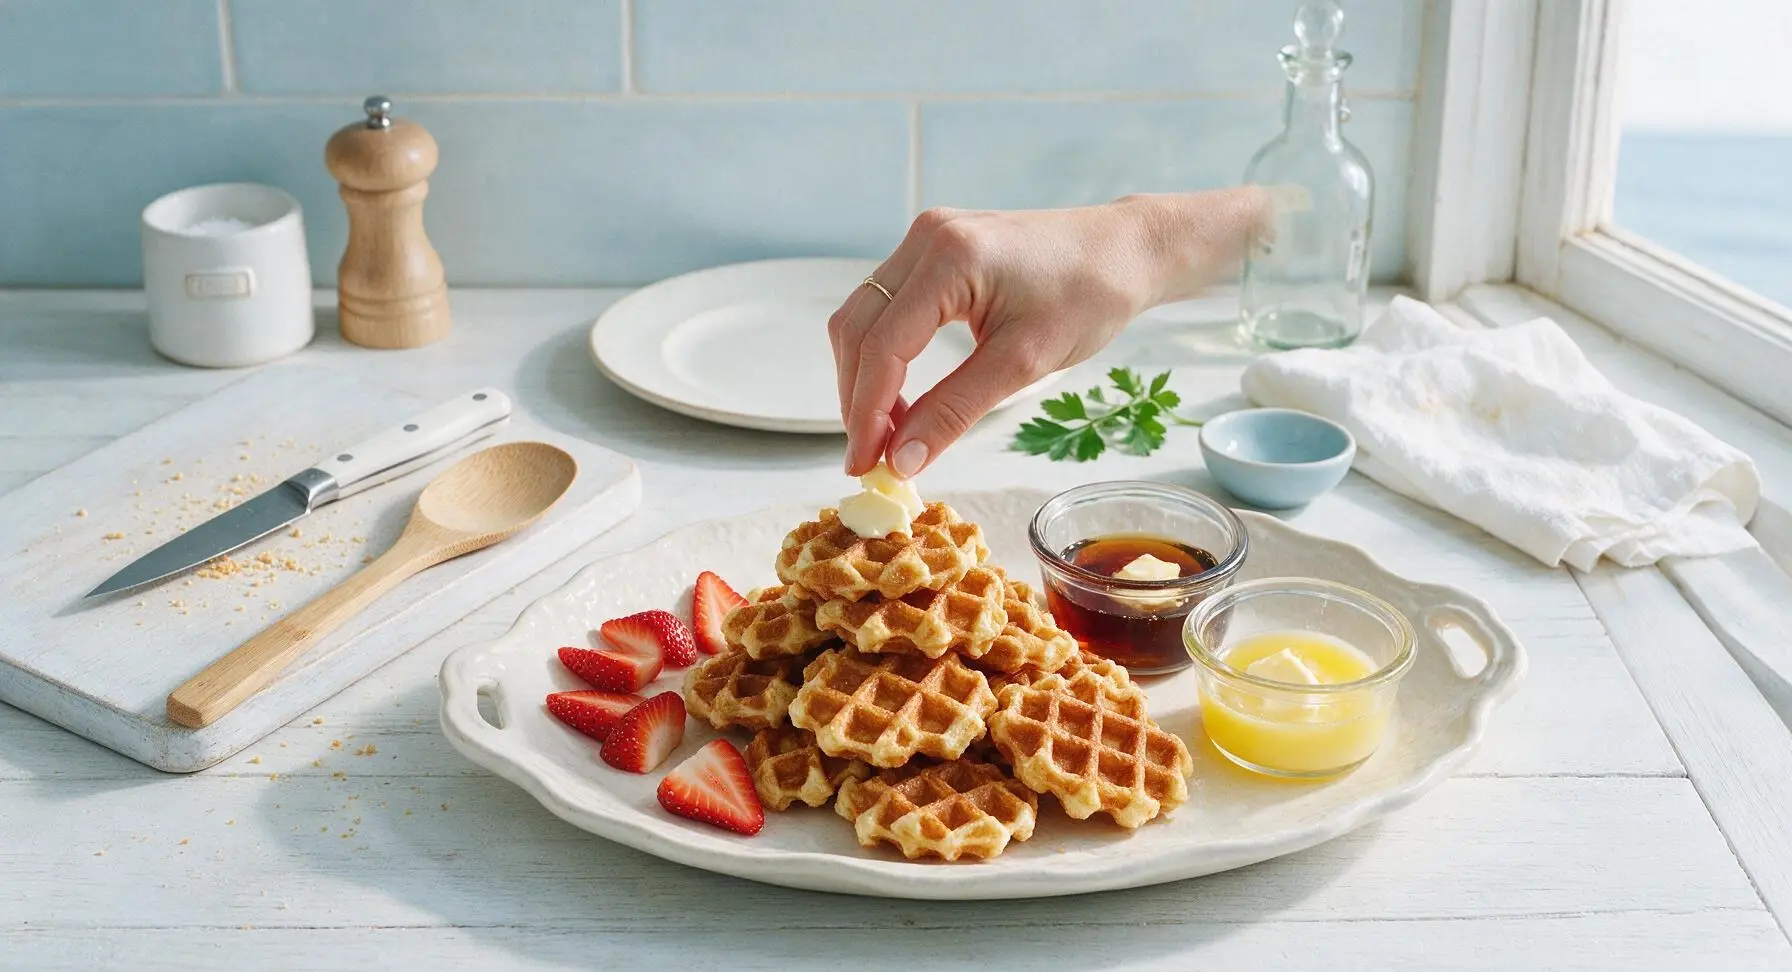
Once all waffles are cooked, place a 1-tsp pat of softened butter on top of the waffle stack, fan 3 sliced fresh strawberries from the terracotta bowl on the left edge of the platter, and serve immediately with the two glass ramekins of maple syrup and extra butter for dipping.
Step 8
step8:Garnish And Serve Warm

Tips

1.Avoid overmixing the batter: small pea-sized lumps are completely normal and will cook out. Overmixing develops gluten in the flour, leading to tough, chewy waffles instead of light, fluffy ones with crisp edges.
2.Stick to 1 tablespoon of batter per waffle: the 12cm bite-size waffle maker plates are sized for small portions, and extra batter will leak out the sides, burn on the appliance exterior, and create misshapen, messy waffles.
3.Keep waffles crisp between batches by arranging them in a single layer on a wire rack set over a baking sheet in a 200°F (95°C) oven. Stacking hot waffles traps steam, which turns crispy edges soft and soggy in under a minute.


✨ You May Also Like

Breakfast
🍜 United States

Crisp-edged, fluffy lard griddle cakes are a nostalgic homestyle staple, with rich savoriness from rendered lard, perfect topped with maple syrup or savory gravy.

⏱️ 25 minuteBreakfast ★ 4.8
Breakfast
🍜 United States

Flaky, buttery homemade buttermilk biscuits smothered in creamy, peppery pork sausage gravy: a beloved, hearty Southern American comfort food classic.

⏱️ 35 minuteBreakfast ★ 4.8
Breakfast
🍜 United States

Golden, custardy brioche stuffed with sweet cream cheese and fresh berries, pan-fried to crisp perfection. An indulgent, cozy breakfast perfect for slow weekend mornings.

⏱️ 30 minuteBreakfast ★ 4.7
Breakfast
🍜 United States

Flaky, buttery Southern-style biscuits stuffed with savory salty country ham, a portable, satisfying classic perfect for casual on-the-go meals.

⏱️ 25 minuteBreakfast ★ 4.8
Breakfast
🍜 United States

Iconic puffy baked pancake popularized in Seattle, with crisp golden edges and soft custardy center, served warm with classic sweet toppings.

⏱️ 35 minuteBreakfast ★ 4.6
Breakfast
🍜 United States

Fluffy, golden pancakes studded with juicy peak-summer mixed berries, drizzled with maple syrup for a bright, comforting, crowd-pleasing family breakfast.

⏱️ 25 minuteBreakfast ★ 4.7

bite size waffle maker:Frequently Asked Questions

1.How do I make sure these mini buttermilk waffles come out crispy instead of soggy? ▾
Start with a fully preheated mini waffle maker—wait 2 full minutes after it hits its preheat “ready” light before adding batter. Don’t overfill the wells (stick to 1 tbsp batter per bite), and cook 30-45 seconds after steam stops escaping the edges. The small amount of sugar caramelizes on hot plates for crisp edges, while leaveners keep centers light.
2.Can I substitute regular milk for buttermilk if I don’t have any on hand? ▾
Absolutely! For every 1 cup of regular milk called for, stir in 1 tbsp of white vinegar or fresh lemon juice, then let it sit 5 minutes until it curdles slightly. This DIY sour milk mimics buttermilk’s signature tang and reacts with baking soda to create the same fluffy, tender crumb you get from traditional cultured buttermilk.
3.How much batter should I pour per waffle in my mini waffle maker? ▾
Stick to 1 level tablespoon of batter per individual bite-size waffle, poured right in the center of the preheated plate. Any more and batter will ooze out the sides as it rises, creating messy, uneven edges and undercooked spots; too little and you’ll get thin, overly crunchy waffles without that soft, fluffy center.
4.How long do these mini waffles take to cook fully? ▾
Most standard mini waffle makers cook these bite-size waffles in 2 to 3 minutes total. Wait until the steady stream of steam from the maker’s edges slows almost to a stop, then check for a deep golden, crisp exterior. Don’t rely solely on the appliance’s built-in indicator light, as those often trigger before waffles reach ideal crispness.
5.Can I make this batter ahead of time for busy weekday mornings? ▾
You can mix the dry ingredients (flour, sugar, baking powder, baking soda, salt) in an airtight container up to 1 month ahead for ultra-fast prep. Wait to stir in wet ingredients (buttermilk, eggs, melted butter) until right before cooking, though—pre-mixed wet batter loses leavening power after 2 hours in the fridge, leading to flat, dense waffles.
6.Why are my waffles coming out dense and flat instead of fluffy? ▾
Dense waffles usually stem from one of three common missteps: overmixing the batter (small lumps are totally fine, overstirring develops tough gluten), using expired baking powder or soda that can’t create rise, or pouring batter into a waffle maker that isn’t fully preheated, which makes batter set before it can puff up.
7.What are the best dips to serve with these bite-size waffles? ▾
Their small, dippable size pairs perfectly with warm maple syrup, whipped cream cheese, cinnamon yogurt dip, Nutella, salted caramel, or even savory options like spicy maple sausage gravy or honey butter. They’re also great on a kid’s snack plate with a side of fresh berries for a quick, balanced weekday bite.
8.Can I freeze these waffles for quick meal prep? ▾
Absolutely! Let cooked waffles cool completely to room temperature, then arrange them in a single layer on a baking sheet to freeze solid for 1 hour before transferring to a labeled freezer bag for up to 3 months. Reheat straight from frozen in a toaster or mini waffle maker for 1 minute to bring back that crisp edge, no thawing needed.
9.Do I need to spray my mini waffle maker with nonstick spray for these? ▾
Even if your mini waffle maker has a nonstick coating, give it a very light brush of melted butter or quick spritz of nonstick spray before the first batch, especially if your plates are worn from frequent use. You won’t need to reapply between batches, as the small amount of fat in the batter will keep subsequent waffles from sticking.
10.Can I make a savory version of these mini waffles? ▾
Definitely! Cut the granulated sugar in half, add a pinch of black pepper, 2 tbsp of shredded sharp cheddar, and 1 tbsp of chopped fresh chives to the dry mix for a savory twist. These savory bites work great as a base for mini fried chicken sliders, or dipped in warm ranch for a quick game-day appetizer.
11.What’s the purpose of using both baking powder and baking soda in this recipe? ▾
The two leaveners work together for perfect texture: baking soda reacts immediately with the tangy buttermilk to create fast, initial rise as soon as you mix the batter, while double-acting baking powder activates twice—once when mixed, and again on the hot iron—for consistent, fluffy centers that don’t deflate as they cook.
12.How do I clean batter oozes off my mini waffle maker after cooking? ▾
First, unplug the maker and let it cool completely for 15 minutes. Wipe cooled plates with a dry paper towel to brush away crumbs, then use a slightly damp (not sopping wet) soft cloth to wipe away any cooked-on batter spots. Never submerge the unit in water or use abrasive scouring pads, which will scratch the nonstick coating.
13.Can I use whole wheat flour instead of all-purpose flour for a healthier swap? ▾
You can swap up to half of the all-purpose flour for white whole wheat flour without major texture changes; swapping 100% will result in denser, nuttier waffles that don’t crisp up as well. If you do use whole wheat, add an extra 2 tbsp of buttermilk to the batter to account for the whole grain flour’s higher absorption.
14.My waffles stick to the plates even when I use spray—what am I doing wrong? ▾
Sticking usually happens if you try to lift waffles too early, before the exterior has a chance to form a firm, crisp crust. Wait the full 2-3 minute cook time, then use silicone-tipped tongs to gently lift the edge first. If waffles still stick, your nonstick plates may be worn, or have caked-on sugar buildup from past batches.
15.Are these waffles suitable for serving at a brunch party? ▾
They’re perfect for brunch! Cook all batches ahead, then keep them warm on a wire rack set over a baking sheet in a 200°F oven for up to 30 minutes so they stay crisp (don’t stack them on a plate, as trapped steam makes them soggy). Set out a spread of dips and toppings so guests can grab and dip as they mingle.

Comments (10)

2 days ago

OMG these mini waffles are a total game changer for school mornings! I threw the batter together Sunday night, heated up my tiny waffle maker each morning this week and they came out perfectly crispy every single time. My kids dipped them in maple syrup and even grabbed a handful to eat on the run to the bus stop. SO good, 10/10.

1 day ago

Wait does the batter actually hold up for 5 days in the fridge? I’ve had other waffle batters go weird and rubbery after day 2!

1 day ago

Great question! The buttermilk in this batter actually helps it stay fresh and tangy in the fridge for up to 4 days – just give it a quick stir before pouring and you’ll get that same crisp bite every time. So glad they’re a hit for your morning routine!

1 week ago

Brought these to my office potluck last week and people were hovering over the platter! I set out little bowls of Nutella, peanut butter, and fruit dip for dunking and every last bite was gone in 10 minutes. So easy to whip up too – I didn’t even have to run to the store for special ingredients, I had everything in my pantry already.

6 days ago

Love the dip spread idea! Those sweet, dippable little waffles are perfect for potlucks because they’re easy to grab and no utensils required. Thanks for sharing how you served them!

3 days ago

Dude these are perfect for meal prep! I make a big batch on Sundays, toss them in the freezer, and pop 4 or 5 in the toaster oven for 2 minutes when I’m running late to 8am lectures. Way better than the frozen Eggo minis I used to buy, and way cheaper too. Crispy on the outside, fluffy inside, no notes.

5 days ago

Wait quick question – has anyone tried making these with a 1:1 gluten free all purpose flour? I have a mini waffle maker I got for Christmas and I’ve been dying to try this recipe, but my partner is gluten intolerant so I can’t use regular AP flour.

4 days ago

I did! I used Bob’s Red Mill 1:1 GF flour and added an extra 1/4 tsp of baking powder, they came out exactly as crispy as the regular version! My non-GF roommates couldn’t even tell the difference

3 days ago

So great to hear the GF swap works! We’ve tested it with that exact 1:1 flour blend too, and that extra little kick of baking powder is exactly the trick to keep them light instead of dense. Hope you both love them!

30 minutes ago

Just got my first ever mini waffle maker last week and this was the first recipe I tried! I was so nervous I’d burn them or they’d stick, but the cook time was super easy to follow and they popped right out no problem. Even my super picky toddler ate three of them without complaining! Win for mom.

10 minutes ago

Same here! My toddler turns his nose up at 90% of breakfast foods but he gobbles these up like candy. I even add a handful of mini chocolate chips to the batter sometimes for a special treat

2 weeks ago

Hosted a boozy brunch last weekend and served these as part of a build-your-own waffle bite bar. We had toppings like whipped cream, sprinkles, caramel drizzle, fresh berries, even fried chicken bites to make tiny chicken and waffle sliders. All my friends were asking for the recipe before they left. I was skeptical the 15 minute cook time was too good to be true, but it was actually that fast — I couldn’t believe it. So easy.

2 hours ago

Okay full transparency, I burn literally every breakfast food I make. I can mess up scrambled eggs. But these? They came out perfect on the first try. I followed the recipe exactly, didn’t overfill the waffle iron, waited for the light to turn green, and they were crispy, golden, not a single burnt edge. Who am I??

1 hour ago

That’s what we love to hear! This recipe is super forgiving, even for folks who don’t love early-morning cooking. Pro tip: if you want extra crisp, let them sit on a wire rack for 1 minute after taking them out of the waffle maker instead of piling them on a plate – no sogginess guaranteed!

yesterday

Wait a second – I don’t keep buttermilk in the house ever. Is there a good substitute I can use? I really want to make these for my niece’s sleepover this weekend but I don’t have time to run to the store for just one ingredient.

20 hours ago

Just do the milk + white vinegar trick! 1 cup of regular milk plus 1 tablespoon of white vinegar or lemon juice, let it sit for 5 minutes until it curdles, and that’s a perfect buttermilk dupe. I use it for this recipe all the time!

18 hours ago

That hack is 100% our go-to buttermilk substitute too! It works just as well as store-bought buttermilk for this recipe, and you won’t notice a difference in flavor or texture. Hope the sleepover crew loves them!

5 minutes ago

I make these at 10pm when I’m craving something sweet after work. They’re bite sized so I don’t feel like I’m eating a huge heavy snack before bed, and they crisp up so nice I don’t even need syrup most of the time – just a little dusting of powdered sugar. Obsessed. Already made them 4 times this month.

just now

How long do these stay good in the freezer? I want to stock up for busy mornings but I’m weird about frozen food getting freezer burn super fast. Any storage tips?

just now

Great question! If you let the waffles cool completely first, then store them in a zip-top freezer bag with as much air pressed out as possible, they’ll stay fresh for up to 3 months with no freezer burn. Just reheat them in the toaster or toaster oven straight from frozen for that fresh-made crisp!



