
Blueberry Bagel
intro
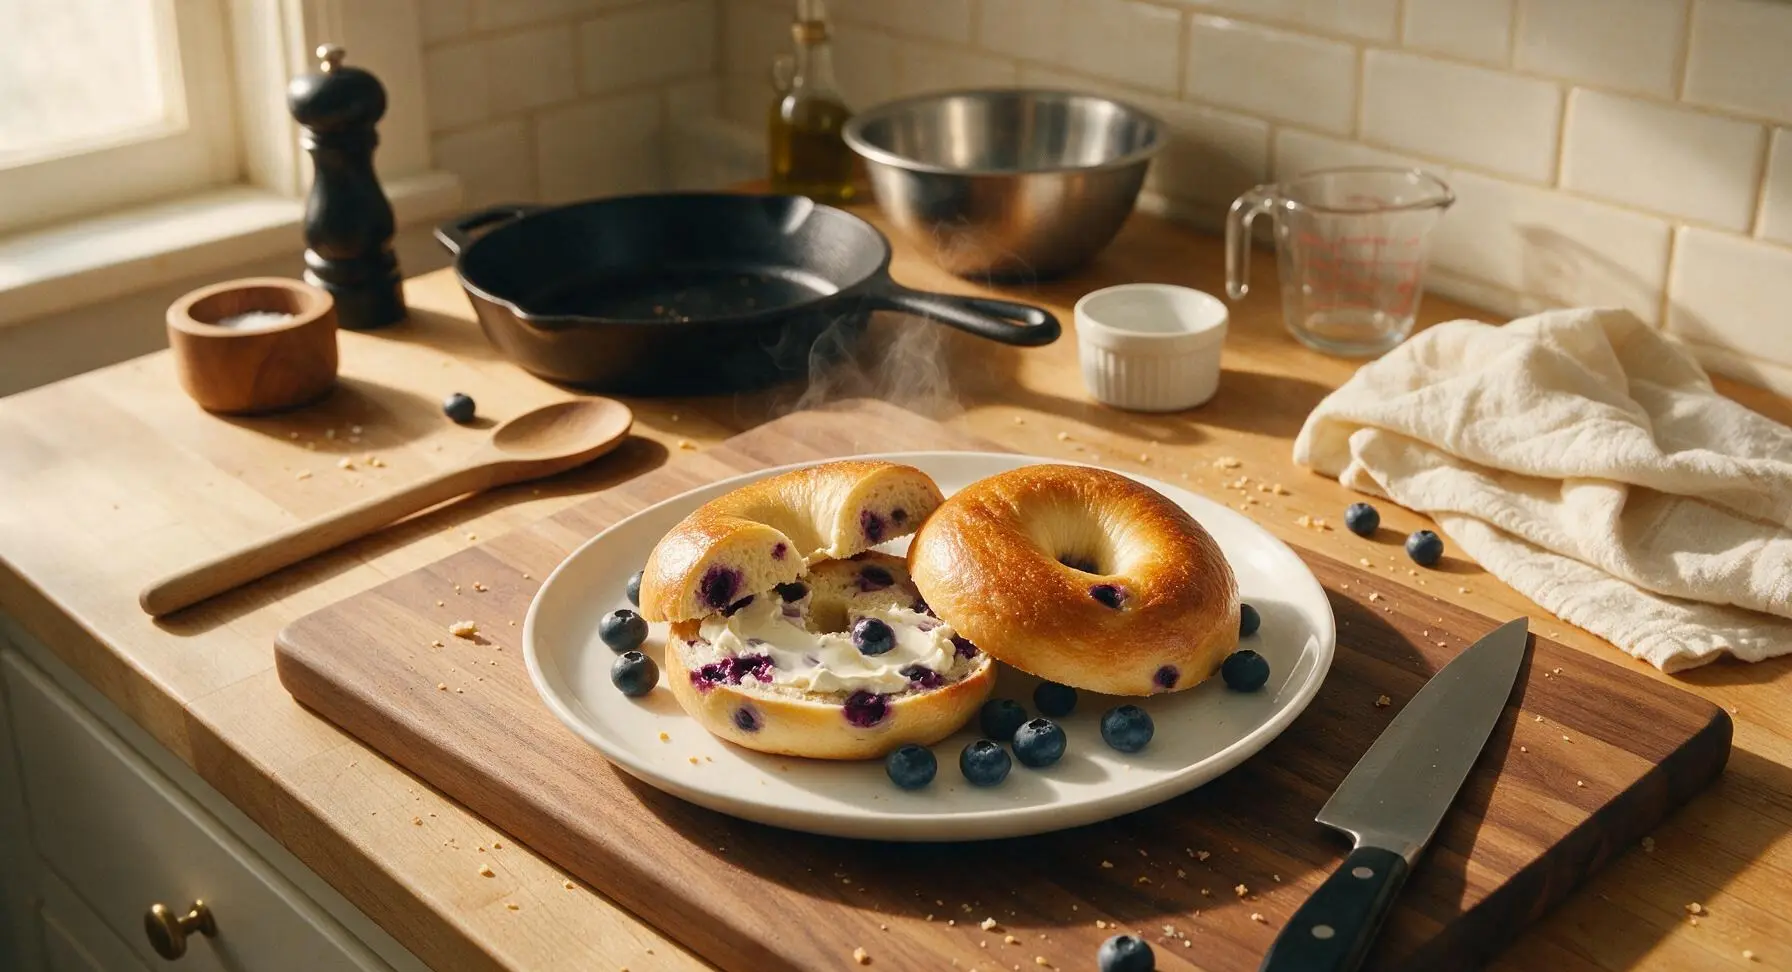
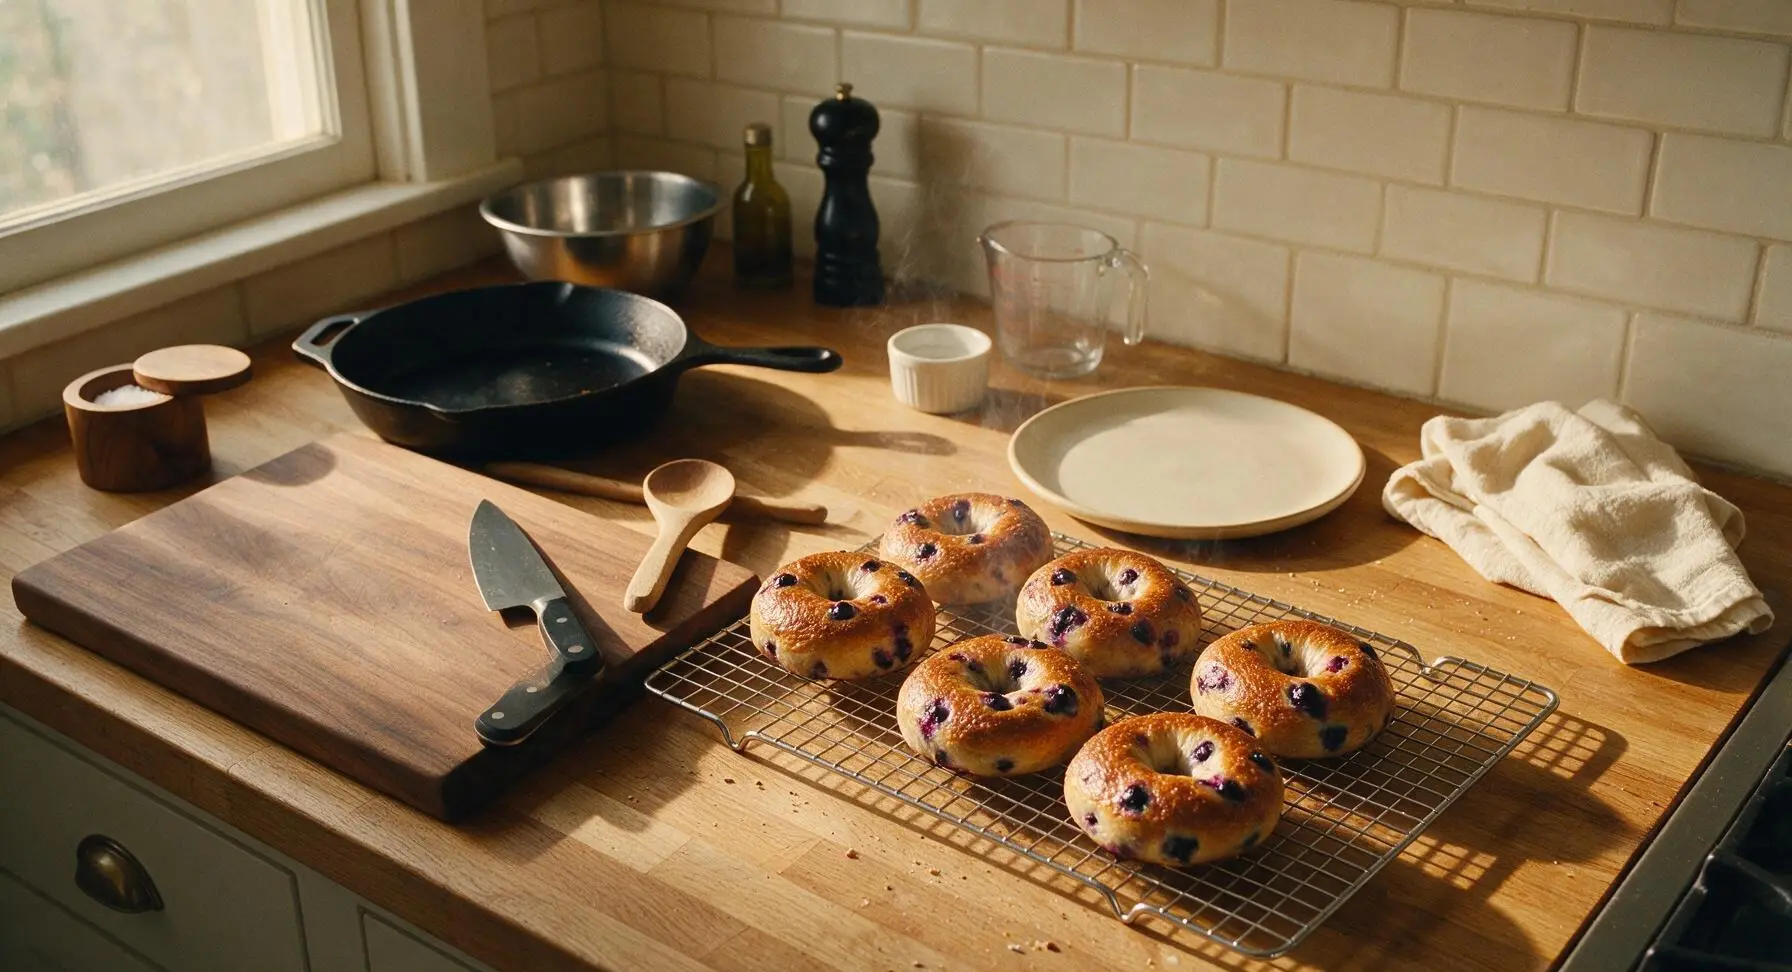
Chewy, golden New York-style bagels studded with juicy summer blueberries, with a crisp shiny crust and soft tangy crumb—perfect for picnics or lazy weekend breakfasts, toasted with cream cheese.
Ingredients
Steps
Mix Dough Ingredients
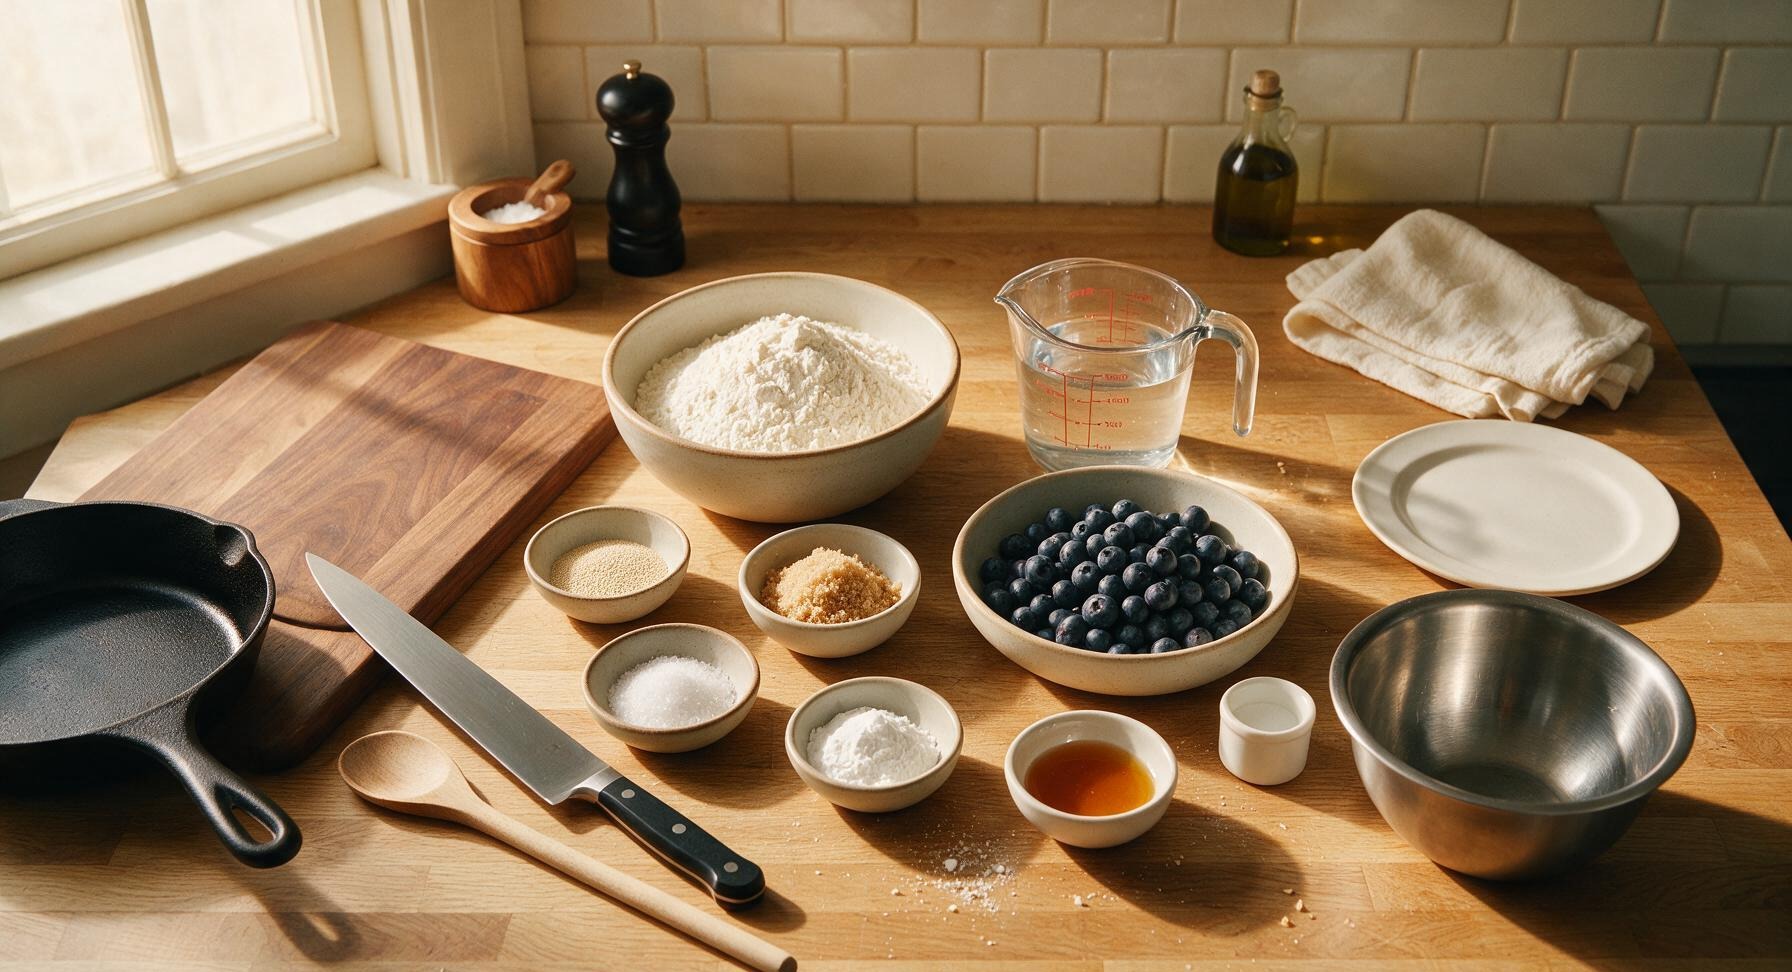
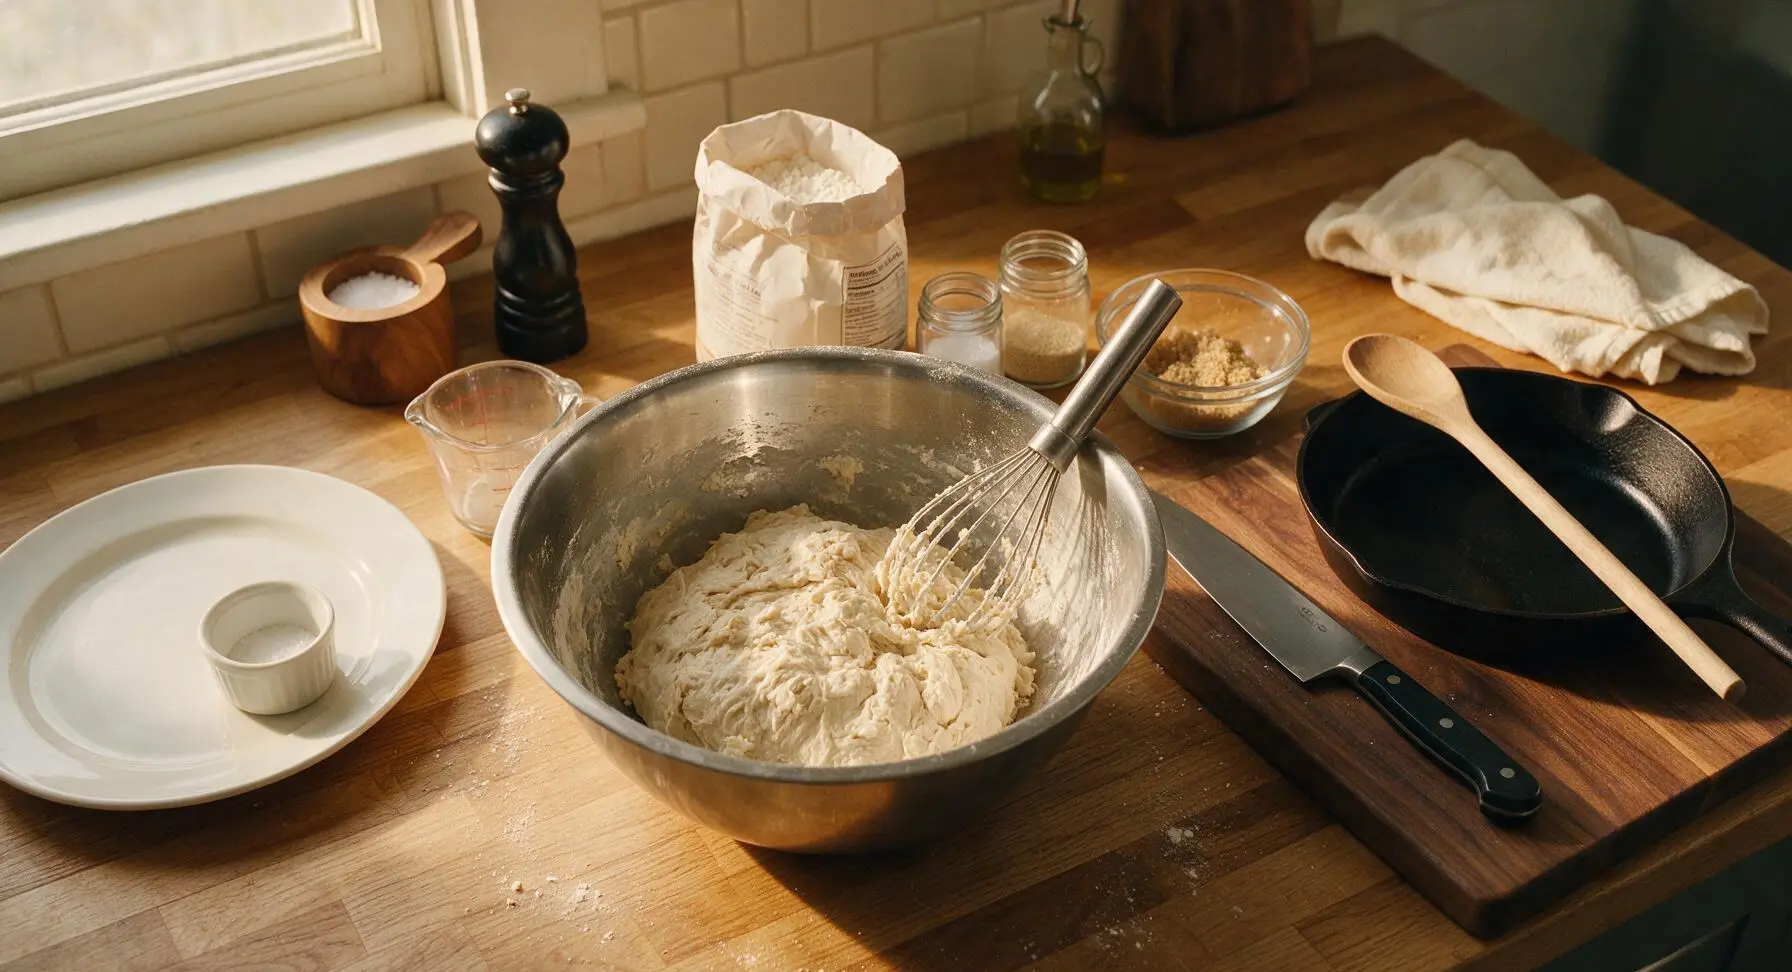
Add 300ml lukewarm water (105°F / 40°C), 7g instant yeast, and 15g light brown sugar to the large stainless steel mixing bowl, stir gently with the dough whisk to dissolve. Add 500g high-gluten bread flour and 10g fine sea salt, then stir with the dough whisk until a shaggy, lumpy dough forms with no dry flour pockets remaining at the bottom of the bowl. The dough will feel stiff and slightly tacky to the touch, not sticky.
Knead Dough with Blueberries
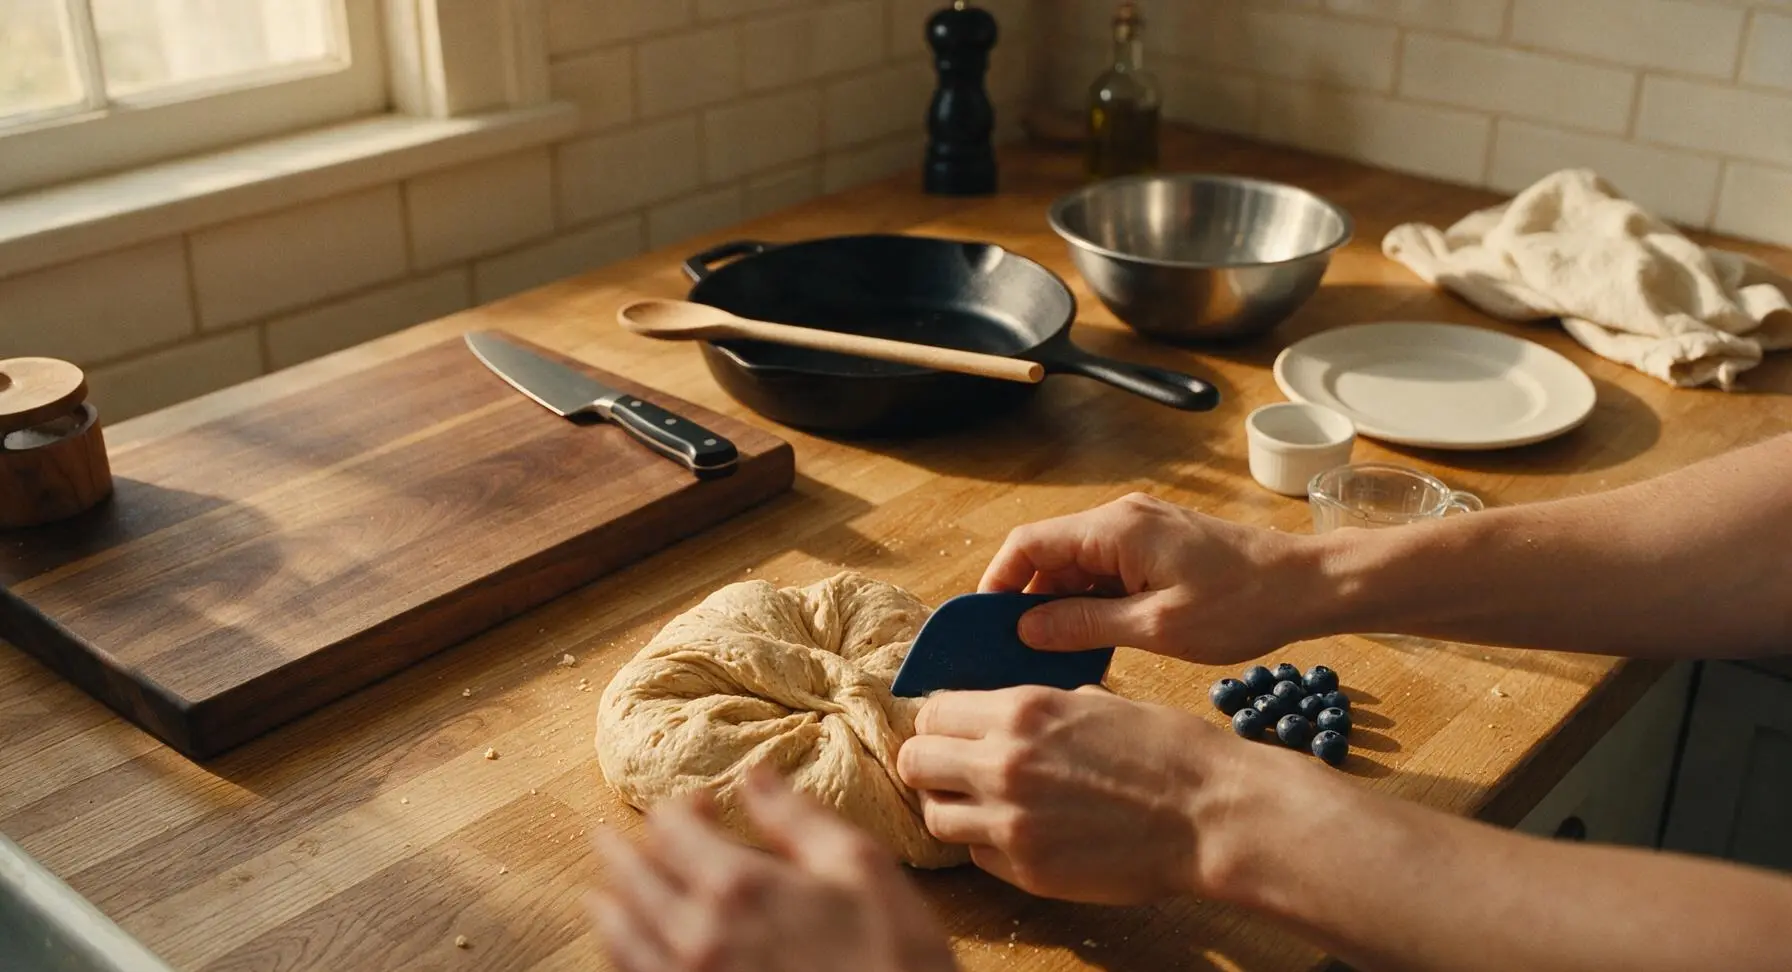
Turn the shaggy dough out onto the clean quartz counter (no extra flour is needed, as excess flour will make bagels less chewy). Use the navy blue silicone dough scraper to fold and knead the dough for 8 minutes, until it becomes smooth, elastic, and springs back slowly when poked with a finger. Gently fold in 150g patted-dry fresh blueberries in 3 small batches, kneading lightly just to distribute them evenly—do not overmix, as burst blueberries will turn the dough uniformly purple. The final dough will be firm, with whole and slightly crushed blueberries dotted throughout.
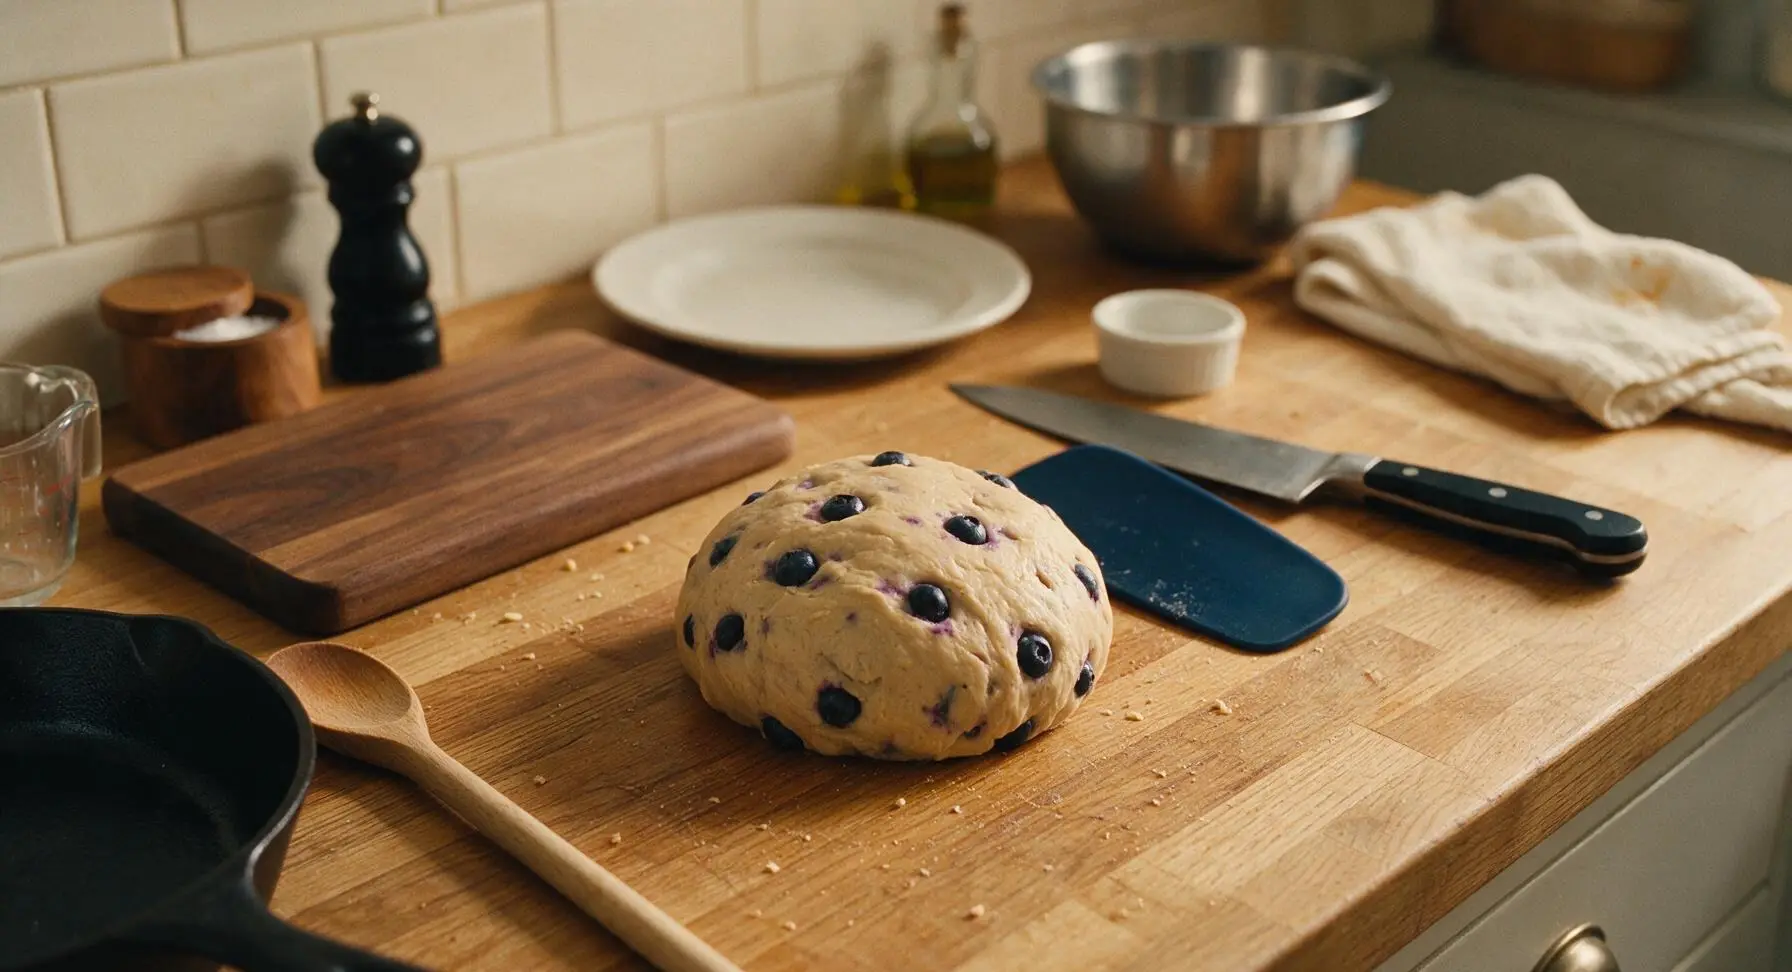
Let Dough Rise
Return the kneaded blueberry dough ball to the large stainless steel mixing bowl, cover the top loosely with pale yellow beeswax wrap, and let it rest in a warm, draft-free spot on the counter for 1 hour, until it doubles in size and leaves a slow-springing indentation when poked with a floured finger. Keep all fixed counter props in their permanent positions throughout the rise.
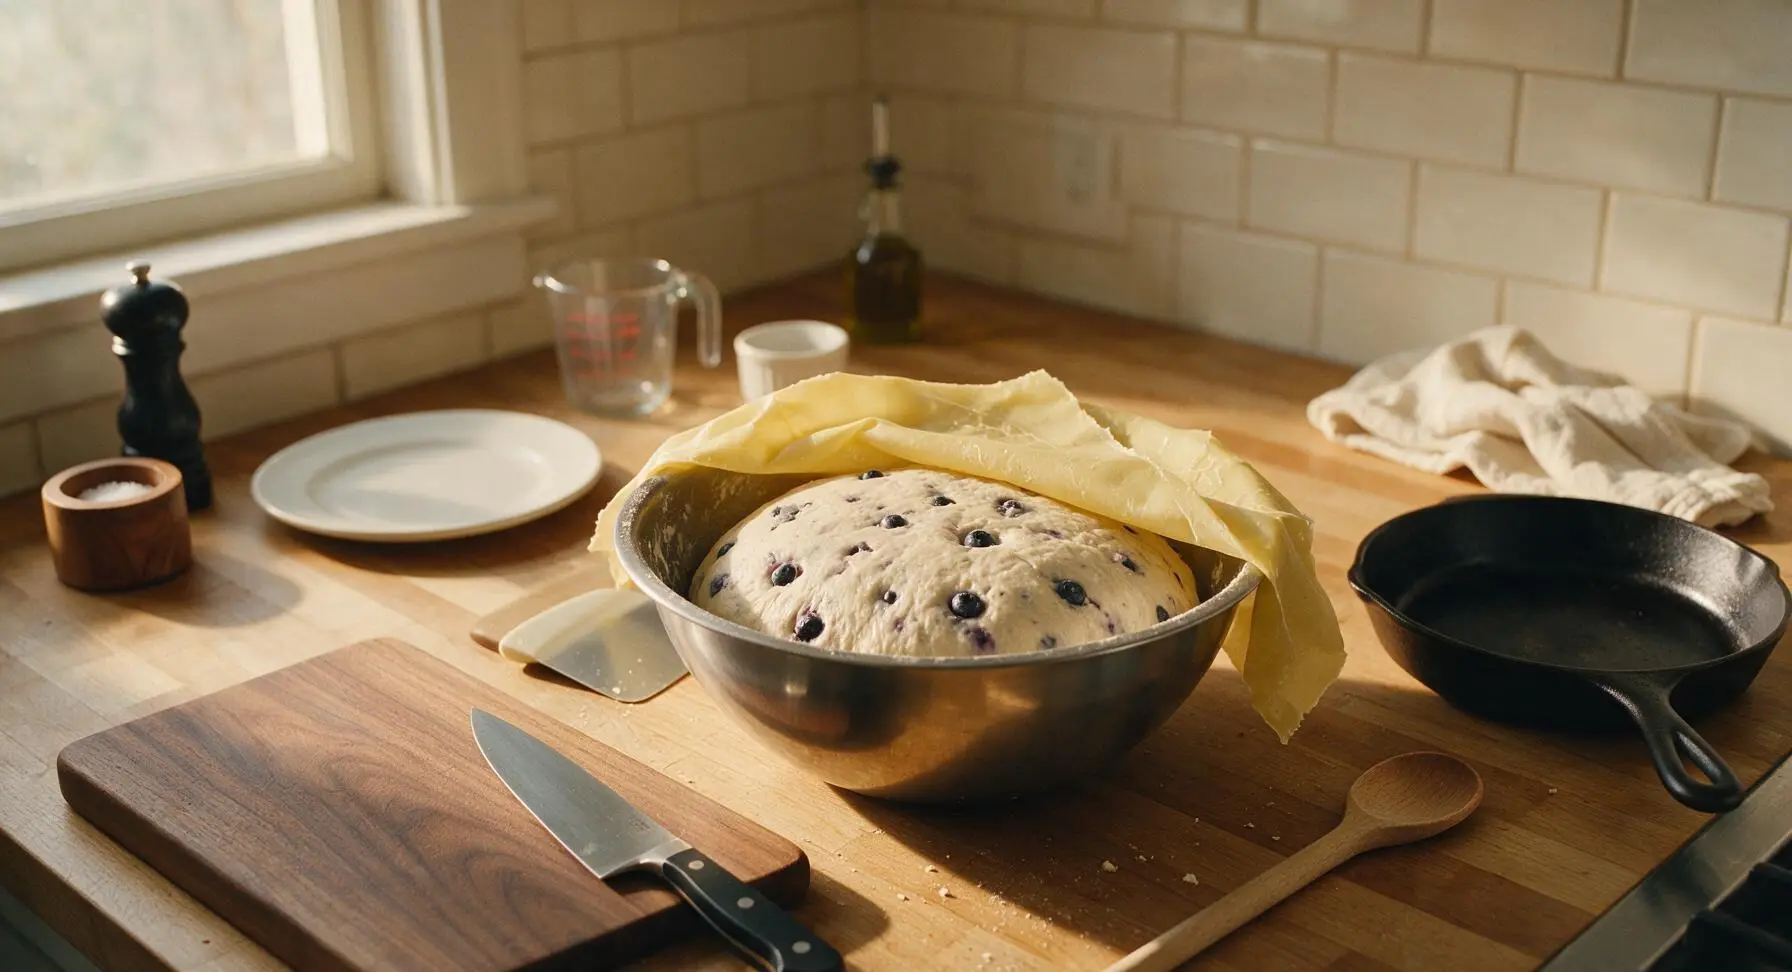
Shape Bagel Rounds
Once fully risen, tip the dough out onto the clean counter, use the navy silicone scraper to divide it into 8 equal 110g pieces. Roll each piece into a tight, smooth ball by cupping your hand over the dough and rolling it in small circles on the counter. Poke a floured finger through the center of each ball to create a 5cm wide hole, then stretch the hole slightly to ensure it does not close up during rising and boiling. The formed bagels should be 10cm wide with even thickness all around.
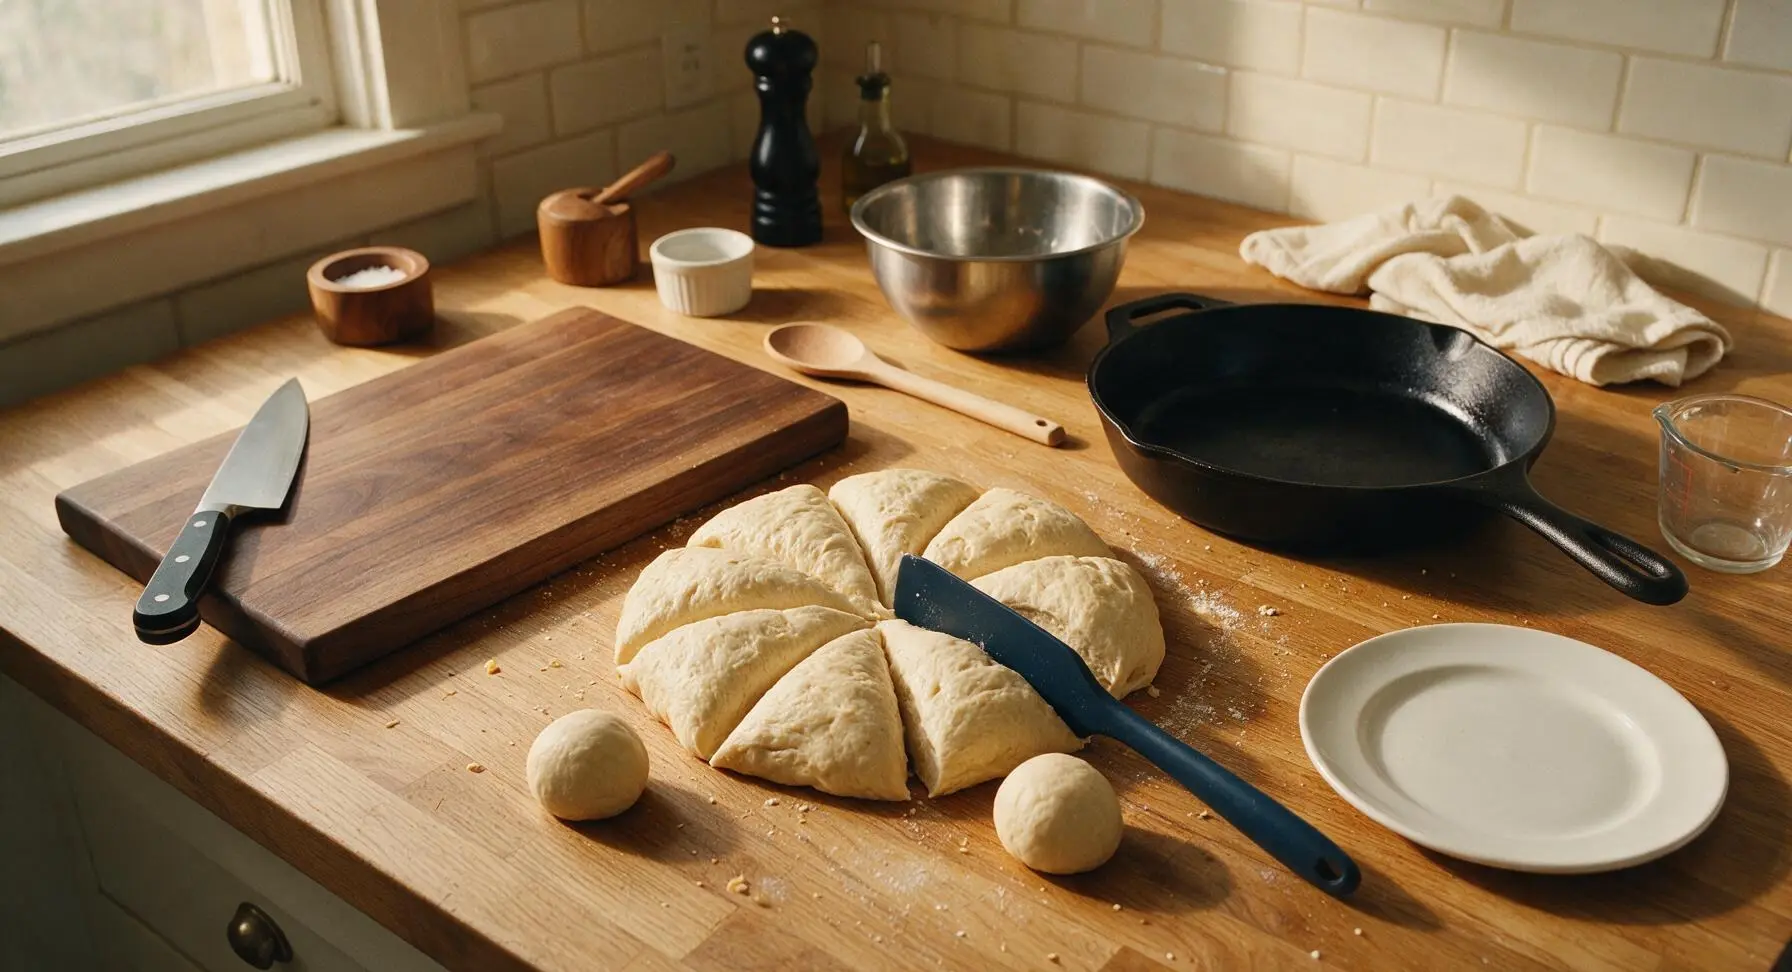
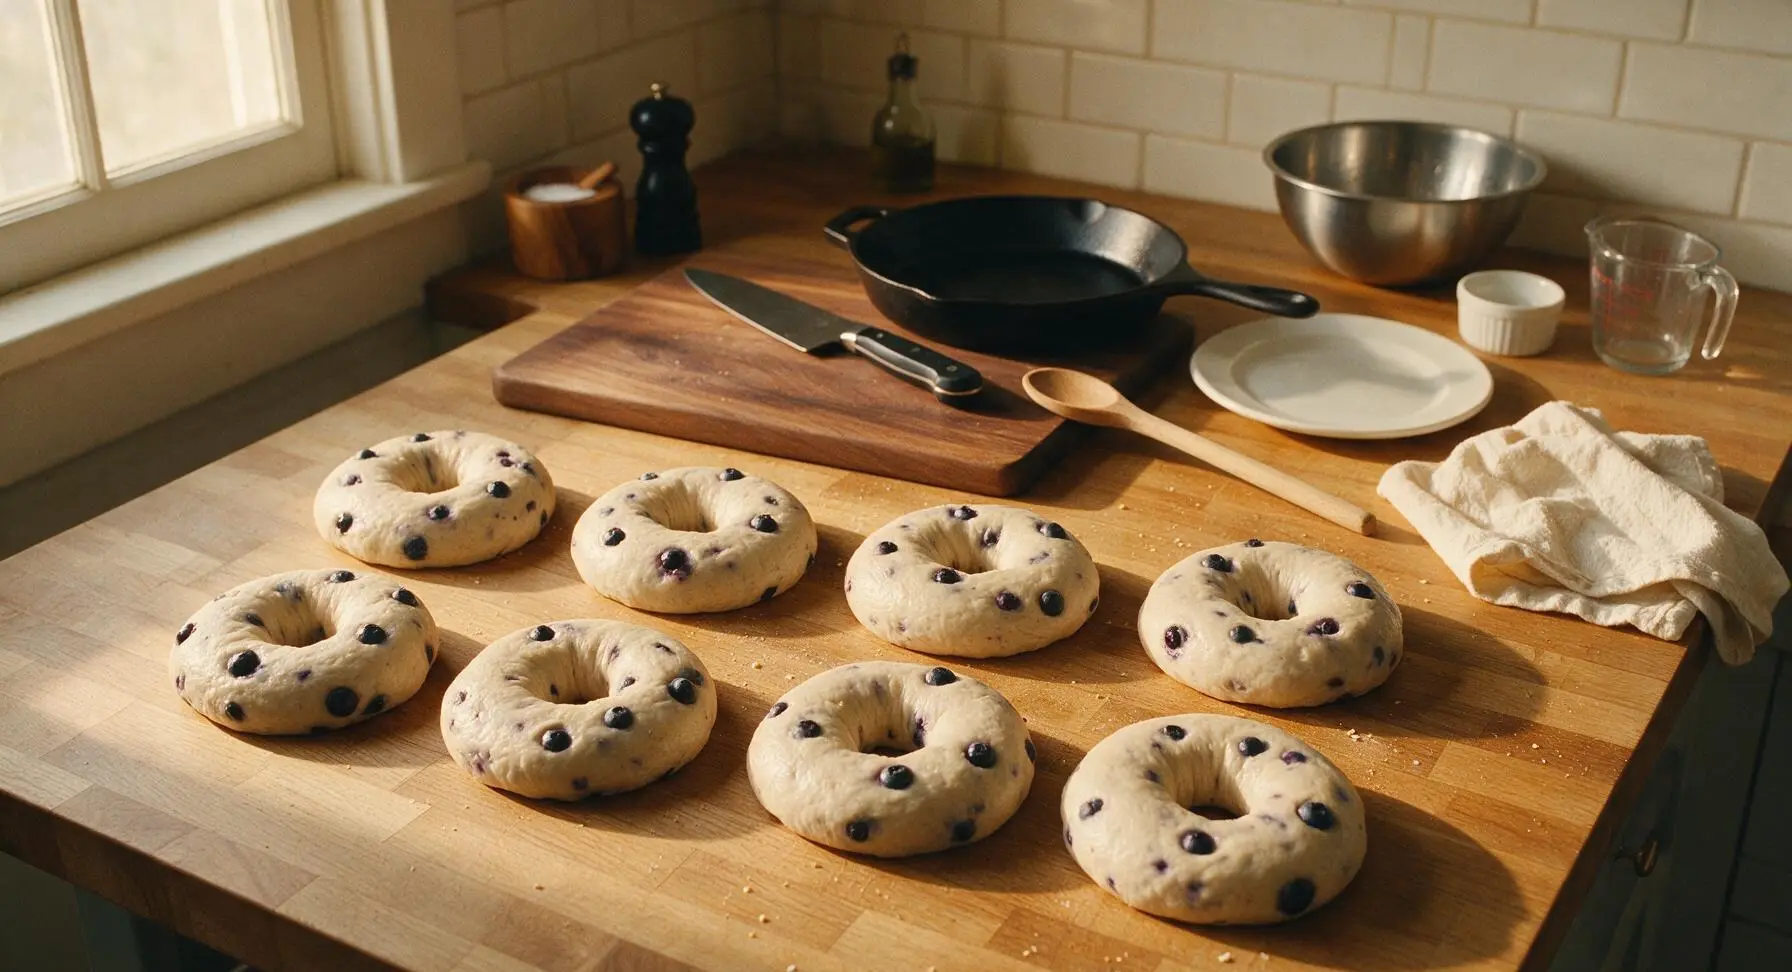
Proof Shaped Bagels
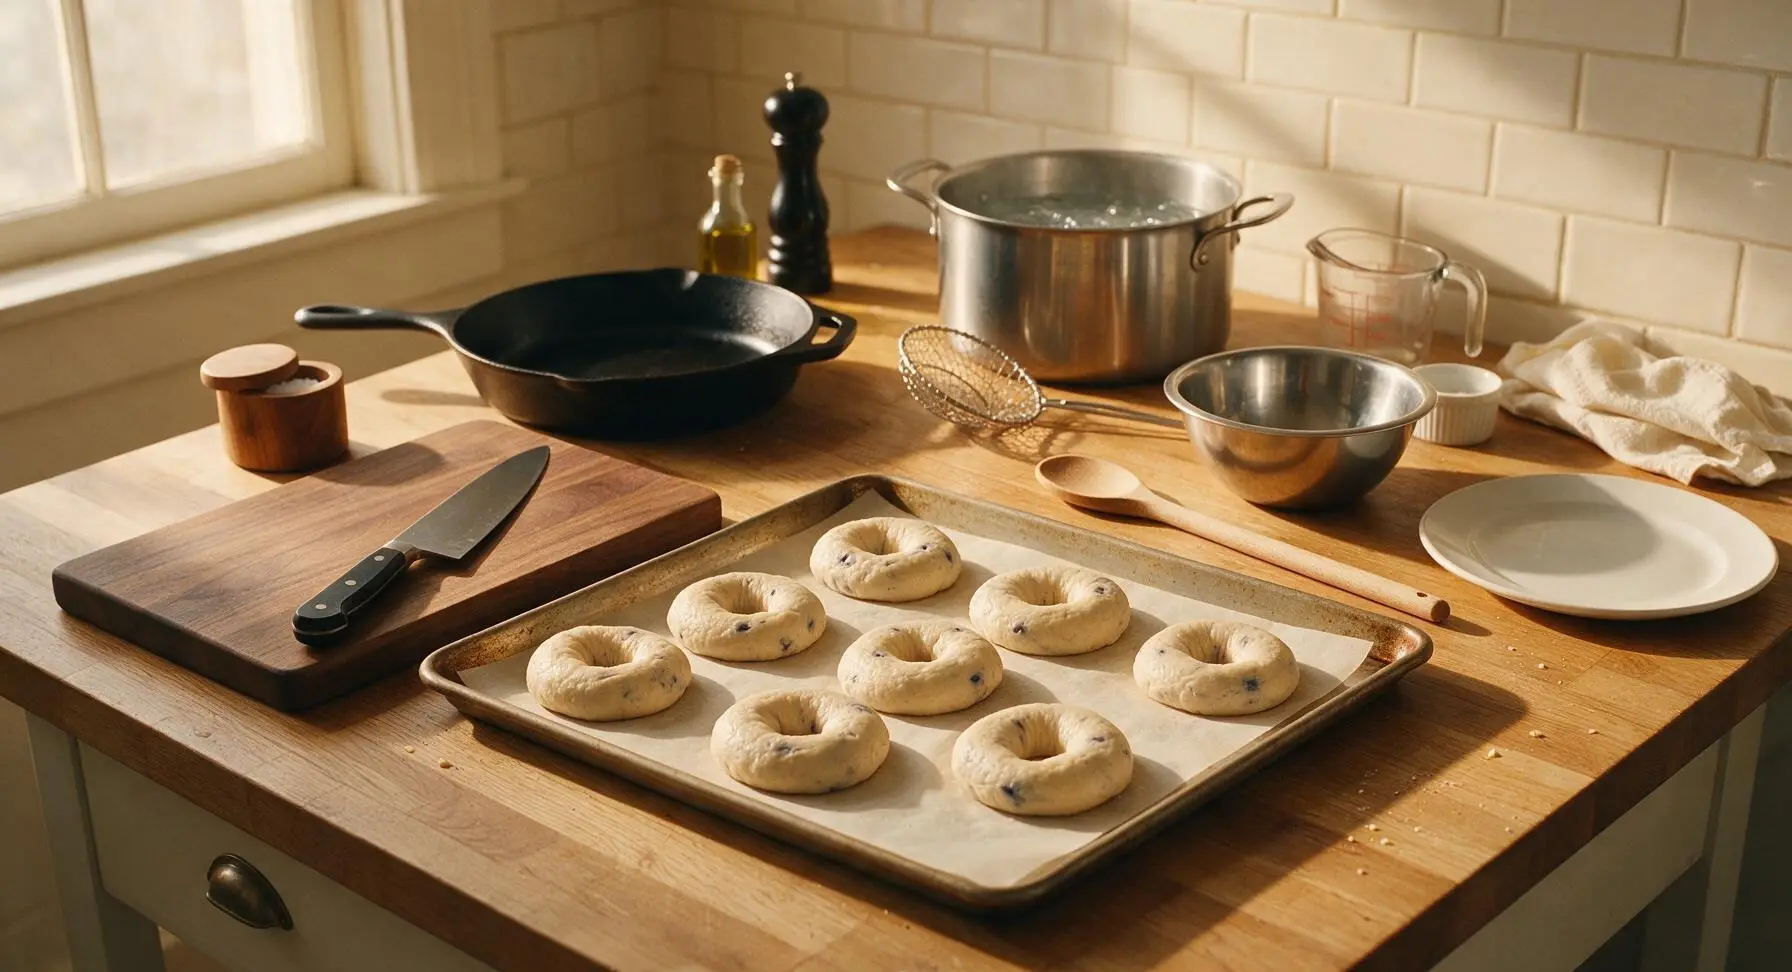
Arrange the shaped bagel rings on the unbleached parchment-lined baking sheet, leaving 3cm of space between each to allow for expansion. Cover loosely with beeswax wrap and let them rest for 20 minutes at room temperature; the bagels will puff slightly and feel light when lifted gently. While the bagels proof, fill the 8L stainless steel stock pot with 6L of water, bring to a rolling boil over high heat, then add 15g baking soda and 15ml honey, stirring to dissolve.
Boil Bagels in Water
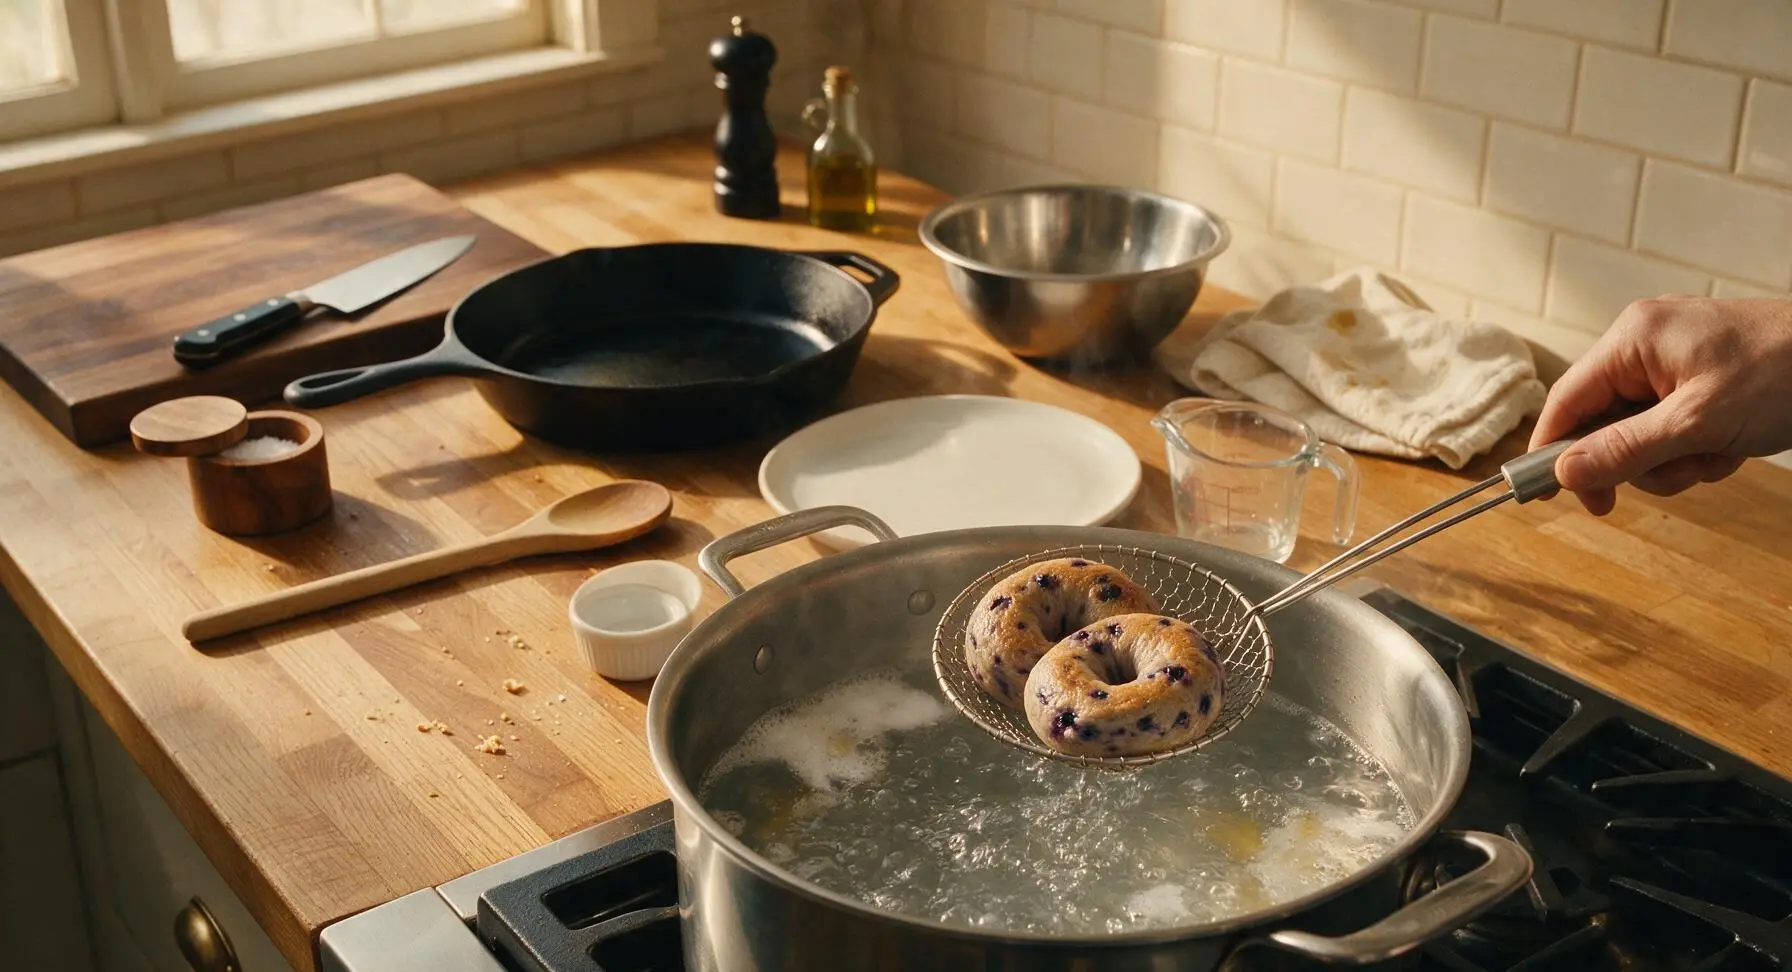
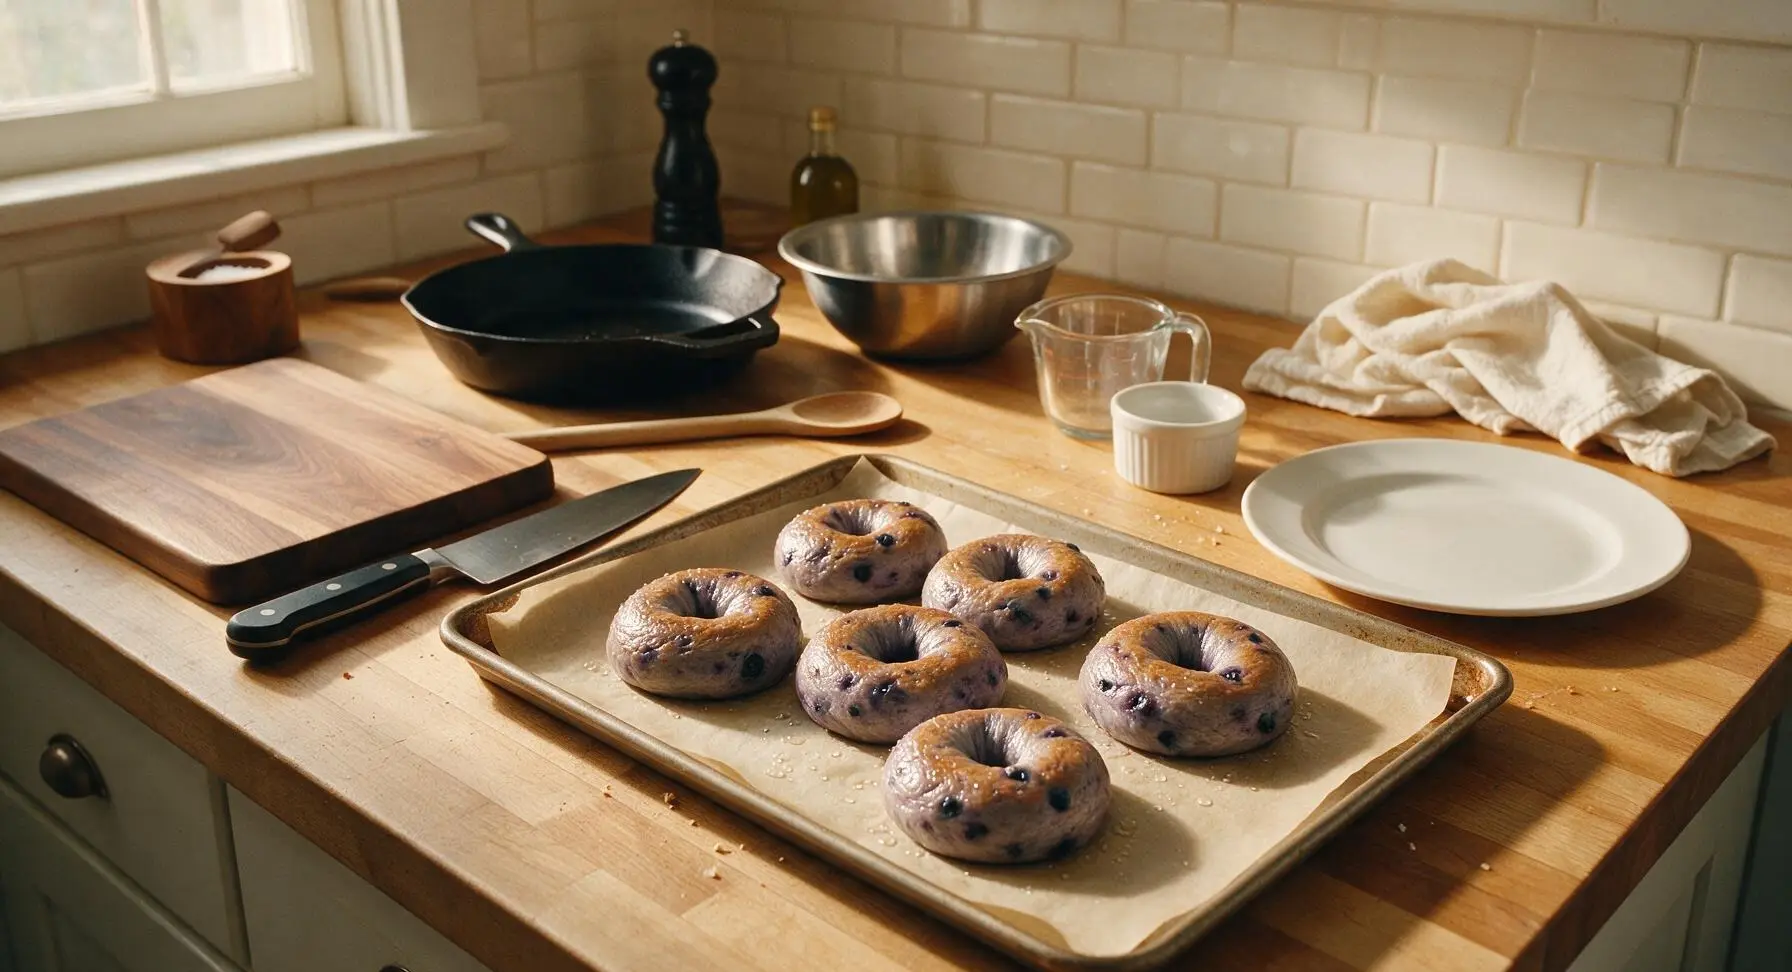
Once the water is at a steady rolling boil, use the slotted spider strainer to lower 2-3 bagels at a time into the water, being careful not to overcrowd the pot. Boil for 1 minute per side, flipping gently with the strainer, for a total of 2 minutes boiling time per bagel. The boiled bagels will puff slightly and develop a wrinkled, glossy surface. Remove them from the water with the strainer, letting excess water drip off for 10 seconds, then return them to the parchment-lined baking sheet, hole-side up.
Bake to Golden Crust
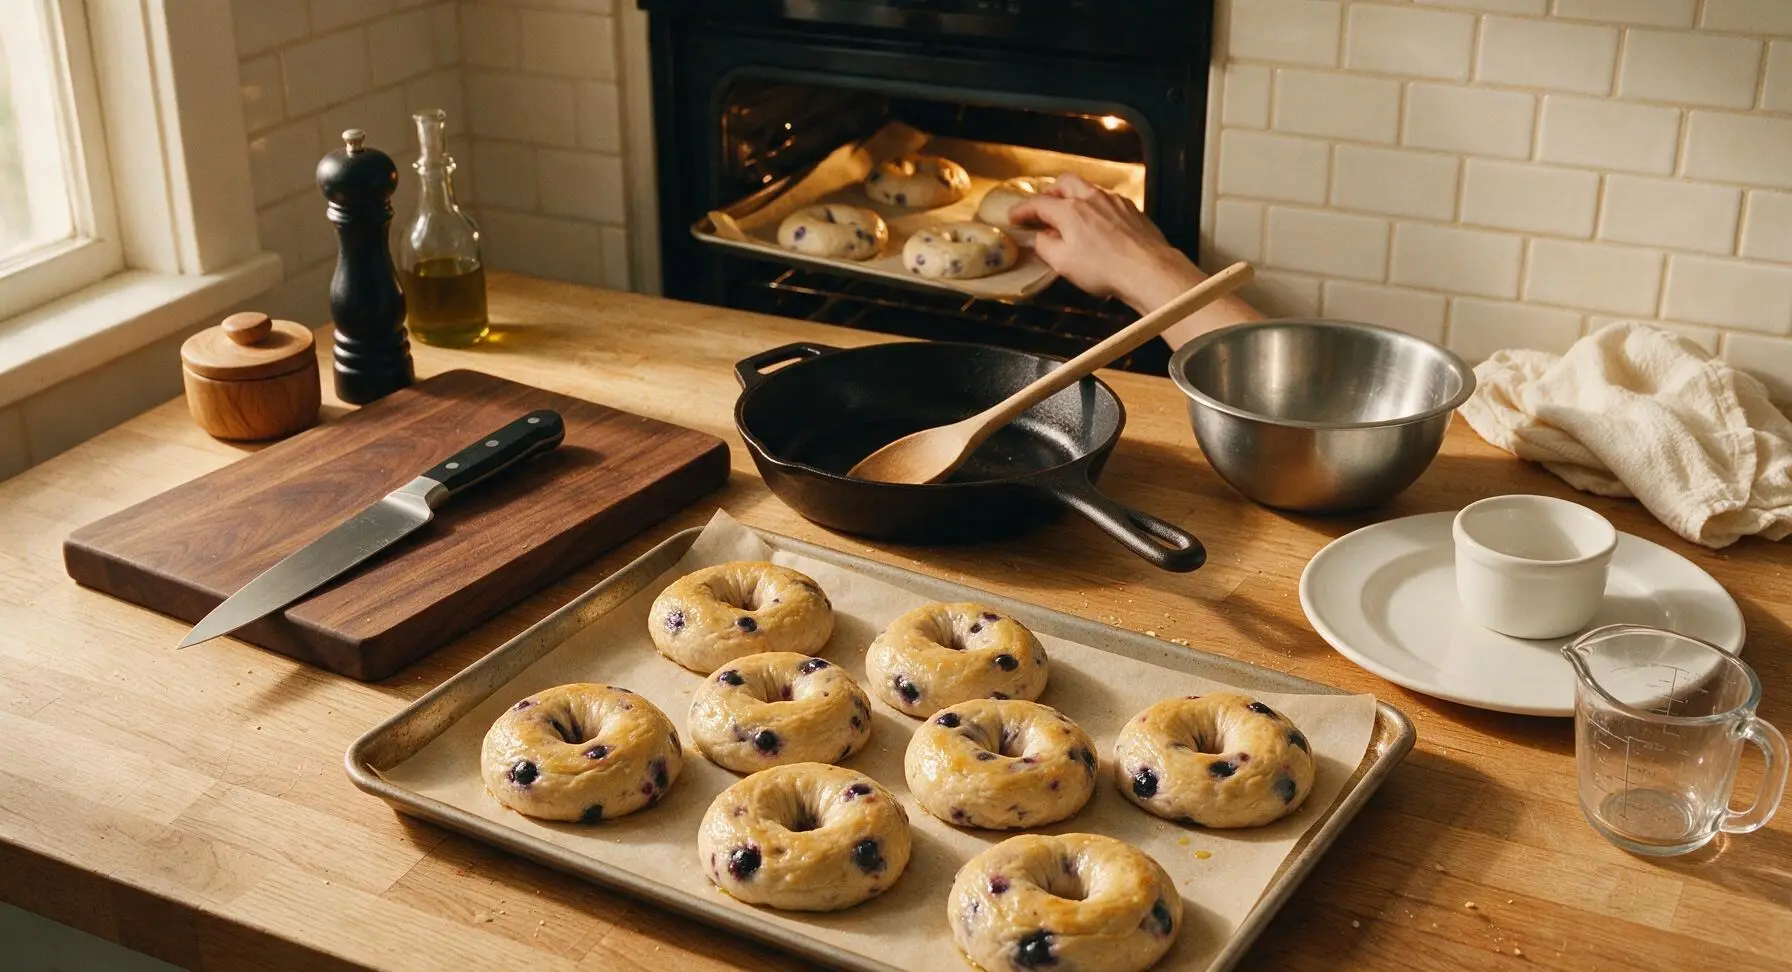
Once all bagels are boiled and arranged back on the baking sheet, place the sheet in a preheated 220°C / 425°F oven. Bake for 18-20 minutes, rotating the sheet 180 degrees halfway through baking to ensure even browning, until the bagels are deep golden brown all over, with slightly crisp edges and burst blueberries oozing small amounts of jammy purple juice onto the parchment. The internal temperature of the baked bagels should reach 93°C / 200°F for a fully set crumb.
Cool Before Serving
Once baked, use the slotted spider strainer to carefully transfer the hot golden bagels from the baking sheet to the chrome wire cooling rack. Let them cool for 15 minutes before slicing, to allow the crumb to set fully (cutting hot bagels will result in a gummy, compressed crumb). Serve sliced, toasted if desired, with cream cheese.
Tips
2.Do not skip the alkaline boiling step: The baking soda and honey in the boiling water gelatinizes the starches on the bagel surface, creating the signature shiny, crisp crust and chewy crumb that distinguishes bagels from regular bread rolls.
3.Avoid over-kneading the dough once blueberries are added: Overworking the dough will burst too many berries, leading to dense, unevenly colored bagels, rather than light, chewy bagels dotted with whole, juicy blueberry pieces.






OMG these are SO good!!! I’ve been intimidated to make homemade bagels forever but this recipe was so doable even for me. The blueberry flavor is perfect, not too sweet, and they got that chewy crust I love from bakery bagels. Meal prepped a batch for the week and my roommate already stole two this morning lmao.
My kids loved these! I made them for Saturday breakfast and they kept asking for seconds. Only issue I had was my blueberries kept bleeding into the dough and turning the whole bagel purple — did I do something wrong? Tasted amazing though, 4 stars only because the color was a little wonky for my potluck contribution later that day.
Wait, quick question before I make these this weekend! The recipe says cook time is 30 minutes — does that include the boiling step and the rising time? I’m trying to plan these for Sunday brunch and don’t want to be stuck in the kitchen all morning when guests show up. These look SO good, can’t wait to try them!
Made these vegan by swapping the honey for maple syrup and using a plant-based cream cheese wash on top — they turned out INCREDIBLE. Chewy, packed with blueberry flavor, way better than the grocery store bagels I’ve been buying. Will absolutely be adding this to my weekly meal prep rotation. 10/10!
These were the perfect post-hike snack last weekend! I packed a couple with a little schmear of lemon cream cheese and they held up so well in my pack. The only note I have is I wish I added a tiny bit more cinnamon to the dough for extra warmth, but that’s just personal preference. SO good, will make again.
Y’all I’ve never made bagels before in my life and I was so nervous these would flop, but they came out perfect! The recipe instructions were super clear, even for a total newbie. My whole family devoured them at our Sunday dinner, my dad said they’re better than the bagels he gets at his favorite deli in Brooklyn. Obsessed!
Made these for my neighborhood block party potluck last weekend and they were gone in 10 minutes!!! Everyone was asking for the recipe, I felt like such a rockstar. Quick question though — has anyone tried making these with whole wheat flour instead of all purpose? Trying to sneak a little extra fiber in for my husband.
Game changer alert!!! I made a double batch and froze half of them after they cooled, and they toast up perfectly straight from the freezer. Tastes just as fresh as the day I baked them. No more spending $5 a bagel at the fancy coffee shop for me! Only tiny complaint is I wish they had a little more of that shiny crust, but that’s probably because I skipped the malt syrup when I boiled them.