
Bologna (Fried)
intro
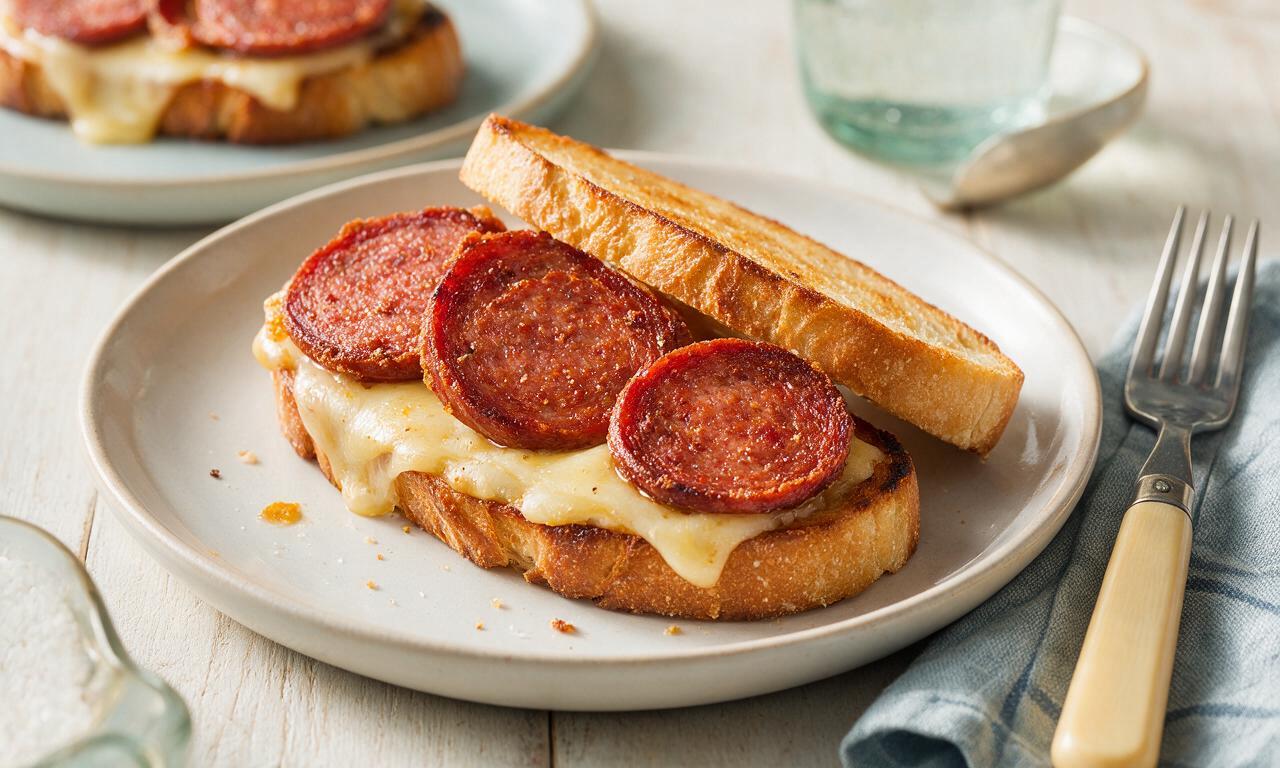
Crispy, salty pan-fried bologna with melted cheese on toasted bread: a nostalgic, budget-friendly Southern comfort food ready in 10 minutes.
Ingredients
Steps
Prep the bologna
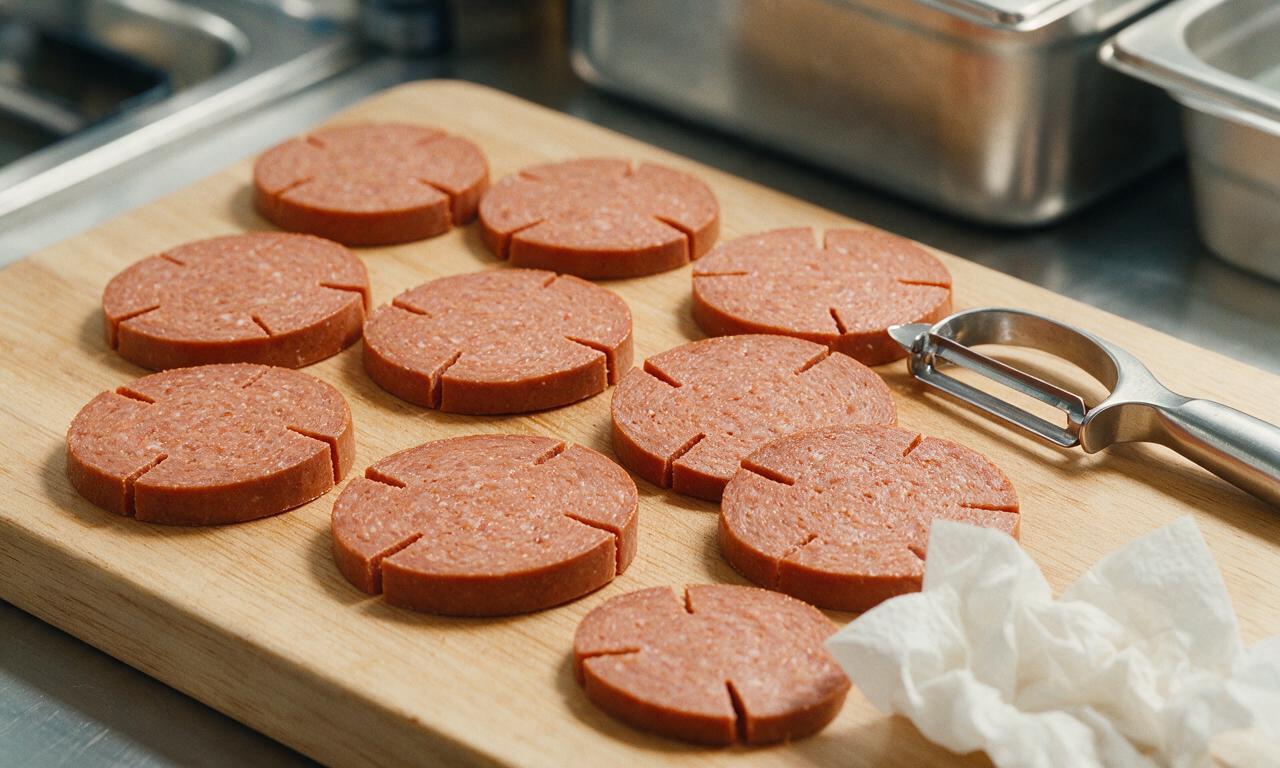
Remove bologna slices from packaging, and use a sharp paring knife to cut 4 small 1cm (1/2-inch) slits evenly around the edge of each slice to prevent curling during frying. Pat slices lightly dry with a paper towel to encourage even crisping.
Heat the skillet
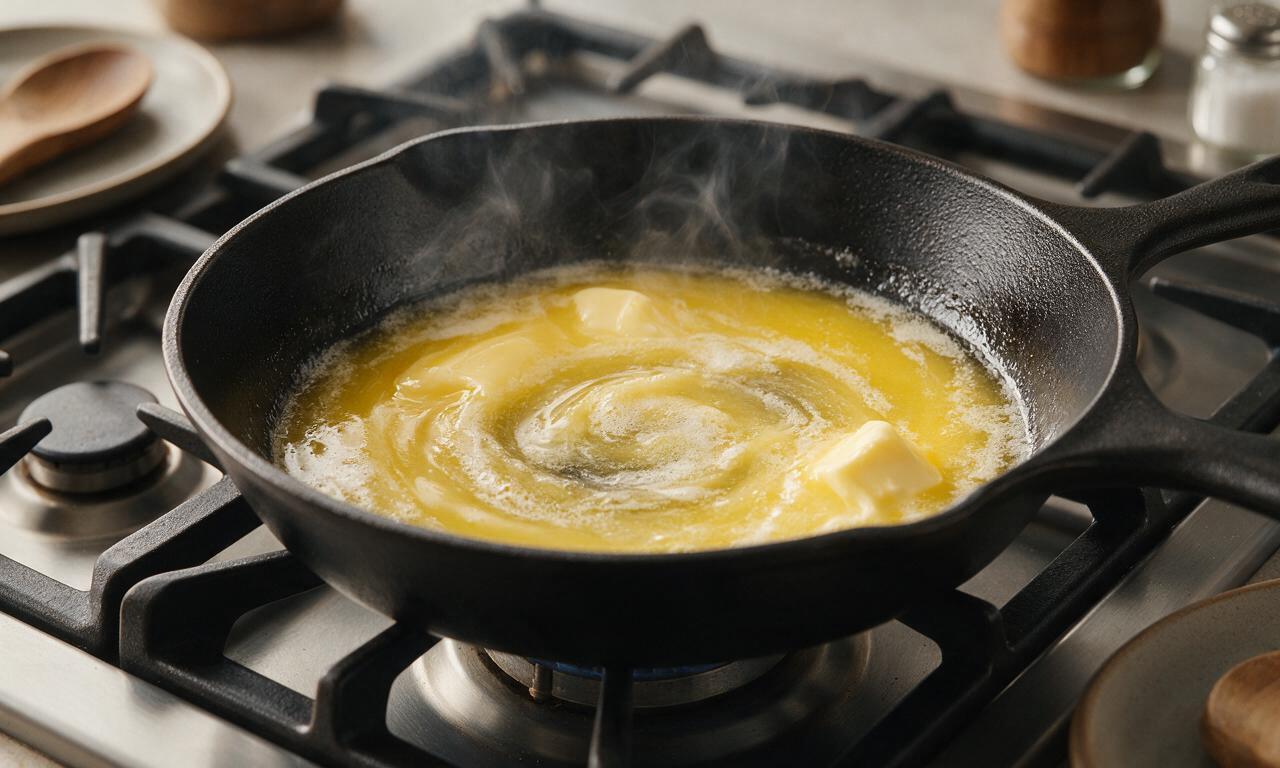
Place a large cast-iron or non-stick skillet over medium heat (175C/350F surface temperature), add 1 tablespoon (14g) of unsalted butter, and swirl to coat the pan evenly once butter is fully melted and foaming subsides, about 1 minute.
Fry the bologna
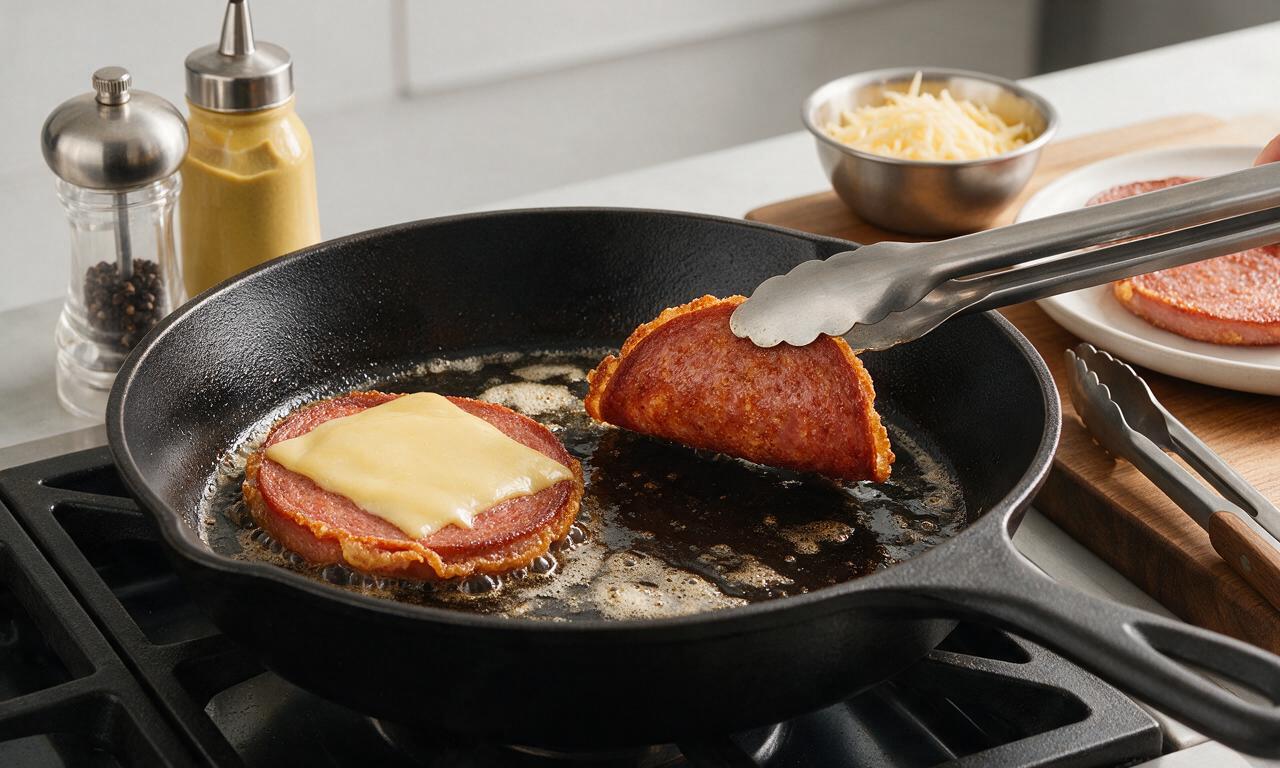
Working in batches of 2 slices to avoid crowding the pan (which drops temperature and causes steaming instead of crisping), keep heat at medium as you add bologna to the skillet. Fry for 1.5 minutes on the first side until deep golden brown and crispy around the edges, then flip with tongs and fry the second side for 1 minute more. Place 1 slice of American cheese on top of each bologna slice during the last 20 seconds of cooking to let it melt fully. Transfer cooked slices to a clean plate, adding the remaining 1 tablespoon (14g) of butter between batches as needed to keep the pan coated.
Toast the bread
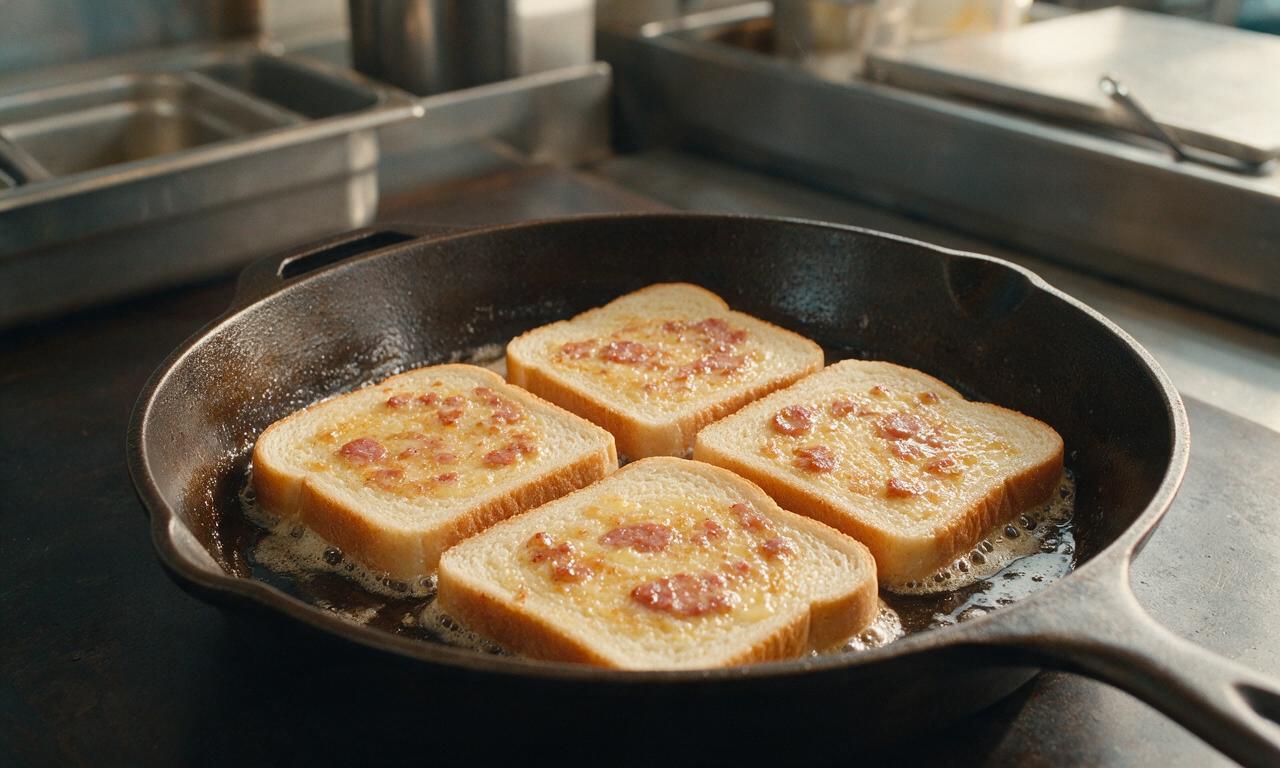
Once all bologna is cooked, reduce stovetop heat to medium-low, then place bread slices in the same skillet (working in batches of 4 to fit the pan), using residual butter and savory bologna drippings for extra flavor. Toast for 30 seconds per side until light golden and crisp on the surface.
Assemble the sandwiches
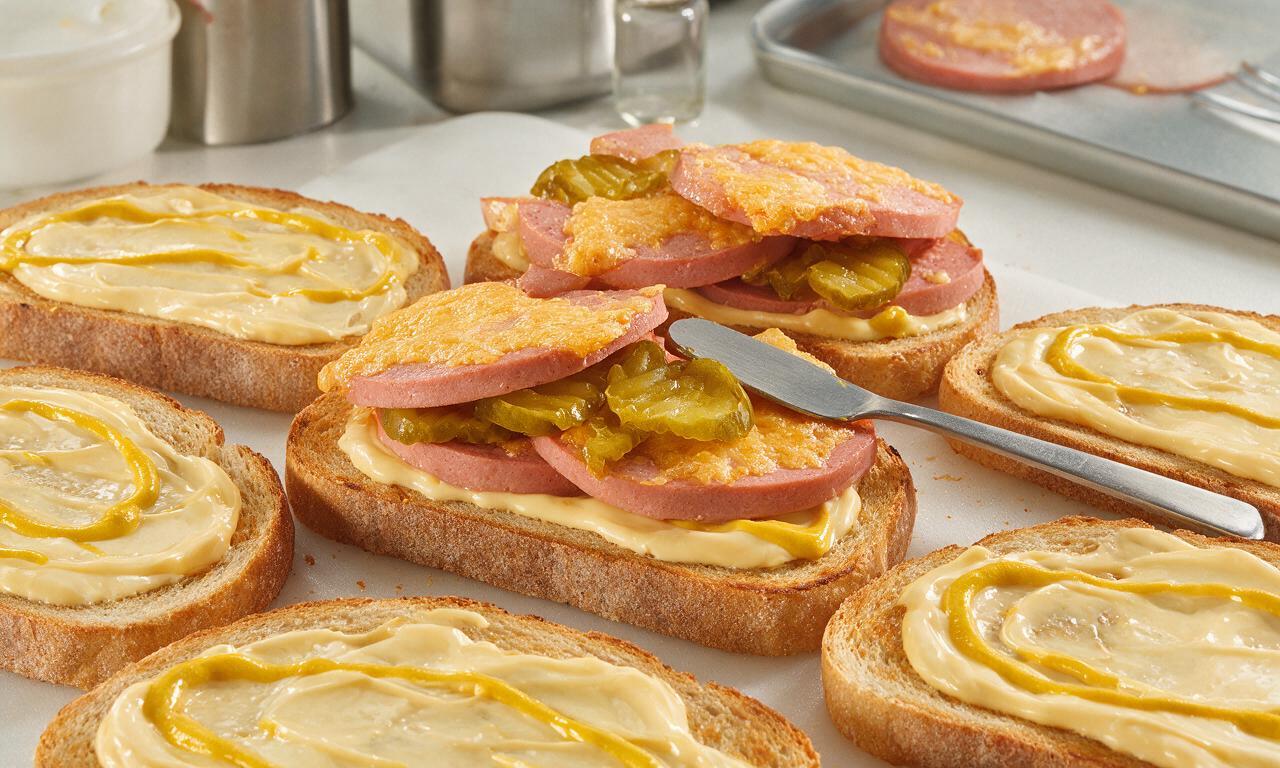
Spread 1/2 teaspoon (2.5ml) of mayonnaise and 1/2 teaspoon (2.5ml) of yellow mustard in a thin, even layer on one side of each toasted bread slice. Layer one cheese-topped fried bologna slice and 15g (about 4-5) drained dill pickle slices between two prepared bread slices, pressing down gently to adhere the layers. Set aside extra mustard and pickles for serving, and repeat assembly to make 4 total sandwiches.
Serve immediately
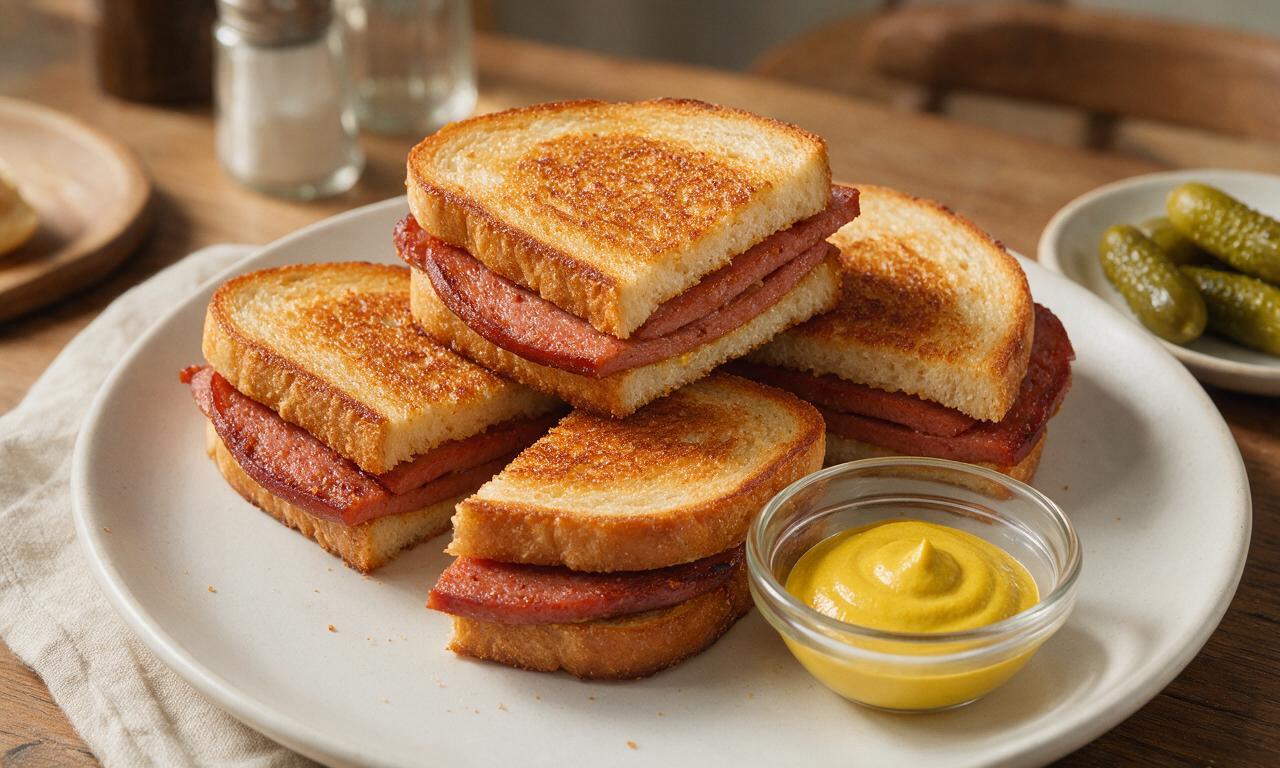
Cut each assembled sandwich diagonally into two triangles, and serve right away while the bologna is hot and crispy, the cheese is fully melted, and the bread remains toasty. Serve reserved extra mustard and pickles on the side for optional added flavor.
Tips
2.Choose thick 1/2-inch cut bologna from the deli counter instead of thin pre-packaged deli slices; thin slices will burn quickly before developing the signature crispy, caramelized edge.
3.Avoid overcrowding the pan when frying; too many slices at once will drop the pan temperature, causing the bologna to steam instead of crisp, leading to soggy, greasy results.






OMG I made this for my kid’s after school snack yesterday and they went absolutely feral for it! 10 minutes total, zero fancy ingredients, that crispy edge is *chef’s kiss*. I added a little extra American cheese on mine, no regrets. SO good.
This is such a throwback to my grandma’s Sunday suppers! I forgot how simple and tasty fried bologna is, made it for a quick weeknight dinner last night with some potato chips and pickles on the side. Total hit, even my picky husband ate two sandwiches.
Brought a platter of these sliders (cut the bologna to fit Hawaiian rolls, duh) to my neighborhood potluck last weekend and people were asking for the recipe before I even set the plate down! Who knew cheap deli bologna could be such a crowd pleaser? Only note: make way more than you think you need.
Perfect easy protein to add to my meal prep rotation! I fry up a pack on Sunday, toss it in the fridge, and it heats up great for quick breakfasts with eggs or lunch sandwiches all week. No mess, no fancy steps, exactly what I need for busy work weeks.
Grew up eating these on white bread with yellow mustard, thought I was the only person who still made fried bologna sandwiches! Tried this method of getting it extra crispy and it’s way better than how I used to make it, no more soggy floppy slices. Worth the 10 minutes for sure.
Okay I saw this recipe and thought ‘fried bologna? really?’ but I had a pack in the fridge I needed to use up so I gave it a shot. I sprinkled a little cayenne and paprika on the slices while they cooked and HOLY COW. That crispy, salty, slightly spicy kick is addictive. I ate three slices straight out of the pan no bread no regrets.
My grandkids begged me to make ‘that crispy bologna’ they had at their friend’s house, so I found this recipe. It was so easy I didn’t even need to write the steps down! We made sandwiches with toasted white bread, mayo, and tomato slices, and the kids ate every bite. Reminded me of when I was a kid growing up in Cleveland.
As a broke college student with barely any cooking skills and a tiny dorm kitchen, this is a lifesaver. Total cook time is actually 10 minutes like it says, I only have a cheap frying pan and it still came out perfectly crispy. Way cheaper and tastier than getting takeout every night.
So happy this is naturally gluten free as long as you pick the right bologna! I served mine on gluten free toast with a side of coleslaw and it felt like such a fun, indulgent lunch without any weird ingredients. The crisp on the bologna was perfect, no sogginess at all when I followed the tip to cook it over medium high heat.
Made these for a lazy Sunday brunch last weekend alongside scrambled eggs and hash browns, and my boyfriend said it was the best brunch I’ve ever made. I thought he was being dramatic until I took a bite, that salty crispy bologna beats regular breakfast sausage by a mile. I’ll be adding this to our regular brunch rotation for sure.
Tried this recipe last night for family dinner and it was a home run. I used thick cut bologna from the deli counter instead of the pre-packaged thin stuff, and let me tell you, that’s the move. The thick slices get crispy on the outside but stay juicy in the middle, 10/10. My 7 year old asked for seconds before she even finished her first sandwich.
I’ve been testing out old school retro recipes lately and this one is easily top tier. There’s a reason fried bologna sandwiches have been around forever—they’re cheap, fast, and taste like pure comfort. I served mine with a side of classic potato salad and it felt like a 1950s diner meal right in my own kitchen.
Okay full transparency, I overcooked the first two slices because I walked away to answer a text, but once I paid attention? Perfectly crispy, so tasty. Don’t be like me, stand by the pan, it cooks fast! Super easy even for someone who burns toast on the regular, promise.
Made these for our college football tailgate last Saturday and they were gone in 10 minutes flat! I set out a little topping bar with mustard, mayo, pickles, cheese, and hot sauce so people could build their own sandwiches, and it was the easiest tailgate food I’ve ever made. No fancy grills needed, just a big cast iron skillet on my camp stove.
This recipe cost me less than $5 total to make for two people, which is wild these days. I used the store brand bologna, regular white bread, and condiments I already had in the fridge, and it tasted like a million bucks. Perfect for weeks when the grocery budget is tight but you still want something tasty for dinner.
I know everyone puts cheese on these, but hear me out: pile a bunch of dill pickles on top of the crispy bologna with a little mustard on rye bread. I made this for lunch today and I’m already craving another one. The crunch from the pickles pairs so perfectly with the salty crispy bologna, I can’t stop thinking about it.
Between soccer practice, homework, and my full time job, I barely have time to cook on weeknights, so this 10 minute recipe is an absolute lifesaver. I made it last night with a side of frozen tater tots and it took less time to make than it takes for the kids to set the table. Everyone ate without complaining, which is basically a miracle in my house.
Made this in my well-seasoned cast iron skillet with a tiny pat of butter, and the crust on the bologna was perfectly crispy, no weird burnt spots. I’ve tried making fried bologna in non-stick pans before and it never gets that same deep crunch, cast iron is definitely the way to go if you have one. 10/10, will make again every other week for sure.
I’m literally just learning how to cook for myself after moving out of my parents’ house, and this was the first recipe I tried that didn’t turn out terrible! It was so easy to follow, I didn’t have to measure anything, and it came out exactly like the pictures said it would—all crispy and golden. I felt like a real chef, ngl.