
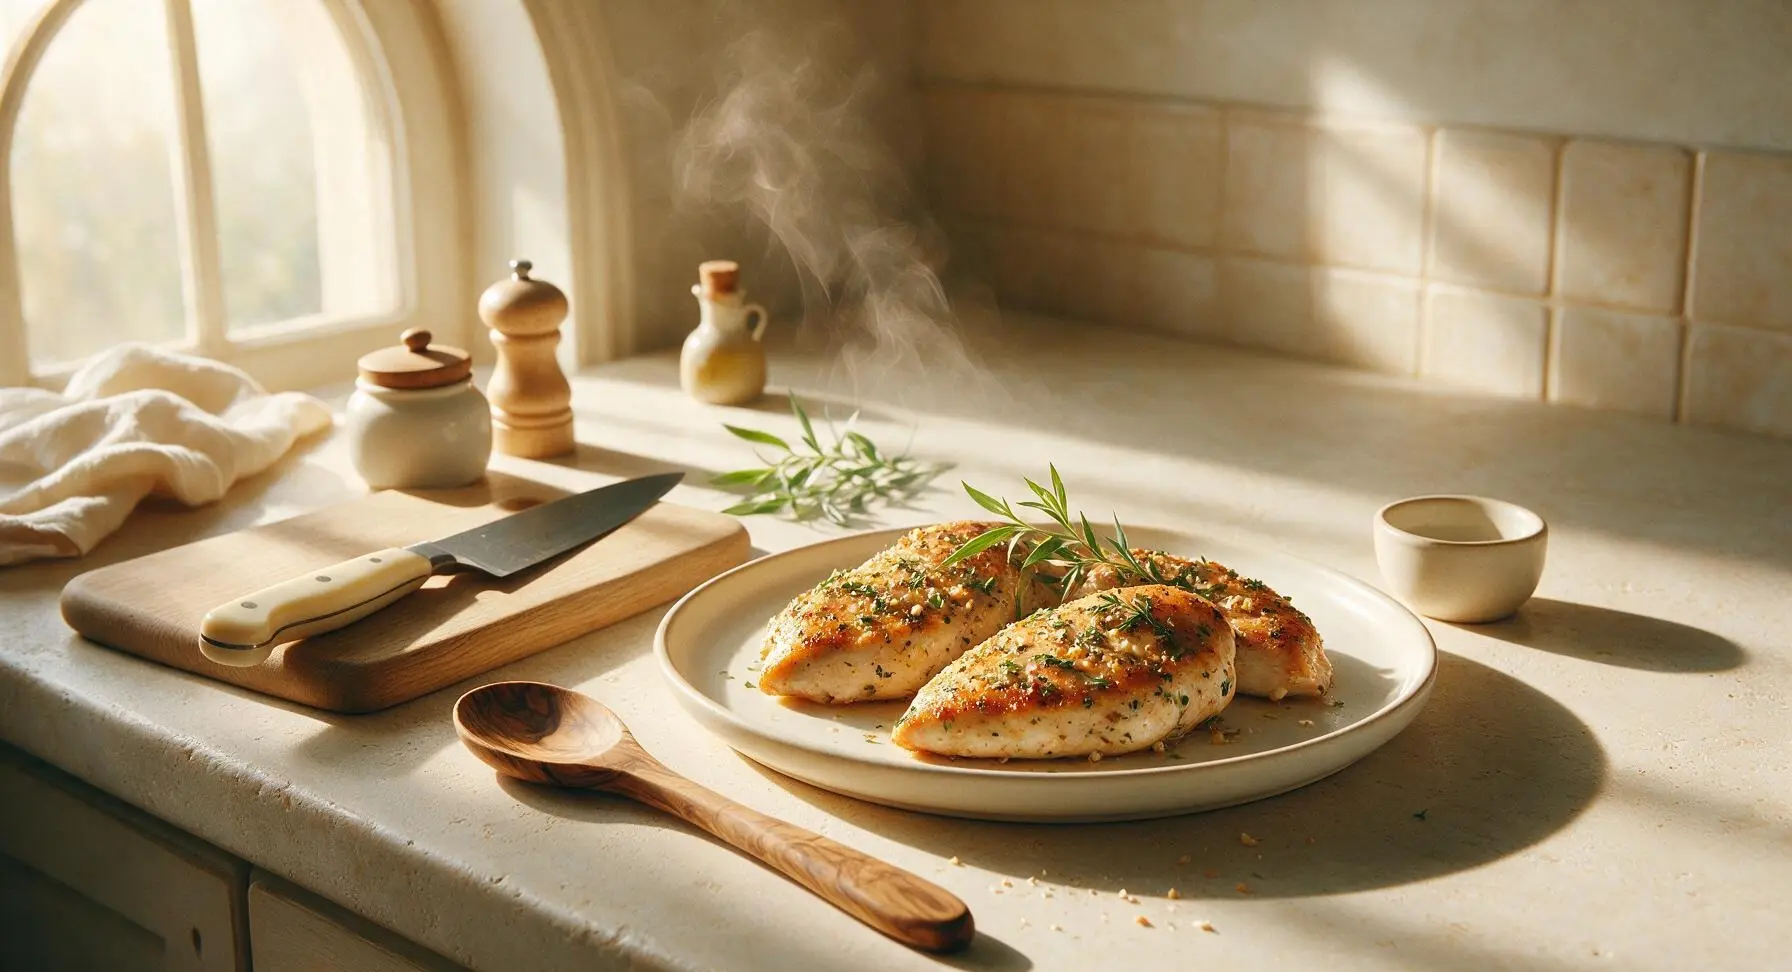
boneless chicken

title 1
boneless chicken
⏱️ cook time 15 minutes
🍽️ servings 4
⚡ Difficulty easy

intro

Juicy, golden-crusted boneless chicken breasts infused with garlic and fresh herbs, ready in under 30 minutes for a simple, flavorful weeknight meal.

Ingredients
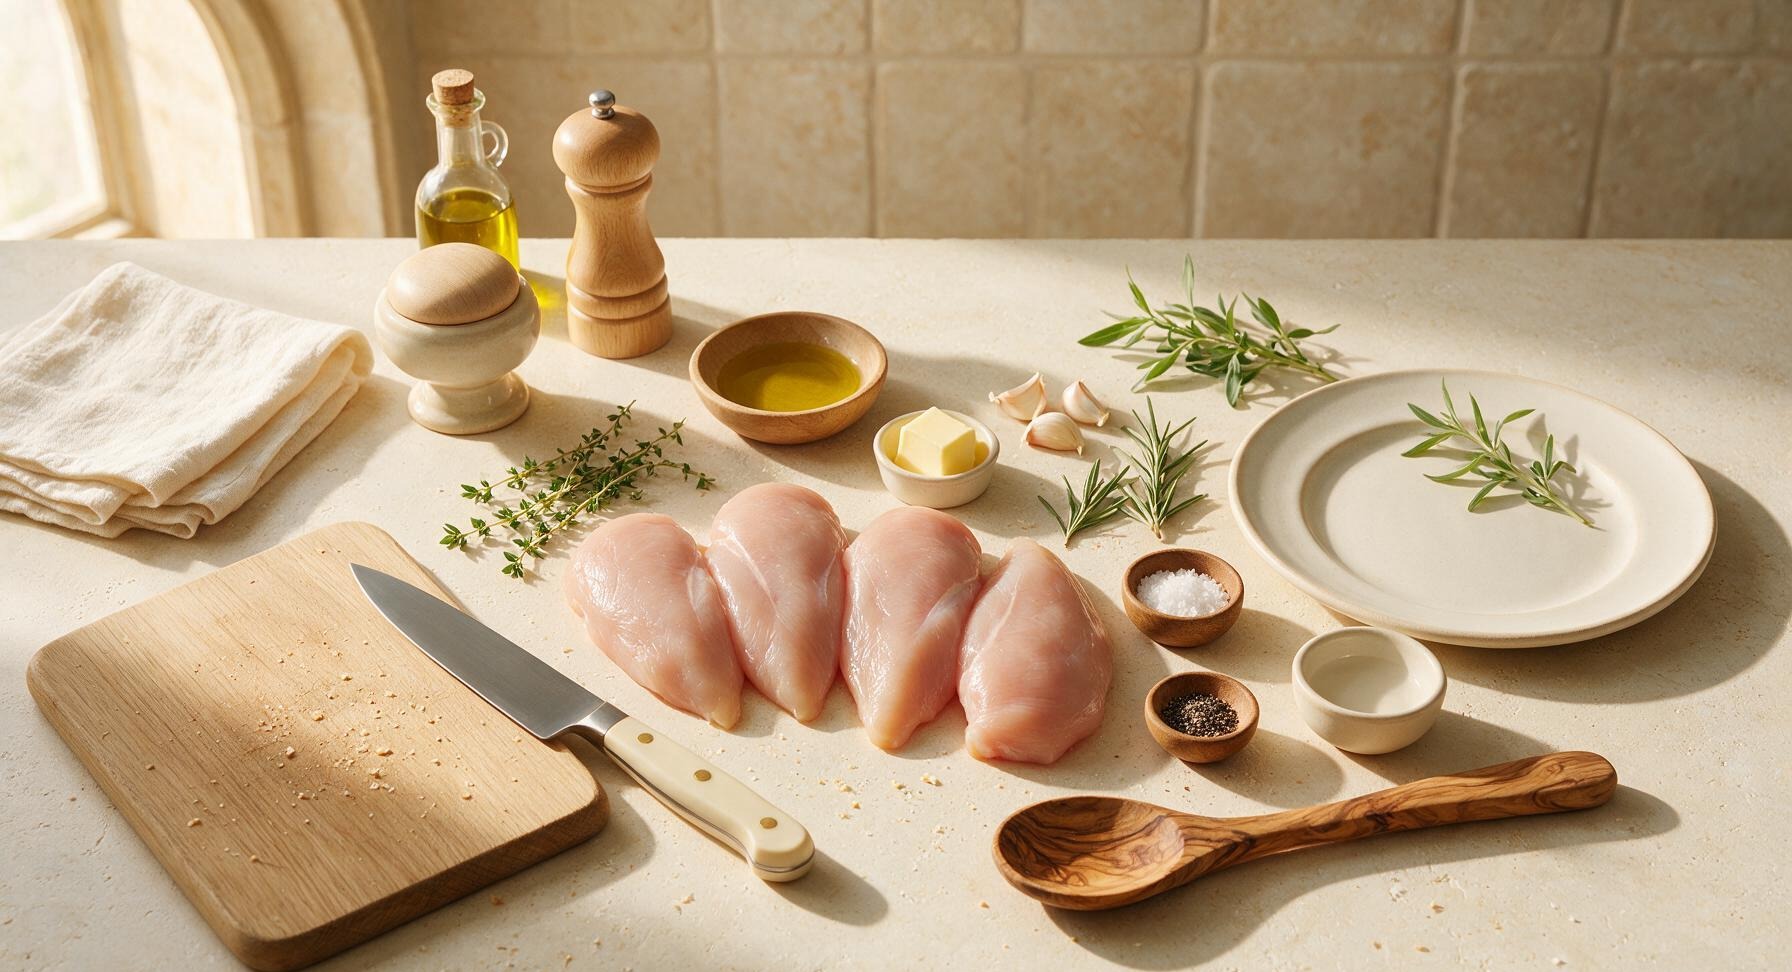
Boneless, skinless chicken breasts 600g (four 150g pieces)
Extra-virgin olive oil 2 tablespoons
Unsalted butter 1 tablespoon
Garlic cloves 3 cloves, lightly crushed
Fresh rosemary 2 sprigs
Fresh thyme 4 sprigs
Kosher salt 1 teaspoon
Freshly ground black pepper 1/2 teaspoon

Steps

1

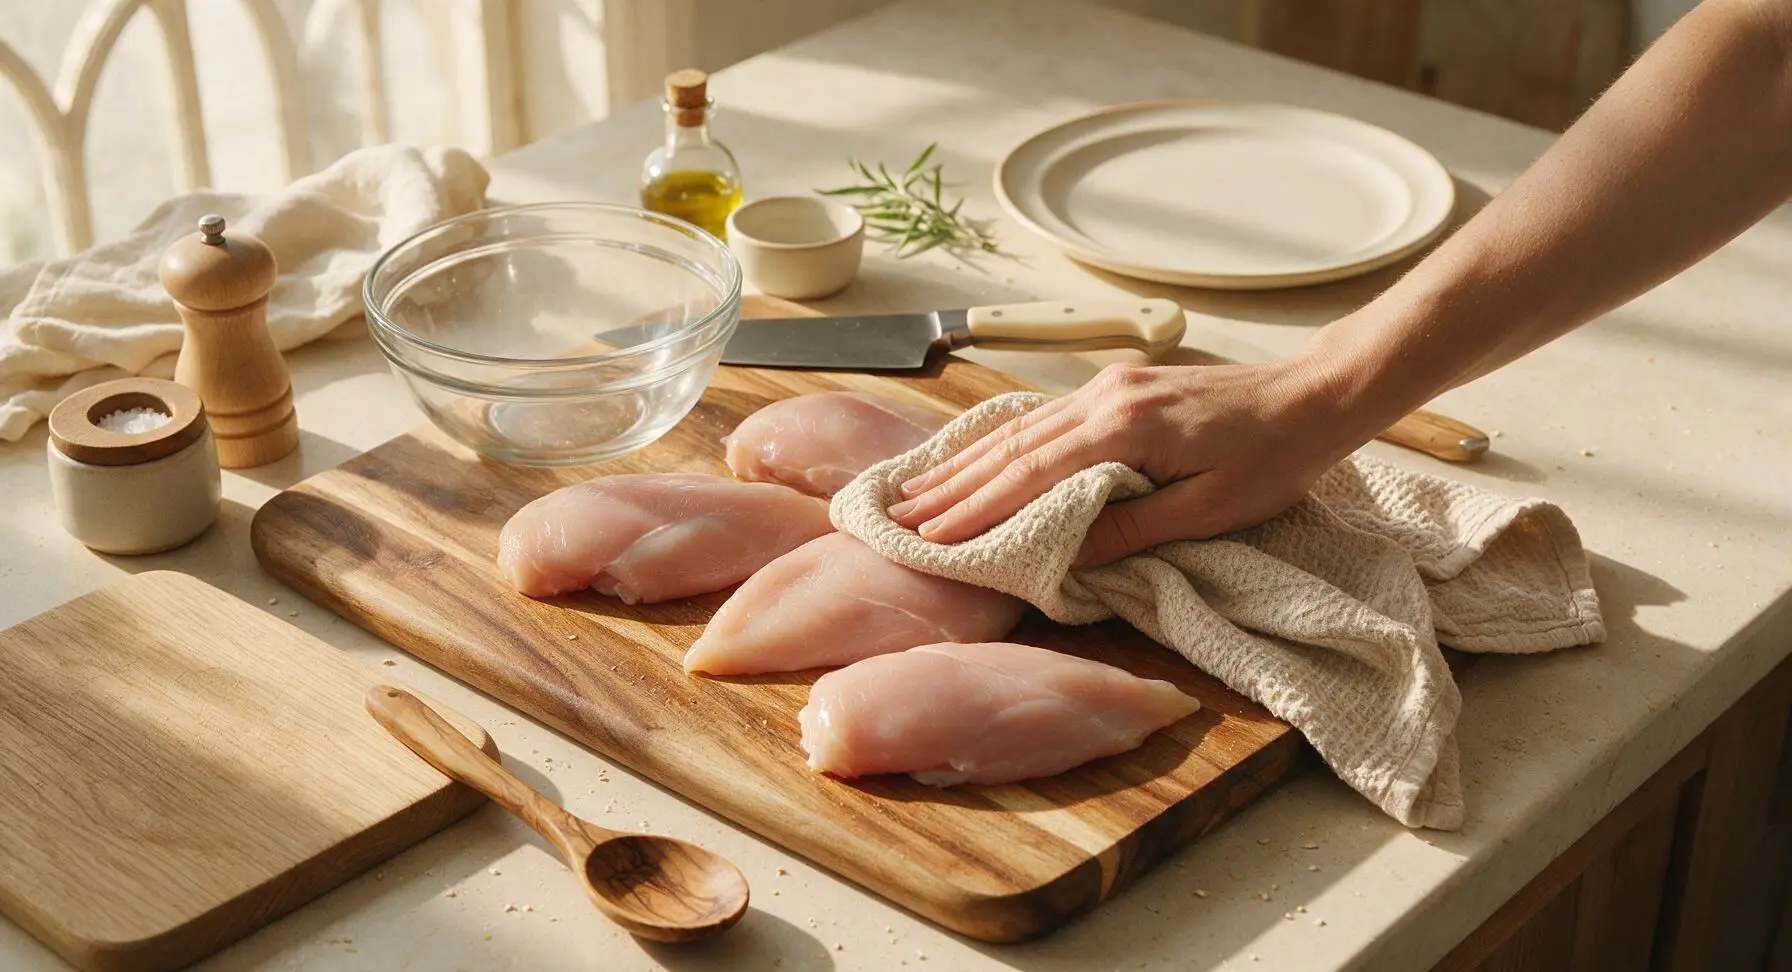
Pat Chicken Completely Dry

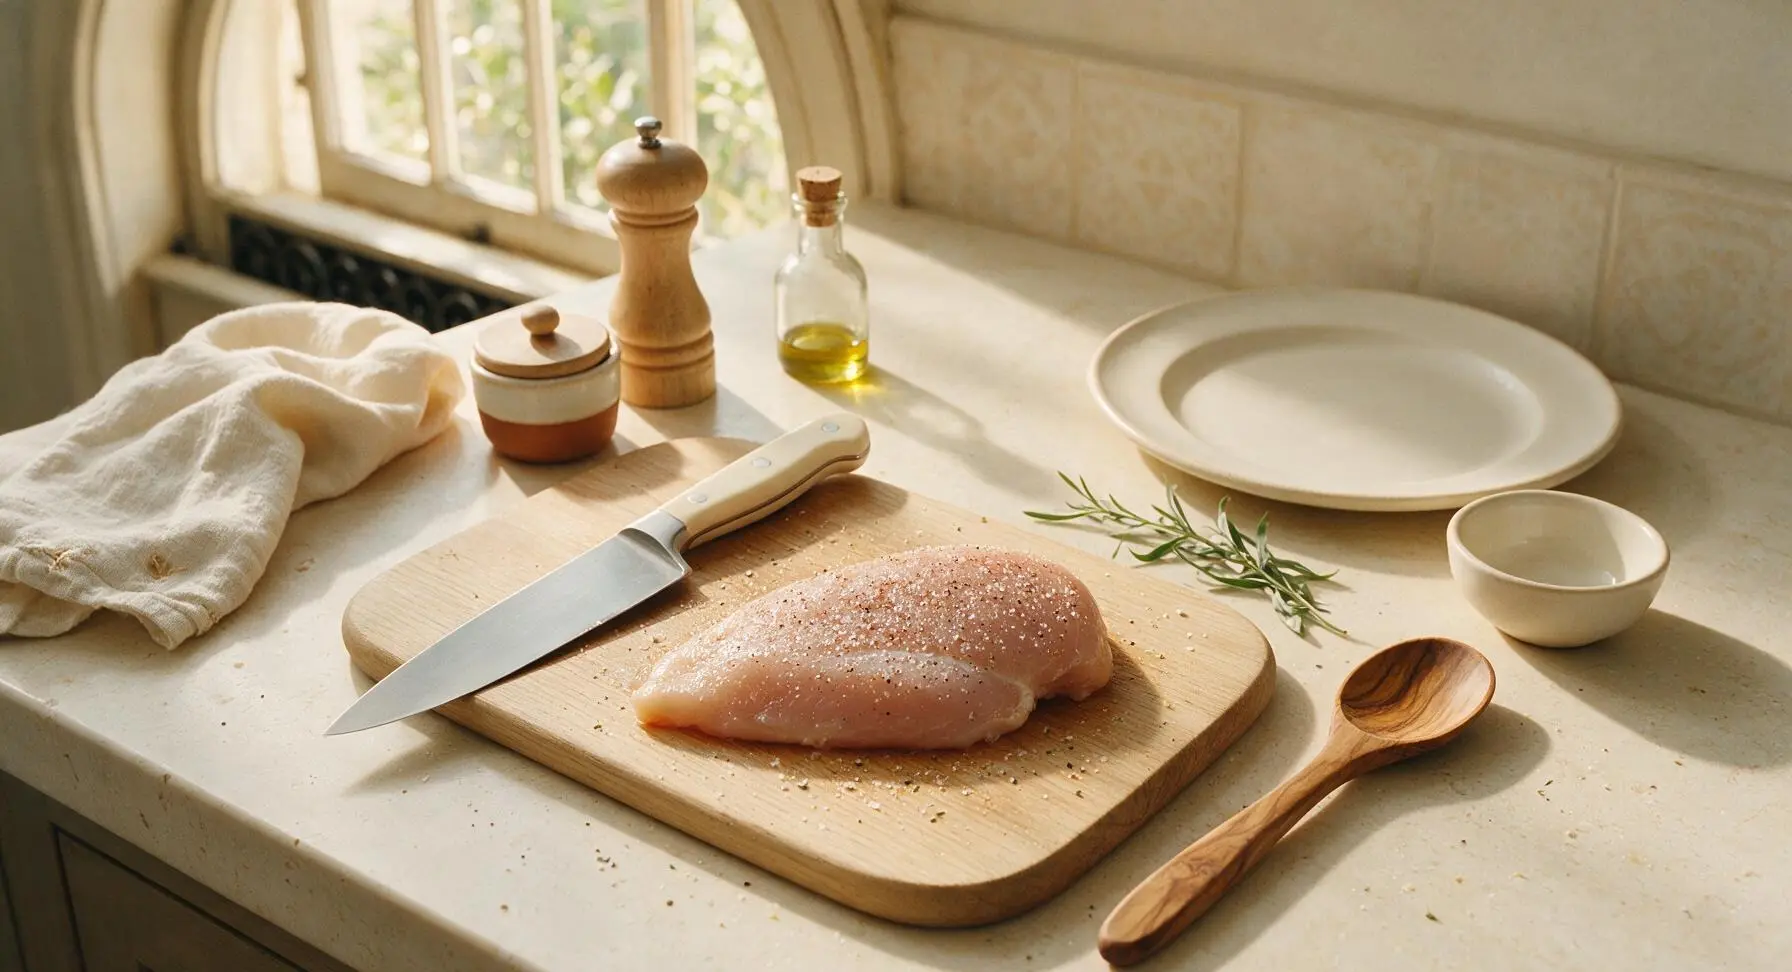
Place the 4 boneless, skinless chicken breasts on the acacia wood cutting board. Use a corner of the oatmeal cotton towel to pat every surface of the chicken completely dry, paying extra attention to remove residual moisture from the smooth presentation side that will touch the pan first. Use the chef knife to trim away any small bits of loose fat or tough silver skin from the chicken edges. Fully dry chicken is critical to achieving a crisp, golden sear instead of steamed, pale meat.
Step 1
step1:Pat Chicken Completely Dry
2

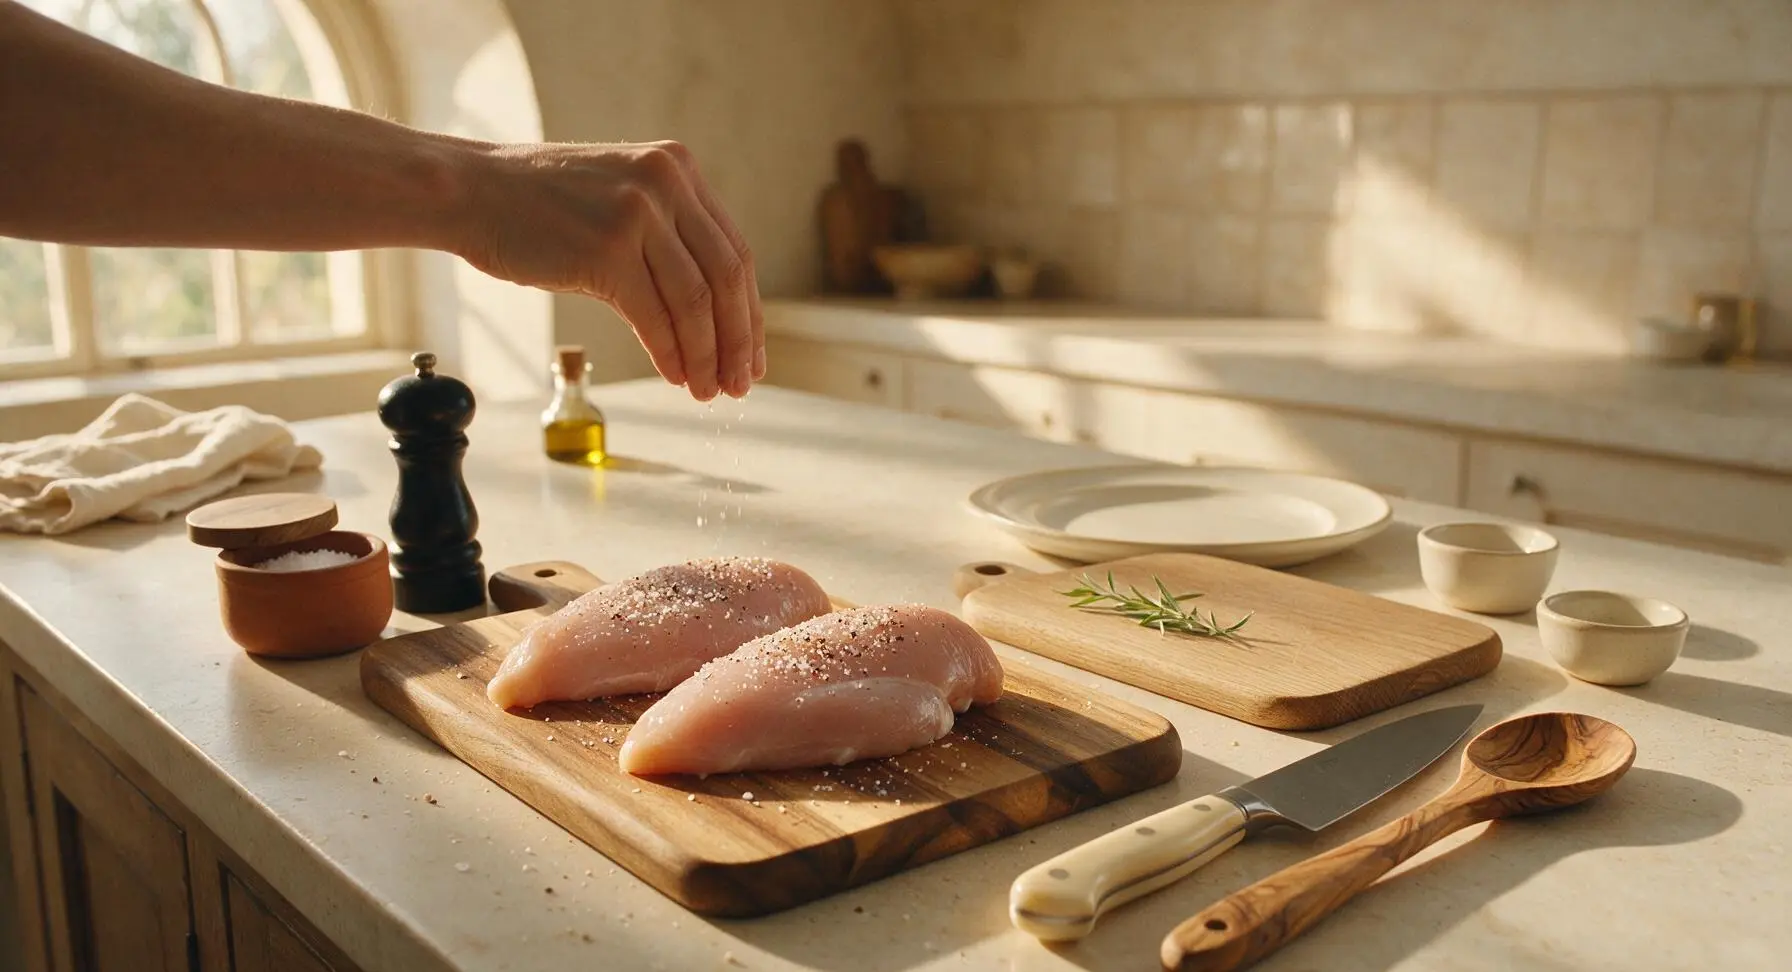
Season Chicken Evenly

Sprinkle 1 teaspoon kosher salt and 1/2 teaspoon freshly ground black pepper evenly across both sides of each chicken breast, using your fingers to rub the seasoning lightly into the meat surface. Let the seasoned chicken rest for 5 minutes at room temperature to allow the salt to penetrate; the surface will become slightly tacky to the touch, which helps build a more even, crisp crust during searing.
Step 2
step2:Season Chicken Evenly
Step 2
step2:Season Chicken Evenly
3

Preheat Skillet Properly

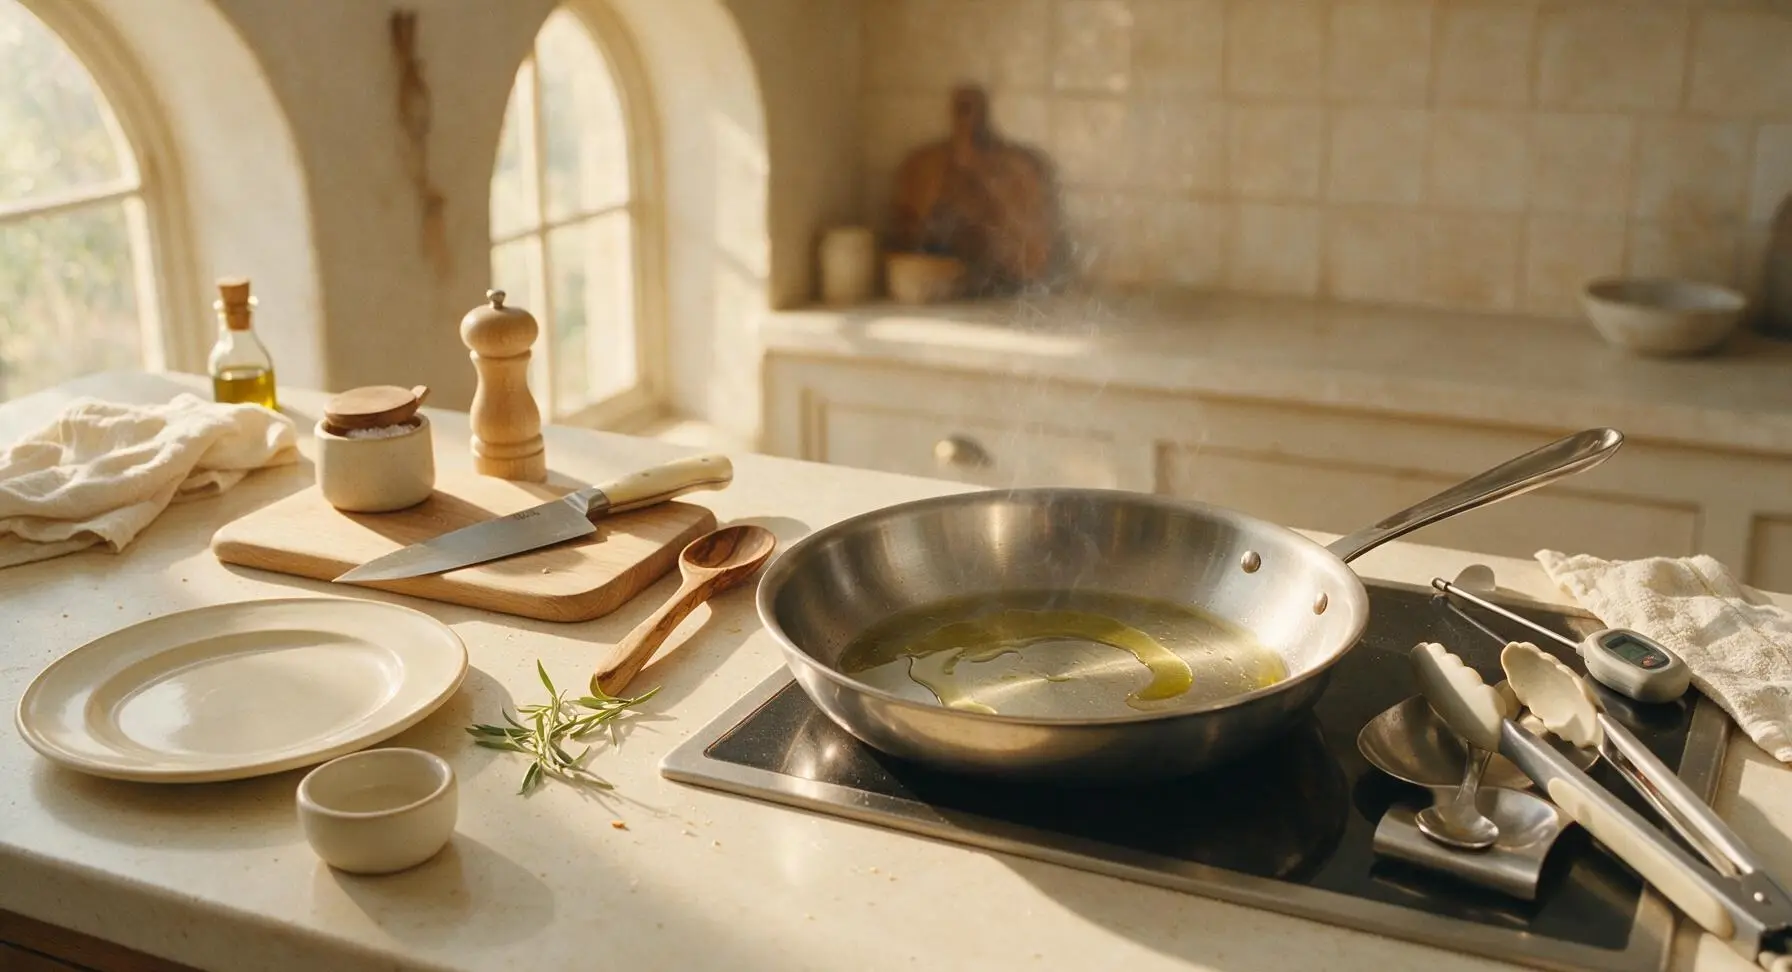
Place the 12-inch stainless steel skillet in the center-right cooking zone of the counter. Add 2 tablespoons extra-virgin olive oil to the pan, and heat over medium-high for 2-3 minutes until the oil shimmers across the pan surface and just begins to send up thin, wispy trails of smoke. Do not add chicken before the oil is fully hot, as this will cause sticking and prevent a crisp crust from forming.
Step 3
step3:Preheat Skillet Properly
4

Sear First Chicken Side

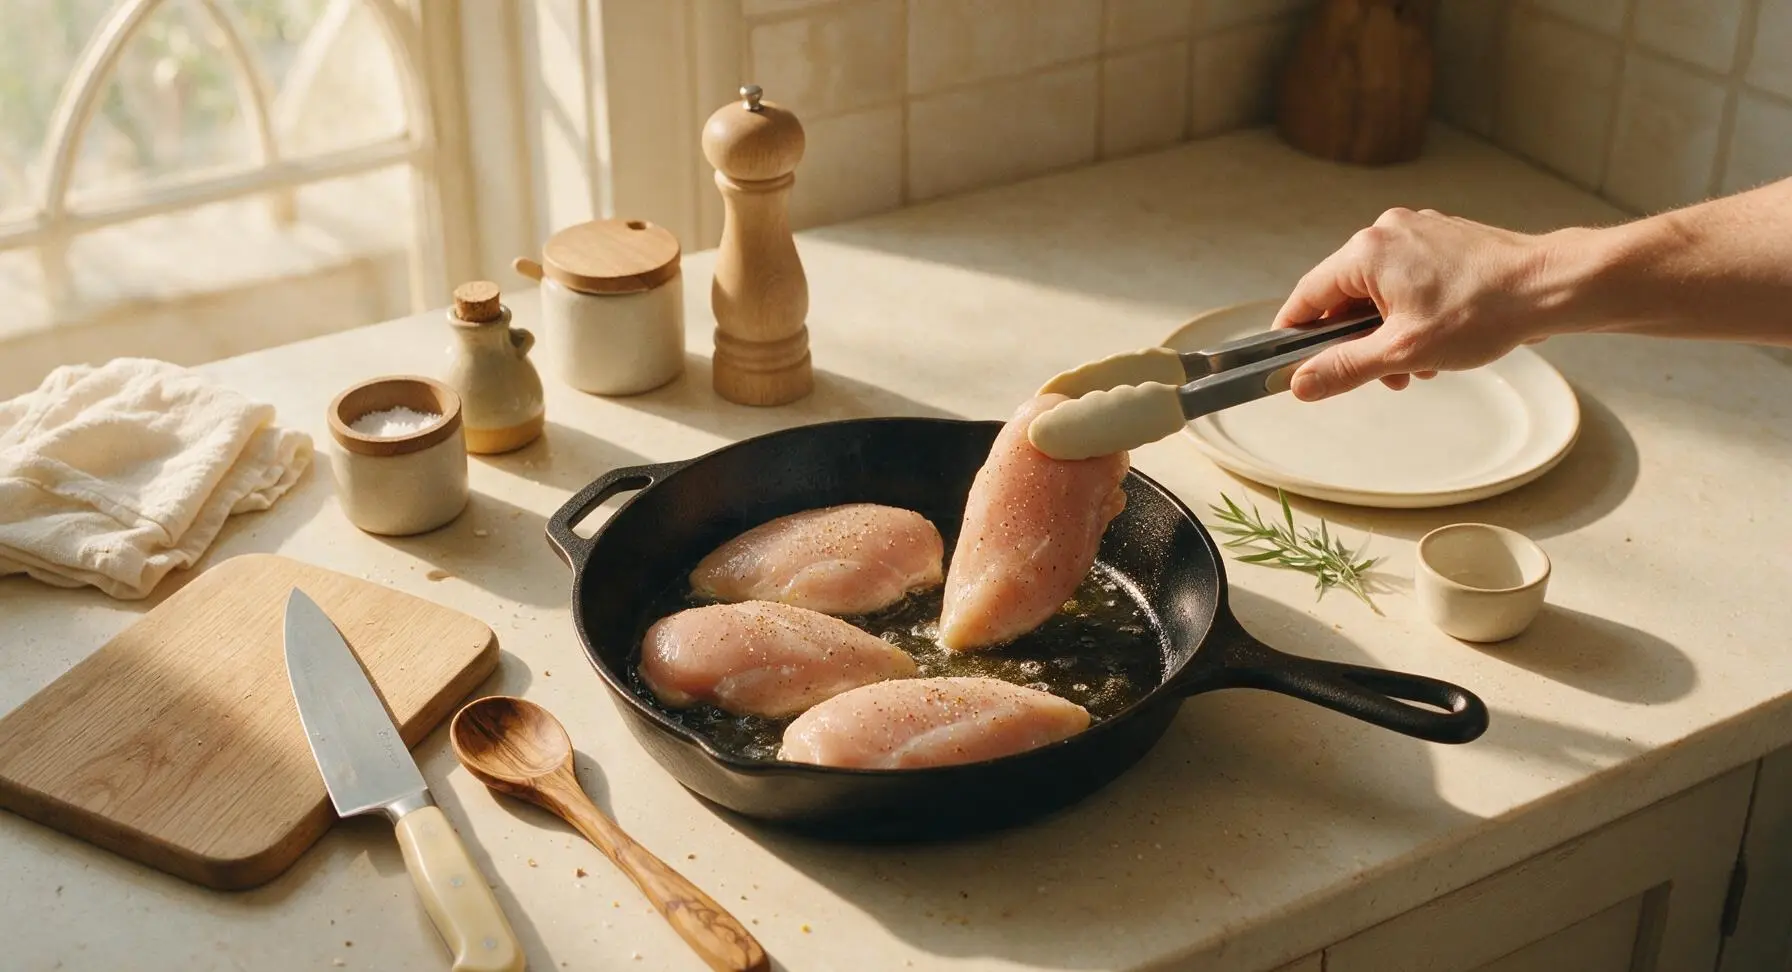
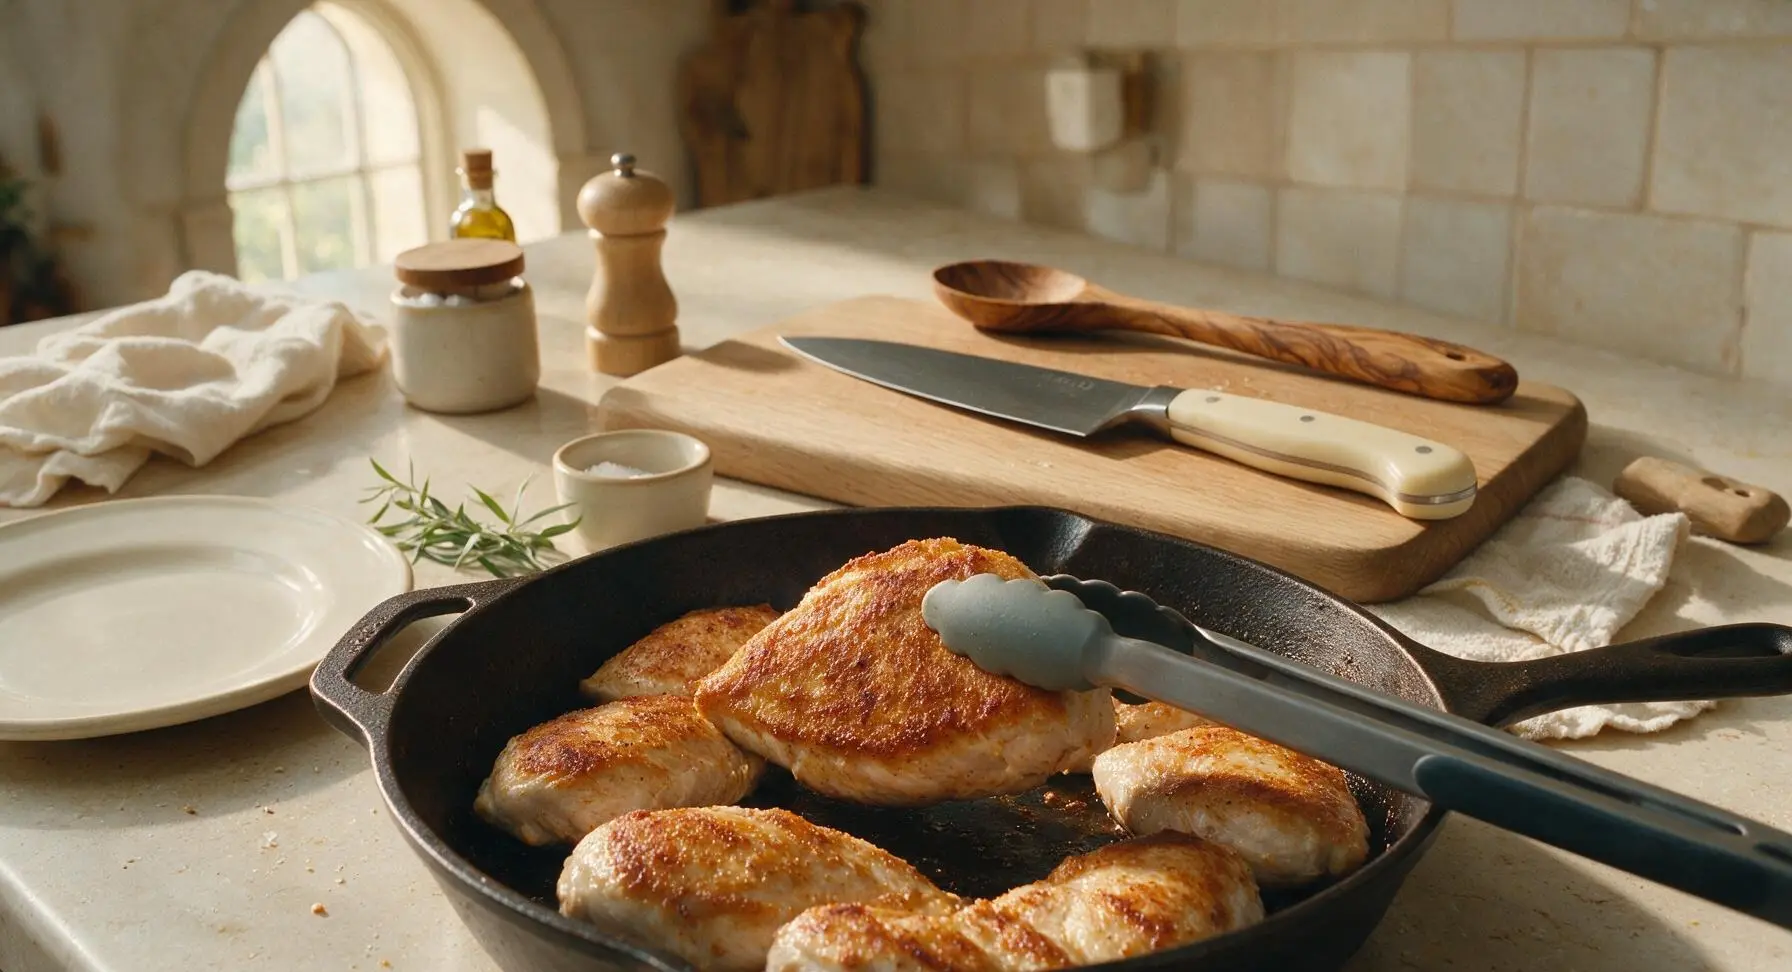
Use the silicone-tipped tongs to carefully lay each chicken breast in the hot skillet, smooth presentation side down, leaving 1 inch of space between each piece to avoid overcrowding (which causes steaming instead of searing). Do not move, lift, or press the chicken for 6 full minutes. After 6 minutes, the bottom surface will have a deep, even golden-brown crisp crust, and the chicken will release easily from the pan when lifted with tongs.
Step 4
step4:Sear First Chicken Side
Step 4
step4:Sear First Chicken Side
5

Flip and Add Aromatics

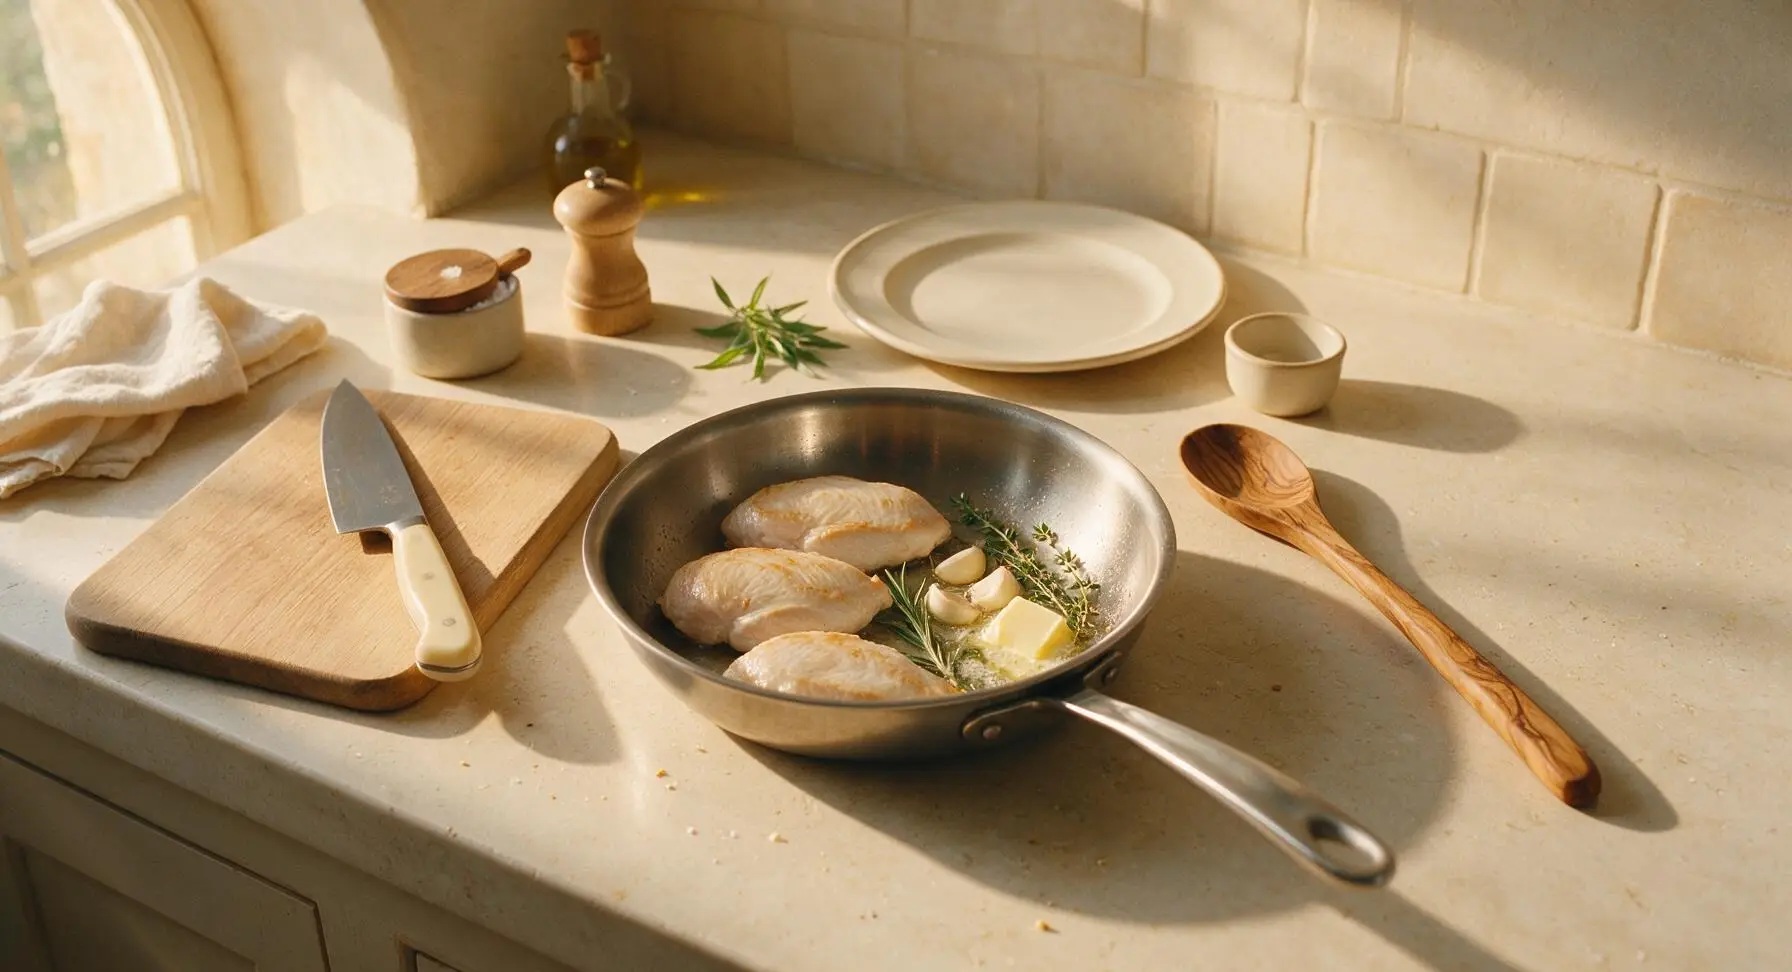
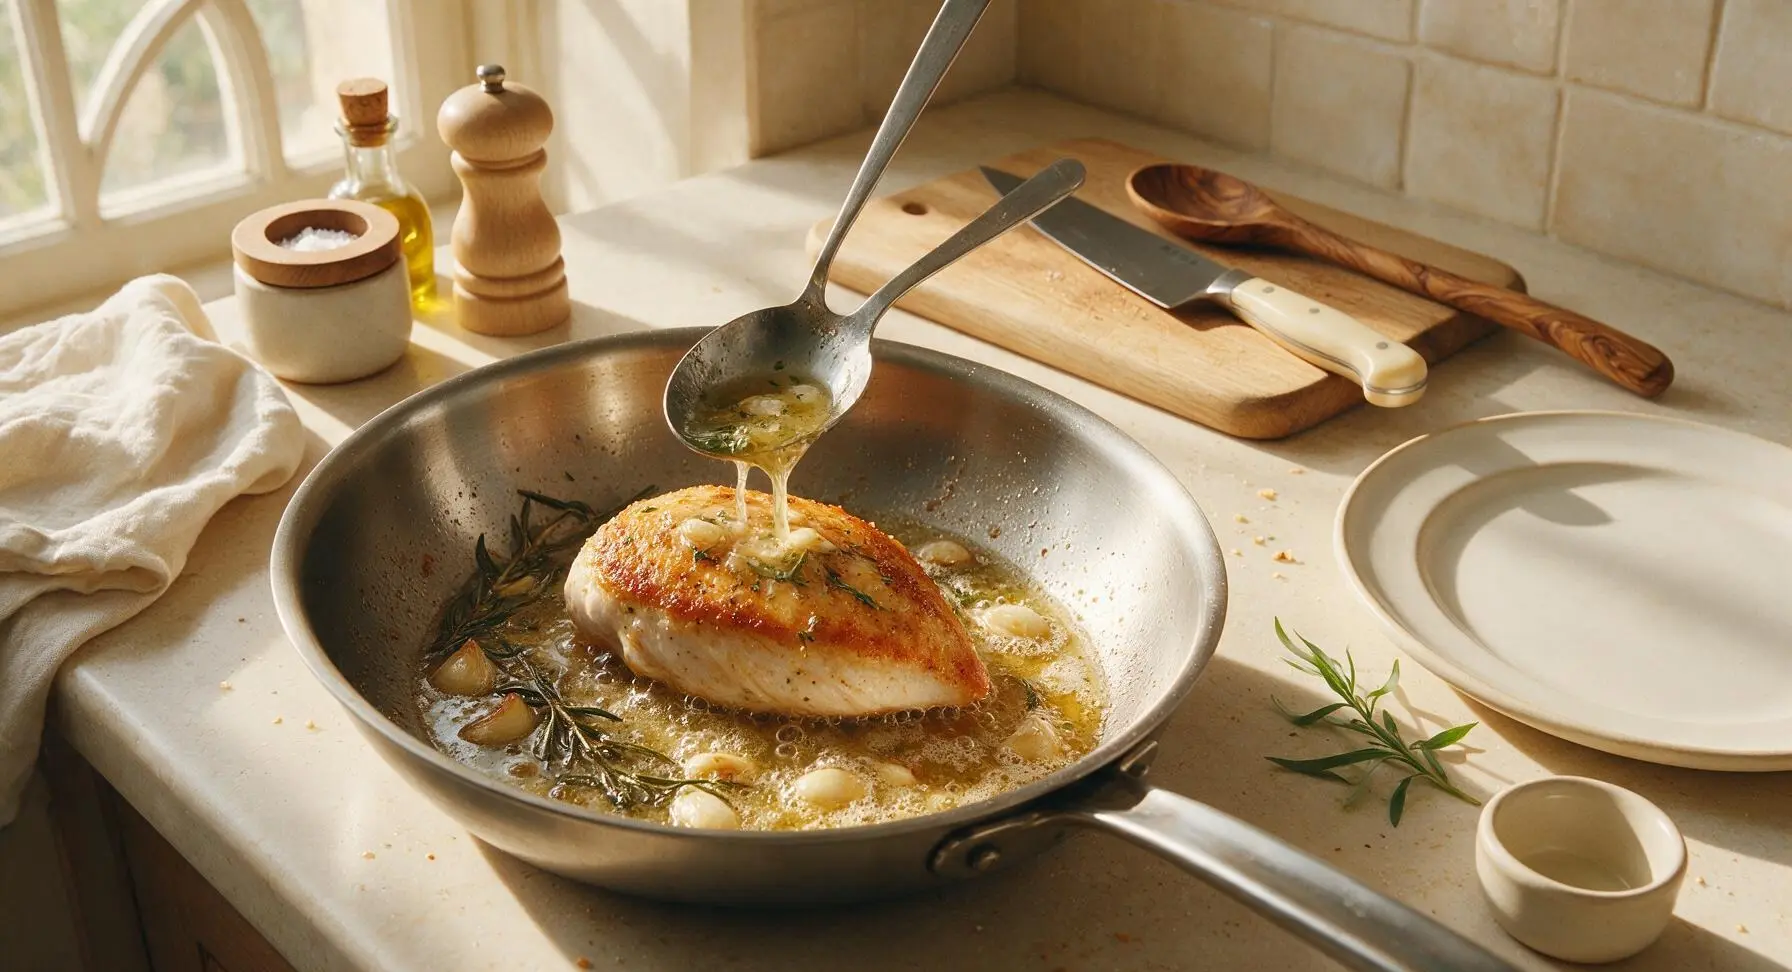
Use tongs to flip all chicken breasts to the second side. Immediately add 1 tablespoon unsalted butter, 3 lightly crushed peeled garlic cloves, 2 rosemary sprigs, and 4 thyme sprigs to the empty space in the pan next to the chicken. As the butter melts and bubbles, tilt the pan slightly toward you and use the stainless steel basting spoon to continuously scoop the herb-and-garlic infused butter and pour it over the top of the chicken for 6 minutes, basting constantly to build flavor.
Step 5
step5:Flip and Add Aromatics
Step 5
step5:Flip and Add Aromatics
6

Check Internal Temperature

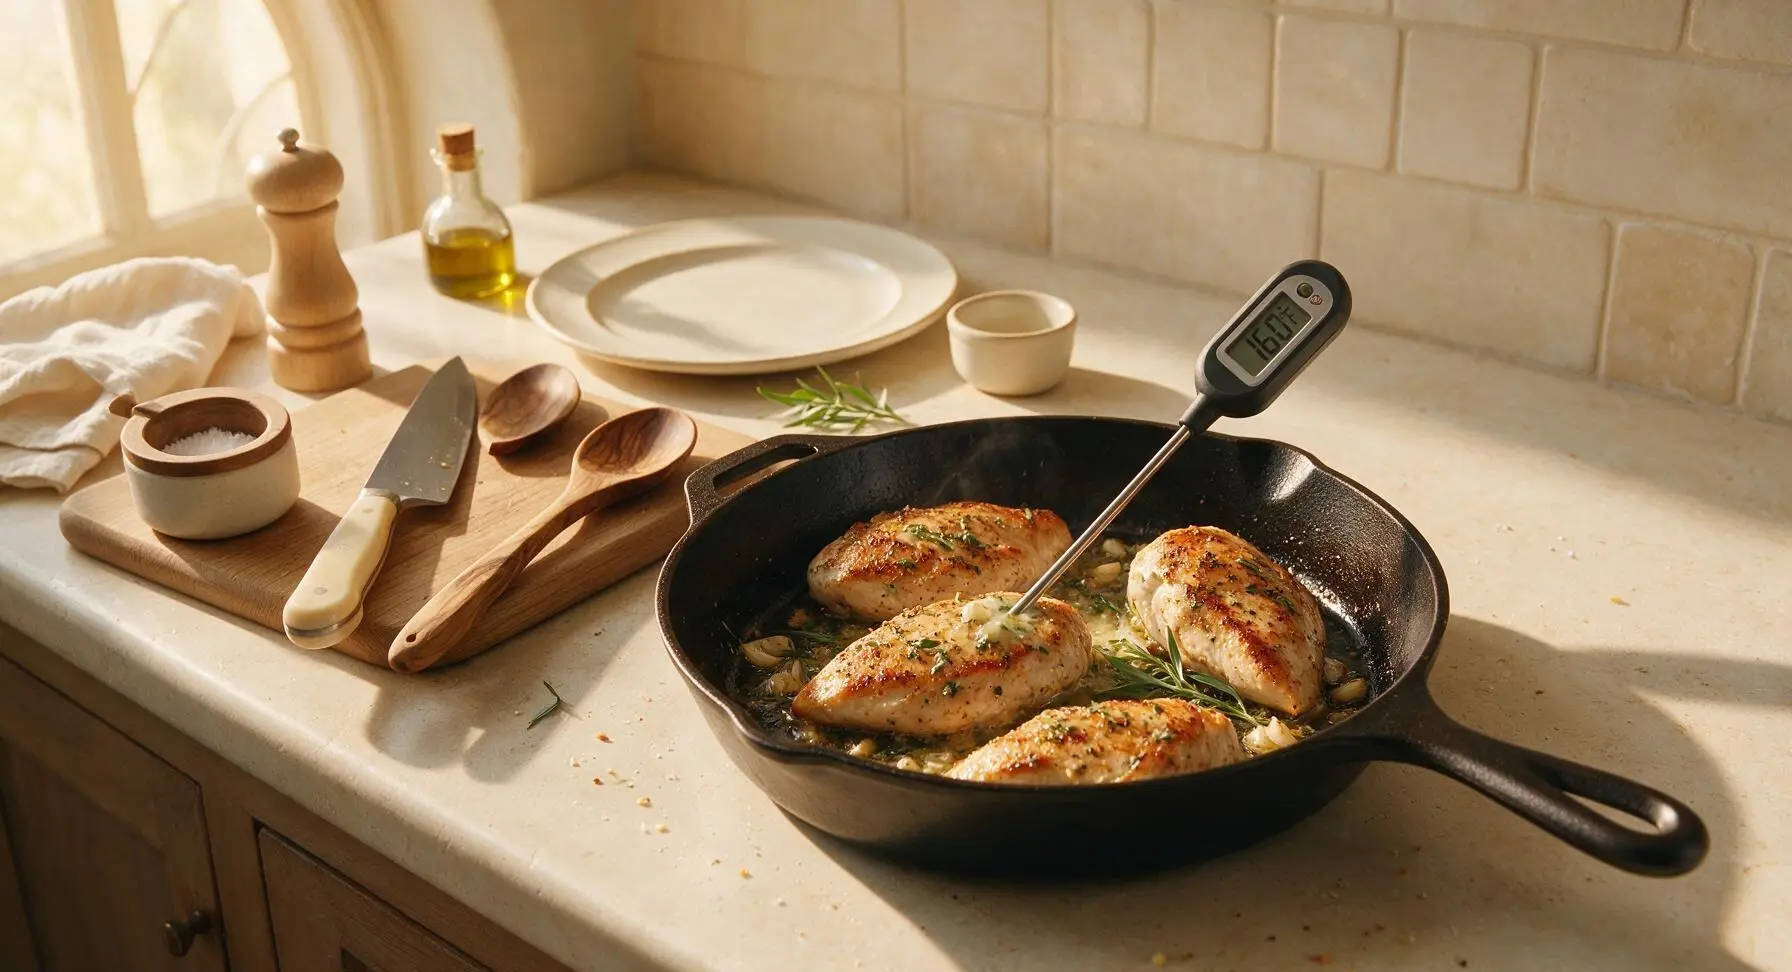
After 6 minutes of basting, insert the digital instant-read thermometer into the thickest part of the largest chicken breast, making sure the probe does not touch the pan surface. The chicken is ready to remove from heat when the internal temperature reads 160°F (71°C); residual heat will raise the temperature 5°F during resting to reach the food-safe 165°F (74°C) final temperature. Do not overcook past this point, as this will result in dry, tough chicken.
Step 6
step6:Check Internal Temperature
7

Rest Chicken Before Serving

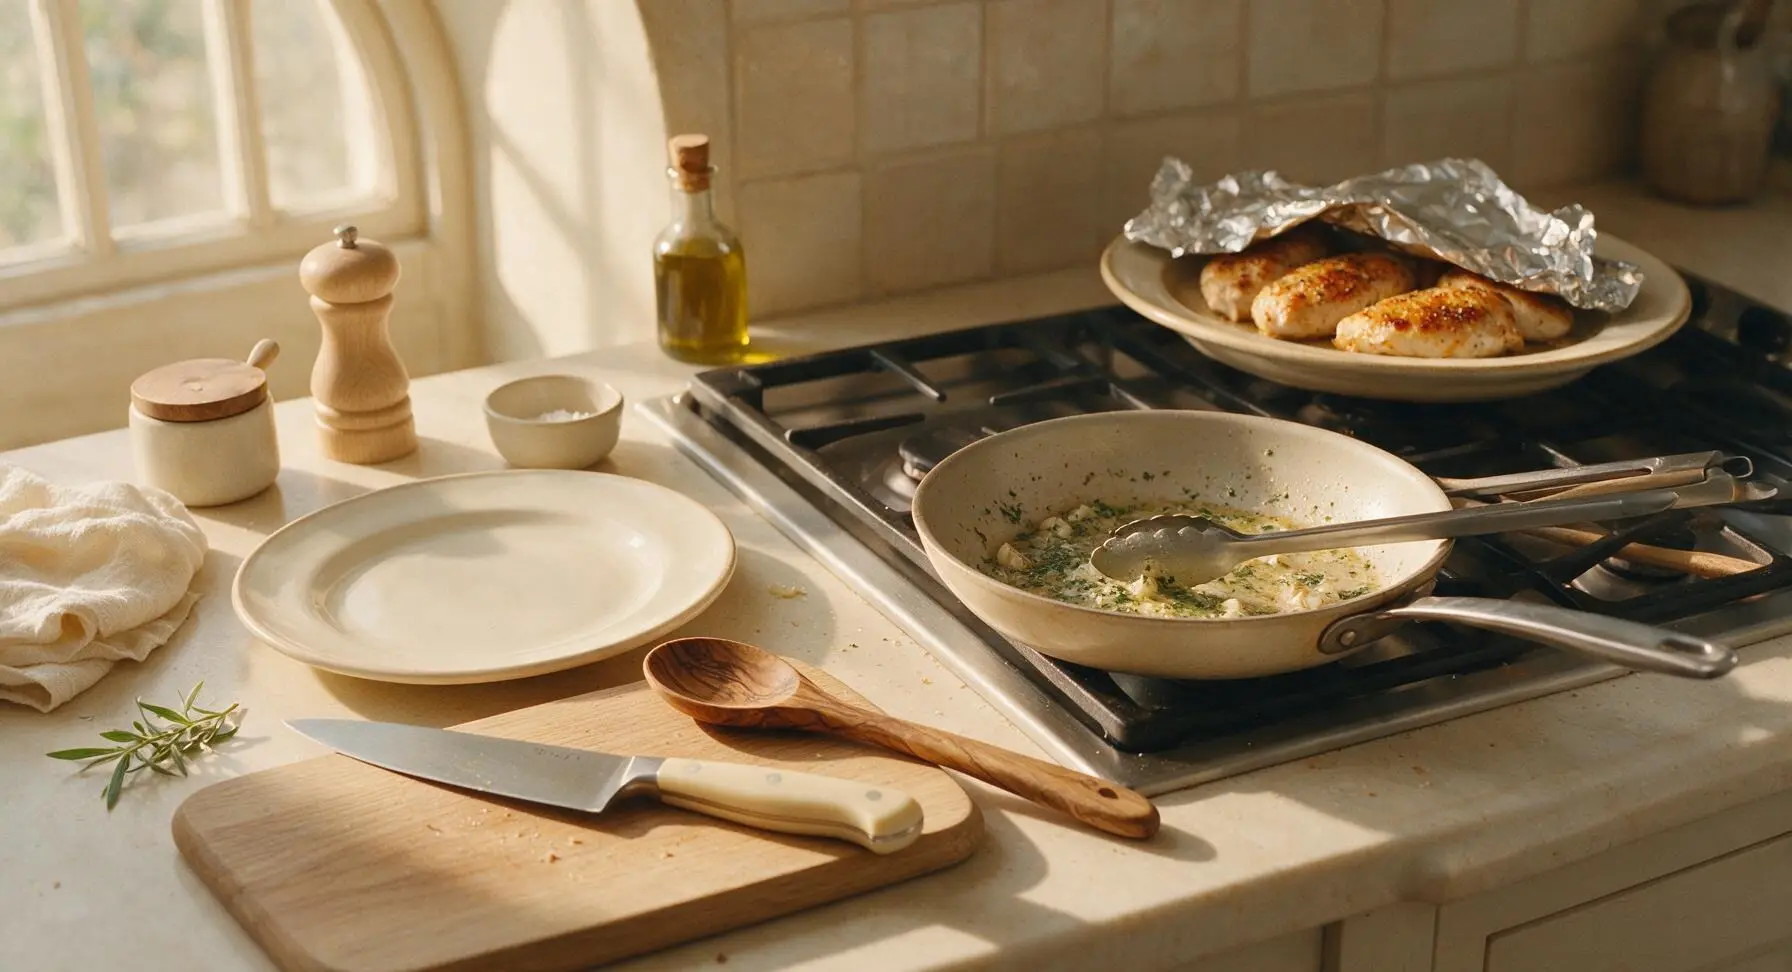
Use tongs to transfer the cooked chicken breasts from the skillet to the matte warm cream ceramic dinner plate. Loosely tent a small piece of aluminum foil over the top of the chicken to trap gentle heat, and let it rest for 3 full minutes to allow the muscle fibers to relax and reabsorb juices. Do not cut the chicken immediately after cooking, as this will cause all the flavorful juices to run out onto the plate instead of staying in the meat.
Step 7
step7:Rest Chicken Before Serving
8

Slice and Plate Chicken

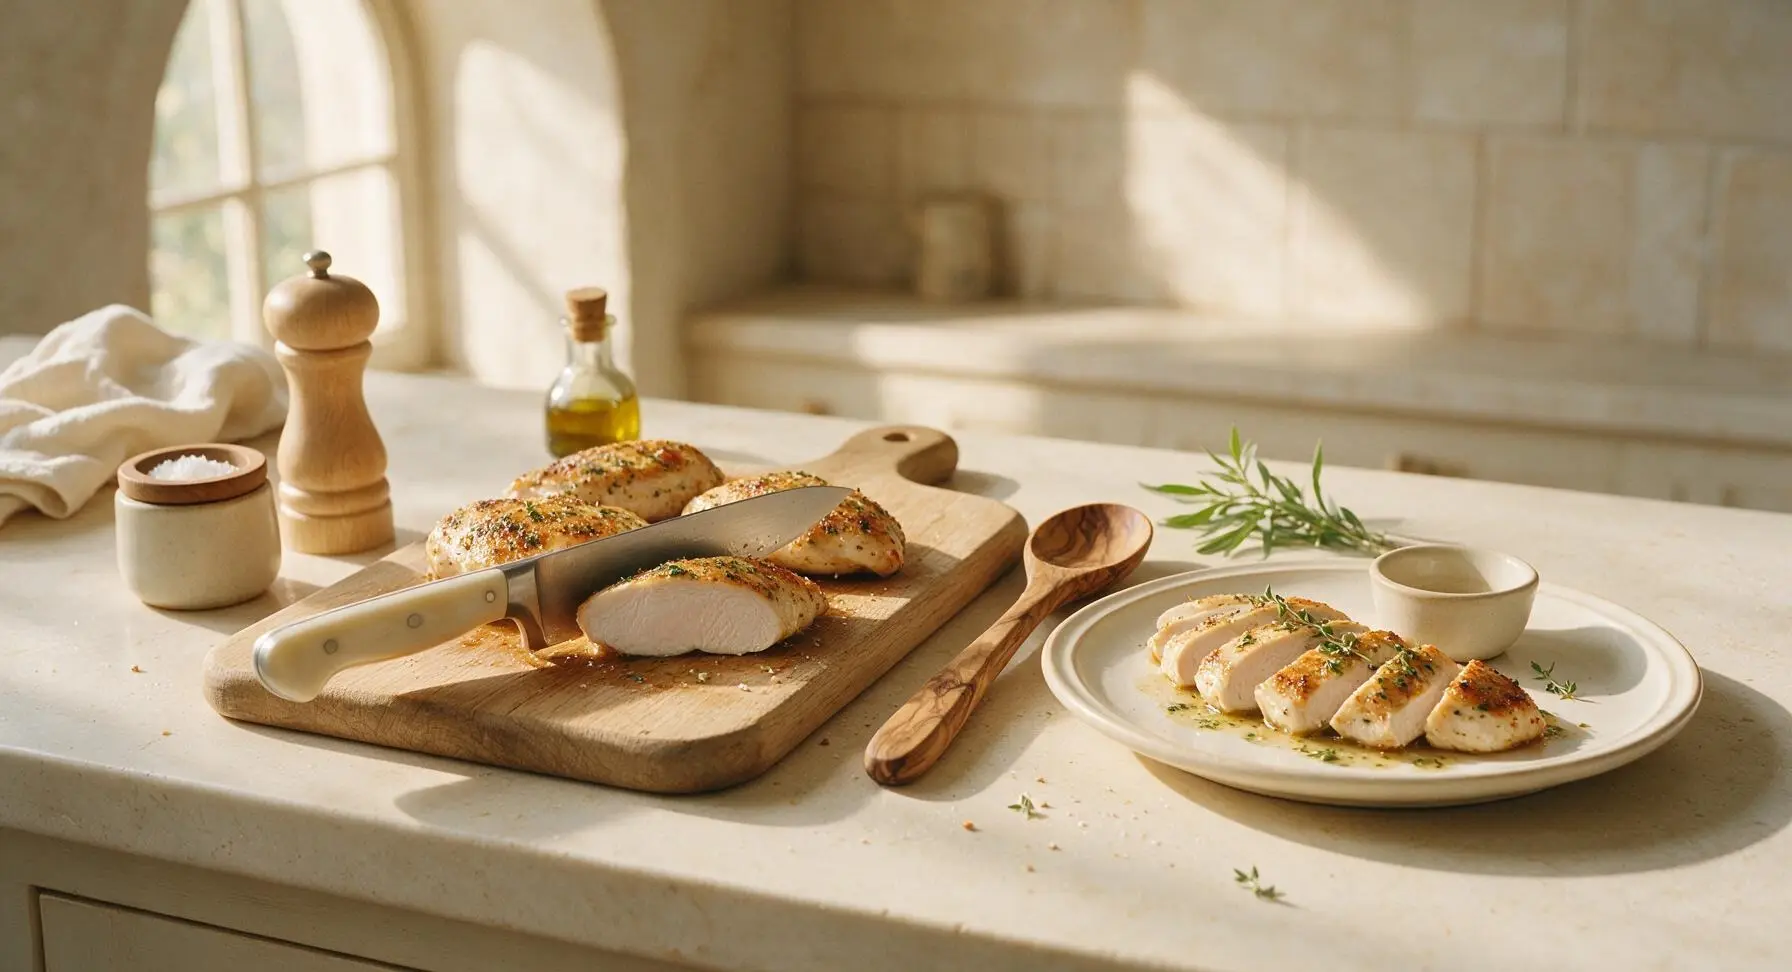
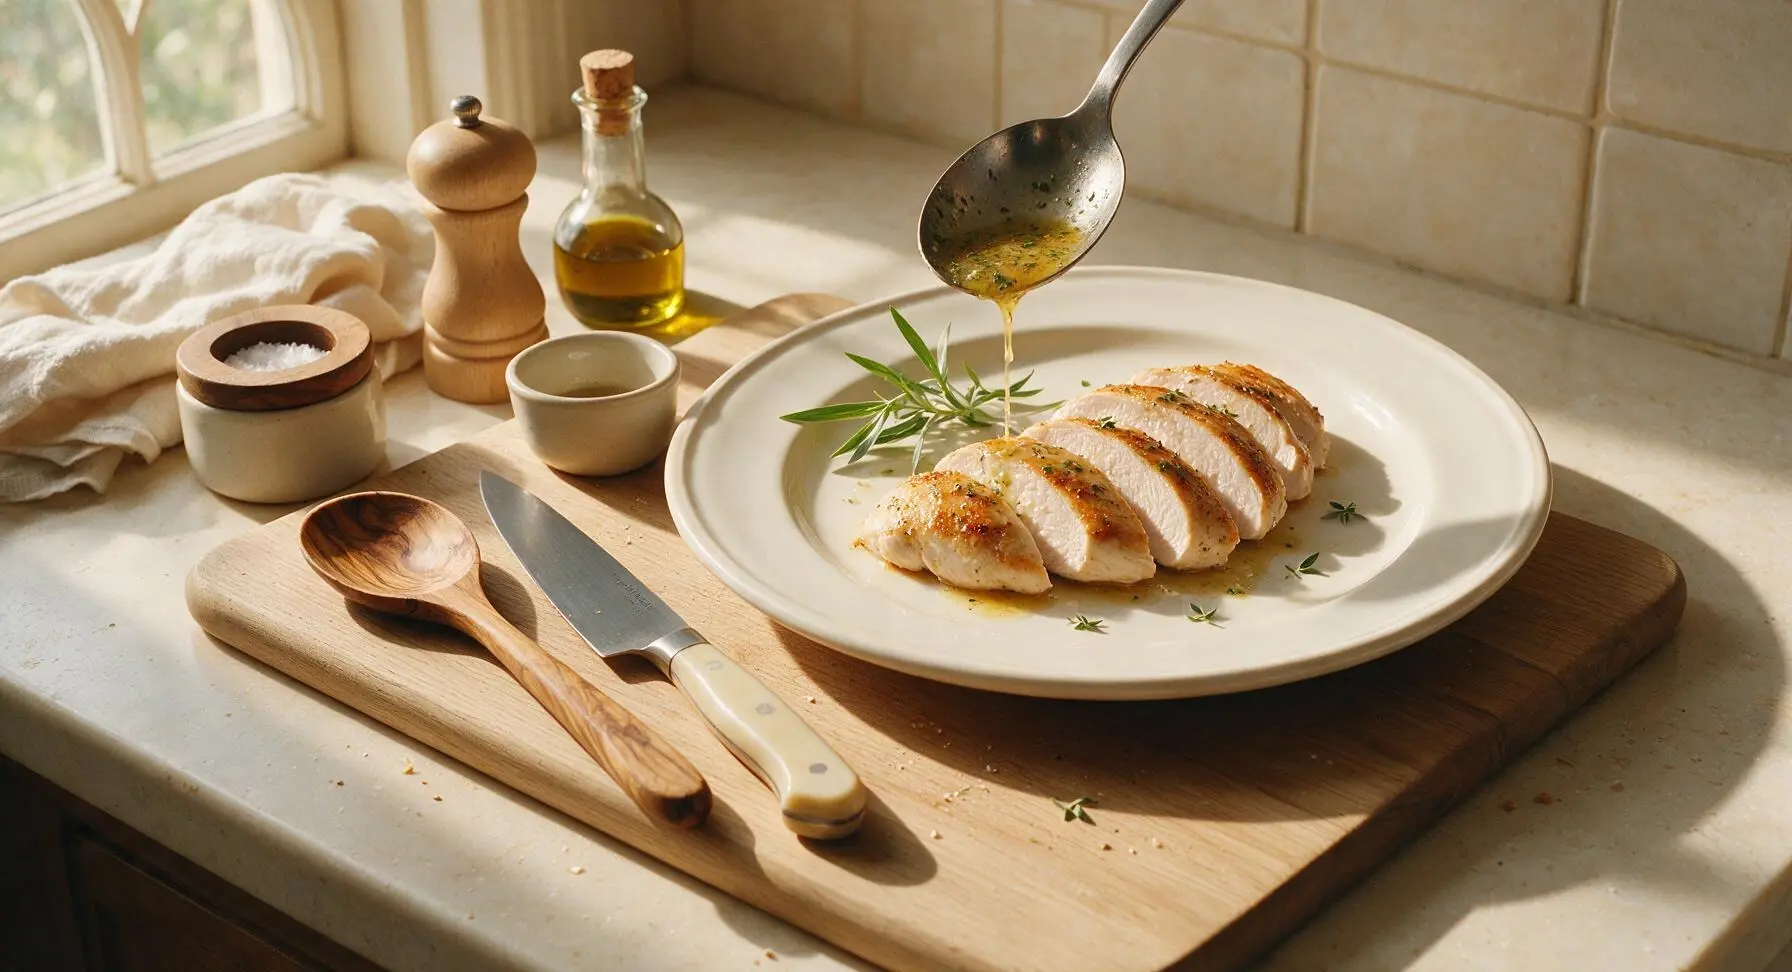
After resting, transfer the chicken back to the acacia wood cutting board. Use the chef knife to slice each breast against the grain into 1/2-inch thick slices, then arrange the slices back on the cream ceramic dinner plate. Drizzle 1 tablespoon of the remaining herb pan butter over the top of the sliced chicken, and garnish with a few fresh thyme leaves for bright color.
Step 8
step8:Slice and Plate Chicken
Step 8
step8:Slice and Plate Chicken

Tips

1.Never skip patting chicken completely dry: surface moisture creates steam instead of a hard sear, leading to pale, stuck-on chicken instead of a crisp, flavorful golden crust. A lint-free cotton towel works better than paper towels, which can leave small paper bits on the meat surface.
2.Avoid overcrowding the pan: if your skillet is too small to fit all chicken breasts with 1 inch of space between them, cook the chicken in two batches. Overcrowding drops the pan temperature rapidly, leading to steamed, non-crispy chicken.
3.Always temp chicken instead of relying on cook time alone: chicken breast thickness varies widely, so an instant-read thermometer is the only foolproof way to avoid both undercooked chicken and dry, overcooked meat. Remember to pull the chicken at 160°F, as the temperature will rise 5°F while resting.


✨ You May Also Like

Main Course
🍜 United Kingdom

A showstopping classic of tender seared beef, savory mushroom duxelles, and crisp prosciutto wrapped in flaky golden puff pastry, baked to juicy perfection.

⏱️ 2 hours 1Main Course ★ 4.7
Main Course
🍜 India

Tender charred marinated chicken simmered in a rich, spiced creamy tomato sauce, this iconic Anglo-Indian curry pairs perfectly with basmati rice or warm naan.

⏱️ 50 minuteMain Course ★ 4.6
Main Course
🍜 Thailand

Classic tangy, sweet, and savory Thai stir-fried rice noodles with shrimp, tofu, and crunchy garnishes, balancing all five core Thai flavor profiles.

⏱️ 30 minuteMain Course ★ 4.5
Main Course
🍜 United Kingdom

Crispy golden beer-battered cod and fluffy double-fried chips, served with tangy tartar sauce and malt vinegar: the timeless, beloved British pub comfort classic.

⏱️ 45 minuteMain Course ★ 4.7
Main Course
🍜 Mexico

Smoky, chile-marinated pork tacos with caramelized pineapple, fresh cilantro, and lime: a beloved classic Mexican street food perfect for casual summer gatherings.

⏱️ 1 hour 45Main Course ★ 4.8
Main Course
🍜 United States

Crunchy Fritos corn chips layered with savory beef chili and melted cheddar, topped with cool, zesty fixings for a beloved, cozy Tex-Mex comfort food.

⏱️ 35 minuteMain Course ★ 4.8

boneless chicken:Frequently Asked Questions

1.How do I keep my pan-seared chicken breasts from turning out dry? ▾
Start by pounding thicker breast ends to a uniform 1-inch thickness so they cook evenly, and don’t move the chicken for the first 4-5 minutes of searing to build a moisture-sealing golden crust. Cook until the thickest part hits 160°F internally, then let it rest 5 minutes—carryover cooking will bring it to a safe 165°F while juices redistribute.
2.Can I use dried rosemary instead of fresh for this recipe? ▾
Absolutely! Swap fresh rosemary for dried at a 1:3 ratio, since dried herbs are far more concentrated—use ½ teaspoon of dried rosemary for every 1.5 teaspoons of fresh called for. Add dried herbs a minute earlier than fresh to let their flavors bloom in the hot oil and butter, so they don’t taste dusty or flat.
3.Why does my chicken stick to the pan when I try to sear it? ▾
Chicken almost always sticks if your pan isn’t hot enough, or if you try to move it too early. Heat your extra-virgin olive oil until it shimmers before adding the chicken, and leave it undisturbed for the first 4 minutes: once a deep golden crust forms, the chicken will release easily from the pan on its own. Don’t overcrowd the pan, either.
4.Can I use boneless, skinless chicken thighs instead of breasts here? ▾
You definitely can! Boneless, skinless thighs have a little extra fat that makes them extra forgiving if you slightly overcook them, and they pair beautifully with garlic and rosemary. Keep the same searing method, but cook thighs until they hit 175°F internally for the best tender texture, as their connective tissue breaks down at that temp.
5.How long should I let cooked chicken rest, and why does that matter? ▾
Let the chicken rest on a cutting board for 5 full minutes after you take it out of the pan. When chicken cooks, its muscle fibers tighten and push moisture toward the center; resting lets those fibers relax so juices redistribute evenly, instead of running all over your plate when you cut in, leaving you with dry, bland meat.
6.How do I get the garlic and herb flavor into the chicken, not just on the surface? ▾
After you flip the chicken to sear the second side, add the unsalted butter, garlic, and rosemary to the pan. Tilt the pan slightly so the melted, fragrant butter pools at one edge, then spoon it continuously over the top of the chicken for the last 2-3 minutes of cooking. This basting step pushes garlic and herb flavor deep into the meat.
7.Can I prep this chicken ahead for quick weeknight meals? ▾
Absolutely! You can pound the chicken to even thickness, toss it with a little olive oil, salt, and pepper, and store it covered in the fridge for up to 2 days before cooking. Wait to add the garlic and fresh rosemary until you’re ready to sear, though—pre-crushed garlic can turn bitter if left sitting on raw chicken too long.
8.How do I tell when the chicken is done without cutting into it? ▾
Skip cutting into the chicken (that lets precious juices escape!) and use an instant-read meat thermometer inserted into the thickest part of the breast, avoiding any fat pockets. Pull it when it hits 160°F, and carryover cooking will bring it to the FDA-recommended 165°F as it rests, so it’s perfectly safe, juicy, and not overcooked.
9.What do I do if my garlic starts to burn while searing? ▾
Burnt garlic adds an unpleasant bitter flavor to the whole dish, so keep a close eye once you add it—garlic only takes 30-60 seconds to turn fragrant and pale golden. If you notice it starting to turn dark brown before the chicken is done, turn the heat down slightly and move the garlic to rest on top of the chicken instead of directly on the hot pan surface.
10.What’s the ideal thickness for chicken breasts in this recipe? ▾
Aim for a uniform 1-inch thickness across the entire breast. The thicker, bulbous end of an un-pounded breast will take far longer to cook than the thin tapered end, leading to either overcooked, dry edges or undercooked thick sections. A quick pound with a meat mallet or heavy skillet between sheets of plastic wrap takes 2 minutes and makes a huge difference.
11.What quick sides pair well with this garlic herb chicken? ▾
Since this chicken comes together in under 30 minutes, pair it with equally fast sides: roasted broccoli tossed in the leftover pan drippings, buttery mashed potatoes, fluffy white rice, or a simple arugula salad with lemon vinaigrette. The garlic-herb pan butter also makes a fantastic quick drizzle over whatever side you pick.

Comments (8)

2 days ago

OMG this recipe is a total game changer for weeknight dinners! I’ve always struggled to get juicy chicken breasts that don’t taste bland, and these came out perfect in 15 minutes flat. My 3 kids devoured them and asked for seconds, even the picky one who turns her nose up at anything with herbs. Served it with roasted broccoli and mashed potatoes for our family dinner last night, 10/10 will make again!

yesterday

Did you use fresh or dried herbs for this? I only have dried in my pantry right now and don’t want to run to the store!

yesterday

So glad your family loved it, Jenn! Dried herbs work totally fine here — just use 1/3 the amount the recipe calls for since dried herbs are more concentrated than fresh. Hope that helps!

1 week ago

SO good! I made a big batch of these on Sunday for my weekly meal prep, and they held up perfectly all week in the fridge. Didn’t get dry at all even when I reheated them in the microwave for work lunches. The garlic herb crust is so flavorful I don’t even need to add extra sauce or dressing. Already added this to my permanent rotation!

5 days ago

That’s such a smart meal prep hack, Mia! So happy to hear these reheat well — I often make a batch on Sundays too for quick salads and wraps throughout the week. Thanks for leaving a review!

5 minutes ago

As someone who’s literally burned boiled eggs before, I was shocked how easy this was to pull off! 15 minutes total, no fancy equipment, and my roommate said it tasted like something from a nice restaurant. I did accidentally add a little extra garlic, but honestly that made it even better. Will definitely be making this for date night next week!

3 days ago

Made these for my neighborhood potluck over the weekend and people were hovering around the platter asking for the recipe! I sliced them up and put them on a bed of arugula with some lemon wedges, and they were gone in 10 minutes. Only note is I used bone-in breasts by accident once and it still worked, just added a couple minutes cook time. Great versatile recipe!

2 days ago

Oh that’s a good idea to serve them sliced on arugula! I’m hosting a book club next week and was looking for an easy protein that looks fancy, definitely stealing that serving tip.

yesterday

This is exactly what I’ve been looking for to hit my protein goals without boring, tasteless chicken! The pan-sear gives it that perfect crispy edge and the garlic herb mix doesn’t have any weird added sugars or processed ingredients, which I love for my clients too. My only tiny complaint is I wish the recipe listed internal temp tips? I’m always paranoid I’ll undercook chicken.

2 hours ago

I use a meat thermometer and pull mine when it hits 160°F, then let it rest 5 minutes — it goes up to 165°F from carryover cooking and stays super juicy that way!

30 minutes ago

Great question, Lila! Ben’s tip is spot on — aim for 165°F internal temp after resting, and always let the chicken rest 3-5 minutes before slicing to lock in juices. I’ll add that note to the recipe card soon, thanks for the feedback!

just now

Made this last night after seeing it pop up on my feed, and wow. I usually douse my chicken in ranch to make it taste like anything, but this had so much flavor on its own I didn’t even reach for the bottle! My cat kept trying to jump on the counter to steal a bite, that’s how good it smelled while cooking. 10/10, no notes.

2 weeks ago

Between work, soccer practice, and helping with homework, I barely have 20 minutes to get dinner on the table most nights. This recipe came together so fast I even had time to toss a side salad together while the chicken rested. My wife said it’s the best chicken I’ve ever made, so that’s a massive win in my book. Game. Changer.

1 week ago

Love that this fits into your busy weeknight schedule, Mike! Nothing beats a quick dinner that gets a stamp of approval from the whole family. Thanks so much for trying it out!

5 days ago

So happy I found this recipe! It’s naturally gluten free (just double check your herb blends don’t have hidden fillers, y’all) and it’s fancy enough to serve when my in-laws come to visit this weekend. I tested it last night and it was so juicy, I didn’t even have to brine it first? Wild. I’ve been brining chicken for years to get it juicy, this is way easier.

3 days ago

Thanks for the tip about checking herb blends for hidden gluten! I almost forgot that some seasoning mixes have wheat as an anti-caking agent, you just saved me a bad reaction. Can’t wait to make this!

2 days ago

So glad you loved it, Gabi! Great call out about checking seasoning labels for hidden ingredients — I use homemade herb mix when I can, but store-bought works perfectly as long as you scan the label first. Hope your in-laws love it this weekend!



