
boneless chicken thighs in oven

title 1
boneless chicken thighs in oven
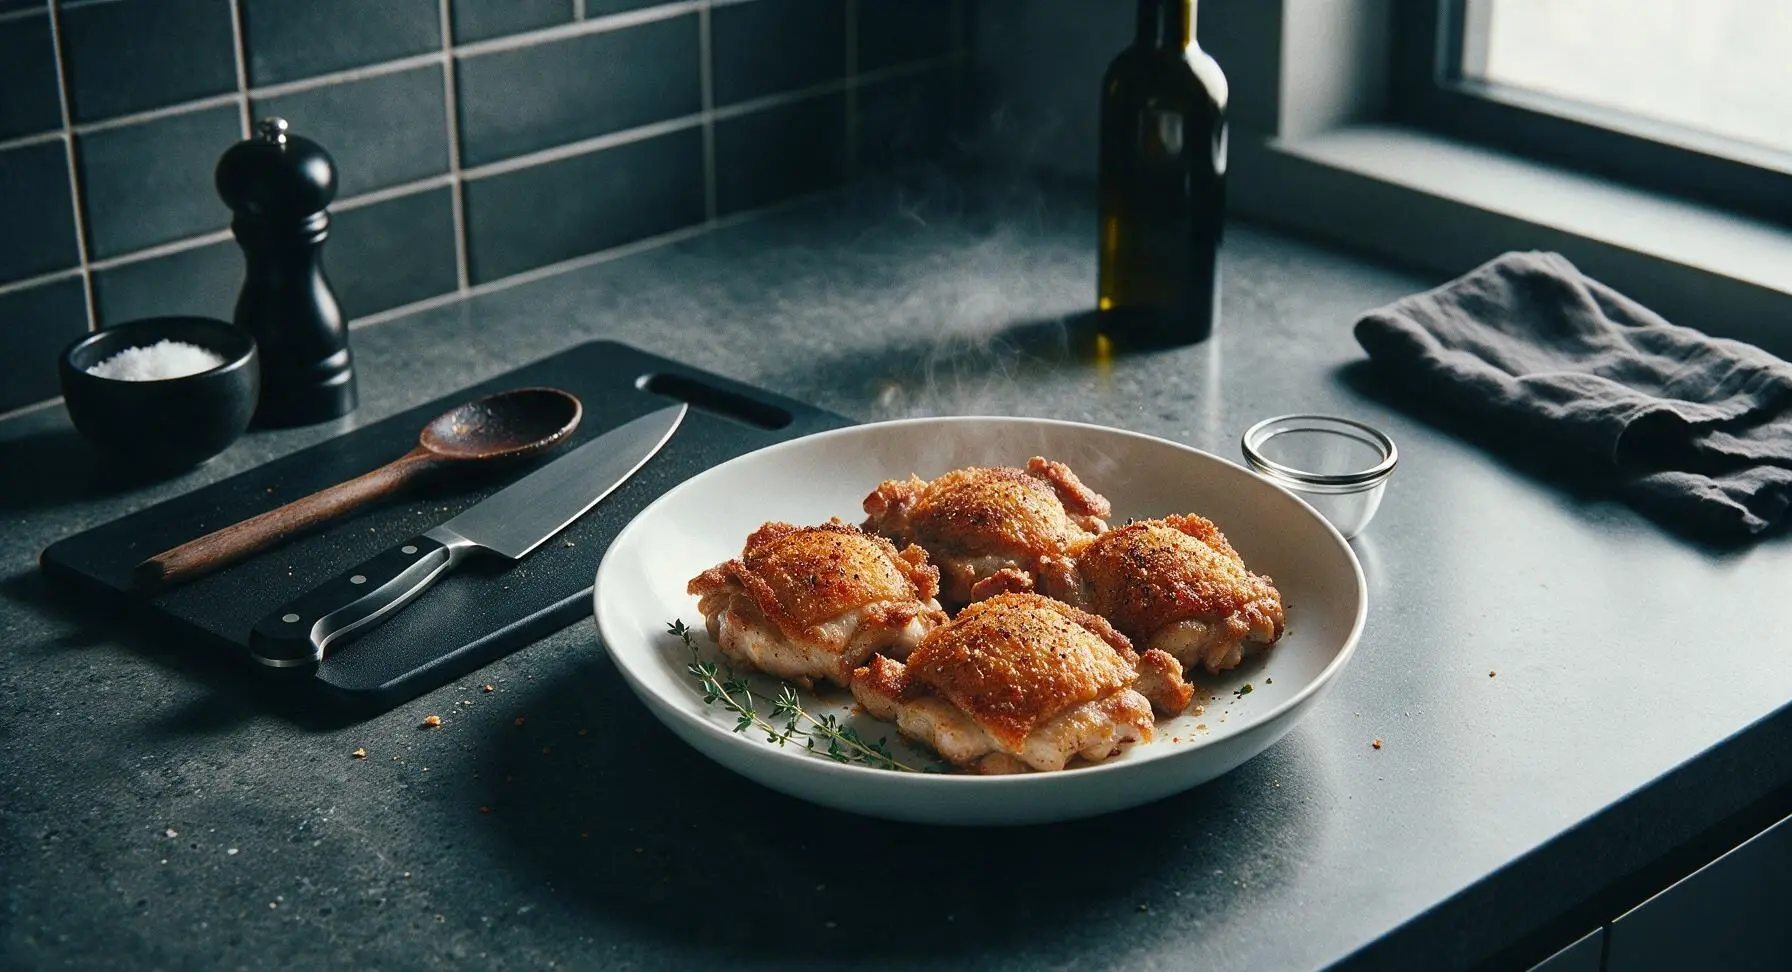
⏱️ cook time 25 minutes
🍽️ servings 4
⚡ Difficulty easy

intro

Juicy, shatteringly crisp boneless chicken thighs baked to golden perfection, seasoned with simple pantry spices for a no-fuss, flavorful weeknight main that never turns dry.

Ingredients
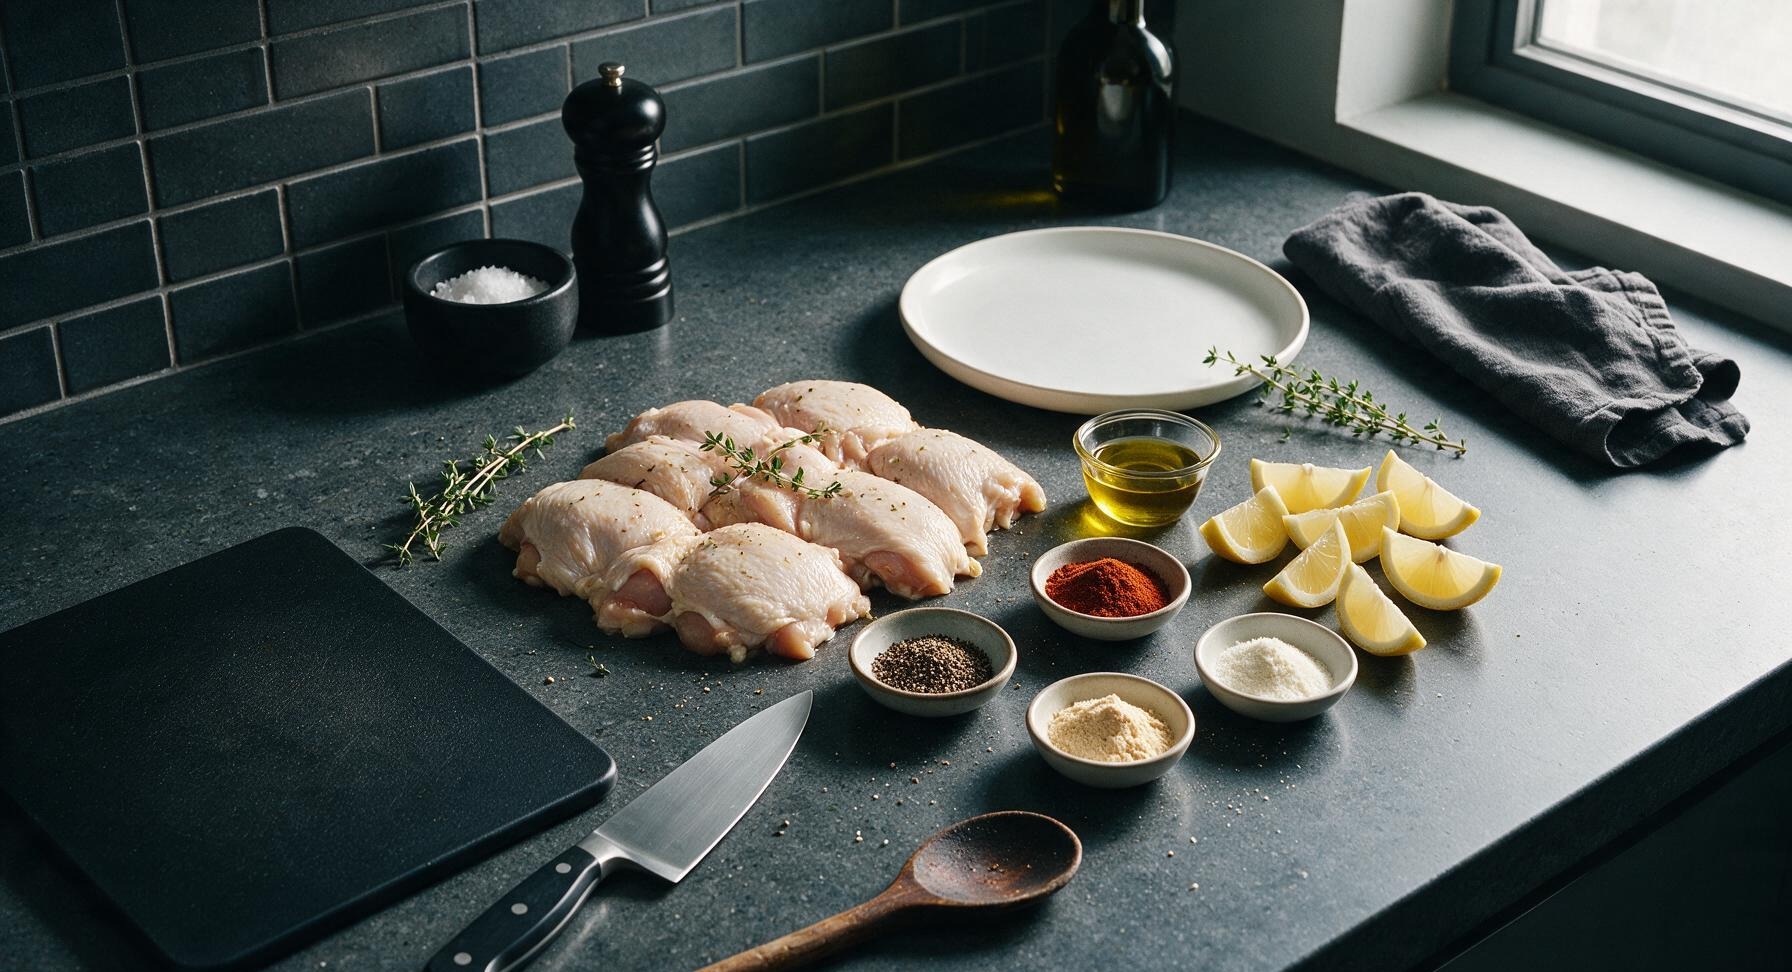
Boneless skin-on chicken thighs 1.5 lbs (680g, ~6-7 pieces)
Extra-virgin olive oil 1 tablespoon
Kosher salt 1 teaspoon
Freshly ground black pepper ½ teaspoon
Garlic powder 1 teaspoon
Smoked paprika ½ teaspoon
Onion powder ½ teaspoon
Fresh thyme 4 sprigs
Small lemon 1 unit, cut into wedges for serving

Steps

1

Preheat Oven, Prep Pan

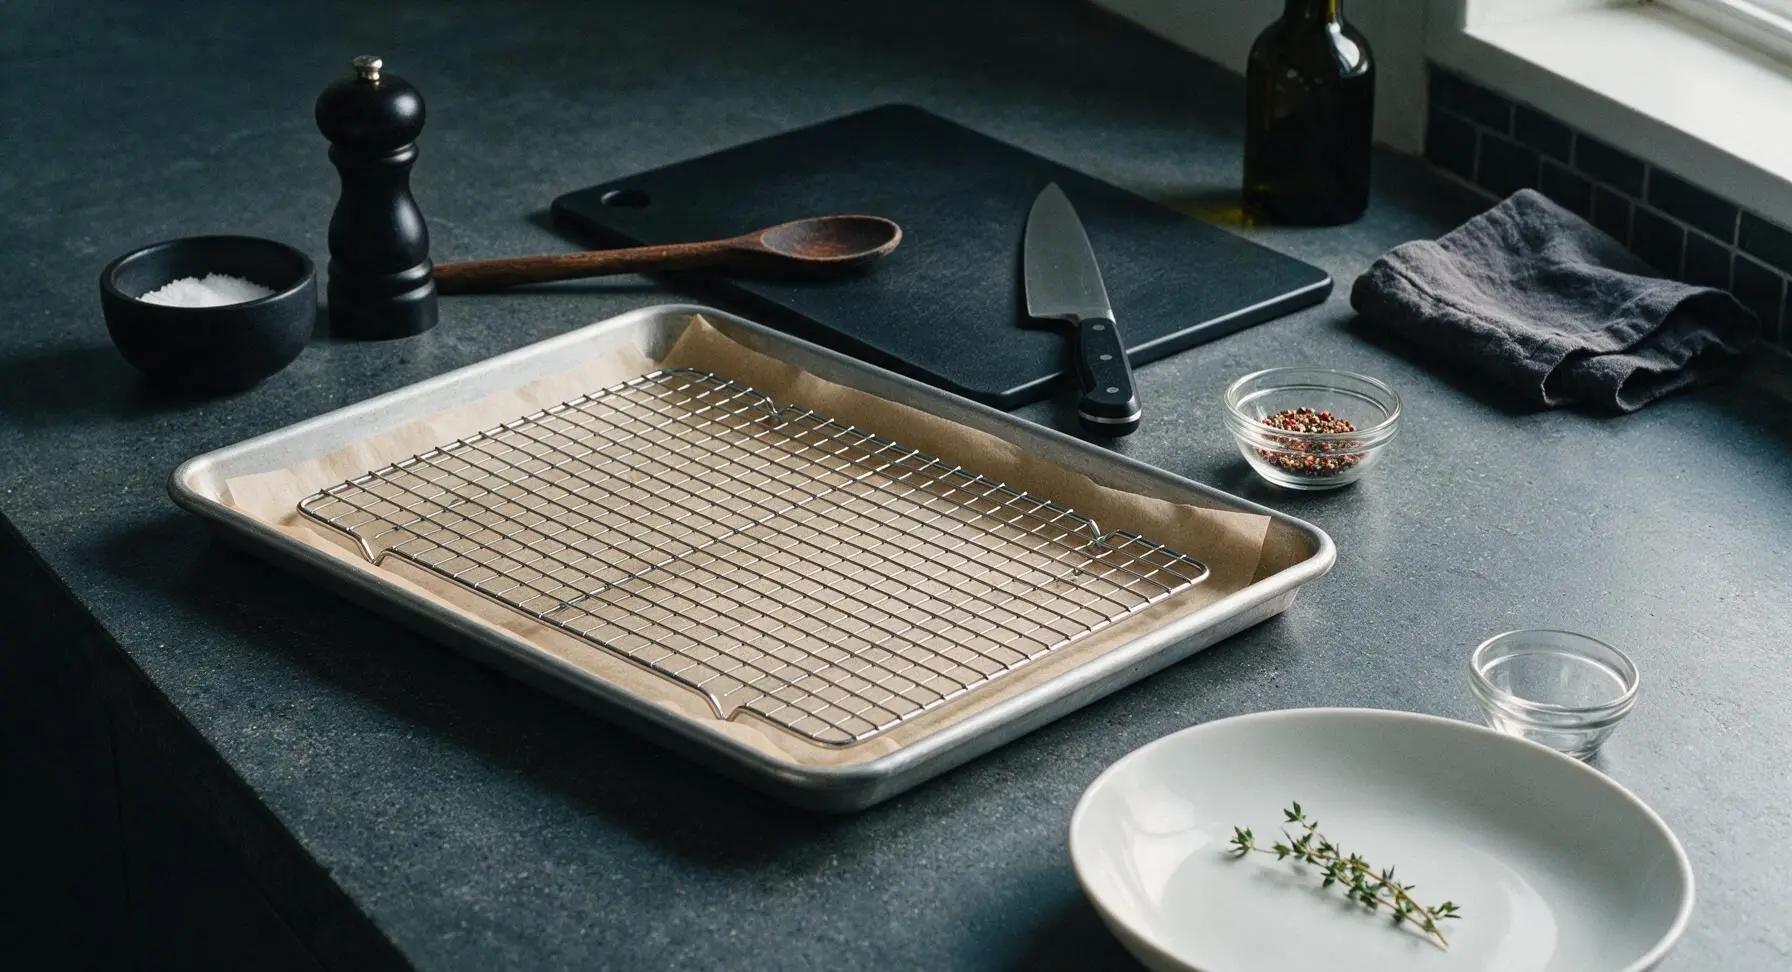
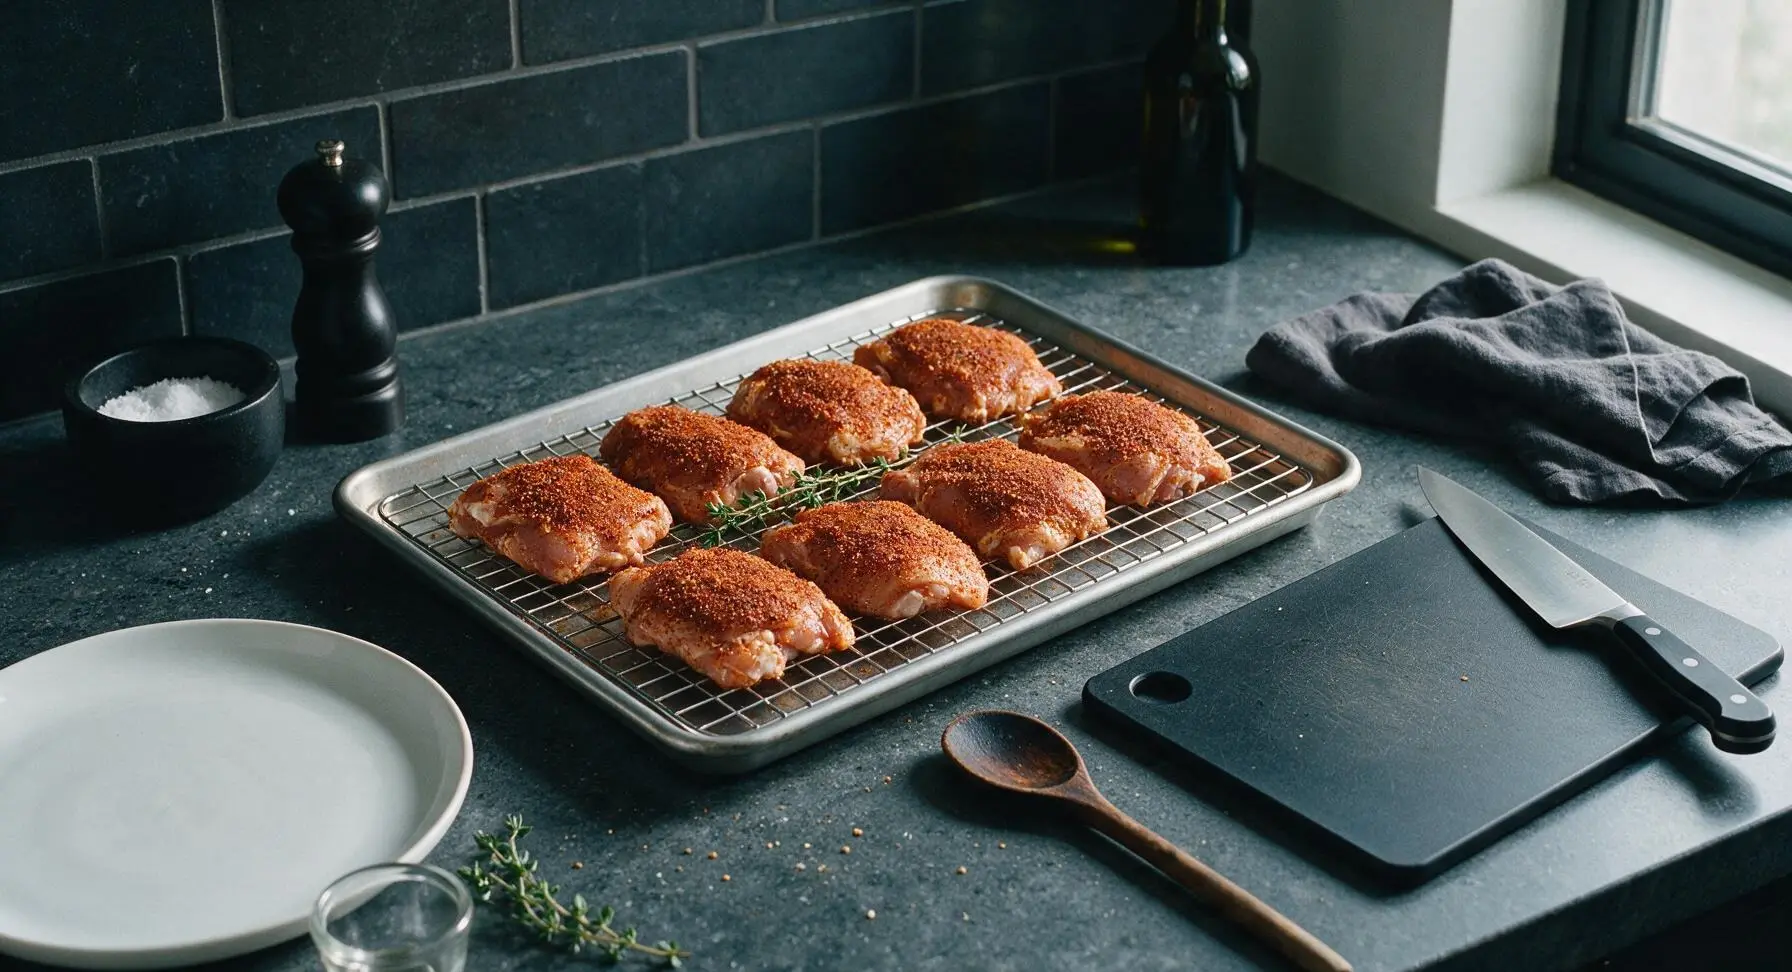
Adjust oven rack to the middle position, preheat oven to 425°F (220°C). Line the heavy-gauge aluminum baking sheet with unbleached parchment paper, then set the chrome wire cooling rack inside the baking sheet. The rack elevates chicken to allow air circulation for crispy skin on all sides, preventing soggy bottom edges.
Step 1
step1:Preheat Oven, Prep Pan
2

Mix Seasoning Blend

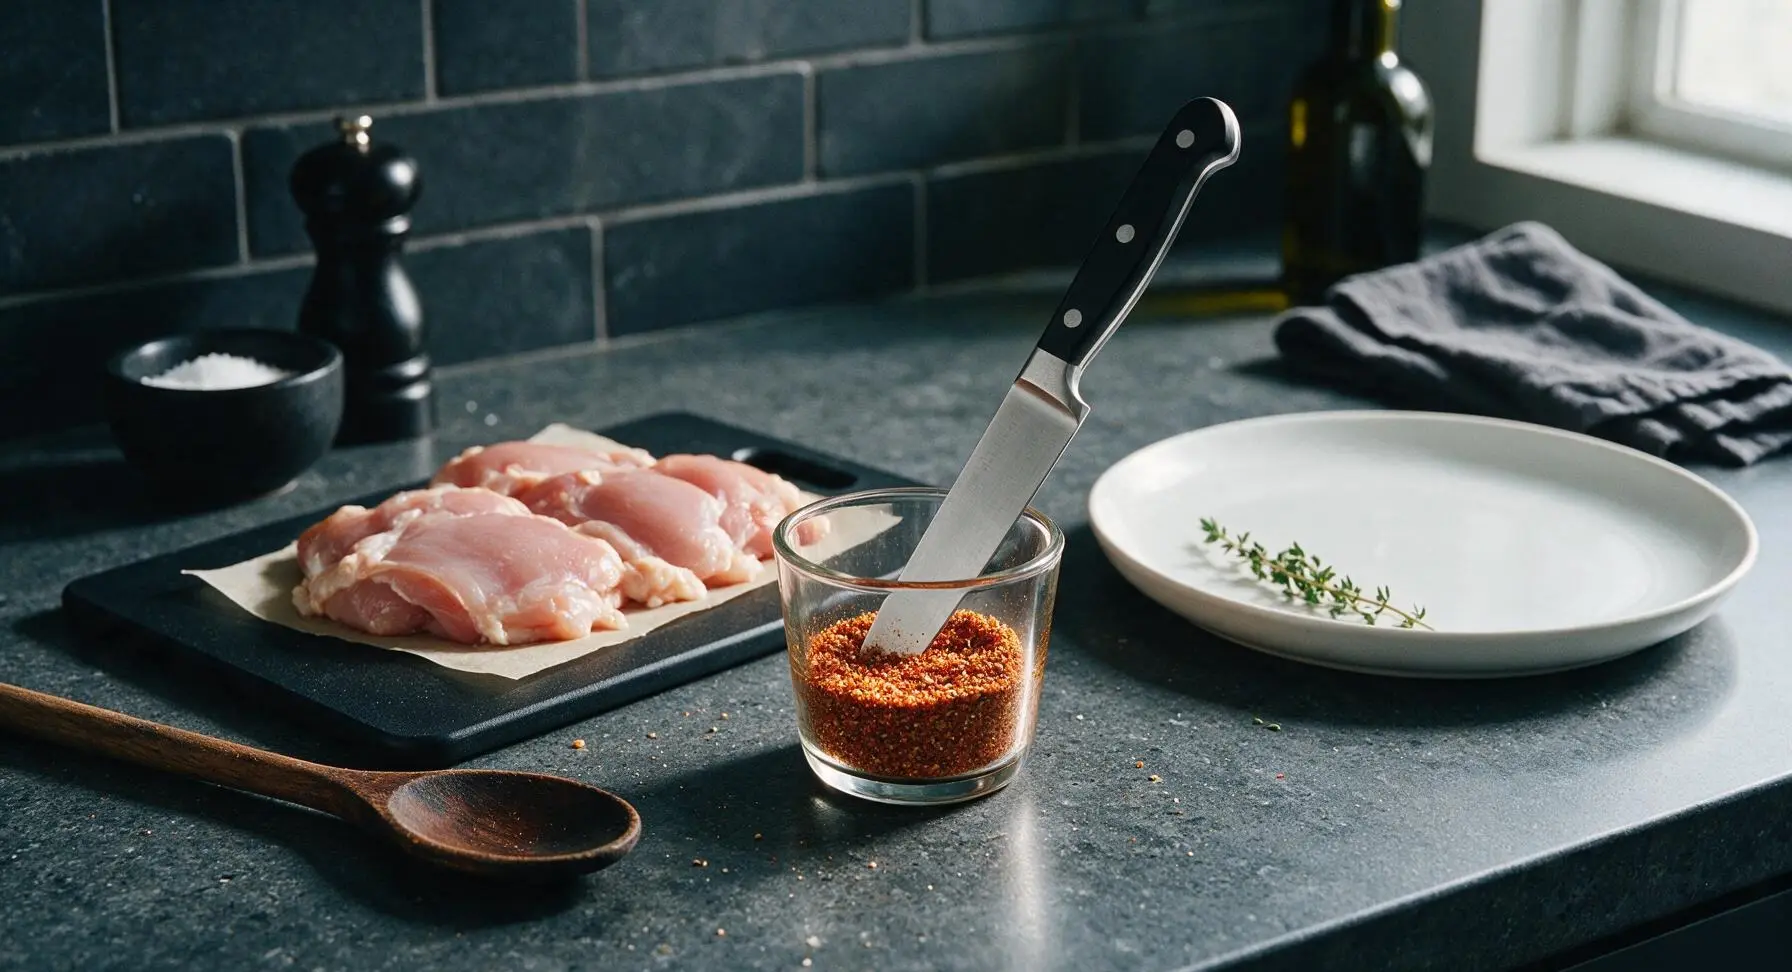
In the small clear glass ramekin, combine 1 teaspoon kosher salt, ½ teaspoon black pepper, 1 teaspoon garlic powder, ½ teaspoon smoked paprika, and ½ teaspoon onion powder. Stir with the tip of the chef knife until evenly blended, with no clumps of single spice remaining.
Step 2
step2:Mix Seasoning Blend
3

Pat Chicken Thighs Dry

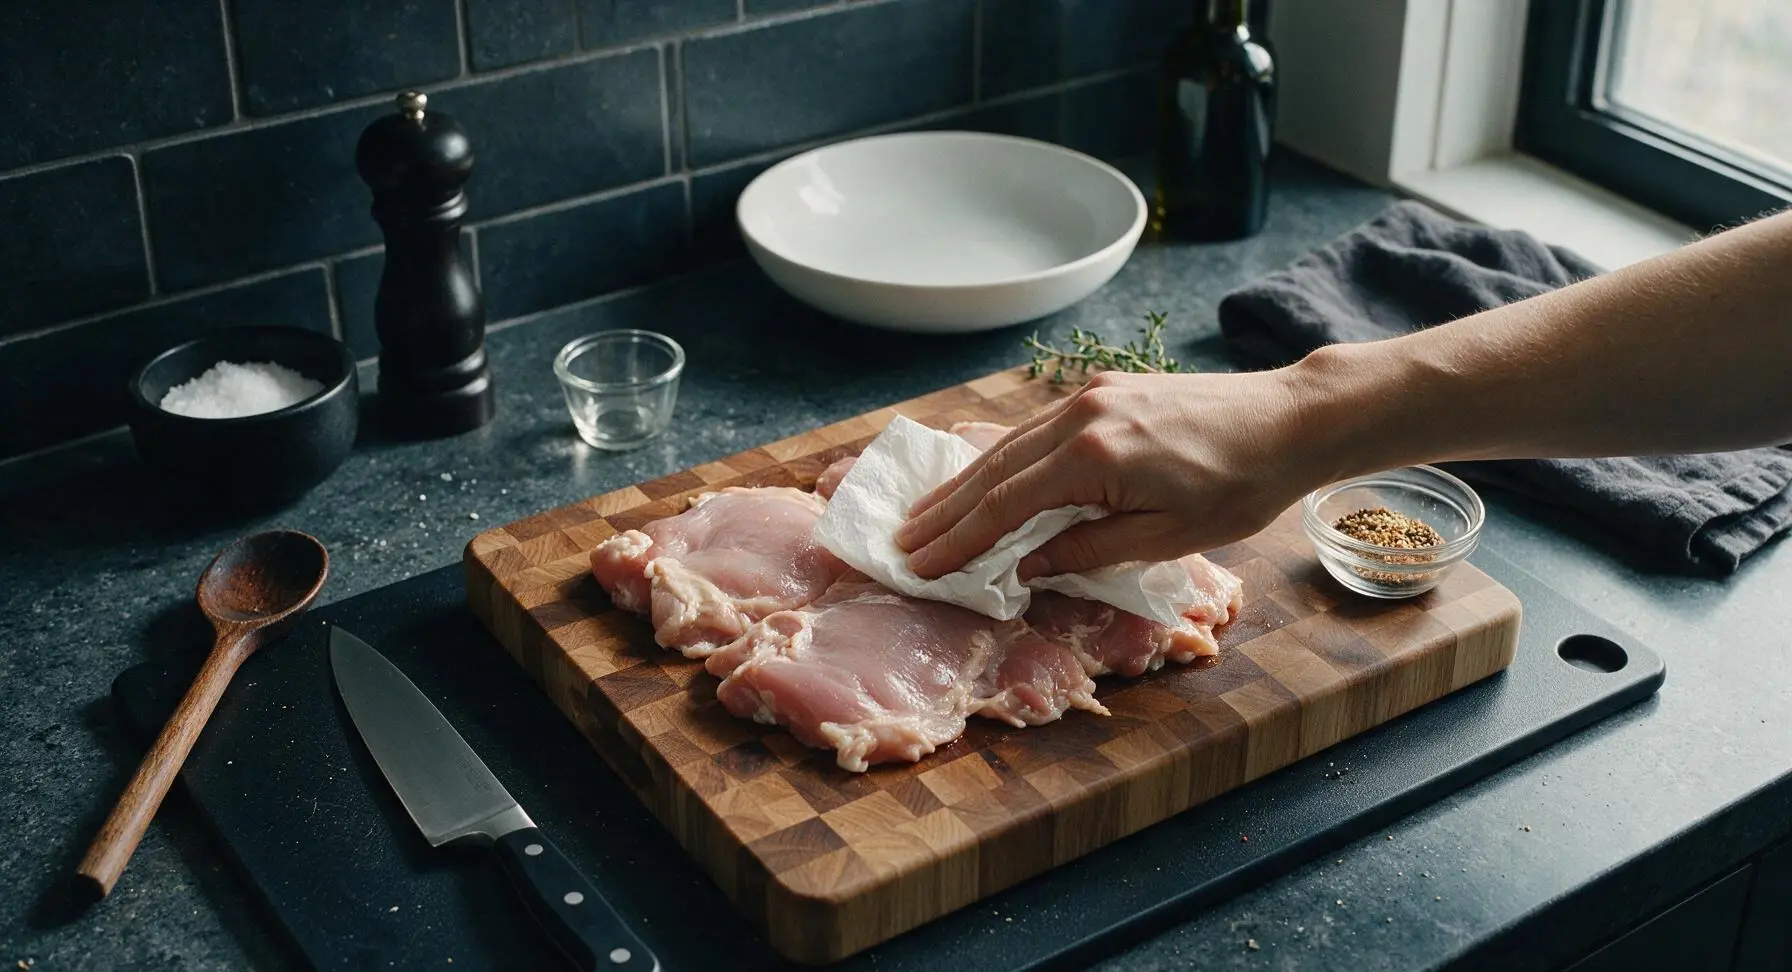
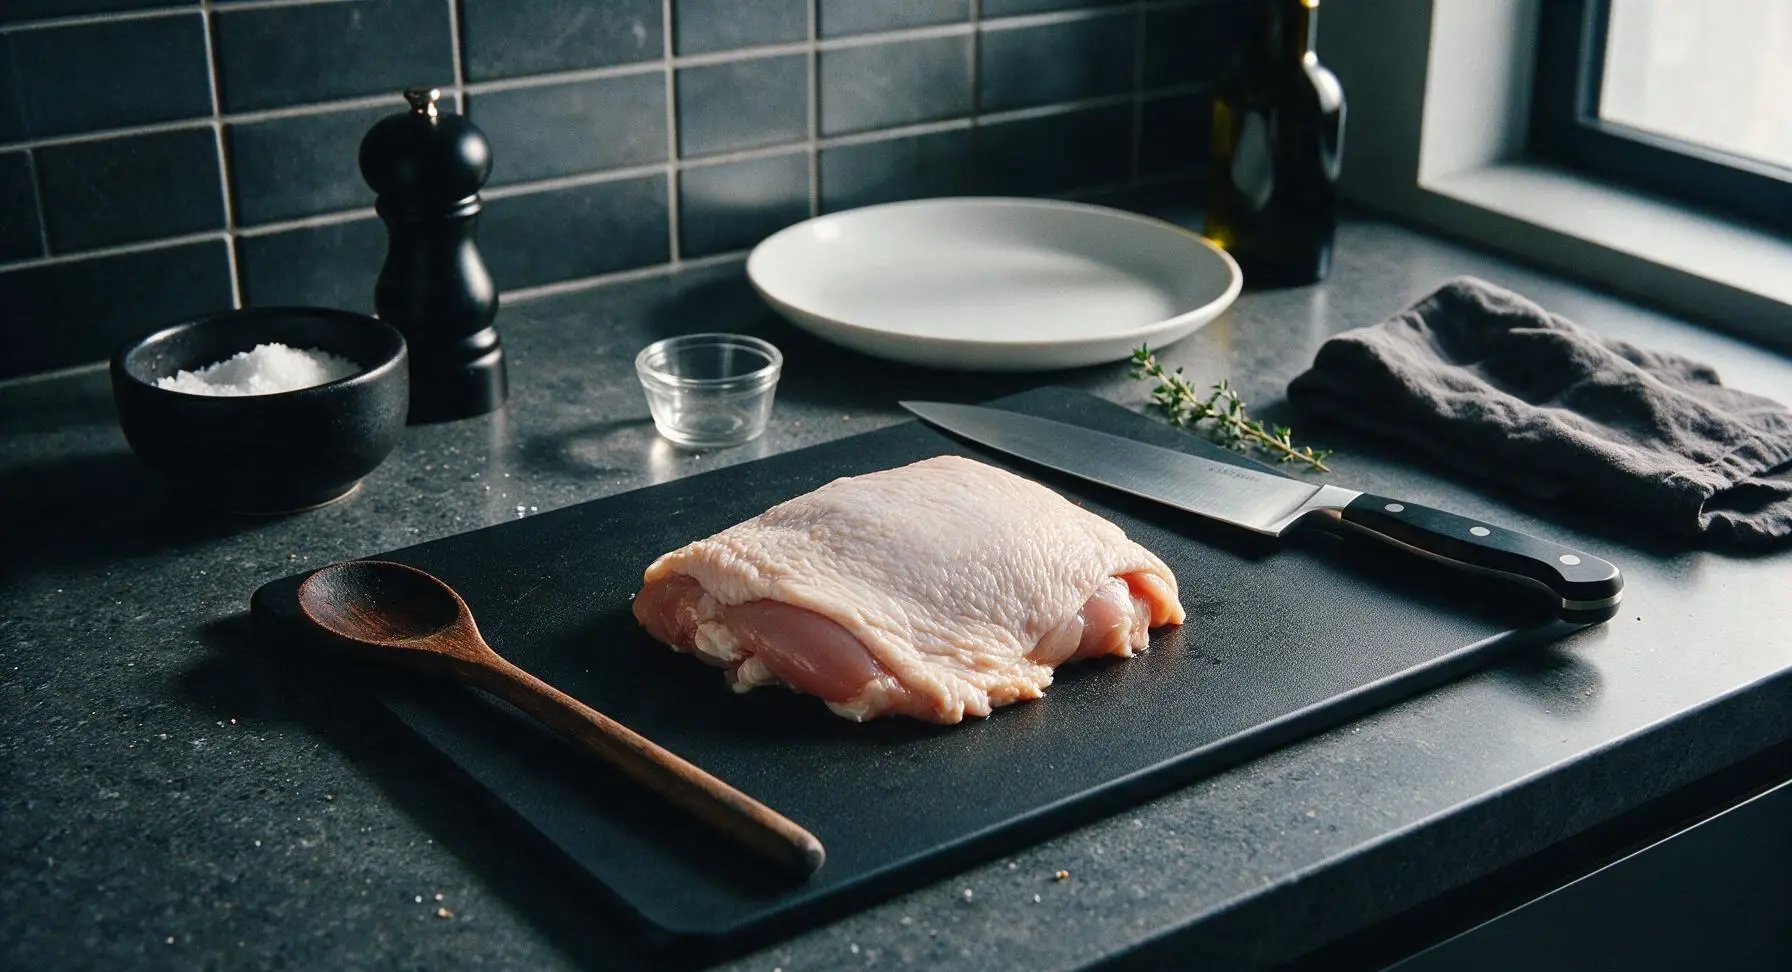
Arrange the raw boneless chicken thighs skin-side up on the maple cutting board. Pat the skin and flesh sides thoroughly with paper towels (discard used towels immediately) until completely dry to the touch, with no visible moisture remaining on the skin surface. This is the most critical step for achieving shatteringly crispy skin.
Step 3
step3:Pat Chicken Thighs Dry
Step 3
step3:Pat Chicken Thighs Dry
4

Coat Chicken with Seasoning

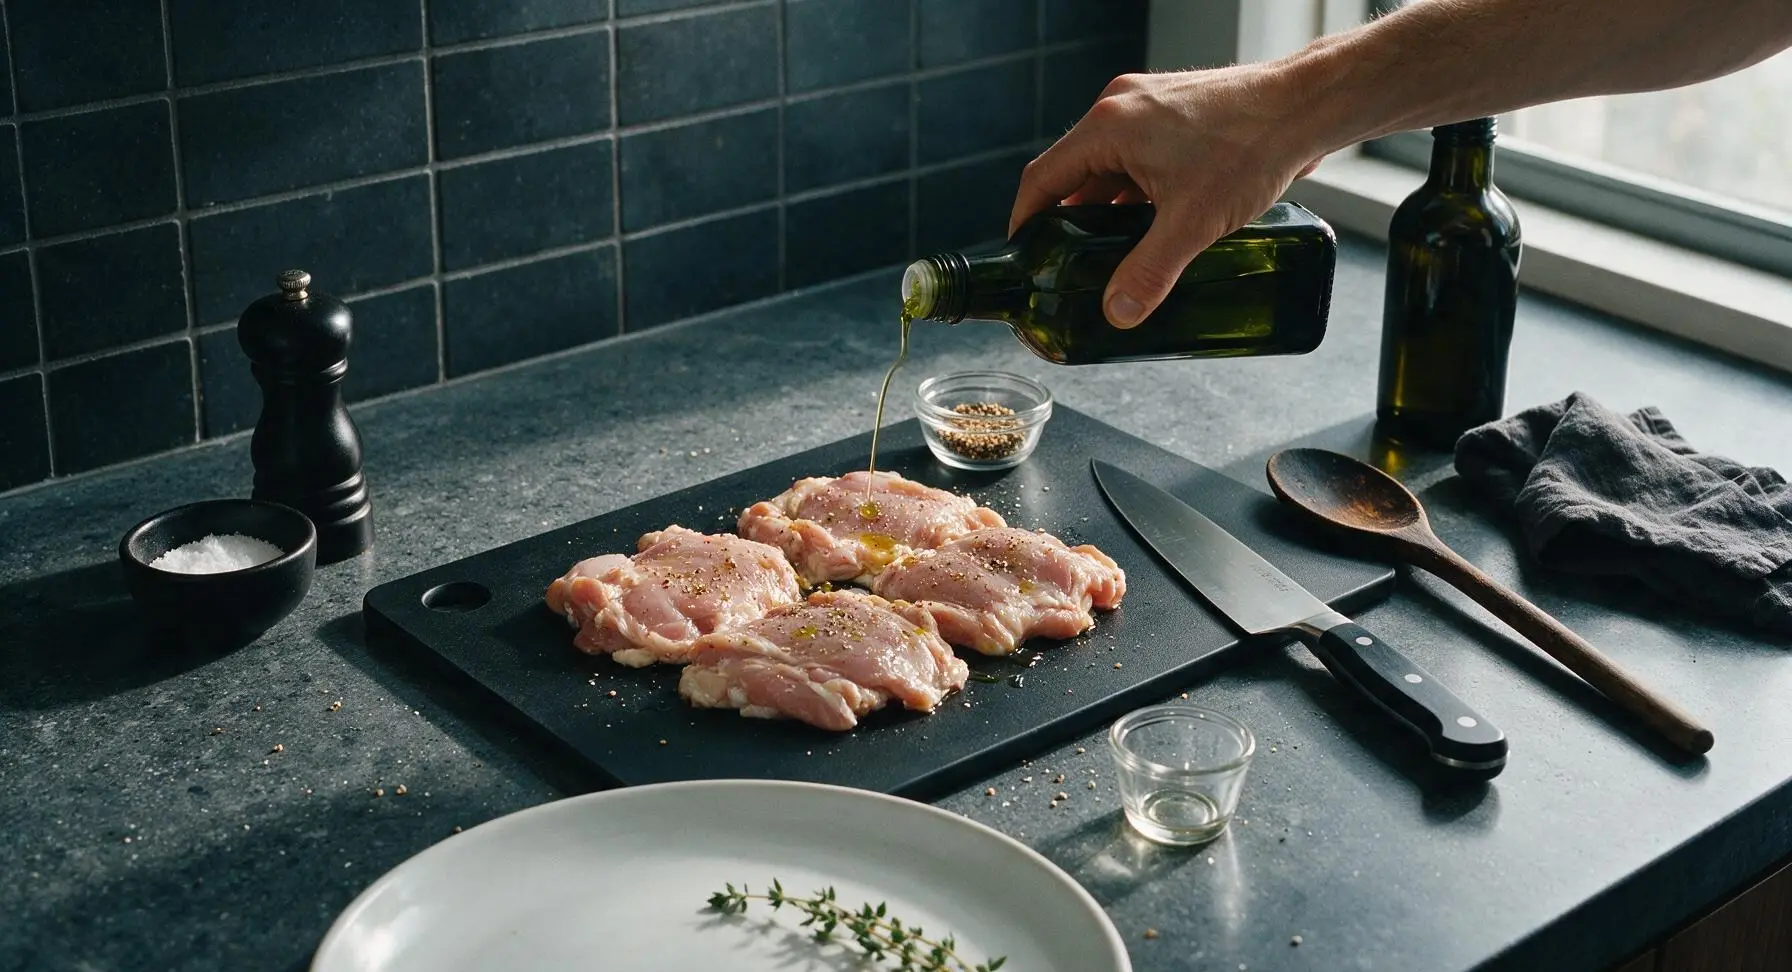
Drizzle 1 tablespoon of olive oil over all sides of the dried chicken thighs, rubbing lightly to coat evenly. Sprinkle the mixed spice blend generously over every surface of the chicken, pressing gently so the seasoning adheres to the skin and flesh instead of falling off. Place 2 of the thyme sprigs on the wire rack in the baking sheet for subtle aromatic flavor as the chicken bakes.
Step 4
step4:Coat Chicken with Seasoning
Step 4
step4:Coat Chicken with Seasoning
5

Bake to Golden Crisp

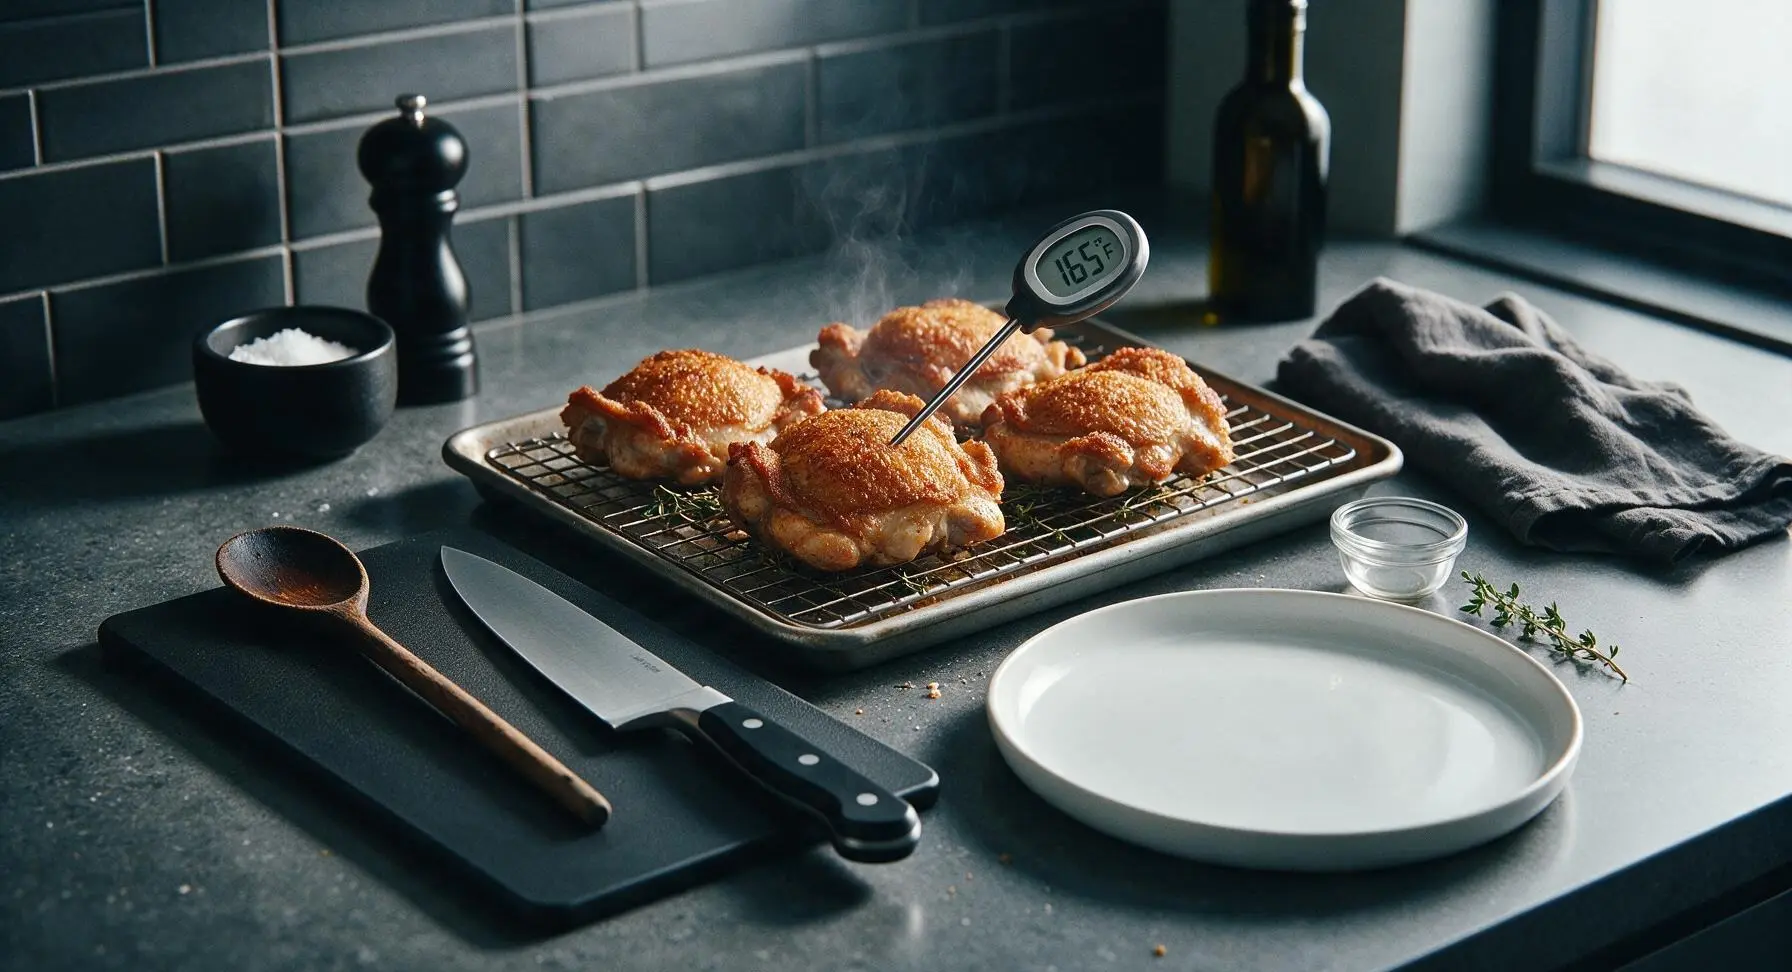
Carefully transfer the baking sheet with the rack and seasoned chicken to the preheated middle oven rack. Bake for 22-25 minutes total, without flipping, until the skin is deep golden brown and crispy across the surface, and the thickest part of the thigh reaches an internal temperature of 165°F (74°C) as measured with the instant-read thermometer.
Step 5
step5:Bake to Golden Crisp
6

Rest Chicken Briefly

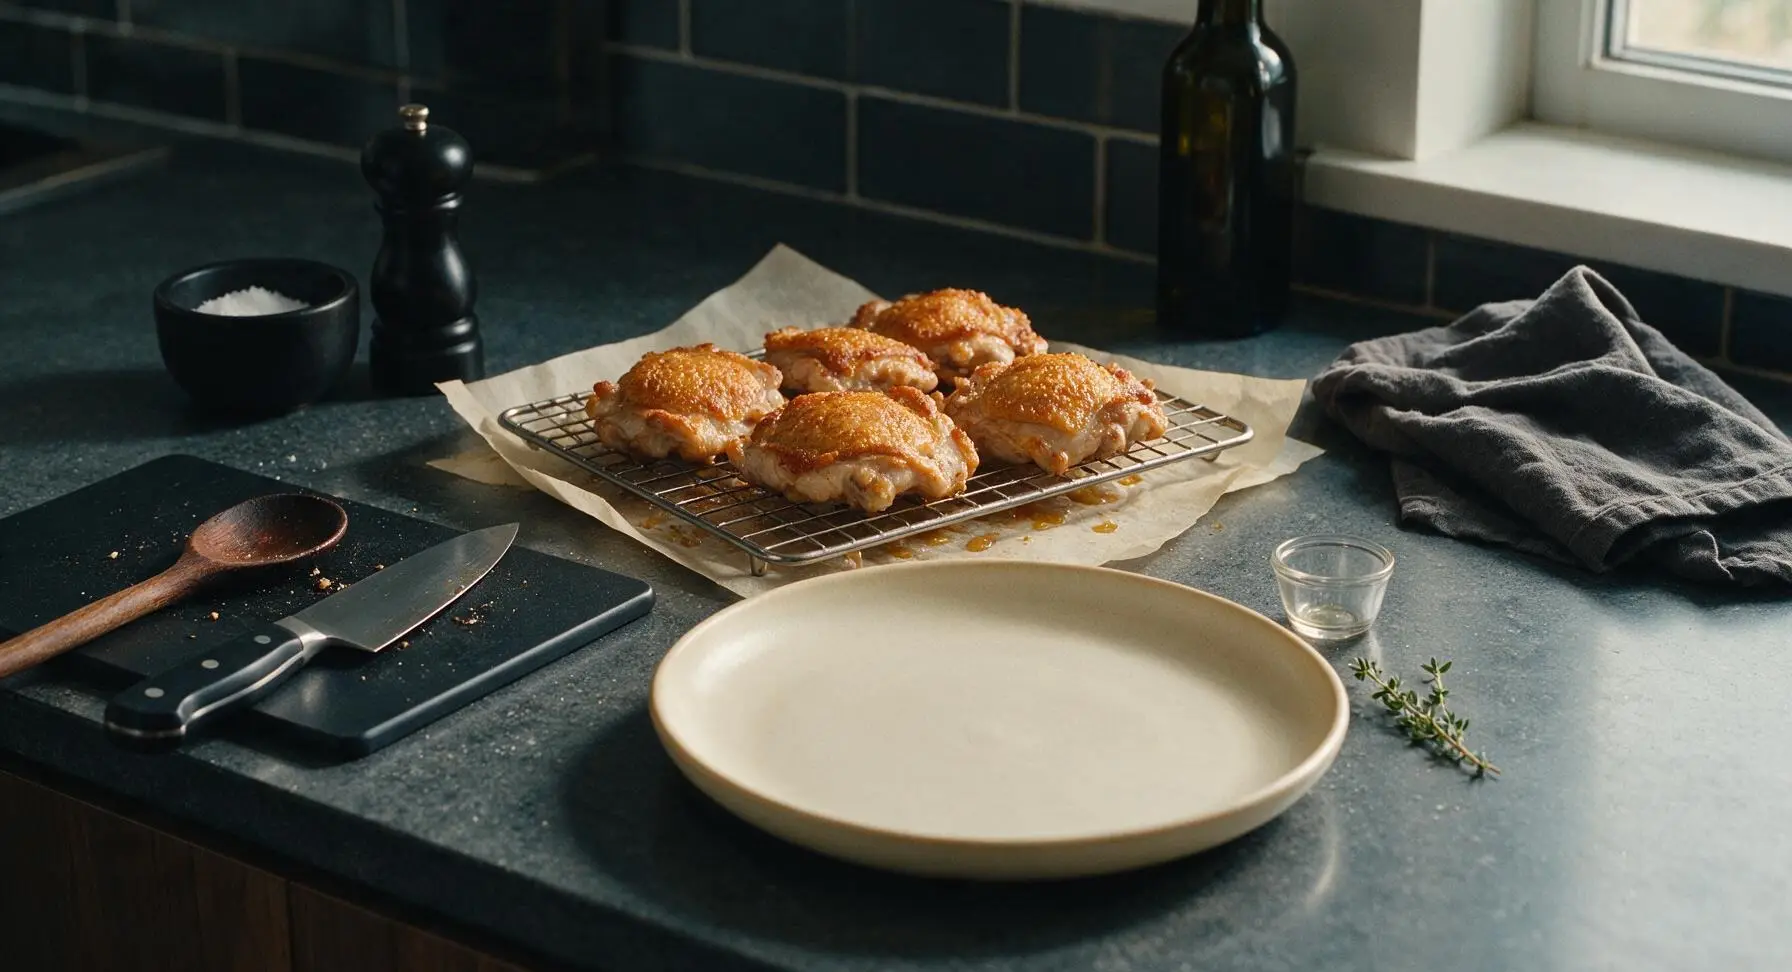
Once the chicken reaches the correct internal temperature, remove the baking sheet from the oven and leave the chicken undisturbed on the wire rack for 5 minutes to rest. This allows muscle fibers to relax and juices to redistribute through the meat, instead of running out onto the plate when cut, ensuring every bite is juicy.
Step 6
step6:Rest Chicken Briefly
7

Plate and Garnish

Transfer the rested chicken thighs to the matte warm cream ceramic dinner plate, arranging them in a slightly overlapping pattern. Scatter leaves from the remaining 2 fresh thyme sprigs over the top, tuck lemon wedges around the chicken, and drizzle a spoonful of the collected pan juices from the parchment paper over the meat for extra savoriness.

Step 7
step7:Plate and Garnish

Tips

1.Always pat chicken completely dry before seasoning: any residual moisture on the skin will turn to steam in the hot oven, preventing the skin from crisping and leaving you with rubbery, chewy skin instead of a shatteringly crisp crust.
2.Use a wire rack inside the baking sheet rather than placing chicken directly on the parchment: elevating the thighs allows hot air to circulate under every piece, crisping all edges evenly instead of letting the bottom sit in pooled juices and turn soggy.
3.Resist the urge to flip the chicken while it bakes: leaving the skin side up the entire time allows the fat to render slowly and the skin to crisp evenly without sticking or tearing, and the meat will stay juicy without disturbance.


✨ You May Also Like

Main Course
🍜 United Kingdom

A showstopping classic of tender seared beef, savory mushroom duxelles, and crisp prosciutto wrapped in flaky golden puff pastry, baked to juicy perfection.

⏱️ 2 hours 1Main Course ★ 4.7
Main Course
🍜 India

Tender charred marinated chicken simmered in a rich, spiced creamy tomato sauce, this iconic Anglo-Indian curry pairs perfectly with basmati rice or warm naan.

⏱️ 50 minuteMain Course ★ 4.6
Main Course
🍜 Thailand

Classic tangy, sweet, and savory Thai stir-fried rice noodles with shrimp, tofu, and crunchy garnishes, balancing all five core Thai flavor profiles.

⏱️ 30 minuteMain Course ★ 4.5
Main Course
🍜 United Kingdom

Crispy golden beer-battered cod and fluffy double-fried chips, served with tangy tartar sauce and malt vinegar: the timeless, beloved British pub comfort classic.

⏱️ 45 minuteMain Course ★ 4.7
Main Course
🍜 Mexico

Smoky, chile-marinated pork tacos with caramelized pineapple, fresh cilantro, and lime: a beloved classic Mexican street food perfect for casual summer gatherings.

⏱️ 1 hour 45Main Course ★ 4.8
Main Course
🍜 United States

Crunchy Fritos corn chips layered with savory beef chili and melted cheddar, topped with cool, zesty fixings for a beloved, cozy Tex-Mex comfort food.

⏱️ 35 minuteMain Course ★ 4.8

boneless chicken thighs in oven:Frequently Asked Questions

1.Why does my baked chicken skin turn out rubbery instead of crispy? ▾
The number one culprit is excess moisture on the skin! Pat every thigh completely dry with paper towels before seasoning, rub with a thin coat of olive oil, and don’t overcrowd the pan. Set thighs on a wire rack inside your baking sheet so hot air circulates all around, and bake at 425°F to render fat evenly for that signature shatteringly crisp crust.
2.Can I use boneless, skinless chicken thighs if I don’t have skin-on cuts? ▾
You absolutely can, though you won’t get that iconic crispy skin texture. Skip the wire rack if using skinless cuts, toss thighs with a light coating of panko mixed with the recipe’s base spice blend for a crunchy outer layer, and check for doneness 5 minutes early to avoid overcooking, since there’s no skin fat to lock in moisture.
3.What oven temperature works best to get crispy thighs without burning the spices? ▾
Stick to 425°F for consistent, reliable results. This heat is high enough to quickly render the fat under the chicken skin for a golden, crisp crust, but not so hot that the garlic powder or black pepper will burn before the chicken cooks through. Lower oven temps will steam the chicken instead of crisping it, leading to rubbery, pale skin.
4.How do I know when the chicken thighs are fully cooked and safe to eat? ▾
For the most accurate read, use an instant-read meat thermometer inserted into the thickest part of the thigh (away from fat) to check for an internal temperature of 165°F. If you don’t have a thermometer, cut into the thickest section: juices should run completely clear with no pink, and the meat will pull apart easily with a fork.
5.Do I need to flip the chicken thighs halfway through baking? ▾
If you’re using a wire rack set over your baking sheet, you don’t need to flip them at all! The elevated rack lets hot oven air circulate under and around every thigh, so skin crisps evenly without sticking. If you’re baking directly on a sheet pan, flip once halfway through to prevent the bottom skin from getting soggy in rendered fat.
6.Can I add extra seasonings beyond the basic salt, pepper, and garlic powder? ▾
Of course! The simple base blend is totally flexible for your taste. Try adding smoked paprika, dried thyme, onion powder, or a pinch of cayenne for gentle heat. Just avoid adding sugary seasonings like brown sugar too early, as they burn quickly at 425°F and will leave a bitter, burnt taste on the crispy skin.
7.Why do my chicken thighs stick to the pan or rack when I take them out? ▾
Sticking almost always happens when you try to move the chicken too early! As the skin crisps and renders, it will naturally release from the rack or pan once it’s fully golden and crisp. If you pry it up too soon, you’ll tear the crispy skin right off. For extra insurance, give your wire rack a light spray of nonstick oil before laying thighs down.
8.Do I need to let the chicken rest after baking, and for how long? ▾
Let the thighs rest for 5 full minutes on a clean plate or cutting board after pulling them from the oven. This short rest lets juices redistribute evenly through the meat instead of running all over your plate when you cut in, so every bite stays juicy. Skip tenting with foil, though—trapped steam will make that crispy skin turn soggy fast.
9.Can I prep these chicken thighs ahead for quick weeknight meals? ▾
Absolutely! For easy weeknight prep, pat the thighs dry, toss them with olive oil and seasonings, and store them covered on a wire rack-lined sheet pan in the fridge for up to 24 hours before baking. Chilling the uncovered thighs dries the skin out even more, leading to extra-crispy results when you pop them straight in the preheated oven.

Comments (16)

2 days ago

OMG these came out SO crispy I thought I fried them! My 3 kids devoured every single thigh at dinner last night, even my picky 7 year old who usually turns up his nose at chicken. Total game changer for weeknight meals.

1 week ago

Meal prepped these for my work lunches this week and they held up perfectly! Didn’t get soggy in the fridge, crisped right back up in the toaster oven at the office. 25 minute cook time is chef’s kiss for my busy Sunday prep routine.

3 days ago

Super easy even for someone who burns toast half the time! Only had basic seasonings in my dorm pantry and these still turned out amazing. Way cheaper than getting takeout chicken every night.

5 days ago

Brought these to our neighborhood potluck last weekend and people were asking for the recipe before I even set the platter down! The crispy exterior has the perfect crunch, no sad soggy baked chicken here.

yesterday

Tossed these in a little buffalo sauce after baking and they were perfect for game night with the guys. Will 100% be making these again for our next watch party.

2 weeks ago

These are so good! I added a little paprika and garlic powder extra like I usually do, and the crisp level was better than any fried chicken I’ve made in years. Only question — can I use bone-in thighs with this same cook time?

2 weeks ago

So glad you loved them, Grandma Mia! If you use bone-in thighs, just add 8-10 minutes to the cook time and make sure the internal temp hits 165°F for perfect results!

30 minutes ago

Wait, I didn’t get mine as crispy as the photo looks? I followed the recipe exactly, used a wire rack like it said, but mine were a little soft on the bottom. Any ideas what I did wrong?

5 minutes ago

I had that happen the first time too! Turns out my oven was running 25 degrees cold, I bought a cheap oven thermometer and now they come out perfect every time. Also make sure you pat the chicken really dry with paper towels before seasoning!

2 hours ago

Made these for dinner tonight after soccer practice and we had zero leftovers. The cook time is perfect for those nights where we have 30 minutes max to get food on the table between activities.

30 minutes ago

That makes us so happy to hear! We love this recipe specifically for those chaotic busy weeknights when takeout feels like the only option, so glad it worked for your family!

3 days ago

I don’t eat a ton of meat but these were so juicy I went back for a second piece! I was worried boneless thighs would dry out in the oven but they were perfectly tender the whole way through.

2 days ago

Right?! I mostly eat veggie meals too but I make these once a month when I’m craving chicken, they’re impossible to mess up!

1 week ago

Do you think these would work for a bridal shower brunch menu? I’m looking for easy protein options that don’t require me to be slaving over the stove while guests are there.

1 week ago

Absolutely! These taste great hot or at room temp, so you can bake them ahead of time and slice them up to serve with dipping sauces. They’re always a hit at gatherings!

5 days ago

Perfect high protein meal for my bulk! Each thigh is packed with protein, and the crispy crust doesn’t add a ton of extra calories like deep fried chicken does. I pair mine with roasted broccoli and rice for a full post-workout meal.

3 days ago

Same! I make these every Sunday for my post-gym meals, I add a little cajun seasoning for an extra kick without extra calories.

just now

Help! I’m a total beginner and I want to make these for my partner’s birthday dinner tomorrow. What seasonings do you recommend if I don’t have a fancy spice rack at home? I only have salt, pepper, garlic powder, and paprika right now.

just now

Girl that’s all you need! Those exact seasonings are what I use every time and they come out tasting incredible, don’t overcomplicate it. Just make sure you pat the chicken super dry first for max crisp!

just now

Exactly what HomeCookHero said! Those core seasonings work perfectly for this recipe. If you want a little extra depth, you can toss in a pinch of onion powder if you have it, but it’s totally not required to get delicious, crispy chicken. Good luck with the birthday dinner!

yesterday

Game. Changer. I’ve been making sad, rubbery baked chicken for years because I thought getting crispy chicken without frying was impossible. My whole family cheered when I set these on the table tonight. Even my teen who only eats fast food said they were better than the fried chicken from our local drive-thru!

yesterday

I feel this so hard! I used to only make chicken in the air fryer because my oven baked chicken was always so soggy, but these came out crispier than my air fryer version somehow!

yesterday

This is the exact reaction we hope for! Nothing beats winning over a teen fast food fan, that’s the highest possible praise a recipe can get 😊

2 weeks ago

Quick question — can I freeze these after cooking? My wife and I are trying to stock our freezer with easy meals for when our baby arrives next month, and these seem like the perfect thing to have on hand.

2 weeks ago

I froze a batch last month! I let them cool completely, put them in a freezer bag with as much air squeezed out as possible, and they lasted 3 months no problem. Reheat in the oven at 375 for 15 minutes and they get crispy again, no sogginess!

2 weeks ago

Great question, and great tip from FreezerMealFanatic! These freeze beautifully, just make sure to label the bag with the date so you don’t forget how long they’ve been in there. Congrats on the upcoming baby!

1 week ago

Is there a way to make these gluten free? My youngest has celiac so I have to be super careful about cross contamination, but he’s been begging for crispy chicken like his friends get at fast food places.

1 week ago

I make these gluten free for my kids all the time! Just swap regular breadcrumbs for gluten free panko, it gets just as crispy as the regular kind. I also make sure my wire rack is super clean to avoid cross contact, works like a charm!

5 days ago

Such a great swap! You can also use crushed rice chex or gluten free cornflakes if you don’t have GF panko on hand, both make an incredibly crispy coating that’s totally safe for gluten free diets. Hope your son loves them!

2 days ago

These are so crispy and juicy on their own, but what dipping sauces do y’all recommend with them? I tried ranch last night which was great, but I want to switch it up for next time.

2 days ago

Honey mustard is elite with these! I mix equal parts honey, dijon, and a little splash of apple cider vinegar and it’s the perfect sweet tangy dip. My kids go crazy for it.

yesterday

Honey mustard is a fantastic call! We also love these with a little spicy aioli, BBQ sauce, or even a sweet chili sauce for a fun twist. There’s really no wrong dip here!



