
boneless chuck roast

title 1
boneless chuck roast
⏱️ cook time 3 hours
🍽️ servings 6
⚡ Difficulty medium

intro

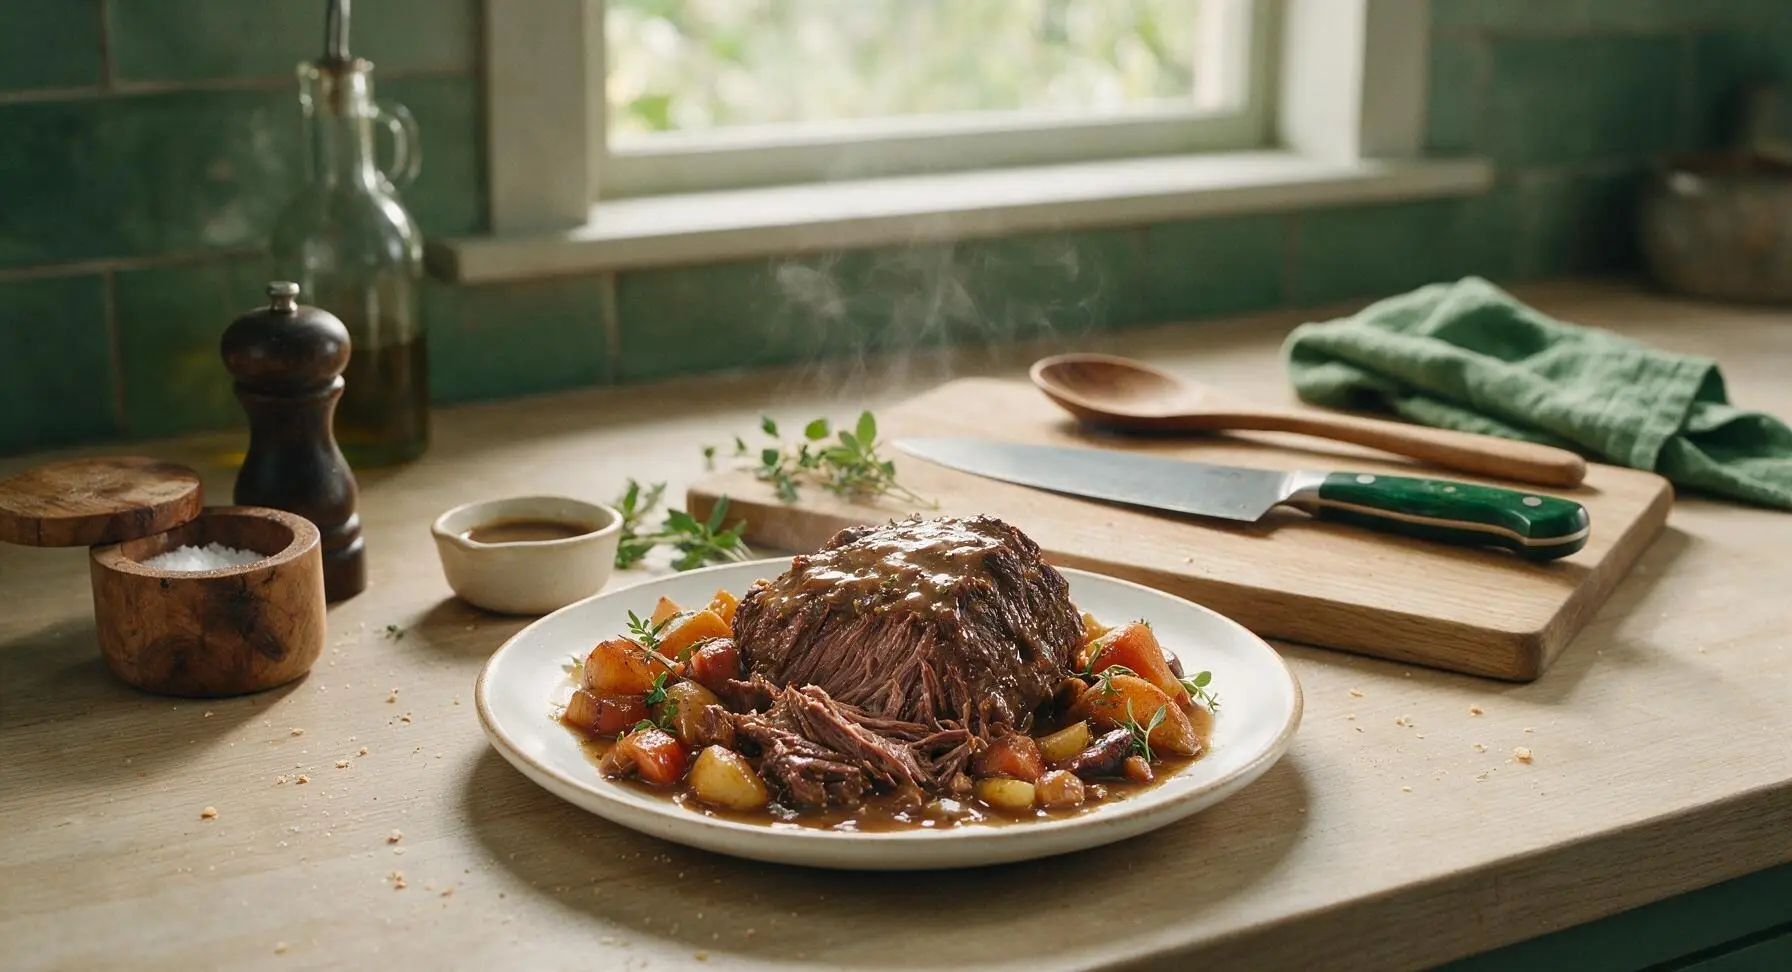
Fall-apart tender boneless chuck roast, slow-braised with autumn root vegetables and rich glossy pan gravy, is the ultimate cozy centerpiece for gathered family meals.

Ingredients
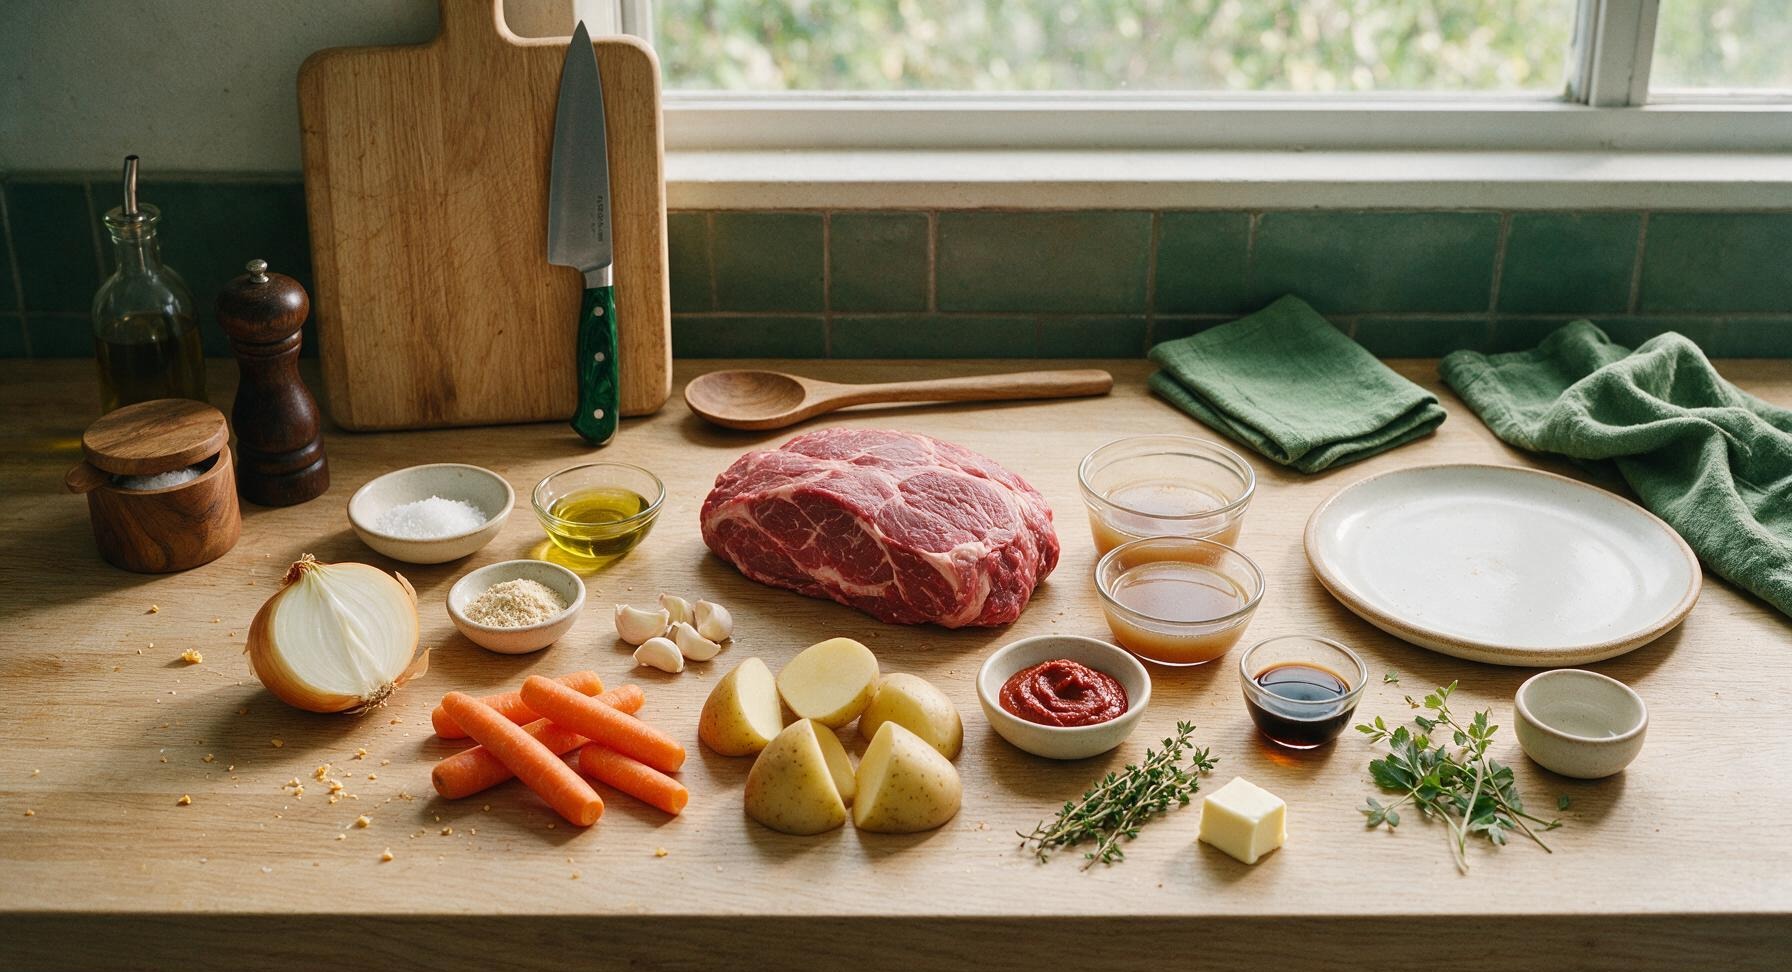
Boneless chuck roast 3.5 lbs (1.6kg)
Kosher salt 1 tbsp
Freshly ground black pepper 1 tsp
Garlic powder 1 tsp
Extra virgin olive oil 2 tbsp
Yellow onion 1 large, cut into 2-inch wedges
Garlic cloves 4, crushed
Carrots 3 medium, peeled and cut into 2-inch chunks
Yukon gold potatoes 2 medium, cut into 2-inch wedges
Tomato paste 2 tbsp
Low-sodium beef broth 2 cups
Worcestershire sauce 1 tbsp
Fresh thyme 4 sprigs
Unsalted butter 1 tbsp

Steps

1

Season the Chuck Roast

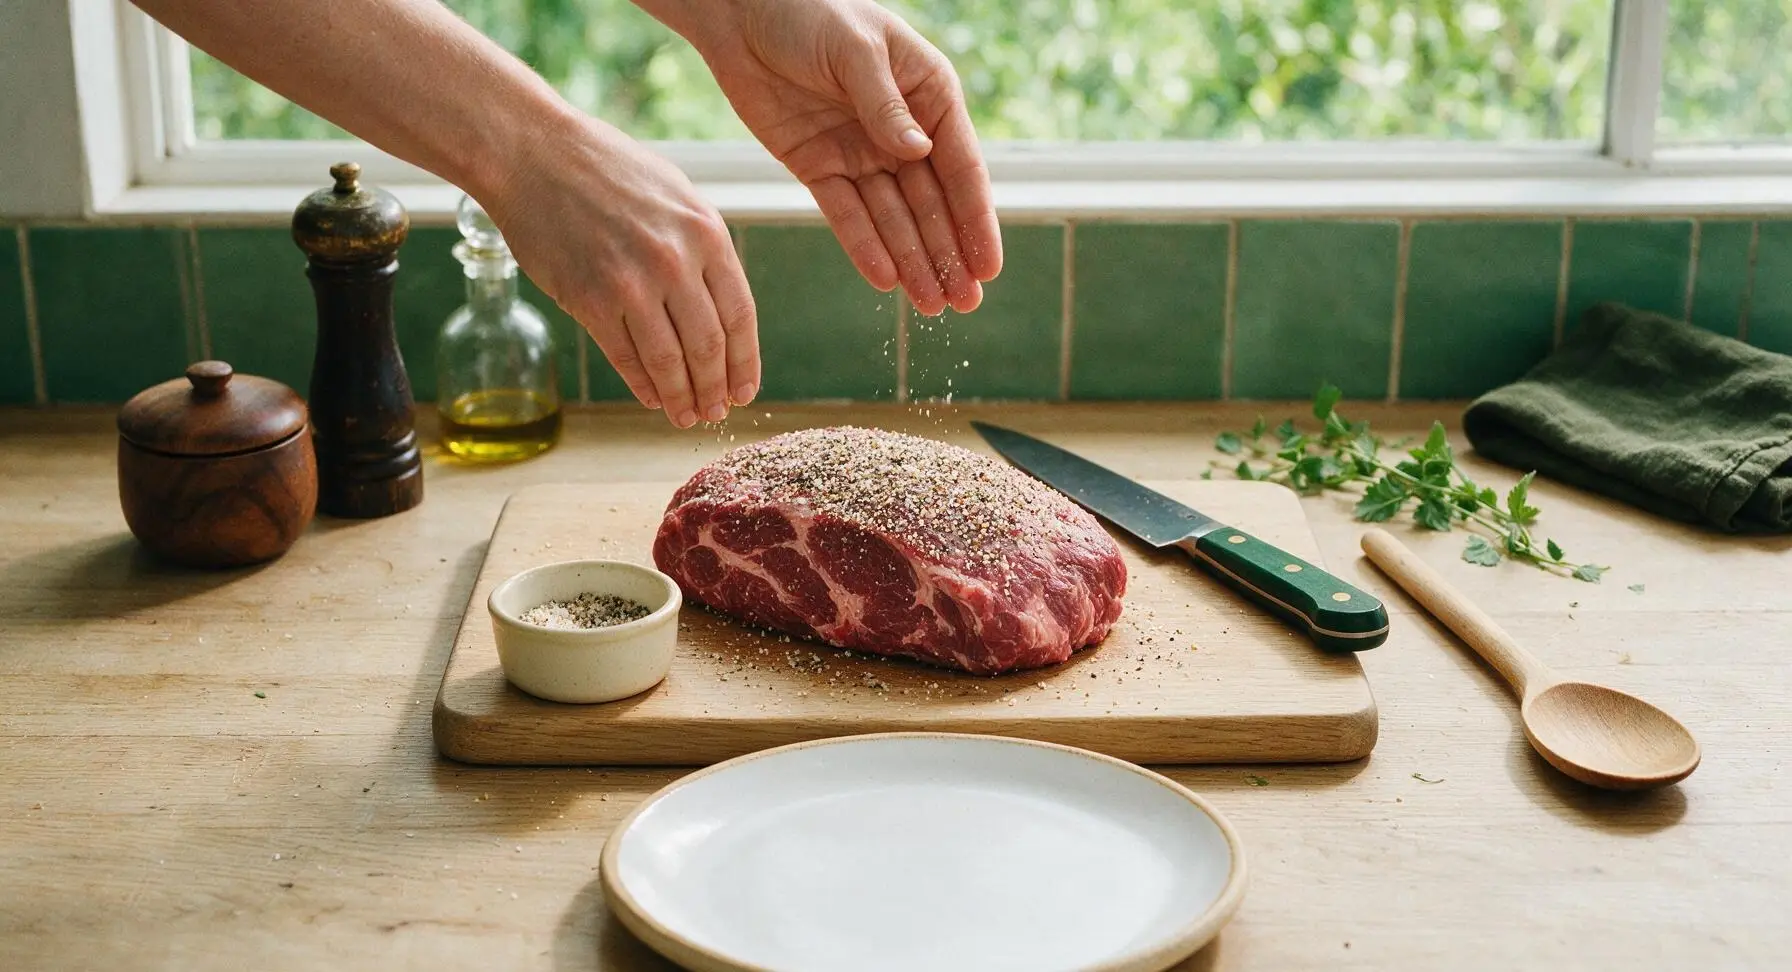
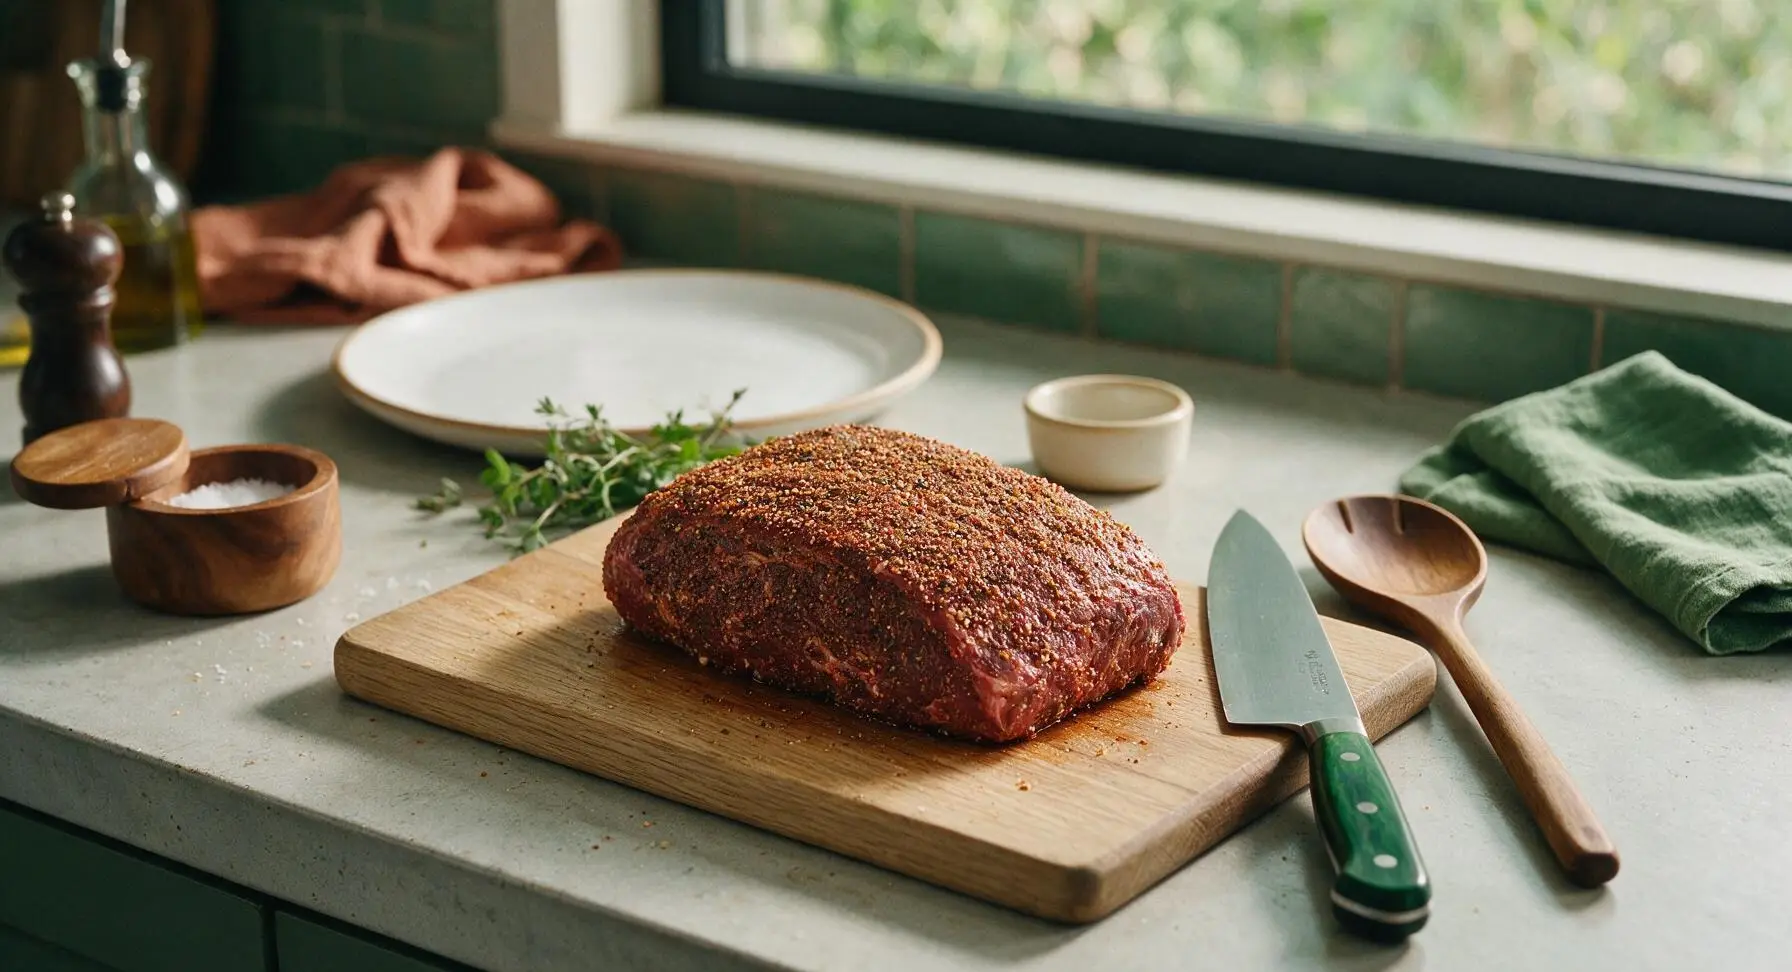
Pat the 3.5lb boneless chuck roast completely dry on all sides with paper towels, discarding used towels. In one of the small cream stoneware ramekins, mix 1 tbsp kosher salt, 1 tsp freshly ground black pepper, and 1 tsp garlic powder. Rub the seasoning evenly across every surface of the roast, pressing gently to help the spices adhere. Let the seasoned roast rest at room temperature for 15 minutes to allow seasoning to penetrate. Visual cue: the entire meat surface is evenly coated in spice, with no damp, bare patches remaining.
Step 1
step1:Season the Chuck Roast
Step 1
step1:Season the Chuck Roast
2

Sear the Roast Evenly

Set the 6-quart matte black enameled Dutch oven over medium-high heat, add 2 tbsp olive oil from the glass cruet. Once the oil is shimmering (approximately 375°F / 190°C, not smoking), use the stainless steel tongs to carefully lower the seasoned roast into the pot. Sear for 3-4 minutes per side, including all narrow edges, until a deep golden-brown crust forms on every surface. Avoid moving the roast while searing each side to build a thick, flavor-dense crust. Visual cue: the seared crust is deep mahogany brown, with no pale gray steamed patches visible.
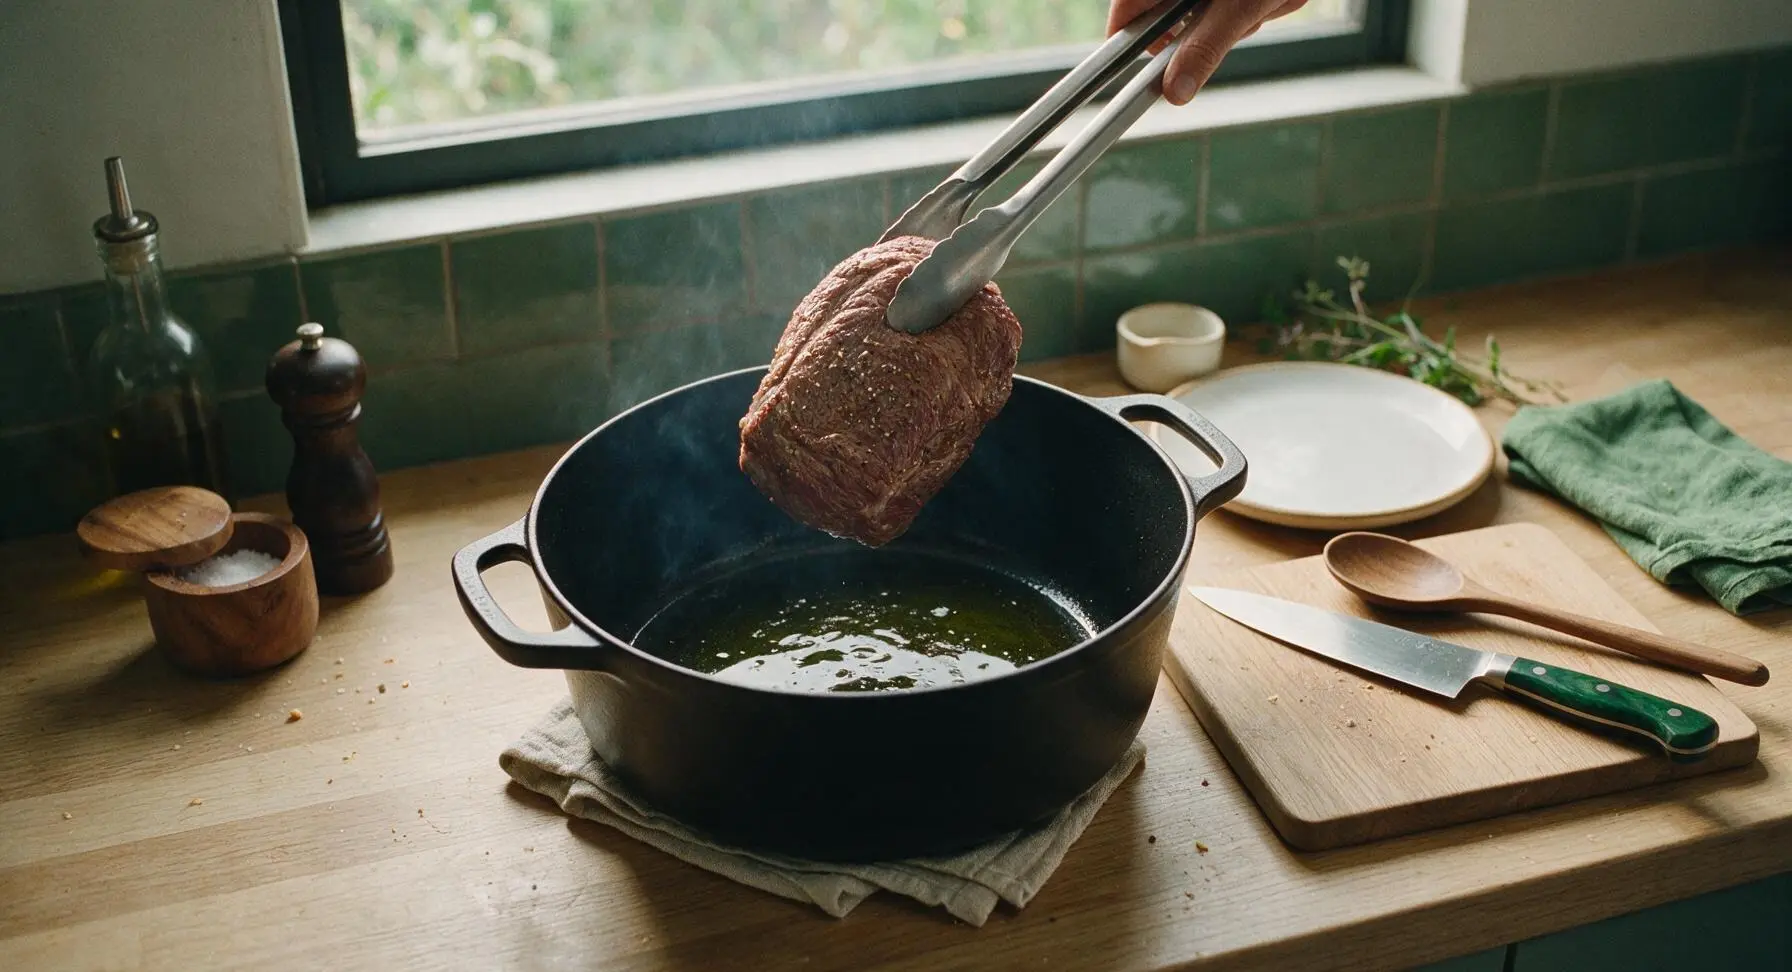
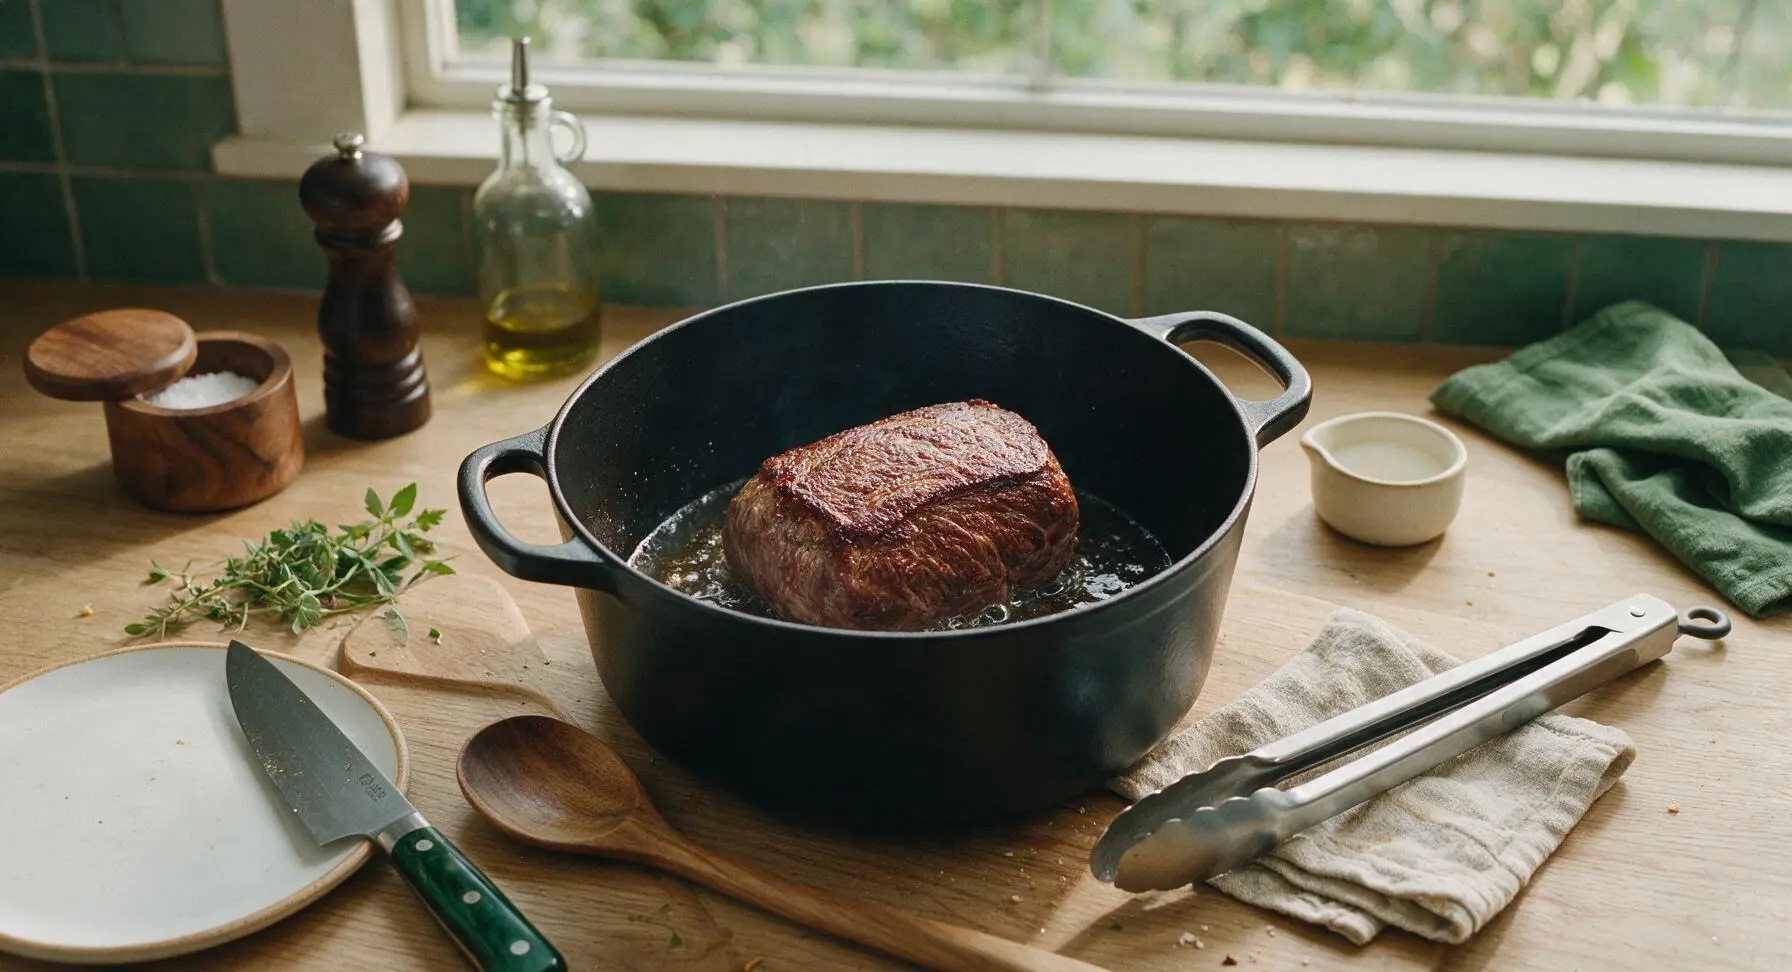
Step 2
step2:Sear the Roast Evenly
Step 2
step2:Sear the Roast Evenly
3

Sauté Aromatic Vegetables

Once all sides of the roast are seared, use the tongs to transfer the roast temporarily back to the maple cutting board. Reduce heat to medium, add the cut onion wedges, crushed garlic, and 2 tbsp tomato paste to the rendered beef fat and oil in the Dutch oven. Sauté for 3 minutes, stirring occasionally with the beech wood spoon, until the onion softens slightly and the tomato paste darkens to a deep rust color and releases a rich, sweet aroma. Visual cue: the tomato paste loses its bright raw red tone, and the edges of the onion turn translucent.
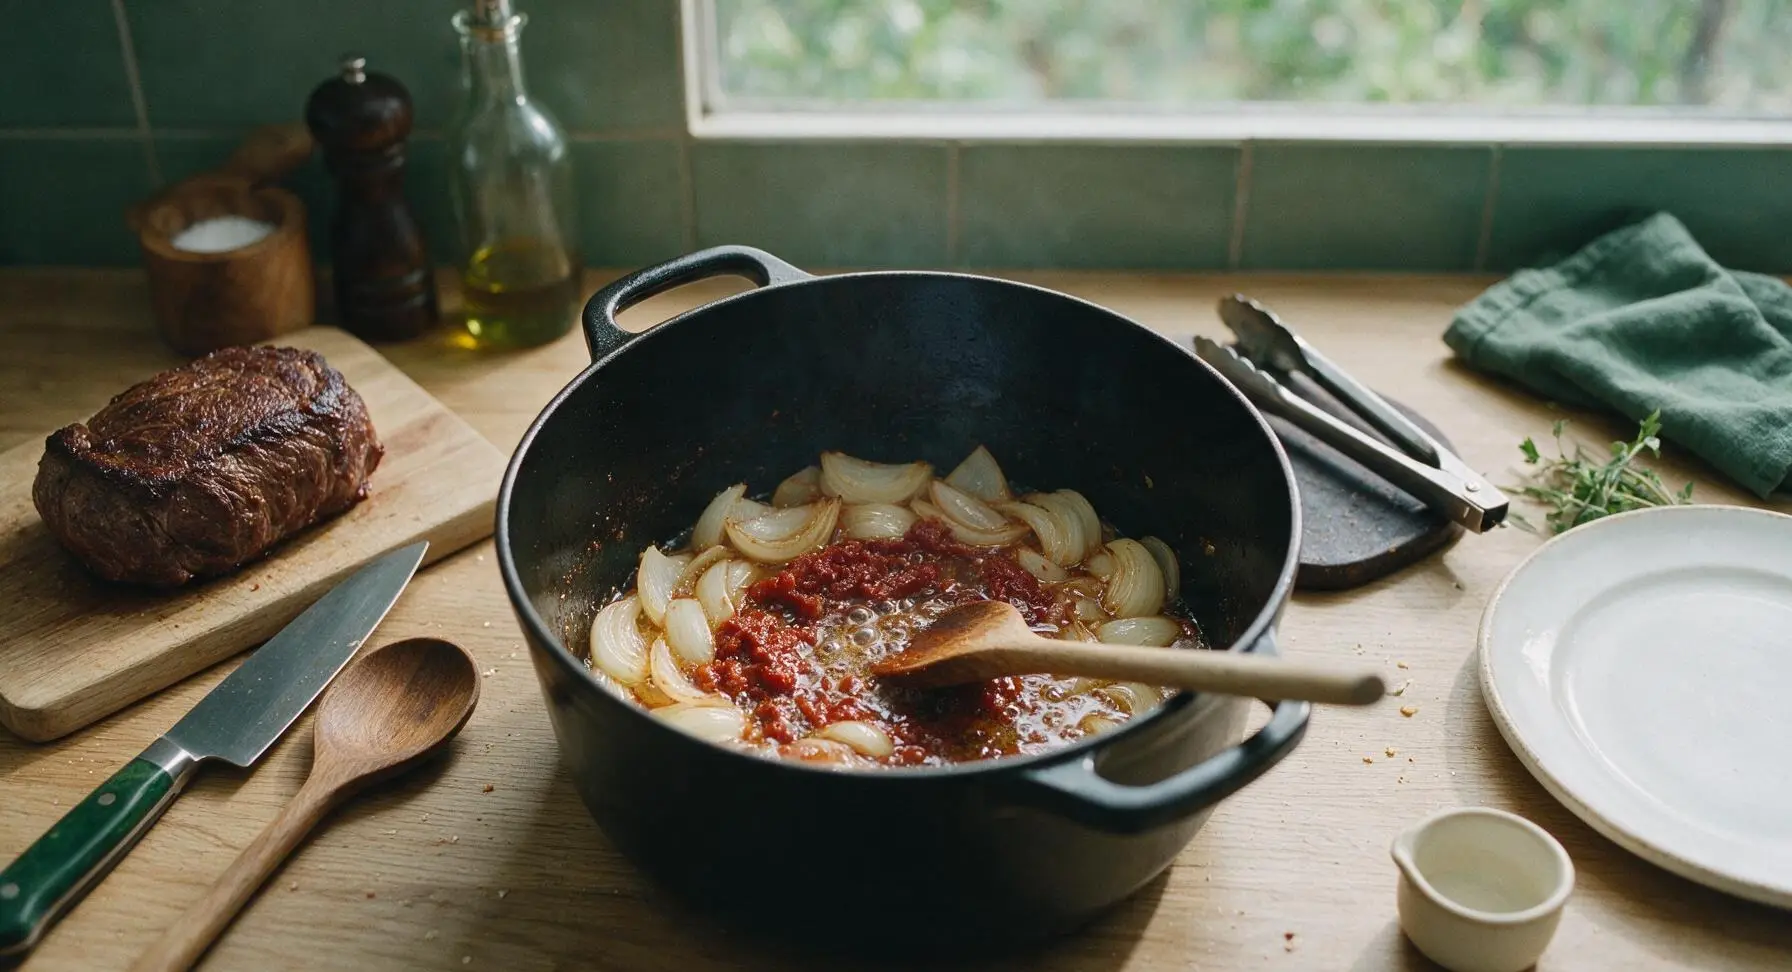
Step 3
step3:Sauté Aromatic Vegetables
4

Deglaze the Dutch Oven

Pour ½ cup of beef broth into the pot, using the beech wood spoon to scrape all browned, sticky fond bits from the cream enamel bottom of the Dutch oven—these bits hold concentrated, roasted flavor. Stir in the remaining 1.5 cups beef broth, 1 tbsp Worcestershire sauce, and 3 sprigs of fresh thyme. Bring the liquid to a gentle simmer, avoiding a hard rolling boil. Visual cue: all browned fond is lifted from the pot bottom, and the liquid is a light, clear amber color.
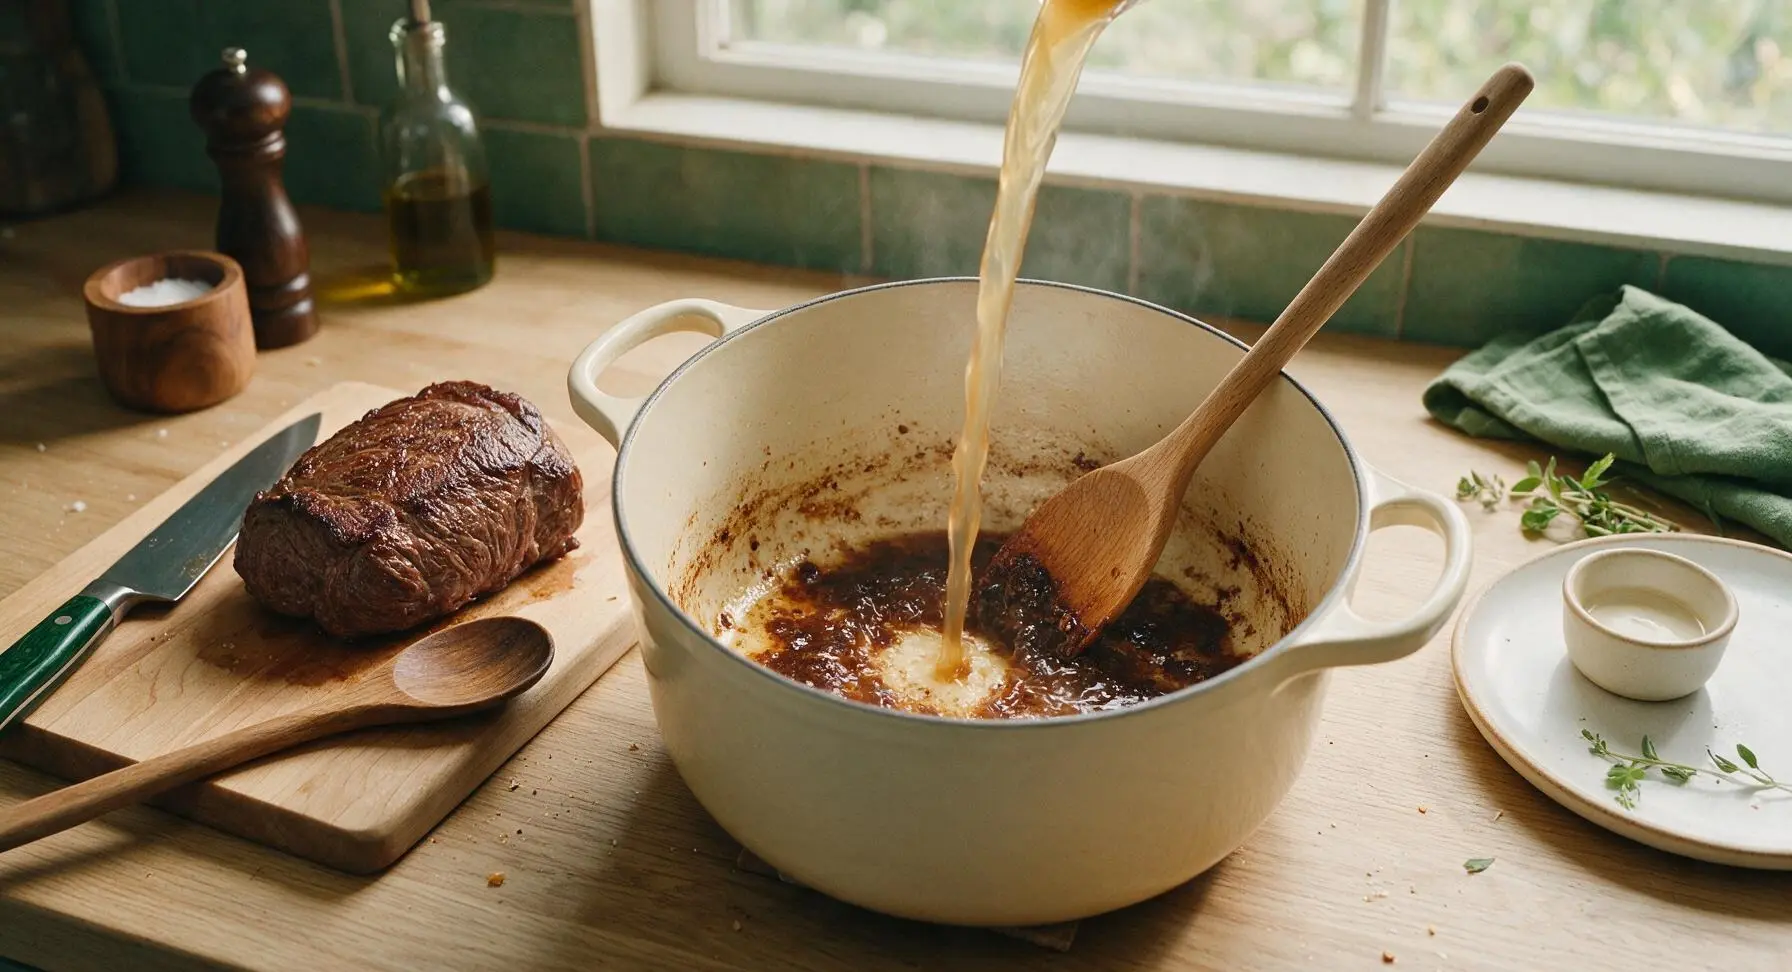
Step 4
step4:Deglaze the Dutch Oven
5

Braise Low and Slow

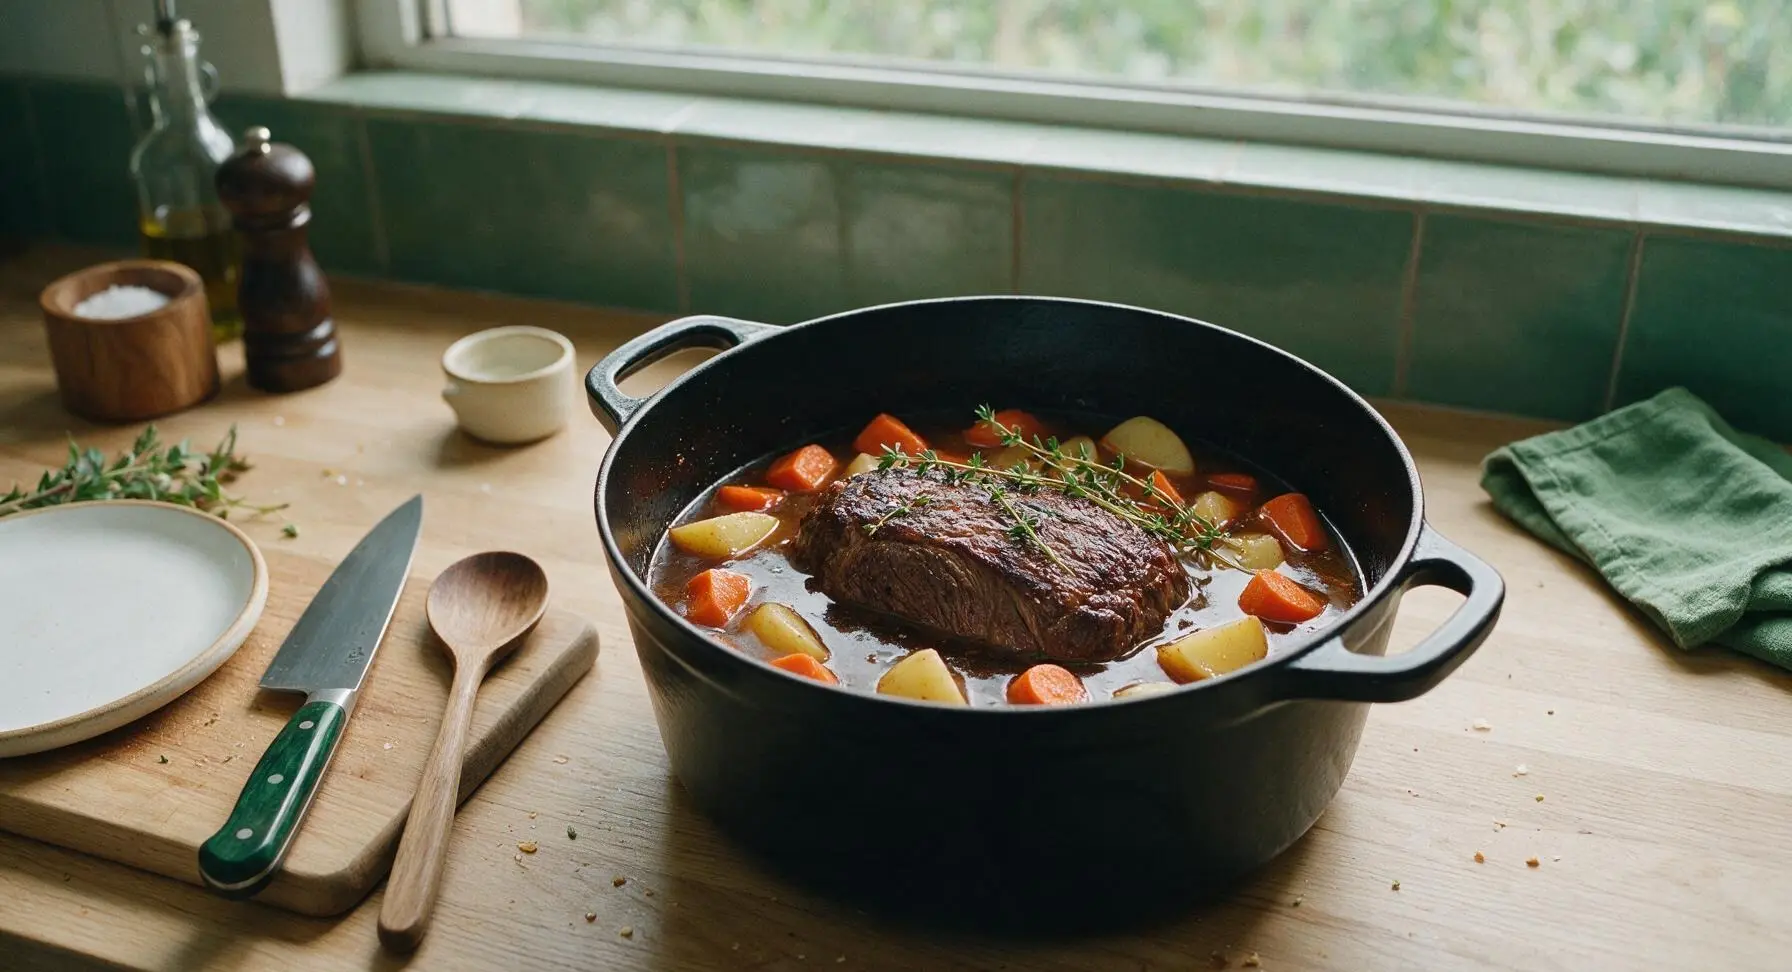
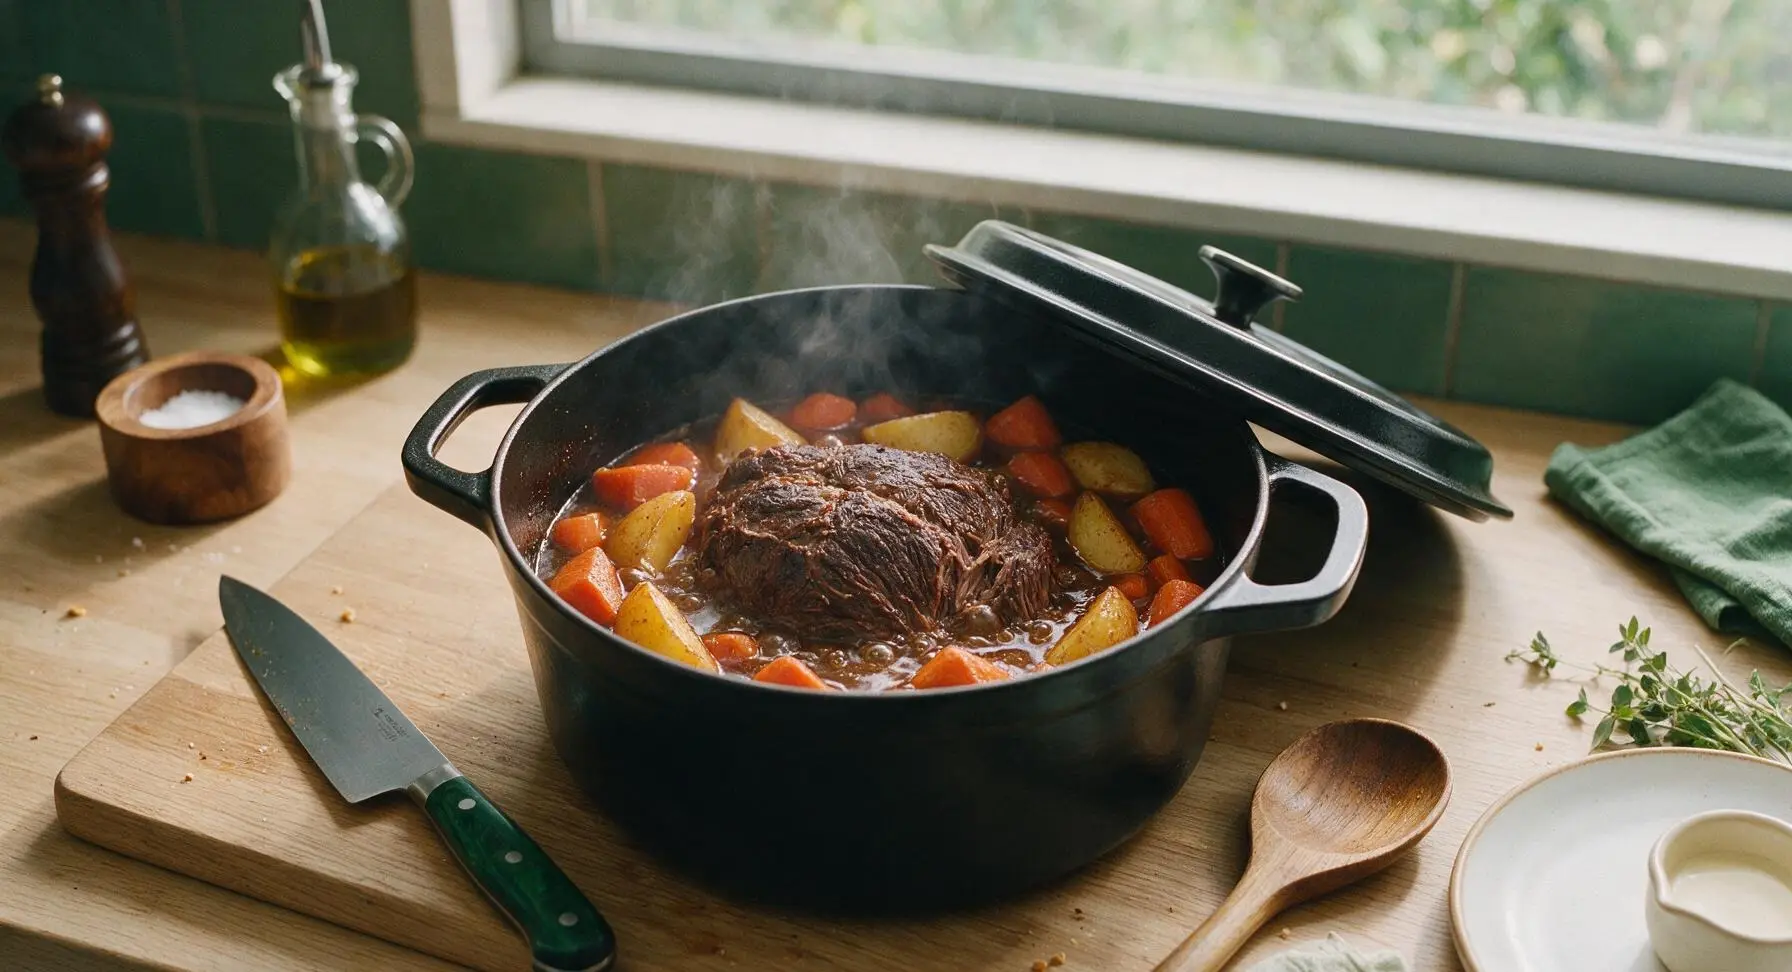
Return the seared roast to the Dutch oven, nestling it into the simmering braising liquid. Arrange the cut carrot chunks and potato wedges around the roast, ensuring they are partially submerged in liquid. Place the matching black lid on the Dutch oven, transfer to a preheated 325°F (160°C) oven, and cook for 2 hours and 30 minutes. Avoid lifting the lid for the first 2 hours to maintain consistent oven temperature. Visual cue: when done, the meat will be fork-tender, pulling apart easily when prodded, with an internal temperature of 205°F (96°C) at the thickest point.
Step 5
step5:Braise Low and Slow
Step 5
step5:Braise Low and Slow
6

Rest Roast, Thicken Gravy

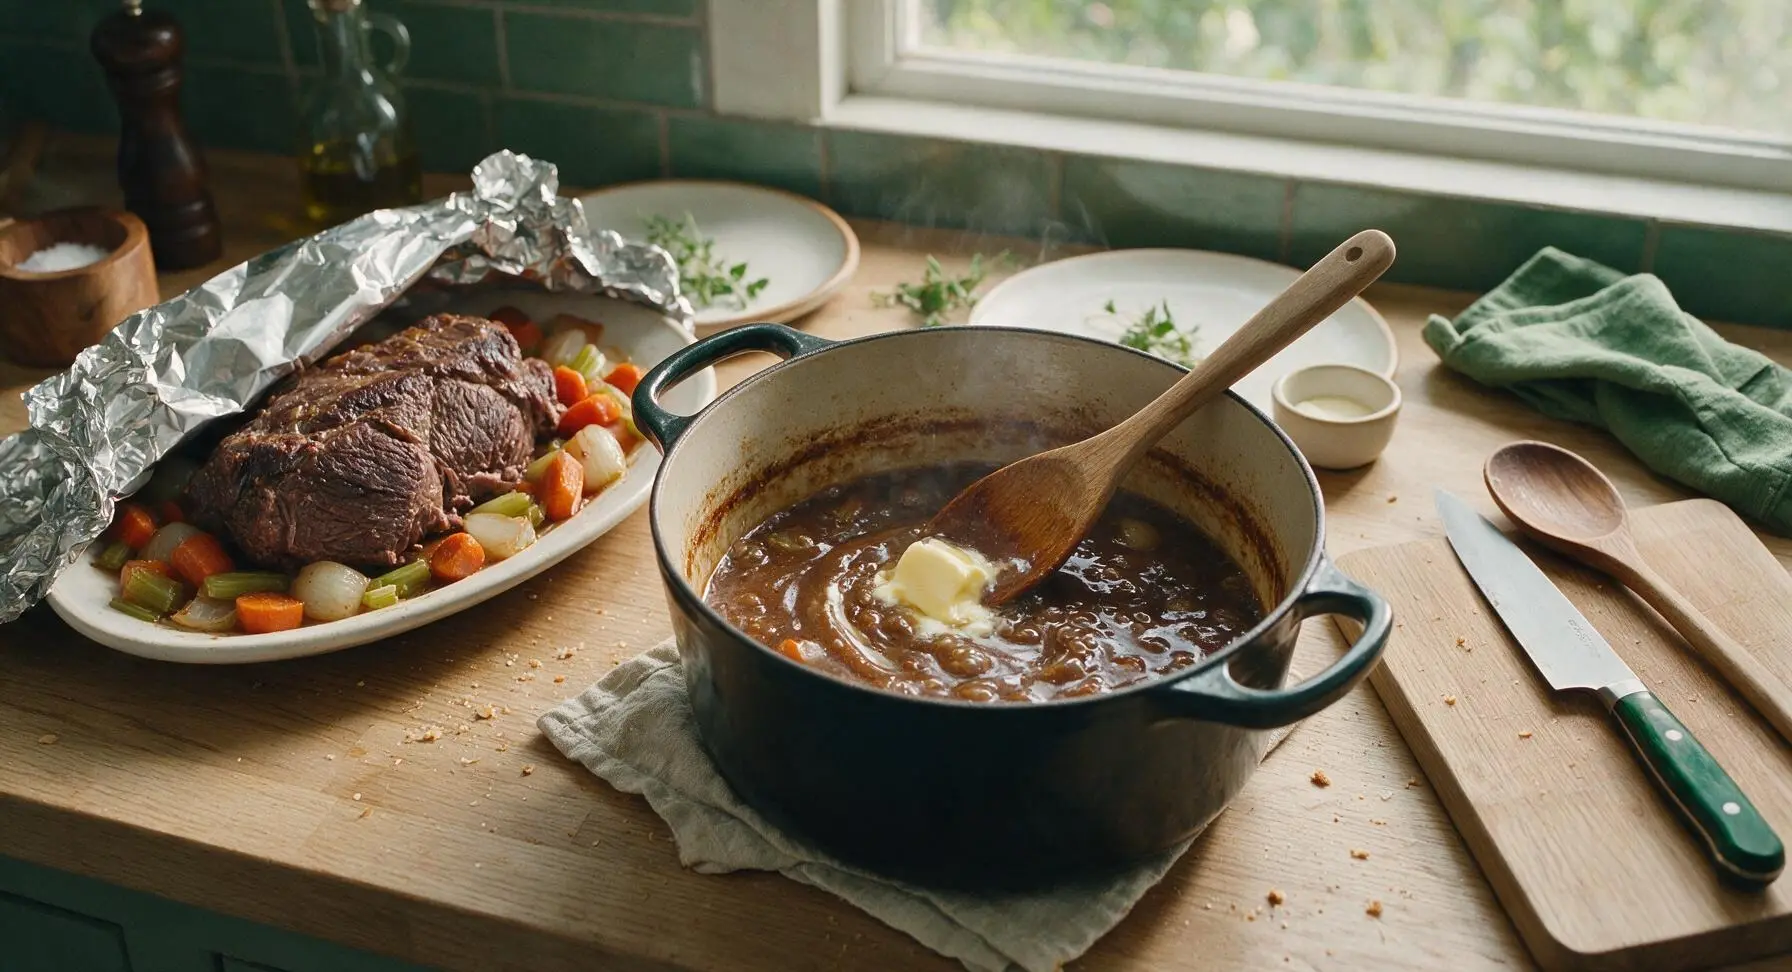
Use the tongs to carefully transfer the cooked roast and vegetables to a temporary platter, tenting loosely with aluminum foil to rest for 15 minutes. Resting allows meat juices to redistribute, preventing dry, runny slices when cut. While the roast rests, place the Dutch oven back on the stovetop over medium-low heat, stir in 1 tbsp unsalted butter, and simmer the braising liquid for 5 minutes until it thickens into a glossy gravy. Skim excess surface fat if desired. Visual cue: the finished gravy coats the back of a spoon thinly, leaving a clear line when a finger is drawn across it.
Step 6
step6:Rest Roast, Thicken Gravy
7

Slice and Plate Roast

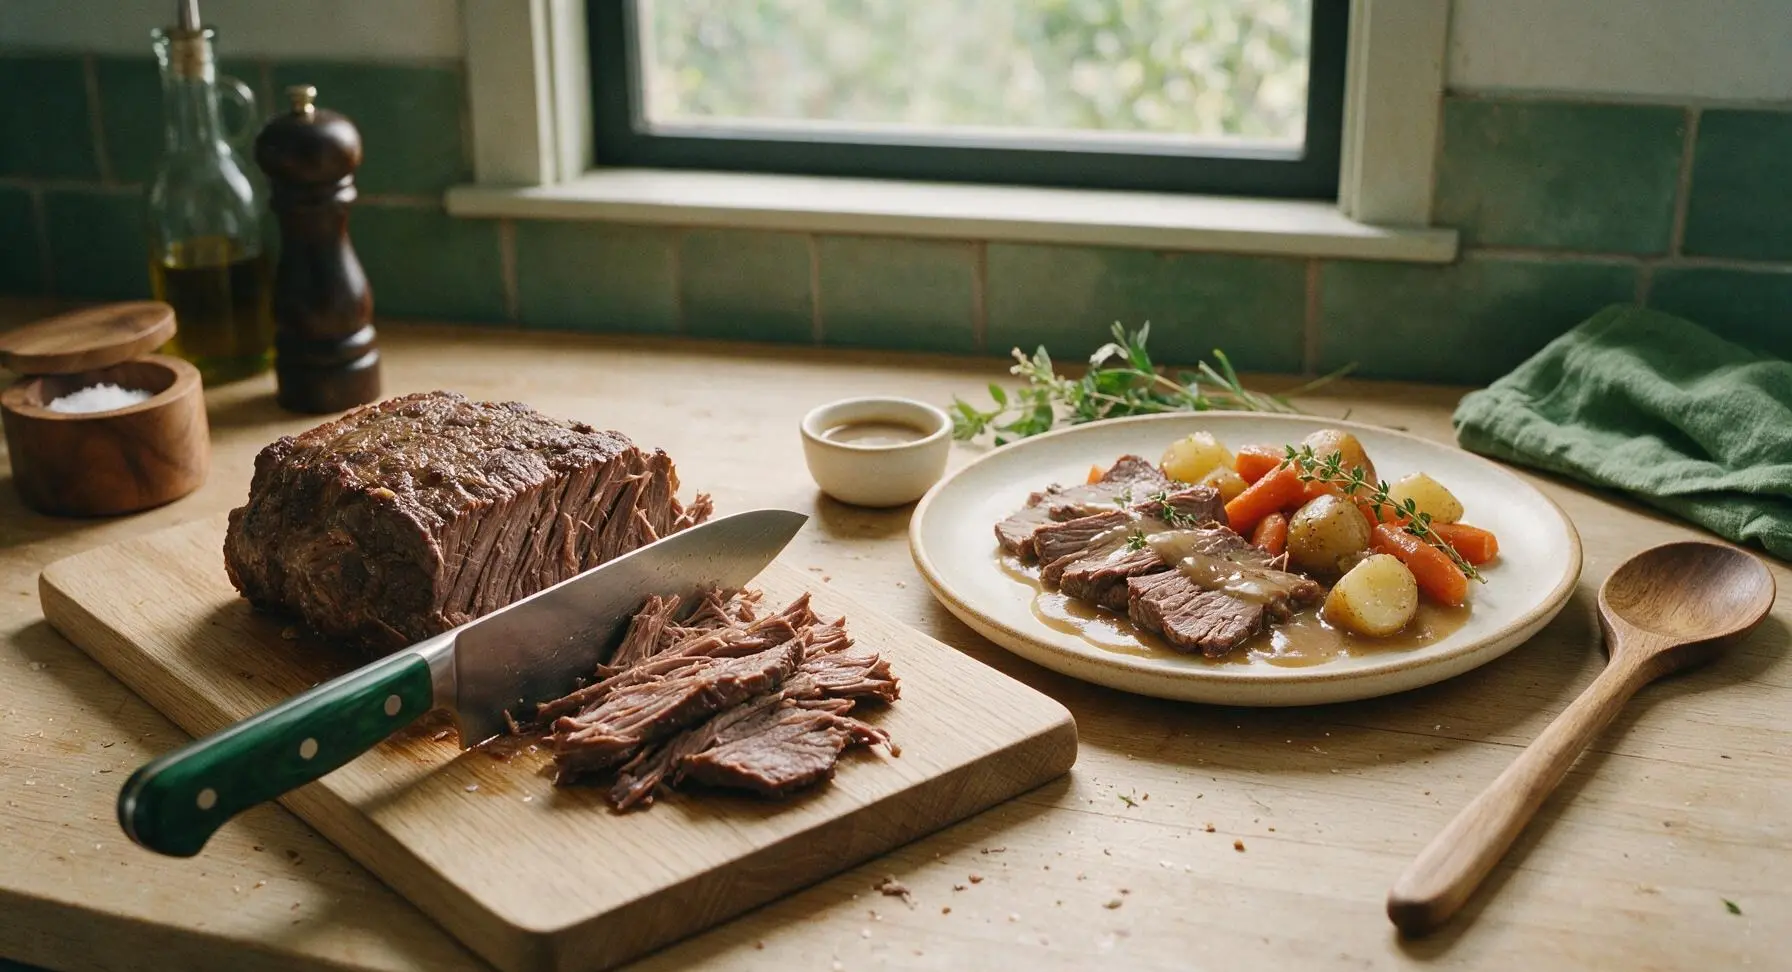
After resting, transfer the roast back to the maple cutting board. Use the chef’s knife to slice the meat against the grain into 1-inch thick slices. Arrange the slices on the matte cream stoneware dinner plate, tuck the braised carrots and potatoes alongside, spoon thickened pan gravy over the meat, and garnish with leaves picked from the remaining thyme sprig. Serve immediately.
Step 7
step7:Slice and Plate Roast

Tips

1.Pat the roast completely dry with paper towels before searing: residual surface moisture will cause the meat to steam instead of developing a deep, flavor-packed crust, which forms the flavorful foundation of the braising liquid.
2.Maintain a steady 325°F (160°C) oven temperature during braising: chuck roast is a tough, connective tissue-heavy cut that requires slow, even heat to break down collagen into silky, tender gelatin; higher temperatures will result in tough, stringy meat.
3.Slice the rested roast against the grain: cutting perpendicular to the long direction of the muscle fibers shortens the fiber length in each bite, making the meat feel noticeably more tender, even when perfectly cooked.


✨ You May Also Like

Main Course
🍜 United Kingdom

A showstopping classic of tender seared beef, savory mushroom duxelles, and crisp prosciutto wrapped in flaky golden puff pastry, baked to juicy perfection.

⏱️ 2 hours 1Main Course ★ 4.7
Main Course
🍜 India

Tender charred marinated chicken simmered in a rich, spiced creamy tomato sauce, this iconic Anglo-Indian curry pairs perfectly with basmati rice or warm naan.

⏱️ 50 minuteMain Course ★ 4.6
Main Course
🍜 Thailand

Classic tangy, sweet, and savory Thai stir-fried rice noodles with shrimp, tofu, and crunchy garnishes, balancing all five core Thai flavor profiles.

⏱️ 30 minuteMain Course ★ 4.5
Main Course
🍜 United Kingdom

Crispy golden beer-battered cod and fluffy double-fried chips, served with tangy tartar sauce and malt vinegar: the timeless, beloved British pub comfort classic.

⏱️ 45 minuteMain Course ★ 4.7
Main Course
🍜 Mexico

Smoky, chile-marinated pork tacos with caramelized pineapple, fresh cilantro, and lime: a beloved classic Mexican street food perfect for casual summer gatherings.

⏱️ 1 hour 45Main Course ★ 4.8
Main Course
🍜 United States

Crunchy Fritos corn chips layered with savory beef chili and melted cheddar, topped with cool, zesty fixings for a beloved, cozy Tex-Mex comfort food.

⏱️ 35 minuteMain Course ★ 4.8

boneless chuck roast:Frequently Asked Questions

1.Why is boneless chuck roast the recommended cut for this recipe instead of other beef roasts? ▾
Boneless chuck comes from the heavily worked beef shoulder, so it packs deep, beefy flavor, generous marbling, and tough connective tissue. Those tough bits melt into silky, rich texture during slow braising, creating that signature fall-apart tenderness you won’t get from leaner cuts like eye of round, which turn dry and stringy with long cooking.
2.How far in advance should I season the roast for the best possible flavor? ▾
For the most even, deep seasoning, coat the roast all over with kosher salt, freshly ground black pepper, and garlic powder 12 to 24 hours before cooking, and rest it uncovered on a wire rack in the fridge. If you’re crunched for time, season right before searing—just don’t skimp, as that seasoning builds flavor for both the beef and gravy.
3.Do I really need to sear the roast before slow braising it, or can I skip that step? ▾
Searing is non-negotiable for rich, layered flavor here. Heat your extra virgin olive oil in a heavy Dutch oven until it shimmers, then brown the roast on all sides until deeply golden. That browning creates savory pan bits called fond, which forms the flavor base of your glossy pan gravy, so don’t rush this step.
4.What oven temperature gives the most tender, fall-apart braised chuck roast? ▾
Stick to a low, steady 325°F (160°C) for oven braising. Cooking at too high a temperature will make the beef proteins seize up and turn tough, even with long cook time. At this gentle heat, connective tissue breaks down gradually without drying out the meat, leaving you with melt-in-your-mouth results every time.
5.Can I make this slow-braised roast in a slow cooker instead of using the oven? ▾
Absolutely! After searing the roast as directed, transfer it to your slow cooker with your autumn root vegetables and braising liquid, then cook on LOW for 8 to 10 hours, or HIGH for 4 to 5 hours. Just simmer the collected pan juices on the stovetop at the end to thicken them into that signature glossy gravy.
6.How do I tell when the roast is done enough to be truly fall-apart tender? ▾
Don’t rely solely on early temperature readings here. Once the roast hits an internal temp of 200 to 205°F (93 to 96°C), test it by sliding a fork or paring knife into the thickest part. It should glide in with zero resistance, and twist easily to pull tender shreds without any tough, chewy bits left.
7.Why does my chuck roast sometimes turn out tough even after hours of slow cooking? ▾
Tough chuck roast almost always traces back to one of two common missteps: either you didn’t cook it long enough for the tough connective tissue to fully melt, or you cooked it at too high a heat. Resist cranking the temp to speed things up, and add extra cook time if it doesn’t pull apart easily when tested.
8.Which autumn root vegetables hold up best for braising alongside the roast? ▾
Sturdy, low-moisture root veggies work best to avoid turning mushy: go for carrots, parsnips, turnips, rutabaga, and 1.5 to 2 inch chunks of Yukon Gold or russet potato. Tuck them around the roast about halfway through cooking so they get tender and soak up braising flavor without dissolving into the liquid.
9.How do I make a smooth, glossy pan gravy without lumps for this roast? ▾
Once you remove the finished roast and veggies from the pan, set the Dutch oven on the stovetop over medium heat. Skim off excess surface fat, then whisk in a thin slurry of cornstarch and cold water as you simmer, stirring constantly, until the gravy coats the back of a spoon. Strain it for extra silkiness if you prefer.
10.Should I keep the roast covered for the entire braising time in the oven? ▾
Keep the roast tightly covered for nearly the whole cook time to trap steam, which keeps the cooking environment moist and helps connective tissue break down evenly. You can crack the lid for the last 20 to 30 minutes if you want the roast top to brown a little deeper, but leaving it fully uncovered will dry the meat out.
11.What’s the best way to store leftovers and reheat them without drying out the beef? ▾
Store cooled leftover roast, veggies, and gravy in a sealed airtight container in the fridge for up to 4 days, or freeze for up to 3 months. To reheat without drying, nestle slices or shreds of beef back into the gravy, cover, and warm gently in a 300°F oven or over low stovetop heat instead of microwaving on high.
12.Can I use a bone-in chuck roast for this recipe if that’s what I already have? ▾
Absolutely—bone-in chuck roast works beautifully here, and the bone will add extra rich, beefy depth to your braising liquid and finished gravy. Just add 30 to 45 minutes of extra cook time to account for the bone slowing heat transfer, and test for that same fork-tender texture before pulling it out to rest.

Comments (8)

2 days ago

OMG this chuck roast came out SO tender I could cut it with a fork! I made it for our Sunday family dinner last weekend and my picky 7 year old asked for thirds. I tossed in some extra carrots and potatoes with the braising liquid and it was perfect. Total game changer for my weekly meal rotation, I’ll be making this for our next potluck for sure!

yesterday

Wait did you sear the roast first like the recipe says? I’m nervous I’ll mess that step up and it won’t get that nice crust!

yesterday

So glad your family loved it! Searing is totally worth the extra 10 minutes – it locks in so much depth of flavor, just make sure your pan is nice and hot before you set the roast down, no need to move it around for 4-5 minutes per side. You’ve got this!

3 days ago

Took me almost 3 and a half hours total because I stopped to let my dog out mid-cook, but wow, that braise was worth every minute. The meat was fall apart tender, and the reduction from the pan juices made the best gravy I’ve ever had at home. Only note is I added a splash of extra red wine because I had an open bottle, no regrets.

2 days ago

Love the red wine addition! The cook time is a guideline, so extra time on low heat won’t hurt it at all – that low and slow braise is what makes it so tender. So glad it turned out well for you!

1 week ago

Made this for meal prep on Sunday and it lasted me all work week! I portioned it out with mashed cauliflower and roasted green beans and it reheated like a dream. No tough, dry roast here – even on day 4 it was still juicy. 10/10, will be making this monthly from now on.

2 hours ago

Wait, has anyone tried making this in a Dutch oven vs a slow cooker? I don’t have a heavy Dutch oven right now and I’m wondering if my crockpot will get the same tender result? The recipe looks so good I don’t want to mess it up!

30 minutes ago

I made it in my slow cooker last month! I seared the roast first on the stovetop then dumped everything in on low for 8 hours, it came out exactly as tender as the recipe says. No issues at all!

5 minutes ago

Great question! You can absolutely make this in a slow cooker – just sear the roast first as directed, then cook on low for 7-8 hours until it pulls apart easily. If you want that thicker braising sauce, just pour the juices into a small pot and simmer on the stovetop for 10 minutes to reduce at the end!

yesterday

First time making a chuck roast ever and I was super intimidated because I thought medium difficulty meant I’d definitely mess it up. Turns out it was way easier than I thought! The steps were super straightforward and the end result tasted like something my grandma would make. My roommates devoured half of it before I even got a second plate lmao

2 hours ago

Same! I was so nervous to try a roast because all my previous attempts came out like shoe leather, but this recipe was foolproof. I’m making it again for my parents when they visit next weekend!

2 weeks ago

Made this for my husband’s birthday dinner and he said it’s better than the prime rib we get at our favorite steakhouse! I paired it with creamy horseradish sauce, roasted garlic mashed potatoes, and roasted asparagus. The whole house smelled amazing for hours while it cooked, 10/10 would recommend.

5 days ago

I was looking for a gluten free Sunday roast recipe that didn’t require weird specialty ingredients and this hit the spot! I used gluten free beef broth and doubled the garlic and thyme, and it was absolutely perfect. My whole family went back for seconds, even my sister who hates beef. So good!

3 days ago

Oh thanks for the gluten free tip! I have celiac and I’ve been searching for a roast recipe that doesn’t use flour to thicken the sauce, this is perfect. Did you do anything extra to thicken the braising liquid without regular flour?

2 days ago

So happy the recipe worked for your gluten free needs! If you want to thicken the sauce without wheat flour, you can mix a tablespoon of cornstarch with two tablespoons of cold water and stir it into the simmering braising liquid for a minute or two until it thickens up perfectly, no gluten needed!

30 minutes ago

I made this last night and the flavor was incredible, but my roast came out a little tougher than I expected? I think I might have cut the braise time short because I was hungry and pulled it out at 2.5 hours instead of 3. Oops! Definitely going to give it another go next week and be patient this time.

5 minutes ago

So sorry it was a little tough on your first try! That low and slow time is key to breaking down the tough connective tissue in chuck roast, so next time let it go until you can easily pull a piece off with a fork – sometimes that takes a little extra time depending on the size of your roast. I know it’s hard to wait when it smells that good, but it’s so worth it!



