
boneless skinless chicken breast air fryer

title 1
boneless skinless chicken breast air fryer
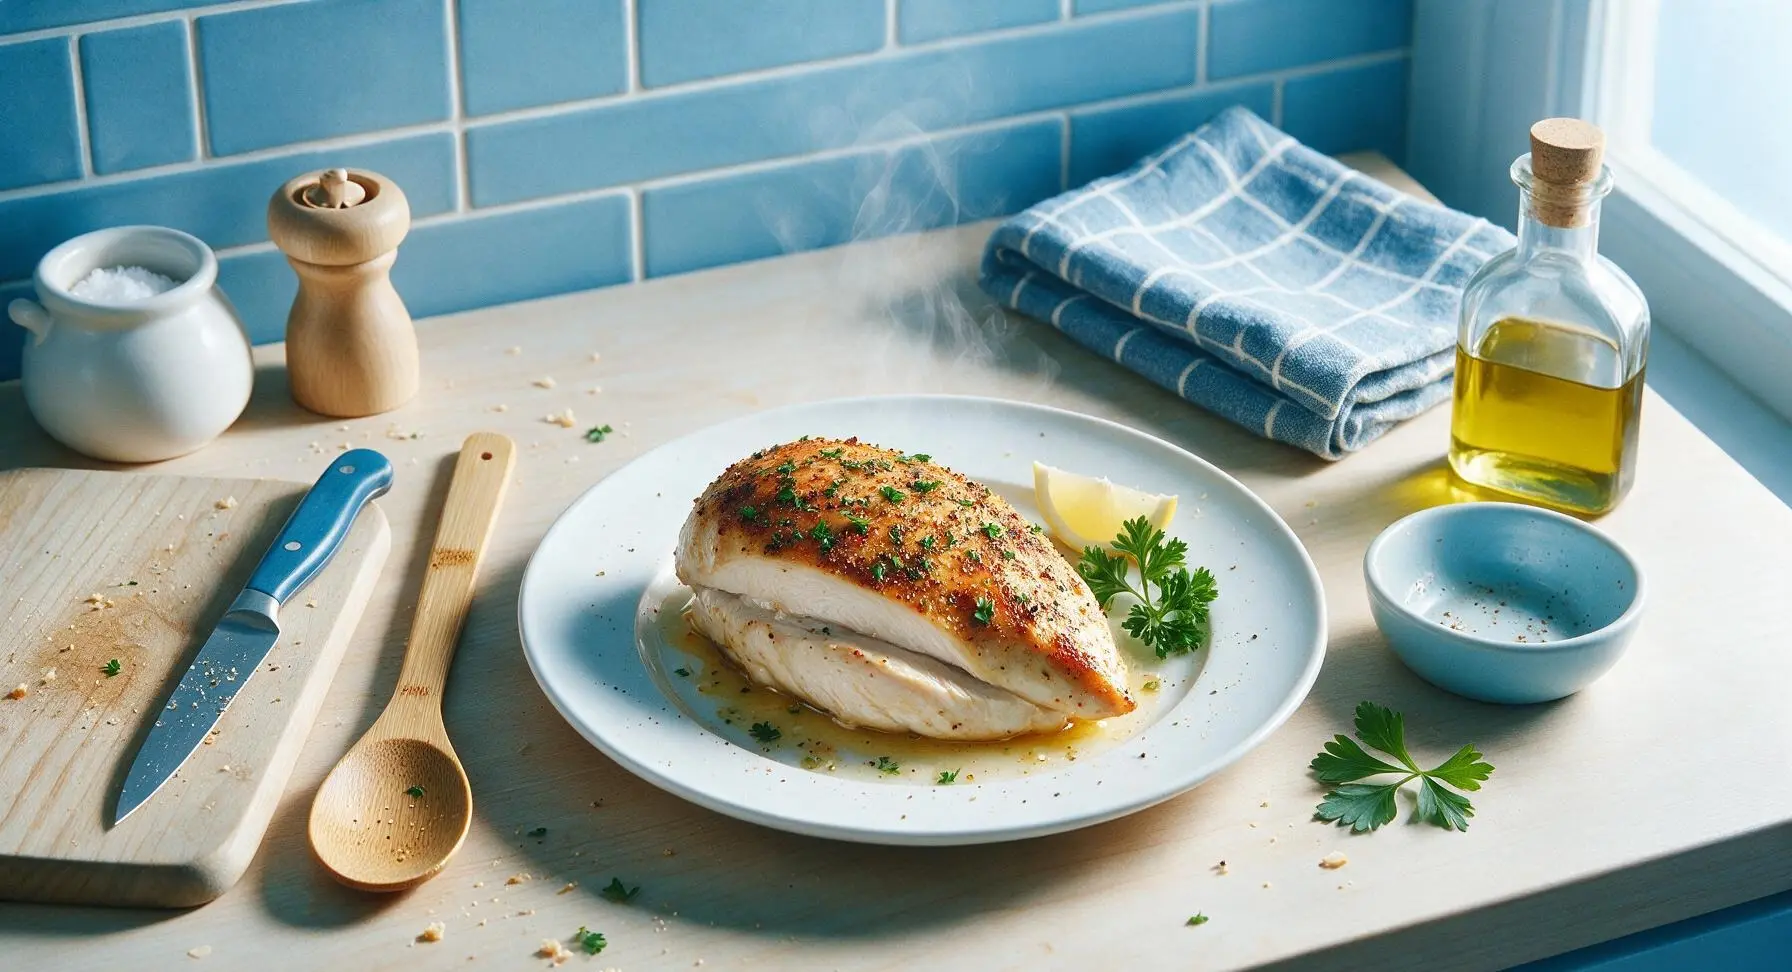
⏱️ cook time 10 minutes
🍽️ servings 4
⚡ Difficulty easy

intro

Juicy, golden seasoned boneless skinless chicken breast made fast in the air fryer—no dry, chalky bits, perfectly tender, versatile for salads, wraps, or quick weeknight plates.

Ingredients
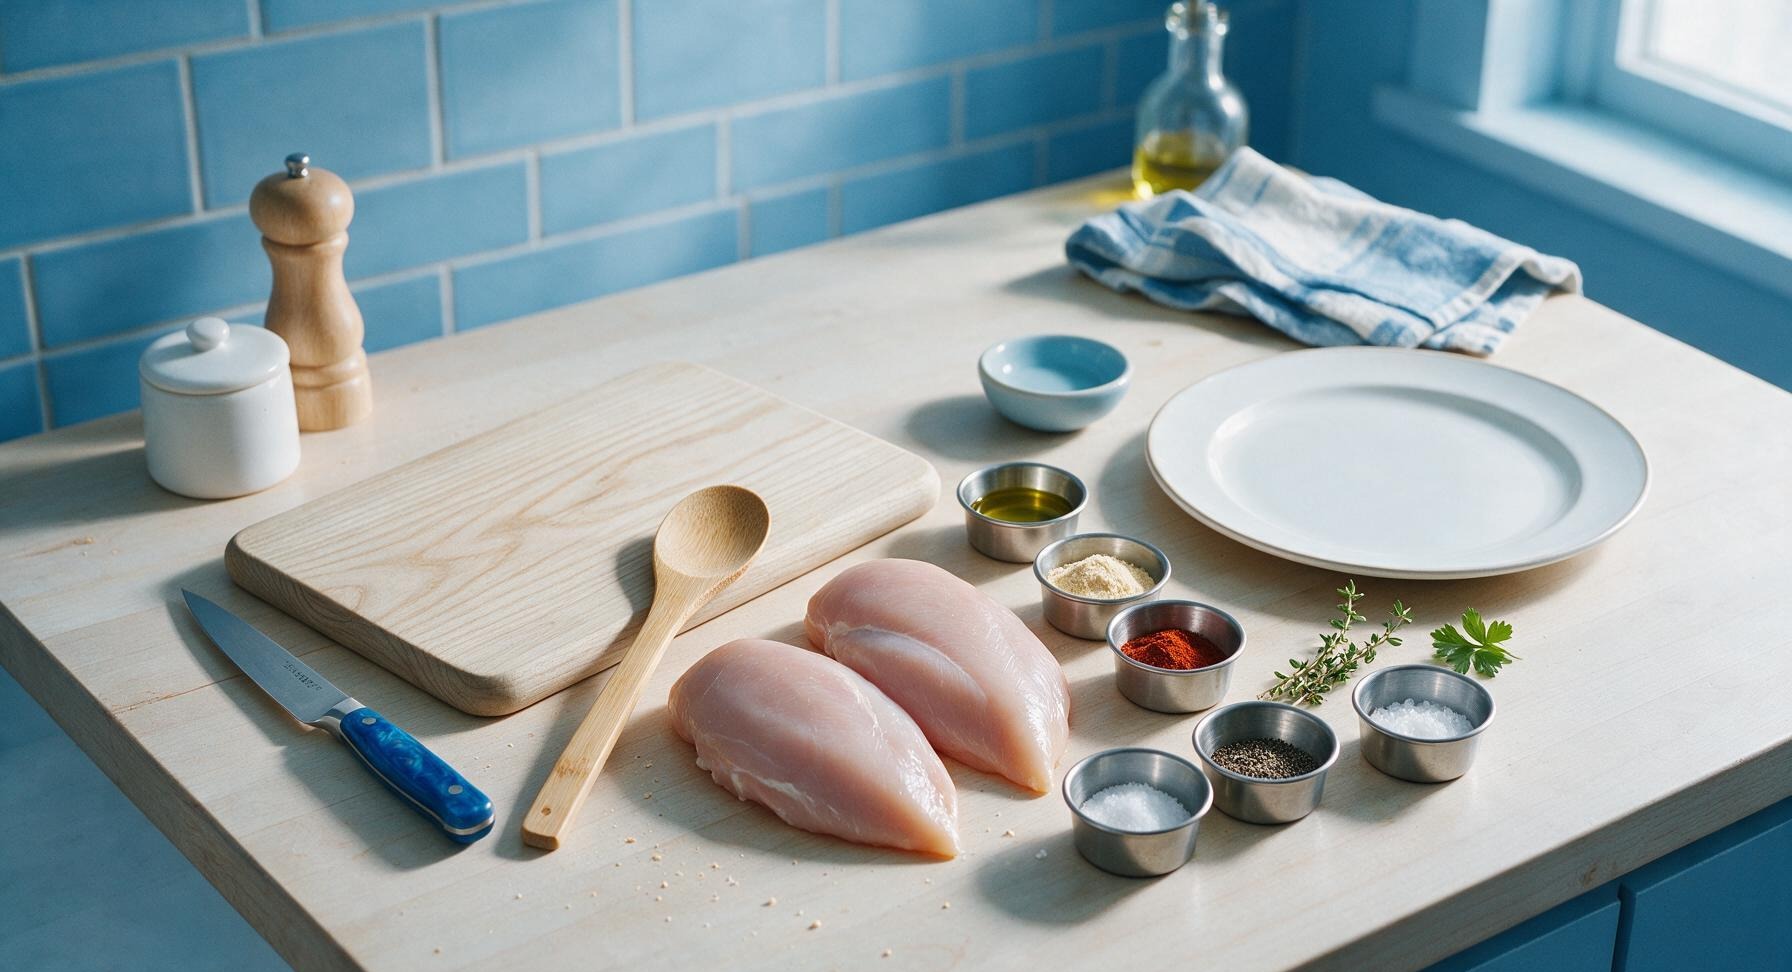
Boneless skinless chicken breasts 600g (2 large, evenly sized)
Extra virgin olive oil 1 teaspoon
Garlic powder 1 teaspoon
Smoked paprika ½ teaspoon
Kosher salt ½ teaspoon
Freshly ground black pepper ¼ teaspoon
Fresh thyme 2 sprigs
Flaky sea salt ¼ teaspoon (for garnish)

Steps

1

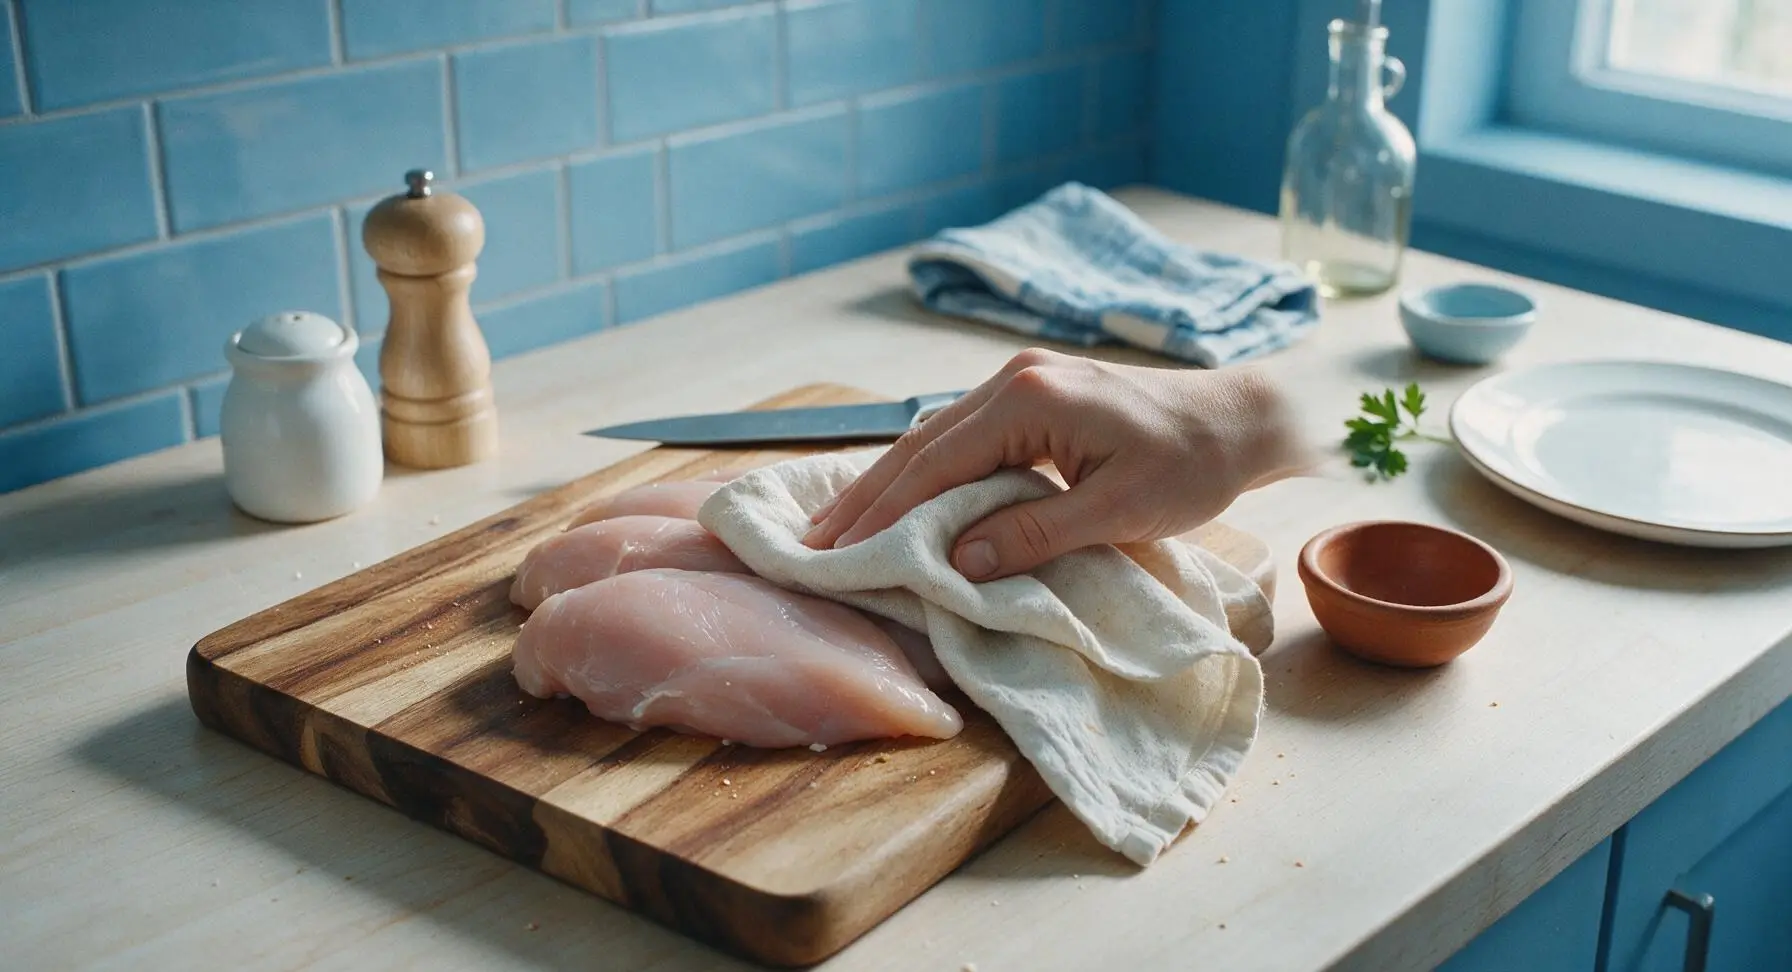
Pat Chicken Dry

Bring the acacia wood cutting board from its vertical stored position to center counter, and retrieve the chef knife from its magnetic wall strip, resting it on the top edge of the board. Move the terracotta pinch bowl from its top right stored position to the right of the cutting board. Place the boneless skinless chicken breasts on the cutting board. Use a corner of the fixed unbleached cotton kitchen towel to pat every surface of the chicken completely dry, paying extra attention to moist crevices and trimmed edges. Pick off and discard any small loose fat pieces as you work; the chicken surface should feel fully matte and dry to the touch, not slimy, to encourage even browning in the air fryer.
Step 1
step1:Pat Chicken Dry
2

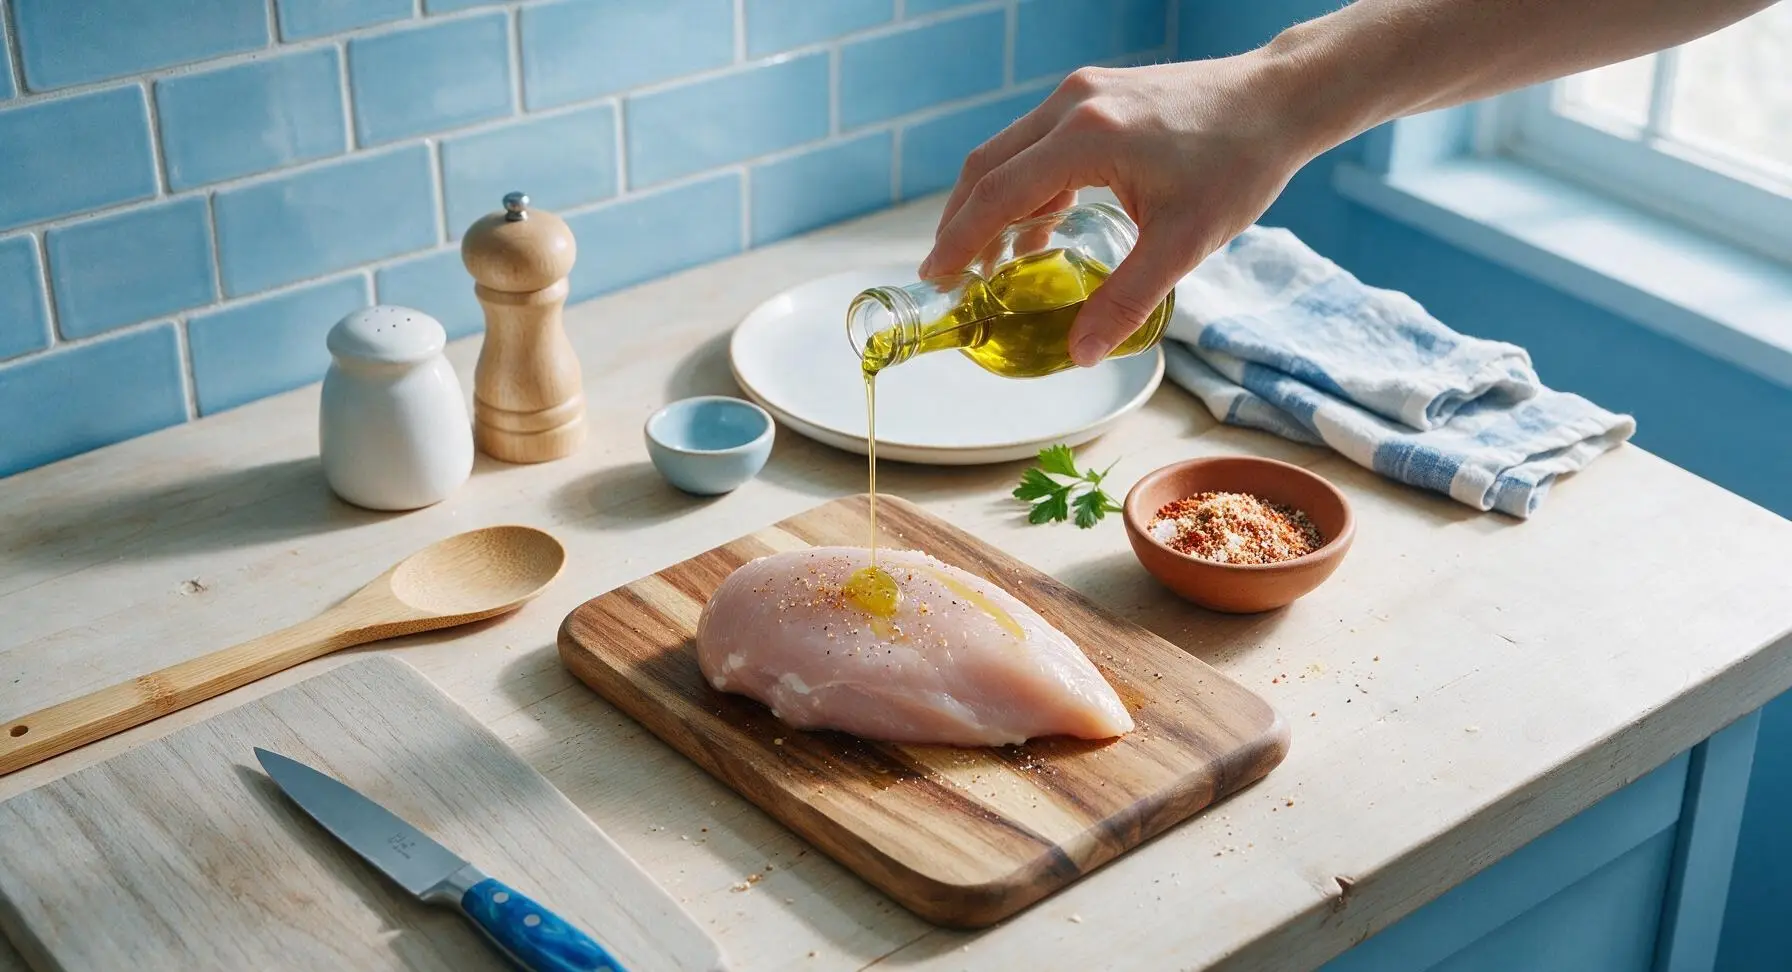
Coat with Seasoning

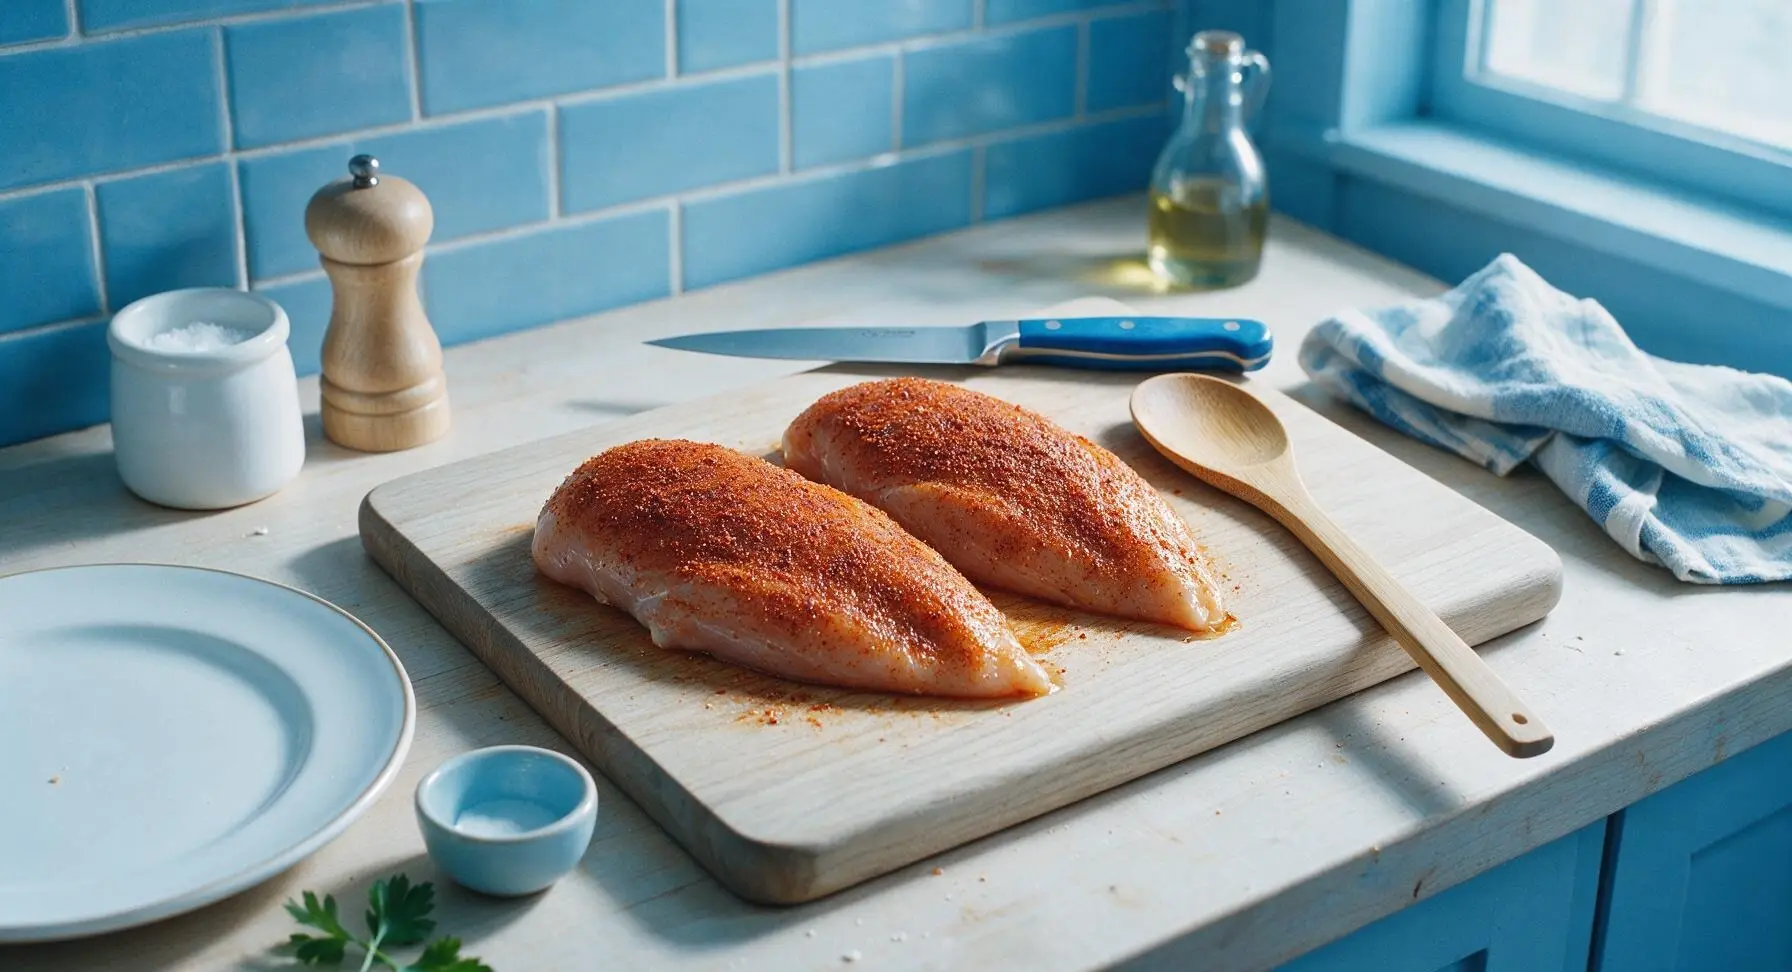
Drizzle 1 teaspoon of extra virgin olive oil over the dried chicken breasts, rubbing with clean hands to coat every surface in a thin, even layer. In the terracotta pinch bowl, mix the garlic powder, smoked paprika, kosher salt, and black pepper until evenly blended. Sprinkle the spice mix over all sides of the chicken, rubbing gently to ensure the seasoning adheres with no clumps or bare spots. You can start preheating the air fryer while you season the chicken to cut down on total wait time.
Step 2
step2:Coat with Seasoning
Step 2
step2:Coat with Seasoning
3

Preheat Air Fryer

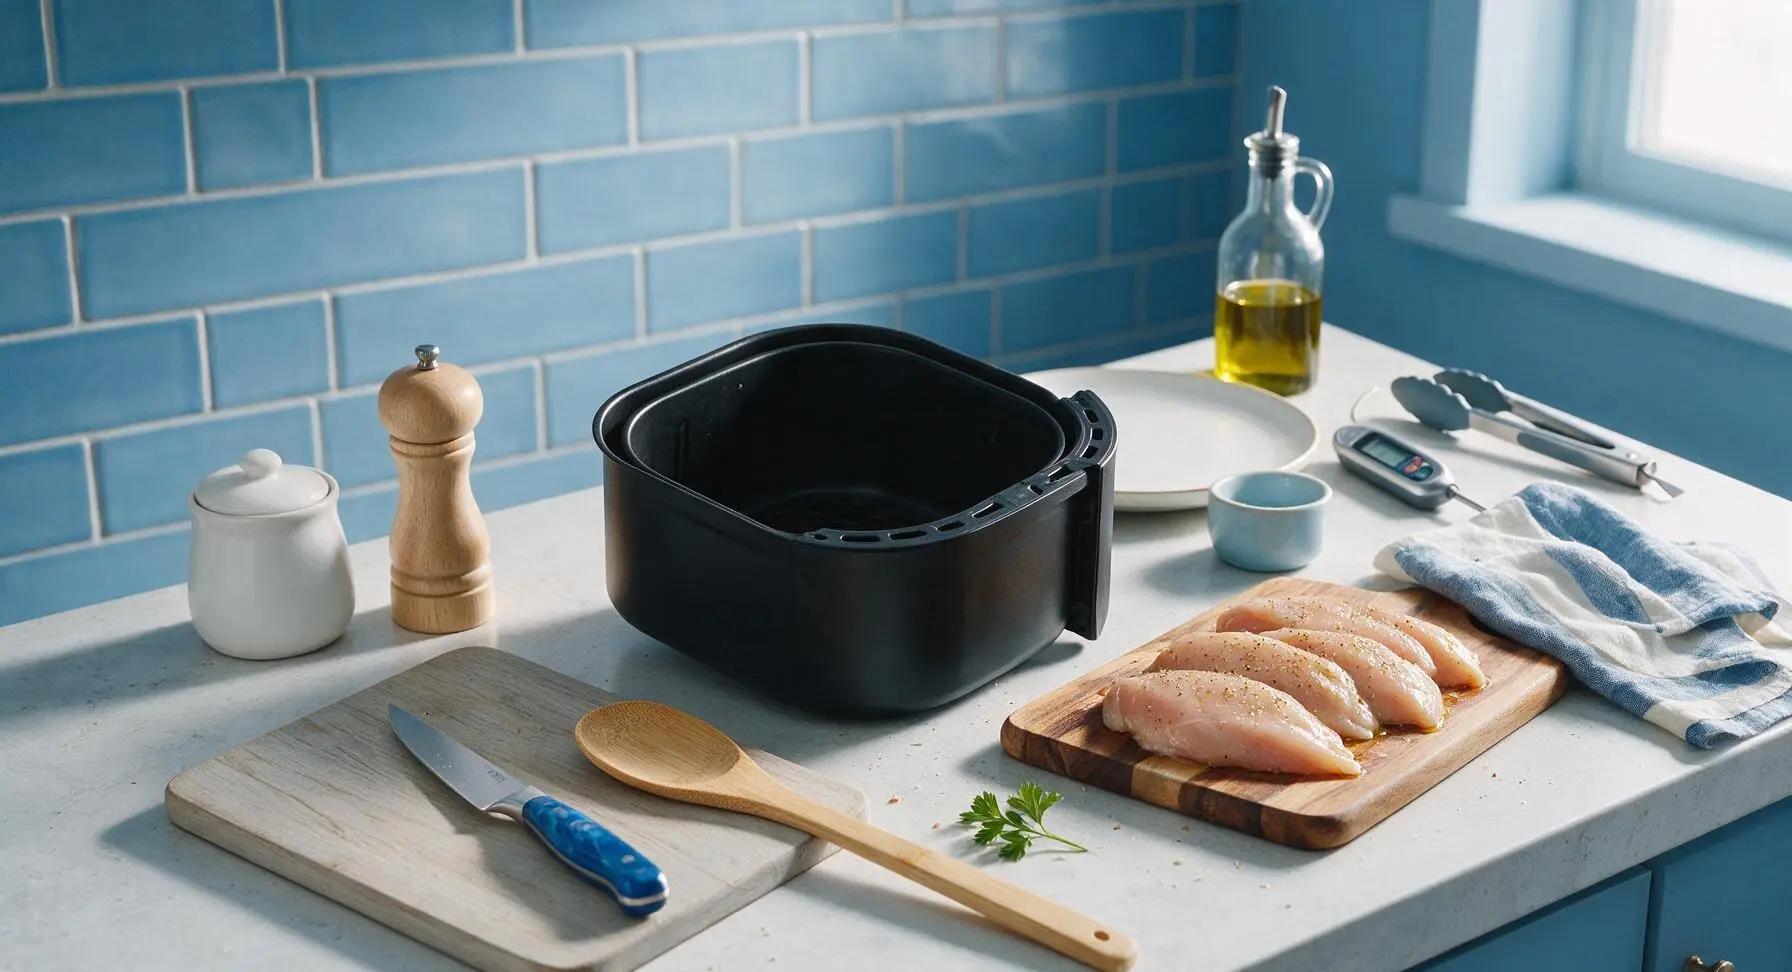
Slide the acacia wood cutting board with seasoned chicken temporarily to the right of center, taking care not to disturb fixed counter props. Pull the matte black air fryer basket forward from its back wall stored position to the center counter. Preheat the air fryer to 380°F (193°C) for 3 minutes. No additional cooking spray is needed, as the thin oil layer on the chicken will prevent sticking.
Step 3
step3:Preheat Air Fryer
4

Load Chicken into Basket

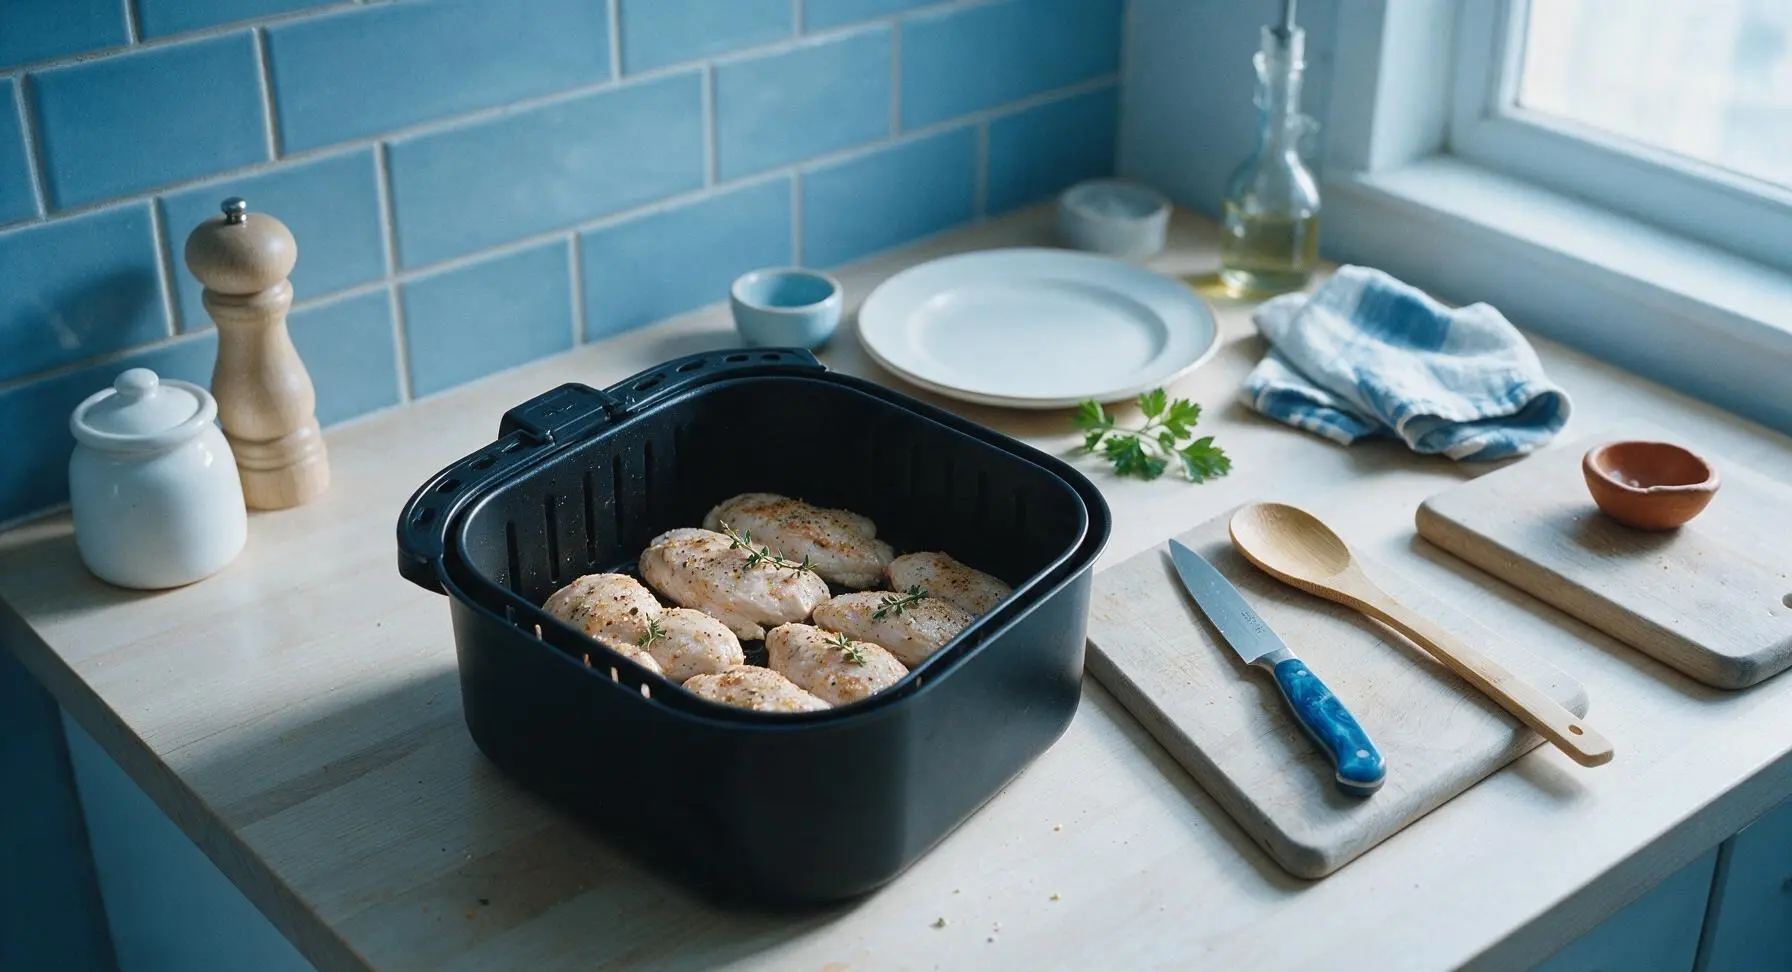
Once the air fryer is preheated, use the silicone-tipped tongs to place the seasoned chicken breasts in a single layer in the air fryer basket, leaving ½ inch of open space between each breast to allow hot air to circulate evenly. Tuck one fresh thyme sprig on top of each chicken breast for subtle, herby aroma. Do not stack or overlap the chicken, as this will cause steaming and uneven cooking.
Step 4
step4:Load Chicken into Basket
5

Cook to Safe Temp

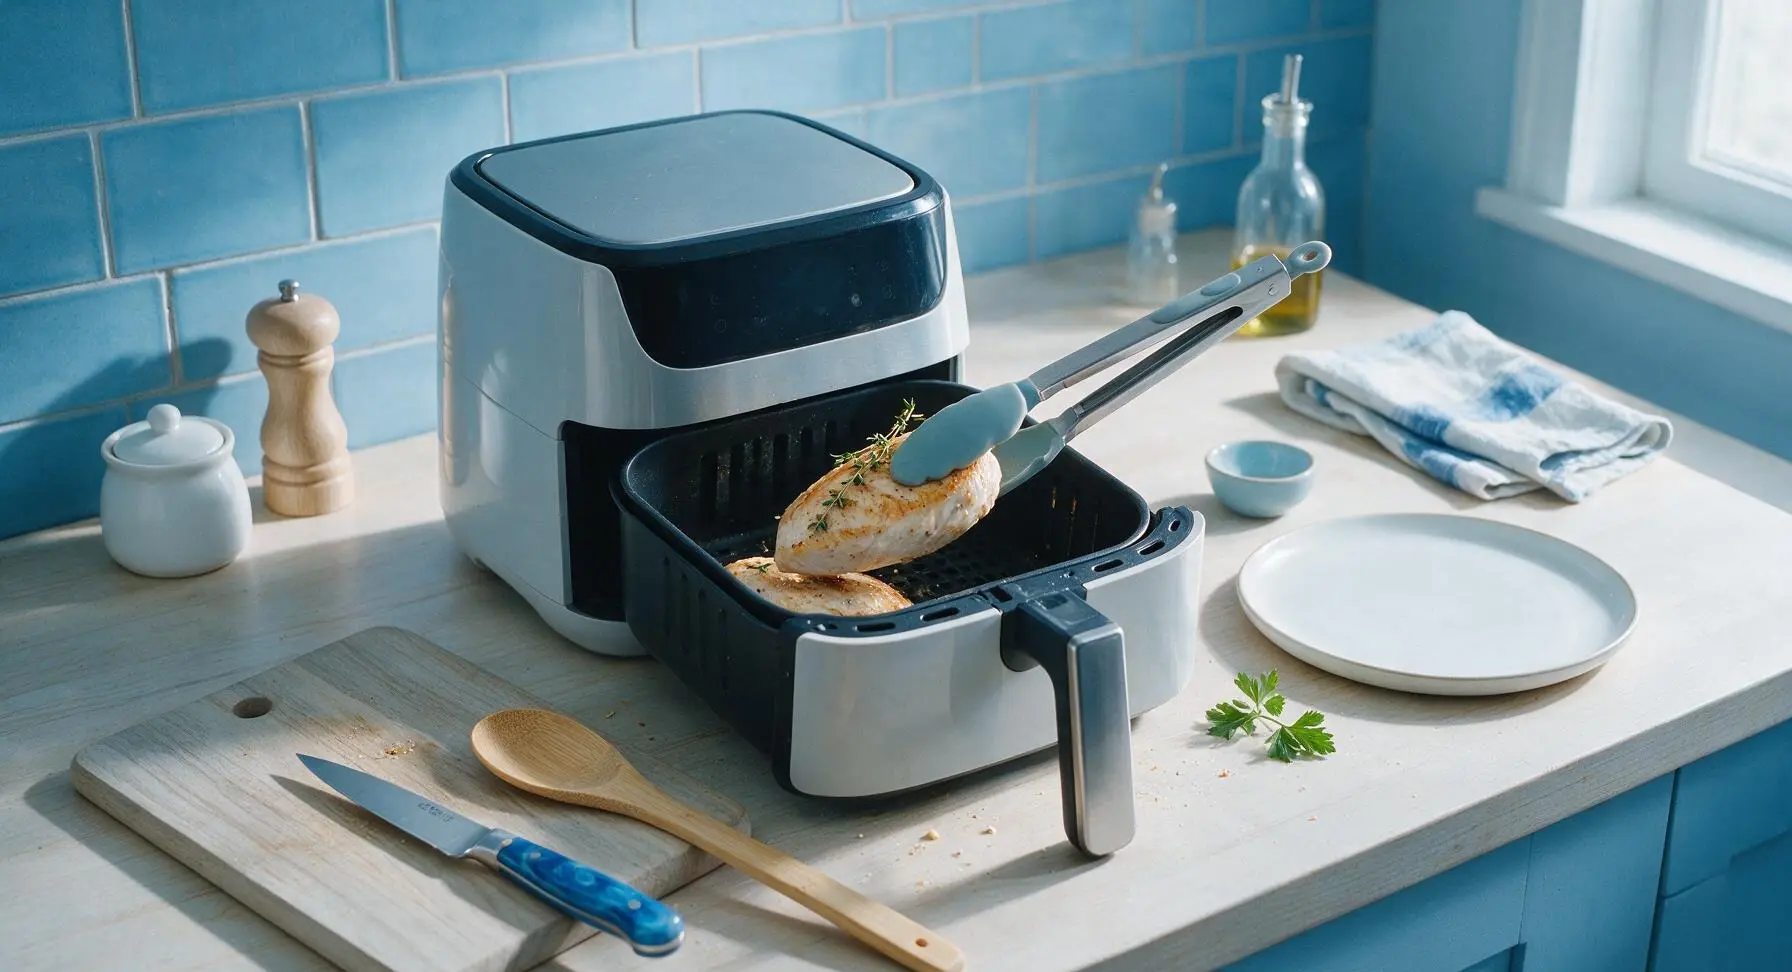
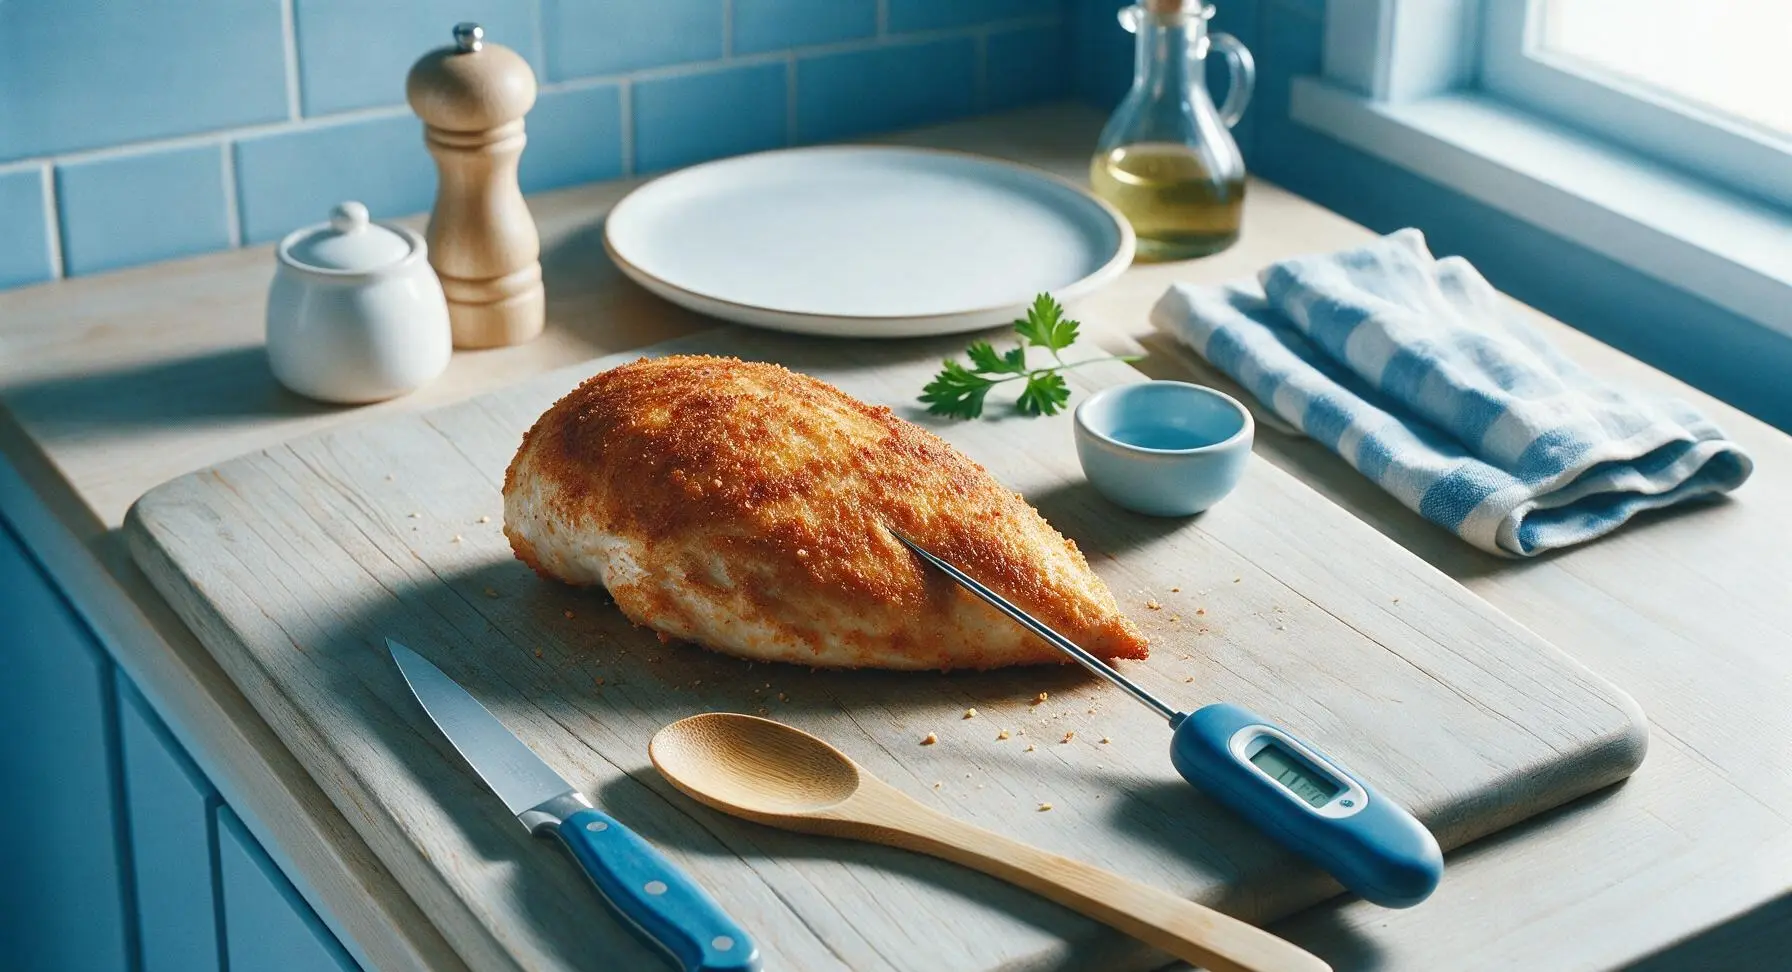
Slide the basket back into the air fryer and cook at 380°F (193°C) for 10 minutes total. At the 5-minute halfway mark, pull the basket out and use the silicone-tipped tongs to flip each chicken breast gently. After the full 10 minutes, insert the digital meat thermometer into the thickest part of the largest breast; the internal temperature should read 160°F (71°C), as carryover cooking will raise it to the food-safe 165°F (74°C) during resting.
Step 5
step5:Cook to Safe Temp
Step 5
step5:Cook to Safe Temp
6

Rest Cooked Chicken

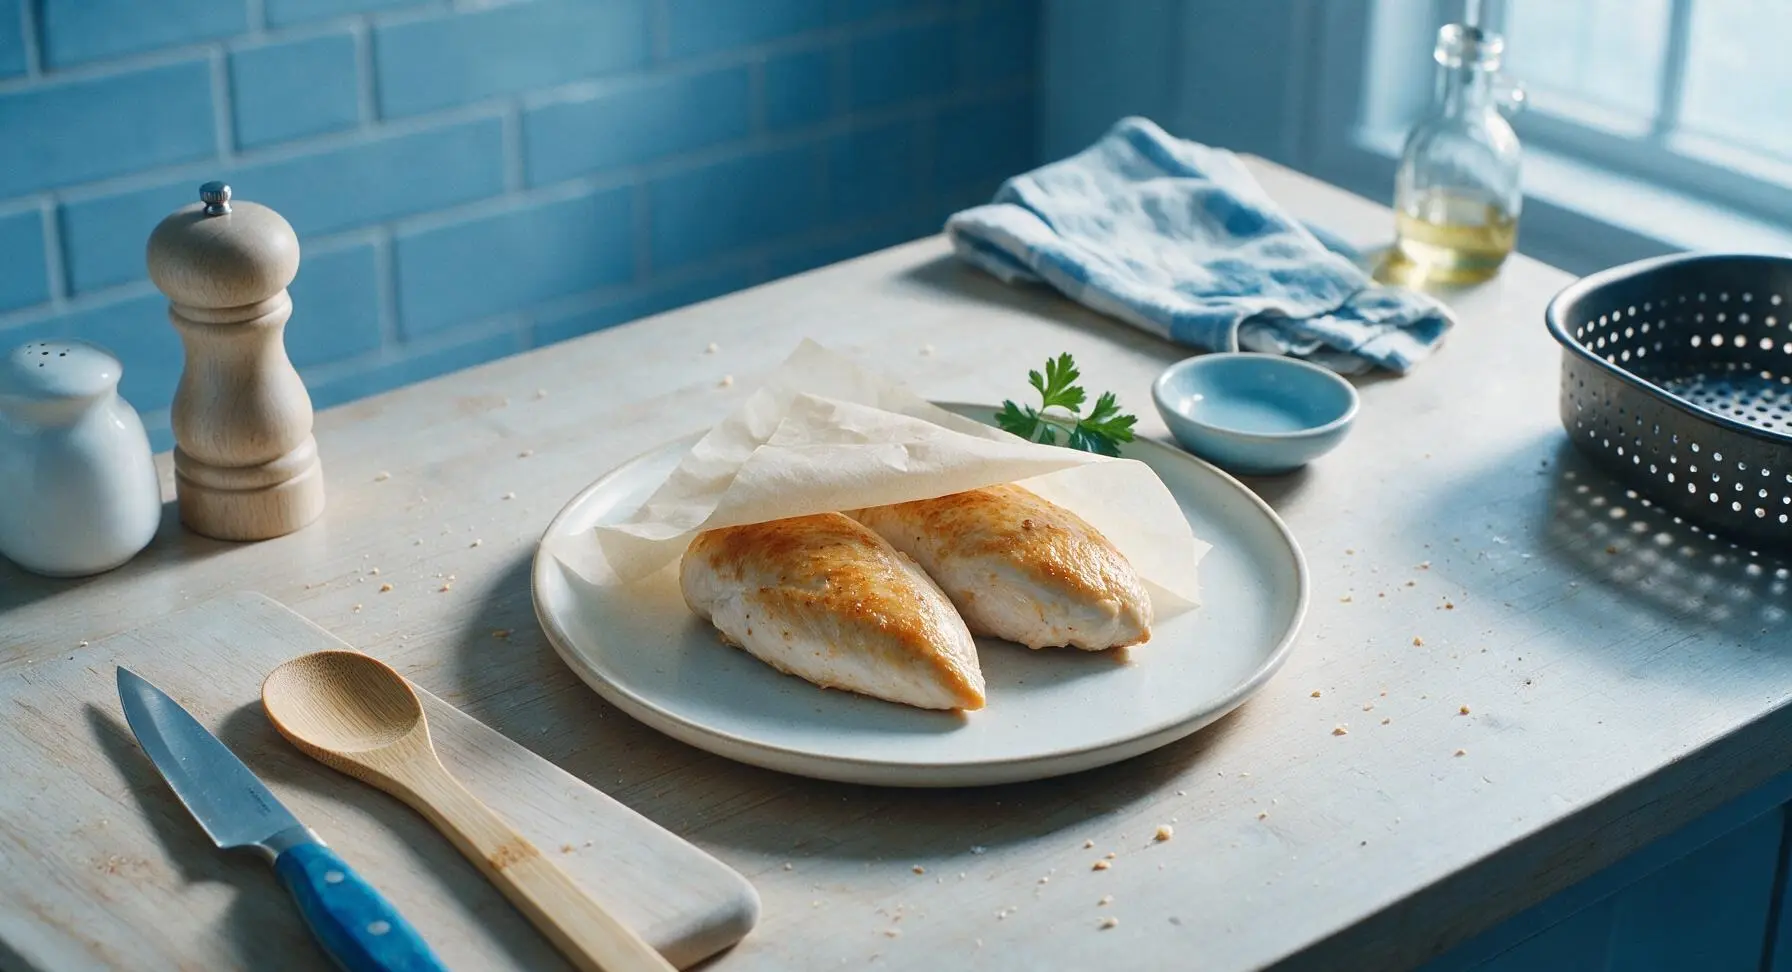
Retrieve the matte warm white ceramic dinner plate from its below-counter stored position and place it at center counter. Use the silicone-tipped tongs to transfer the cooked chicken breasts from the air fryer basket to the plate, then move the air fryer basket to the far right edge next to the cutting board. Loosely tent the chicken with a small sheet of unbleached parchment paper, and let it rest for 3 full minutes to allow juices to redistribute back into the meat fibers, rather than running out when sliced.
Step 6
step6:Rest Cooked Chicken
7

Slice and Garnish

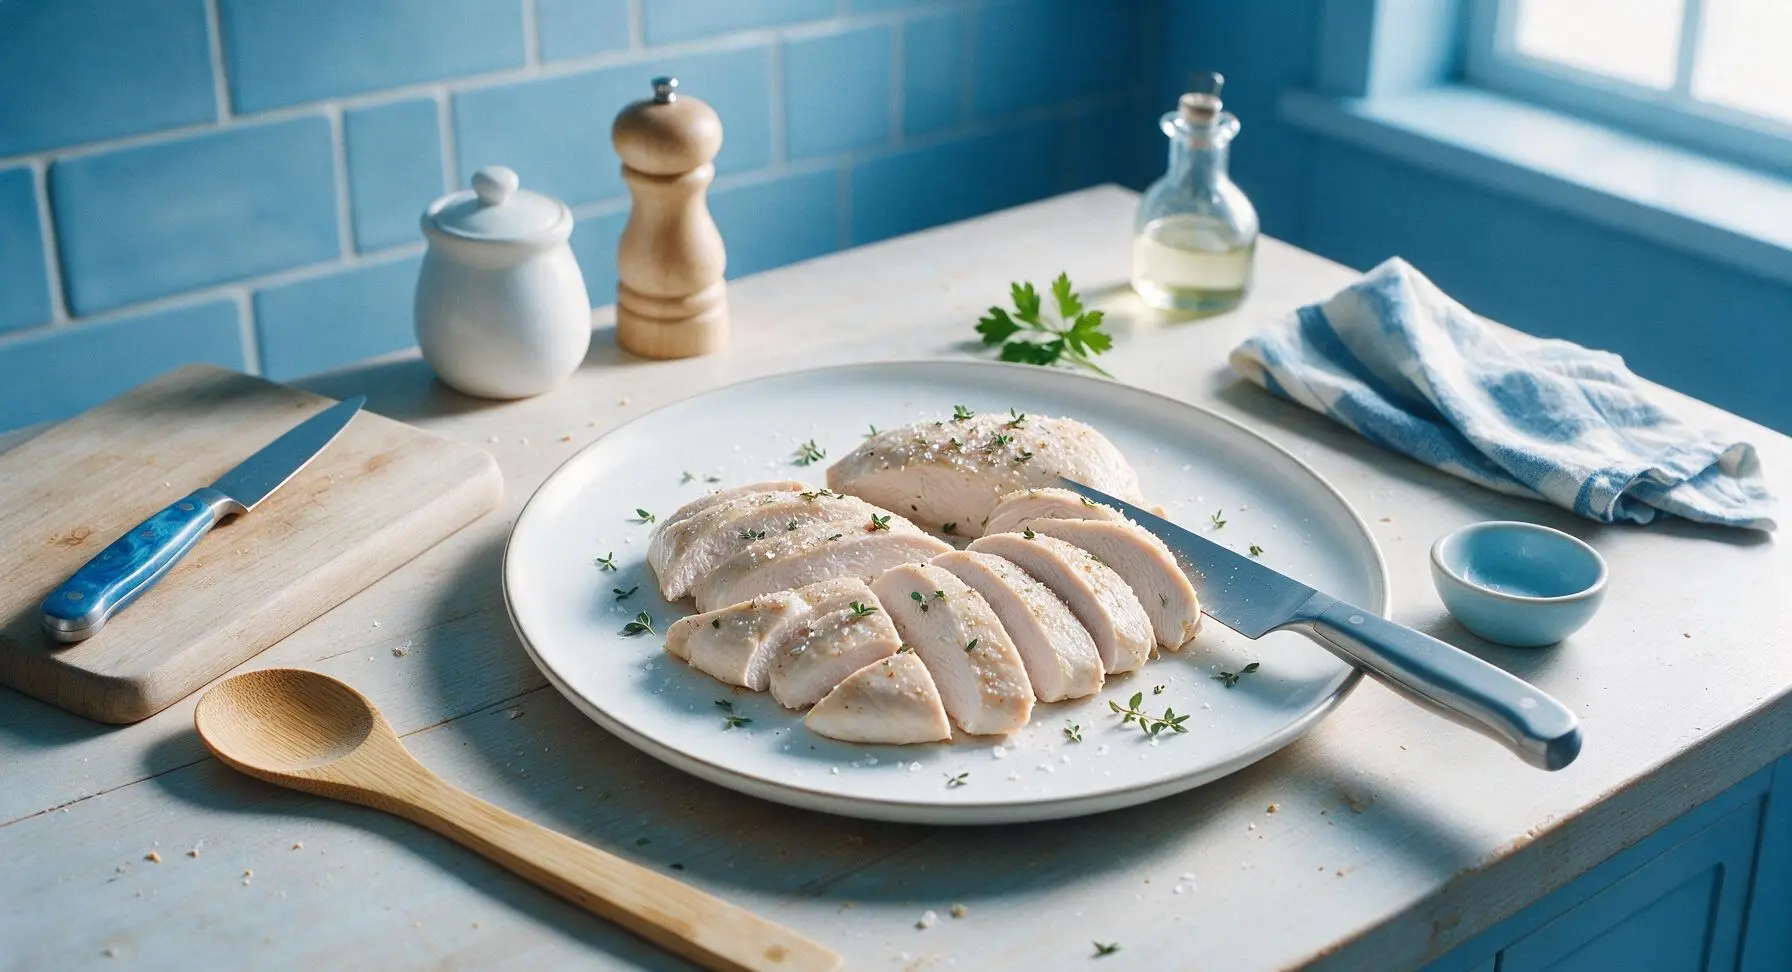
After resting, remove the parchment paper tent. Use the 6-inch stainless steel chef knife to slice the chicken breasts against the grain into uniform ½-inch thick slices. Fan the slices evenly across the plate, sprinkle lightly with flaky sea salt, and scatter a few picked fresh thyme leaves over the top for a bright, fresh garnish.
Step 7
step7:Slice and Garnish

Tips

1.Always pat chicken completely dry before seasoning: excess surface moisture will create steam in the air fryer, leading to a pale, rubbery exterior instead of the light, golden, flavorful crust that makes this recipe feel special.
2.Resist the urge to cook chicken past 160°F (71°C) at removal: carryover cooking will raise the internal temperature to the food-safe 165°F (74°C) as it rests, and pulling it early prevents the dry, chalky texture that plagues most overcooked chicken breast recipes.
3.Never overcrowd the air fryer basket: leaving ½ inch of space between pieces lets hot air circulate evenly for consistent browning and cooking; if making a double batch, cook in two rounds rather than stacking chicken on top of itself.


✨ You May Also Like

Main Course
🍜 United Kingdom

A showstopping classic of tender seared beef, savory mushroom duxelles, and crisp prosciutto wrapped in flaky golden puff pastry, baked to juicy perfection.

⏱️ 2 hours 1Main Course ★ 4.7
Main Course
🍜 India

Tender charred marinated chicken simmered in a rich, spiced creamy tomato sauce, this iconic Anglo-Indian curry pairs perfectly with basmati rice or warm naan.

⏱️ 50 minuteMain Course ★ 4.6
Main Course
🍜 Thailand

Classic tangy, sweet, and savory Thai stir-fried rice noodles with shrimp, tofu, and crunchy garnishes, balancing all five core Thai flavor profiles.

⏱️ 30 minuteMain Course ★ 4.5
Main Course
🍜 United Kingdom

Crispy golden beer-battered cod and fluffy double-fried chips, served with tangy tartar sauce and malt vinegar: the timeless, beloved British pub comfort classic.

⏱️ 45 minuteMain Course ★ 4.7
Main Course
🍜 Mexico

Smoky, chile-marinated pork tacos with caramelized pineapple, fresh cilantro, and lime: a beloved classic Mexican street food perfect for casual summer gatherings.

⏱️ 1 hour 45Main Course ★ 4.8
Main Course
🍜 United States

Crunchy Fritos corn chips layered with savory beef chili and melted cheddar, topped with cool, zesty fixings for a beloved, cozy Tex-Mex comfort food.

⏱️ 35 minuteMain Course ★ 4.8

boneless skinless chicken breast air fryer:Frequently Asked Questions

1.Why does my air fryer boneless skinless chicken breast always turn out dry and chalky? ▾
That almost always comes down to three common missteps: uneven breast thickness, overcooking, or skipping the thin oil coating. For this recipe, pound breasts to a uniform 1-inch thickness, coat lightly with extra virgin olive oil to lock in moisture, and pull it once it hits 165°F internally to avoid that unappetizing chalky texture.
2.Do I need to preheat my air fryer for this recipe? ▾
Yes, preheating for 3 minutes at 375°F makes a huge difference for even cooking and a nice light golden crust. A preheated basket sears the chicken surface immediately when it goes in, rather than letting it slowly steam as the air fryer warms up, which keeps texture tender instead of rubbery.
3.What temperature should I set my air fryer to for perfectly juicy chicken? ▾
Stick to 375°F for this recipe. Higher temps (400°F and up) will overcook the thin outer edges before the center is done, while lower temps take too long and can leave chicken rubbery without that nice lightly crisped, seasoned exterior. 375°F hits the sweet spot for fast, even cooking.
4.How long do I cook 1-inch thick chicken breasts in the air fryer? ▾
For uniform 1-inch thick breasts, cook for 9 to 11 minutes total, flipping halfway through at the 4.5 minute mark. Exact time will vary slightly by your air fryer model, so always rely on an instant-read meat thermometer instead of a strict timer to avoid overcooking.
5.Do I really need to pound my chicken breasts to even thickness? ▾
Absolutely—raw chicken breasts are naturally thicker on one end and tapered on the other, which means the thin end will be dry and overcooked by the time the thick end reaches a safe temp. Pounding to a consistent 1-inch thickness ensures every bite cooks at the same rate for uniform juiciness edge to edge.
6.Can I use other seasonings instead of garlic powder and smoked paprika? ▾
Of course! That garlic powder and smoked paprika blend is a versatile, crowd-pleasing base, but you can swap in onion powder, dried oregano, cumin, chili powder, lemon pepper, or a dash of cayenne for heat. Just keep total dry seasoning to about 1 teaspoon per breast, and don’t skip the kosher salt to build deep, balanced flavor.
7.How do I know when the chicken is done without cutting into it? ▾
The only reliable method is an instant-read meat thermometer inserted into the thickest part of the breast, which should read 165°F. If you cut into it to check, all the hot, juicy juices will run out onto your cutting board, leaving you with drier chicken even if you cooked it perfectly up to that point.
8.Should I let the chicken rest after air frying, and if so, how long? ▾
Yes, let it rest for 5 full minutes on a clean cutting board tented loosely with foil before slicing. This rest time lets the muscle fibers relax and reabsorb all the hot, flavorful juices, so they stay in the chicken instead of running out onto your plate when you cut into it.
9.Can I cook frozen chicken breasts in the air fryer with this recipe? ▾
You can, but you’ll need to adjust the method for food safety and good texture. Skip thawing, add 6 to 8 minutes of cook time at the same 375°F temp, and spritz with a little extra olive oil to help seasoning stick. Texture won’t be quite as juicy as fresh, but it works perfectly for last-minute weeknight meals in a pinch.
10.Why is my seasoning falling off the chicken while it cooks? ▾
That happens if you skip the thin extra virgin olive oil coating, or if you pile dry seasoning directly onto cold, damp chicken without patting it dry first. Pat breasts dry with paper towels before tossing with oil, then add garlic powder, smoked paprika, and salt—this creates a sticky base that locks seasoning to the surface instead of letting it blow around the basket.
11.Do I need to line my air fryer basket with parchment paper or foil for this recipe? ▾
I don’t recommend it for this chicken, because liners block the hot air circulation that creates even browning and crispness. If you’re worried about cleanup, give the basket a quick light spritz of nonstick spray before adding chicken, and stuck-on bits will wipe right off with warm, soapy water once the basket cools.
12.Can I meal prep this chicken to eat throughout the week? ▾
Absolutely! This chicken is ideal for meal prep. Let cooked breasts cool completely, then store them in an airtight container in the fridge for up to 4 days. Slice it cold right before adding to salads, wraps, grain bowls, or reheat slices gently in the air fryer at 350°F for 2 minutes to avoid drying it out.
13.What size chicken breasts work best for this recipe? ▾
Aim for 6 to 8 ounce boneless skinless breasts, which are the ideal size for even cooking at 1-inch thickness. If your breasts are extra large (10+ ounces), slice them horizontally into two thinner cutlets before pounding, rather than trying to cook one giant thick breast that will dry out on the outside before the center cooks.
14.My air fryer is a small 2-quart basket model—do I need to adjust cook time? ▾
Smaller air fryers often run hotter and have more concentrated air flow than larger models, so drop the temp to 360°F and check for doneness 2 minutes earlier than the recommended 9 to 11 minute window. Never stack chicken in a small basket; cook in batches if needed so pieces have at least ½ inch of space around them for air flow.
15.Can I add a sauce or marinade to this chicken without making it soggy? ▾
You can, but hold off on wet sauces until the last 2 minutes of cook time. If you add barbecue sauce, teriyaki, or other wet marinades at the start, the high air flow will burn the sugar in the sauce before the chicken cooks through, leaving you with a soggy, sticky mess instead of a nice coated finish.
16.Is it necessary to flip the chicken halfway through cooking? ▾
Yes, flipping halfway ensures both sides get even exposure to the circulating hot air, so you get consistent light browning on top and bottom instead of one pale, soggy side and one overcooked side. You don’t need to flip constantly—one quick flip at the midway point is all you need for great results.
17.Why is my chicken coming out rubbery instead of tender? ▾
Rubbery texture almost always comes from cooking at too low a temperature for too long, or overcrowding the basket so the chicken steams instead of sears. Make sure your air fryer is fully preheated, leave ½ inch of space between each oiled, seasoned breast, and don’t cook past 165°F internal temp to keep texture tender, not tough.
18.Can I use chicken tenderloins instead of full breasts with this seasoning? ▾
Definitely! Chicken tenderloins are thinner, so adjust cook time to 6 to 8 minutes total at 375°F, flipping halfway. Keep the same extra virgin olive oil and garlic powder, smoked paprika, and salt ratio, pull them once they hit 165°F internally, and they make great quick snacks, salad toppers, or kid-friendly servings.
19.How do I keep the chicken from sticking to the air fryer basket? ▾
First, make sure your basket is fully preheated before adding the chicken—cold food sticks to cold metal far more easily. You can also give the preheated basket a very light spritz of olive oil spray before laying the seasoned breasts in a single layer, and avoid moving the chicken for the first 4 minutes while the surface sears and releases naturally.
20.What’s the best way to reheat leftover air fryer chicken so it doesn’t dry out? ▾
Skip the microwave, which turns chicken rubbery and chalky. Reheat slices in your air fryer at 350°F for 2 to 3 minutes, or in a dry skillet over medium-low heat for 2 minutes per side, until just warmed through. You can also toss cold sliced chicken directly into warm wraps, salads, or pasta dishes without reheating for easy meals.

Comments (15)

1 week ago

OMG this is a total game changer for my Sunday meal prep! I’ve tried so many air fryer chicken breast recipes that come out dry as cardboard, but these were perfectly juicy in literally 10 minutes? I seasoned them with garlic powder, paprika, and a little cayenne, and they were chef’s kiss. My husband even asked if I picked them up from the grocery store deli! Will be making this every week for sure.

5 days ago

Wait how thick were your chicken breasts? I always struggle with uneven cooking when mine are super thick!

3 days ago

Great question! I recommend pounding thicker breasts to an even 1-inch thickness before cooking to make sure they cook evenly in that 10 minute window, no raw spots and no dried out edges!

2 days ago

SO good! I threw this together last night for a quick weeknight dinner when I forgot to defrost anything (thank god for thin cut chicken breasts in the freezer!) and all three of my kids ate it without complaining. That’s a 5 star win in my book, no notes. Served it with roasted broccoli and mac and cheese, perfect easy family dinner.

yesterday

Love that this saved your weeknight dinner! It’s the perfect throw-together meal for those chaotic evenings with little ones, so glad your crew enjoyed it 😊

5 days ago

Took this to a neighborhood potluck last weekend, cut the cooked breasts into slices and served them with a side of honey mustard for dipping, and people were asking me for the recipe all night! Who knew boneless skinless chicken could be this much of a crowd pleaser? The 10 minute cook time meant I didn’t have to spend all afternoon in the kitchen before the party too. Total win.

3 days ago

Wait, mine came out a little rubbery? Did I do something wrong? I followed the temp setting I think? I set my air fryer to 400 like the recipe said, cooked 10 minutes, flipped halfway. Maybe my chicken was too cold straight from the fridge?

2 days ago

I had that happen once too! Turns out I was overcrowding the basket, I was cooking 3 huge breasts at once instead of 2. When I did them in batches they were perfect!

yesterday

So sorry they turned out rubbery! Erin’s tip about not overcrowding the basket is spot on — air needs to circulate all around the chicken to get that perfect juicy texture. Also, double check that your air fryer is properly calibrated, some run a little hot which can overcook the outer layer fast!

30 minutes ago

As someone who barely knows how to boil water, this was so easy to make! No fancy ingredients, no complicated steps, done in 10 minutes. Way better than the sad frozen chicken patties I’ve been living off of all semester. Already texted the recipe to all my roommates.

2 weeks ago

I was skeptical about air fryer chicken — I’ve always baked mine in the oven for 25 minutes, why would this work in 10? But my granddaughter talked me into trying it, and I’ll be darned, it was the juiciest chicken breast I’ve ever made! No dry bits at all. Even my old 2019 air fryer cooked it perfectly. I’m a convert.

1 week ago

My grandma is the exact same way, she swears by her oven for everything! I’m gonna show her this comment to convince her to try it, thanks for sharing!

yesterday

This is perfect for my high protein meal plan! 10 minute cook time means I can make a batch after my morning gym session without being late for work. I season mine with lemon pepper and a little oregano, and it’s never dried out on me after 4 straight weeks of making it. So glad I found this recipe.

2 hours ago

That’s such a good lemon pepper seasoning idea! So happy this fits into your routine and makes post-gym meals a little easier.

1 week ago

I sliced these up after cooking to make chicken tacos for taco night last week, tossed them with a little taco seasoning right after they came out of the air fryer, and they were insane. Way better than the ground beef I usually make, and so much faster. My partner already requested we do chicken tacos every other week now.

5 minutes ago

Quick question — can I prep the seasoned chicken in the fridge a day ahead and then just pop it in the air fryer when I get home from work? That would make my evenings so much smoother if I don’t have to season it after a long day.

just now

I do this all the time! I season 4 breasts on Sunday, keep them in an airtight container, and cook one each night when I get home. Works perfectly, no issues with texture!

just now

Great question! Pre-seasoning the chicken a day ahead works wonderfully, the flavors actually sink in even better that way. Just make sure you don’t leave it seasoned for more than 24 hours to keep the texture perfect.

3 days ago

I usually only cook chicken thighs because I can never get breasts right, but I decided to give this a shot when my sister came over for dinner who only eats white meat. Let me tell you, even I was shocked how juicy these were! No chalky, dry texture at all. I might actually start buying breasts more often now.

2 days ago

Same here! I was a total thigh stan before this recipe, now I make both depending on what I’m in the mood for. Game changer for real.

2 hours ago

Wait, do you spray the basket with oil? I’ve made this twice now, once with spray and once without, and both were good but I couldn’t tell a huge difference. Just curious what the official recommendation is!

30 minutes ago

I used a little olive oil spray on mine because I was scared it would stick, and it came out great. Didn’t try without though!

5 minutes ago

Great question! A light spritz of oil on the basket helps prevent sticking and gives the seasoning a little something to adhere to, but if your air fryer has a good non-stick basket you can totally skip it if you prefer, no big impact on juiciness either way!

yesterday

Made these for my book club potluck earlier this week, sliced them thin and put them on a salad platter, and every last piece was gone by the end of the night. Multiple people asked for the recipe, I sent them all the link! So easy, so tasty, zero stress. 10/10

1 week ago

Game. Changer. I’ve been meal prepping chicken for years and always hated how dry it gets by day 3 in the fridge. I made this batch on Sunday, ate a piece every day for lunch this week, and even on Wednesday it was still juicy! How is that even possible? I didn’t change a thing, just followed the recipe exactly. So impressed.

5 days ago

Wait really? Mine usually gets dry by day 2! Did you let it rest before slicing it? I always skip that step, maybe that’s my problem.

3 days ago

Letting the chicken rest 3-5 minutes after cooking lets the juices redistribute, which helps it stay juicy even when you store it for meal prep! That’s the secret to not having sad dry chicken mid-week.

2 days ago

I added a little cajun seasoning to mine before cooking, and it was so flavorful! The cook time was spot on, no pink in the middle, no dry edges. Served it with rice and roasted green beans, and my boyfriend said it’s better than the chicken we get at our favorite Cajun restaurant. High praise!

yesterday

Cajun seasoning sounds like such a delicious swap! I love that you made it your own, and that it got such a great review from your boyfriend — that’s the best compliment!

30 minutes ago

Just got my first air fryer last week and this was the first recipe I tried! I was so nervous I’d mess it up, but it was so easy, and the chicken came out perfect on the first try. My mom was over for dinner and she couldn’t believe I made it in 10 minutes. I feel like a real cook now, lol.

5 minutes ago

Welcome to the air fryer club! This recipe is such a great starter, you’re gonna love how much time it saves you on weeknight meals. So happy your first try turned out well!



