
chicken in the air fryer

title 1
chicken in the air fryer
⏱️ cook time 25 minutes
🍽️ servings 4
⚡ Difficulty easy

intro

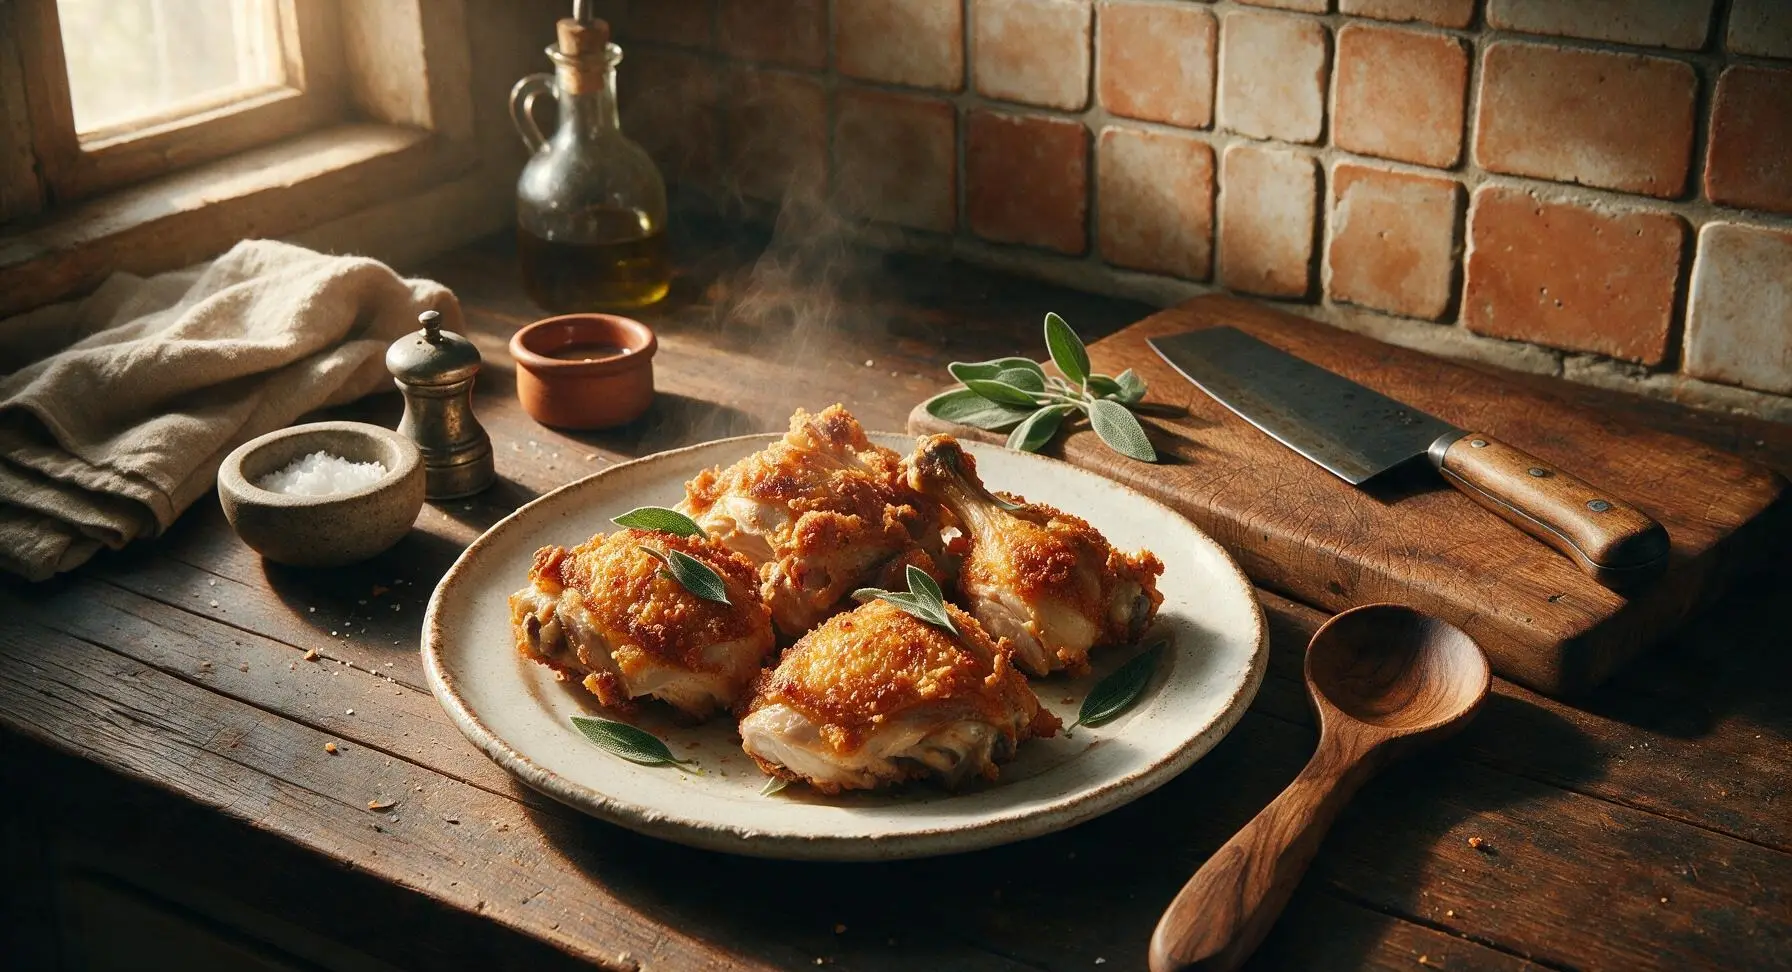
Shatteringly crisp golden skin, juicy tender meat, and zero deep frying—this simple air fryer chicken comes together fast for a satisfying, no-fuss weeknight main.

Ingredients
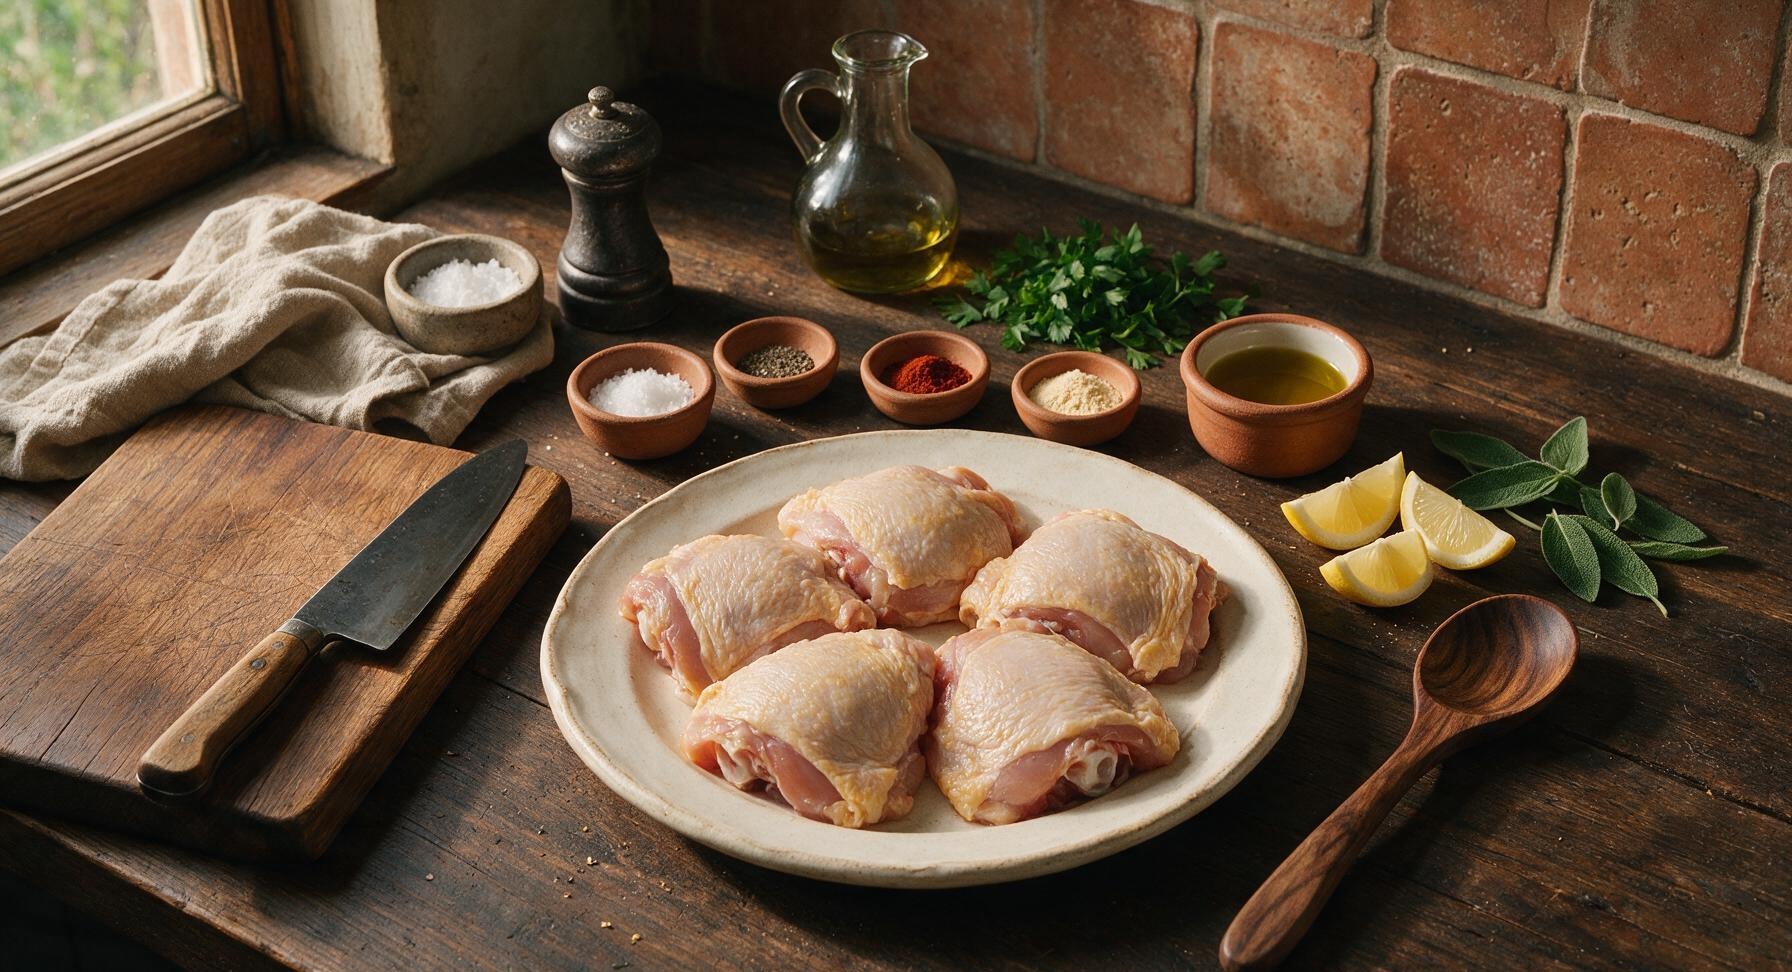
Bone-in, skin-on chicken thighs 1.5 lbs (4 large pieces, patted dry)
Extra virgin olive oil 1 teaspoon
Kosher salt 1 teaspoon
Freshly ground black pepper 1/2 teaspoon
Smoked paprika 1/2 teaspoon
Garlic powder 1/2 teaspoon
Fresh flat-leaf parsley 2 tablespoons (chopped, for garnish)
Lemon 1 small (cut into 4 wedges, for serving)

Steps

1

Pat Chicken Completely Dry

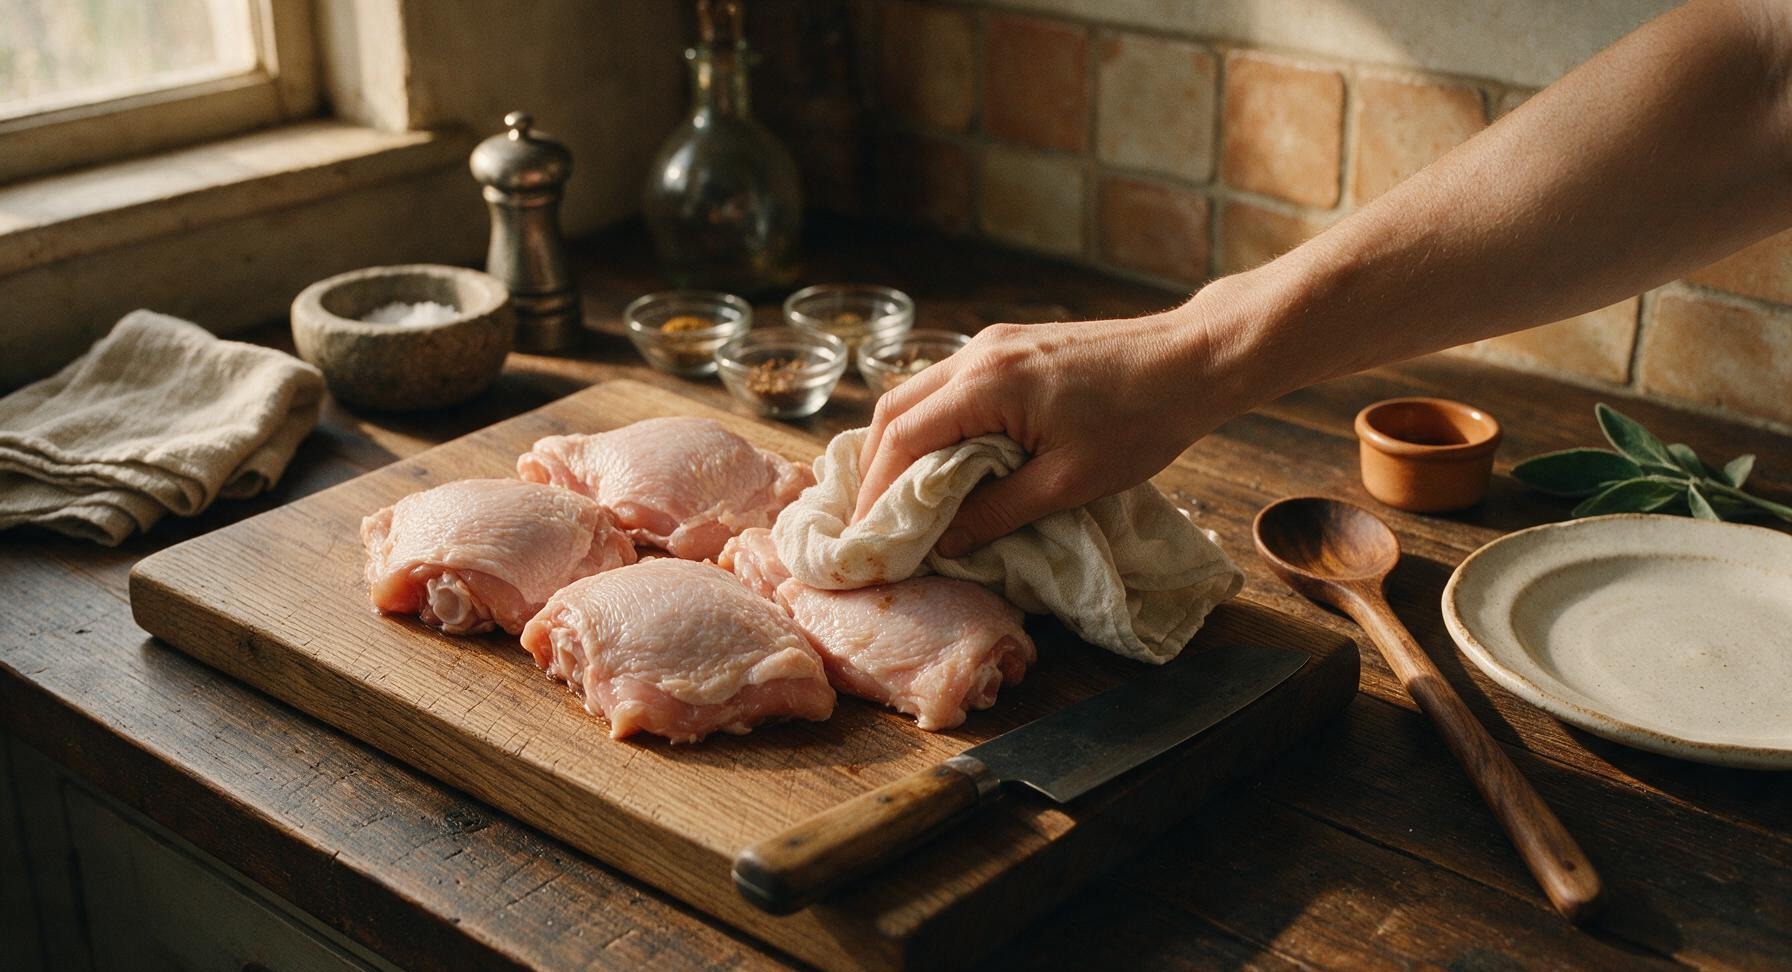
Place the 4 raw chicken thighs skin-side up on the honey bamboo cutting board. Use the crumpled cotton kitchen towel to pat every surface of the chicken—especially the skin—completely dry of all excess surface moisture. Ensure no visible wet spots remain on the skin; this step is the single most important factor for achieving shatteringly crisp skin rather than rubbery, steamed skin.
Step 1
step1:Pat Chicken Completely Dry
2

Season Chicken Evenly

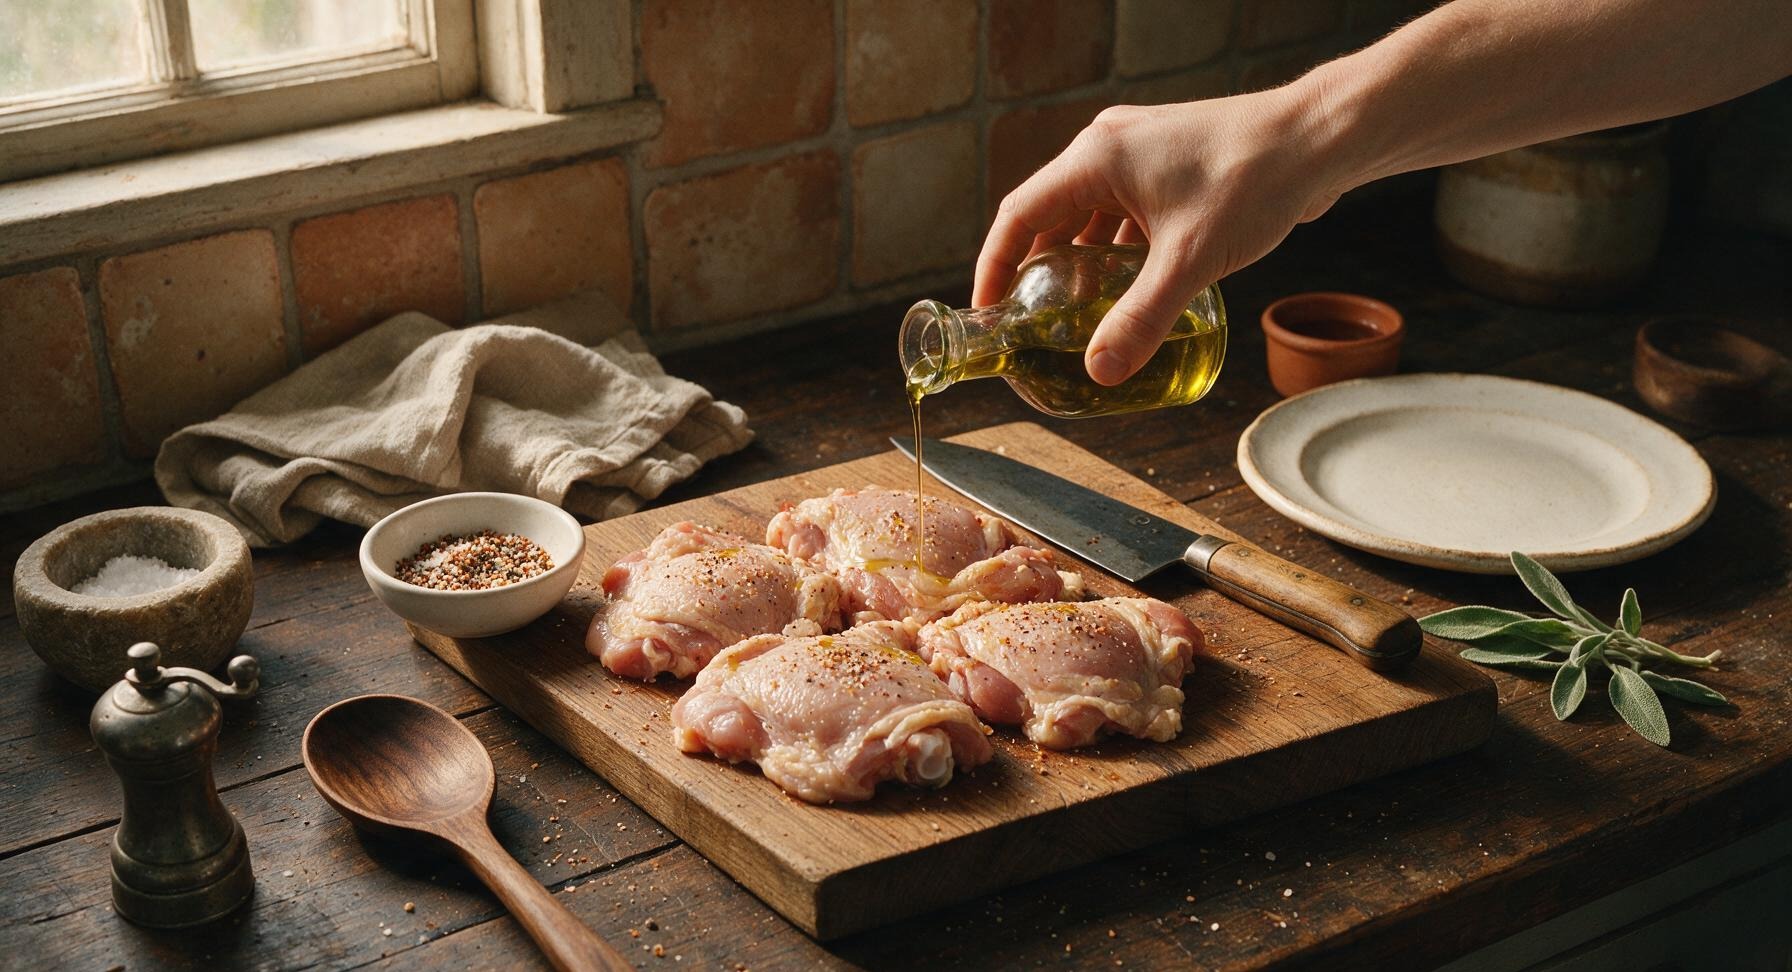
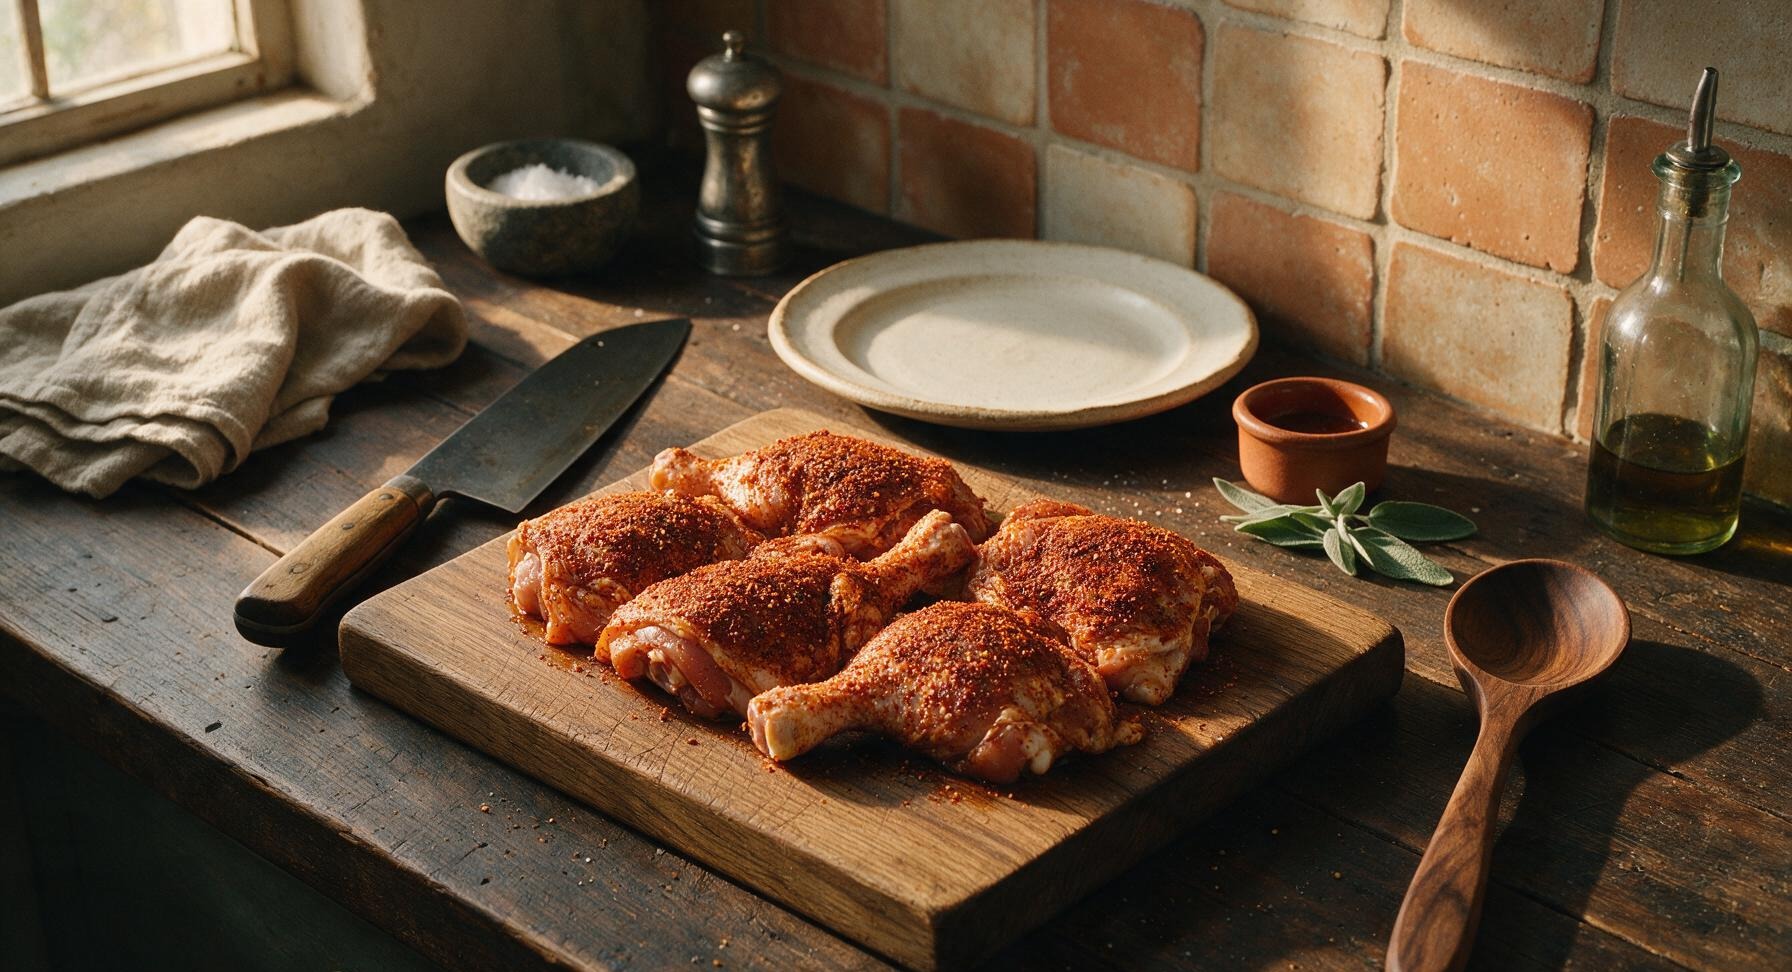
Drizzle 1 teaspoon of olive oil over the dried chicken thighs, rubbing lightly with clean hands to coat all sides evenly. Combine the kosher salt, black pepper, smoked paprika, and garlic powder in one of the small white pinch bowls, mixing until uniform. Sprinkle the spice blend evenly over every surface of the chicken, pressing gently so the seasoning adheres firmly. The finished chicken should have a thin, even coating of spices with no bare patches.
Step 2
step2:Season Chicken Evenly
Step 2
step2:Season Chicken Evenly
3

Preheat the Air Fryer

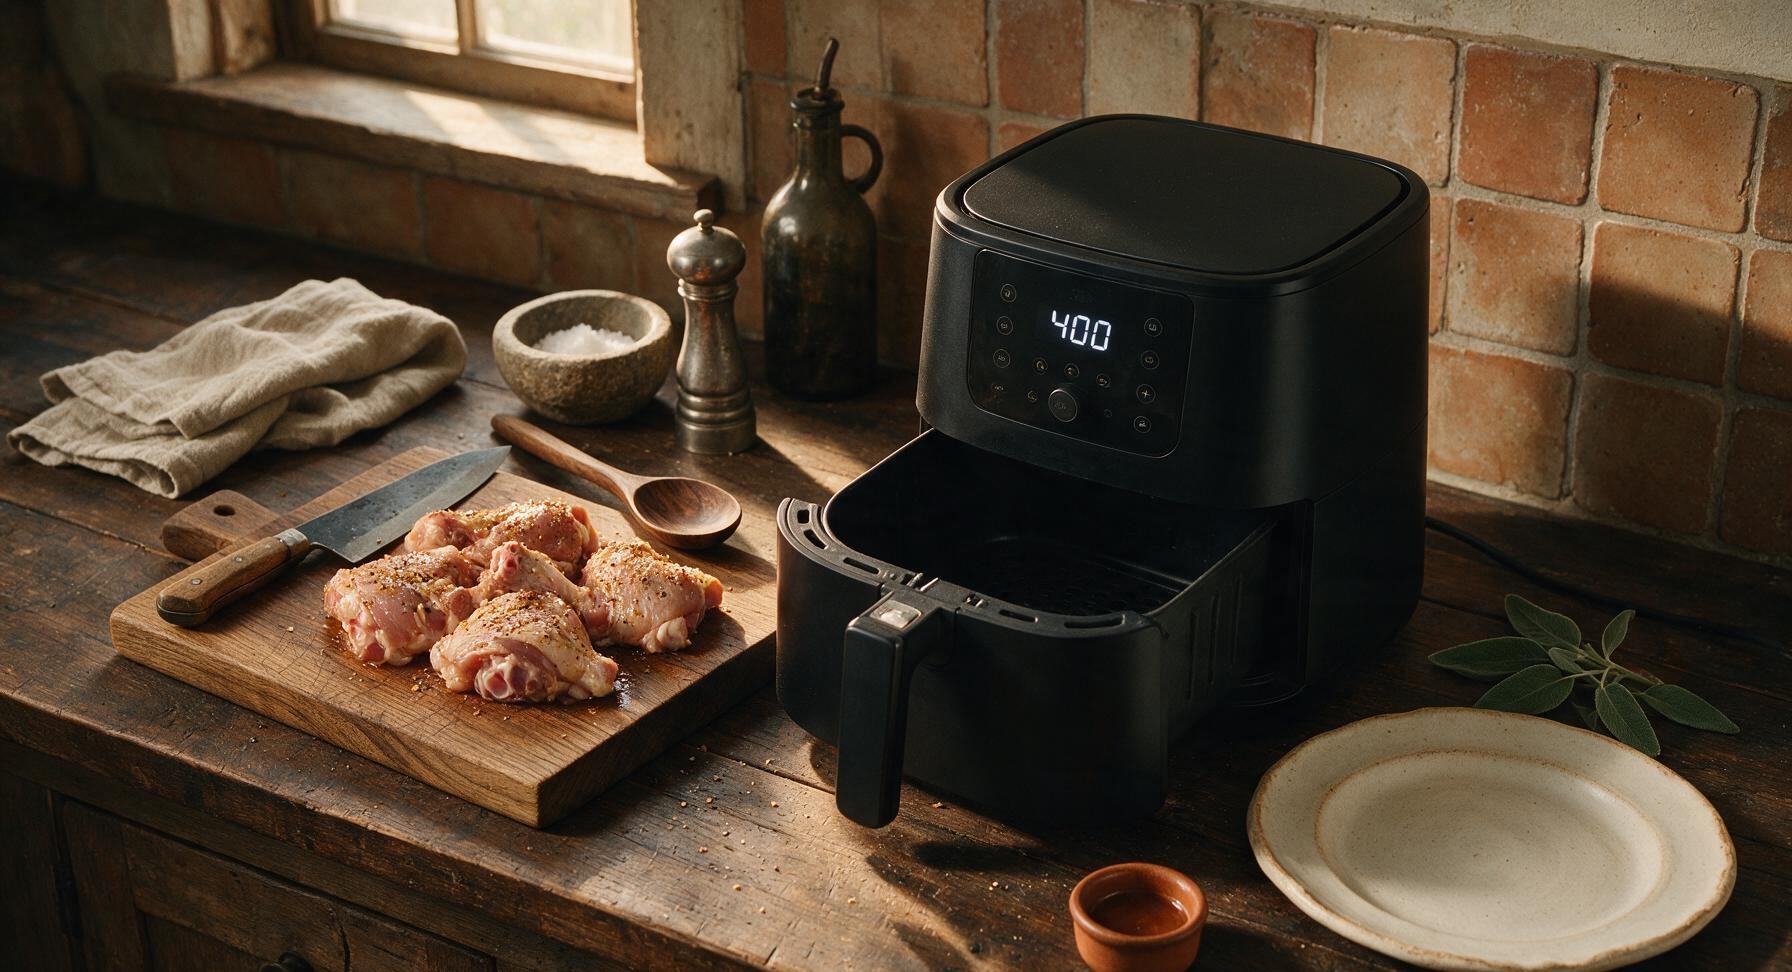
Slide the basket out of the matte black air fryer, close the unit, and preheat to 400°F (200°C) for 3 minutes. Do not add oil or cooking spray to the basket; rendered chicken fat will naturally prevent the chicken from sticking during cooking. Wait until the unit signals it has reached full preheat temperature before adding chicken.
Step 3
step3:Preheat the Air Fryer
4

Arrange Chicken in Basket

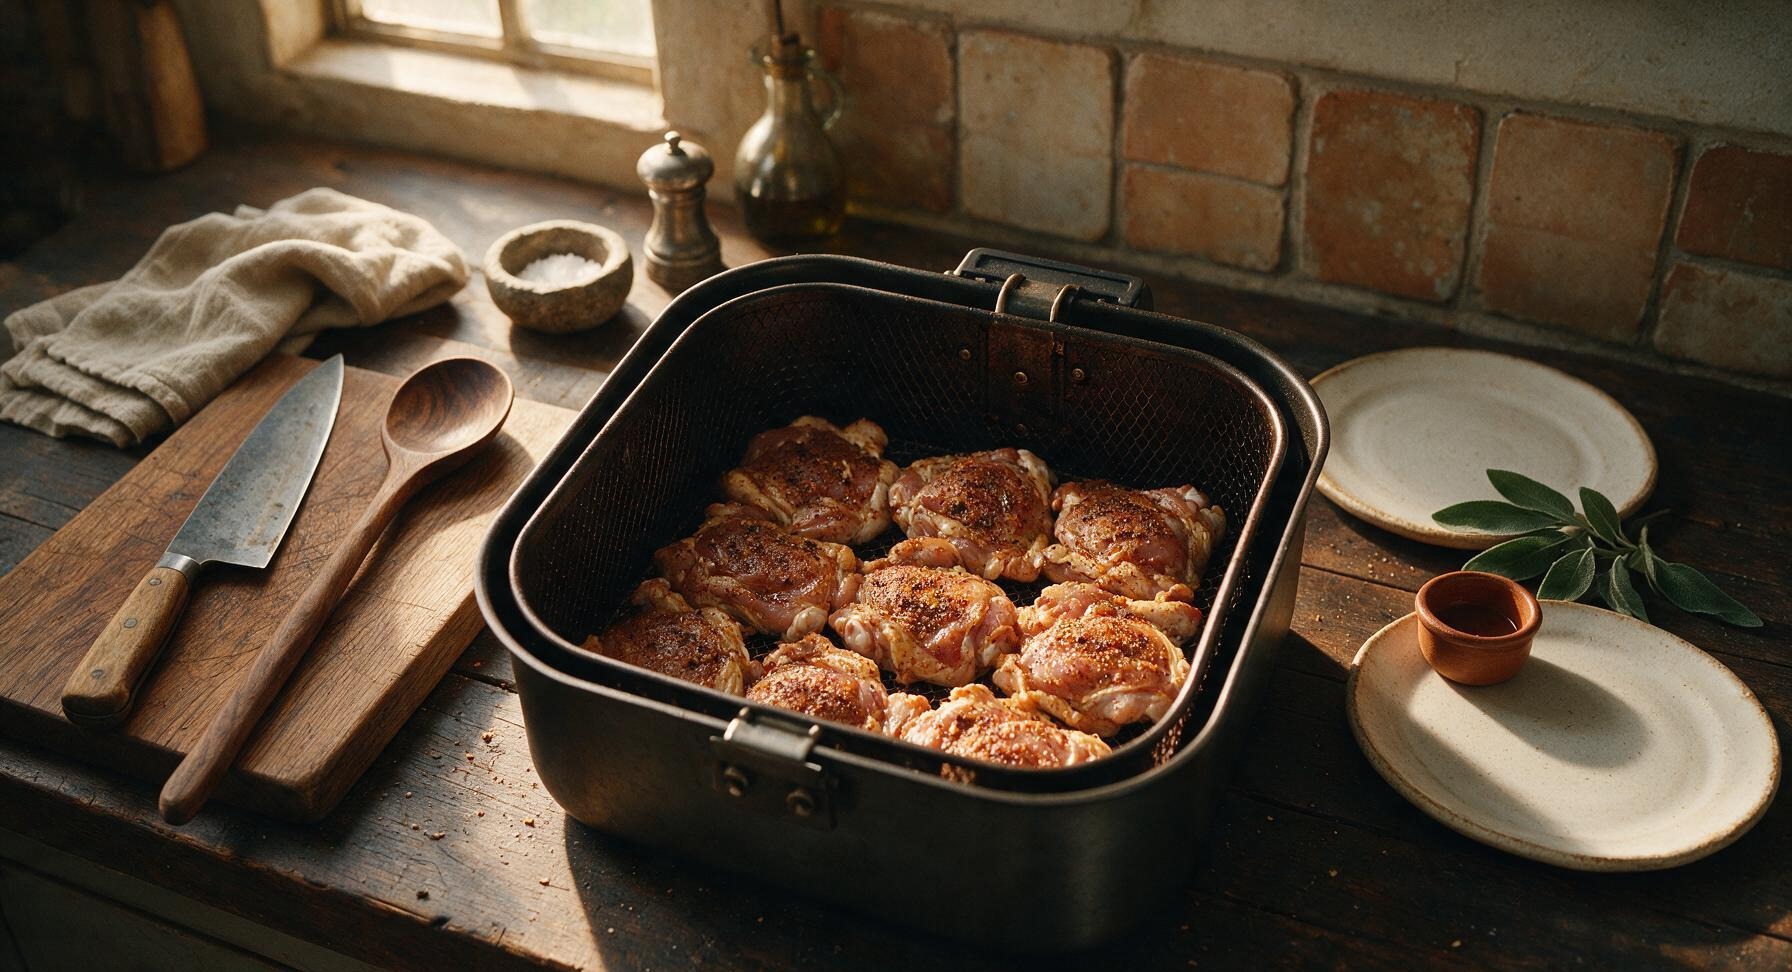
Once preheated, place the seasoned chicken thighs skin-side down in a single layer in the air fryer basket, leaving 1/2 inch of space between each piece to allow unobstructed hot air circulation. Do not overcrowd the basket; cook in two separate batches if your air fryer has a capacity smaller than 5 quarts. Ensure the chicken skin is in direct contact with the basket mesh for maximum crisping.
Step 4
step4:Arrange Chicken in Basket
5

Cook First Side 12 Minutes

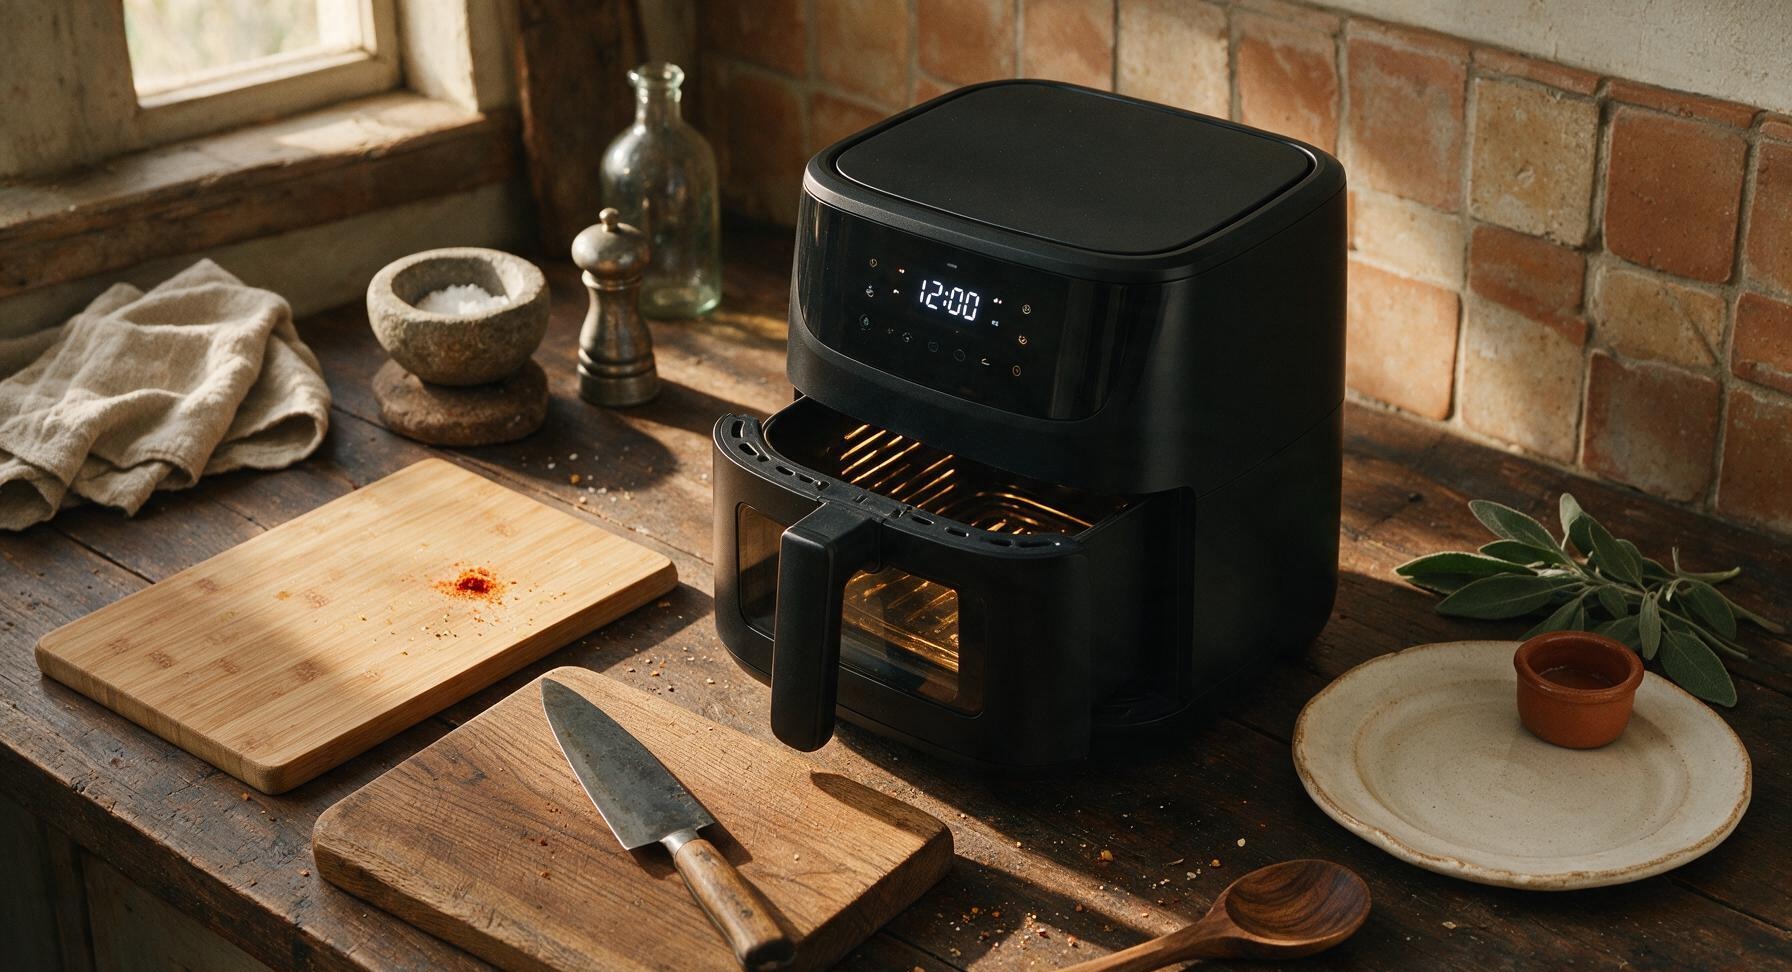
Slide the basket fully back into the air fryer, and cook at 400°F (200°C) for 12 minutes. Avoid opening the basket during this cooking window, as escaping heat will drop the internal temperature and slow skin crisping. Chicken fat will begin to render out of the skin during this time, creating a crisp, golden base on the skin side.
Step 5
step5:Cook First Side 12 Minutes
6

Flip Chicken Thighs

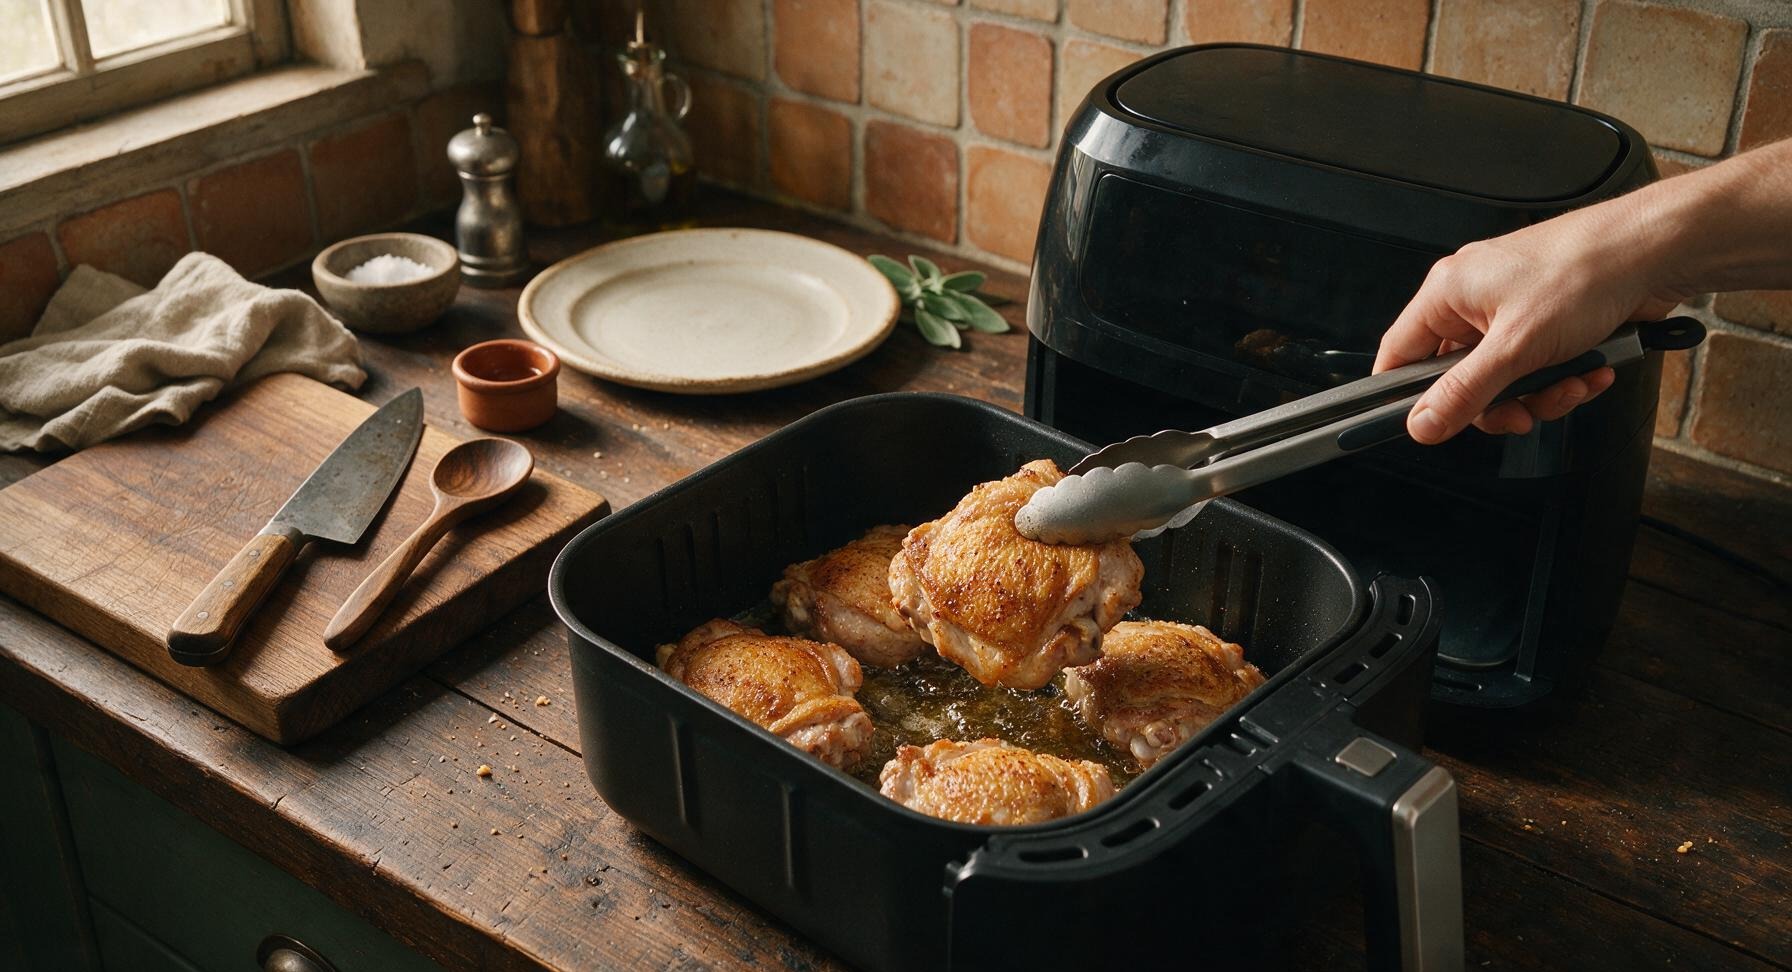
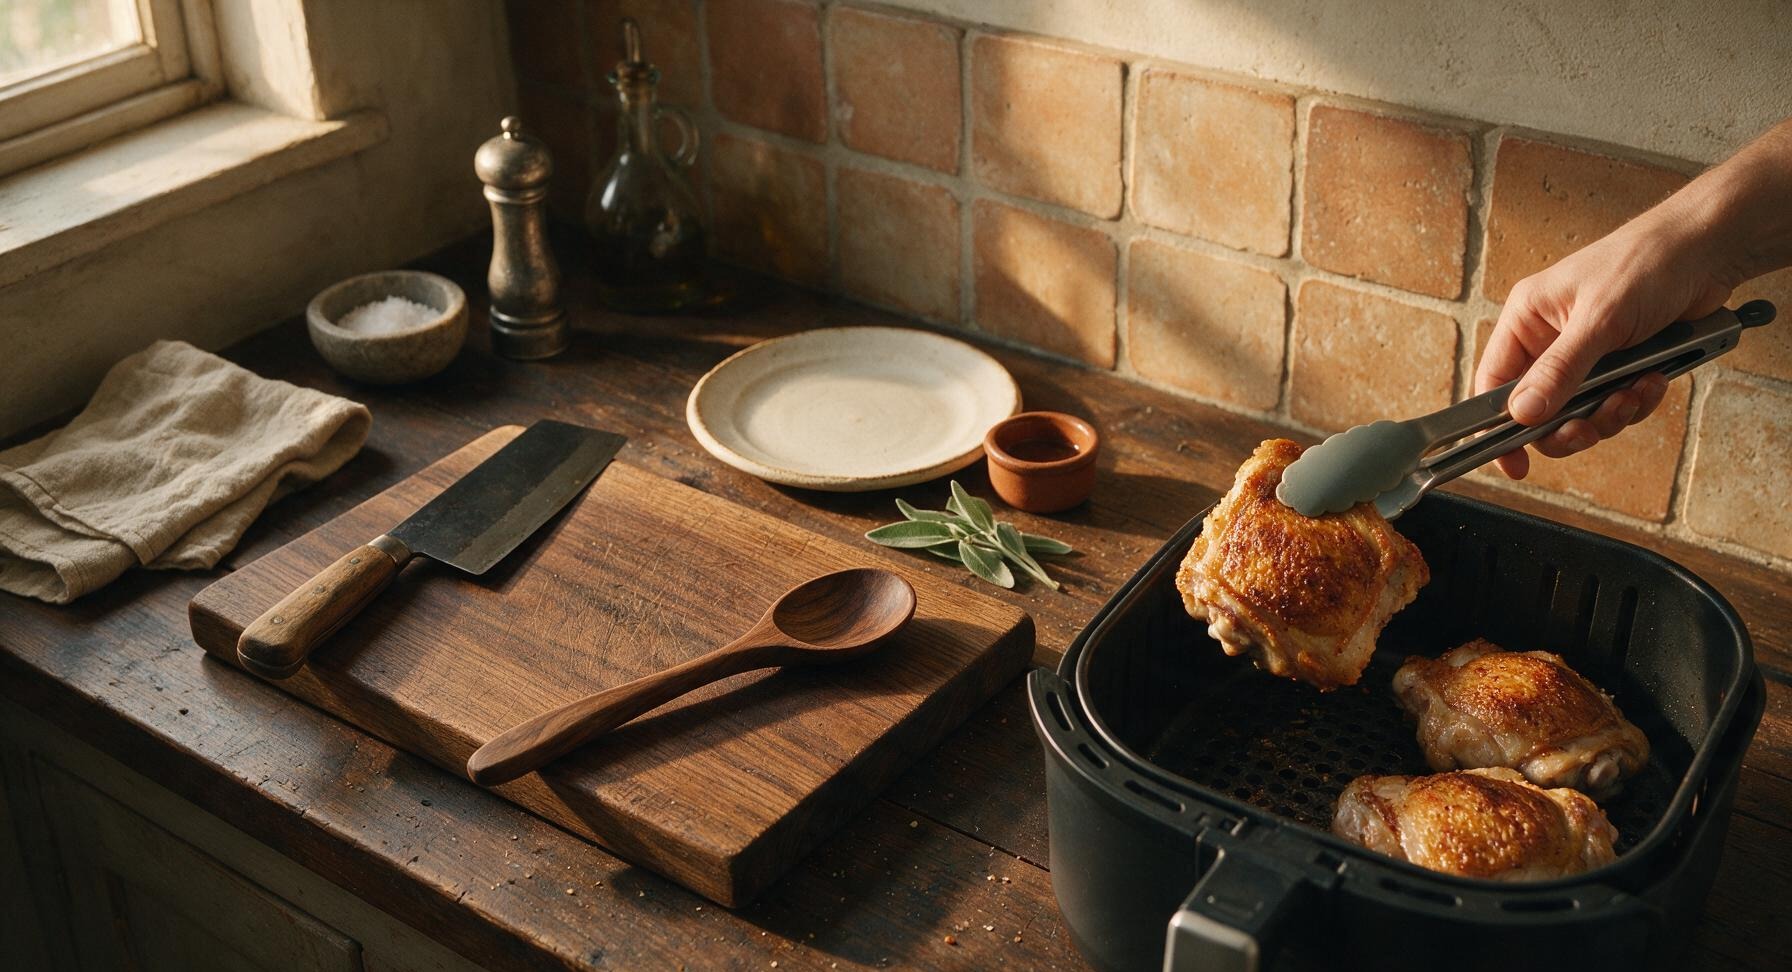
After 12 minutes of cooking, carefully pull the air fryer basket out (the skin against the basket will now be deep golden and crisp). Use the silicone-tipped stainless steel tongs to flip each chicken thigh so the skin side faces up. Grip the meat firmly but gently to avoid tearing the delicate crisped skin during flipping.
Step 6
step6:Flip Chicken Thighs
Step 6
step6:Flip Chicken Thighs
7

Cook Second Side 10 Minutes

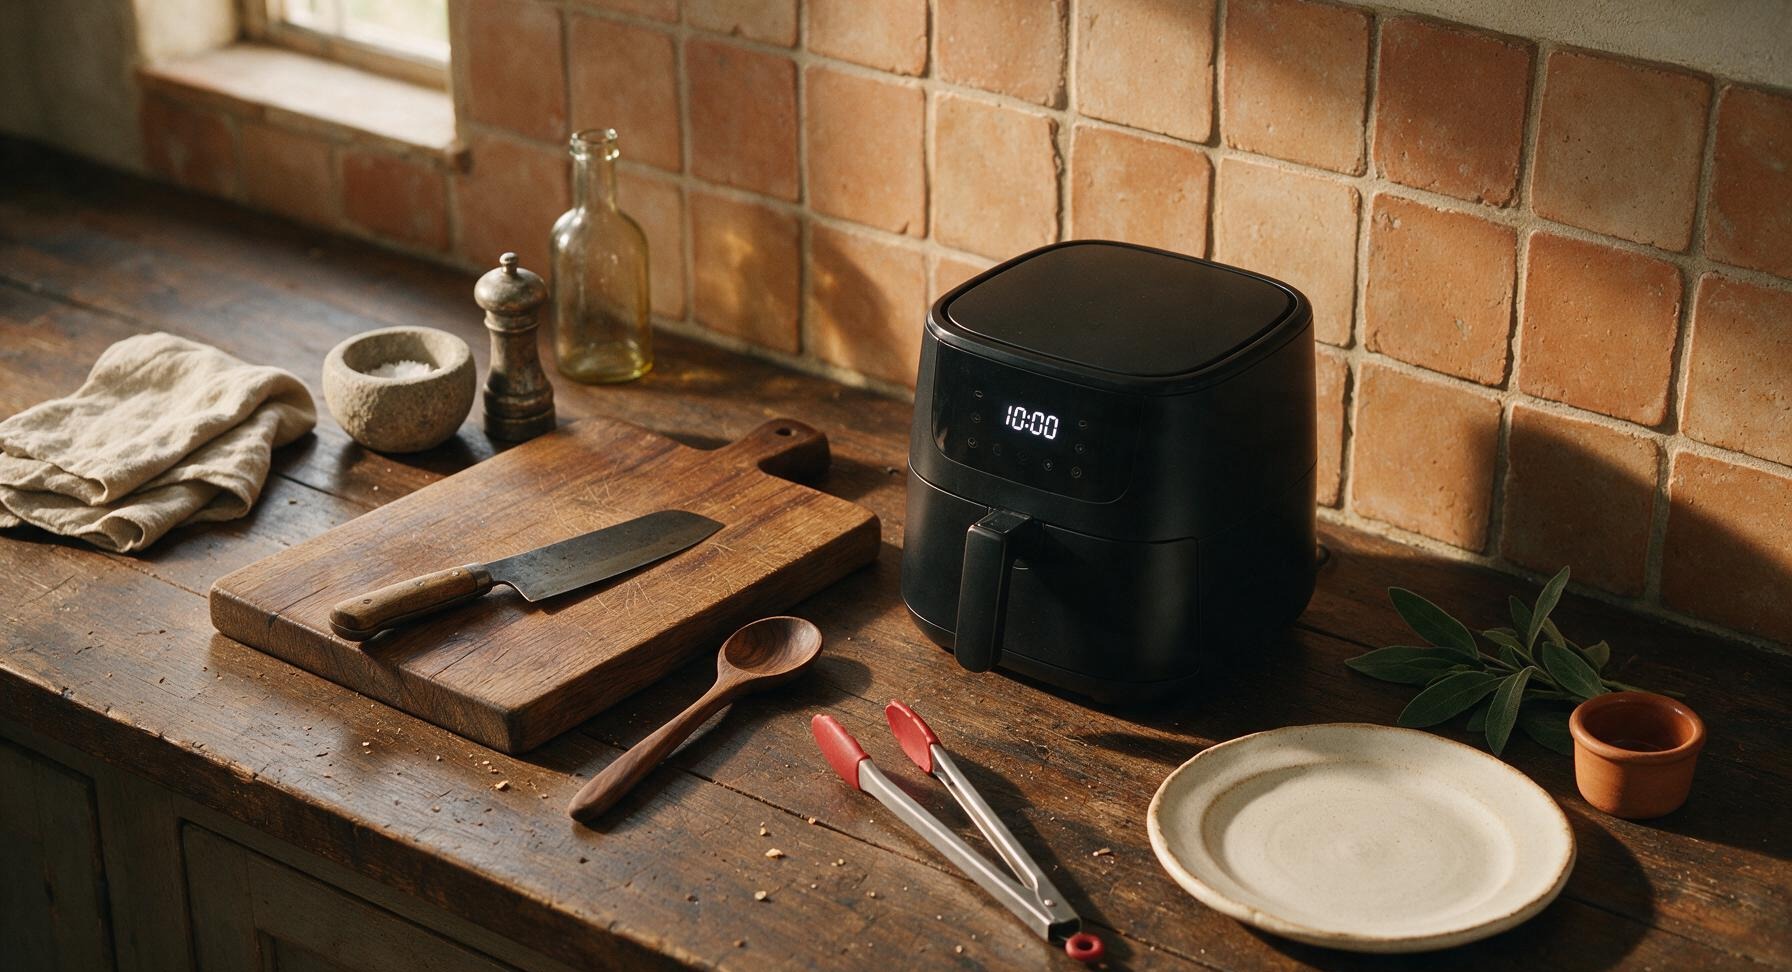
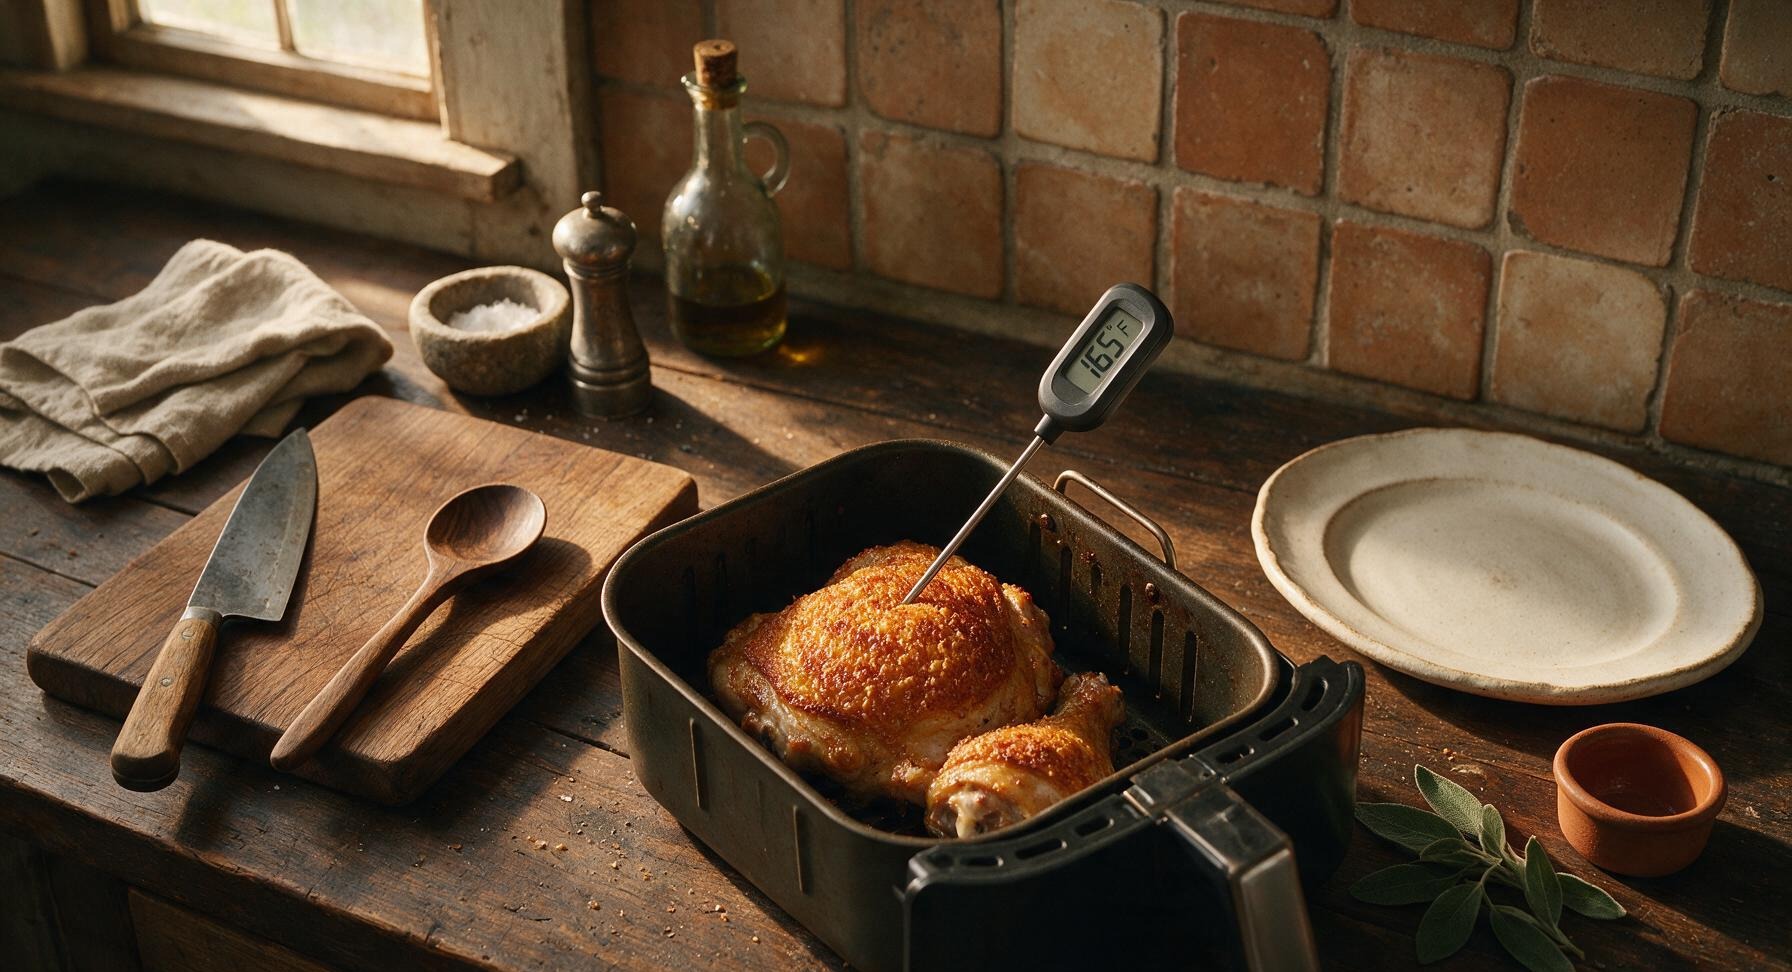
Slide the basket back into the air fryer, and continue cooking at 400°F (200°C) for another 10 minutes, until the skin is deep golden and shatteringly crisp across the entire surface. Verify doneness by inserting the digital meat thermometer into the thickest part of the thigh (away from bone) to confirm an internal temperature of 165°F (74°C). Add 2 extra minutes of cook time if the skin is not fully crisp, watching closely to avoid burning.
Step 7
step7:Cook Second Side 10 Minutes
Step 7
step7:Cook Second Side 10 Minutes
8

Rest and Plate Chicken

Use the tongs to transfer the cooked chicken thighs from the air fryer basket to the matte warm white ceramic dinner plate. Let the chicken rest for 3 minutes to allow internal juices to redistribute, which prevents juice from running out when cutting or biting into the meat. Garnish with chopped fresh flat-leaf parsley, and serve with lemon wedges on the side.
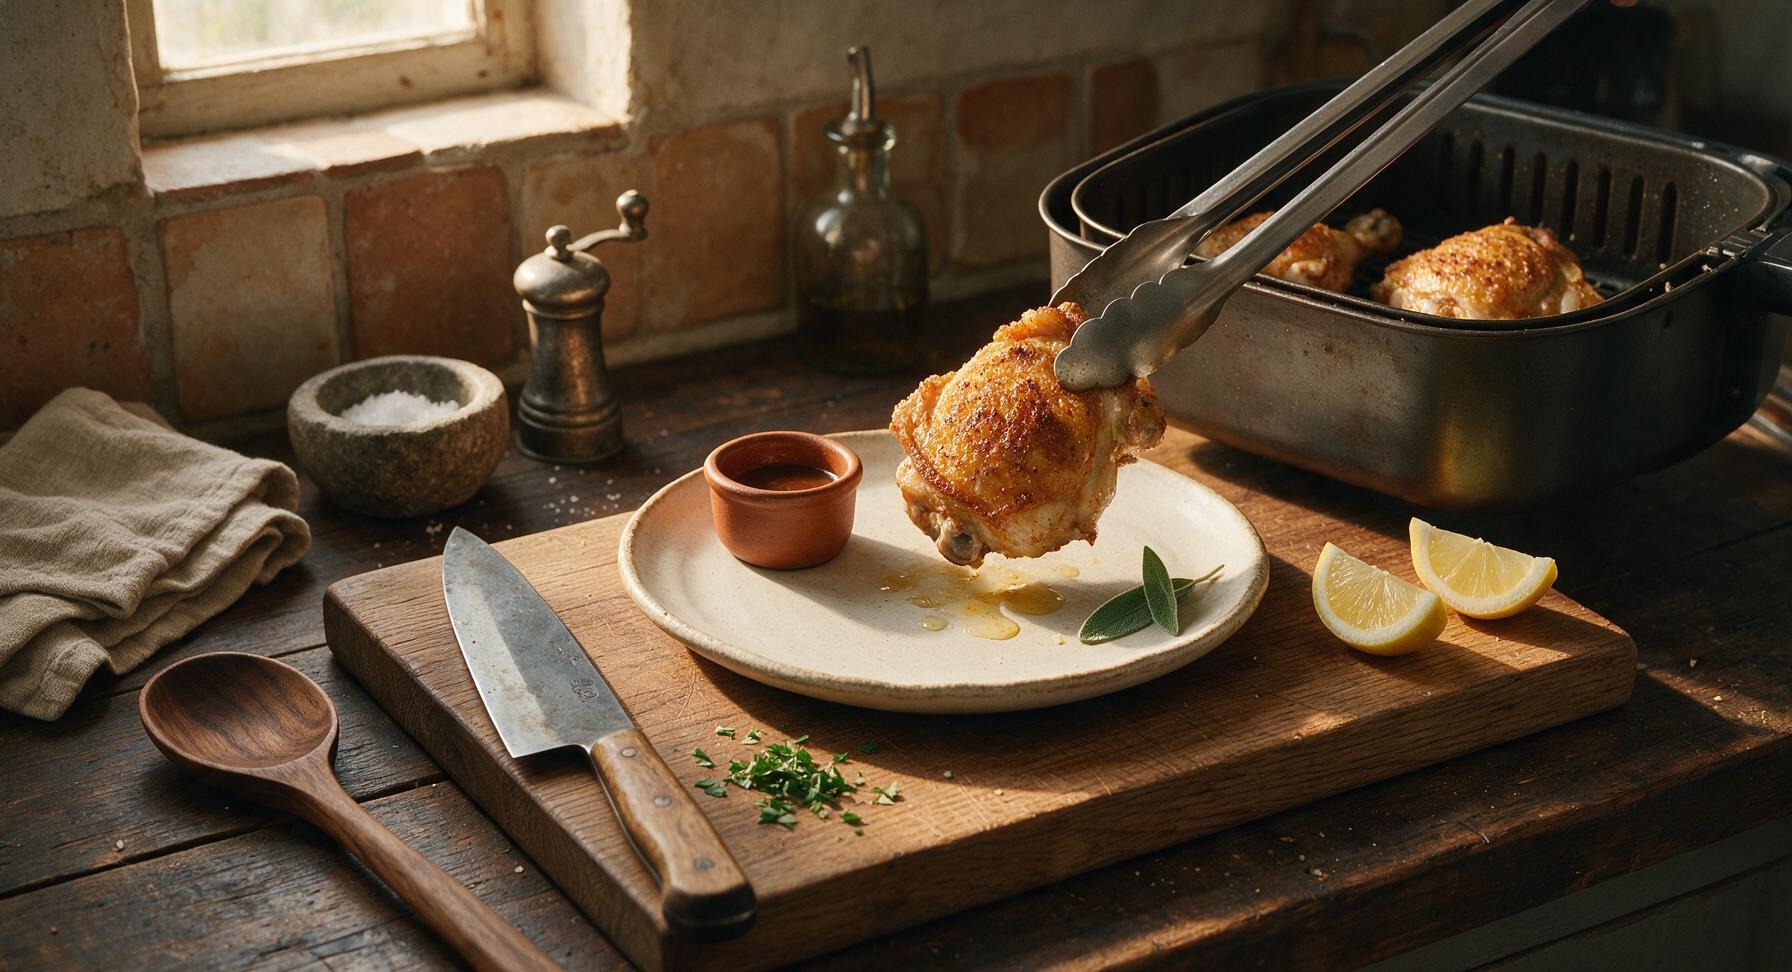
Step 8
step8:Rest and Plate Chicken

Tips

1.Never skip drying the chicken skin completely: any residual moisture on the skin will steam instead of crisp in the circulating hot air, leading to rubbery, soggy skin even at high heat. For extra-crisp results, you can leave uncovered chicken on a wire rack in the fridge for 1 hour before cooking to air-dry the skin.
2.Avoid overcrowding the air fryer basket: hot air must circulate freely around every piece of chicken to crisp the skin evenly. If cooking more than 4 thighs, work in two separate batches, keeping finished chicken warm in a 200°F oven while the second batch cooks.
3.Rely on temperature, not just cook time: chicken thigh sizes vary widely, so smaller thighs may finish 2-3 minutes early, while extra-large bone-in thighs may need additional time. Always insert the meat thermometer into the thickest part of the meat, away from bone, to hit a safe 165°F without overcooking dry meat.


✨ You May Also Like

Main Course
🍜 United Kingdom

A showstopping classic of tender seared beef, savory mushroom duxelles, and crisp prosciutto wrapped in flaky golden puff pastry, baked to juicy perfection.

⏱️ 2 hours 1Main Course ★ 4.7
Main Course
🍜 India

Tender charred marinated chicken simmered in a rich, spiced creamy tomato sauce, this iconic Anglo-Indian curry pairs perfectly with basmati rice or warm naan.

⏱️ 50 minuteMain Course ★ 4.6
Main Course
🍜 Thailand

Classic tangy, sweet, and savory Thai stir-fried rice noodles with shrimp, tofu, and crunchy garnishes, balancing all five core Thai flavor profiles.

⏱️ 30 minuteMain Course ★ 4.5
Main Course
🍜 United Kingdom

Crispy golden beer-battered cod and fluffy double-fried chips, served with tangy tartar sauce and malt vinegar: the timeless, beloved British pub comfort classic.

⏱️ 45 minuteMain Course ★ 4.7
Main Course
🍜 Mexico

Smoky, chile-marinated pork tacos with caramelized pineapple, fresh cilantro, and lime: a beloved classic Mexican street food perfect for casual summer gatherings.

⏱️ 1 hour 45Main Course ★ 4.8
Main Course
🍜 United States

Crunchy Fritos corn chips layered with savory beef chili and melted cheddar, topped with cool, zesty fixings for a beloved, cozy Tex-Mex comfort food.

⏱️ 35 minuteMain Course ★ 4.8

chicken in the air fryer:Frequently Asked Questions

1.Can I swap bone-in, skin-on chicken thighs for boneless, skinless thighs in this recipe? ▾
You absolutely can, though you’ll lose some of that signature shatteringly crisp skin and rich juiciness from the bone. Pat boneless thighs completely dry, toss with the same seasoning, and air fry at the same temperature for 12 to 15 minutes, until they hit 165°F internally to avoid overcooking.
2.Why is my chicken skin coming out rubbery instead of crispy? ▾
Rubbery skin almost always traces back to excess surface moisture. Make sure you pat every inch of the chicken skin completely dry with paper towels before oiling and seasoning, don’t overcrowd the air fryer basket, and stick to a light, even oil coating—too much oil will leave skin chewy instead of crisp.
3.What internal temperature should I cook the chicken to for safe, juicy results? ▾
Aim for 165°F measured in the thickest part of the thigh, away from the bone, per USDA food safety guidelines. I actually pull mine when it hits 160°F, then let it rest 5 minutes—carryover cooking will bring it up to temp, and that rest keeps meat extra juicy instead of dry.
4.Can I use chicken breasts instead of thighs for this recipe? ▾
You can, but note that bone-in, skin-on breasts behave differently than fattier thighs. Keep the skin on, pat dry, season the same, and add 2 to 4 minutes of cook time for extra-thick cuts. Watch internal temp closely, since breast meat dries out much faster than thigh meat if overcooked.
5.Do I need to preheat my air fryer before cooking the chicken? ▾
For the crispiest, most evenly cooked results, I always recommend preheating your air fryer for 3 to 5 minutes first. A preheated basket hits chicken skin with immediate high heat the second you set pieces in, which renders fat faster and prevents skin from sticking to the basket as it cooks.
6.How do I keep the chicken from sticking to the air fryer basket? ▾
First, preheat the basket so skin sears on contact instead of gluing to the mesh. Give dry, seasoned chicken a light, even coat of olive oil, and avoid moving pieces for the first 10 minutes of cook time—once skin is fully crisped, it will release easily without tearing.
7.Can I add other seasonings besides smoked paprika, salt, and pepper? ▾
Of course! That simple seasoning base is just a jumping off point. Try adding garlic powder, onion powder, dried oregano, a pinch of cayenne for heat, or lemon zest. Just go light on sugary seasonings like brown sugar, since they burn quickly at high air fryer temperatures and leave a bitter taste.
8.Why is my chicken producing a lot of smoke while it cooks in the air fryer? ▾
Light wispy smoke is normal as rendered chicken fat drips down, but heavy smoke usually means you have excess oil or old burnt food residue in the basket bottom. Pour 2 tablespoons of water in the drawer under the basket to catch drippings, and wipe the basket clean between batches to cut down on smoke.
9.Can I cook frozen chicken thighs with this recipe without thawing first? ▾
I don’t recommend cooking fully frozen thighs for this recipe, since excess melting ice will make skin soggy and lead to uneven cooking. If you’re in a pinch, thaw thighs quickly in a cold water bath for 30 minutes, pat them totally dry, then proceed with the recipe as written for best texture.
10.How many chicken thighs can I cook in the air fryer at one time? ▾
That depends on your air fryer size, but the rule of thumb is to leave at least ½ inch of space between every thigh so hot air can circulate evenly. Don’t stack or overlap pieces—for a standard 3-quart air fryer, you’ll likely only fit 2 to 3 thighs at a time, so cook in batches if needed.
11.Do I need to flip the chicken halfway through cooking? ▾
I recommend flipping thighs once at the halfway point to make sure every side gets even air flow, though if you have a high-powered, high-circulation air fryer you can get away with cooking them skin-side up the whole time. Flipping also helps render fat from all sides for more even crispness.
12.How long should I let the chicken rest after it comes out of the air fryer? ▾
Let chicken rest for 4 to 5 minutes on a clean plate tented loosely with foil before serving. That short rest lets muscle fibers relax and reabsorb all the juicy, flavorful juices, so they don’t run all over your plate the second you cut in, leaving you with dry, bland bites.
13.Can I use regular olive oil or avocado oil instead of extra virgin olive oil here? ▾
You absolutely can. Avocado oil has a slightly higher smoke point than extra virgin olive oil, which makes it a great pick if you run your air fryer at 400°F or higher, but regular light olive oil works perfectly too. Avoid low-smoke-point oils like toasted sesame oil, which burn and taste bitter.
14.What temperature should I set my air fryer to for this recipe? ▾
Set your air fryer to 380°F for the best balance of fast fat-rendering for crisp skin and gentle, even cooking for juicy meat. If your air fryer runs extra hot (most run 25 to 50°F hotter than their display reads), drop the temp to 370°F to avoid burning skin before meat cooks through.
15.Can I meal prep this chicken ahead of time for weekday lunches? ▾
Definitely! This chicken holds up really well for meal prep. Let cooked thighs cool completely, then store them in an airtight container in the fridge for up to 4 days. Reheat in the air fryer at 350°F for 3 to 4 minutes to crisp skin back up, instead of microwaving which makes skin soggy.
16.What’s the total cook time for average-sized bone-in, skin-on chicken thighs? ▾
For standard 6 to 8 ounce bone-in, skin-on thighs, you’re looking at 18 to 22 minutes total cook time at 380°F, flipping halfway through. If your thighs are extra large (10 ounces or more), add 3 to 5 minutes, and always double check doneness with a meat thermometer instead of relying solely on cook time.
17.Can I use table salt instead of kosher salt for seasoning? ▾
You can, but you’ll need to use less salt overall to avoid over-seasoning. Table salt is much finer and denser than kosher salt, so use about half the amount of salt called for if you make the swap. I prefer kosher salt here because it distributes more evenly across skin and doesn’t leave harsh, overly salty bites.
18.Why is the meat close to the bone still pink even when it’s hit 165°F? ▾
A faint pink tinge right next to the bone is totally normal, especially in younger chicken, and it doesn’t mean the meat is undercooked. That discoloration comes from myoglobin leaching out of bone marrow during cooking, and it’s completely safe to eat as long as the thickest part hits 165°F.
19.Can I make this recipe in a traditional oven if I don’t have an air fryer? ▾
You can get very similar results in a regular oven! Preheat your oven to 425°F, set seasoned chicken on a wire rack set inside a rimmed baking sheet to let air circulate under pieces, and bake for 30 to 35 minutes until skin is crisp and meat hits 165°F internally. The wire rack is key to avoiding soggy bottom skin.
20.Should I use my air fryer’s rotisserie or raised rack setting for this chicken? ▾
Stick to the standard air fry basket setting for this recipe, arranging thighs in a single layer with space between them. The rotisserie function works great for whole chickens, but individual thighs can slip off the spit as they cook, and the raised rack setting often doesn’t circulate air evenly enough for all-over crisp skin.

Comments (14)

2 days ago

OMG this is a total game changer! I’ve tried so many air fryer chicken recipes that come out soggy or dry, but this was perfectly crispy on the outside and juicy all the way to the bone. My kids devoured 3 pieces each at dinner last night, even my picky 7 year old asked for seconds! So easy to throw together on a busy weeknight too.

yesterday

That makes me so happy to hear, Sarah! So glad the whole family loved it - it’s one of our go-to busy weeknight meals too, for exactly that reason!

3 days ago

Made this for my Sunday football potluck with the guys and it was a total hit. Everyone was asking for the recipe! The skin was so crispy I couldn’t believe it didn’t come out of a deep fryer. 10/10 will be making this every game day from now on.

30 minutes ago

Wait, quick question - do I need to pat the chicken dry before putting it in the air fryer? I’ve had issues with rubbery skin when I skip that step with other recipes, just want to make sure I get this right for meal prep this week!

5 minutes ago

I made this last week and definitely patted mine dry with paper towels first, came out perfect! I also let the seasoning sit on the chicken for like 10 minutes before air frying too, not sure if that helped but it was chef’s kiss

just now

Great question, Lila! Yes, patting the chicken completely dry is key for that ultra crispy skin - it helps the seasoning stick better too, and prevents excess moisture from steaming the chicken as it cooks. Hope your meal prep turns out amazing!

1 week ago

SO good! I swapped the regular paprika for smoked paprika because that’s all I had in the pantry, and it added such a nice deep, smoky flavor. My husband said this is better than the fried chicken we get at our local diner. No cap.

5 days ago

Oh that smoked paprika swap is genius! I’m doing that next time I make this, I bet it tastes incredible with a little side of coleslaw

yesterday

25 minute cook time? Sign me up. I work 10 hour shifts and don’t have the energy to spend an hour in the kitchen when I get home, this was quick, minimal cleanup, and tasted way better than the takeout I almost ordered last night. Will be in my regular rotation for sure.

2 weeks ago

I was skeptical about air fryer chicken because I’ve always fried mine in a cast iron skillet for 40 years, but my granddaughter got me an air fryer for my birthday so I gave this a shot. It was delicious! The skin was crispy, the meat was juicy, I didn’t have a house full of grease splatters for once. My only note is I added a little extra garlic powder because we love garlic in this house.

1 week ago

So glad you gave it a try, Ellie! Love that extra garlic powder hack - garlic makes everything better, right? It’s such a game changer not having to deal with all those grease splatters, I totally get it!

2 days ago

Wait, mine came out a little undercooked near the bone? I followed the cook time exactly, did I do something wrong? I used chicken thighs that were pretty big, maybe that’s it?

yesterday

Oh I had that happen the first time too! My thighs were extra large so I added 4 extra minutes of cook time and flipped them halfway, came out perfect after that. Also make sure your air fryer isn’t overcrowded, I stacked mine the first go round which made them steam instead of crisp

yesterday

So sorry they came out undercooked, Zoe! That’s almost always because of larger thigh sizes, like Ryan mentioned - bone-in cuts can vary a lot in size, so I always recommend checking the internal temp hits 165F at the thickest part, and adding 3-5 minutes of cook time for extra large pieces. Avoiding overcrowding the basket makes a huge difference too!

5 days ago

Meal prep win! I made a big batch of this on Sunday, portioned it out with roasted broccoli and rice, and it kept perfectly all week for my work lunches. Even reheated in the air fryer for 3 minutes it stayed crispy, which never happens with leftover chicken. Obsessed.

3 days ago

Made this for date night last night with some roasted potatoes and asparagus, and my boyfriend literally proposed (joking… but almost). He said it’s the best chicken he’s ever had, and he’s a total chicken snob. Who knew a 25 minute air fryer recipe could impress that much?

2 days ago

Girl same! I made this for my partner last month and now he asks for it at least once a week, I swear this recipe has magical powers or something 😂

2 hours ago

Quick question - can I use this same recipe and seasoning for bone-in chicken breasts? Thighs are great but my family prefers white meat, just wondering if the cook time changes?

30 minutes ago

Great question, Devon! You absolutely can use this seasoning for bone-in, skin-on chicken breasts - just adjust the cook time to 22-28 minutes depending on the size of the breast, and make sure the internal temp hits 165F before pulling it out. It comes out just as juicy and crispy!

1 week ago

Y’all. The CRUNCH on this chicken. I followed the tip to spritz a little olive oil on the skin before air frying and it was so shatteringly crispy I thought I was eating fast food fried chicken, minus all the grease. 1000/10, no notes.

5 days ago

Wait the olive oil spritz is a game changer! I forgot that step the first time and the skin was good, but when I did the spritz the second time? Next level. Don’t skip that, people

5 days ago

Love that you loved the crunch, Tasha! That light spritz of oil really does mimic that deep fried crisp without all the extra oil, it’s my favorite trick for perfect air fryer skin every time.

just now

I don’t usually leave reviews but this was too good not to. I’ve been scared to cook bone-in chicken because I always overcook it and it’s dry, but the timing on this recipe was spot on. Juicy, flavorful, crispy, literally everything you want in chicken. Thank you for sharing!

yesterday

This recipe saved my family dinner last night! I forgot to pull something out for dinner until 5pm, threw this together with what I had in the spice cabinet, and it was on the table by 5:30. My teenagers didn’t even complain, which is a miracle in and of itself. Will be making this at least twice a month now.

2 hours ago

Right?! My teens are the pickiest eaters on the planet and they even asked to put this on the weekly dinner rotation. Total weeknight lifesaver

5 minutes ago

Has anyone tried making this with drumsticks instead of thighs? My kid only will eat drumsticks, I have a big pack in the fridge I need to use up tonight.

just now

I made this with drumsticks last week! Same temperature, just cook them for 22-24 minutes, flip halfway, they came out so crispy and juicy. My 4 year old ate two drumsticks in like 5 minutes, total win

just now

Great question, Chris! As Alicia mentioned, drumsticks work perfectly with this recipe - just adjust the cook time slightly (usually 22-25 minutes depending on size) until the internal temp hits 165F, and you’ll get that same crispy, juicy result. Hope your kid loves them!



